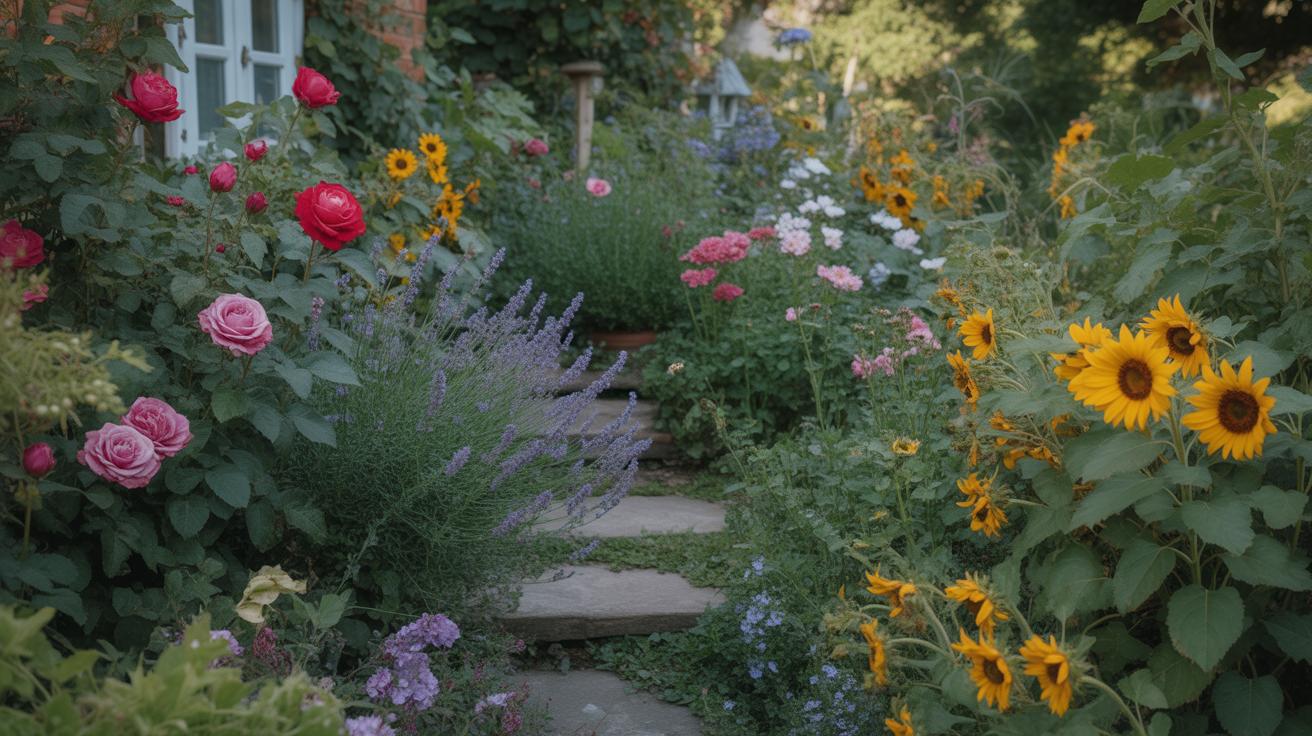
Introduction
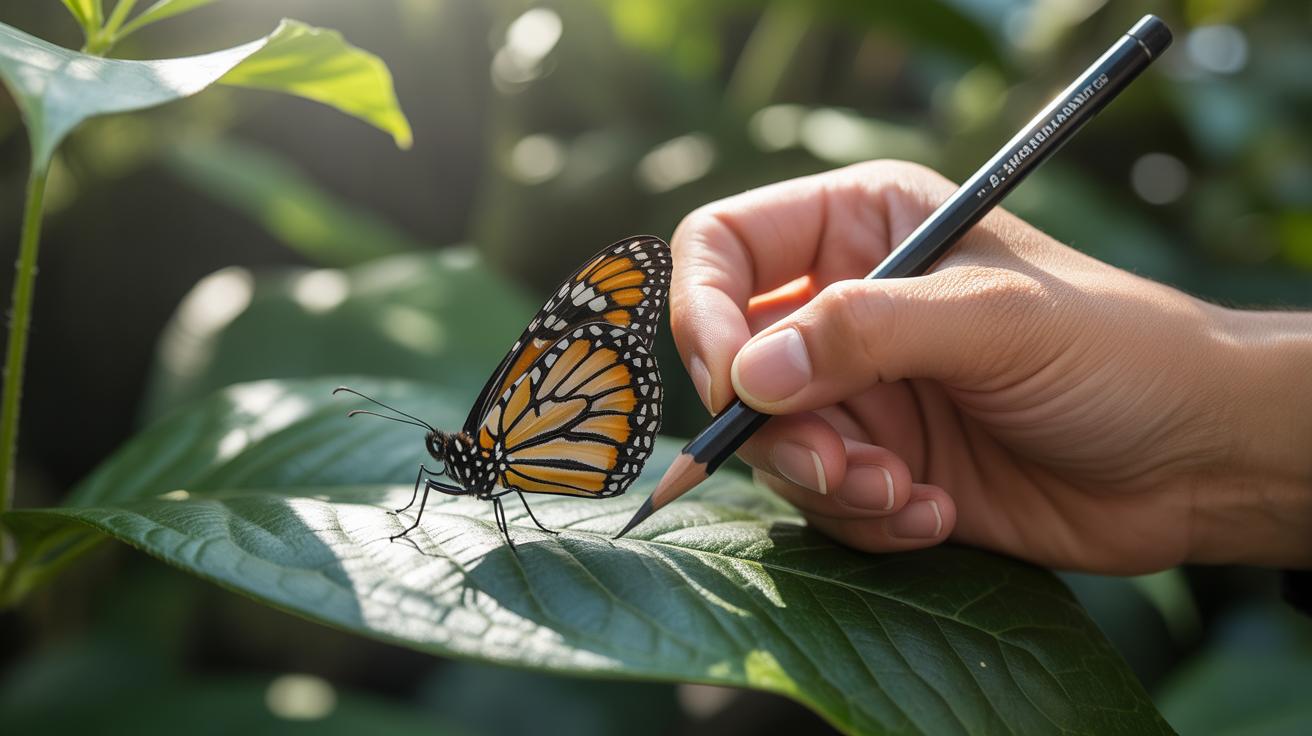
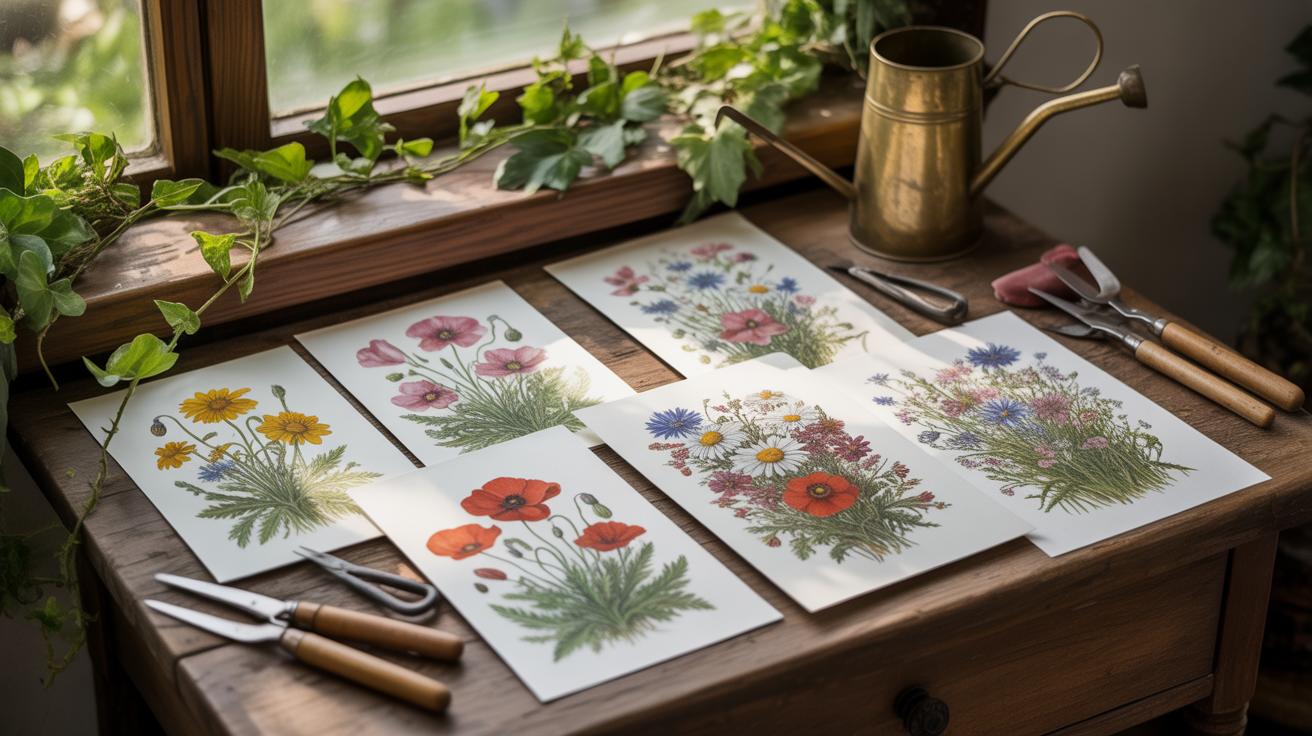
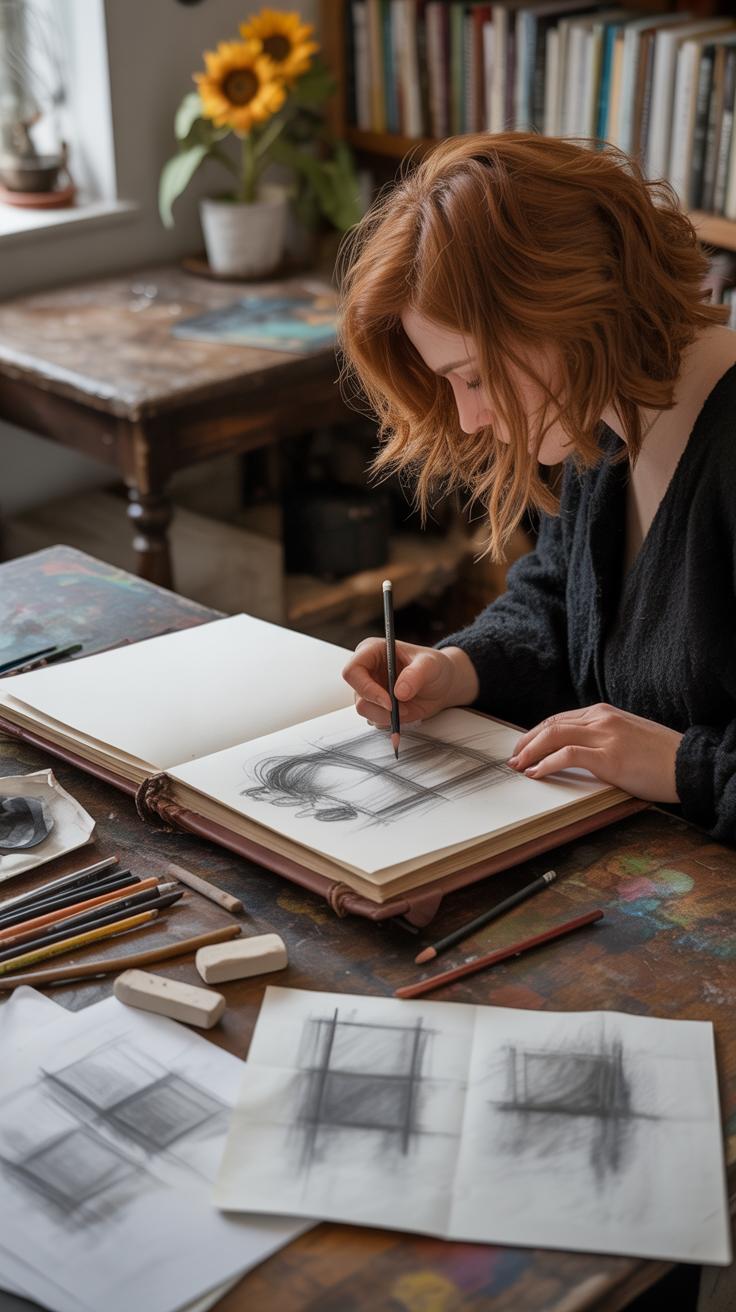
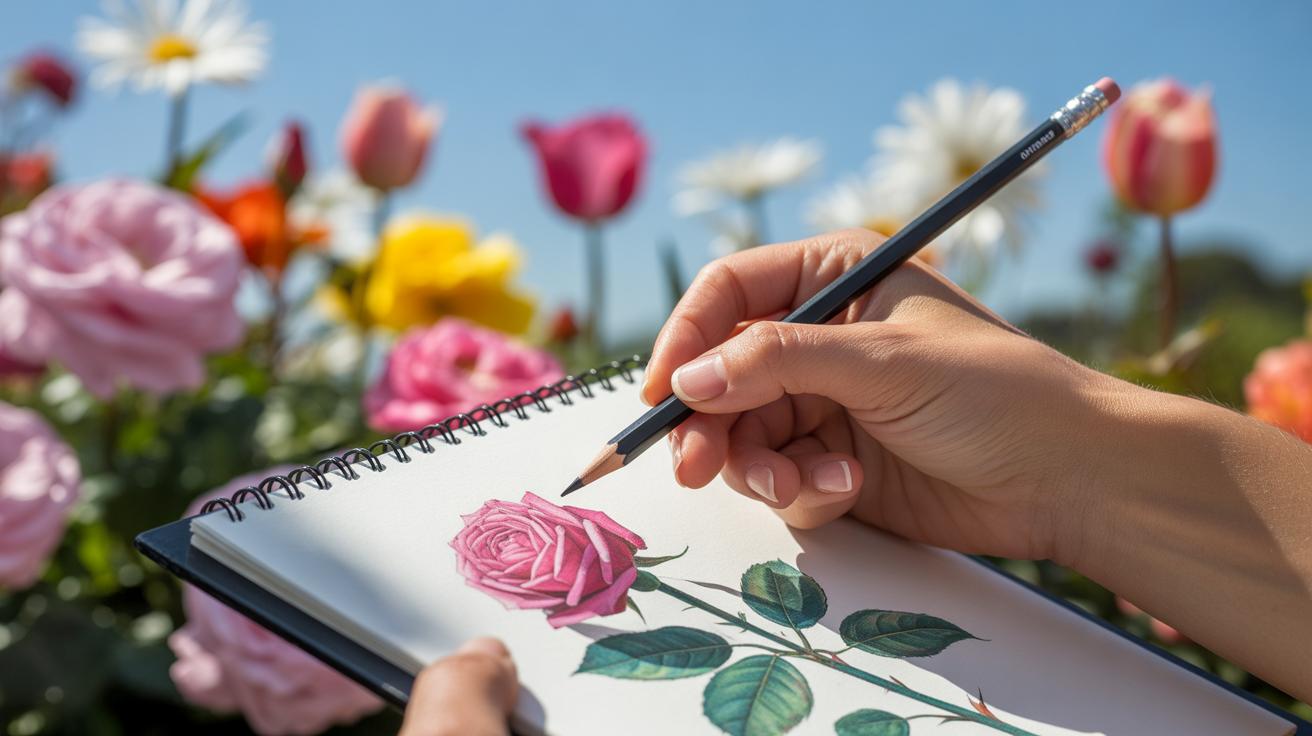
Drawing nature using pencils is a popular way to capture the quiet beauty of the outdoors. Simple techniques can help you create sketches that look realistic and detailed. This article will guide you through steps and tips for making nature sketches using pencils.
You will learn about the right tools to use, basic skills for shading and lines, and how to make your drawings look like real scenes from nature. These ideas will make your sketching easier and more fun.
Choosing Your Pencil and Paper
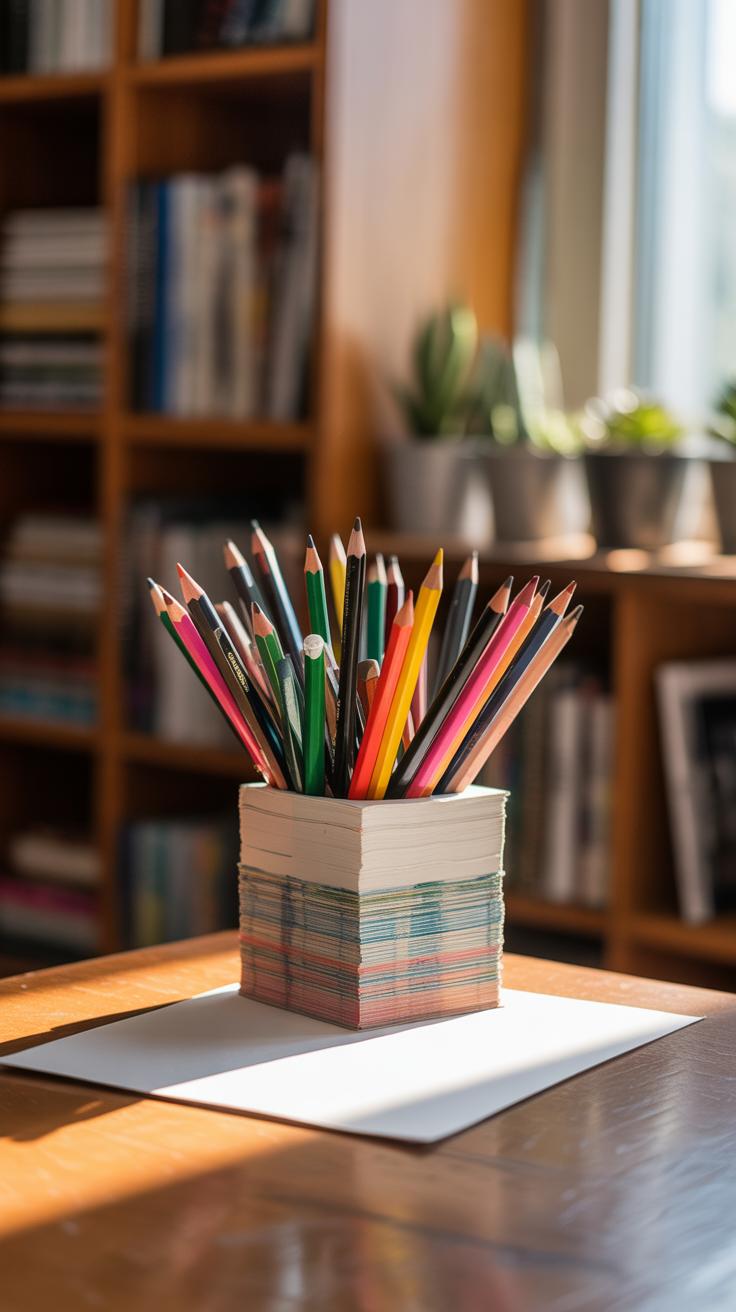
Picking the right pencil and paper can change the whole experience of nature sketching. When it comes to pencils, you’ll want a range that lets you work with both fine lines and soft shading. Pencils are graded by hardness, from hard (H) to soft (B), with middle grades like HB sitting between them. Hard pencils (2H and up) are good for delicate lines and tiny details, like the veins in a leaf or the texture of bark. In contrast, softer pencils (2B and beyond) give you the freedom to shade, smudge, and create texture, capturing the subtle shadows of a flower petal or the roughness of stone.
Think about what you want your sketch to show. Do you tend to focus on precise structures or more on tonal variations? I’ve found using a handful of pencils between 2H and 4B covers most needs. It’s not just about softness or hardness but how those pencils respond to your touch. Some softer pencils can be messy if you’re outdoors, while harder pencils may feel scratchy on certain papers.
Paper choice is equally crucial. Outdoors, you want something that balances texture and smoothness. Rough or cold-pressed paper offers a toothy surface where pencils grab the paper’s surface, great for expressive marks and texture. But too rough a paper makes fine detail challenging. Smooth or hot-pressed paper allows for controlled lines and easy erasing but might resist shading blends.
Personally, I like sketchbooks with medium texture—something that’s not too rough but gives enough tooth for those natural strokes. Weight matters, too; thicker paper prevents warping when you add layers or erase repeatedly. Some artists prefer toned paper for nature sketches, lending an immediate mid-tone to work from, but that’s quite personal.
Choosing pencil and paper really boils down to what fits your style and the outside conditions. Will you be quick-sketching a bird or patiently studying a flower? Try experimenting with a few pencils and papers before committing. It shapes how you see and capture nature more than you might expect.
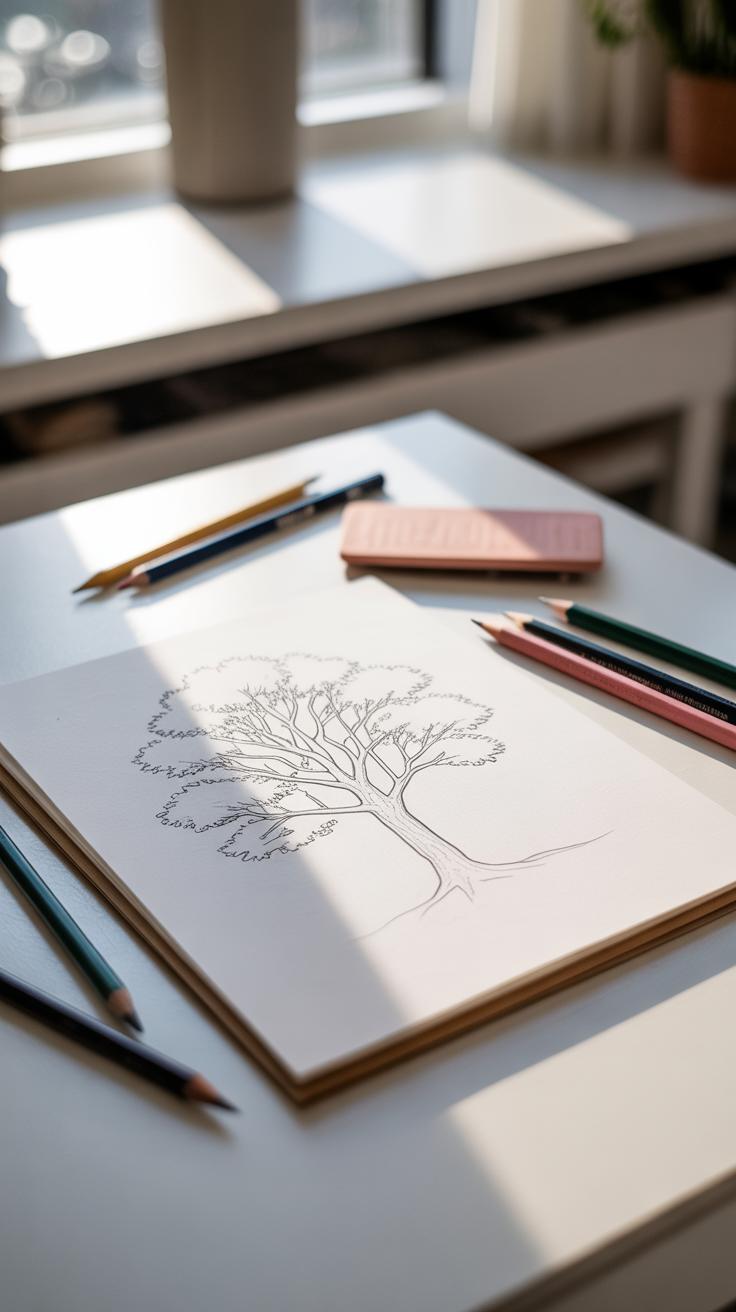
Starting Your Sketch with Basic Shapes
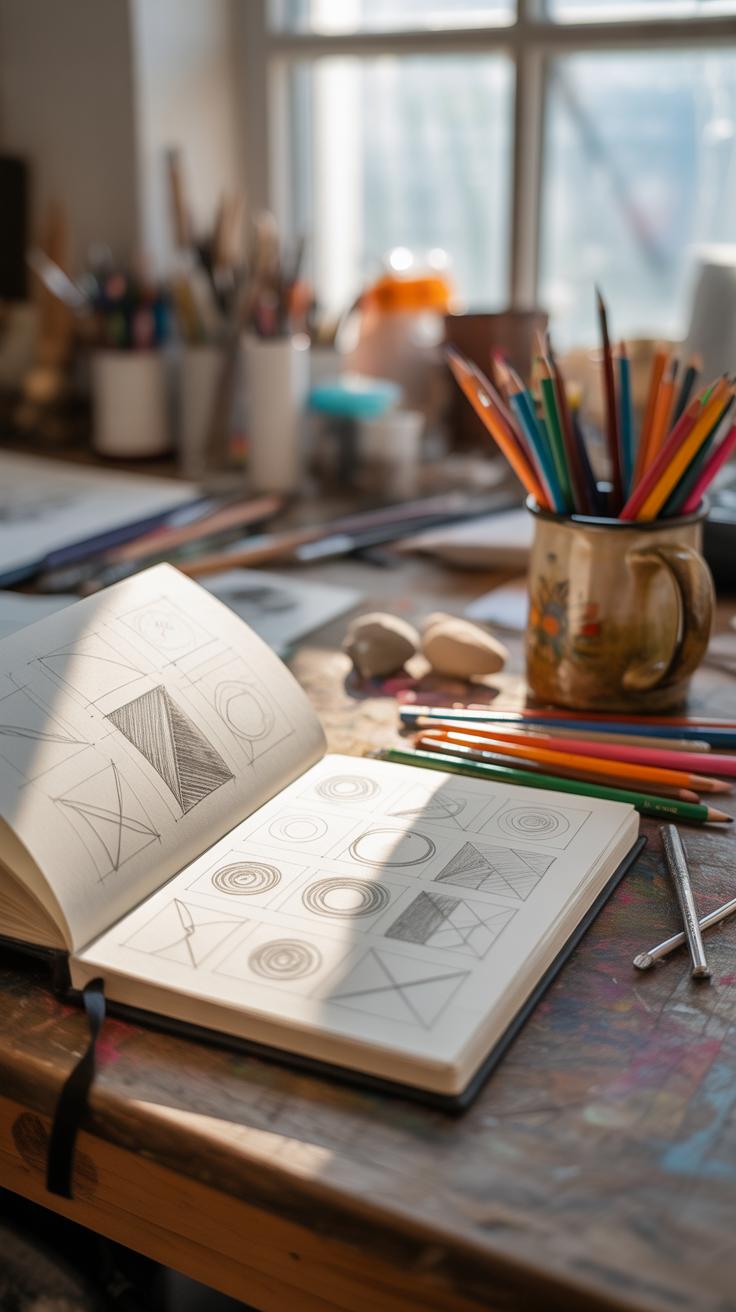
When you first look at a tree, a rock, or even a bird, it can feel overwhelming to capture all its complexity. The trick is to step back—almost literally—and see these natural forms as simple shapes. Circles, ovals, rectangles, triangles. Breaking things down this way gives you a clear framework to build on. For example, a tree trunk might start as a thick cylinder or rectangle, while the leafy canopy can begin with an irregular oval or cloud-like shape. Don’t worry if those shapes feel a bit off at first—it’s just the starting point.
Try sketching lightly and quickly, aiming to catch the overall form before zooming into details. This approach helps you focus on proportions and the relationship between elements. You might find that the branches or rock angles align with straight or curved lines you drew first. Mapping out these basic shapes helps avoid those frustrating moments when a detail is perfect but the overall sketch feels out of place.
Why not take a moment and look at your subject? Can you approximate it by just a few shapes? This way, you’re less caught up in the little things and more in the whole picture—something I find endlessly helpful, even when I rush or lose patience.
How to Simplify Complex Natural Forms
Nature rarely follows straight lines or perfect circles—yet you can often capture the essence of a branch, leaf, or animal using simple geometry. For instance, a gnarled root might look complicated but can be traced as overlapping tubes or cylinders. Leaves often fit within ovals or teardrop shapes. Animals can be broken down into spheres for joints and ovals for the torso.
This mindset doesn’t reduce the richness of your drawing; rather, it provides a scaffold that holds everything together. When tackling a busy scene—say, a cluster of foliage or a rough group of stones—identifying just a handful of shapes keeps your focus clear and prevents your sketch from turning into a messy tangle. I sometimes struggle with this, jumping straight into details, but returning to these basics always saves a sketch.
- Look for the largest shapes first, like trunks, main rocks, or body masses.
- Sketch connecting lines for branches, limbs, or veins.
- Don’t worry about accuracy—just capture the overall essence.
Isn’t it odd that such simple forms can help recreate something so complex? But they do. And they make your process less intimidating, which might be the most important part.
Why Outline First Helps in Realism
Starting with delicate, light outlines might feel slow or unnecessary, but it pays off in the long run. These faint lines allow you to test where everything fits on your page without committing. If a branch sticks out too far or a rock’s curve is off, it’s easy to erase or adjust. This stage is less about drawing and more about placing.
Once you have this structural map, adding details becomes a more confident process. You’ve already set the stage so the shapes and sizes relate naturally. It reduces frustration and helps keep your sketch grounded in realism. You avoid mistakes that could throw off the whole composition later on.
I find that when I dive straight into shading or texturing without a clear outline, my sketch often looks awkward or distorted. So I remind myself to step back and draw lightly first. It’s a habit that’s saved a lot of headaches, even when you’re in a rush or tempted to “just start.”
Techniques for Adding Depth with Shading
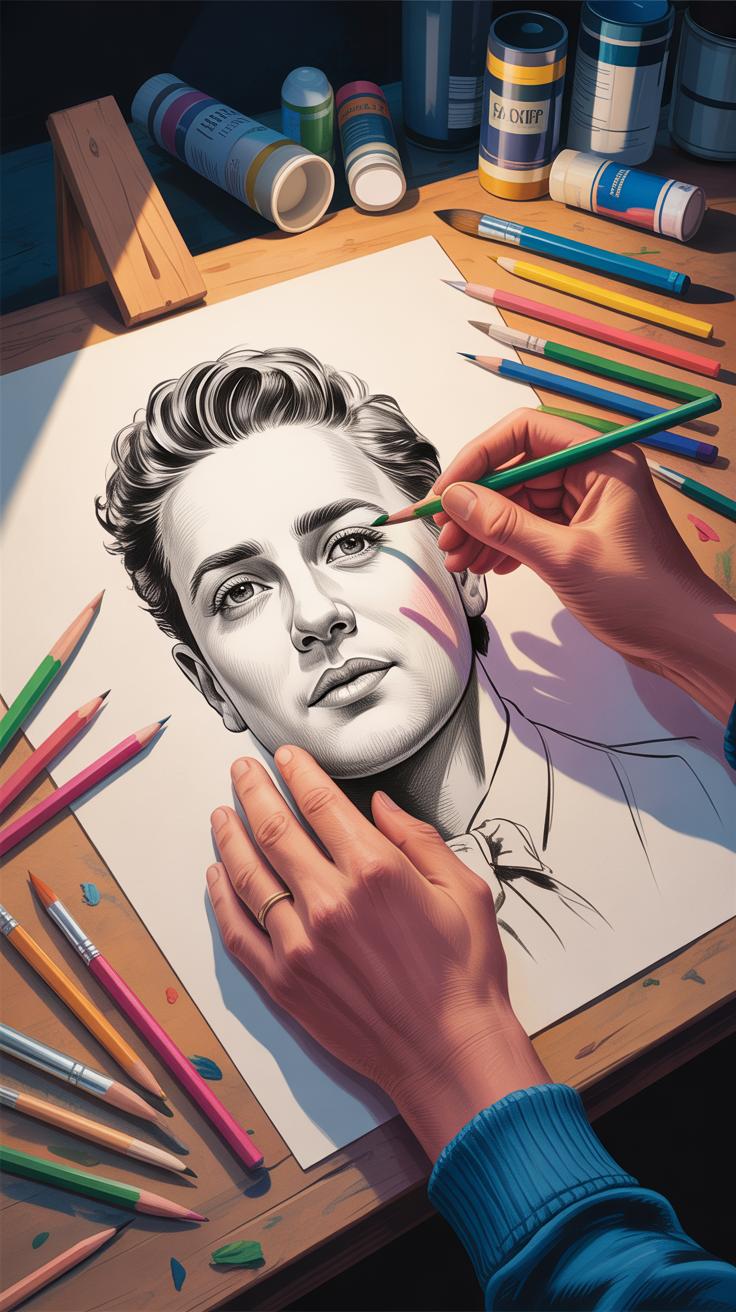
Shading changes everything in a pencil nature sketch. You’ll notice that simple lines can suddenly feel like parts of a scene with volume, weight, and presence. But how do you get there? The key lies in how you handle light and shadow.
Look at a tree, for example. If you only outline it without shading, it feels flat, almost like a cut-out. But when you add shading that follows the natural fall of light—darker on one side, lighter on the other—it starts to turn into a solid object. The same goes for rocks and water. Water might look flat unless you use shading to show reflections or ripples. Rocks need shadows in their crevices to avoid looking like mere blobs.

Try simple steps:
- Start by identifying a light source. Even if the sun is obscured, imagine where the brightest spot would be.
- Shade opposite the light source, pushing harder with the pencil for dark areas, and easing pressure where the light falls.
- Use layering—darker layers on shadows, lighter ones for mid-tones.
It’s almost like building a shape with your pencil rather than just drawing an outline. I’ve found that when shading trees, varying the touch between bark, leaves, and branches adds realism, but it’s something you’ll have to explore slowly.
Applying Light and Dark Tones Correctly
Light and dark aren’t just black and white. They’re a spectrum of tones you create by adjusting your pencil’s pressure. Pressing too hard right away might make your sketch look harsh or unnatural.
Instead, think of pressure as a dial—turn it up gently to move from light to dark. For example, leaves facing the sun get just a touch of graphite, while shadowed sides need more layers. It’s that in-between range that makes your nature sketch believable.
One method I keep coming back to is starting very lightly and gradually building up darkness. Sometimes I hesitate and wonder if a shadow is too intense, but a second look often shows it’s necessary. These decisions depend on the scene’s mood. Is it bright daylight or a cloudy afternoon? Your pencil pressure should reflect that subtlety.
Using Cross-Hatching and Blending
Cross-hatching can feel intimidating, but it’s much easier when you realize it’s just layering lines in different directions. This technique works great for bark textures or rough rocks. By varying the spacing and angle of your lines, you imitate nature’s irregular surfaces.
Blending softens these marks, turning hatch patterns into gentle shadows—useful for smooth water or soft forest shadows. Your fingers or a blending stump become tools to diffuse hard edges without erasing the details.
I’ve noticed that mixing both approaches creates interesting contrasts. Sharp cross-hatching beside smooth blended areas can make your sketch pop. If you lean more on one, the piece might feel either too rigid or overly soft. Finding that balance is almost a personal challenge each time you draw outdoors.
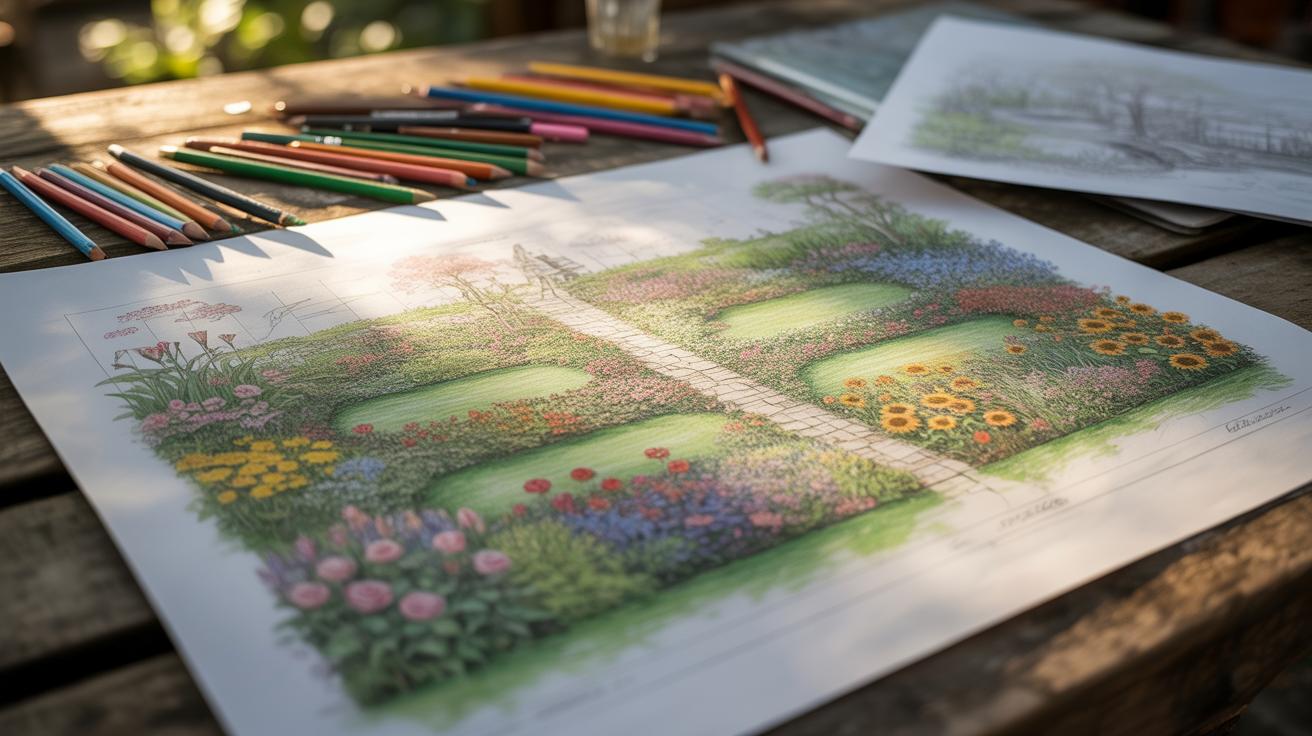
Capturing Textures Found in Nature

Textures in nature can seem tricky to capture with just a pencil, but they’re really about observing closely and translating what your eye sees into marks on paper. Think of rough bark—that uneven, cracked surface isn’t just random; it has direction, depth, and rhythm. Try using short, jagged strokes varying in pressure to mimic that roughness. Cross-hatching can help build shadows between bark ridges, while lighter, sketchier lines suggest peeling layers.
Leaves, in contrast, tend to have smoother surfaces. Soft, gentle pencil strokes that follow the leaf’s contour work well. For example, long, curved hatching with a softer touch conveys smoothness. When drawing grass, tap into fine, vertical strokes—quick and uneven—because grass blades aren’t uniform. Mixing shorter and longer strokes hints at the natural variety.
Drawing Tree Bark and Leaf Details
Start with the bark’s large shapes—blocks or plates—and lightly sketch their outlines. Use vertical or diagonal strokes that slightly overlap to give texture. Then, press harder on the pencil for deeper grooves and cracks. Don’t overwork it; the roughness needs some unpredictability. For leaf veins, draw the main vein firmly, then add thinner, lighter veins branching out with delicate, short strokes. Angle the lines to flow naturally, not too straight, else it looks artificial.
Representing Water and Sky Textures
Water often looks smooth but still has subtle ripples. Use horizontal lines that vary in thickness and spacing, blending gently with a stump or finger for softness. Avoid harsh edges; water reflects and diffuses light, so your shading must reflect that. The sky can be tricky—clouds need soft, fluffy shading, often achieved with circular, light scribbles or smudging. A mostly smooth gradient with scattered irregular marks can hint at distant clouds without detailing everything.
Avoiding Common Sketching Mistakes
When you first start sketching nature with pencils, some mistakes sneak in almost unnoticed. One early trap is overworking certain areas. You might feel tempted to keep adding lines or pressing harder, thinking it will make the texture more detailed. But actually, this often kills the natural feel, leaving your drawing looking flat or muddy instead of lively.
It’s tricky, but step back more often and resist obsessing over every detail. Sometimes less really is more. Light, confident strokes can hint at structure without overwhelming it.
Ignoring the light source is another frequent misstep. When shade and highlights don’t match where the light hits, your sketch loses depth. Try to observe carefully where the sun or moon casts shadows—matching this consistently helps shape your forms convincingly.
Finally, scale and proportion often cause headaches. Ever look at a branch and somehow draw it twice as long compared to the nearby leaves? To keep things believable, measure by comparing distances with your pencil tip or thumb. Check the size of one thing against another before putting lines down. It slows you down, sure, but the payoff is a sketch that feels real, not distorted.
These mistakes aren’t impossible to fix; they just need some patience and a bit more mindfulness in front of your paper. Have you caught yourself doing any of these yet? Trying these tips might surprise you.
StepbyStep Process for a Tree Sketch
Sketching the Outline and Branches
Start by observing your tree carefully. Don’t rush—take a moment to notice its general shape. Is it tall and narrow, or wide and sprawling? Try to capture that overall form lightly on your paper using a soft pencil, like a 2B. Use loose, gentle strokes. You want to block in the trunk first, then the main branches extending outward. Keep these lines faint; they’re guides, not final marks.
When drawing branches, focus on their direction and flow rather than every small detail. Branches rarely grow straight out—notice their angles and how they taper. The larger branches come off the trunk in uneven ways, often with some gaps. You don’t need to draw every twig now, just the main structure. This helps maintain the balance of the tree and keeps your sketch grounded.
Adding Shading and Texture to Bark
Once you have your outline, start bringing the bark to life with shading. Use the side of your pencil for broad areas and sharpened points for fine lines. Begin by identifying where the light hits the tree. Shade the opposite side with gentle, layered strokes to create depth.
To mimic bark texture, try varying your strokes—some vertical, some horizontal, some small scribbles here and there. Look closely at the bark’s surface: cracks, knots, rough patches. You might find yourself repeating certain marks, but that builds a realistic feel. Don’t worry about perfection; irregularities often add character.
For the leaves, lightly suggest their presence with dappled shading or small clusters of quick strokes. You can’t draw every leaf—it’s more about creating an impression. Step back now and then to see if your sketch holds together. Sometimes, less is more, and overworking can flatten your tree’s charm.
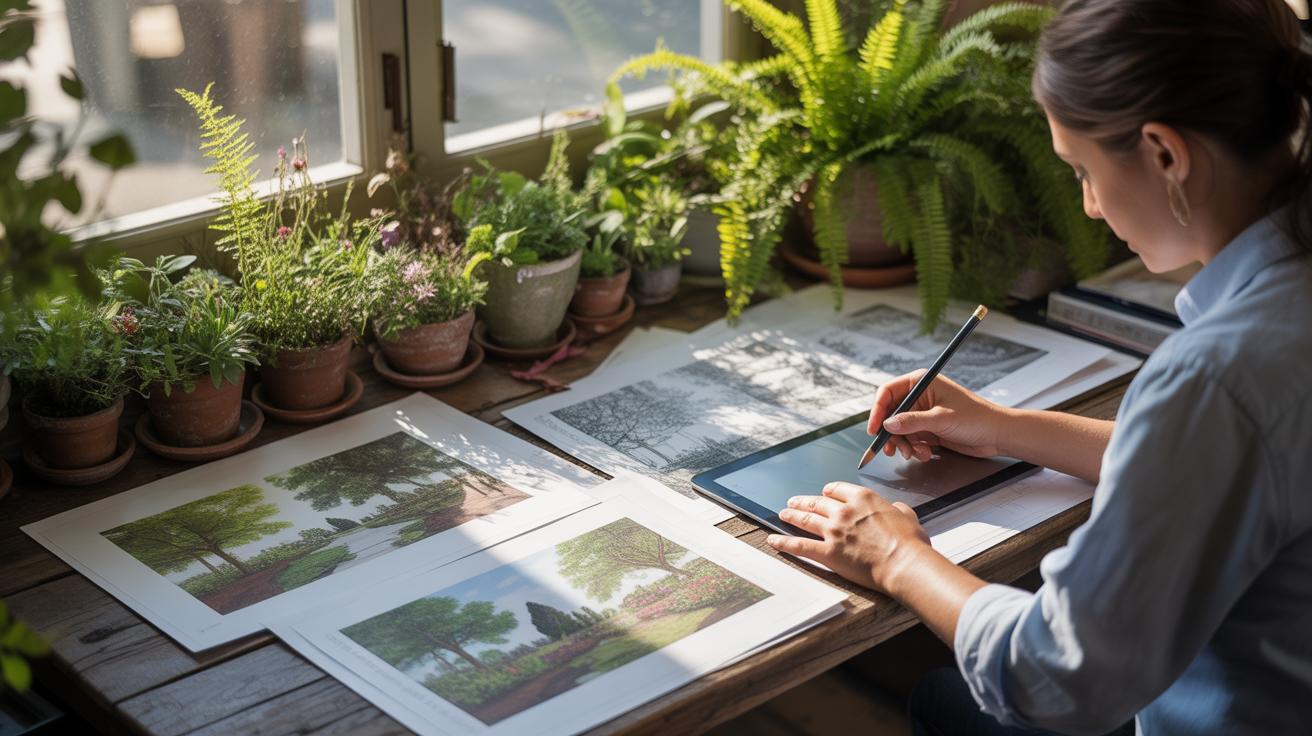
Tools and Accessories to Enhance Sketching
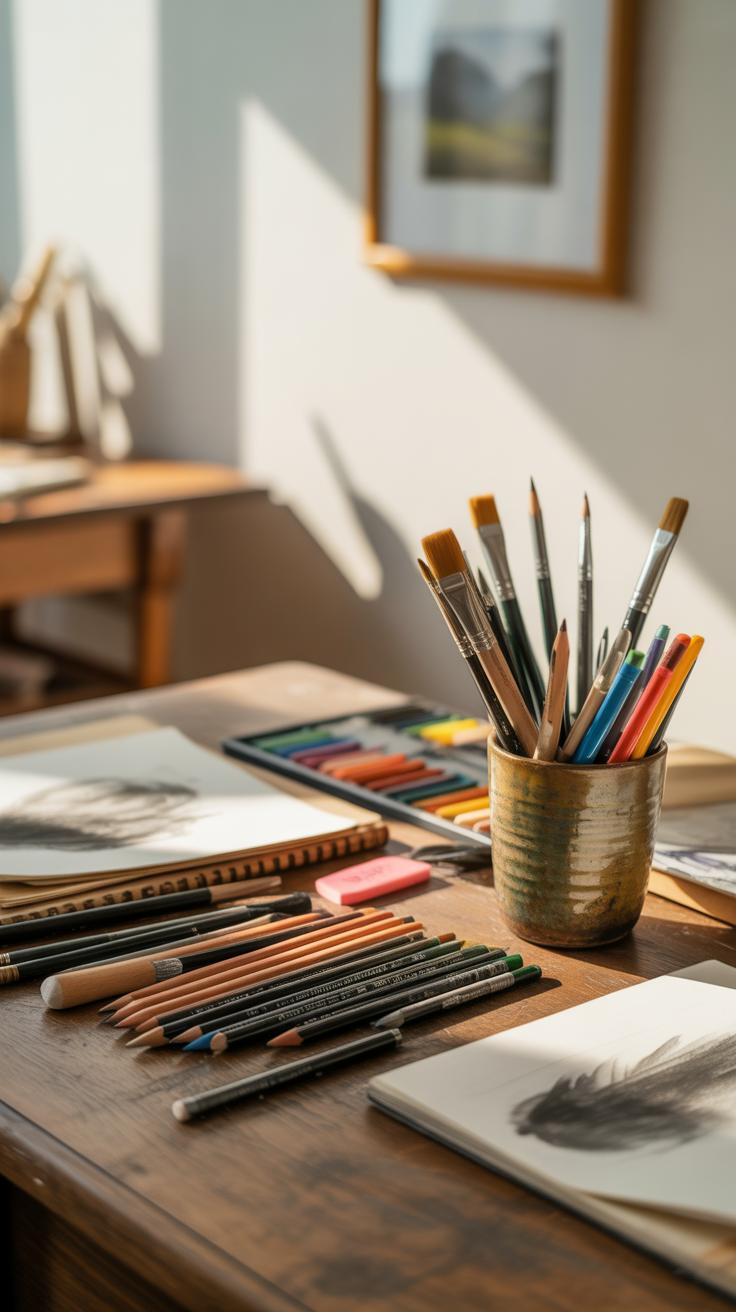
Pencils and paper get you started, but a few extras can really open up what you can do with nature sketches. Think about erasers—not just any kind, but kneaded erasers that you can shape and press lightly to lift graphite without rubbing away paper fibers. They’re fantastic for creating subtle highlights, like the shimmer on a leaf or the soft glow of distant clouds. Then there are regular rubber erasers, which work better if you just need to fix a sharper mistake or clean a dark smudge.
Sharpeners deserve some attention too. A dull pencil can kill the mood quickly. A simple, manual sharpener usually does the trick, but some artists prefer a craft knife to control the tip shape for fine details—although that takes practice. Blending sticks, like tortillons, are quiet game-changers. They let you smooth transitions or push graphite around softly, which can add a more lifelike texture, like weathered tree bark or sweeping shadows.
Now, the choice of sketch pad matters, especially if you’re taking your kit outdoors. You want paper thick enough to handle layering and some blending without tearing or bunching. Many artists prefer sketch pads with a slight tooth, somewhere around 80–100 gsm weight. The surface gives grip to the pencil but won’t fight back. Also, consider size and binding type. A spiral-bound pad lays flat, which helps when you’re balancing between sunlight and a breeze. Some like hardcovers for better support, so you can sketch even without a table. It’s a bit of trial and error, honestly. What feels right for me might not suit you, but having a lightweight, portable sketch pad definitely keeps the flow going when nature’s calling you out to draw.
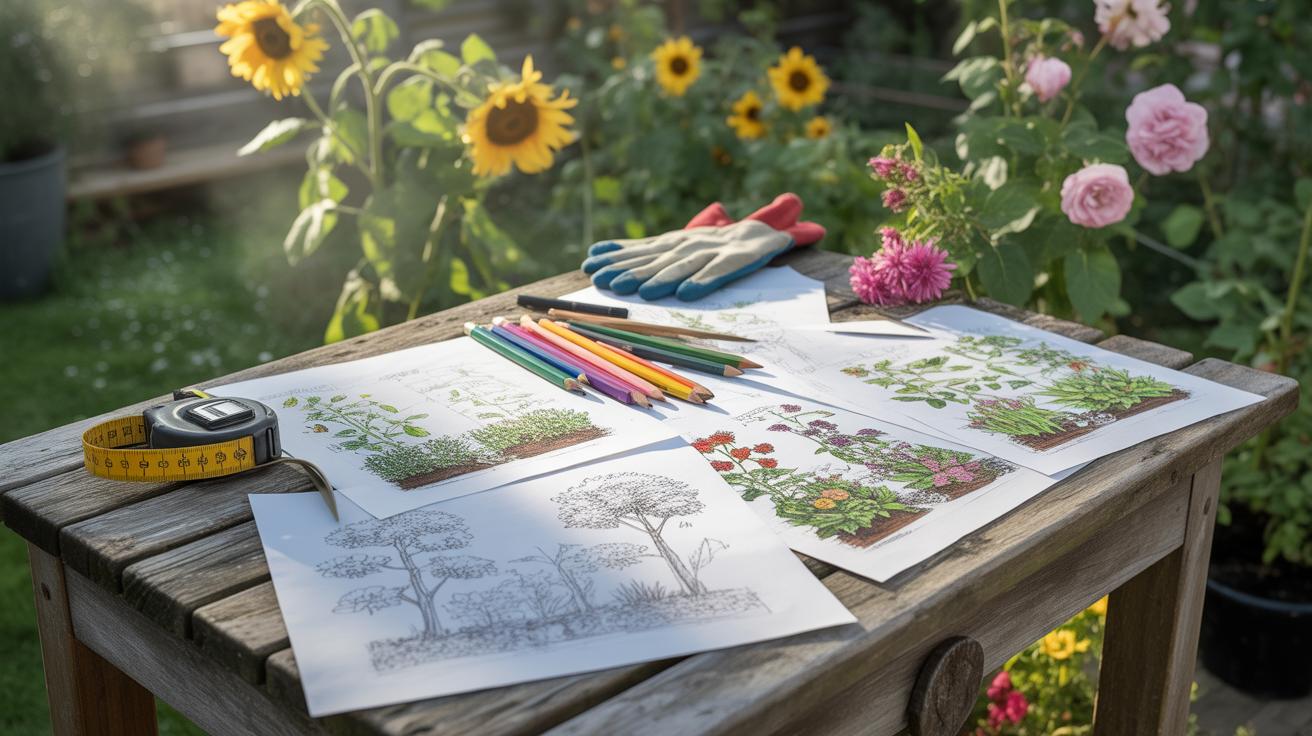
How to Practice to Improve Your Nature Sketches
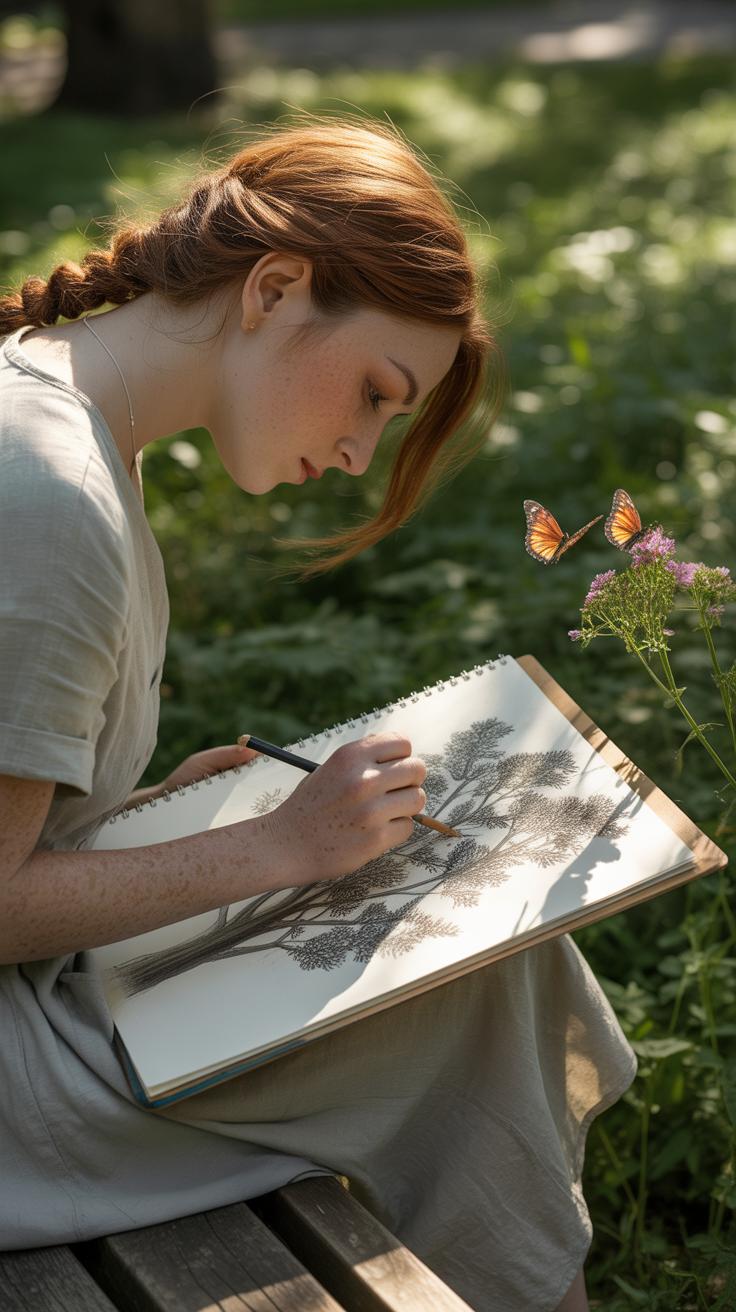
When it comes to getting better at nature sketching with pencils, the key is to practice regularly, even if only for a few minutes. Try setting aside small pockets of time each day just to observe and draw something from nature. It might be a single leaf, a flower petal, or even the texture of a stone. Frequent, focused practice trains your eye to notice subtle details and your hand to capture them more accurately.
Here are a few daily sketch ideas you can try:
- Sketch the outline and veins of different leaves.
- Draw a flower’s shape and shading from different angles.
- Observe and sketch the texture of bark or rocks.
- Focus on small insects or twigs – their shapes often surprise you.
Experimenting with various pencil strokes and shading styles can reveal new ways to express natural forms. Don’t be afraid to try loose, quick sketches alongside more detailed drawings. Mixing things up helps you find your preferred approach.
Keeping a sketchbook is hugely helpful. You might forget how your sketches looked weeks ago, but flipping back through pages shows progress over time. It also keeps you motivated. When things feel frustrating, seeing small improvements can encourage you to keep going.
So, try to sketch every day, keep a record of your work, and stay curious. What small discovery might nature help you uncover next?
Conclusions
Sketching nature with pencils lets you connect with the world around you and share that experience on paper. Using basic tools and clear methods helps your sketches look true and detailed. Your practice and care will improve your skills over time.
Keep practicing different pencil strokes and observing natural shapes. Each sketch adds to your ability. Soon you will make nature scenes that others can enjoy and appreciate for their realness.