Introduction
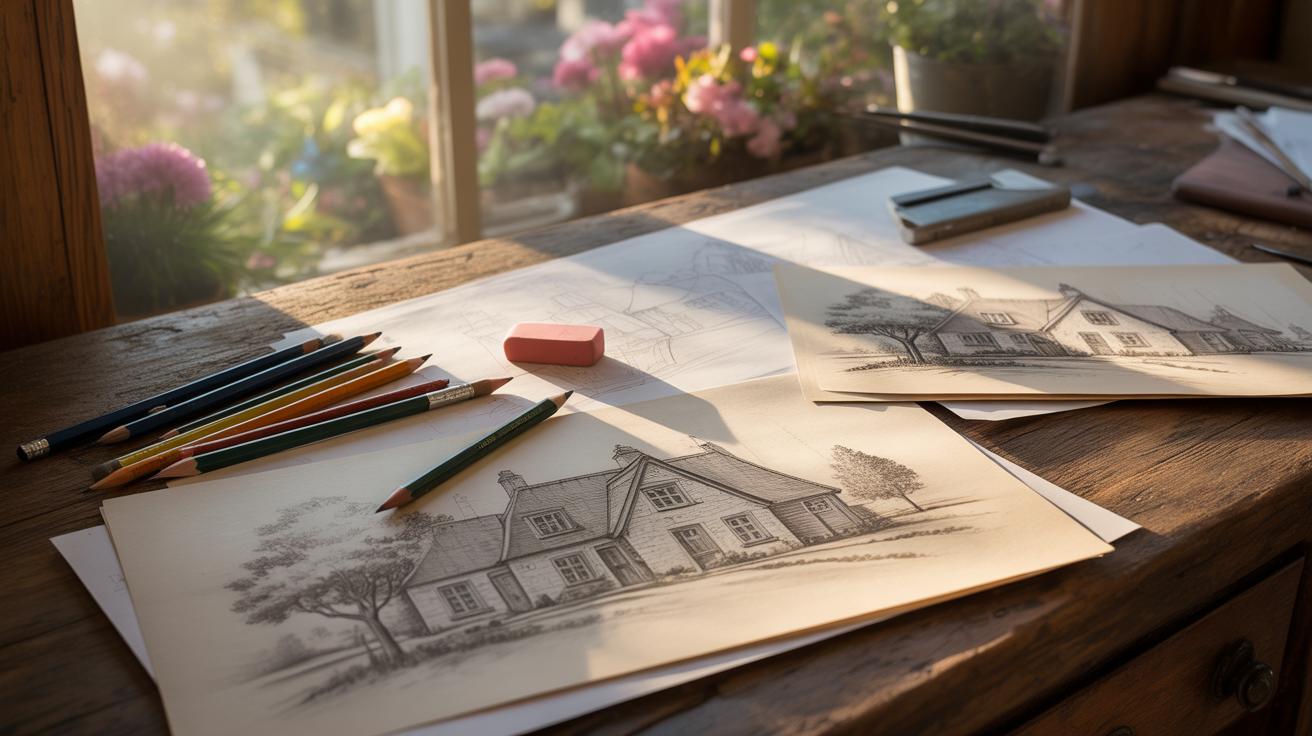
Drawing cottages can be a rewarding challenge, but certain mistakes can spoil your architectural sketches. These errors often stem from misjudging proportions, neglecting perspective rules, or missing crucial design elements. If you want your sketches to stand out, avoid these common pitfalls.
This article will guide you through the errors that most often undermine cottage drawings. It covers practical advice on how to spot and fix these issues to improve your architectural sketches. By addressing these points, you can make your artwork more accurate and appealing.
Identifying Proportion Mistakes

Why Proportions Matter in Sketches
Proportions shape how your cottage drawing feels at first glance. Even slight errors can make a cozy cottage look odd or less believable. When elements like windows, doors, or rooflines are out of scale, the whole design can seem off—almost like a miniature model rather than a real structure.
Sometimes, beginners might make walls too tall or a roof too steep without realizing it. These mistakes don’t just confuse viewers; they distort the intent behind your design. Your sketch might lose the balance that makes cottages appealing. But then, what’s the real boundary between creative freedom and proportions that break the image? That’s something to think about as you draw.
Steps to Check Proportions Early
One way to avoid these issues is to check proportions early on. Try this simple process:
- Pick key reference points—corners of the main structure, window edges, roof peaks.
- Use a pencil or ruler held at arm’s length to gauge relative distances, comparing one part against another.
- Break down the sketch area with a light grid or use imaginary lines to keep everything aligned.
- Double-check by measuring horizontally and vertically before committing to details.
When I first started, I ignored this step and ended up with windows that felt alien—too big for the walls. Slowing down and measuring made a noticeable difference, even if I still sometimes second-guess whether a porch is too wide or narrow. It’s a bit of trial and error, but tracking proportions early saves time and frustration later.
Avoiding Perspective Pitfalls

Common Perspective Errors in Cottage Drawings
When drawing cottages, perspective mistakes can easily throw off the entire look. One frequent error is placing vanishing points too close to each other or, worse, scattered randomly. This tends to twist the building awkwardly, confusing the viewer about the orientation of the walls. You might also notice inconsistent angles—where one part of the roof angles sharply, but the adjacent wall doesn’t match up. That clash tends to make the cottage feel “off,” like it could fall apart. Sometimes the problem is subtler, like forgetting that parallel lines must converge properly at a vanishing point. When they don’t, elements look flat or strangely skewed. I’ve caught myself mixing up these angles before, and it’s surprising how such small errors can undermine an otherwise tidy sketch.
Simple Perspective Techniques You Can Use
Keeping perspective in check isn’t all that complicated if you break it down. Start with one-point perspective for simple cottage fronts—draw a single vanishing point on your horizon line and make sure all lines recede toward it. This technique works best for views facing exactly forward. If you want more dynamic angles, two-point perspective is your friend. Place two vanishing points far apart on the horizon line, then watch how walls taper naturally toward each point. It’s easier if you sketch lightly at first—don’t get attached to any line until the form feels right.
Here’s a quick guide for beginners:
– Identify your horizon line—it’s where your eye level sits.
– Decide if you’re looking straight at the cottage (one-point) or at a corner (two-point).
– Place vanishing points accordingly and keep all parallel lines aiming there.
– Check each intersection; if they don’t line up, adjust gradually.
Trying these steps helps keep your cottages believable without blocking your creative flow. You might still wrestle with tricky angles sometimes, but frequent practice actually reduces those moments of doubt. Don’t rush—perspective can feel like a puzzle at first, but soon enough, it becomes second nature.
Detailing Architectural Features
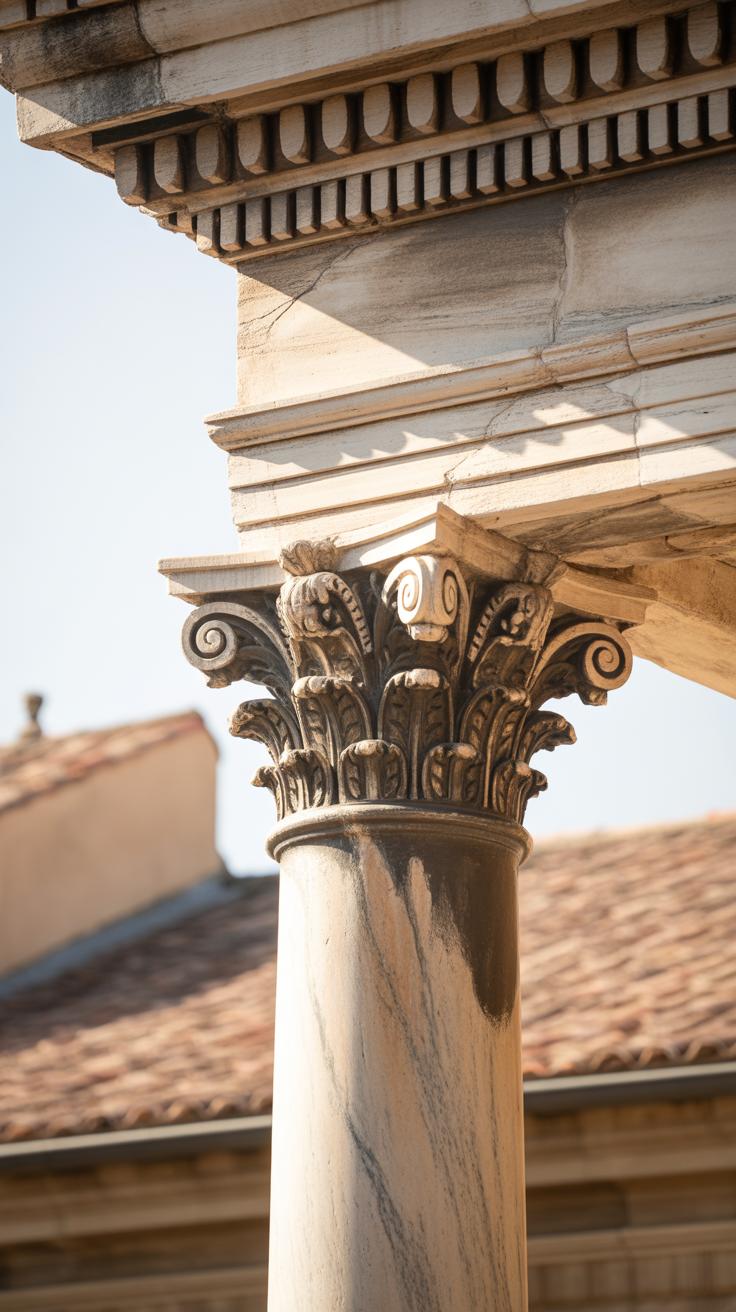
Windows, doors, and rooflines do more than just fill space; they shape the character of your cottage sketch. When you’re drawing, these features act as anchors that pull everything together. Missing a quaint multi-pane window or misjudging the slope of a roof can make your work feel generic, or worse, off. It’s easy to overlook the subtle variations in window styles—cottage sketches often call for casement or double-hung windows with divided lights. Doors aren’t just rectangles; their shape, size, and even the presence of a small porch or steps add authenticity.
Chimneys, trims, and materials play their roles, too. A chimney isn’t just a block on the roof—it often carries texture or decorative stonework. Trim details, like corner boards or window casings, can make the drawing pop and feel believable. Materials—shingles, clapboard, or stone—bring a tactile sense, though many shy away from hinting at them, fearing complexity.
Some features get missed or simplified. Chimneys often vanish or lose their texture. Trims flatten into plain lines, and roofing styles merge into a generic triangle. To avoid this, focus on these details one at a time. Ask yourself, what makes this cottage unique? Then emphasize those traits. Including them doesn’t mean overloading the sketch; it means strategically layering authenticity where it counts.
Using Sketching Tools Effectively


When you sit down to draw a cottage, the tools you choose can make a surprising difference. It’s not just about putting pencil to paper. Precision matters, especially when you want your sketch to look believable. You might think a simple ruler is enough—but there’s more to it.
Traditional Tools for Precision
Take measuring rulers, for instance. They aren’t just straight edges—they help you keep scale consistent, which often gets overlooked in cottage sketches. Then there are compasses, which can seem old-fashioned but come in handy when drawing round windows or curved roof details. And don’t forget perspective guides. Even a simple triangle ruler can help you align lines to your horizon, making the cottage feel grounded rather than floating awkwardly.
I used to skip these tools, thinking I could eyeball everything. That rarely works well. You might find yourself redrawing walls or roofs because angles didn’t match up. One small tool can save you from hours of frustration.
Digital Software for Cottage Designs
On the digital side, SketchUp often comes up as a go-to for cottage designs. It lets you build a rough 3D model before committing to details on paper. The ability to orbit around your concept reveals mistakes in proportions or perspectives you might have missed. But it’s a double-edged sword—sometimes, digital ease leads to less thoughtful sketching. You might lean too heavily on the software’s “fixes” instead of refining your hand skills.

Still, digital tools can be a huge help, especially for exploring layouts or experimenting with different angles quickly. If you’re considering trying it, keep in mind that the learning curve isn’t negligible. It’s worth playing with simpler programs first, or tutorials, before jumping into complex projects.
Tools, whether traditional or digital, aren’t just accessories. They shape how accurately and confidently you bring your cottage ideas into life. Are you relying on the right ones for your style? Maybe it’s time to rethink your sketching setup.
Checklist Before Finalizing Sketches

You’ve spent time shaping your cottage drawing, but before calling it done, it’s smart to slow down and run through a checklist. This step isn’t just about chasing perfection; it’s about catching those small errors that quietly sneak in and throw off your entire sketch. I find that a methodical approach helps, almost like a checklist on paper or in your head to ensure nothing gets overlooked.
Start with proportions and scale. Double-check your measurements against a reliable reference—floor plans, known dimensions, or even a quick mock-up with a ruler. Are the windows in realistic size compared to the door? Does the chimney match the roof height? Sometimes our eyes deceive us, so a second look or even measuring with tracing paper layered on the sketch can settle doubts. It might feel tedious, but trust me, it pays off.
Next, take a moment to confirm your perspective lines. Are the vanishing points clear and consistent? Cottage sketches often involve irregular shapes and angles—those can easily slip into awkward distortions. Trace over your perspective guidelines lightly or use a straight edge to ensure walls and rooflines follow the right paths. If something feels off, check from different angles or compare with your reference images. Missing or incomplete architectural details can make the sketch look unfinished or unrealistic. Have you included essential features like gutters, eaves, or porch railings? Even small omissions add up and break the authenticity.
The key is not to rush. You might want to push forward, but a careful review can save time and frustration later. What do you usually miss in your cottage drawings? Pinpoint that habit and watch how this checklist helps keep it in check before you finalize anything.
Comparing Cottage Drawing Styles
When sketching cottages, the approach shifts quite a bit depending on the style you’re capturing. Rustic cottages invite you to focus on rough textures and irregular shapes. Think uneven stone walls, weathered wood, and a general sense of imperfection. Your sketch here benefits from looser lines and a more tactile feel, capturing the character rather than strict accuracy.
Modern cottages, on the other hand, push you into cleaner, sharper lines. Proportions tend to be more geometric and balanced, so precision becomes key. Details often reduce to minimal elements — flat planes, large windows, and sleek roofs — so your technique changes to favor simplicity over ornamentation.
Traditional cottages demand a different mindset. These can be tricky since they blend ornament with structure — chimneys, gabled roofs, maybe decorative trims. Your drawings must balance formality with charm. Getting proportions right matters here, but there’s also room to highlight handcrafted details through deliberate shading and line weight.
Differences in Rustic vs Modern Sketches
With rustic cottage sketches, proportion might get a little relaxed. Walls don’t have to look perfectly straight, and rooflines can even feel a bit off — that’s part of the appeal. Emphasizing texture is often more important than flawless symmetry. You might spend more time on rough wood grain or stone detail, giving the piece life.
Modern cottages demand tighter control over proportion. Even small inaccuracies stand out because of the style’s simplicity. Details shrink, so the drawing has to convey a lot with less. I find myself focusing more on clean edges and accurate perspective, letting light and shadow do the work rather than ornate patterns.
Matching Style With Architectural Details
Adapting your sketch to fit architectural details means paying attention to what makes each style tick. For rustic cottages, hint at exposed beams, uneven siding, or aged masonry by varying line thickness and shading density. Don’t be too neat — these old cottages almost invite a touch of roughness.
In modern cottage drawings, highlight details like window frames and door designs with crisp, uniform lines. Use less crosshatching and more flat shading to keep the look sleek. Traditional cottages need a middle ground — you want clean forms, but don’t erase the personality of architectural flourishes. Try mixing careful line work with softer textures for authenticity.
What details grab your eye most in a cottage? Are you drawn more to the imperfections or the precise construction? Thinking about those little elements helps steer how your sketch comes together — and defines whether it feels right for the style or not.
Fixing Common Sketching Mistakes


When you spot errors in your cottage drawing, it’s tempting to toss the sketch and start fresh. But, that’s not always necessary. There are ways to patch things up that save time and often make the drawing even clearer. For example, if proportions seem off, try measuring segments relative to one another on the paper itself—use your pencil or a ruler to compare parts. This way, you can tweak walls or windows without erasing the entire thing.
Sometimes, it helps to step back and squint at your work. This changes your perspective, highlighting which lines feel too long or too short. You can then adjust these parts lightly with an eraser or deepen the darker lines to emphasize corrected edges. Don’t be afraid to redraw elements over light sketches; layering can improve clarity.
Also, when perspective lines look skewed, use a ruler to redraw or extend them to the intended vanishing points. If the lines don’t seem to meet properly, erase just the conflicting segments and realign them carefully. Starting over isn’t always needed—small corrections often restore balance. And maybe it’s not perfect, but it moves the sketch forward.
Have you tried flipping the paper upside down or looking at your sketch in a mirror? It’s a bit odd but reveals hidden mistakes and helps realign your approach. Sometimes, these simple tricks can make the difference between a confusing sketch and one that reads well.
Incorporating Natural Elements

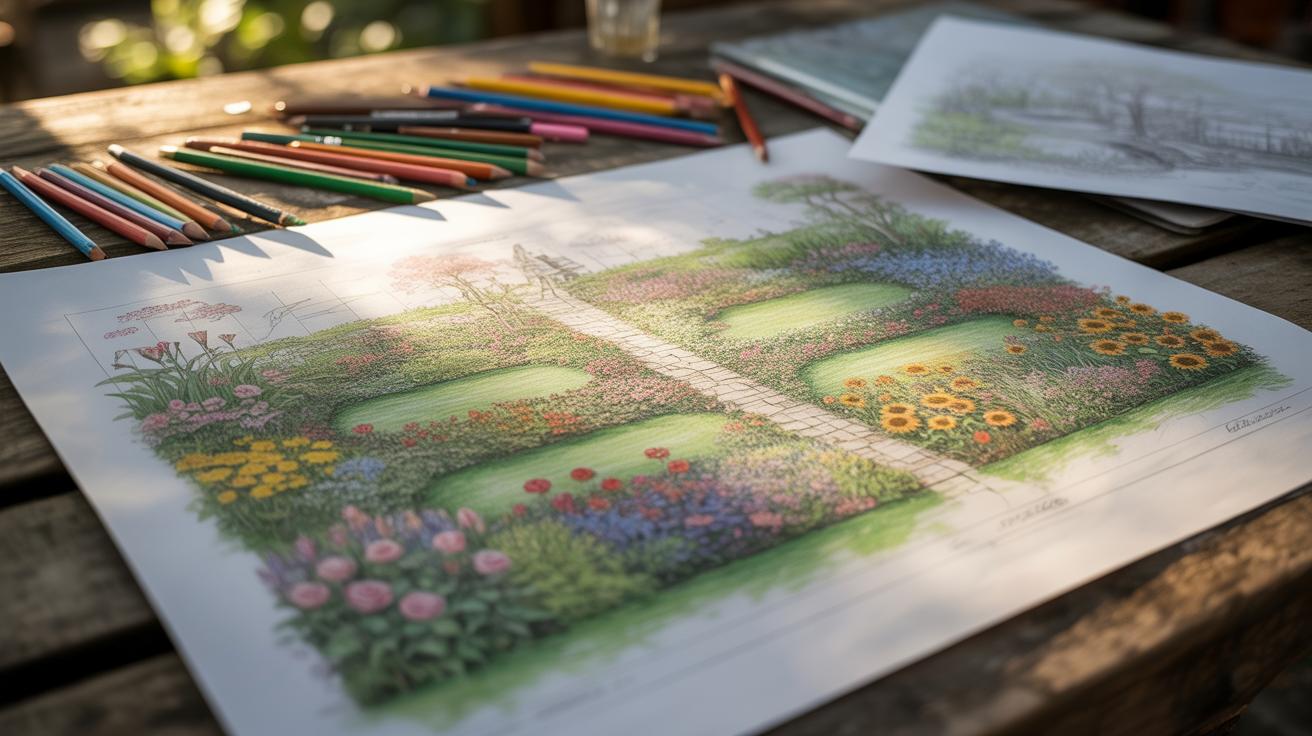
Adding trees, shrubs, and shaping the terrain in your cottage drawings does more than just fill empty space. It gives the scene context and can make the cottage feel settled within its environment, not like it’s just placed there arbitrarily. When you include natural elements, you’re hinting at how the cottage interacts with its surroundings, which helps viewers understand scale and atmosphere better.
To include these features effectively, start by observing how real plants grow near cottages—sometimes wild, other times trimmed—and how the ground isn’t always flat. Try sketching simple shapes first, like loose ovals or rough outlines, to block in where trees and shrubs go without over-detailing early on. Adding subtle slopes or small mounds can suggest a gently rolling site, which most cottages do have.
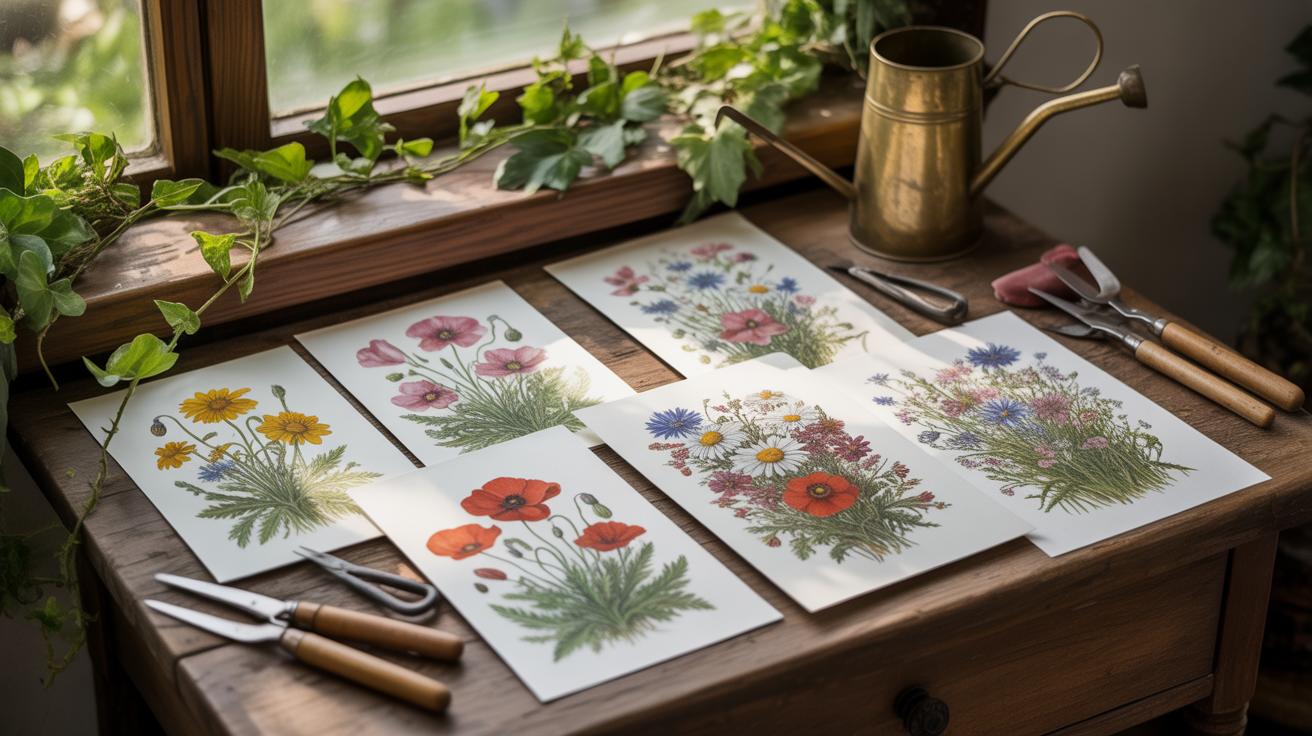
Drawing Plants to Complement Architecture
Sketching plants can feel tricky because nature is irregular and unpredictable. But you don’t need photo-realistic details—just a few strokes hinting at leaves or branches works well. Pay attention to the direction of your lines; for example, upwards pointing lines can imply tall pines, while softer, rounded shapes might represent bushes. This contrast in shapes can highlight the cottage’s rigid lines.
I’ve found myself sometimes overworking the trees, and the drawing loses its focal point. So, keeping the greenery lighter and less detailed than the cottage often helps the building stand out, while still feeling grounded in its setting.
Balancing Building and Landscape Elements
It’s easy to get carried away with landscapes and accidentally make them compete with the cottage for attention. You want the cottage to be the star. One way to keep balance is by controlling contrast—darker, sharper lines on the cottage and lighter, less defined strokes for the natural parts.
Think about framing the cottage with plants rather than overpowering it. For example: a cluster of bushes tucked to one side or a single tree in the background can add depth without crowding. This keeps your sketch visually interesting but keeps your eye coming back to the cottage itself.
Evaluating Your Sketches Objectively

Looking at your cottage drawing feels personal—you’ve put time and energy into it. But stepping back and judging it with some distance can be tricky. You want to catch mistakes, sure, but without being too harsh or missing details because you’re too familiar. Developing a mindset that separates you from the drawing—even just a little—is key to improving.
Ask yourself questions like:
- Are the proportions consistent? Does the door look too wide compared to the windows?
- Is the perspective believable? Do the roof lines meet logically or seem off?
- Have I included enough detail to give dimension without cluttering the sketch?
- Does the scale feel right when I compare parts of the cottage to each other?
Sometimes, I catch myself focusing so much on tiny details that I miss the bigger structure feeling off. You might too. So it helps to zoom out, literally or mentally, and ask these questions.
Set one or two clear goals for each sketch. Maybe today you want to focus on getting the rooflines accurate, or maybe the windows’ proportions. Pinpointing what needs attention gives your next drawing a purpose beyond “just drawing.” It helps measure progress—then you can say, yes, that’s improved, or no, I still struggle here.
But remember, progress isn’t always linear. You’ll find some sketches better than others. That’s okay. Just keep the habit of honest, focused evaluation and keep pushing those goals forward.
Conclusions
Recognizing and correcting cottage drawing mistakes can significantly improve your architectural sketches. Paying attention to scale, perspective, and details ensures your drawings communicate the intended design clearly. Each step you take toward accuracy strengthens your skills.
Focus on practicing the tips offered here. Experiment with measurements, check your perspective carefully, and study design components. These simple actions help you create effective, professional-looking cottage drawings that accurately reflect your vision.