Introduction
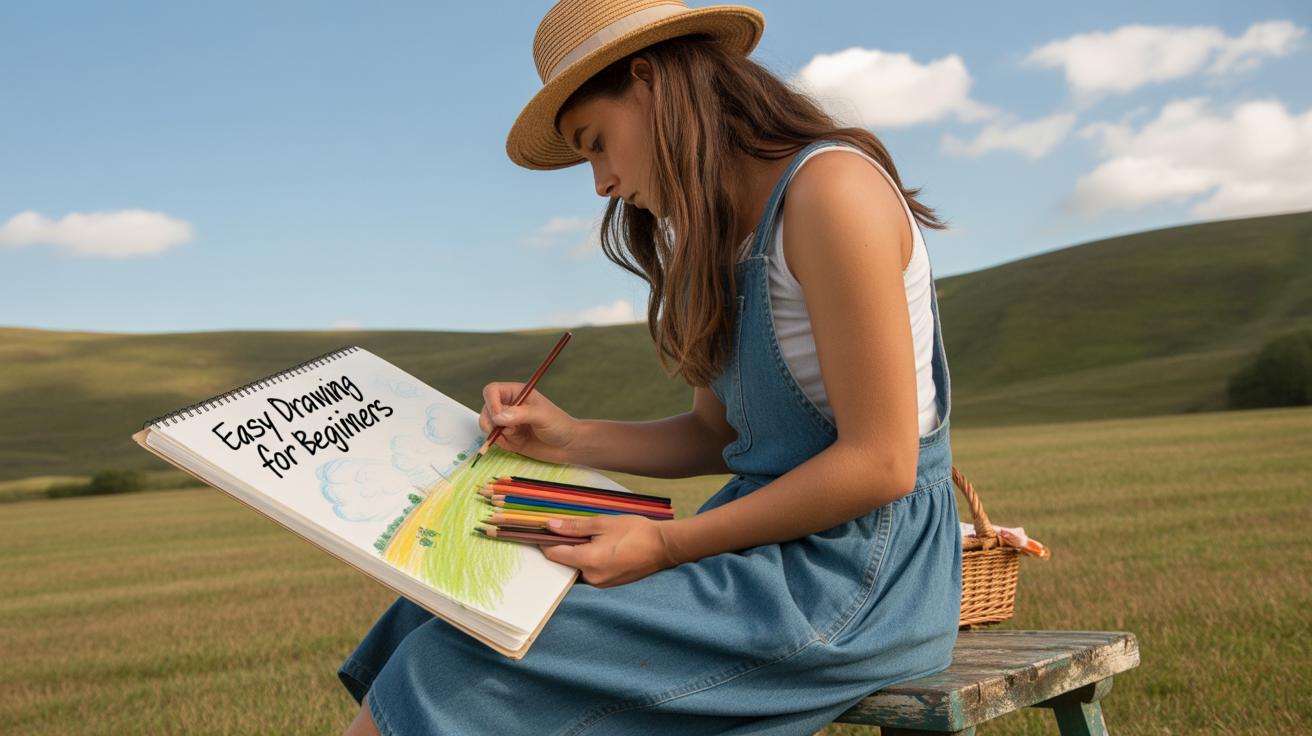
Quick Landscape Drawing Easy Methods for Beginners in 2024 can help you create beautiful outdoor images without complex skills or expensive supplies. This article shows straightforward ways to start drawing landscapes today. You don’t need to be an expert; just follow simple steps and see your skills improve.
We will cover what materials you need, basic techniques, common mistakes to avoid, and easy exercises to build your confidence. By the end, you’ll know how to capture the shapes and moods of nature quickly and clearly. Let’s get started with easy drawings of trees, hills, and more.
Choosing Your Drawing Tools
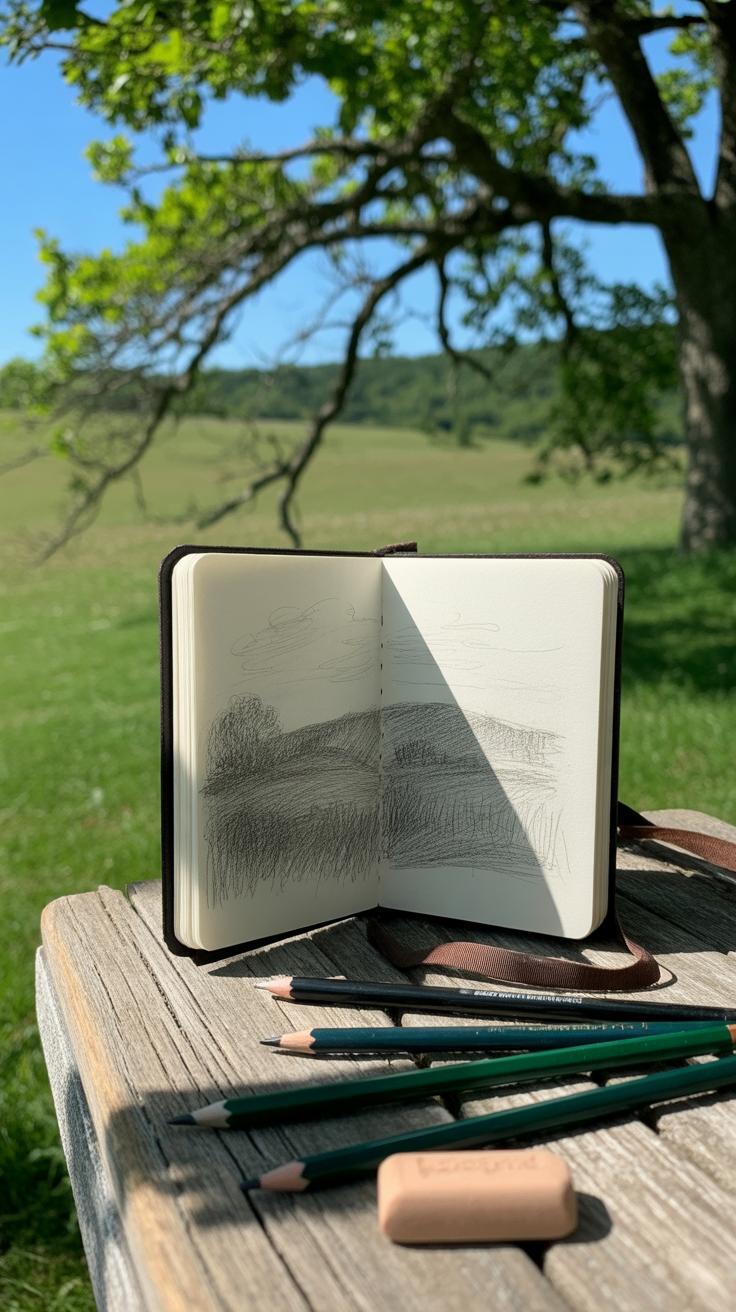
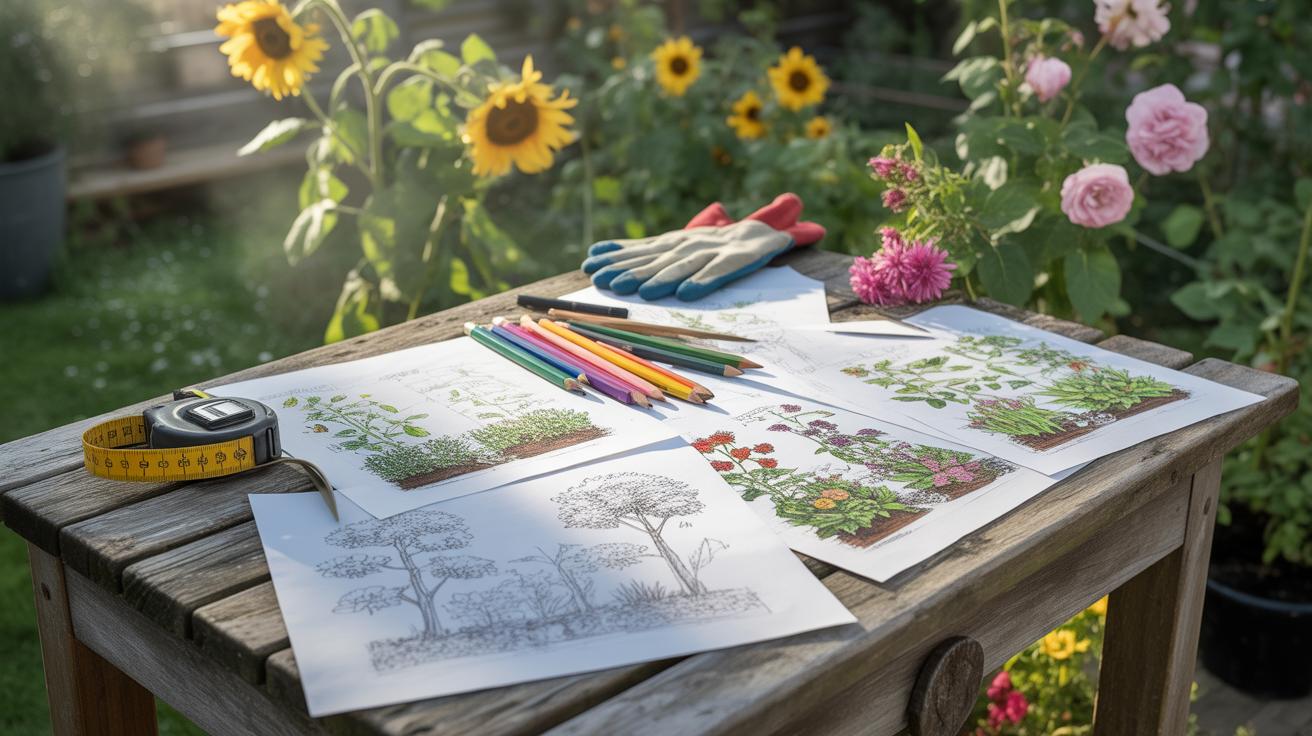
When you’re starting out with quick outdoor drawings, you don’t need a fancy kit. Simple tools often do the trick best. Think about pencils, paper, and erasers as your essentials. A few colored pencils can be a nice addition, but never feel like you must have them to create something worthwhile.
Pencils come in different grades, and each serves a purpose. For outdoor sketching, an HB pencil works well for clear outlines. A softer pencil, like 2B, helps with shading and adding depth. If you hold your pencil closer to the tip, you get more control for details. Holding it further back gives a looser, more expressive line. It’s easy to experiment here and find what feels right.
Paper is surprisingly important. Beginners often choose sketchbooks or loose sheets. The texture matters—something too smooth won’t hold graphite well, while overly rough paper can be hard to draw on quickly. The size? Something portable, maybe 9×12 inches, so you can carry it without fuss. These choices make your quick sketches less of a hassle.
An eraser isn’t just for mistakes. Kneaded erasers can lighten areas subtly and adjust tones without ruining the paper. That little tool is underrated in quick sketching.
Colored pencils are optional but useful if you want to add hints of color without carrying paints. They’re lightweight and easy to use. But honestly, sticking to pencil can help you focus on shapes and shadows first. Sometimes adding color early on complicates things, especially when outdoors and you want to keep it simple and fast.
Basic Shapes to Simplify Scenes

When you look at a complicated view, it’s easy to feel overwhelmed by all the details. But here’s a trick that really helps: break the scene down into simple shapes. Think circles, squares, triangles. These shapes act like building blocks. Instead of trying to draw every leaf or rock, just capture the core shapes first. It’s not about perfection, just about seeing the scene more clearly.
This method speeds up your drawing because your brain doesn’t get stuck on tiny details. You sketch faster. Think of a mountain as a triangle or a series of overlapping triangles. A tree? Its foliage might be a circle or an oval, its trunk a rectangle or two. This approach also makes it easier to adjust proportions since you’re working with clear, basic forms.
Maybe you’ll find yourself surprised by the way this “shape filter” changes what you notice outdoors. Suddenly those complex views feel manageable, almost inviting. And even if your final drawing isn’t perfect, you’ll have a solid, confident outline to build on. It’s a simple step, but it makes a big difference for beginners.
Identifying Shapes in Trees and Mountains
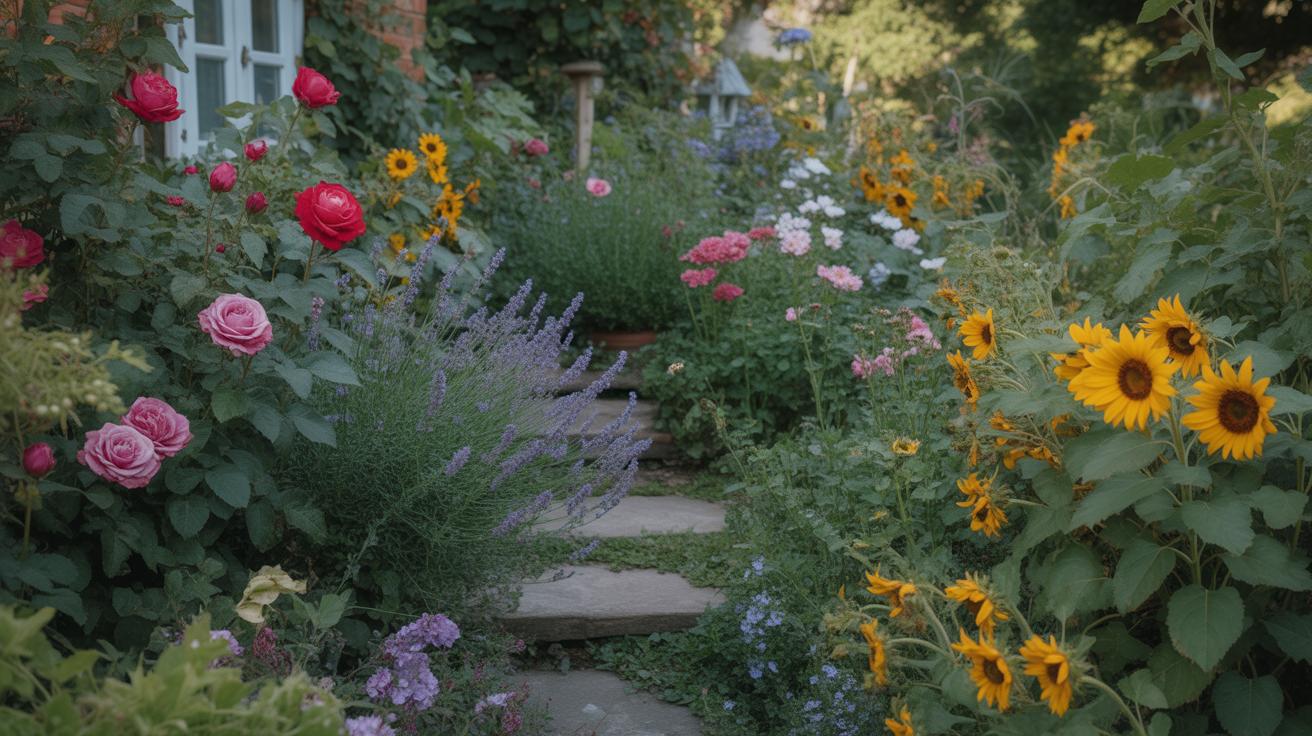
Look around at the trees and hills near you. Can you spot a triangle in a mountain peak? Or maybe the rounded canopies of trees fit into circles or ovals. Don’t worry if it feels a bit abstract. The goal isn’t to be exact but to capture the essence of what you see quickly.
For example, a pine tree often looks like a combination of stacked triangles. A broad oak tree might start as a wide oval for the leaves and a narrow rectangle for the trunk. Mountains often sit in groups of triangles or trapezoids. See these shapes as your framework—you’re laying down the skeleton of your scene.
This way, your eye gets trained to spot these forms naturally over time. When you’re outside with your sketchbook, you’ll draw faster because you won’t get stuck trying to replicate every detail right away. This is a subtle but handy shift, turning challenges into manageable chunks.
Practice Exercises for Shape Recognition
Try this next time you’re near a park or just looking through photos. Pick a simple subject—maybe a tree, a hill, or a cluster of bushes. Don’t dive into details. Instead, sketch the basic shapes you see:
- Draw just the main circles, triangles, and squares that form your subject’s outline.
- Set a timer for 5 minutes and quickly map out these shapes before adding anything else.
- Flip through photos of outdoor scenes and challenge yourself to find the shape patterns in each one.
- Compare your sketches to the real objects. Notice where you got close and where your brain added little twists.
This exercise might feel odd at first since we tend to rush toward details. But it sharpens your ability to see the underlying structure. That’s what really helps you draw more quickly and confidently when outdoors.
Quick Line Techniques to Capture Scenes

When you’re out sketching, speed matters. You want to capture the essence without getting tied up in too many details. Simple line techniques help you do that—things like contour, hatching, and gesture lines can quickly suggest what you see without overthinking. It’s not about perfection here, really, more about catching the feeling of the scene before it changes. Your lines don’t have to be neat or final; they just need to point to shapes and textures.
Gesture lines are your first handshake with the scene—swift, loose strokes that show movement and general form. Then, contour lines step in with smooth, continuous strokes that outline major elements—think hills, tree trunks, or building edges. Don’t worry if your line wobbles; it’s often more expressive when it does.

When you want to add some volume or texture, hatching works well. Short, parallel lines can suggest shadows or rough bark. You don’t need to be consistent; vary the spacing and direction a bit. Sometimes, the interplay of contour and hatching tells more than neat shading ever could.
Try pausing for a moment and ask yourself: what’s the main shape here? What’s texture saying about this spot? Lines become your shorthand for these questions. It’s quick, sometimes messy, but it gets you closer to the scene every time.
Using Contour Lines for Outlines
Contour lines are about capturing the outside edges of what you see. Imagine tracing the forms as if your pencil is following the object’s skin. These lines tend to be smooth and continuous, which helps lock in the form’s shape fast. For instance, when drawing a tree, you might follow the curve of one branch to the next, letting your pencil run without stopping.
You might notice that contour lines don’t need to reveal every detail. Skipping small branches or leaves can sometimes improve the drawing by focusing attention on the main shapes. And don’t get stuck on making these lines perfect or uniform—they’re often best when they’re a bit loose or varied in weight.
When sketching outdoors, patience often gives away to quick observation. Your contour lines become your map. They should flow smoothly but also reflect the irregularities you see, like a bumpy rock or a waving grass blade. So, how confident can your line be? Maybe less than you think—and that’s okay.
Adding Texture with Hatching Lines
Hatching is a simple way to add texture and some depth without fussing over full shading. By layering short, parallel strokes, you can hint at roughness, shadow, or even the grain of wood. The trick is in the direction and density of these lines. Close, dark hatching might describe a deep shadow under a bush, while lighter, spaced-out lines suggest sunlit grass.

It’s tempting to try to hatch everything evenly, but that usually flattens the scene. Instead, be attentive—where does the surface feel rough? Where is it smooth? For example, tree bark might have a different hatching pattern than a calm pond surface. Use that variety to give your drawing a sense of life.
Don’t overthink. Sometimes, hatching works best when it looks a bit random or choppy, especially on natural surfaces. It keeps the drawing lively. You might find your own rhythm with it after drawing a few trees or rocks. And when in doubt, less can be more.
Color Pencil Basics for Beginners

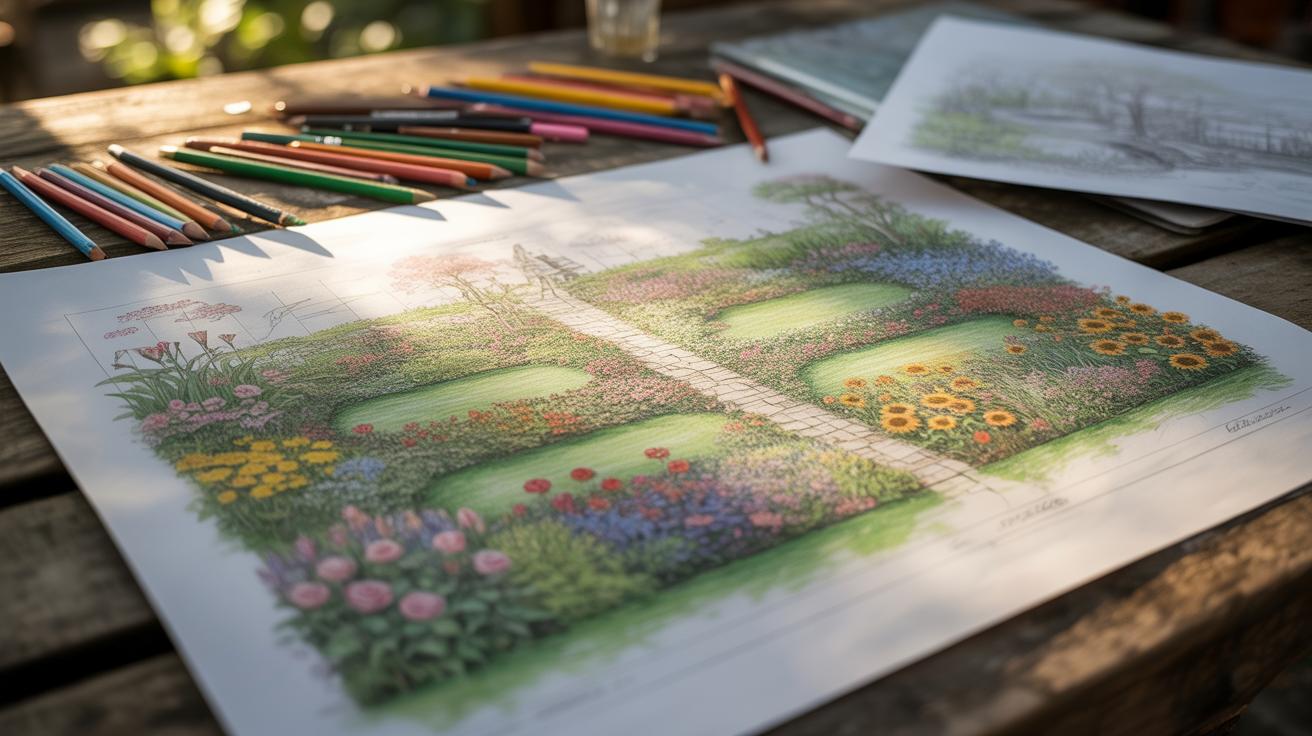
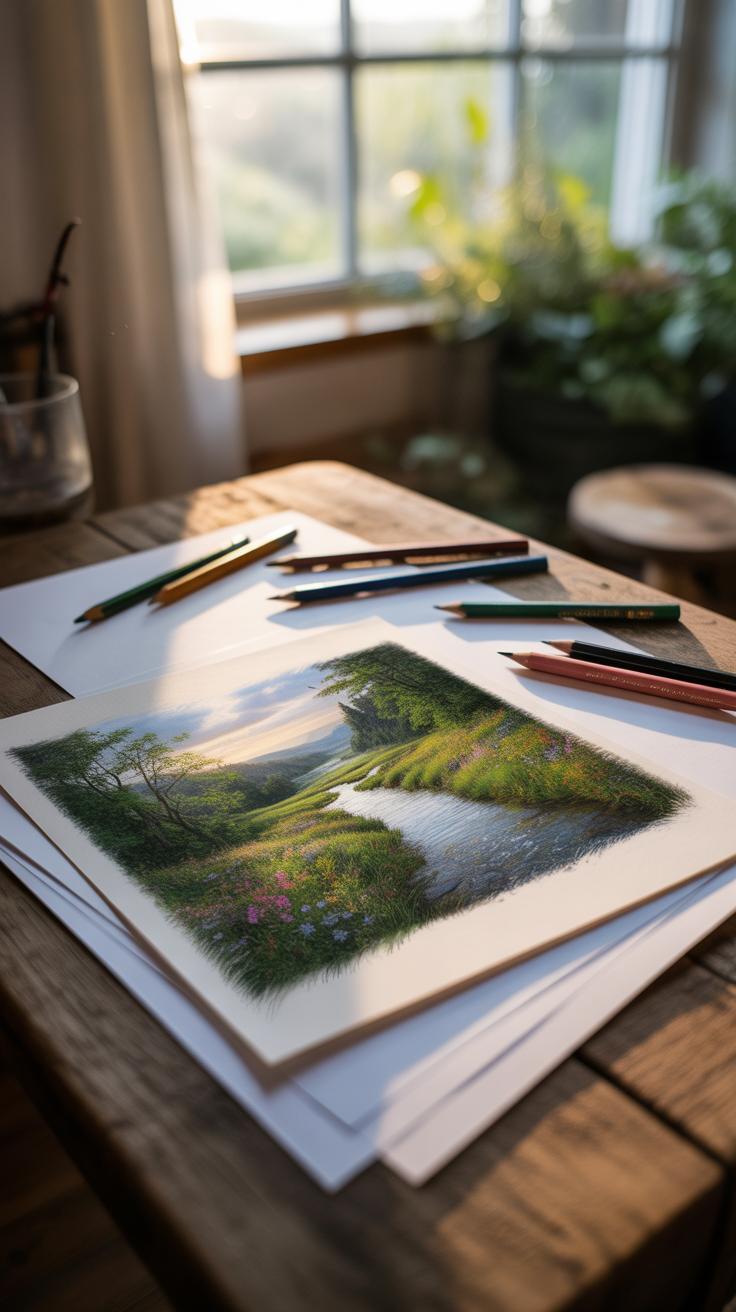
Adding color to your drawings might feel tricky at first, but with colored pencils, you can keep it simple and still get good results. To start, think about layering light shades rather than pressing hard right away. This helps you build up color gradually, avoiding harsh or uneven spots. It’s almost like you’re painting with pencils, just without the mess.
When picking colors for natural elements—like the sky, grass, or trees—stick to a limited palette. For example:
- Light blues and soft grays for the sky
- Different greens from yellow-green to darker tones for grass
- A mix of greens and browns for trees, with sometimes a touch of orange or red if leaves catch the light
You might find yourself wondering just how many colors you need. The truth? Not that many. Sometimes two or three hues layered can create enough depth for a convincing look.
Blending is another piece that beginners often worry about. You don’t need fancy tools like blending stumps or solvents to smooth out color transitions. Try rubbing one color lightly over another with small circles or gentle back-and-forth strokes. Or press softer a bit more, then harder, on top to merge the layers. This manual approach takes a bit of patience but offers better control. A simple finger or a piece of tissue can help too, but be careful not to smudge your drawing randomly.
With these basics, most of what you add will feel natural, even if it’s your first time coloring outdoors. And isn’t that what matters? That your colors feel right enough, even if not perfect.
Common Mistakes to Avoid

When you start drawing outdoors, several pitfalls tend to trip up beginners. One common mistake is struggling with proportions. It’s easy to get caught up in the details of a tree or rock without thinking about how they relate in size to other elements around them. You might find the tree looking huge compared to a distant hill, which breaks the sense of realism. A simple way to handle this is to use your pencil or finger as a measuring tool, comparing one object’s size to another before committing it to paper.
Over-detailing is another frequent issue. Many of us want the sketch to be perfect right away, so we dive into tiny leaves or textures. But adding too many details too soon can make the drawing feel cluttered and tired. It’s better to build up in layers, starting simple and refining later. Trust me, keeping your marks light and loose at first helps keep the energy alive.
Perspective errors can sneak in quietly, especially with things like roads, fences, or rows of trees. Lines don’t always vanish where you expect, and the scene can end up looking flat or warped. Try lightly sketching your horizon and vanishing points early on; this might feel a bit technical, but it gives a solid framework that prevents those distortions.
One hesitation I’ve noticed among beginners is fearing mistakes. Drawing outdoors means a less controlled environment, but mistakes are part of the process. Check your proportions often, resist the urge to detail too early, and keep perspective lines in mind. With these, you’ll find your sketches feeling more balanced and believable, even if you’re still finding your footing.
StepbyStep Landscape Drawing Example
Starting with a Light Sketch
First, find your scene and decide on the main shapes you want to include. Don’t worry about details yet—just focus on simple forms like hills, trees, or buildings. Use a soft pencil and sketch very lightly so you can erase or adjust without much effort.
Think about the composition. Where does the horizon sit? Are there large shapes in the foreground or the background? Lay down these big blocks first, roughly outlining their placements. It helps to keep your hand loose. I sometimes find myself getting too caught up in small bits early on—it only slows things down.
The goal here is to capture the basic structure of your scene. No shading, no textures yet. Just gentle lines marking where things live on your page. You might erase and redraw a few times—that’s part of the process.
Building Up Details and Texture
Once you have your basic shapes, start adding details one step at a time. Pick one area—perhaps a tree or a patch of grass—and slowly develop it using lines and light shading. Avoid rushing to fill the whole page; focusing on small sections can prevent overwhelm.
Use different line weights to suggest distance and texture. Thin, faint lines for far-off objects. Heavier, darker lines for closer forms. For shading, try gentle cross-hatching or small scribbles. This creates a sense of texture without overwhelming the sketch.
Don’t feel pressured to get every leaf or blade of grass perfect. Sometimes less is more. Suggest patterns, not exact copies. It’s okay if some details remain vague—that can add to the natural feel.
As you work, step back occasionally to look at the overall balance. Does something stand out too much? Or does the scene feel empty in spots? Adjust lines or shading to guide the viewer’s eye through your drawing.
Finally, add finishing touches like subtle shadows or small highlights to give depth. This might be as simple as darkening one side of a rock or brightening a patch of sky. These little decisions bring the scene closer to life, even in a simple sketch.
Daily Drawing Practice Routine

Quick 10-Minute Sketch Sessions
Spending just 10 minutes a day sketching outdoors can do more for your drawing skills than you might expect. These short bursts force you to focus, capturing the essentials instead of getting lost in details. It’s easy to fit this into even the busiest days, which helps keep you consistent. Some days you might rush a bit, other days you’ll find yourself lingering—both are okay.
Try sketching different parts of the scene—for example, start with the sky one day, then a tree or a building the next. This variety keeps things fresh and nudges you to pay attention to new details. Don’t worry about creating a perfect image every time; the goal is progress, not perfection. Plus, knowing the session will be short often pushes you to be bolder with your lines and shapes.
Reviewing and Learning from Your Sketches
Looking back at your sketches is where a lot of learning happens. It’s tempting to just toss “unfinished” or “messy” drawings aside, but those roughest attempts often hold the clues you need. After a week or two, scan through them and ask yourself: What felt difficult? Which sketches feel more “alive”? Where do proportions go off? This reflection helps spot habits creeping in or details you might overlook.
Keep a simple log or notes beside your sketches. Write down moments when you enjoyed drawing or moments you struggled. Over time, these notes become surprisingly useful, like a cheat sheet for remembering what to work on next. You might even see patterns—maybe certain subjects are easier or harder, or times of day change how you capture light. It’s all valuable feedback for your artistic eye to grow.
Using Photos vs Drawing Outdoors
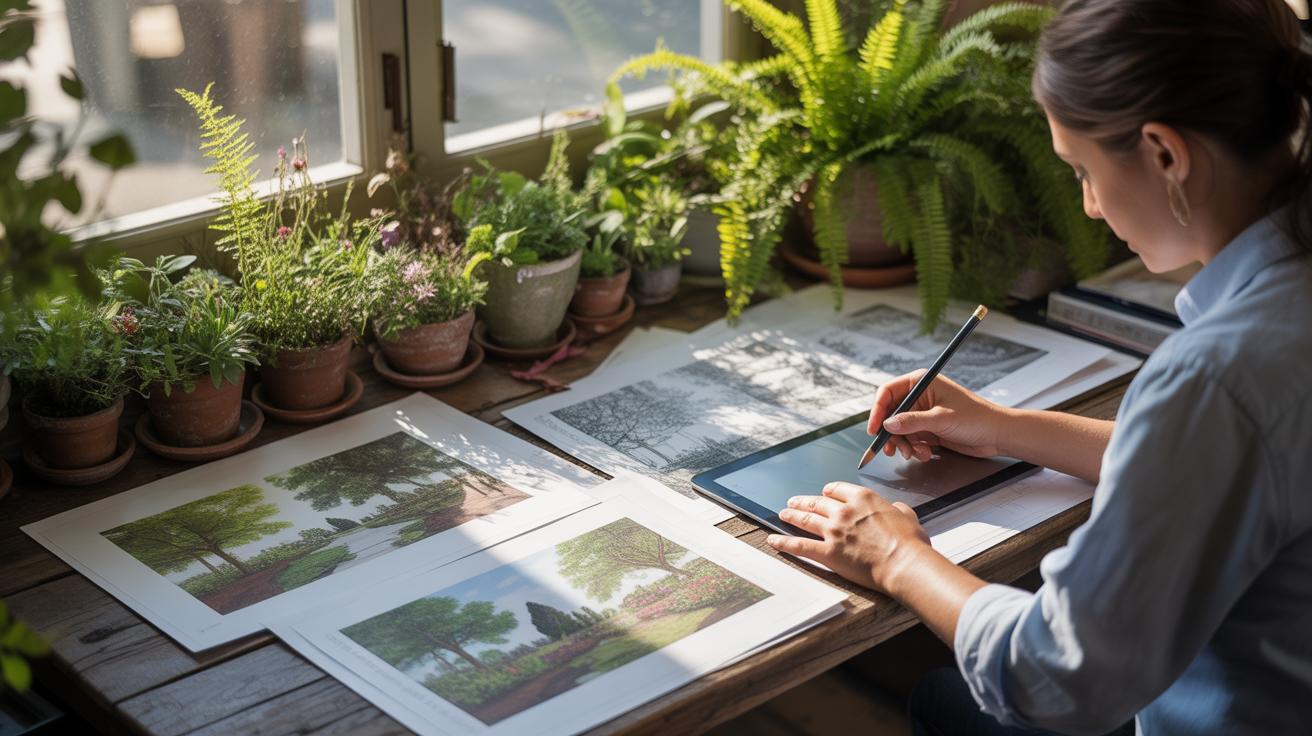
Drawing from photos offers clear conveniences. You can practice anytime, without worrying about weather or changing light. Photos stay still, so you can take your time to focus on details or structure. There’s no rush, and you can repeat specific scenes as often as you like, which is helpful when you want to study a particular element or composition. For beginners, this can reduce frustration caused by time pressure or shifting conditions.
Still, photos flatten the scene and can dull the sense of depth. You might miss subtle movements or natural variations in light. The colors may not perfectly represent what you’d see in person, which can sometimes limit your understanding of how natural light behaves. Also, it’s tempting to rely too much on the photo and not really look at the shapes and forms yourself.
Sketching outside, on the other hand, sharpens your ability to observe quickly. You’re forced to capture the essence of a scene rather than every little detail. That kind of immediacy, while challenging, trains your brain to see patterns, proportions, and contrasts more clearly. Plus, you’re exposed to real textures and colors that can’t be fully captured in a photograph.
Being outdoors means dealing with distractions—noise, weather changes, even curious onlookers. Though this can be frustrating, it also teaches patience and flexibility. You might notice things you wouldn’t from a photo: how leaves sway, how shadows move, or the way clouds shift.
Which method works best? It depends on your goals. Do you want to build technical skills quietly at home? Or do you want to develop your visual instincts under real conditions? Maybe a bit of both will keep your practice balanced and more interesting.
Conclusions
Drawing landscapes can be simple and fun when you use the right methods. Keeping your tools basic and focusing on shapes first helps you build good habits. Practice quick sketches regularly to see progress in your work.
Remember, every artist starts somewhere. Use these easy methods as your guide and enjoy creating scenes from the world around you. Draw often, and your confidence will grow with each line you make.