Introduction
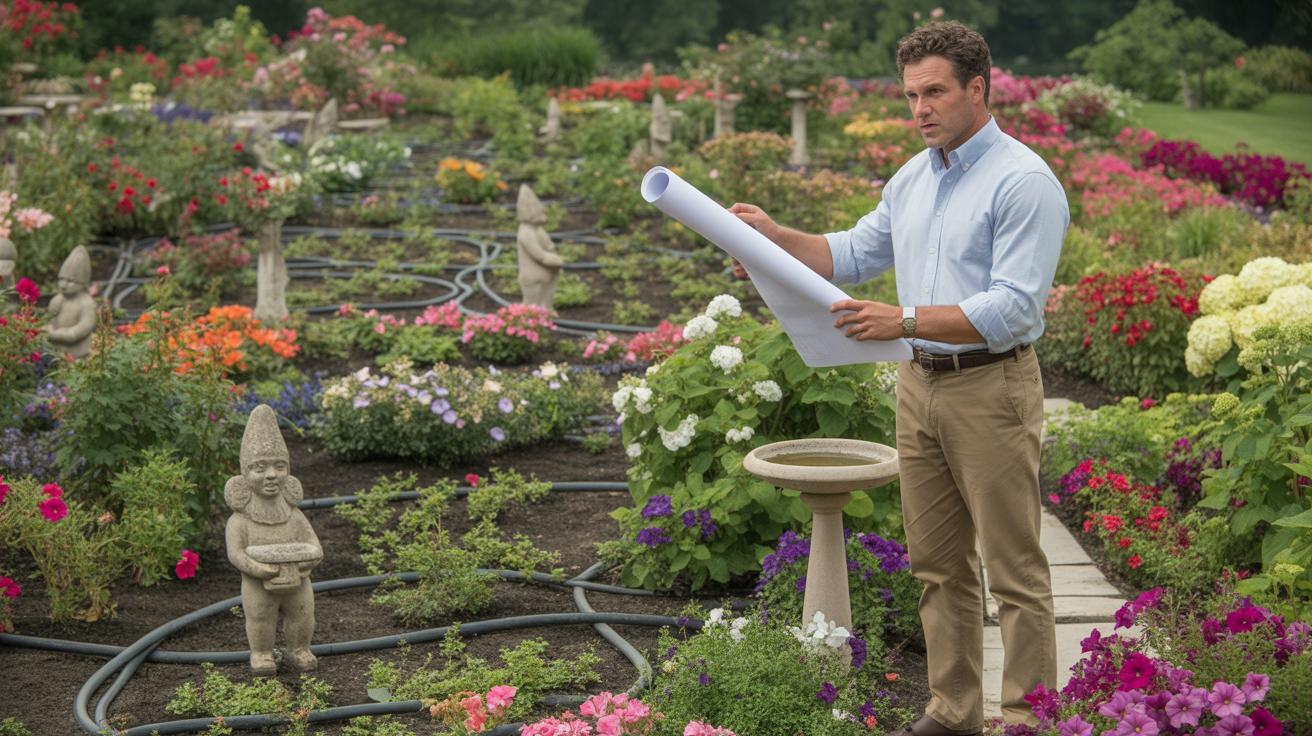
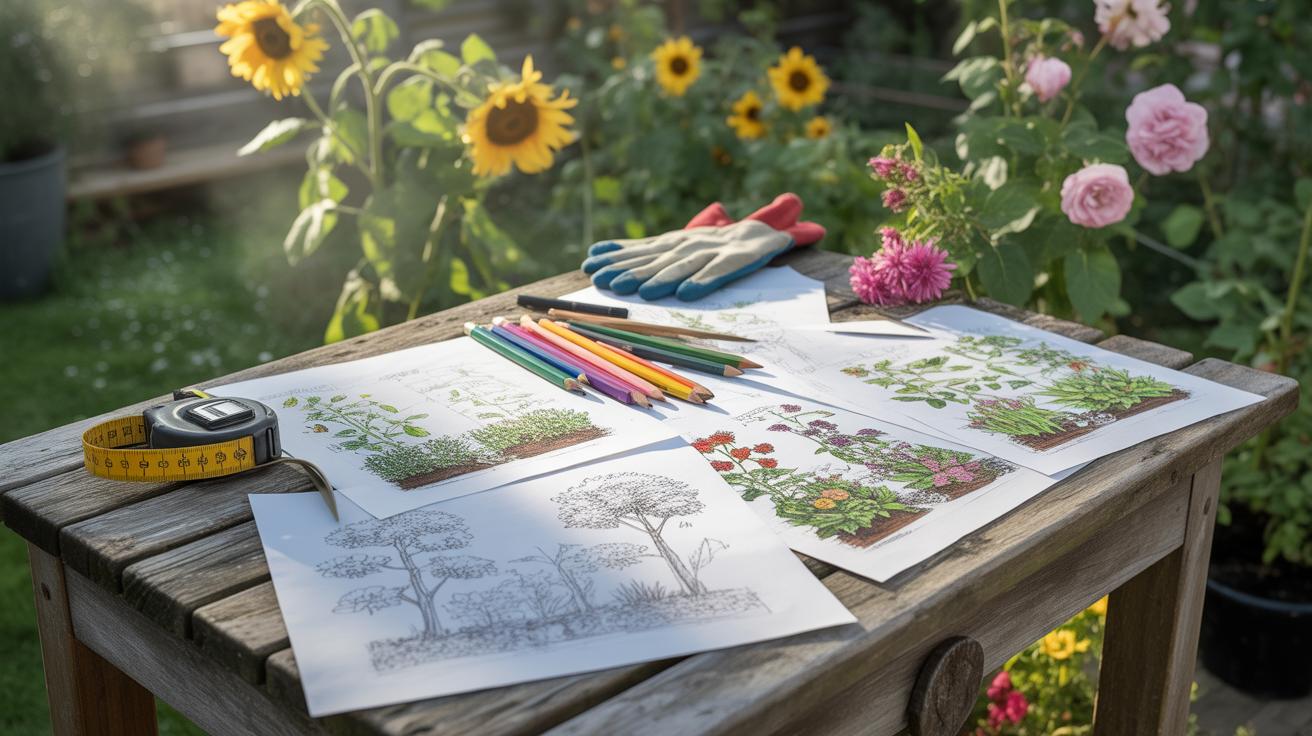
Creating a landscape design plan requires careful thought and attention to detail. Making errors during this process can lead to costly consequences later, like poor plant growth, drainage issues, or expensive redesigns. This article highlights seven costly mistakes often made when creating landscape design plans and how you can avoid them to save time and money.
Each mistake is explained with clear examples and actionable advice to improve your design approach. You will learn how to plan your outdoor space smartly, consider essential factors, and ensure your design is practical and beautiful.
Common Errors to Avoid in Your Design
When you set out to create your design plan, some mistakes sneak in almost unnoticed but cause big headaches later. One frequent error is ignoring the actual site conditions. People often sketch ideas without really paying attention to things like soil type, sun exposure, or slope. You might think a certain plant looks perfect, only to find it struggles because the ground there is too wet or the shade too dense.
Overplanting is another common pitfall. It’s tempting to cram in as many trees, shrubs, and flowers as possible, thinking your space will look lush. Yet, this overcrowding can choke plants and blow your budget on unnecessary materials and upkeep. Plus, when plants grow bigger, they often need more room than you imagined.
Drainage tends to get overlooked too—and it’s a critical one. Without proper drainage, water pools, causing damage and even infrastructure issues. You might not see the problem at first, only after heavy rain reveals muddy messes or eroded areas.
So, how can you dodge these traps early on? Start with a thorough site assessment, note every quirk and challenge. Sketch scaling space carefully; less can be more. Check drainage patterns and soil conditions before finalizing anything. Maybe even test a small section with your preferred plants first. By paying close attention to these details, you catch problems before they become costly fixes.
How Site Conditions Impact Your Design
Before you put pen to paper on your landscape design plan, take a step back and look closely at the site itself. Soil, climate, and topography aren’t just background details; they shape what will actually thrive in your space. Skipping this step might lead to planting failures or costly adjustments down the road, and I’ve seen that happen more times than you’d think.
Soil affects not just what grows, but how well it grows. Clay-heavy soil holds water differently than sandy soil, for instance, which influences plant health and irrigation needs. Climate dictates growing seasons, frost dates, and humidity levels—all of which can make or break your plan. And topography, say slopes or depressions, changes water flows and sunlight exposure, sometimes in subtle ways you might overlook.
Knowing these factors shapes realistic choices: you don’t want to try growing moisture-loving shrubs on a slope where water runs off quickly. Or place shade plants in spots baking in the afternoon sun. Each detail guides you toward a design that fits your site’s quirks, rather than fighting them.
Testing Soil and Drainage Before You Plan
Testing soil doesn’t require fancy equipment. You can start with a simple texture test—grab soil from a few spots, moisten it, and feel whether it’s gritty, smooth, or sticky. This gives clues about sand, silt, and clay content. You can buy pH test kits cheaply, which help determine if your soil leans acidic or alkaline. Knowing this matters for plant choices and fertilizer needs.
Drainage is equally critical: poor drainage might mean water pools after rain, which some plants can’t tolerate at all. Try digging a small hole about a foot deep, fill it with water, and time how long it takes to drain. If it’s more than 4 hours, your site likely has poor drainage, and your plan should accommodate plants that tolerate wetter conditions—or include drainage solutions.
Matching Plants to Climate and Terrain
Choosing plants for your local climate makes a big difference. Native or climate-adapted species often require less water and maintenance since they’re suited to prevailing temperatures and weather patterns. You might save time and money, and—well—you avoid that frustration when plants just don’t make it through extreme weather.
Terrain matters too. A sunny south-facing slope tends to be drier and warmer, so plants there must be drought-tolerant. Low-lying areas might hold more moisture and get colder at night, which suggests a different set of species. Matching plants this way can reduce pest problems and trimming efforts, while keeping your garden healthier overall.
Have you thought about whether your choices really fit your garden’s quirks? It’s tempting to pick plants just because they look nice, but without this groundwork, you may soon wish you hadn’t.
Planning Irrigation and Drainage Systems

Getting your irrigation right can make or break your whole planting plan. If your watering system is off, plants either sit too dry or drown in water. Both extremes stress them out—leaves yellow, roots rot, and growth stalls. And that doesn’t even touch on how poor drainage might cause water to pool near your home, leading to damage. You want a system that waters plants just enough and carries away what’s left.
Designing Irrigation to Save Water and Money
Simple irrigation plans save you both water and cash. For example:
- Group plants with similar water needs together.
- Use drip irrigation or soaker hoses to target roots directly.
- Set timers for early morning watering to reduce evaporation.
A common mistake I’ve seen is overwatering, often because of fixed schedules or guesswork. You can waste tons of water watering areas that don’t need it. Soil sensors or just checking soil moisture by hand can prevent this. I remember tweaking my system after realizing my lawn was soaked when the flowerbeds were bone dry—it was a waste.
Avoiding Drainage Problems in Your Layout
Poor drainage invites trouble: erosion, soggy soil, and plants that just don’t thrive. Water sitting around roots suffocates them, encouraging disease and decay. Then you get mud running off, which may harm other parts of your yard or even the foundation of your home.

Sometimes the fix is simple, like adding swales—gentle shallow ditches—to redirect water. Or installing a French drain to move excess water away. Sloping the land away from structures can prevent pooling near walls. You might find the best solution once you watch how water behaves during a heavy rain. It’s almost like your yard will tell you where the problem spots are.
Choosing Materials and Plants Wisely
Picking the right materials and plants can make or break your design plans. It’s not just about what looks good at first glance. You want choices that fit your style and won’t drain your wallet over time. For instance, natural stone might catch your eye, but can it stand up to your region’s weather, or is it just an impulse buy? Sometimes, a less flashy option like concrete pavers lasts longer and costs less in repairs.
Here’s what I’ve learned works best when balancing budget and quality:
- Focus on materials known for durability in your climate, even if they seem plain at first.
- Check product warranties or ask suppliers about lifespan—they might surprise you.
- Mix more affordable materials with premium accents to keep costs down without sacrificing style.
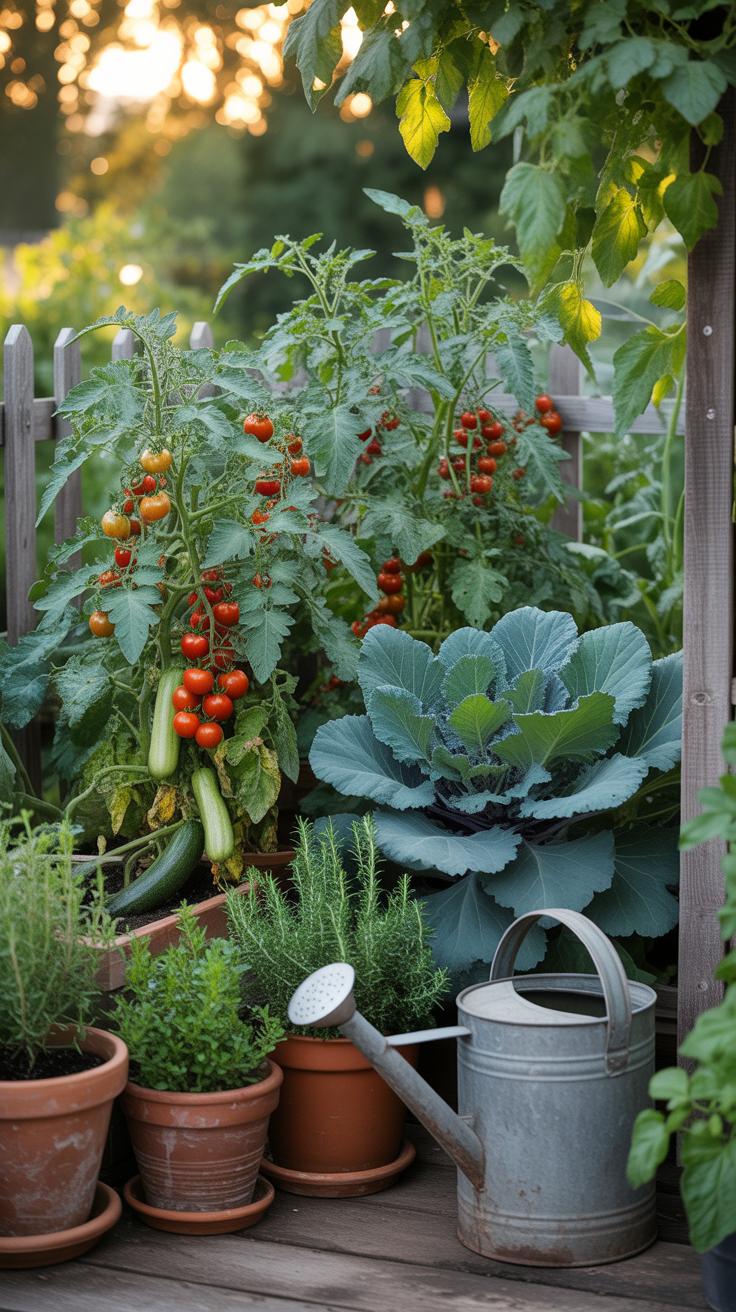
When it comes to plants, choosing native or adapted species often cuts down on watering and fertilizer. They’re like the local team—you don’t have to train them much, and they perform consistently. Low-maintenance plants reduce the hassle, but be cautious about overly trendy exotic species. You might love them now, but will they thrive or require constant babysitting?
Keep in mind that investing a little more upfront in plants accustomed to your area often saves money later by cutting replacement and care costs. It’s tempting to go all out on showy plants. Yet, sometimes simpler options stay healthier and look fine year-round. Have you thought about how your chosen plants will age and change in five years? Planning for that can avoid surprises down the road.
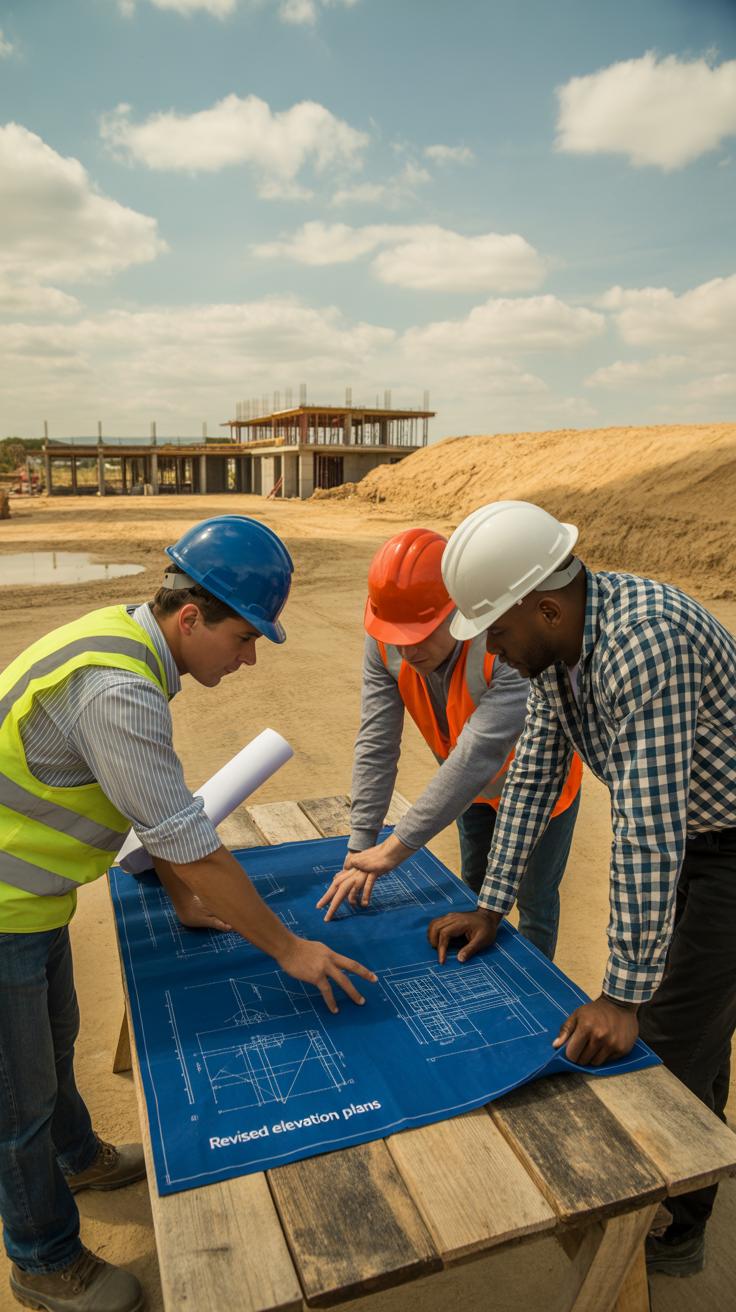
Checking Legal and Zoning Regulations

When planning your outdoor space, it might surprise you how much local rules can shape what you actually end up building. You can’t just pick a design and start digging immediately. Before you finalize your plans, make sure you check zoning laws and other regulations in your area. These rules can include limits on how close to property lines you can place structures, height restrictions on fences, or bans on certain types of water features.
It’s easy to overlook these details, especially if you’re excited about your project. But failing to verify could mean having to tear out parts later. I’ve seen people start installing a lovely pond only to find it violates local codes requiring a costly removal or redesign. It’s frustrating but avoidable if you get clear on what’s allowed upfront.
Understanding Permit Requirements
Your plans might need official permission depending on what elements you want to include. Permits are commonly required for features like:
- Fences above a certain height
- Water features such as ponds or fountains
- Structures like sheds, pergolas, or decks
The rules vary widely by location. In some places, even planting a tree close to a property line could require approval. You might think a small retaining wall is harmless but if it’s taller than a couple of feet, it could need a permit. It helps to contact your local building department or check their website early on. Sometimes the process takes weeks, so better to start sooner rather than later.
Avoiding Legal Issues and Fines
Ignoring the need for permits or zoning permissions? That’s a path to delays, fines, or demands to undo finished work. Compliance helps you stay on schedule and saves money by avoiding costly revisions. Before spending on materials or labor, taking the time to align your plans with regulations keeps headaches away.
You might find it tedious, but investing effort in this stage pays off. I remember a friend who didn’t realize their fence was too tall per zoning rules and ended up with a fine—and had to lower it. It was an unpleasant surprise that could’ve been avoided. So ask yourself: Have I double-checked the rules? If you’re not sure, reach out for clarification. It feels cumbersome but it’s part of the process that protects your project.
Creating a Realistic Timeline and Budget

Setting a practical timeline and budget is key to keeping your project manageable. If you aim too high or expect everything to finish quickly, you’re likely setting yourself up for stress and disappointment. It’s tempting to rush through phases or stretch your budget thin, but this usually backfires. When you work with achievable goals, you allow room for unexpected delays or costs without derailing the entire plan.
Your timeline doesn’t have to be perfect or set in stone, but having a clear outline keeps things moving. The same goes for budgeting—knowing where every dollar goes limits surprises. And if you’re thinking, “What if something comes up?”—well, that’s why you build in some wiggle room. It’s not just about sticking rigidly to a plan but giving yourself some breathing space.
Breaking Down Steps and Costs
Breaking your project into phases makes it easier to control. For example, you could divide it like this:
- Design and planning: 2-3 weeks, includes initial sketches and material research;
- Site preparation: 1 week, clearing and grading work;
- Planting and installing features: 3-4 weeks, putting in plants, pathways, lighting;
- Final touches and clean-up: 1 week, adjusting plants, removing debris.
On the budget side, allocate funds similarly, but expect variations. You might estimate:
- Design fees – 10% of total budget;
- Materials and plants – 50%;
- Labor – 30%;
- Miscellaneous/contingency – 10%.
This outline isn’t flawless, of course. Maybe your site prep takes longer or some plants cost more. But mapping phases and costs like this at least brings some clarity—so you don’t suddenly find yourself stuck halfway through, funds low and timeline blown.
Adjusting Plans Based on Progress
Once the project starts, tracking progress is a must. Set simple milestones: at the end of each phase, check what’s done and what’s left. You don’t need rigid daily reports, but a quick weekly review can highlight problems early. If planting takes more time, decide whether to speed up later steps or accept a longer timeline.
Adjusting plans isn’t a sign of failure but smart management. Maybe material prices increase, or weather delays work. Reacting quickly prevents those issues from snowballing. You might find, for instance, that reallocating funds from the contingency to labor keeps things moving, even if it cuts into extras you hoped for.

Do you think it’s worth planning every detail upfront? Maybe not. But having a flexible yet realistic roadmap? That’s where projects have a better shot at turning out well without unraveling halfway through.
Incorporating User Needs and Preferences

Designing with the people who will actually use the space in mind makes a surprising difference. When you consider their routines, likes, and dislikes, the result can feel more inviting and practical rather than just visually appealing. You might think it’s obvious, but often plans focus too much on style or trends instead of how the space will really function daily.
To make this work, start by asking questions—not just to the main client but to everyone who shares the space. What activities do they picture? Are there kids or pets to consider? Sometimes preferences can differ wildly, and that’s okay. Getting everyone’s input helps you balance needs and maybe avoid frustration later.
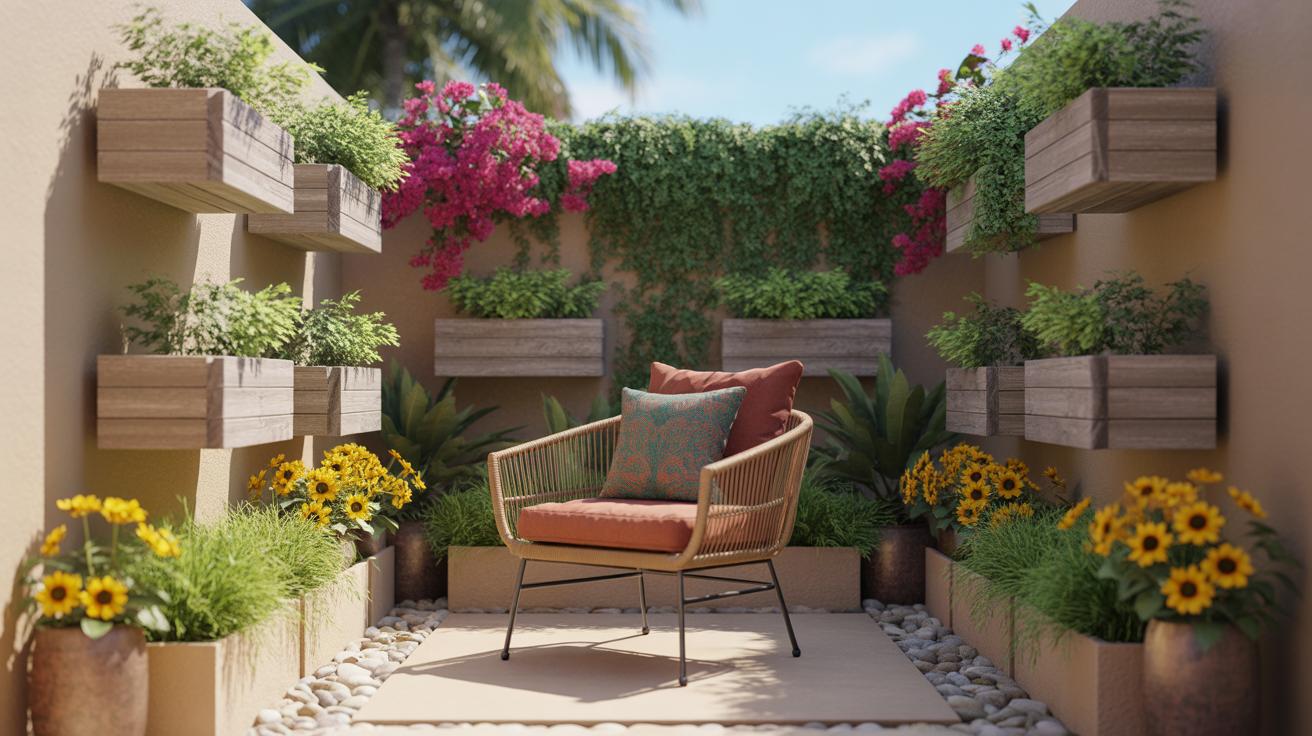
Think about comfort too. Ergonomic design isn’t just for offices; it applies outside as well. Wide pathways that don’t force awkward turns, seating that suits different heights, or even shade placement can change how you enjoy a yard. Also, accessibility isn’t always obvious upfront but becomes crucial for older family members or guests with limited mobility. Including gentle slopes instead of stairs or textured surfaces for grip can be small changes with big impact.
Reviewing and Adjusting Your Plan

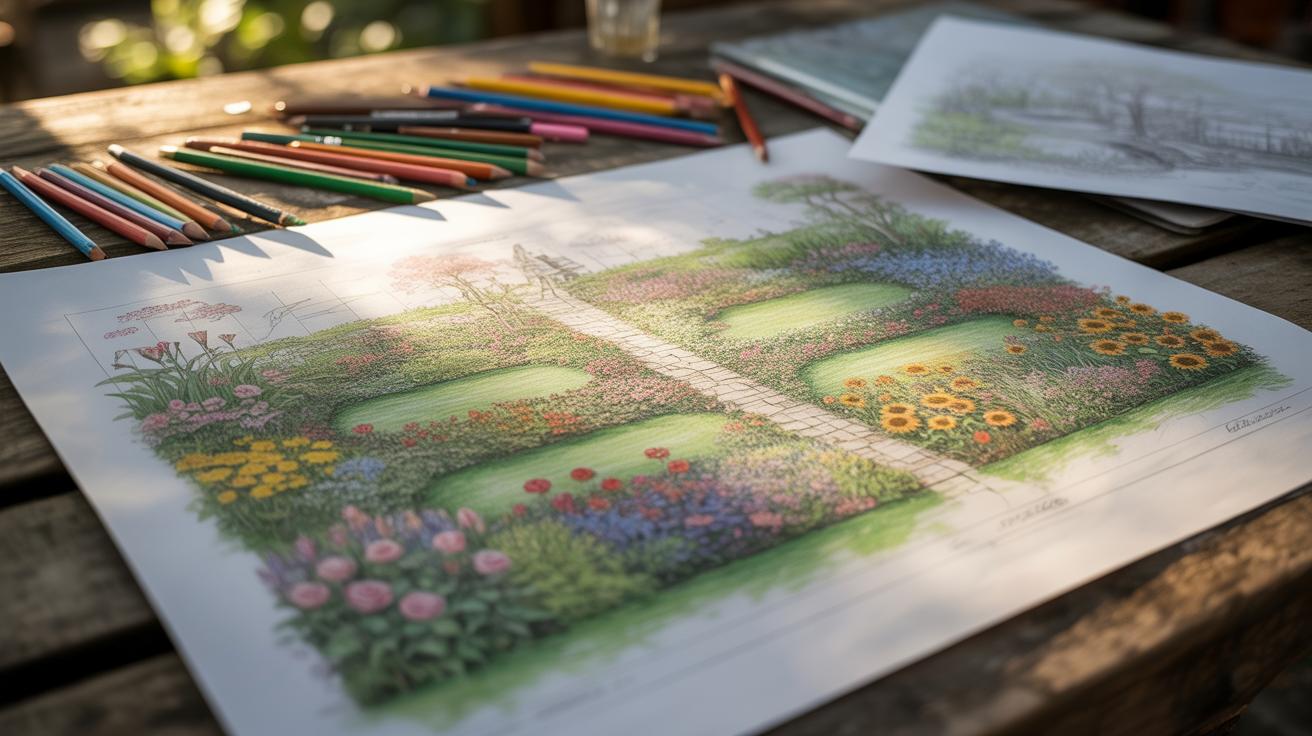
Before breaking ground, it’s easy to feel stuck once you’ve sketched out your design. But reviewing your plan carefully can save lots of trouble later. Look over every detail—placement of plants, paths, seating areas—and ask yourself if it really fits how you want to use the space.
Once the work starts, don’t assume the plan is set in stone. Things might look different in real life than on paper. For example, sunlight might hit a spot differently or soil conditions could vary. Be ready to tweak things as needed to suit the space better.
Taking time to step back and reconsider also helps you notice small mistakes early. Maybe a walkway feels cramped or a plant choice isn’t thriving. Adjustments now can prevent bigger headaches down the road.
Using Feedback to Improve Your Design
Getting outside opinions often reveals blind spots you missed. Ask friends or neighbors what they think about your sketches or even the emerging design. Sometimes fresh eyes spot impractical details or inspire new ideas.
If you’re working with professionals, don’t hesitate to ask for their honest input. Designers or contractors might suggest changes based on experience that could improve the plan in unexpected ways.
Try gathering feedback in these ways:
- Show visuals or 3D models to others and note their reactions.
- Walk through the site together to discuss potential issues.
- Collect quick survey responses to identify common preferences or concerns.
The key is to act on feedback early, before you’re too far along.
Learning from Mistakes for Future Plans
Even the best plans have flaws. When things don’t go as expected, write down what happened and why. This record is incredibly useful next time you start fresh.
Keep notes on which plants struggled, which features caused delays or cost overruns, and any surprises that popped up. Looking back can help you avoid repeating the same errors.
Some useful steps include:
- Maintaining a project journal during the whole process.
- Taking photos before, during, and after work.
- Jotting down contractor advice or unexpected landscape quirks.
So the next time you plan, you’ll have something concrete to refer to. It might not make your project perfect—but it will certainly get you closer.
Conclusions
Avoiding costly errors in your landscape design plan starts with careful research and preparation. By paying attention to site conditions, understanding plant needs, and planning proper irrigation and drainage, you can prevent common mistakes that degrade your outdoor space.
Keep evaluating your design choices critically and stay practical when selecting materials and plants. These steps will guide you to create a sustainable, attractive landscape that fits your needs and budget.