Introduction
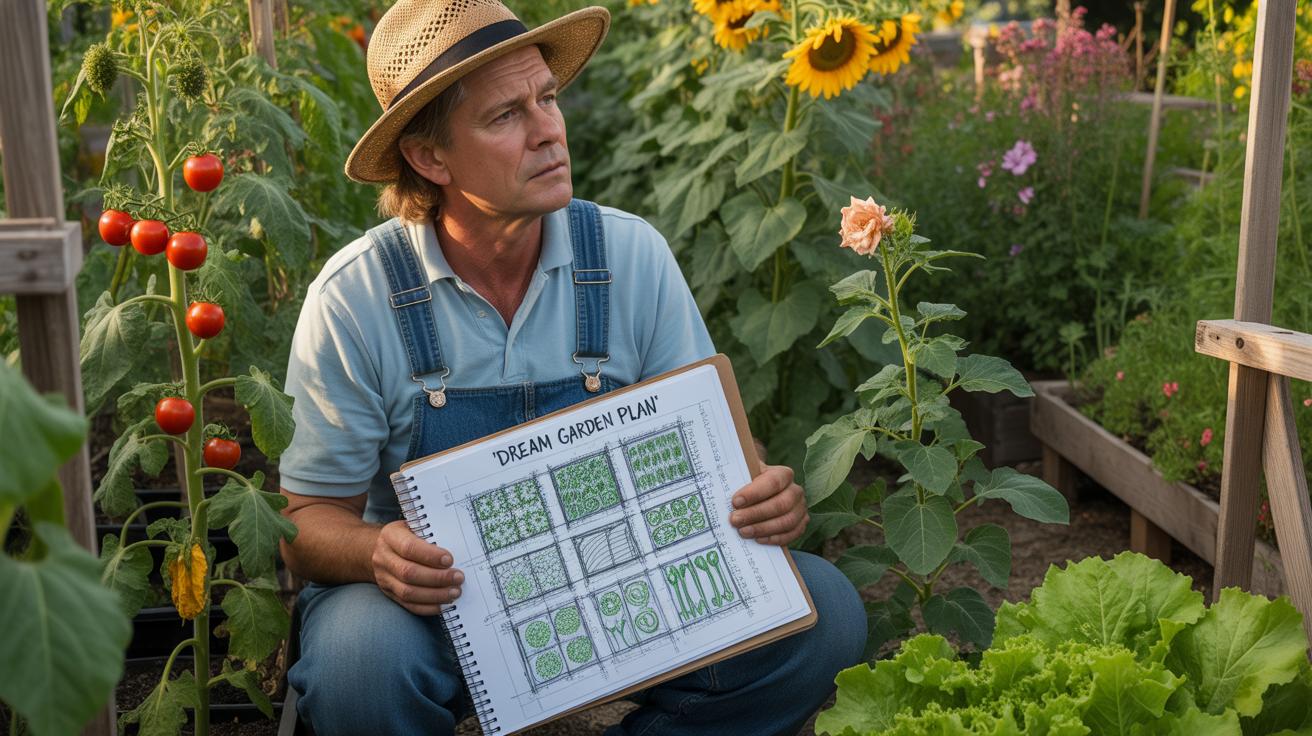
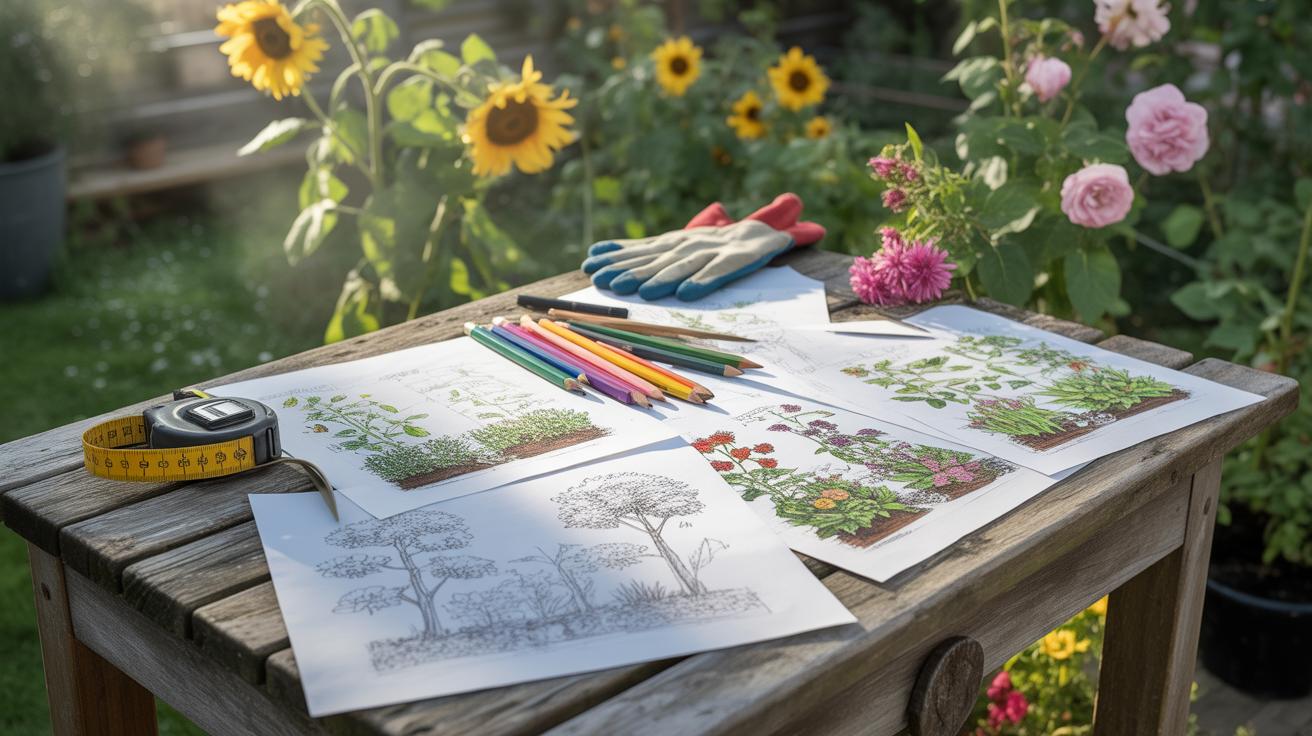
Garden planning layout mistakes can have a serious impact on your growing space. Whether you are planting flowers, vegetables, or a mix, a poorly planned garden can limit plant health, reduce yield, and create maintenance difficulties. This article looks at the most frequent layout mistakes and what you can do to avoid them.
Proper garden planning is about smart use of space, light, and water. Knowing what can go wrong helps you plan better. We will cover mistakes related to spacing, soil preparation, sunlight direction, and more. By addressing these, you can improve your garden’s productivity and enjoyment.
Spot Common Planning Mistakes
One of the most frequent flaws in garden layout is cramming plants too close together. It might seem like a way to get more variety or fill space quickly, but squeezing roots and leaves leaves plants struggling for nutrients and light. I remember a friend who planted tomatoes beside bush beans without enough room. The tomatoes grew tall but weak, overshadowed by the thicker bean shrubs. The result? Poor fruit yield and a cluttered mess of tangled vines.
Ignoring how sunlight falls on your garden often leads to similar trouble. Sun-loving plants like peppers need full sun. Placing them in shaded corners—maybe because they look “cute” tucked under taller plants—means stunted growth and disappointing harvests. Conversely, shade-preferring plants like lettuce wilting under strong midday sun is not uncommon either.
Some typical bad groupings include:
– Tall, dense plants next to shade-sensitive ones
– Fast-growing, thirsty crops crowding slow, drought-tolerant neighbors
– Vining plants planted too close to bushes or trees, competing for space and light
These mistakes create competition rather than cooperation among your plants. Overcrowding reduces airflow, leading to damp conditions perfect for fungal diseases. So, it’s not just a matter of growth; it’s also about health and vigor. Ever found your garden turning into a jungle with sickly plants everywhere? That’s probably why.
Errors in Plant Spacing
Spacing isn’t just about avoiding crowding; it’s critical for how roots and leaves develop. When plants grow too close, roots compete underground, squeezing out nutrients. Above ground, leaves overlap, limiting sunlight absorption. That means less energy to grow strong stems and fill out fruit.
Some typical errors gardeners make include:
– Planting seeds or seedlings too close to each other, hoping more will grow
– Ignoring recommended spacing on seed packets or plant labels
– Grouping tall and short plants without enough gap, shading the smaller ones
Restricted airflow is another big problem. When plants are packed tightly, humidity rises among leaves. This moist environment is ideal for mold or mildew. I’ve seen flakes of powdery mildew spread fast through an overcrowded bed. It’s not just ugly; it weakens plants and ruins crops.
Ignoring Sunlight Needs
Sunlight is a basic yet often overlooked factor in planning. Plants have varied needs—from full sun to partial or full shade—and misjudging this can silently sabotage your garden.
Examples show how the wrong placement stunts growth or can even kill plants:
– Tomatoes or peppers placed in shady spots produce few fruits, if any
– Leafy greens like spinach or lettuce burned and bolted too quickly under high sun exposure
– Roots vegetables like carrots developing tough or poorly under dense cover
Sometimes people misinterpret “shade tolerance,” confusing partial shade with full shade, or simply underestimate how the sun moves during the day. A plant thriving near your house in spring may struggle when summer shifts the sunlight pattern. Watching your garden over weeks might help, but often these mistakes reveal themselves only after a disappointing season.
Check Your Soil Setup
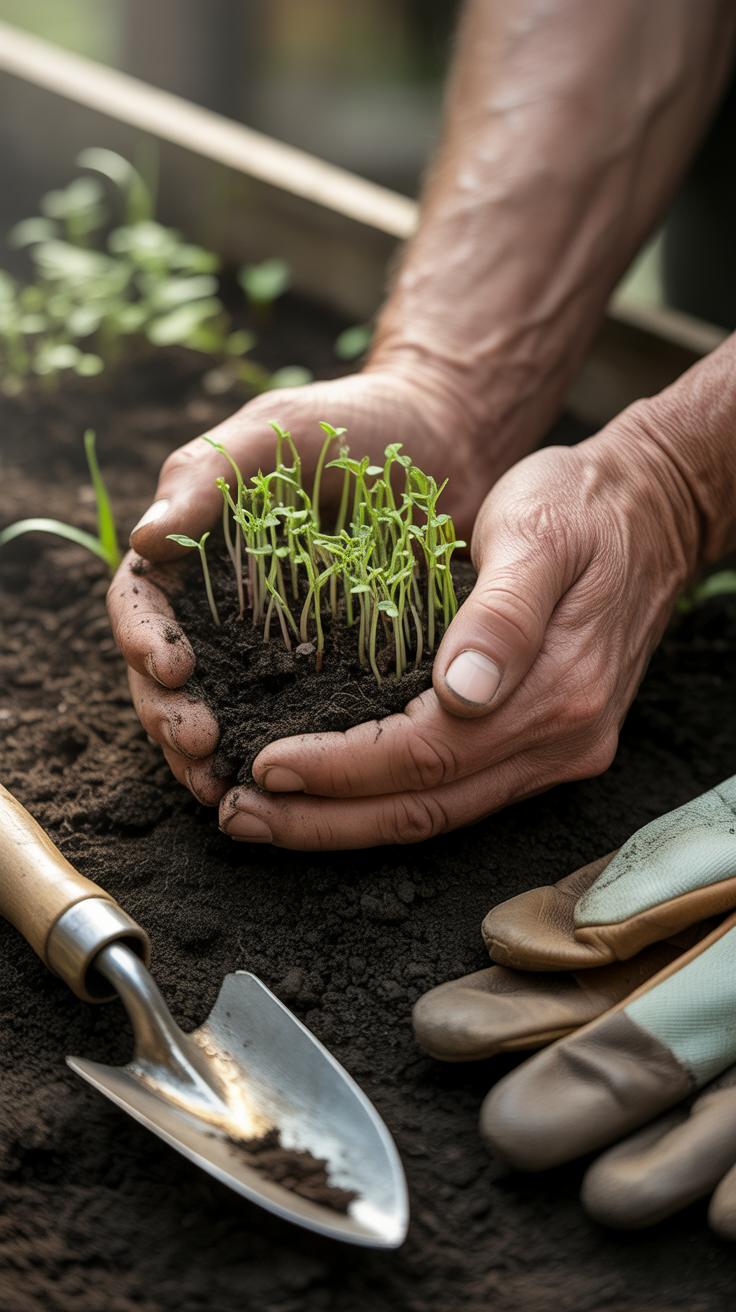
Soil often gets overlooked in garden planning, but it’s the foundation of everything you grow. No matter how well you arrange your plants or how carefully you plan the layout, weak soil will stunt growth and frustrate your efforts. Poor soil structure or nutrient imbalances can lead to plants that struggle from the start, making your carefully crafted garden design almost irrelevant.
Soil Testing Basics
Before placing your plants, testing your soil can save you from headaches later. You don’t need fancy lab kits; simple test kits available at most garden centers tell you crucial details like pH and nutrient content. pH affects what plants can thrive—too acidic or alkaline soil limits some species and favors others. Knowing nutrient levels—nitrogen, phosphorus, potassium—helps you decide which amendments to add or which spots suit nutrient-hungry crops.
For example, I once planted tomatoes without testing the soil. The plants barely grew because the soil lacked phosphorus, essential for root development. A quick soil test before planting would have prevented that.
Fixing Drainage Problems
Drainage is another common soil issue that ruins many gardens. Waterlogged soil suffocates roots, leading to rot and weak plants regardless of how well you space or position them. You might notice puddles after rain or soggy soil that dries slowly—that’s a red flag.
Solutions include building raised beds filled with well-draining soil mixes or incorporating organic matter like compost to improve soil texture. Sometimes, mixing sand or fine gravel helps, but it depends on your soil type. Raised beds also help contain soil nutrients and make maintenance easier. If your ground stays wet for days, raised beds might be your best bet.
Have you checked how water behaves in your garden soil after a heavy shower? If it stays on the surface too long or just sits around roots, it’s time to rethink your soil prep before finalizing your layout. Remember, plant placement can’t fix soil that drains poorly.
Plan for Sun Patterns

Mapping the sunlight in your garden isn’t always as straightforward as you might hope. The sun moves across the sky, casting shadows and bright spots that shift not just during the day but through the seasons too. To plan effectively, you’ll want to track where the sun hits your space from morning to evening. This helps you decide where to put sun-loving plants versus those that prefer shade. Without that, some plants might struggle or get scorched unexpectedly.
Tracking Daily Sunlight
A simple way to record sun exposure is to walk your garden every couple of hours on a clear day, noting spots that are sunny or shaded. You can mark these on a sketch or use objects like stones or flags to identify areas. Even snapping photos at different times can help. There’s something surprised me when I did this—I thought my garden got full sun all afternoon, but parts actually stayed shaded until late afternoon. It’s those little insights that change everything.
Seasonal Changes Impact
Then comes the tricky part: the sun’s path shifts over the year. In winter, it sits lower, casting longer shadows, while summer sun is higher and more direct. This means a patch bathed in sun in July might be shaded come December. Adjusting plant placement for these shifts might feel like guessing, but keeping flexible spots or moving containers can help. It’s maybe worth experimenting a bit—no garden stays the same year-round, so why should your layout?
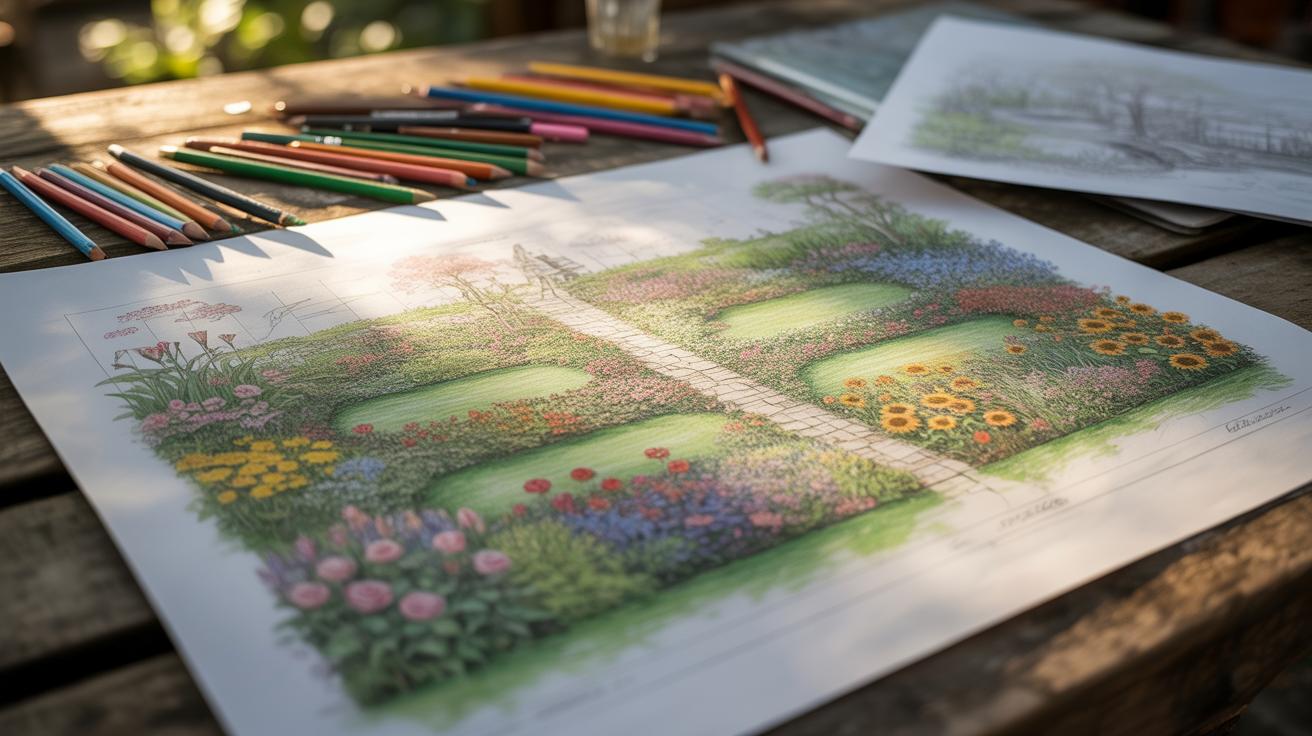
Use Space Efficiently
When planning your garden layout, thinking about how plants are arranged can make a real difference in what you get out of the space. You might be tempted to stick with traditional rows because they look tidy and make it easy to reach the plants, but rows aren’t always the best choice if your goal is to squeeze the most out of a small garden.
Rows keep things neat and predictable. You can weed and water without stepping on your plants, which is a big plus. But rows take up more ground just for pathways, and that means fewer plants per square foot. It feels orderly, yes, but sometimes I wonder if we lose too much space sacrificing for that order.
On the other hand, mixed beds or clusters break away from the rigid row pattern. When you mix plants of different heights and types together, like planting tall tomatoes with low-growing herbs, it lets you make use of vertical space. Plants can support each other, shading where needed or using the air above and below more fully.
Still, this can create competition for light and nutrients, and if you’re not careful, some plants may get overwhelmed. It’s a bit like trying to get several people to share a tiny room – it works if everyone has their own space, but otherwise someone ends up cramped.
In the end, asking yourself questions like “What plants could grow well together?” or “Is access more important than sheer quantity?” might help guide your choice. There’s no single answer, really—it depends on your garden, your plants, and what you want to achieve.
Track Watering Needs
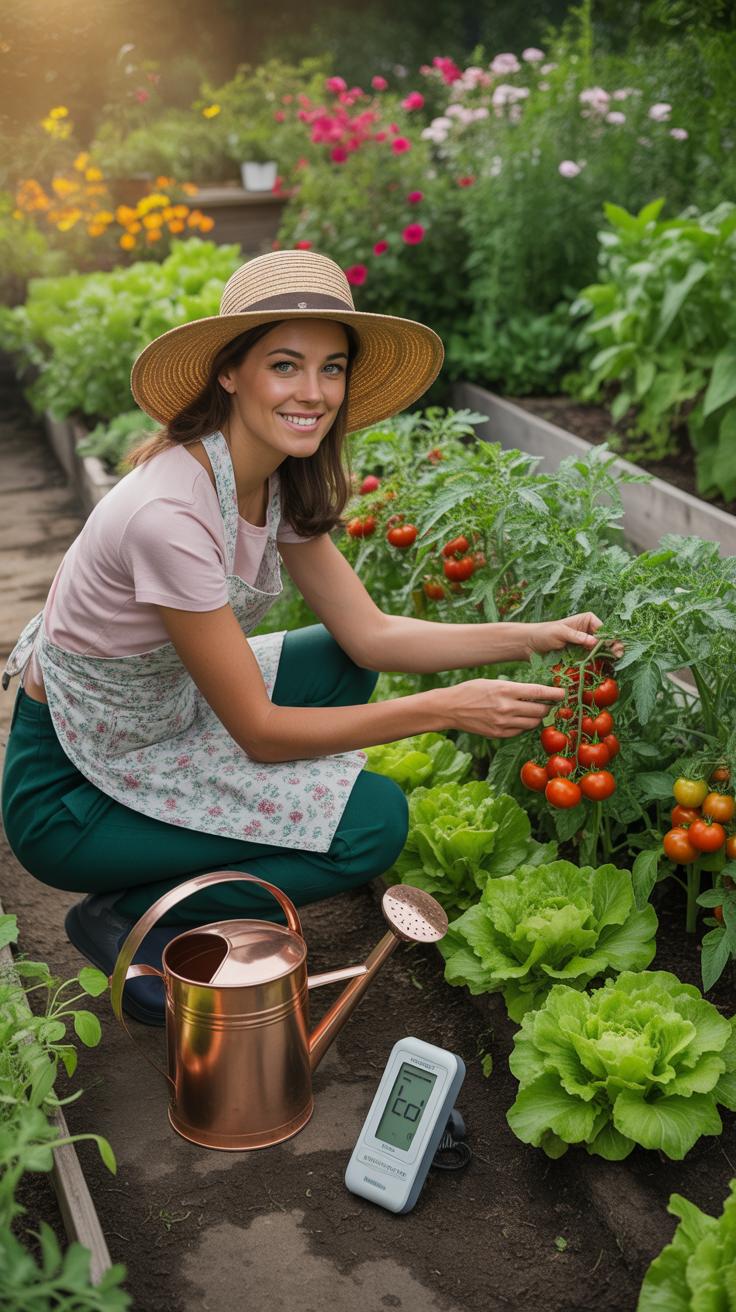
Grouping plants by similar watering requirements is one of those simple things that can save you a lot of time and headache. When you arrange your garden layout keeping these needs in mind, watering becomes less guesswork and more routine. It’s easier to give each section just the right amount without worrying if some plants are thirsty while others drown.
Think about it—if you’ve ever watered a plant that prefers dry soil right next to one that needs constant moisture, you probably noticed one wilts or the other suffers root rot. That mixed layout makes it hard to strike a balance, and you end up either over- or under-watering half your garden.
Start by sorting your plants into three groups based on their water use:
- High water needs – examples like lettuce or basil that like consistently moist soil
- Medium water needs – such as peppers or tomatoes, they don’t mind some drying but not too much
- Low water needs – drought-tolerant plants like rosemary or lavender that prefer it dry most of the time
Once sorted, place each group in its own section. It might feel restrictive at first, but this grouping strategy helps plants grow healthier since they’re not competing or suffering from uneven watering. Also, it cuts down the time you spend adjusting your watering routine across the plot.
No matter how careful you are, plants sometimes surprise you. Maybe a “medium” water need plant will act thirsty earlier in the season or an unexpected rain shifts the moisture levels. But even then, a grouped layout means less chaos and easier adjustments.
So, are you familiar with any plants in your garden that have tricky watering needs? Grouping them might just make your next watering day less stressful and more effective.
Check for Pest Hotspots
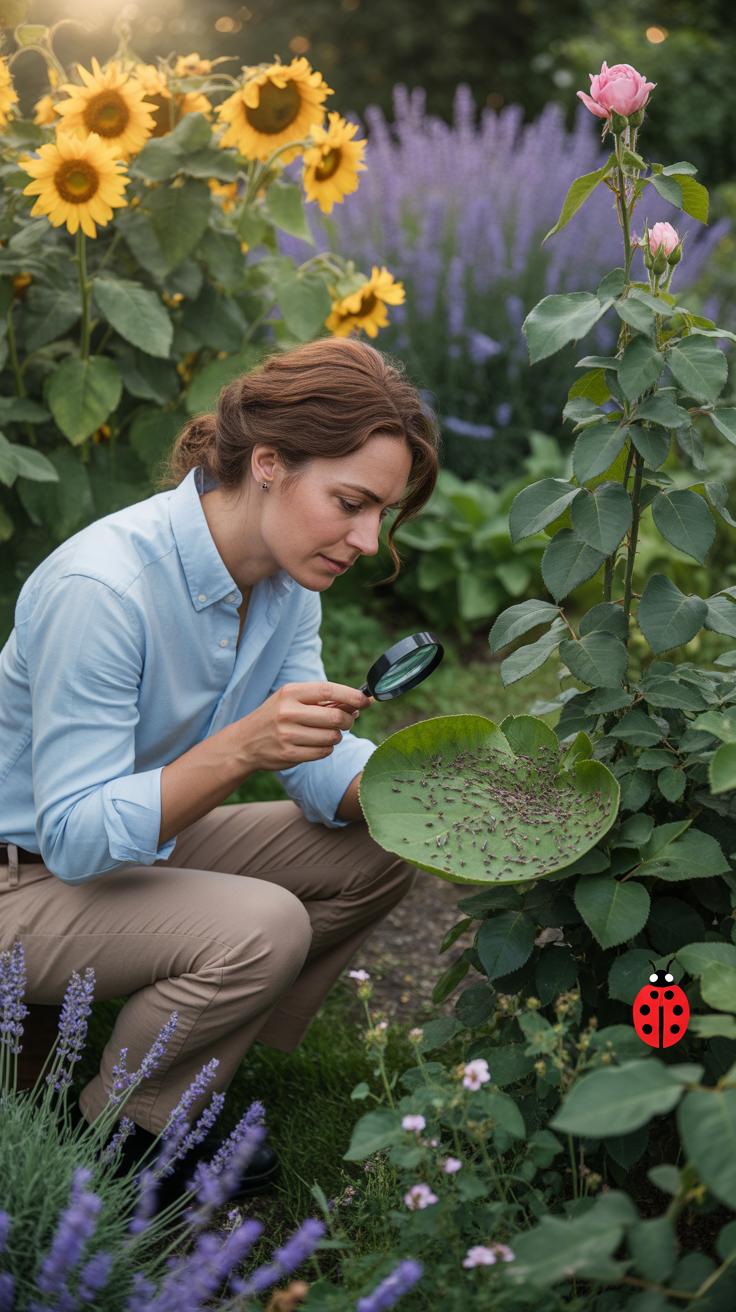
You might not realize it, but the way you arrange your garden can create inviting spots for pests. Crowded plants or spots with poor air circulation often become haven for insects and diseases. When plants shadow each other excessively, the damp, shaded areas can encourage fungal growth and attract critters that thrive in moisture. This usually means pest problems can build up faster than you expect.
Spacing plays a surprisingly big role. Giving plants enough room to breathe helps keep the area dry and less appealing to pests. You don’t always need huge gaps, but tight clusters often lead to pest buildup. Walkways or open spaces separating groups of related plants can help reduce the chances of problems spreading.
Companion planting is a trick many overlook or underestimate. Some plants naturally repel certain pests. For example, marigolds can deter nematodes and aphids, while basil may keep mosquitoes away. Placing these “guard plants” near vulnerable crops can reduce pest pressure without chemicals. Still, placement matters—you want the companion plants close enough to protect but not so dense they create new hiding places.
Think about where moisture pools, where dense growth blocks airflow, and where pests prefer to hide in your layout. These are pest hotspots. Adjusting plant placement, using companion plants deliberately, and avoiding overcrowding can help you keep your growing space healthier. Do you ever notice pest patterns shifting with the seasons? That might be connected to your garden’s layout more than you think.
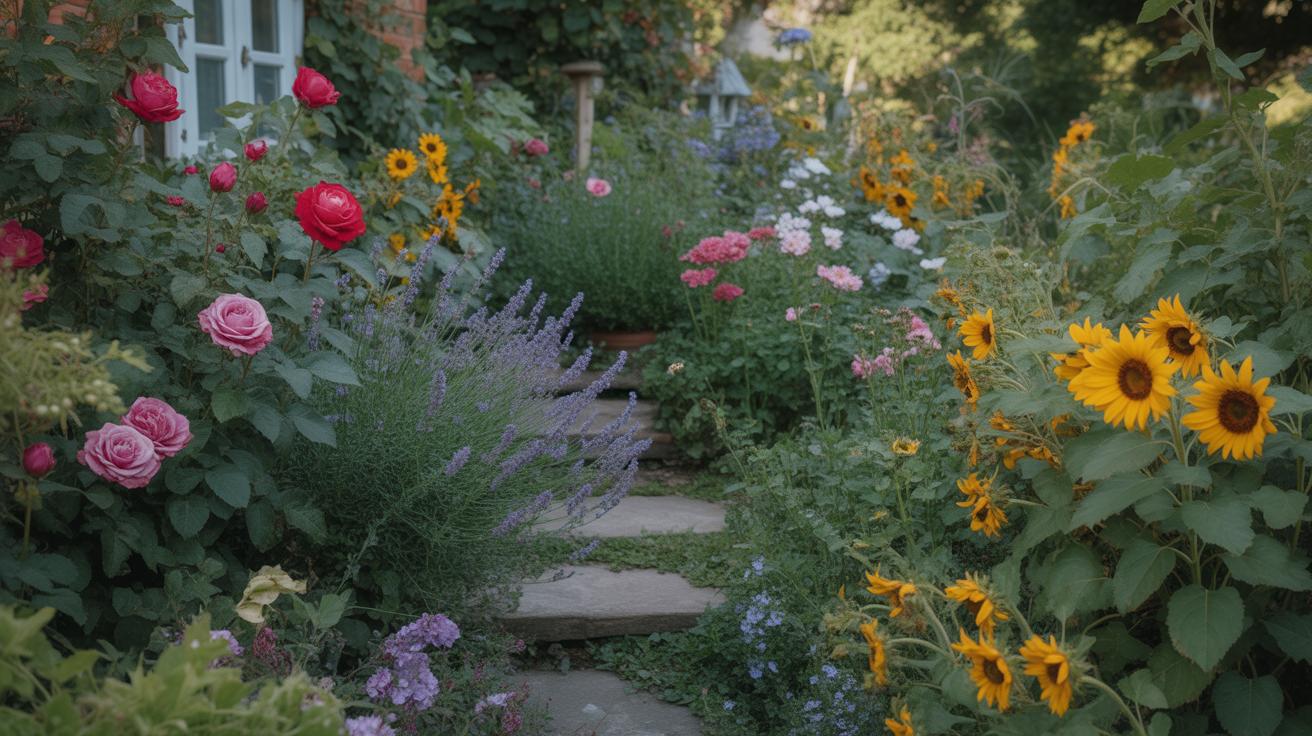
Create Easy Access Paths
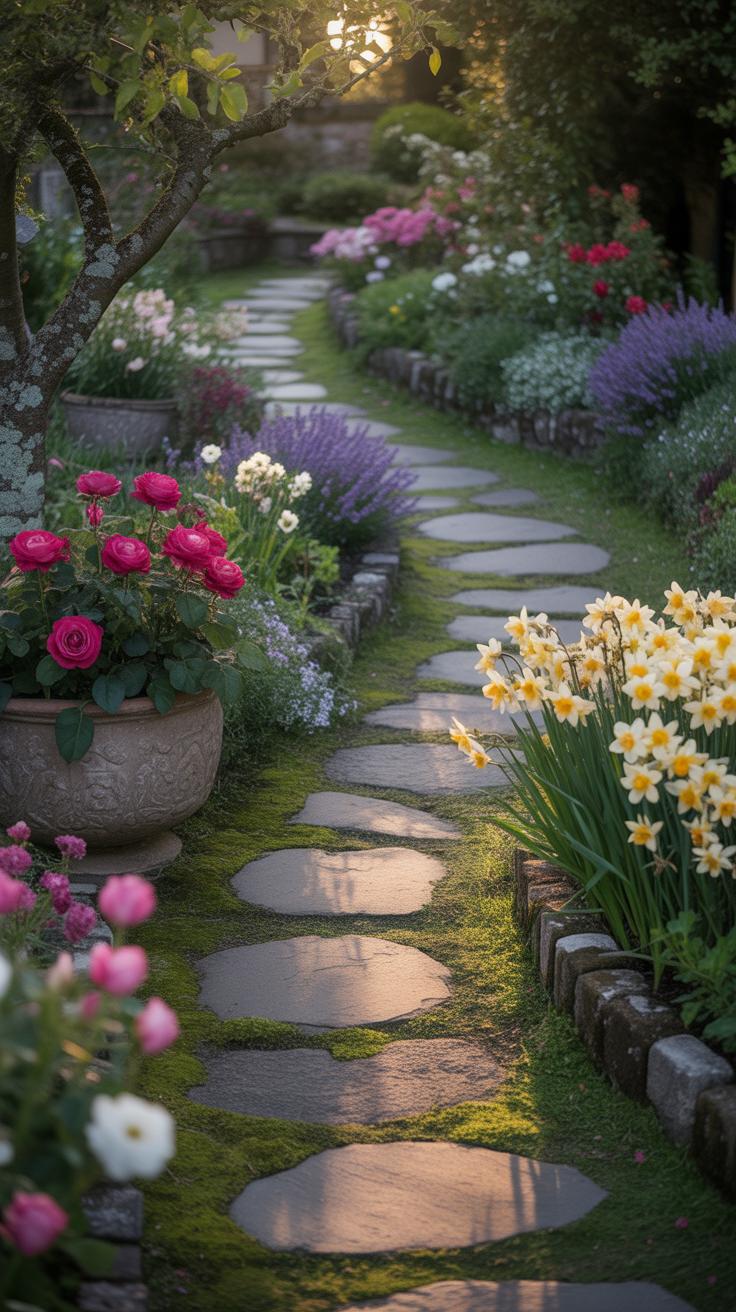
When planning your garden, paths are more than just convenient walkways—they’re essential for daily care. Without clear, accessible paths, you risk trampling plants or struggling to reach harvests. Think about how often you need to move around for watering, pruning, or picking ripe vegetables. Paths help you do this without stepping on soil beds or bending awkwardly.
To build paths that protect plants and ease harvesting, consider placing them between beds rather than cutting through growing areas. This arrangement keeps your plants intact and gives you space to work freely. Paths should connect major zones of your garden, creating loops or allowing quick access to all corners.
Planning Path Widths
Path widths matter more than you might expect. Narrow paths—anything less than 18 inches—can limit movement and make garden tools awkward to carry. If you’re using a wheelbarrow or garden cart, aim for 24 to 36 inches wide for smooth passage. That width also helps if someone else is in the garden at the same time.
If paths are too narrow or placed awkwardly, you’ll end up squeezing between plants or stepping on roots, which weakens them. I once made paths barely 12 inches wide and regretted it when lugging a heavy bucket. Don’t underestimate how wide you need the space to feel comfortable and safe.
Path Materials and Maintenance
Choosing the right material helps keep paths weed-free and draining well. Gravel, bark chips, and flagstones each have pros and cons. Gravel drains quickly but may scatter and need topping up. Bark chips look natural but break down faster, requiring replacement more often. Flagstones are sturdy and attractive, yet you must set them carefully to avoid tripping hazards.
Consider how much upkeep your path material requires. For example, spreading landscape fabric beneath gravel helps control weeds. Pay attention to slope too; you want water to flow away from paths so they don’t turn muddy or slippery. Paths might seem simple, but a bit of thought now can save annoyance later.
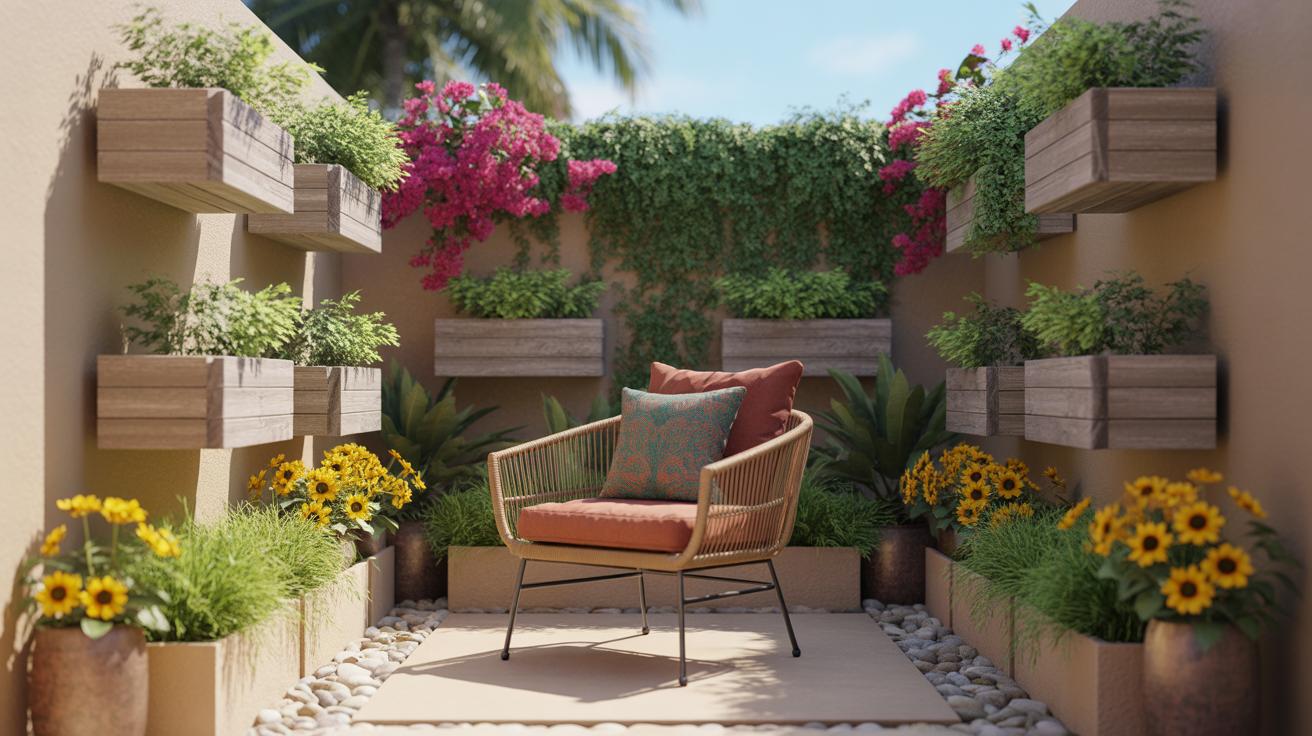
Use Vertical Space Smartly
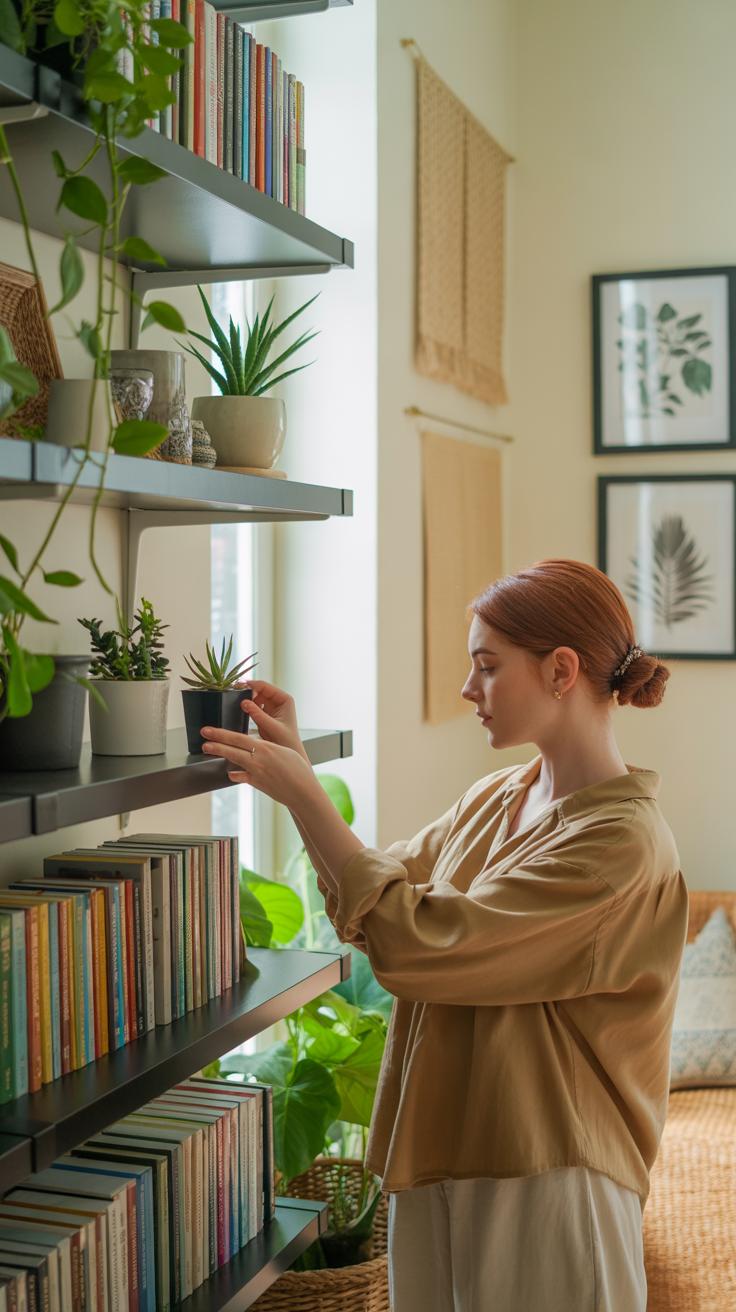
When your garden space feels tight, looking up can open new possibilities. Incorporating trellises, raised beds, and shelves lets you grow more without needing extra ground. It’s not just about piling plants higher but about thinking carefully where and what to plant to make the best use of every inch.
Trellises work well for climbing plants like peas, beans, cucumbers, and some varieties of squash. If you like flowers, morning glories or clematis do fine too. Placing trellises along south-facing walls or fences can boost sun exposure, but don’t cram them too close—plants still need airflow. I once learned this the hard way when my cucumbers turned yellow because the trellis blocked sunlight from reaching lower leaves.
Raised beds bring soil control into your hands. You can tailor soil mixes, manage drainage better, and avoid some pests. Besides improving the soil, they lift your plants closer to eye level, which makes gardening easier and even helps define the space visually. A raised bed about 12 to 18 inches high works well for most veggies and herbs, and it keeps paths tidy around them.
Shelves, though less common in gardens, work surprisingly well for small pots or seedlings. You might not think about this outdoors, but stacking vertically with sturdy shelves can multiply your growing space in balconies or patios.
Will you try putting something up this season? Your garden might feel bigger just by stretching upwards a bit.
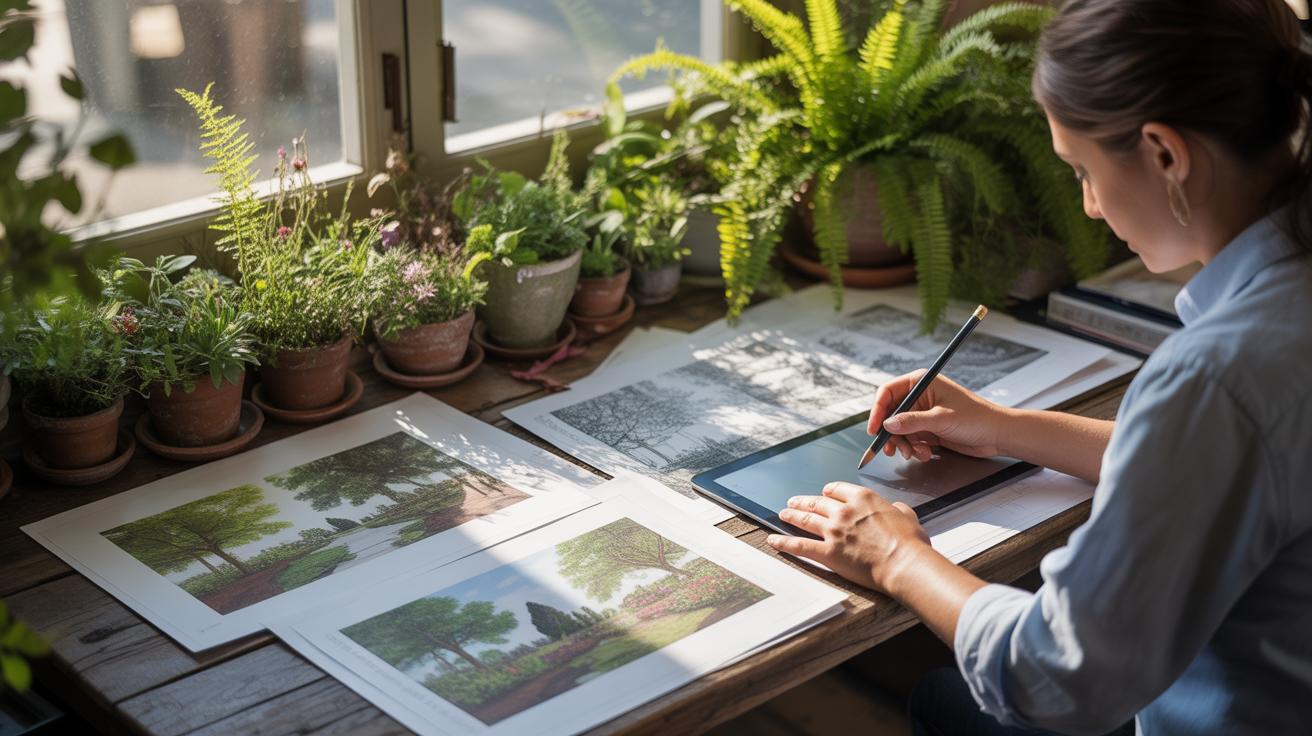
Test Layout with Small Areas
Setting a Test Plot
Start by choosing a small section of your garden that represents the wider growing conditions you expect. It should have similar soil type, sunlight exposure, and drainage as the larger space you plan to use. This doesn’t have to be perfect, but as close as possible, because the goal is to mimic the main area without investing everything upfront. Clear weeds and work the soil like you would for the entire garden. Think of this as a mini-experiment—treat it seriously, but also be ready to make changes.
You might pick a 4×4 foot square or even smaller, depending on what you’re growing. This area should be manageable in a couple of hours, so you can keep a close eye on it without getting overwhelmed. Setting it up will give you a hands-on feel for spacing, sun patterns, and how different arrangements impact growth.
Observing and Adjusting
Once your test plot is planted, watch closely for signs that suggest your layout needs tweaking. Is one plant struggling to get sunlight while another looks crowded? Are certain spots drying out faster, or perhaps staying soggy? Notice patterns in growth—uneven leaves, slow sprouting, or leaning stems can all hint at issues. Soil compaction, too, can sneak up on you if paths or foot traffic compress parts of the bed.
Give yourself a few weeks before making big changes, but don’t wait too long. It’s sometimes frustrating to wait and watch, but adjusting early saves headaches when scaling up. You might find that swapping rows around or widening the spaces makes a difference. Keep notes—sometimes small shifts in layout lead to surprisingly better health and yields. Maybe your instinct gets challenged by what the plants actually show you. That’s the point, really: trust your observations more than any initial plan. After this, when you expand, you’ll already have a better idea of what works and what to avoid. So, start small, watch carefully, and don’t be afraid to change your mind.
Conclusions
Garden planning errors often happen because of poor spacing or ignoring sun patterns. These mistakes reduce plant growth and increase work. Taking time upfront to plan your layout can save problems later.
Think about how plants grow and interact. Make a clear plan and follow it step by step. Avoiding common mistakes will help you build a thriving and healthy garden that fits your space and needs.