Introduction
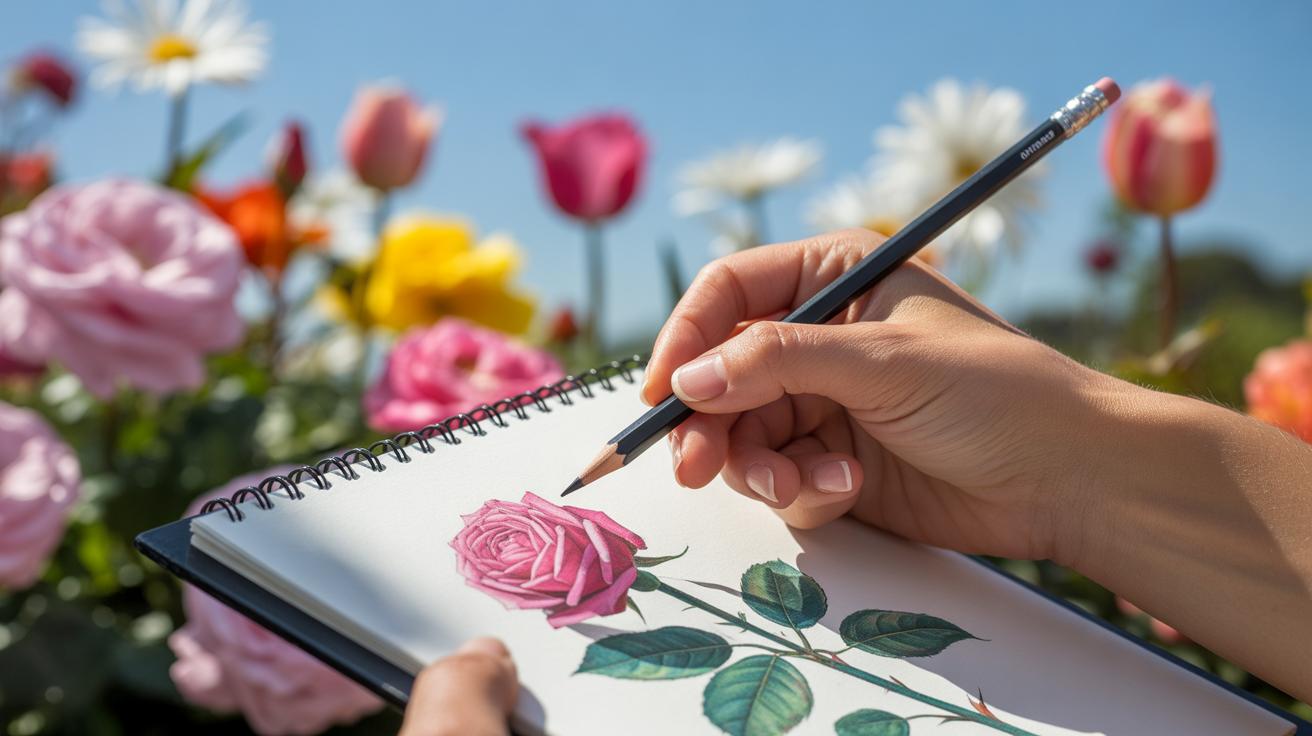
Nature art drawings that capture wildlife offer a unique window into the beauty and complexity of the natural world. This form of art uses pencil, ink, or other traditional drawing tools to create lifelike images of animals and natural landscapes. These drawings allow you to see the fine details of wildlife, from feathers to fur texture, conveying a realistic and intimate connection with nature.
This article describes what makes an effective wildlife nature drawing. You will explore the history and styles that influence these drawings. You will also learn about practical drawing techniques to capture rich and precise detail. By the end, you will understand how artists bring wildlife to life on paper through observation, skill, and artistic choices.
What Defines Wildlife Nature Art

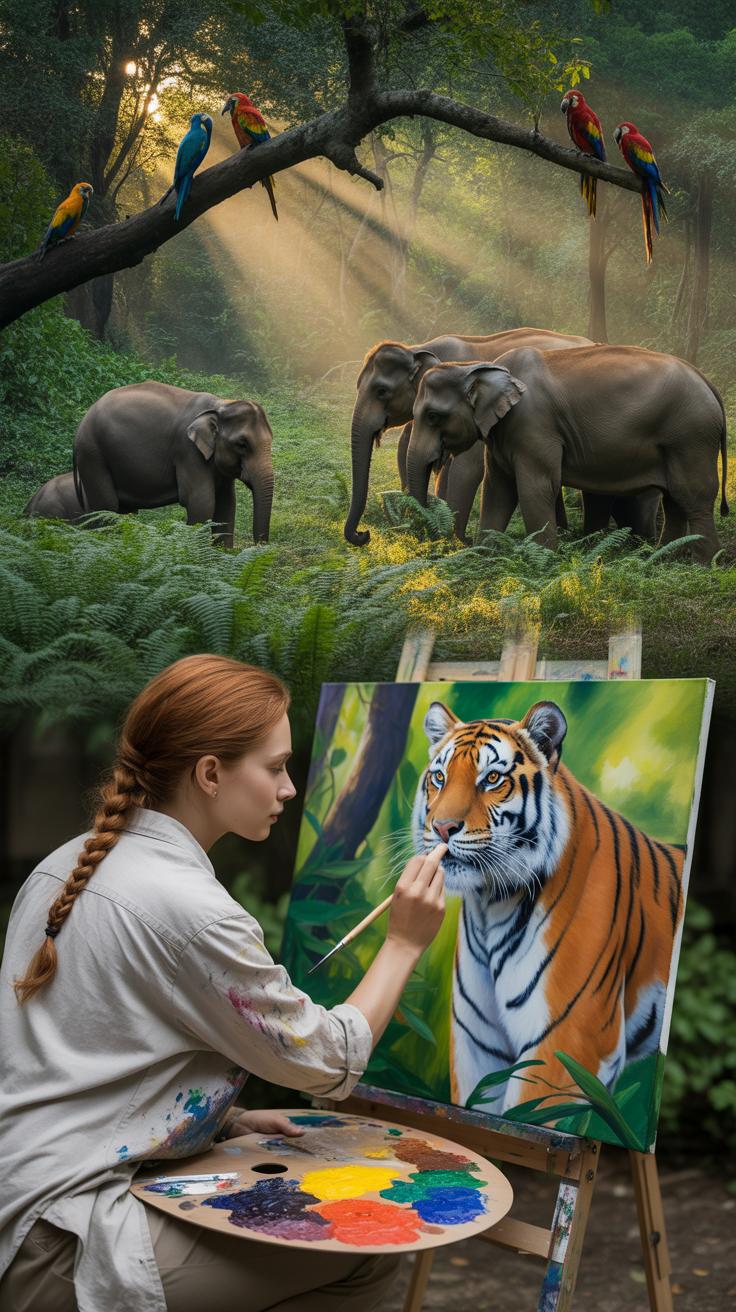
Wildlife nature art drawings focus on capturing animals and their natural habitats, aiming for a balance between accuracy and artistic expression. These drawings don’t just replicate what we see; they interpret it, showing details that might otherwise go unnoticed. Artists often study their subjects extensively, whether through photographs, field observations, or research. The goal is often to reflect a species’ character or environment without losing a sense of life or movement.
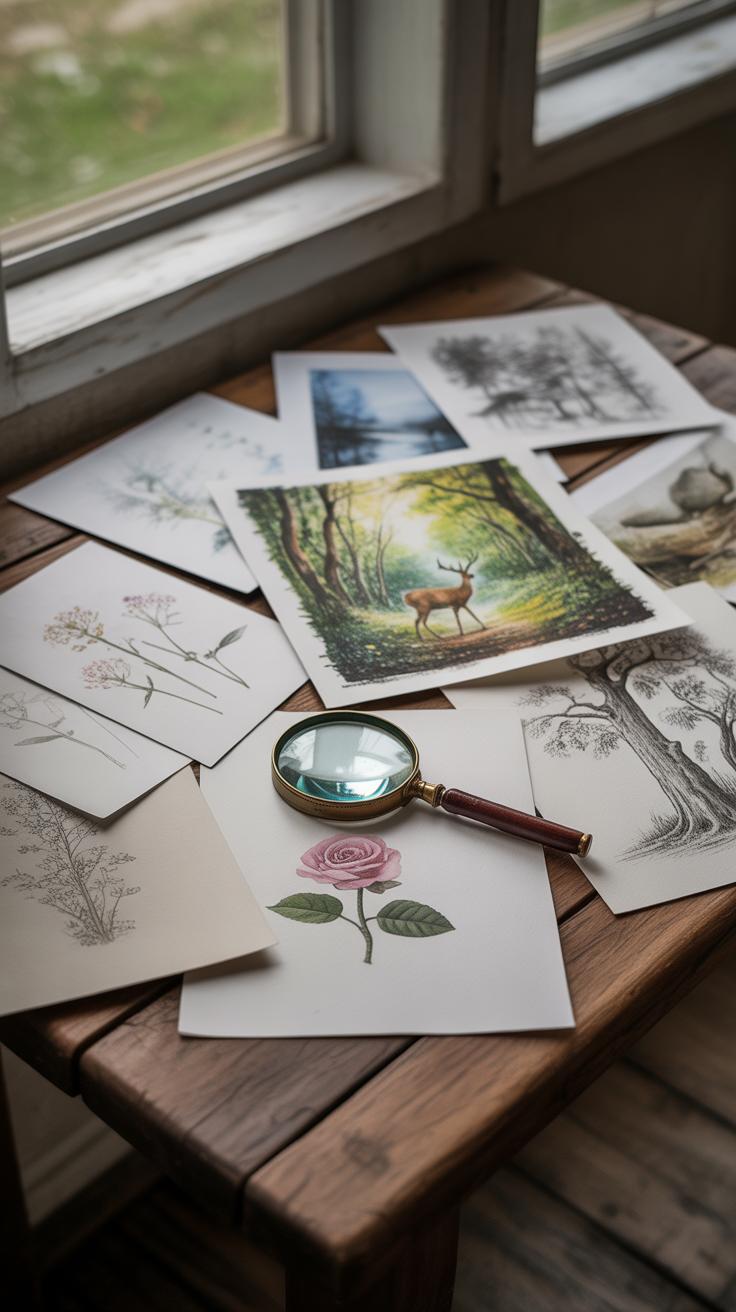
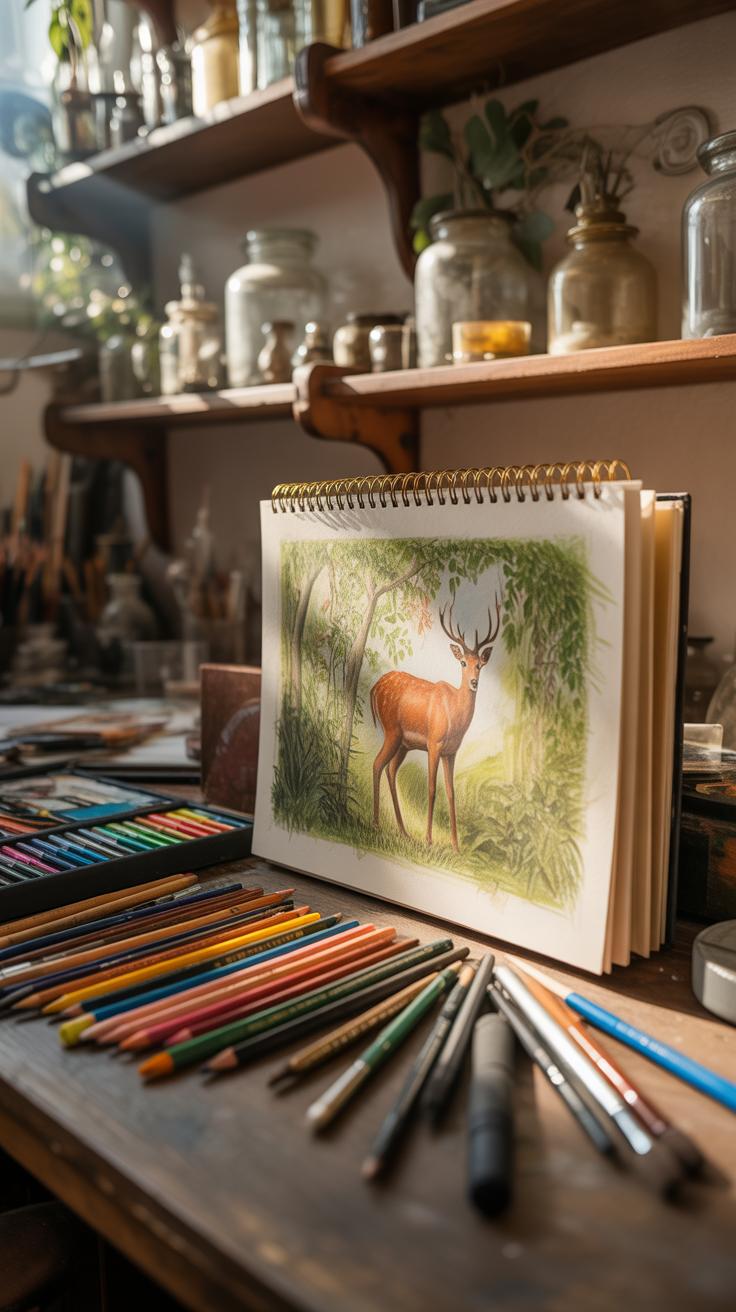
This kind of art appeals because it invites you to look closer, to understand the intricacies of the animal world. It’s not just about pretty pictures but about connecting you with nature. You might find yourself wondering about the story behind a deer’s gaze or the delicate veins on a leaf. Each drawing can open a small window into a world that often feels far away, yet is so tangible when you see it detailed on paper.
Common Subjects in Wildlife Drawings
Typical subjects range across many types of fauna and flora, including:
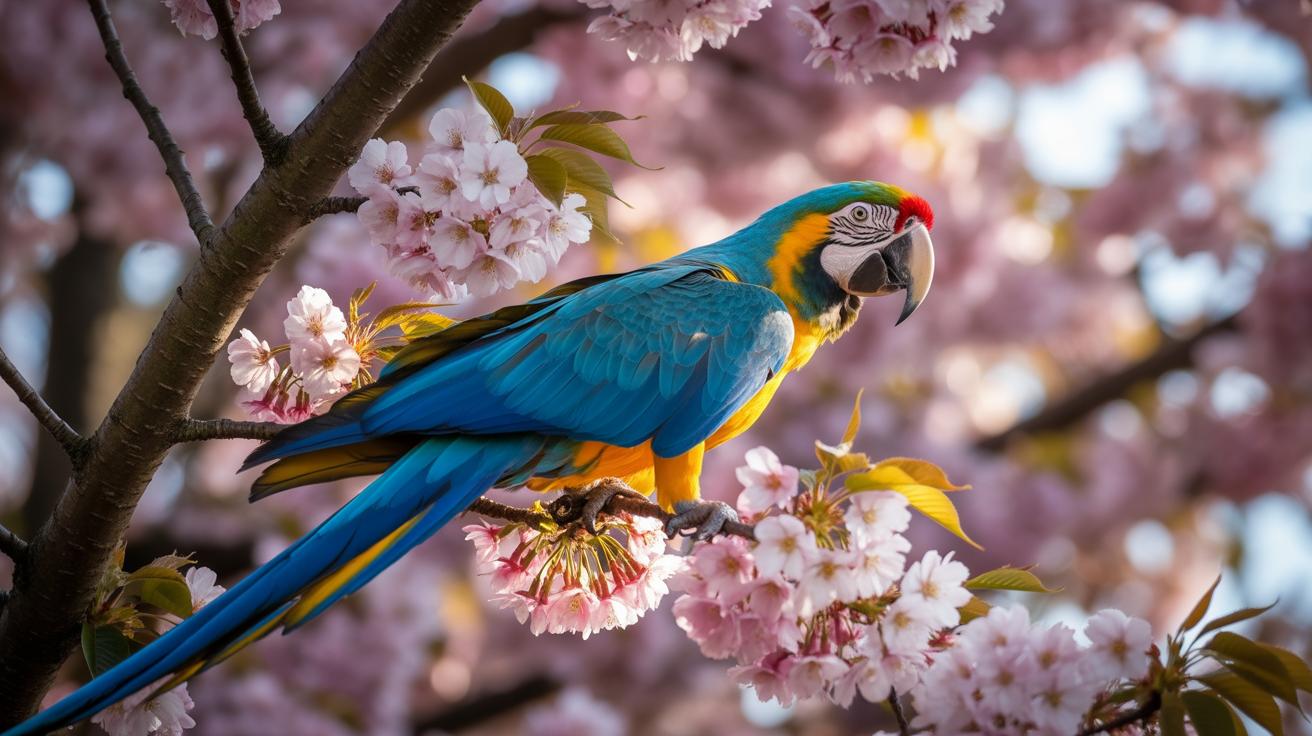
- Birds, often ones with striking plumage like owls or hummingbirds, because of their dynamic poses and colors.
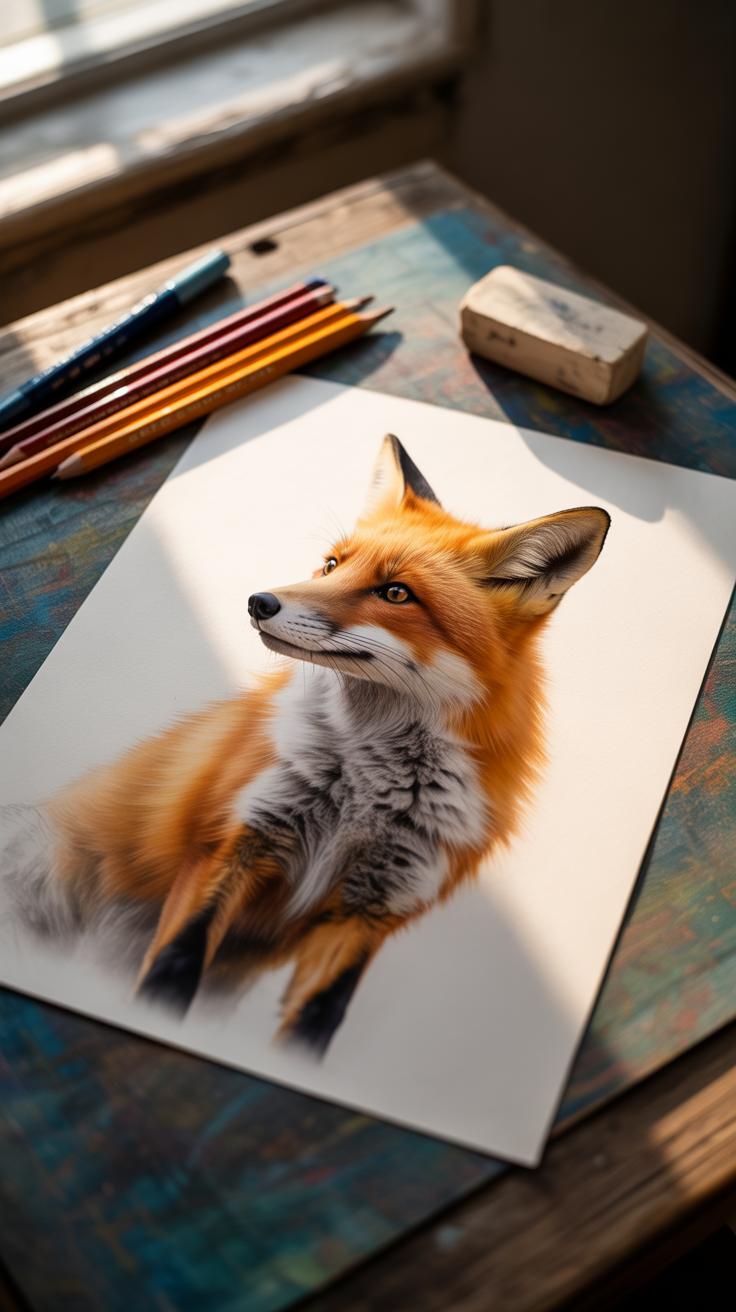
- Mammals, from large predators such as wolves and bears to smaller creatures like rabbits or foxes.
- Insects, which challenge artists with intricate patterns and textures, such as butterflies or dragonflies.
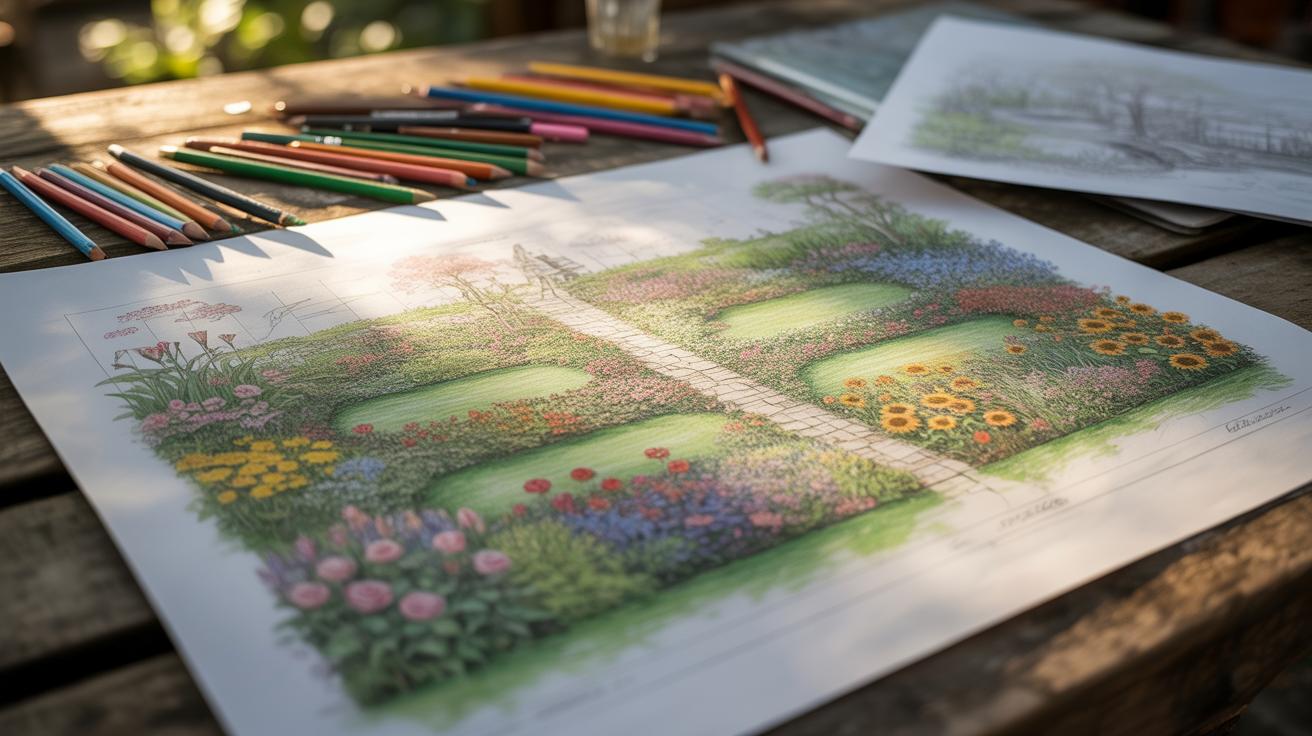
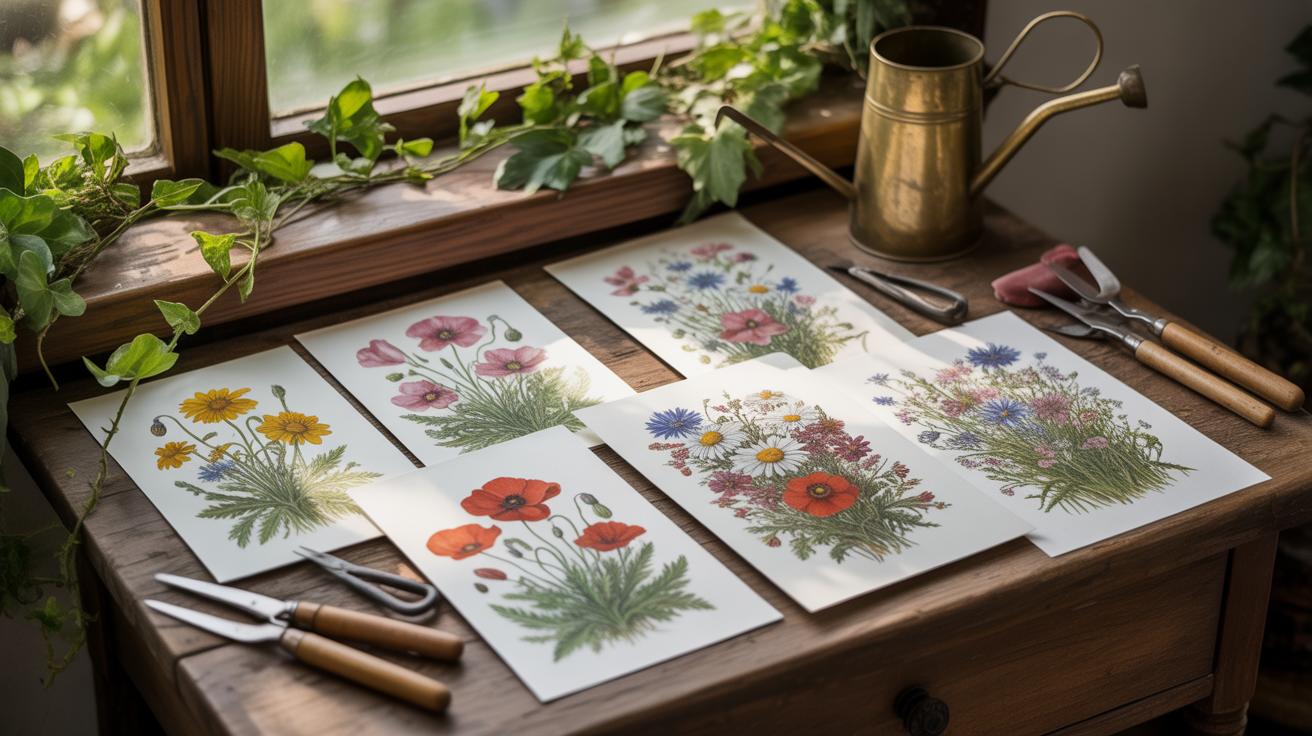
- Plants and trees, sometimes drawn to provide context or as standalone studies emphasizing natural forms.
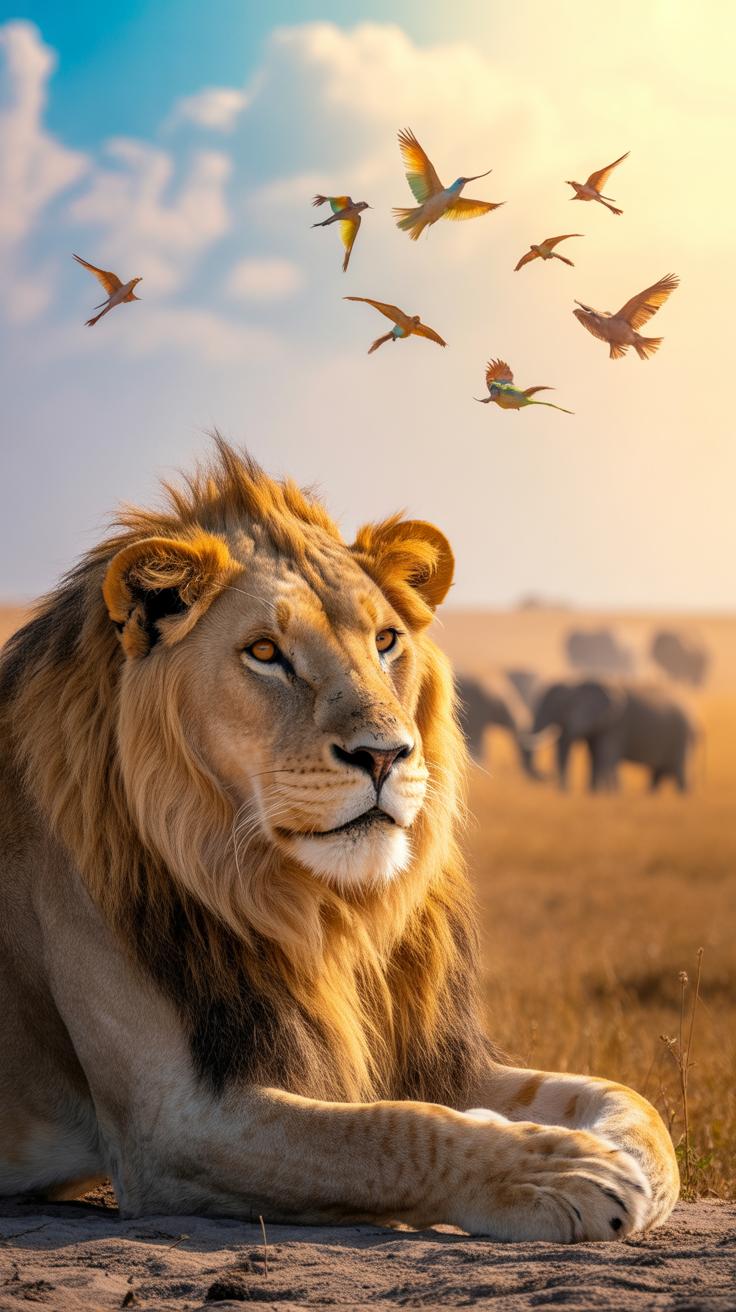
- Natural settings that show an animal’s environment, such as wetlands, forests, or deserts.
Artists might pick a subject because it’s familiar and comforting, or maybe because it’s rare and demands attention. For example, someone might sketch a bald eagle to embody strength, or a monarch butterfly to highlight fragility. Each choice reveals a different relationship with nature.
How Realism Enhances Wildlife Art
Realism plays a key role in wildlife drawings by lending credibility and inviting empathy. Details like the texture of fur or the glint in an eye help make the subject feel alive. When you see a drawing that pays attention to tiny features—say, the curve of a bird’s beak or the layering of feathers—it becomes easier to appreciate the creature on a deeper level.
Still, these details can feel overwhelming if overdone. Some artists choose subtle touches to hint at movement or mood instead of strict photorealism. The challenge is in finding the right balance—too much precision might turn the drawing into a cold study, too little might lose the sense of wildlife altogether.
In the end, realism helps viewers engage by grounding the art in something they recognize. It kind of invites you to pause and maybe think about these animals and environments as real, vulnerable, and worth noticing beyond a quick glance.
History and Styles of Nature Art Drawings
Past to Present in Wildlife Art
When you look back at the earliest art, like cave paintings in Lascaux or Chauvet, you see some of the first attempts to capture animals. These images weren’t just decoration—they hint at a deep fascination with wildlife. The figures are often simple yet evocative, maybe because the artists couldn’t rely on tools for precision, or maybe because their focus was storytelling rather than realism.
Moving forward, the Baroque period brought a different approach. Artists such as Frans Snyders carved out detailed, dynamic animal scenes filled with energy and drama. The emphasis shifted toward portraying not just the animal but its environment and behavior. These painters made wildlife almost theatrical, emphasizing movement and emotion.
It’s interesting how this focus on drama slowly gave way to accuracy. That transition mirrors society’s changing relationship with nature—less symbolic, more observational. As you trace this path, you start to sense a growing desire to study animals closely, not just paint them as part of grand scenes.
Modern Techniques Influencing Nature Drawing
In more recent times, the rise of photography and scientific study has transformed how artists depict wildlife. Rather than general impressions, many artists now work almost like naturalists, blending art with biology. Take for example Robert Bateman, whose work is meticulous and informed by firsthand animal observation.
Environmental concerns also shape this modern shift. Artists increasingly use drawing to raise awareness or document endangered species. Some merge drawing with mixed media or digital tools to push boundaries.
You might notice contemporary nature art sometimes embraces minimalism or abstract forms, which contrasts older, detailed styles. It’s a curious tension: the urge to document with precision coexists with a search for new ways to express the spirit of wildlife. It makes you wonder—what will wildlife art look like a century from now?
Key Techniques to Realize Wildlife Detail in Drawing
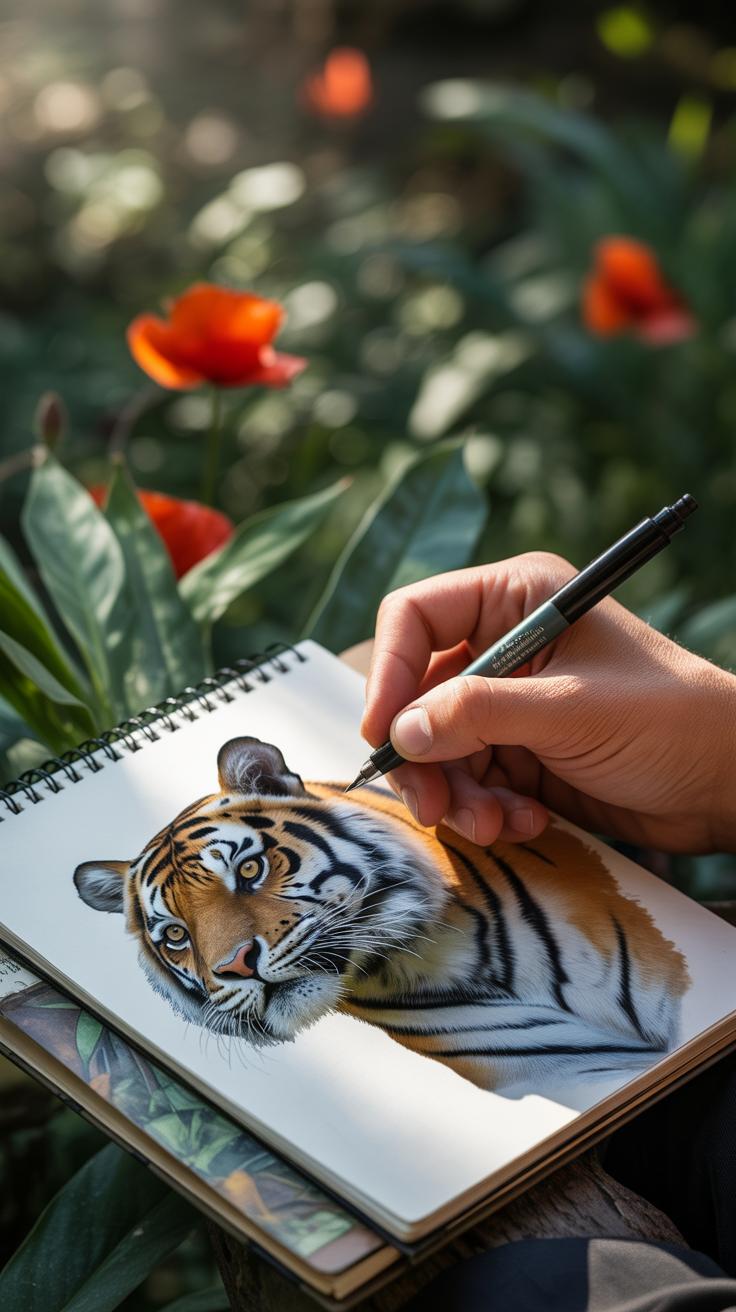
Capturing wildlife detail in drawing really demands attention to the subtle qualities of the animal’s surface—be it fur, feathers, or skin. Line work is often your starting point. Using a variety of strokes—short, quick lines for fur or soft, flowing curves for feathers—helps suggest texture without overworking the drawing. Sometimes, overlapping lines can create a sense of roughness, while long, smooth strokes depict sleekness. It’s almost like translating touch into vision.
Stippling is another method worth exploring. Small dots placed carefully build up tonal variation and fine texture. It’s time-consuming, yes, but it avoids harsh edges and can add life to delicate details like the soft fuzz on a bird’s chest or rough scales of a reptile.

Shading then layers depth onto these textures. Observing where the light hits, where shadows fall, creates three-dimensionality. You don’t just darken an area; you consider edges—hard or soft—and the gradual shifts in value. Planning shading in steps helps: start light, adjust pressure gradually, and remember that sometimes less is more. Overdoing it can flatten the image instead of adding depth.
How do you decide where to focus your details? Often, the eyes, the nose, or paws tell the story of the animal’s character first. Building texture and depth there creates a foundation that can let looser detail elsewhere still feel convincing. Drawing wildlife is an exercise in patience and selective precision. You learn to choose your battles on the page, leaving some elements suggestive rather than fully rendered.
Choosing Your Tools for Wildlife Drawing
Graphite and Charcoal for Detail and Contrast
Graphite pencils remain a classic choice for capturing the fine details of animals and their surroundings. You can vary hardness from hard (H) to soft (B) to get different effects—harder pencils are great for subtle lines, while softer ones create deeper shadows. I find it useful to keep a range: a 2H for light textures, and a 6B or 8B when I want bold, dark contrasts that make feathers or fur stand out. Charcoal tends to be messier but brings a richness and spontaneity that graphite can’t always match. It’s excellent when you want strong contrasts and a more expressive feel, like emphasizing the play of light over a rough tree bark or rugged animal hide.
Choosing between these often depends on what you want from the drawing: precision and subtlety with graphite or energy and depth with charcoal. Many artists mix both to balance detail with mood.
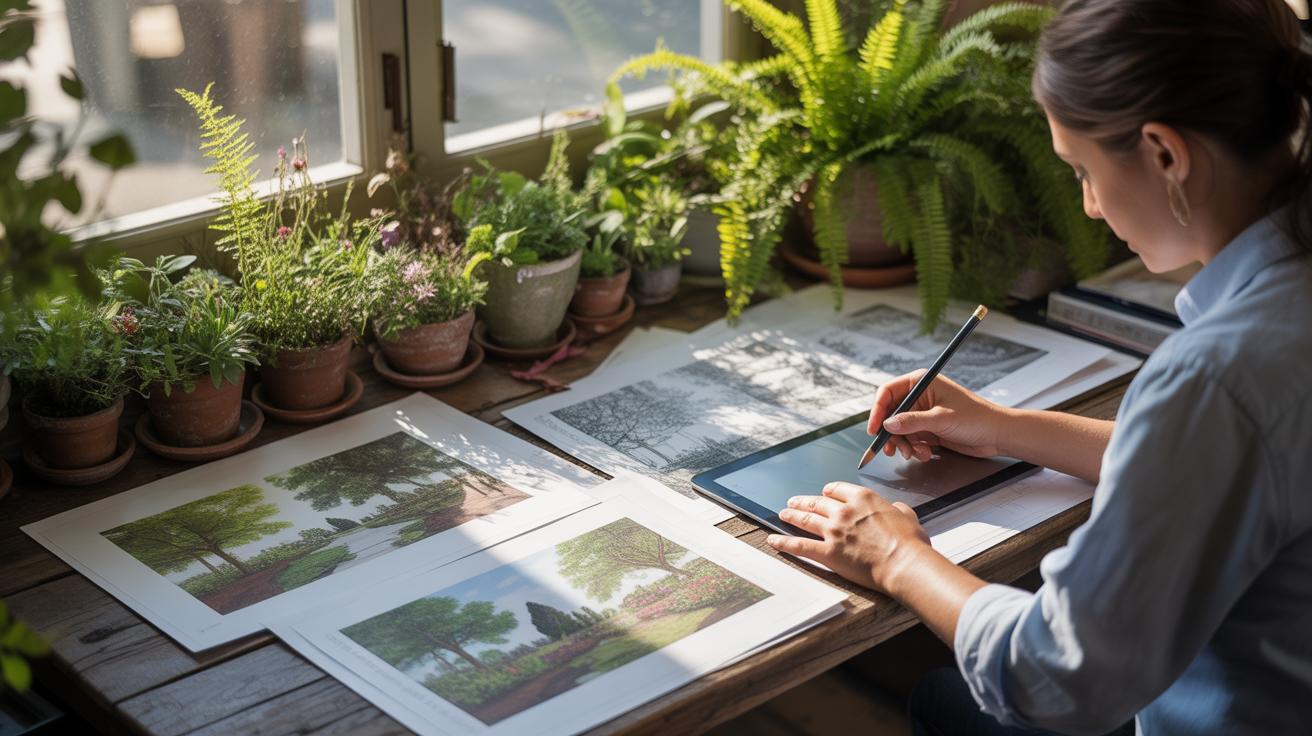
Digital Drawing Tools for Modern Artists

Digital tools have changed the game for nature drawing. Using a stylus with drawing tablets or screens gives flexibility that traditional materials don’t. You can undo mistakes instantly—something that was once a source of frustration for me every time I missed a tiny detail. Software lets you work in layers, which means you can build textures or shadows separately without fear of ruining the entire drawing.
Programs often come with brushes that mimic graphite, charcoal, or ink, so the transition feels natural. Plus, digital allows quick color adjustments if you decide the animal’s fur should be warmer or cooler in tone after the fact. That said, some artists miss the tactile sensation of real pencils or sticks. The choice often comes down to personal preference and the type of work you want to create—whether it’s a quick field sketch or a carefully layered study.
Step by Step Wildlife Drawing Process
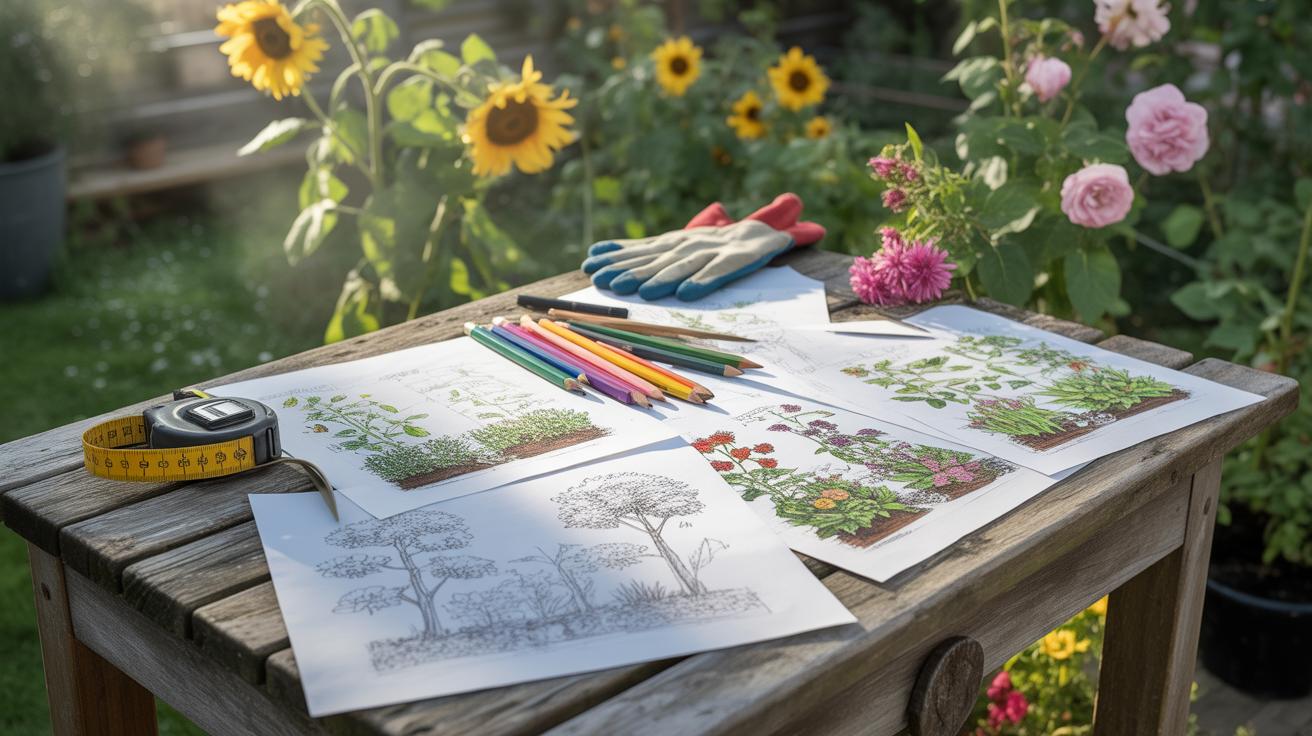
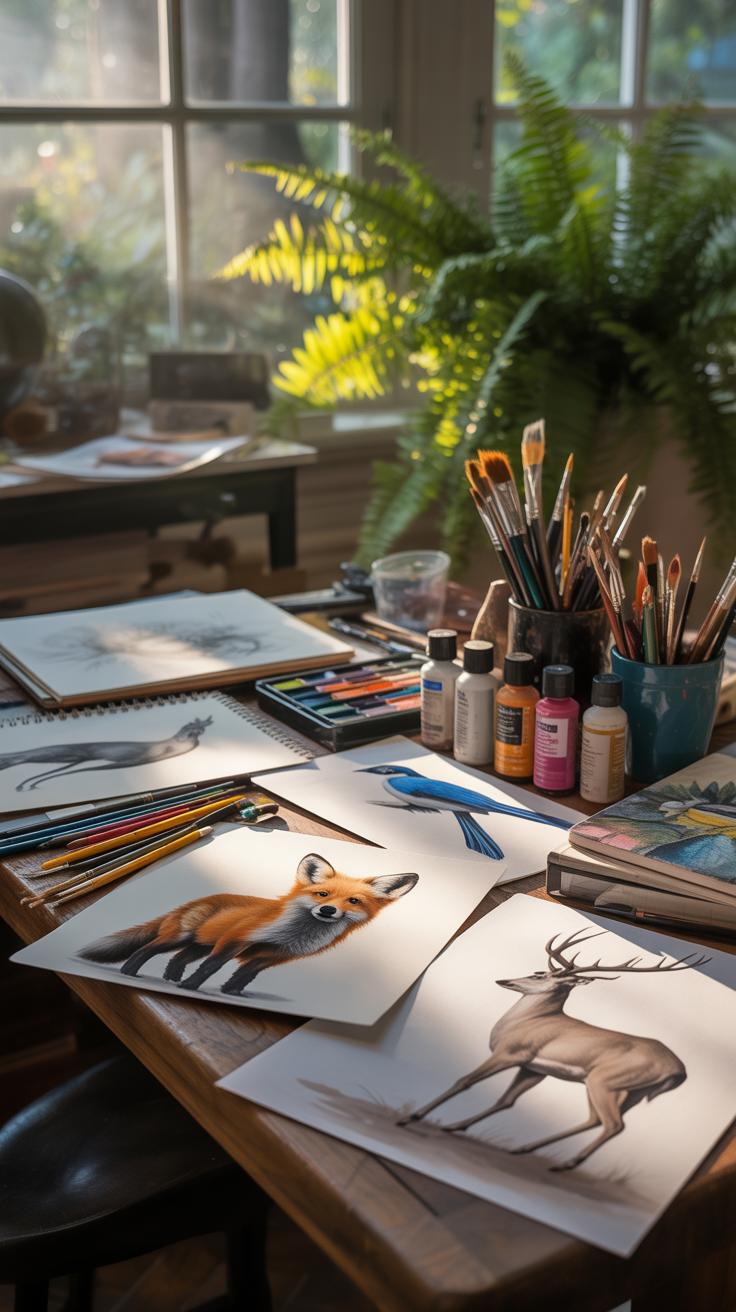
Planning and Sketching the Outline
Start by setting up your workspace with natural light if possible, keeping your materials close. Before touching pencil to paper, spend some time observing your subject carefully. Notice the main shapes: is the animal’s body more oval, rounded, or angular? Don’t rush this part. Trying to capture the general proportions instead of details helps prevent frustration later—oddly, many artists skip this and regret it.
Next, lightly sketch those basic shapes—circles for heads, lines indicating limbs, and simple contours for the body. Get those rough edges down first. It’s okay if it looks messy; you’re mapping out structure here. Focusing on the general posture and balance is more meaningful than obsessing over one feature at this stage. When you feel the proportions are roughly right, you’ll have a good foundation to build on.
Refining Details and Adding Texture
Once the outline feels solid, begin sharpening important features. Think about what makes the animal distinct: the curve of its jaw, the sharpness of its eyes, the outline of fur patches. Don’t jump straight into heavy shading—start with light strokes to layer depth gradually.
Adding texture takes patience. Use short, deliberate pencil strokes to mimic fur or feathers, paying close attention to the direction they grow in. Sometimes, highlighting a single whisker or feather can breathe life into the drawing. It might feel tedious at moments, but these little touches impact realism more than you’d guess.
The final touches—darkening shadows or emphasizing subtle highlights—should come last. This helps avoid flattening the image too soon and keeps your drawing lively. I’ve found that stepping back occasionally helps spot areas needing more finesse or correction. Does the eye look alive? Is the texture convincing? Sometimes, less detail can say more, so trust your judgment as you finish.
Workflow Checklist for Wildlife Artists
When you start a nature art drawing, having a clear step-by-step process can make a big difference. It’s easy to get lost in details or overlook something important if you don’t have a routine. Here’s a checklist that might help you stay on track while capturing wildlife with precision.
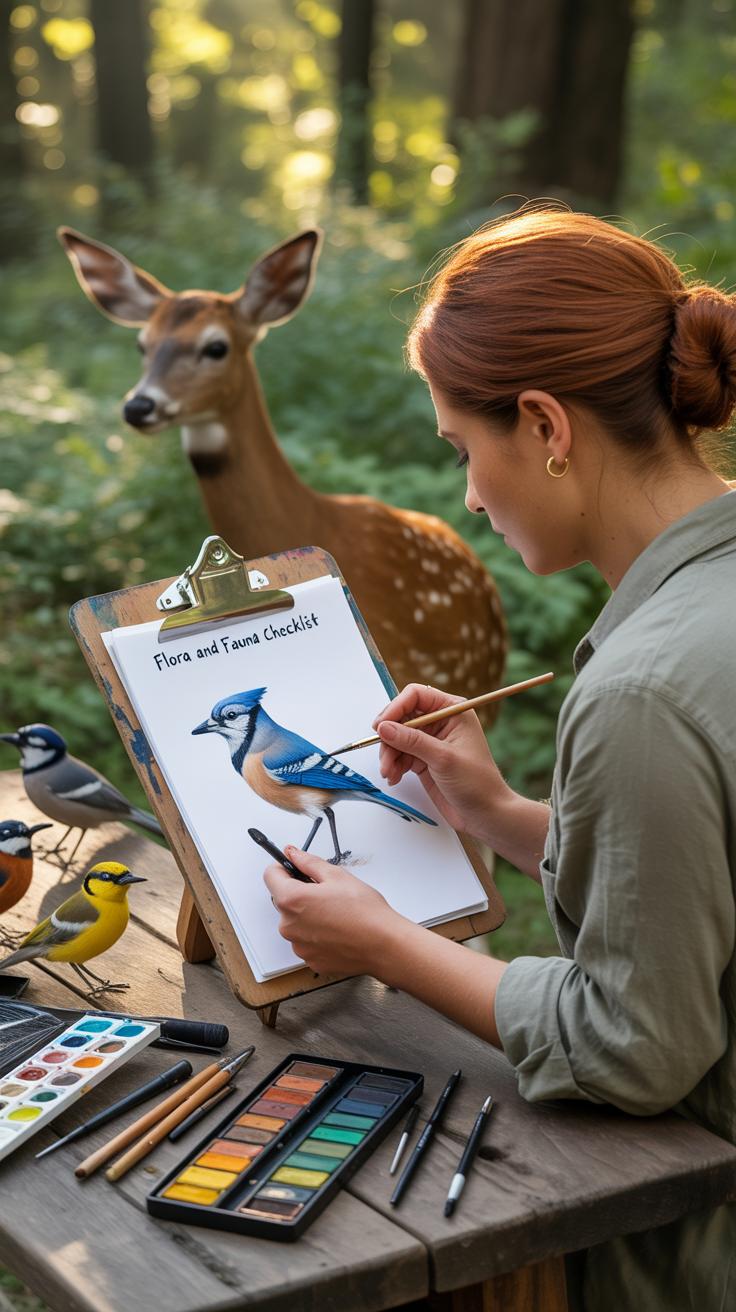
Observation and Reference Gathering
Before you even touch a pencil, gather plenty of solid references. This means:
- Collecting high-quality photographs—not just any images, but those showing your subject from multiple angles and under different lighting.
- Making quick field sketches if you have the chance to observe animals in nature; even rough outlines add a layer of understanding that photos sometimes miss.
- Noting environments and behaviors: a bird perched quietly looks different from one in flight, and those subtle shifts matter.
- Watching videos can help; movement reveals muscle tension and feather positioning in ways a single frame cannot.
Don’t rush this phase. Sometimes I think spending more time observing feels almost like cheating—but it’s really just preparation.
Drawing Execution and Review
Once you begin your actual drawing, continually step back and reassess. Here’s a few tips to keep things balanced:
- Start with light, loose outlines before committing to hard lines—this gives some breathing room to adjust proportions.
- Check anatomical accuracy against your references often. Don’t settle for “close enough”—you know the feeling when something looks just a bit off.
- Work in layers of detail. Lay down broad shapes first, then build textures gradually rather than all at once.
- Use breaks to rest your eyes. Step away, then return with fresh vision to catch mistakes or spots needing more nuance.
- Sometimes, adding a detail early can throw off perspective, so be flexible and willing to erase or redraw sections.
What frustrates me most during this part is fighting the urge to rush through details that really deserve patience. Yet, avoiding overworking areas is just as tricky—finding that fine line is something I’m always chasing.
Common Mistakes in Wildlife Drawings to Avoid
One challenge in wildlife drawings is getting the animal proportions right. Many artists, myself included at times, struggle with awkward legs or oversized heads that just don’t match the species. It’s easy to look at an animal and assume what feels right, but that often leads to subtle errors that throw off the whole piece. A useful method is measuring key body parts against each other—like comparing the length of the torso to the legs or the width of the shoulders to the head. You can use your pencil as a measuring stick, holding it up to your reference and transferring those marks to your drawing. This might feel a bit mechanical, but it helps avoid guesswork.
Sometimes, the more technical measurements clash with the fluid expression you want in your art. That’s okay. You just have to find balance, letting the anatomy guide you without killing the life in the drawing.
Then there’s the issue of flat textures and shading. Wildlife isn’t one-note—fur, feathers, scales all have layers and depth. Too often, drawings look dull because shading is applied evenly or without variation. Treat your shadows more like overlapping shells rather than a single blanket of gray. Building contrast gradually with multiple layers, paying close attention to how light hits the animal’s body, makes a huge difference. Using harder and softer pencils or mixing techniques can add richness. I remember struggling for hours on a fox’s fur, then realizing a few extra, carefully placed darker strokes near the neck and underbelly created the illusion of depth I’d been missing.
Are you pushing your shadows far enough? Are you capturing the slight curve of muscle under the fur? These details break flatness and make wildlife drawings come alive. It’s a slow push and pull, balancing technical accuracy with artistic intuition, but it’s what turns a sketch into something truly engaging.
Comparing Wildlife Drawing Styles
When you look at wildlife art, the style chosen drastically shapes how you experience the subject. Realism pulls you into a world of details—each feather, muscle, or glint in an eye is almost tangible. It’s about showing the creature as it is, or close to it. This style asks you to stop and really observe, maybe even learn something precise about the animal’s form or behavior. You almost feel as if you could reach out and touch the fur or feel its breath.
On the other side, abstraction or impressionism offers a different invitation. These styles tend to focus less on exact appearance and more on evoking a mood or feeling connected to the animal. Think of broad, sweeping lines or unexpected colors that hint at movement or spirit instead of shape. Your mind fills in gaps; the art becomes a conversation rather than a straightforward answer.
Each approach has its own artistic goals:
- Realism aims to inform and fascinate with accuracy.
- Abstract styles provoke emotion and personal interpretation.
Take John James Audubon, for instance, whose lifelike bird illustrations show intense observation and craftsmanship. His images almost function like natural history records. Contrast that with Charley Harper, who uses geometric shapes and flat colors to create animals that feel fresh and playful yet still recognizable. Harper’s style makes you pause and think about what defines an animal beyond just its form.
Both artists share a deep respect for wildlife but choose different ways to express it. You might find yourself drawn to the technical skill of realism or the imagination sparked by abstraction. Maybe your preference even shifts depending on your mood or what you’re hoping to get from the artwork—information, inspiration, or simply a feeling. So, which style speaks most clearly to you right now?
How Wildlife Art Supports Conservation Efforts
Wildlife art plays a unique role in conservation. When you see a detailed drawing of a rare animal, it often sparks curiosity or even concern. This emotional connection can lead to increased awareness about the species’ struggles in the wild. Artists like Robert Bateman have long dedicated their work to showcasing animals with such precision that viewers can’t help but pay attention. Their art becomes more than decoration—it’s a call to notice what might otherwise be overlooked.
Art also raises funds for conservation. Exhibitions featuring wildlife drawings often partner with charities, donating part of the sale proceeds to protect habitats or support rescue programs. For instance, the artist Bev Doolittle’s prints have been used to support wildlife refuges, creating tangible outcomes from something visual and inspiring.
Detailed drawings can educate as well. They reveal intricacies of anatomy and behavior that photos might miss or simplify. When a drawing illustrates a bird’s feather patterns or an animal’s muscular structure, it can deepen understanding and respect for that creature. This, in turn, encourages people to think about how their actions impact ecosystems. Maybe art alone won’t save a species, but it certainly can open eyes—and that’s a meaningful start.
Inspiring Examples of Wildlife Artworks
Highlighting a Famous Wildlife Drawing
One drawing that often comes up in conversations about wildlife art is Robert Bateman’s study of a great horned owl. Bateman’s work stands out because of its careful layering of texture and the life in the owl’s eye—there’s something about the way he captures that sharp gaze. The composition places the owl slightly off-center, which creates a natural sense of tension and invites the viewer to imagine what the bird might be watching. The detailed feathers show a mix of fine cross-hatching and smooth shading, which makes the plumage look both soft and tangible. What really draws attention is his use of subtle light contrasts—those shadows under the wings and across the face give the drawing depth, making the owl appear ready to leap off the paper.
Lessons from a Contemporary Wildlife Artist
Kristen Hughes, a contemporary artist known for her detailed graphite drawings of animals, often talks about patience in the creative process. She emphasizes that capturing accurate detail isn’t just about technical skill but about observing the subject closely, sometimes over many hours or even days. She suggests working in small sections to focus fully on texture and form without rushing. Hughes also recommends varying your pencil grades frequently, to get that richness and dimension. One thing I found interesting when watching her work is her use of negative space—not filling every inch but letting emptiness highlight the subject. It’s a practical approach you can apply right away if you feel overwhelmed by detail.
Conclusions
Nature art drawings that depict wildlife with detail combine observation, technique, and artistic expression. They offer more than a visual record; these drawings provide insight and appreciation of animal life. Through focused attention to line, texture, and form, artists bring nature’s subjects to vivid life.
For those interested in creating or collecting wildlife art, understanding the styles and methods revealed here can deepen your engagement. Whether simple or complex, nature drawings connect us to the environment in ways that engage both the eye and the mind. Next time you view a wildlife drawing, consider the skill and care behind each stroke.


