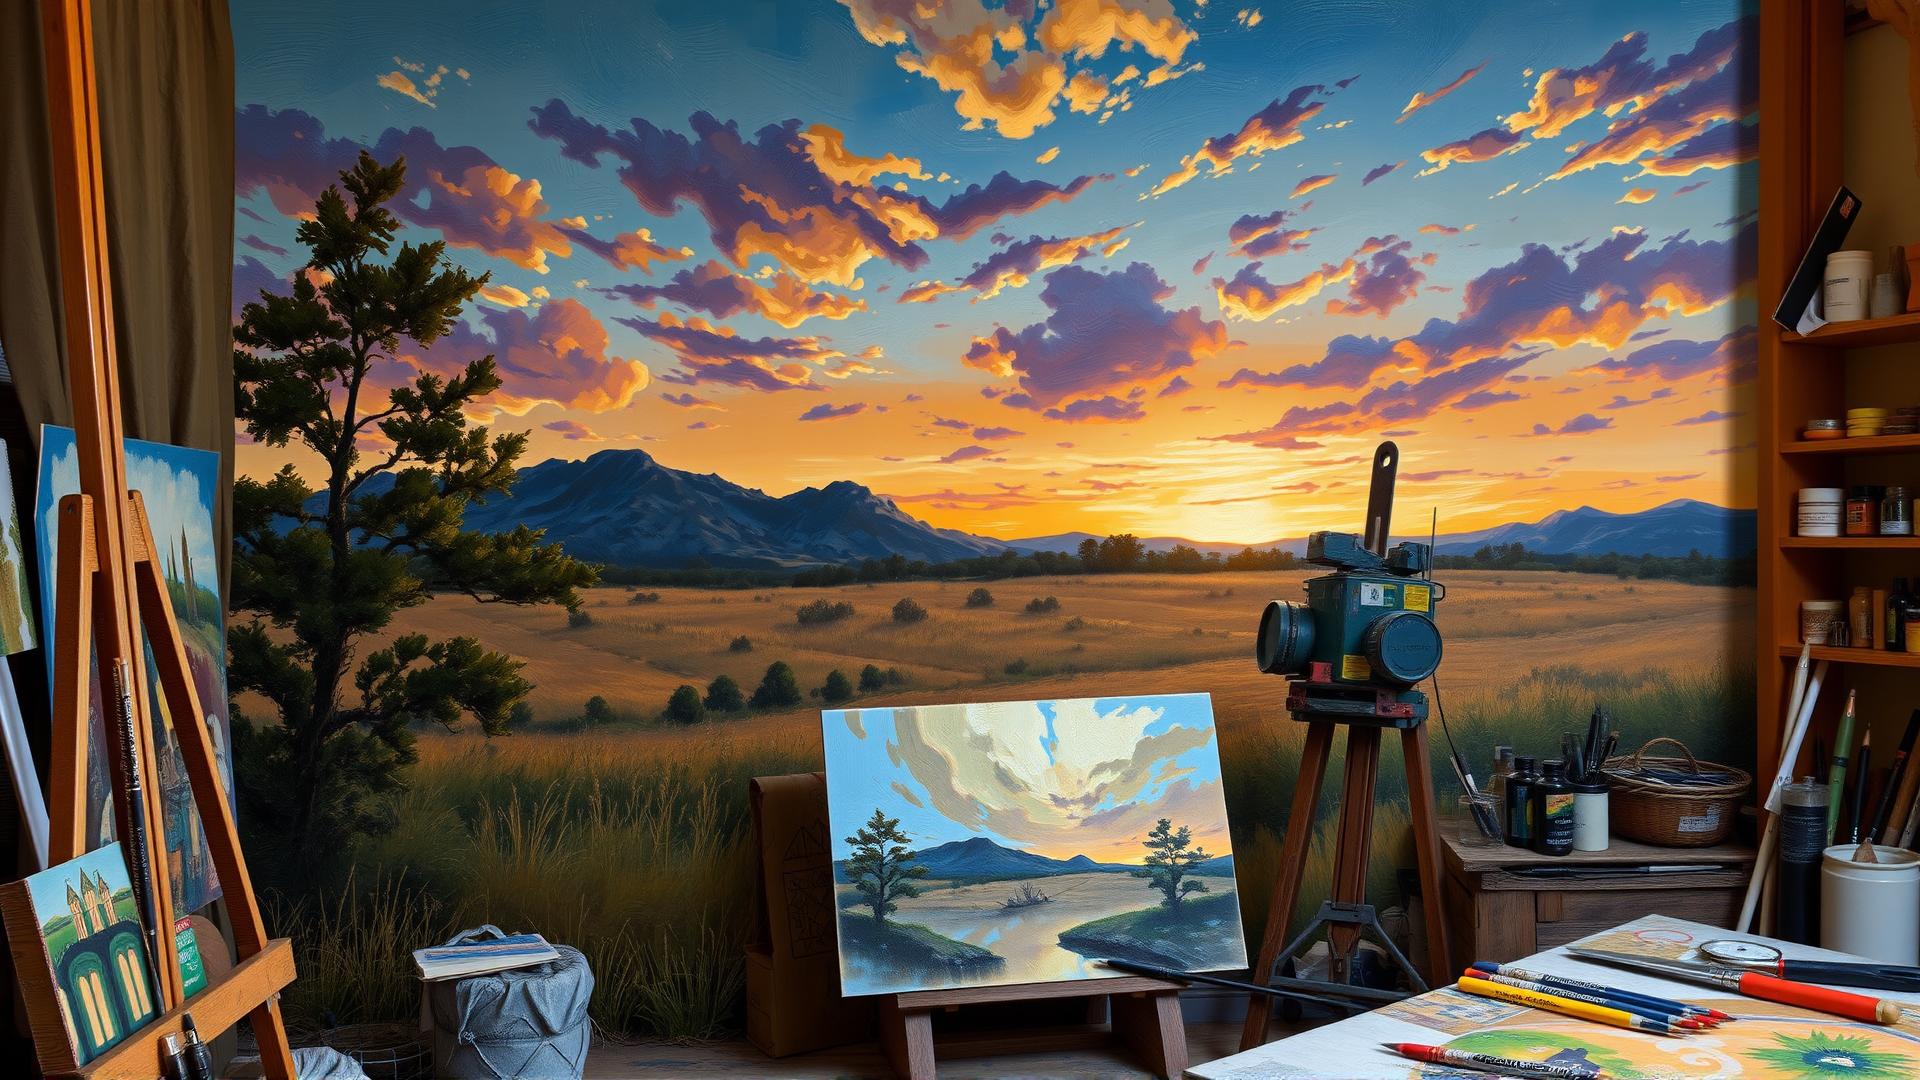
Mastering The 3d Galaxy Painting Aesthetic With Heavy Body Acrylics
Understanding Viscosity And Impasto In Universe Painting
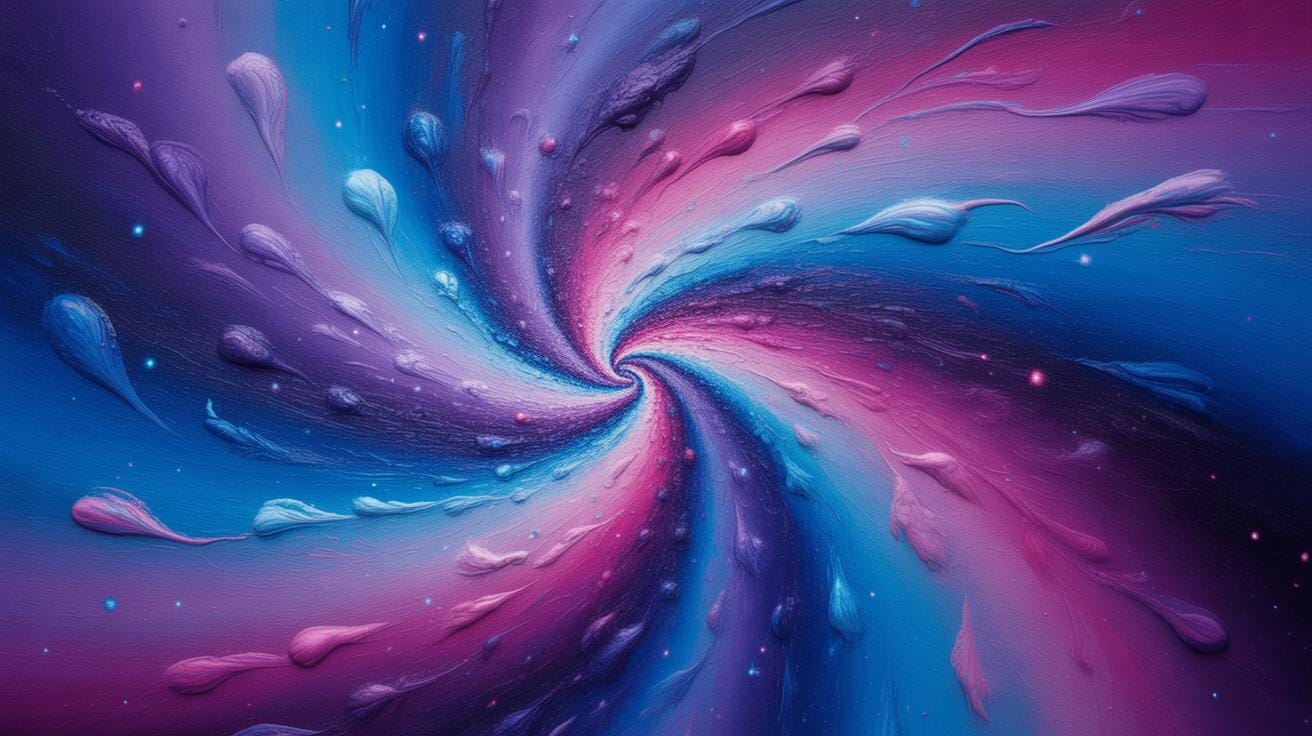
Heavy-body acrylics provide the thick texture needed for a successful Universe Painting. These paints feel like firm butter and keep their shape after you apply them. Artists use this thickness to create a physical surface that people can feel. This method is part of Art 3d because it moves beyond flat images. You can use large brushes or palette knives to build up high ridges on your canvas.
The impasto technique helps you craft deep voids and swirling stars that stand out. Students working on an Art Alevel project often choose thick acrylics to show skill with texture. Unlike watery paints, heavy-body colors do not flatten out as they dry. This keeps your Galaxy Painting looking bold and tactile. You create a real sense of depth by layering these thick materials over a solid base.
Selecting Colors For High Contrast Space Painting
High contrast makes a Space Painting look bright and powerful. You should start with a very dark background using Carbon Black or deep blue. These dark shades represent the empty parts of the sky. Then you can add bright magentas, purples, and cyans for the gas clouds. The thick paint keeps these light colors from mixing too much with the dark base. This creates a clean and professional Galaxy Art look.
You can apply these techniques to different surfaces like Styrofoam Art or a Galaxy themed paper cut. Using thick paint on a Planet Painting helps the round shapes look more realistic and heavy. The bright colors pop against the shadows to create a glowing effect. This simple approach ensures your cosmic scene looks vibrant. Your work will capture the mystery of the stars by using stark differences between light and dark values.
Essential Tools For Art 3d Techniques In Cosmic Artworks

Must Have Supplies For 3d Galaxy Painting Success
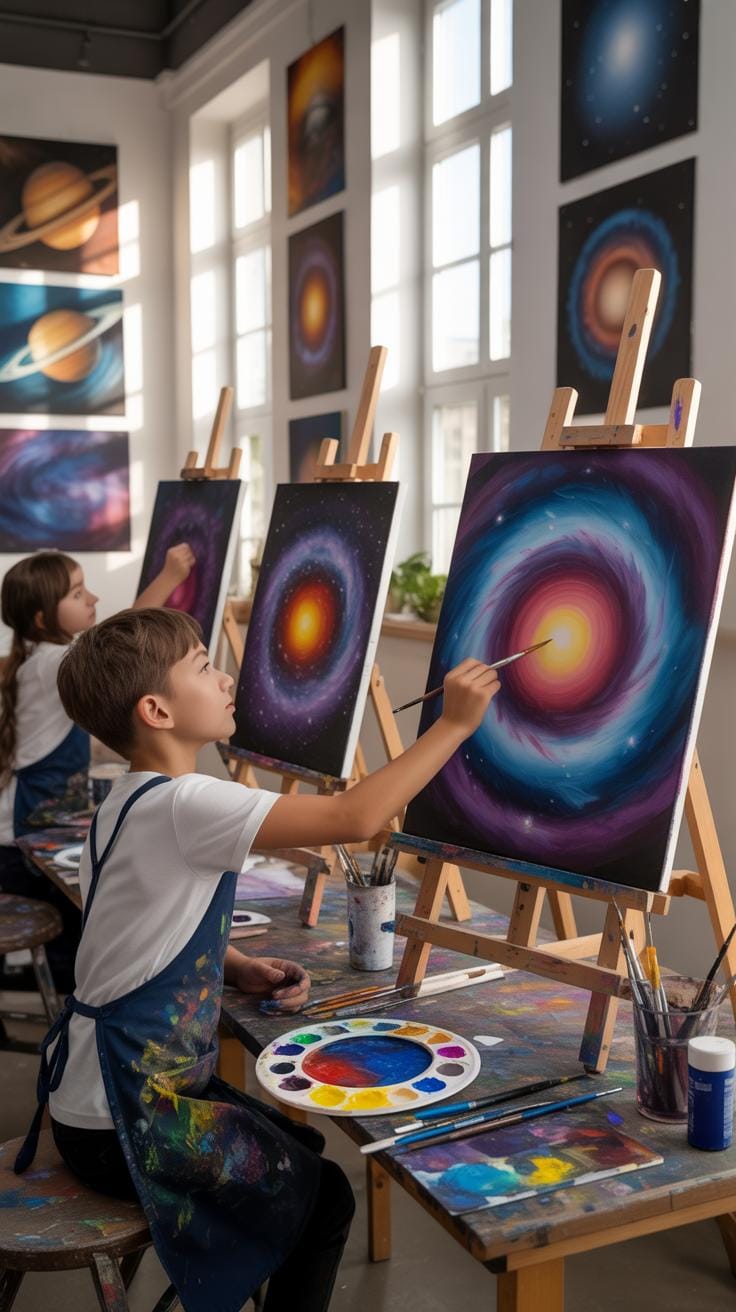
Creating a successful 3d galaxy painting requires foundational materials that hold their shape on the canvas. Artists working on Art Alevel projects often choose heavy-body acrylics because they stand up high and mimic realistic Universe Painting textures. You need surfaces that support weight, such as high-tooth canvas or wooden panels. These sturdy bases prevent warping when you apply thick layers for your Space Painting or Planet Painting designs.
- Heavy-Body Acrylics: These paints have a thick, buttery consistency that retains peak and brush marks. They are vital for Galaxy Painting because they do not flatten out as they dry on the surface.
- Palette Knives: Metal or plastic tools allow you to scrape and layer paint for textured Galaxy Art effects. Different shapes help you sculpt the deep ridges found in complex 3d galaxy painting works.
- Modeling Paste: This thick white medium adds significant bulk and height to your artwork. Mixing it with acrylics allows for Art 3d effects that look like Raised craters or swirling nebulae on the board.
- Stiff-Bristled Brushes: Natural hog hair or firm synthetic brushes move heavy paint effectively. These tools are necessary for Planet Painting techniques where you need to push thick media into specific circular shapes.
- Fine Liners: Small pointed brushes provide the control needed for star detailing. You use these to place tiny dots of white paint over your Galaxy Themed Paper Cut or painted cosmic background.
Sponges are also vital for soft nebula blending before you add thick 3d elements. They create the hazy gas clouds seen in traditional Galaxy Art and Space Painting. If you want to experiment, Styrofoam Art techniques provide a lightweight way to add large circular planets to your piece. Each tool serves a specific purpose in building the physical depth your cosmic project needs to stand out.
Using Palette Knives To Sculpt Galactic Voids
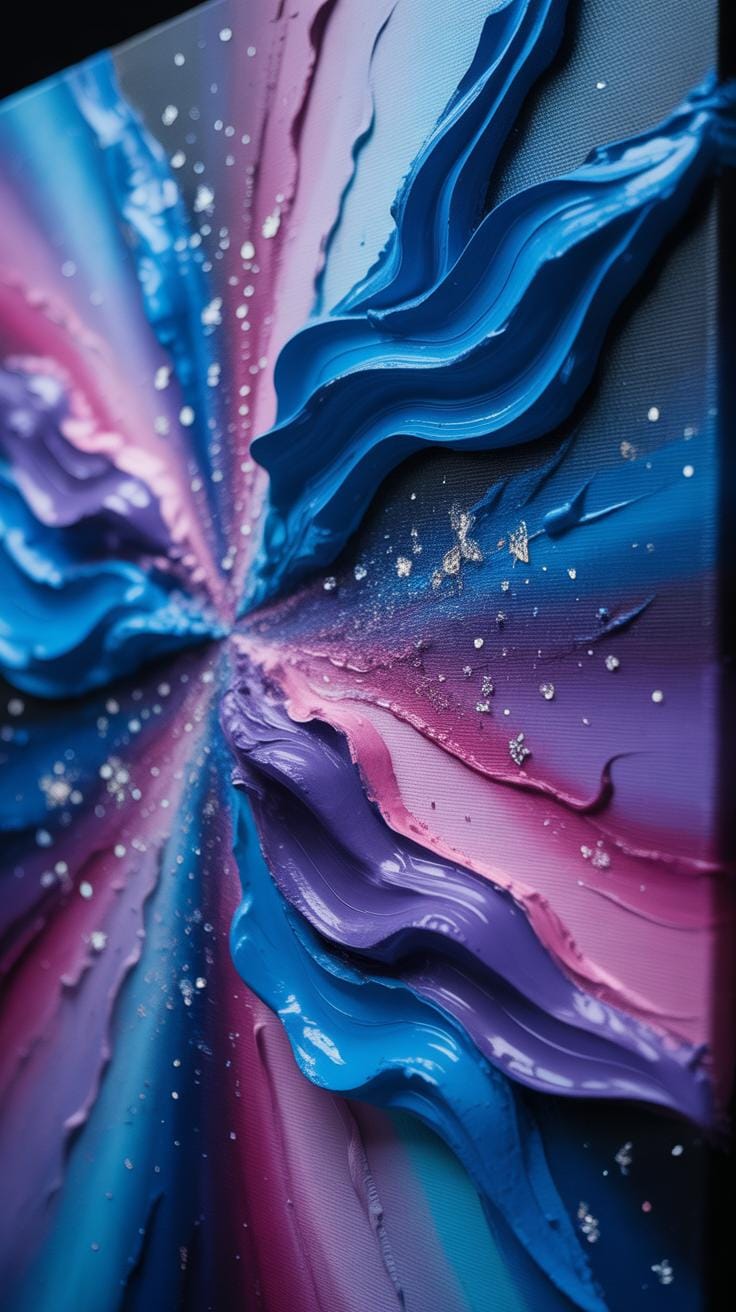
Palette knives turn your paint into a sculptural medium for Art 3d projects. You load the flat edge with several colors at once to create a Universe Painting effect. By dragging the knife across the canvas, you form thick ridges that represent the movement of light in space. This method works well for Galaxy Painting because it keeps colors separated instead of mixing them into gray.
The knife allows you to carve deep valleys or voids within your Space Painting. These hollow areas create shadows that make your 3d galaxy painting look more realistic. Students focusing on Art Alevel often use this technique to show mastery over thick materials. You can even combine these ridges with a Galaxy Themed Paper Cut to add layers of physical depth that catch the light from different angles.
Building The Foundation Styrofoam Art And Surface Prep
Incorporating Styrofoam Art For Extra Relief
Artists often use Styrofoam Art to build height on a flat canvas. This method is great for a student working on an Art Alevel project. You can cut foam into round shapes for a Planet Painting or carve rough craters for a lunar look. Attach these pieces using strong glue before you start painting. This creates a solid base for a true Art 3d experience.
Cover the foam shapes with gesso to protect the plastic from melting. Heavy-body acrylics then stick easily to the surface. This technique makes your Universe Painting feel like a physical map of the stars. The foam adds real weight and presence to the scene. It changes the way people look at your work. You can turn a simple flat board into a thick and textured Space Painting.
Within the thick, swirling textures of our creations, we rediscover the stardust from which we were born. The universe is not only out there in the vast voids, but deeply felt within the movement of our own hands.
— Carl Sagan
Prepping Your Voids For Maximum Depth
Great Galaxy Art starts with a dark and textured background. Mix black paint with thick modeling paste to create deep ridges. This prep work defines the empty spaces where stars will eventually sit. These textured areas trap light and create natural shadows on the canvas. It is a smart way to start a 3d galaxy painting because it gives your colors a place to land.

You can also use a Galaxy Themed Paper Cut to mask out specific areas of your design. Layering materials helps you manage the scale of your Galaxy Painting. Use a palette knife to spread the paste unevenly for a rocky feel. This rough foundation makes the smooth swirls of colored paint stand out more. Your final piece will look like a real window into the deep and dark universe.
The Galaxy Painting Swirl Step By Step Voids And Nebulae
Executing The Perfect 3D Spiral Move
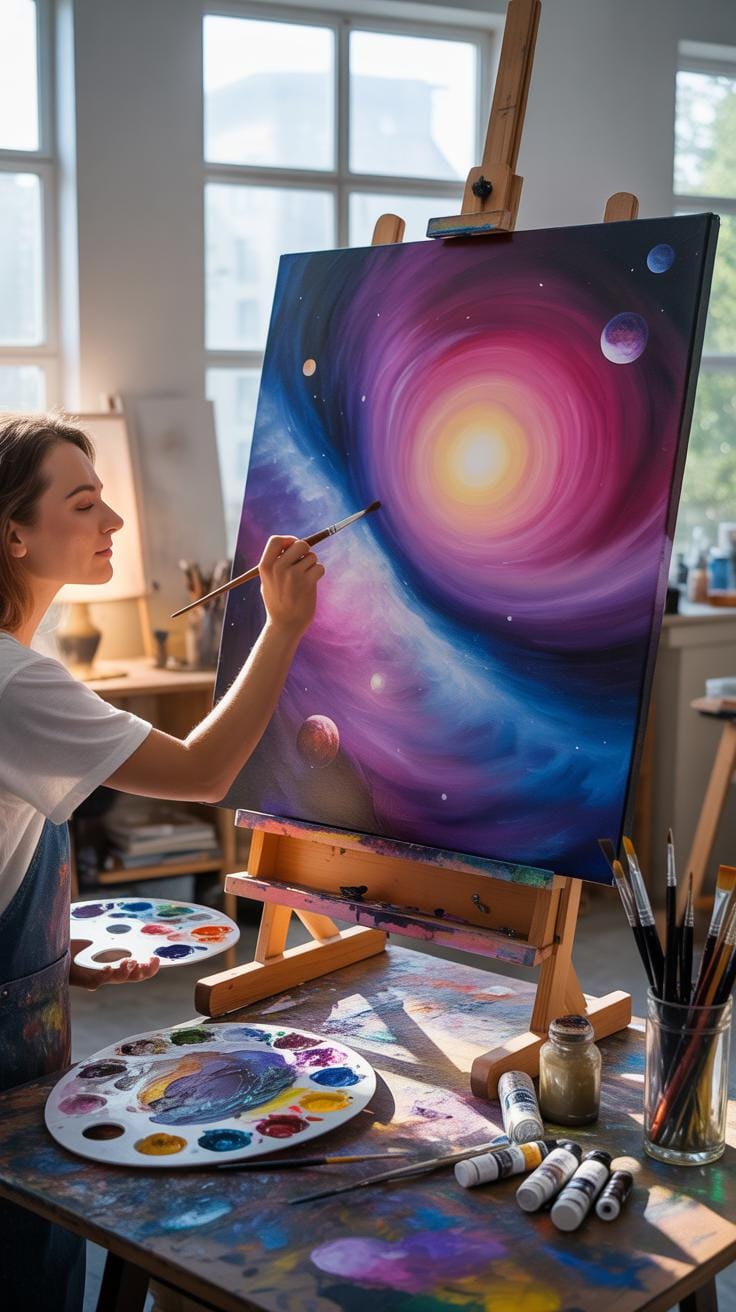
Start your 3d galaxy painting by placing a large amount of white and purple heavy-body paint on your surface. Use a palette knife to move the colors in a slow circle. This method creates physical ridges on the canvas. These peaks mimic the spinning motion of a real Universe Painting. The thick paint holds its shape well. This technique is popular in Art 3d projects because it adds real depth.
Students working on Art Alevel portfolios often use this spiral movement to represent cosmic energy. The heavy texture makes the Space Painting look like it is moving. You can also apply this thick paint over a Styrofoam Art base for extra height. Press the knife down firmly to blend the edges while keeping the center tall. This simple motion defines the look of your Galaxy Painting and creates shadows.
Deepening Galaxy Art With Layered Glazing
Wait for your thick swirls to dry completely before adding a glaze. Mix a small amount of blue or magenta paint with clear gloss medium. Brush this thin layer over the dry ridges of your Galaxy Art. The light moves through the clear color and reflects off the white paint. This process gives your Planet Painting an internal glow. It mimics the light seen in high-quality space telescope photos.
Layering colors help your piece stand out from a flat Galaxy Themed Paper Cut design. The transparent layers build a sense of deep atmosphere within the voids. You can repeat this step many times to create a rich finish. Each layer adds more detail to the 3d galaxy painting without hiding the texture. This classic method ensures your work stays bright and colorful. It brings a professional finish to every cosmic project you create.
Advanced Planet Painting Spherical 3D Effects
Creating Realistic 3D Planets With Texture Gels
Planet painting requires more than flat colors to look real. You can mix glass bead gel or coarse sand texture into your heavy-body acrylics. This mixture builds a physical surface you can touch. Many students working on Art Alevel projects use these mediums to make celestial bodies pop. Apply the thick paint in a circular motion. This curved stroking helps reinforce the round shape of your cosmic work.

You can also use Styrofoam Art techniques to build a base for your planets. Glue a halved foam sphere onto your Galaxy Themed Paper Cut background. Cover the foam with your textured paint mixture to hide the seams. This method creates a strong Art 3d effect that stands out from the canvas. It turns a simple Space Painting into a tactile experience. Use your tools to sculpt small craters into the wet gel.
Highlighting And Shadowing For Maximum Roundness
Lighting makes a 3d galaxy painting look believable. You must decide where your main star sits in the scene. This light source dictates where your highlights fall. Apply a large glob of titanium white on the side facing the sun. This thick paint creates a physical peak that catches real room light. Proper placement helps your Universe Painting feel deep and vast like a real night sky.
Shadows are just as vital for a successful Galaxy Art piece. Apply dark hues like mars black or burnt umber to the opposite side of your planet. Blend these colors into the textured peaks to create depth. This contrast makes your Galaxy Painting feel heavy and solid. Skilled artists often use these steps to finish a Planet Painting with high impact. The final result looks like a sphere leaping off the flat surface.
Perfect For Art Alevel Developing Your Cosmic Portfolio
Showcasing Technical Skill In Galaxy Art Projects
Students need a strong portfolio for Art Alevel that features diverse methods. Start your 3d galaxy painting by layering acrylics onto canvas or board. Use heavy-body paints to create ridges and valleys that mimic stardust. This physical texture proves your ability to control thick mediums. Keep a sketchbook to track how you build these three-dimensional surfaces carefully. This shows examiners your growth and dedication to the craft.
Mix your Galaxy Art with unique materials like a Galaxy Themed Paper Cut to add extra layers. You can also use Art 3d techniques like Styrofoam Art to build up the surface of a Planet Painting before applying color. Mixing paper, foam, and paint demonstrates a high level of experimentation. Documenting these steps helps explain your artistic choices. Focus on the contrast between flat Universe Painting styles and thick impasto strokes.
Integrating Concept With The 3D Galaxy Theme
Great Space Painting should tell a story or share a big idea. Use the heavy weight of 3D paint to show the pull of a black hole. This makes your work about gravity and science rather than just a pretty picture. Academic examiners like to see students tackle complex ideas like entropy or the vastness of the unknown. Connect your visual choices to these deep themes clearly in your project.
Focus your Galaxy Painting on the tension between dark voids and bright stars. You can use deep shadows to represent silence or mystery. This thoughtful approach moves your Universe Painting beyond decoration and into the world of fine art. Show how your 3d galaxy painting techniques change the meaning of the work. Clear concepts make your portfolio stand out during the marking process for your final Art Alevel grade.
Mixed Media Additions Galaxy Themed Paper Cut Details
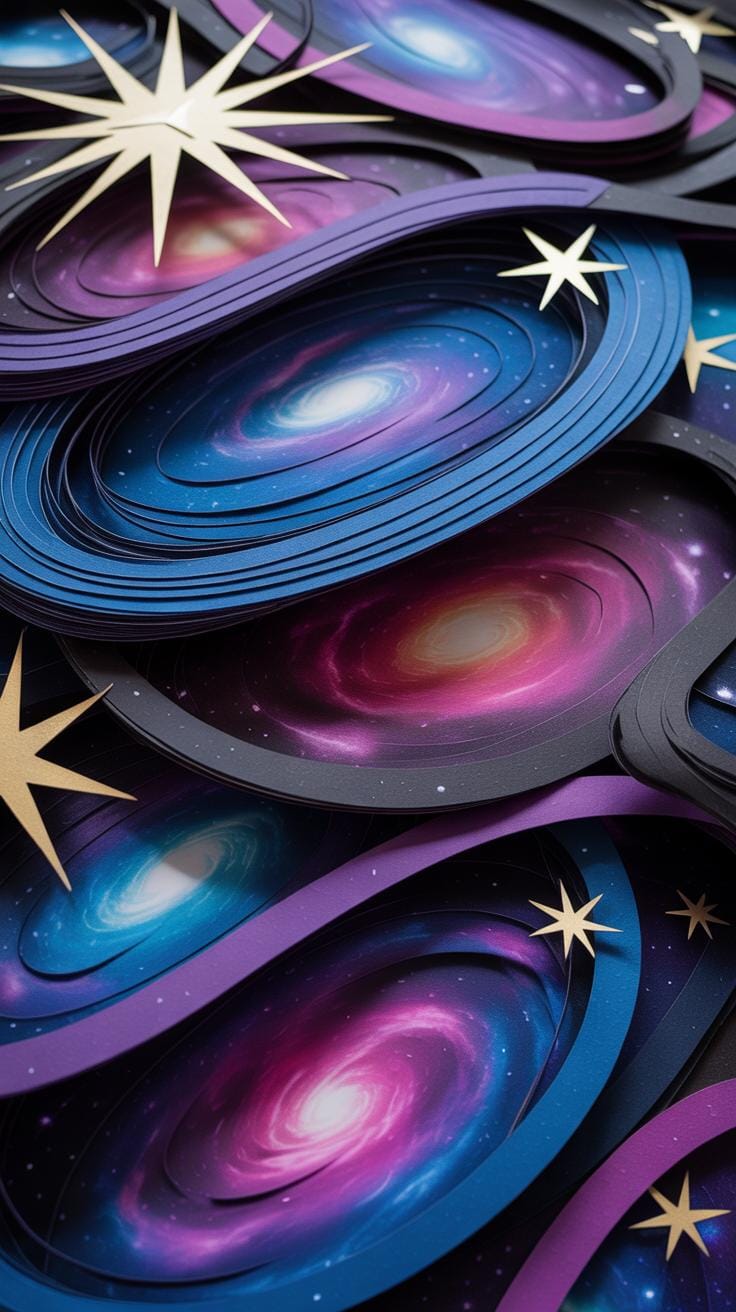
Adding Delicate Layers With Galaxy Themed Paper Cut Art
Heavy acrylic swirls create deep movement in Universe Painting. You can add a Galaxy Themed Paper Cut to provide sharp contrast against thick paint. Mount small paper constellations slightly above the canvas using tiny foam spacers. This creates physical shadows that dance across the 3d galaxy painting. These shadows shift as you move around the room. The paper edges stay crisp while the background remains soft and fluid.
Students working on Art Alevel projects often use this method to show depth. Combining flat paper with Art 3d techniques helps define the vastness of Space Painting. You can use thin white cardstock for stars or metallic paper for distant suns. The paper sits on top of the heavy-body acrylic like a floating map. This layering makes the viewer feel like they are looking through a telescope at a distant world.
Combining Paper Textures With Thick Acrylic Voids
You can push paper shapes into wet paint to merge different textures. Press a Galaxy Art cutout directly into a heavy-body nebula swirl. The thick paint oozes around the edges of the paper. This creates a bond between the smooth paper surface and the rough peaks of the paint. It allows you to place a detailed Planet Painting right inside a messy gas cloud.
Styrofoam Art techniques also work well with these paper elements to build height. Apply a Galaxy Painting base and then add paper layers for fine detail. Using a Galaxy Themed Paper Cut helps you control the shape of celestial bodies. You get the benefits of messy paint and the precision of cut paper. This balance makes your work look professional and organized while maintaining a hand-painted feel.
Finishing Touches For A Professional Space Painting Look
Splattering Stars Across Your Galaxy Art Voids
Creating a 3d galaxy painting requires a final layer of light to mimic distant suns. You can achieve this effect by loading a stiff toothbrush with watered-down white acrylic paint. Hold the brush over your textured peaks and flick the bristles with your thumb. This action sends tiny droplets across the deep valleys of your Universe Painting. The varying heights of the heavy-body paint create a realistic sense of depth.
Students working on Art Alevel or Art 3d projects often use this method to add scale. These small dots represent massive stars resting in the shadows of your nebula swirls. This technique works equally well on a flat Space Painting or a Styrofoam Art structure. If you are making a Galaxy Themed Paper Cut, keep the splatters light. These white specks provide the final contrast needed to make your Planet Painting feel truly infinite.
Varnishing And Protecting Your 3D Masterpiece
Thick layers of Galaxy Art collect dust easily because of their ridges. You must protect your work once the heavy acrylic dries completely. Traditional brushes can skip over deep grooves or leave bubbles in the valleys of your Galaxy Painting. Using a spray varnish ensures that every sculpted detail receives an even coating. This layer keeps the colors bright and prevents the paint from cracking over many years.
- Full Drying Time: Large peaks of heavy-body acrylic paint trap moisture inside. You must wait several days before applying any sealant. If you seal the surface too early, the inside remains soft and may cause the entire structure to peel or cloud over time.
- Spray Application: A spray can allows you to reach deep into textured voids without touching the delicate peaks. Hold the can twelve inches away and move in steady horizontal lines. This method prevents the varnish from pooling in the low spots of your sculpted cosmic swirls.
- High Gloss Selection: Choosing a glossy finish helps recreate the dark depth of deep space. The shine reflects light off the textured ridges, making the nebula appear wet and vibrant. Glossy surfaces also make the white splattered stars pop against the dark blue and purple background.
- Curing Environment: Place your artwork in a room with very little air movement for two days. This prevents floating pet hair or dust from sticking to the wet varnish. A clean curing space ensures the surface stays smooth and clear like a window into another world.
- UV Protection: Choose a varnish that contains UV light stabilizers to prevent the pigments from fading. Intense blues and purples can shift color if they sit in direct sunlight for long periods. This extra layer of security keeps your handcrafted universe looking new for a lifetime.
Proper finishing techniques turn a simple hobby project into a professional display piece. Once the varnish cures, your 3d galaxy painting will have a hard and durable shell. You can then mount your work or gift it to another space lover. This final protective step ensures that the time you spent sculpting your universe is never wasted. Your art will remain a beautiful focal point in any room.
Frequently Asked Questions

What exactly is heavy-body acrylic and why is it used for galaxy art?
Heavy-body acrylics have a thick, buttery consistency that retains brushstrokes and peaks. Unlike standard craft paints, these art supplies allow you to create physical depth on your canvas. When mastering a 3d galaxy painting, this thickness is essential for sculpting the swirling nebulae and deep cosmic voids that give your artwork its unique, tactile dimension and professional gallery-style finish.
How do I create the textured swirl effect without the colors becoming muddy?
The secret to a successful 3d galaxy painting lies in layering rather than over-mixing. Start by applying generous dollops of heavy-body paint and use a palette knife to gently fold the colors together. By using a light touch and allowing some areas to remain unblended, you maintain the “void” effect while building the physical ridges that define the celestial movements of a glowing deep-space galaxy.
Do I need expensive professional tools to start making 3d galaxy art?
Not at all! While professional heavy-body paints are ideal, you can achieve similar results by mixing affordable acrylics with a thickening modeling paste. For tools, common household items like plastic knives, stiff sponges, or even old credit cards can effectively sculpt the paint. This accessibility makes it easy for any home decorator to create stunning, high-texture interstellar focal points without a massive initial investment.


