Introduction
Violin art captures the elegance and emotional depth of the violin through visual expression. Artists use various techniques to portray the instrument’s curves, textures, and the music it represents. This article explores expressive lines in violin art drawings, focusing on how mixed media can enhance the artwork. By blending drawing, painting, and other materials, artists create unique and impactful representations of the violin.
You will learn about the basics of violin art, different media used, and how to approach your artistic projects. This exploration will inspire you to see violin art from new angles and encourage your creativity in mixed media art. The following chapters guide you step-by-step through the artistic process, practical tips, and ideas to express your vision with lines and media.
Choosing Materials for Mixed Media Violin Art
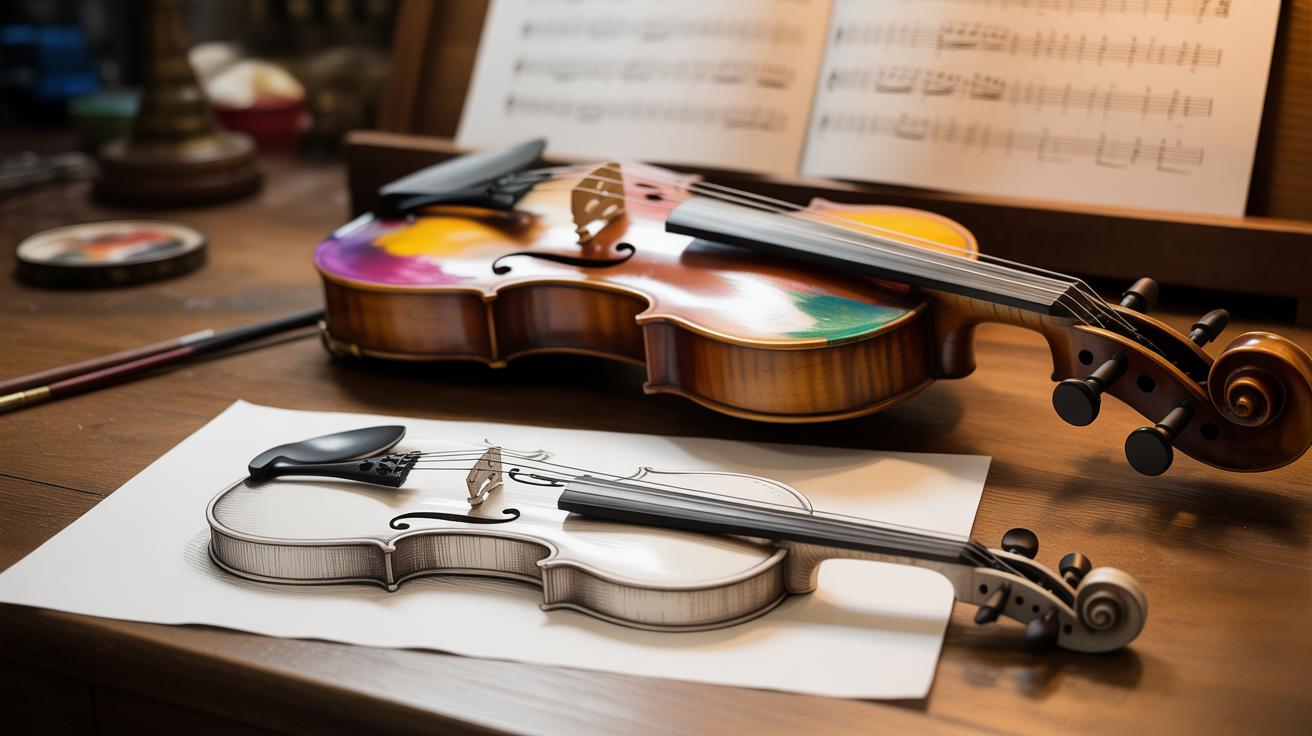
When working on violin art with mixed media, the choice of materials shapes not only the look but how you express feeling through your work. You might start with pencils to sketch delicate outlines, capturing the violin’s curves gently before adding more texture. Soft graphite can bring subtle shading, while harder pencils sharpen details like the f-holes or strings. But then, what if you want to add depth? Charcoal, with its bold, smudgy quality, can introduce raw emotion — a kind of tension that feels almost palpable.
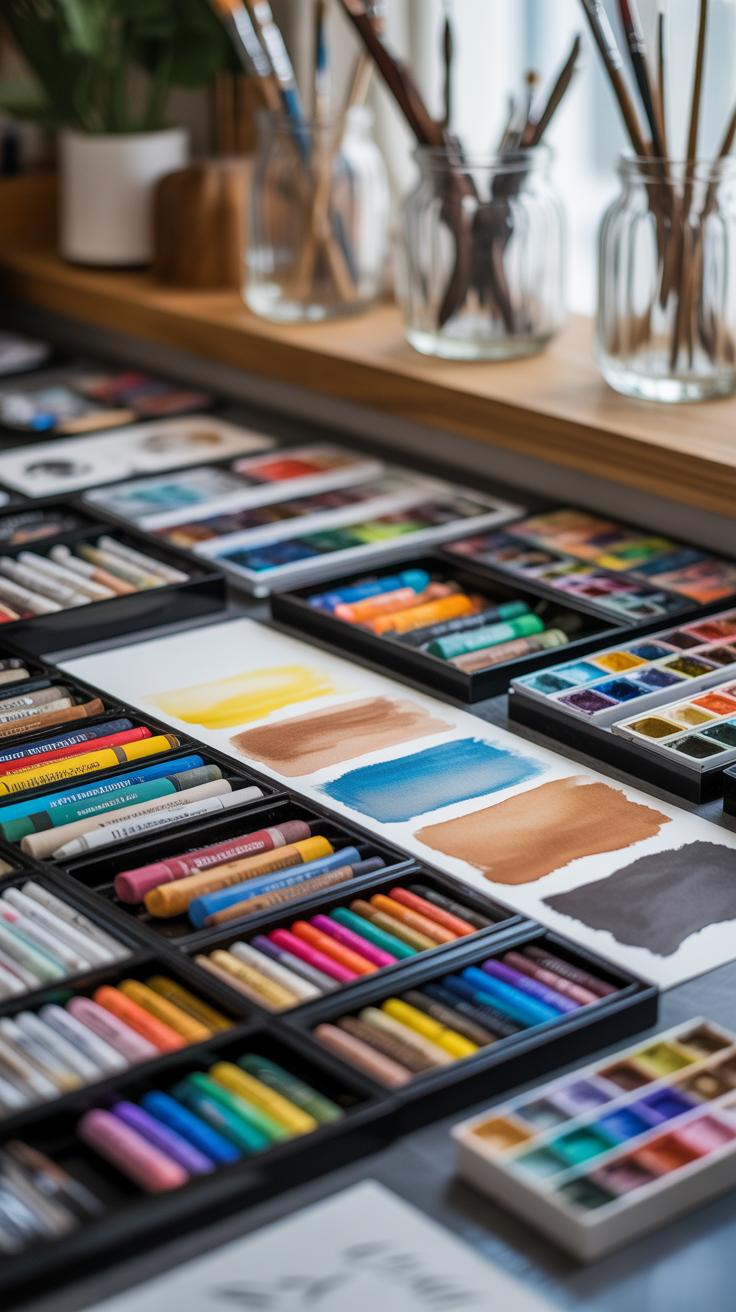
Ink provides contrast and sharpness, perfect for showing the fine lines and intricate parts of the violin. Sometimes, a wash of ink creates rhythms within the piece, echoing the instrument’s sound. Paint, especially watercolor or acrylic, offers fluidity and color that can express mood in layers — maybe the golden wood tones or the crimson warmth of a violin’s finish. Paper choice matters too; rough textures can catch charcoal or pastel differently than smooth surfaces, affecting the whole vibe.
The tools extend beyond just pencils and paints. Brushes with varying firmness, blending stumps, erasers that lift or soften marks — all contribute to the feel. Even unexpected items like sponges or palette knives might add an edge you didn’t plan but somehow fits. Selecting materials feels almost like composing music itself, where every element interacts with the others, sometimes in surprising ways. What mix helps you hear the violin’s voice through your drawing?
Mixed Media Violin Art Media Selection
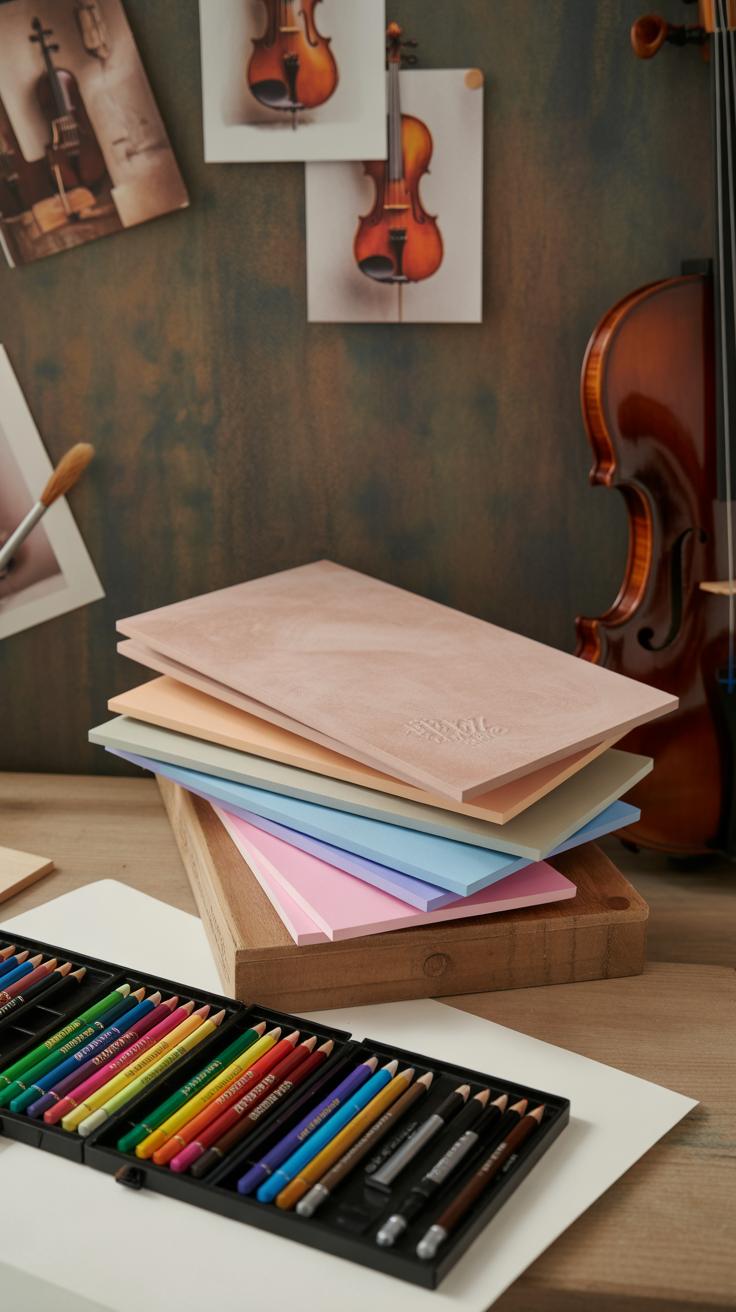
When selecting materials for mixed media violin art, the choices can feel overwhelming, but they’re also what make your work unique. I often find myself drawn to graphite pencils for their precision and subtlety. They capture the violin’s curves and fine details well, though sometimes you want bolder marks—that’s where charcoal steps in, with its rich, matte blacks and smoky textures. But then there’s ink, sharp and decisive, cutting through softer pencil lines with clarity. Each tool brings something different to the table.
Paper choice shapes your drawing too. Smooth Bristol allows for detailed graphite work, while rougher mixed media papers invite charcoal and pastel to cling in interesting ways. I once tried a thick, handmade paper and was surprised by how it added a tactile quality that changed my perception of the violin’s shape entirely.
Paint and collage elements open more doors. Acrylics or watercolors give life through color, but fabric swatches can introduce unexpected texture—think of a warm, worn cloth hinting at the violin’s wooden body. Torn colored paper might represent the violin’s strings or shadows, adding depth without complicating the form. It’s a push-pull between control and spontaneity, between drawing and crafting. You might ask: how much material is enough, or does less truly mean more here? Sometimes, less means a quiet tension; sometimes, more is just a mess. There’s no rule, only your response to the violin’s voice on your surface.
Techniques to Create Expressive Lines

When it comes to drawing violins, lines do much more than just define shapes. They carry emotion, suggest texture, and even hint at sound vibrations. You might find contour drawing to be a good starting point—this technique uses smooth, flowing outlines to capture the violin’s signature curves. Instead of rushing to finish every detail, try to move your pencil as if you’re following the violin’s natural rhythm. It can feel slow, maybe even frustrating at times, but those gentle, continuous lines really help shape the instrument’s form.
Cross-hatching is another approach you might want to experiment with. By layering sets of parallel lines at varying angles, you create depth and shadows that can mimic the wood grain or the subtle curves of the violin’s body. Sometimes the overlapping lines get dense and almost messy, but that’s what adds a raw, tactile sense to the drawing. It is a bit like the violin’s own imperfections—the slight dents and wear that tell a story.
Then there are gestural lines. These are loose, energetic strokes that capture movement rather than precise form. In violin art, they can express the vibration of strings or hint at the emotion felt during performance. You won’t find these lines neat or controlled—they feel immediate, alive. Try to loosen your hand and don’t worry if the line goes off-track. Funny enough, these “mistakes” often add unexpected energy.
Texture is where line work really shines. To suggest the strings, use thin, parallel lines—maybe a little uneven, because strings aren’t perfectly symmetrical. For the wood’s grain, fine, curved lines that follow the violin’s contours can build up a believable surface. Shadows can be formed by denser, darker lines, but don’t make them uniform. Uneven shading often looks more natural and convincing.
Thinking about your own drawing process—do you find it easier to outline first or dive straight into textures? Sometimes I flip between both, depending on the mood or even the paper I’m using. It’s interesting how the choice of line technique can change the feeling of the whole piece, making a violin look either polished or worn, calm or full of tension.
Incorporating Color and Texture

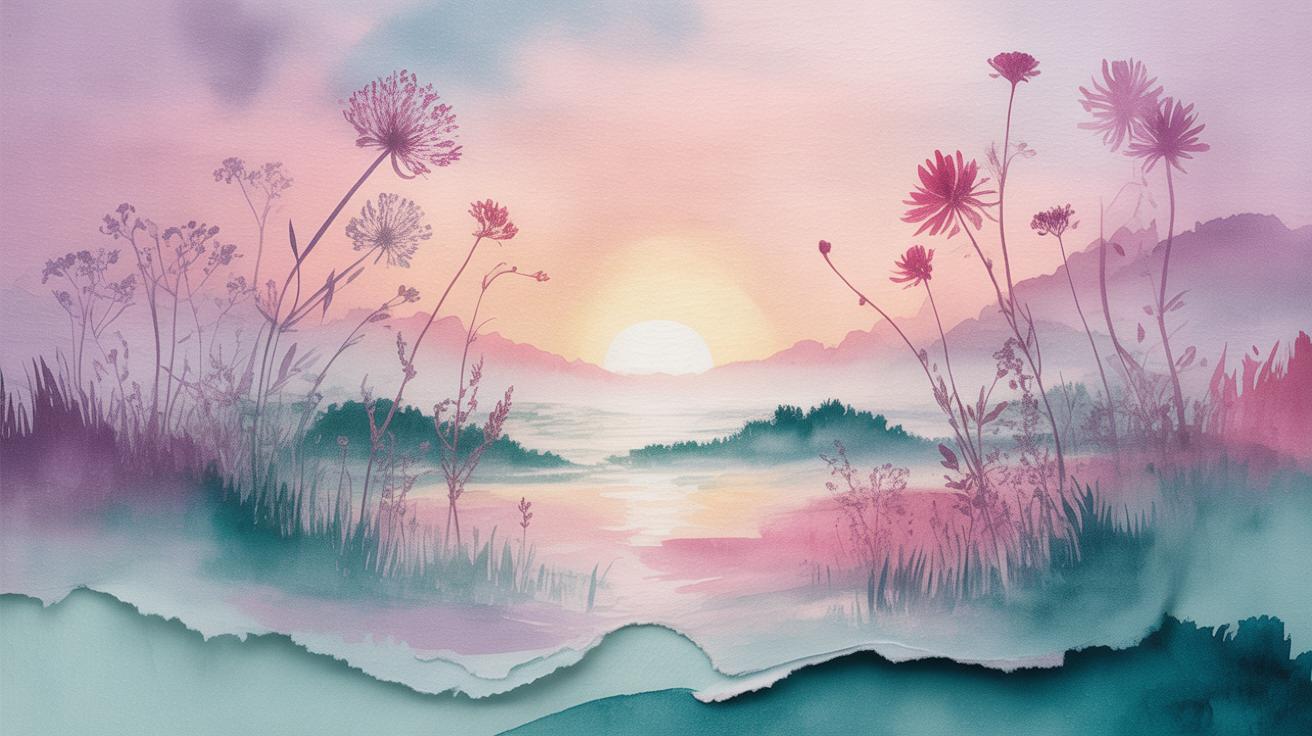
Color can change everything in a violin art piece. It’s not just about making the image look pretty. When you select colors carefully, you can suggest mood, time of day, or even the sound the violin might be making. For example, warm tones like ochre or burnt sienna evoke intimacy or nostalgia, while cooler blues and purples might hint at melancholy or calm. But don’t feel locked into realism—sometimes a splash of unexpected color can draw attention to a specific part of the violin, like the scroll or f-holes, making them leap off the page.
Texture adds another dimension. What surprises me is how tactile materials can almost “sing” with the violin’s voice. Layering paint thickly—impasto style—creates surfaces that catch light unevenly, suggesting the worn wood’s grain or the varnish’s shine. You might also glue on bits of fabric, paper, or string. I once used a strip of silk ribbon to imply the flowing movement of bow hair, which added a subtle shimmer and a real physical presence to the work. These tactile elements invite viewers to imagine not just seeing, but feeling the instrument.
Here are some quick ideas for texture in mixed media violin art:
- Layer different types of paint to build raised areas
- Add thin fabric, like gauze, to suggest worn or fading varnish
- Use sand or fine grit mixed with paint for roughness
- Include bits of thread or wire to imply strings or bow hairs
Experimenting with both color and texture might feel awkward at first. But don’t shy away from unexpected combinations—they can deepen the emotional resonance. After all, a violin itself is full of contrasts: smooth curves and rough edges, quiet notes and sharp attacks. Your art can mirror that complexity through how you handle color and texture. What would happen if you tried a cool blue background with warm, grainy paint on the violin body? It’s worth testing. It might just shift your whole perception of the piece.
Capturing Movement and Emotion in Violin Art
Expressing Movement with Lines
Lines in violin art do more than outline shapes—they breathe life into the act of playing. Quick, flowing strokes can mimic the sweep of the bow, suggesting its motion across strings. Imagine sketching a few swift lines that curve gently—these show the bow’s graceful arc, the flick of fingers pressing strings, even the subtle wrist twists. You might notice how varying line weight helps too: heavier lines for strong finger positions, lighter ones where touch is softer or fleeting.
Sometimes, I find it tricky to capture this motion without making the figure feel static or stiff. But layering lines or allowing some to blur slightly can hint at movement rather than freeze it. Think about how a passing glance or fleeting gesture feels—lines don’t have to be perfect to suggest movement. They just need to be alive.
Portraying Emotion through Media
Blending different media can deepen the feelings your piece conveys. For instance, soft pastels mixed with charcoal might create a somber, reflective mood, while acrylic washes over ink lines could charge the scene with passion or urgency. It’s not just about color—it’s texture and layering too. Rough smudges might echo frustration or intensity. Smooth gradients might evoke calm or melancholy.
When I experiment with mixed media, sometimes the materials push my emotions in unexpected directions. A bold stroke of red watercolor might stir feelings of excitement, yet when layered with graphite, that excitement might soften into something more thoughtful. Emotions in violin art rarely stay in one camp—they shift and blur, much like the music itself. Could you try letting your materials ‘talk back’ to you like that?
Planning Your Violin Artwork
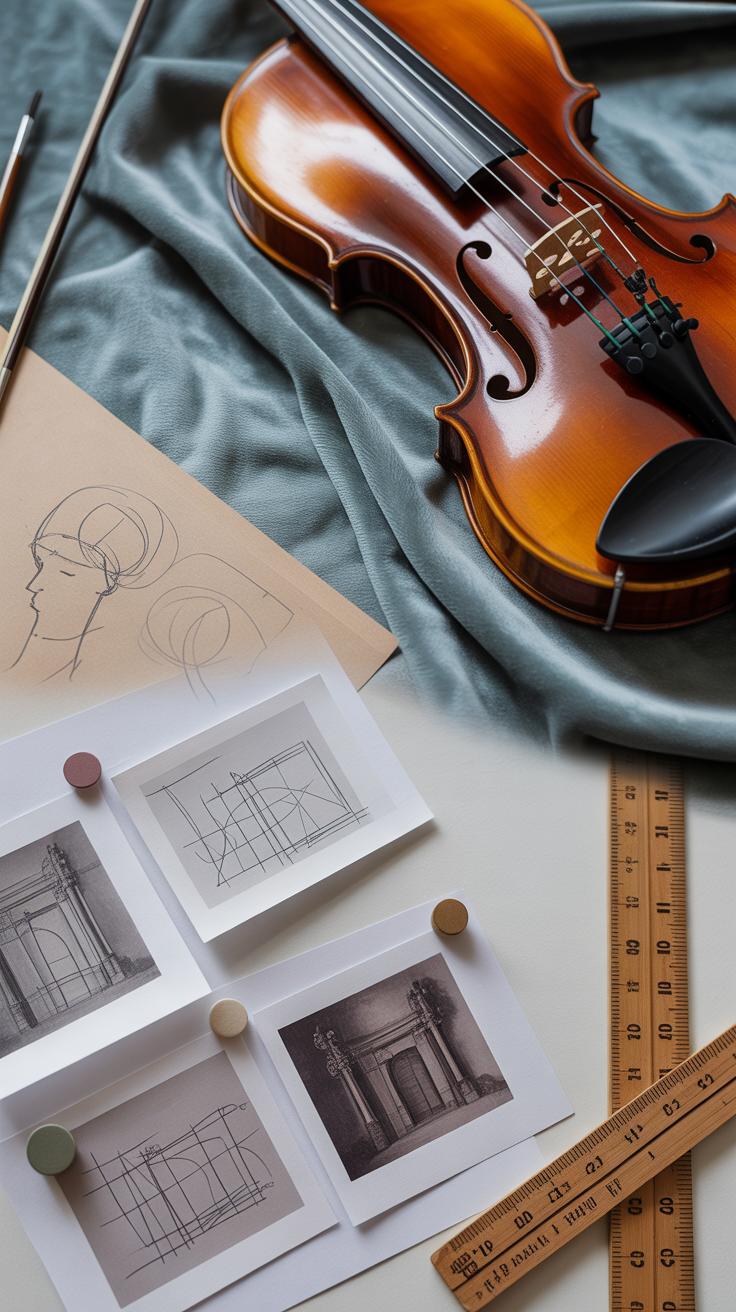
When you start planning violin art, don’t rush into details right away. Think first about how the lines will guide the viewer’s eye across your piece. Composition isn’t just about placing the violin in the center; it’s about how the shape interacts with empty space, curves, and angles around it. I often like to work out where the major lines flow before considering the smaller details.
Try beginning with simple sketches—really rough ones—just to experiment with different placements. Sketch the basic shapes of the violin: the body, neck, scroll. Arrange them in ways that feel balanced but not forced. Sometimes, I find a slightly off-center position makes the piece more engaging, even if it breaks “rules.”
There’s also the tricky business of deciding which parts deserve attention. Maybe the f-holes or the strings get sharp, deliberate lines, while other areas remain softer and more abstract. Leaving some lines loose can add movement and contrast, creating tension between focus and suggestion. It’s a kind of visual breathing space. But it can feel odd—like not finishing a sentence. Yet that openness often invites a closer look.
Before you jump in, ask yourself where you want the strongest impact. Is it the violin’s curve, the bow’s angle, or maybe just the texture of the wood? Work out a rough plan that emphasizes those points. Remember, lines don’t only define shapes; they carry emotion and energy, so their placement matters a lot.
Layering Mixed Media for Violin Art
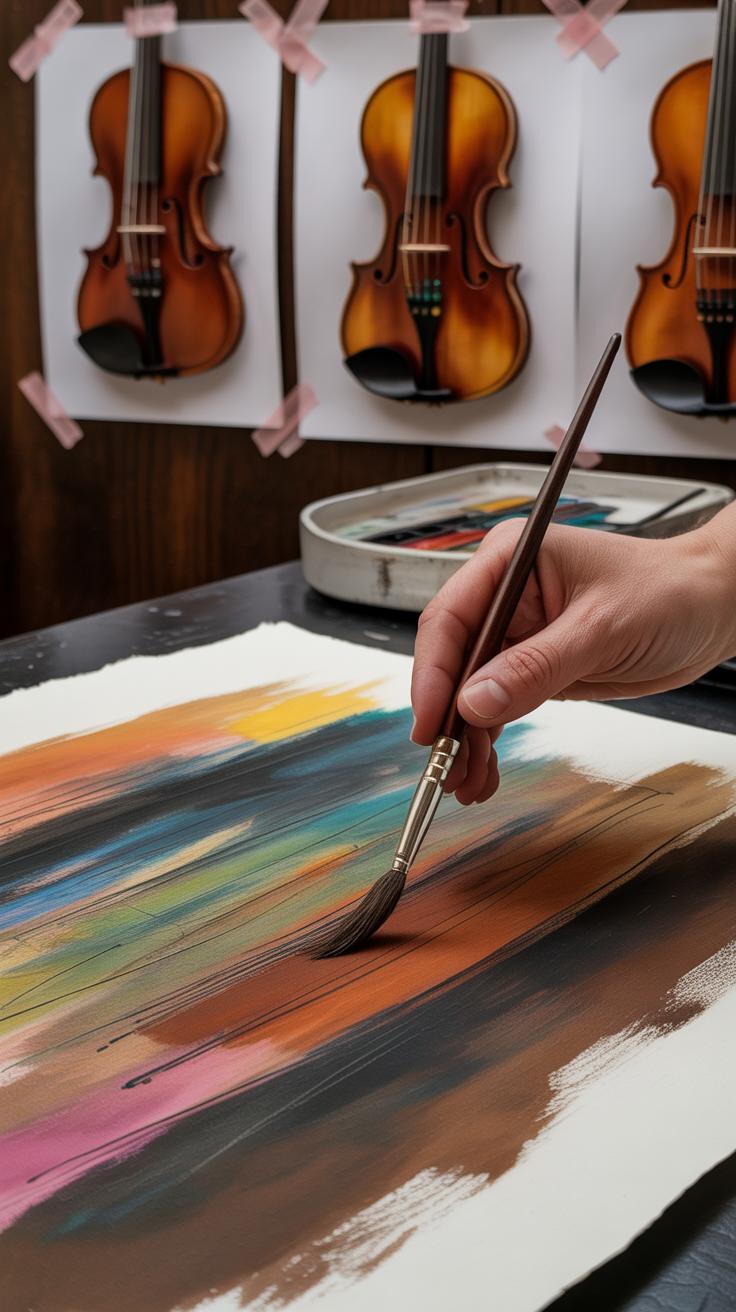
The process of building up violin artwork with mixed media can feel a bit like a puzzle—each layer adding complexity, but also requiring patience. Often, I find starting with dry media like pencil or charcoal sketches works best. These create the framework without the risk of immediate smudging. Then, moving to lighter applications of watercolor or ink sets the base tones.
Drying times play a crucial role. For example, when you apply watercolor washes, waiting until they fully dry before adding pencil or pastel on top prevents unwanted smears. It might be tempting to rush, but a little patience rewards you with cleaner lines and sharper contrasts.
Layering order generally looks like this:
- Initial sketch with graphite or charcoal
- Watercolor or ink washes for tonal depth
- Colored pencils or pastels to add texture and hue
- Finishing with fine liner pens or white gel pens for details
To avoid smudging, using fixatives between layers can help, but don’t overdo it—spraying too often can alter texture or color vibrancy.
Blending different media requires some trial. Soft transitions happen when you gently use smudge tools or your fingers on dry pencil or charcoal before layering over paint. Sometimes, a wet brush dragged lightly over pencil lines blends edges subtly, though this depends on the materials involved.
One method I found effective is working with small zones of the violin at a time, layering and blending before moving on. This prevents accidental mixing that can muddy the delicate curves of violin contours.
In the end, ask yourself: does this layered surface evoke the right emotional depth? Does it keep the essence of the violin’s form without losing clarity? Balancing patience with spontaneity here can make all the difference.
Refining Your Drawing with Details

Adding fine details to your violin art can change it from basic to captivating. When focusing on features like the strings or the wood grain, subtlety matters more than bold strokes. I find that using a very sharp, fine-tipped pencil or a small brush helps capture the delicate nature of strings—those thin lines can’t be sloppy, or they lose their realism. Don’t rush; sometimes, drawing strings requires a steady hand and moments of pause to get the right tension and spacing.
Look closely at the violin’s body. The wood often displays intricate patterns created by the grain. You might want to play with gentle, irregular strokes to imply these textures without overworking the surface. It’s easy to get lost trying to replicate every line perfectly. But oddly enough, some looseness can add charm—your interpretation can feel more alive this way.
Drawing Fine Strings and Components
For strings and small parts like pegs or fine tuning gears, here’s what you might try:
- Use a ruler or drawing tool lightly to keep strings straight but avoid mechanical stiffness.
- Apply very light pressure and build lines gradually, layering thin marks.
- Experiment with a slightly darker base line softened by blending for a natural shadow effect.
- Capture reflections or subtle bends by varying line thickness or brightness.
Small shapes—like the f-holes—can be tricky. Patience here pays off more than speed. Sketching their contours with thin, confident lines first, then refining edges, helps them stand out.
Adding Highlights and Shadows
Highlights and shadows give your violin form and depth—without them, it feels flat. Observe how light falls on the curved surfaces, maybe from a nearby window. Placing small bright spots on strings or on the varnished wood will create that glint of polished surface you tend to see. Shadows beneath strings or around tuning pegs anchor components visually.
Don’t hesitate to deepen shadows in crevices or under the bridge, but balance is key. Overdoing shadows might weigh down the piece, making it heavy or unrealistic. Try layering light washes or gentle pencil shading gradually. Sometimes, letting parts remain soft blends better than harsh contrasts.
The goal is depth, not just dark and light. Think about where the eye naturally rests and guide it subtly through your shading choices. It’s a bit like uncovering the violin’s story one detail at a time.
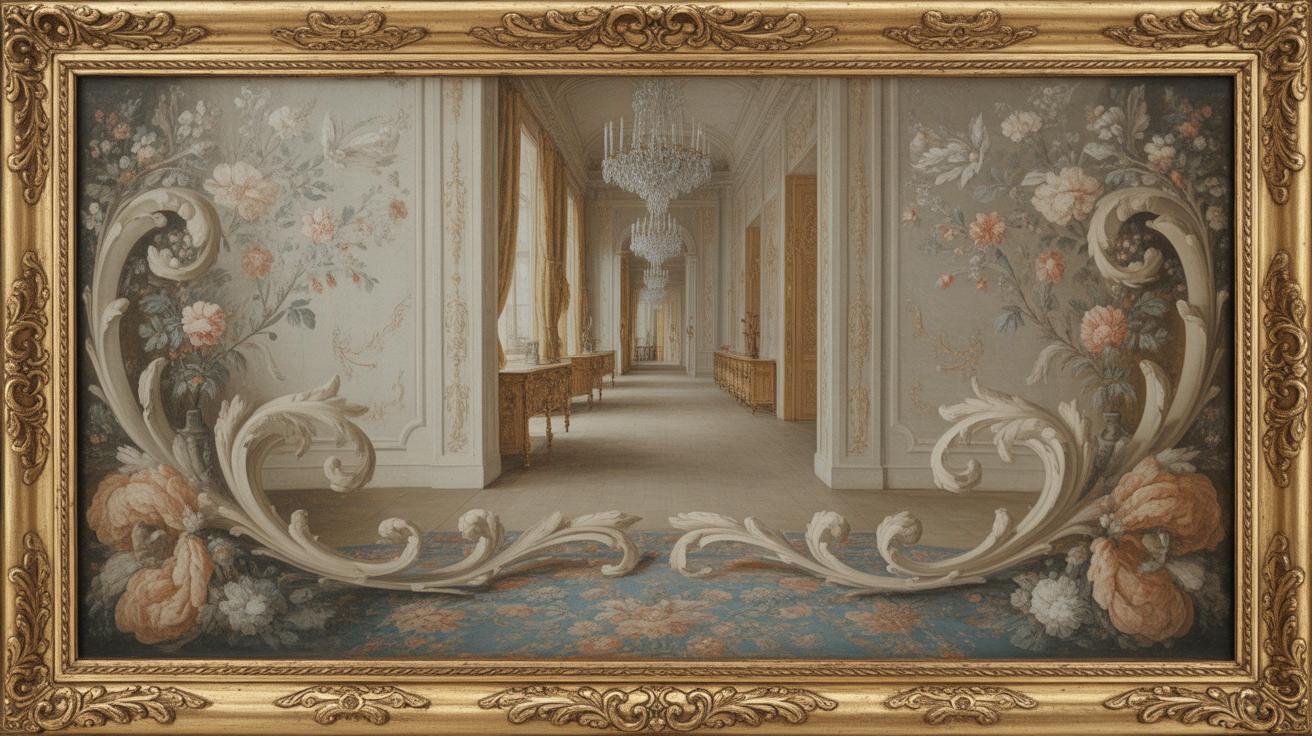
Displaying and Preserving Your Mixed Media Violin Art
Choosing the right frame for your mixed media violin artwork can be tricky. You want something that both complements the piece and offers protection. Wood frames with a simple finish often work well, especially if they echo the warm tones found in violins. Metal frames, though less common, can give a modern edge that contrasts interestingly with the organic textures of your work. Think about how the frame’s depth accommodates the layers in your mixed media—too shallow, and it might squish delicate elements.
Mounting is just as crucial. Acid-free mats provide a buffer between your art and the glass, preventing sticking or moisture buildup that might degrade fragile materials over time. You could also consider floating mounts for a subtle shadow effect that highlights the dimensional nature of your piece.
When it comes to care, light exposure is a constant challenge. Ultraviolet rays can fade pigments and weaken paper or fabric. Position your artwork away from direct sunlight or invest in UV-protective glass. Dust is another enemy—regular, gentle dusting with a soft brush usually does the trick, but avoid harsh cleaners that might interact poorly with your mixed media components.
Moisture can warp or stain layers, so keep humidity levels stable. If your space tends to be humid or prone to temperature swings, a protective enclosure or occasional airing might help mitigate damage. I’ve had pieces develop strange patches when humidity was ignored, which was frustrating because the art itself was so carefully crafted.
Ultimately, displaying mixed media violin art involves balancing aesthetics and care, making sure what you create remains a quiet presence in the room for years to come.
Conclusions
Expressive lines add life to violin art and mixed media techniques deepen the emotional connection. By layering materials and exploring different textures, your artwork can reflect the movement and soul of the violin. The chapters have shown you how to combine simple drawing skills with creative use of mixed media to produce visually rich art.
Now, you can apply these ideas in your own projects. Experiment with lines, materials, and styles to find your unique voice. Violin art offers endless possibilities to express feelings and stories. Keep exploring and let your art speak the language of the violin.


