Introduction
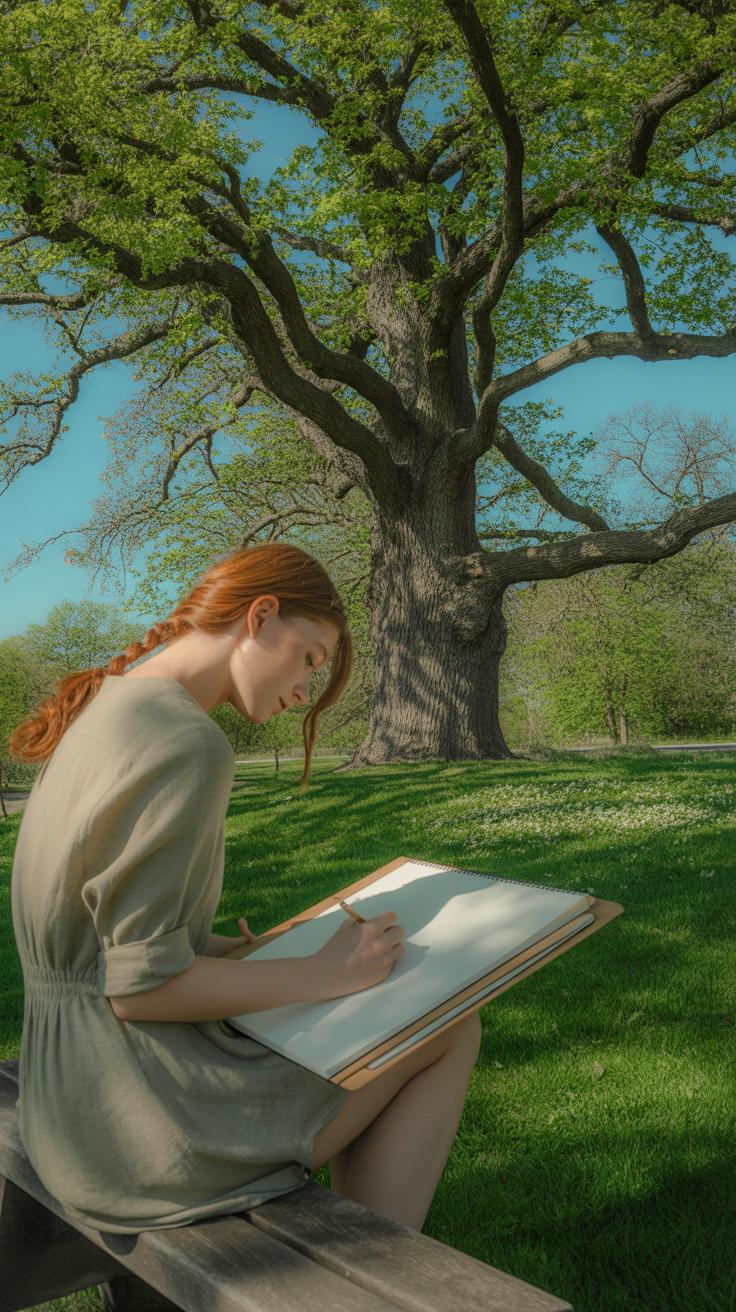
Tree sketches can be challenging for beginners. Many start with common mistakes that make their drawings look unnatural or awkward. Understanding these errors can help you avoid them and improve your skills quickly.
This article will guide you through key points about tree sketches. From recognizing frequent mistakes to learning how to sketch trees with natural accuracy, you will find practical advice. The following chapters explore various techniques and details to help your drawings become more lifelike and pleasing.
Common Errors in Tree Sketching
Many beginners struggle with making their tree sketches feel natural. One common mistake is drawing branches too stiffly. Instead of flowing lines that suggest growth and movement, branches often end up looking rigid, almost like sticks glued on. This can make trees appear lifeless, like they were designed rather than grown.
Unrealistic shapes also pop up a lot. Beginners tend to simplify tree crowns into perfect spheres or ovals, which rarely happens in real life. Trees have irregular outlines, with gaps and clusters that don’t fit into tidy shapes. That uniformity can feel off, distracting from the sketch’s authenticity.
Proportion is another tricky issue. Trunks might be drawn too thin or too thick compared to the canopy. Sometimes, branches grow too symmetrically or at unnatural angles. These details mess with the tree’s balance and can make the drawing feel flat or awkwardly spaced.
Avoid These Beginner Tree Sketching Mistakes
To start avoiding these pitfalls, watch out for these specific errors:
- Branches that look like straight lines—try making them curve or taper naturally.
- Tree tops shaped like perfect blobs—break up the outline into uneven clumps.
- Incorrect trunk-to-crown size—measure roughly or compare parts as you draw.
A simple fix? Spend more time observing real trees. Look at how branches twist and overlap. Notice the different edges of leaves and light through gaps. Add those small irregular shapes instead of smooth curves. When you adjust proportion, pretend your eye is a ruler and check how parts relate.
Tips to Improve Your Tree Sketch Accuracy
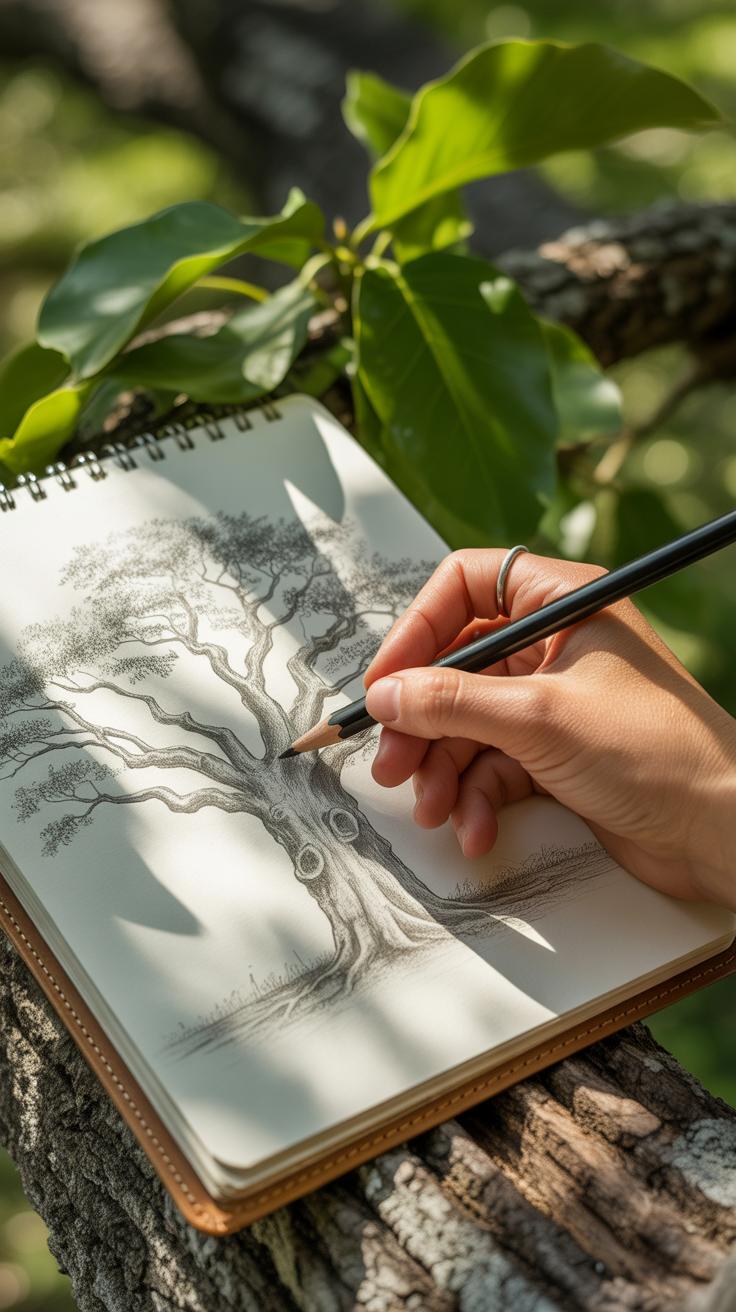
Improving accuracy often means slowing down and observing more carefully. Try sketching small sections rather than whole trees at first. Focus on branches instead of the whole crown or vice versa. Keep a sketchbook handy and draw from life whenever possible; photos don’t always give the full picture.
Look for patterns but don’t expect trees to follow strict rules. Each tree is different. Sometimes branches angle sharply, sometimes gently; sometimes dense, sometimes sparse. Accepting that variance will improve how you capture their shape.
Also, don’t be afraid of mistakes. Some uneven lines or strange shapes can add character. Over time, you’ll learn which details to include and which to leave out. Just remember: practice and patience matter more than precision. Your sketches will reflect that if you keep watching and drawing trees regularly.
How to Observe Trees for Sketching
When you stand in front of a tree, it’s tempting to jump straight into sketching. But taking a moment to look closely makes a big difference. Observing means more than just glancing. You want to notice the structure and the small details that give each tree its unique character.
Start with the overall shape—does the tree lean? Is it tall and narrow or wide and sprawling? Then, look at how the branches grow out from the trunk. Are they mostly horizontal, angled sharply upwards, or drooping down? This layout helps you capture its form more naturally.
Check the foliage next. Is it dense or patchy? Rounded, spiky, or somewhere in between? Leaf clusters often form shapes that can guide your shading or texture work later. And don’t forget the trunk—it might be rough, smooth, cracked, or patterned. Trunk texture brings life to your sketch; you’ll want to decide whether to render it boldly or subtly.
Here are some useful features to keep in mind:
- Branch layout and main directions
- Overall silhouette of the tree
- Foliage shape and density
- Texture and irregularities on the trunk
- Leaf shape and size, if visible
While looking, ask yourself things like:
- How do the branches angle off the trunk? Are they mostly symmetrical or random?
- Is the leaf coverage thick or sparse? Where does it cluster?
- What’s the tree’s movement? Does it seem stiff or flowing?
- Where are the shadows deepest? Which details stand out in the light?
- Are there any knots, bends, or scars on the bark worth noting?
These observations may feel slow or detailed, maybe even a bit tedious. But they build a mental map. When you finally put pencil to paper, you’re sketching with knowledge, not guesses. I’ve found that taking this extra time often leads to more confident and lifelike drawings—even if you don’t realize it right away.
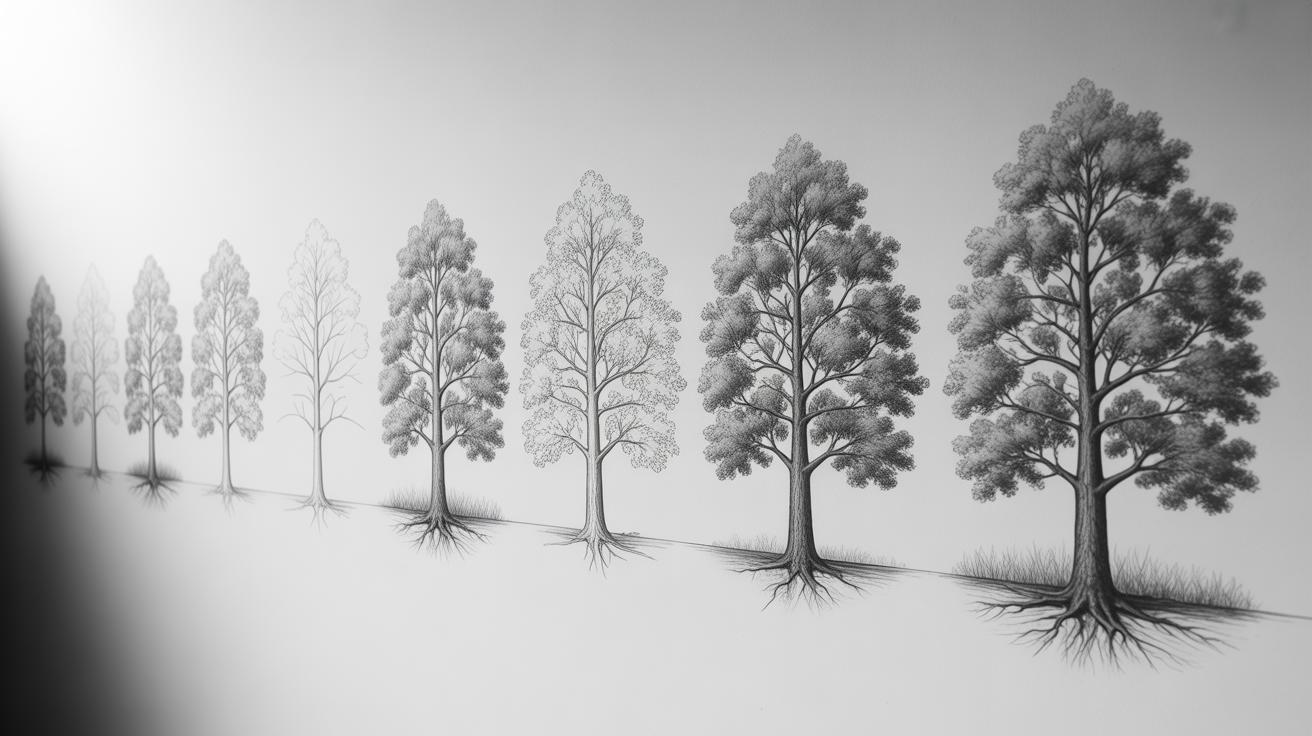
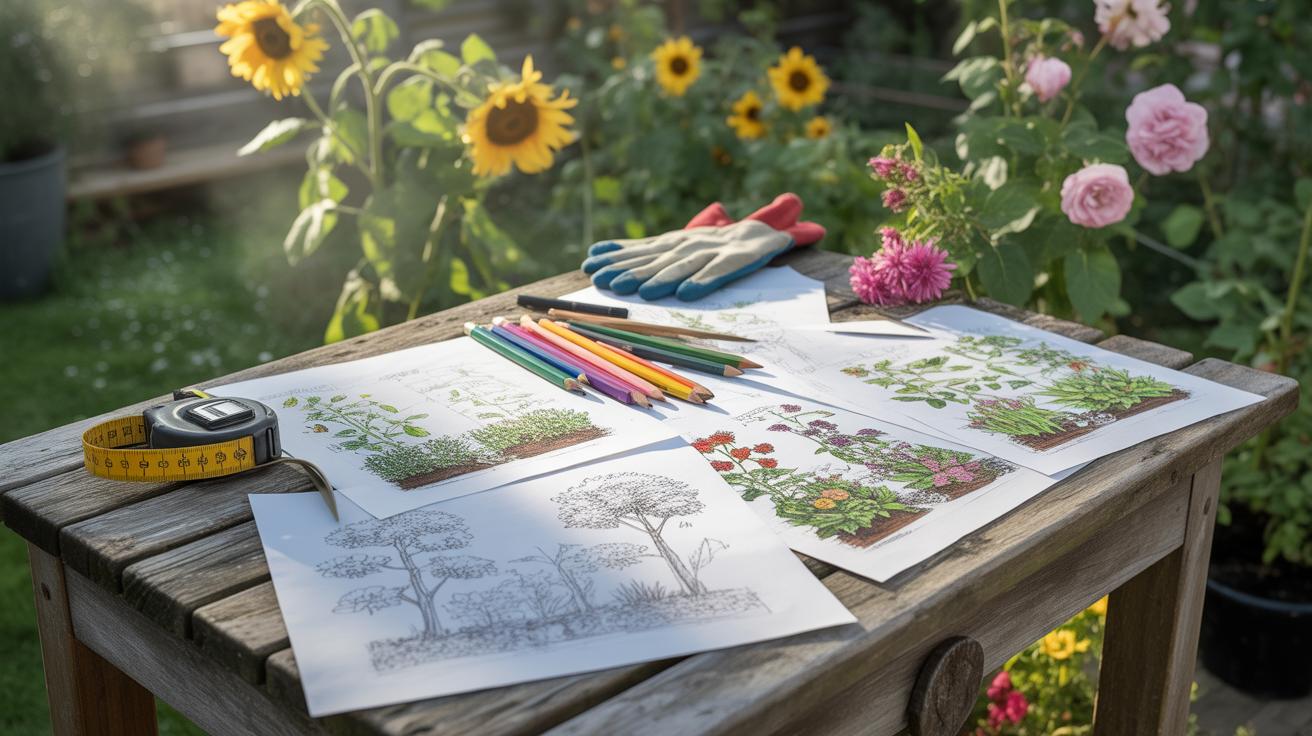
Basic Tree Shapes to Practice
When you start sketching trees, it helps to break them down into simple shapes. Most trees, despite their unique details, tend to follow a few basic forms. You might find yourself relying on circles, ovals, triangles, or cones more often than not. These shapes act like the skeleton of your tree sketch, giving you a framework before adding the messy parts.
Circle and Oval Shapes

Circles and ovals are your go-to for capturing the leafy crowns of deciduous trees. Think of them as rough outlines for foliage masses. You don’t have to draw perfect circles; irregular ovals work well too because real tree crowns aren’t symmetrical. Sometimes, playing with overlapping ovals gives the illusion of depth, as if branches peek through leaves. When I sketch, I often start with a loose oval shape and then chip away, shaping the foliage naturally. It feels a little awkward at first, but sticking to this approach helps keep the foliage believable without getting lost in details.
Triangle and Cone Shapes
Triangles and cones work best for evergreens or trees with pointed crowns. Picture a pine or fir tree—these shapes help define the tapering structure quickly. Even if your tree isn’t a perfect triangle, sketching a rough cone shape first gives your drawing direction and balance. When I was learning, forcing myself to use a triangle helped avoid the mistake of making evergreens look like blobs. You can break the cone into smaller sections to suggest branches. It might feel a bit rigid, but those sharp edges often make the sketch read as a tree immediately. Does this mean all evergreens look alike? Not really. The trick lies in how you loosen or tighten the shape later on.
Line Techniques for Branches
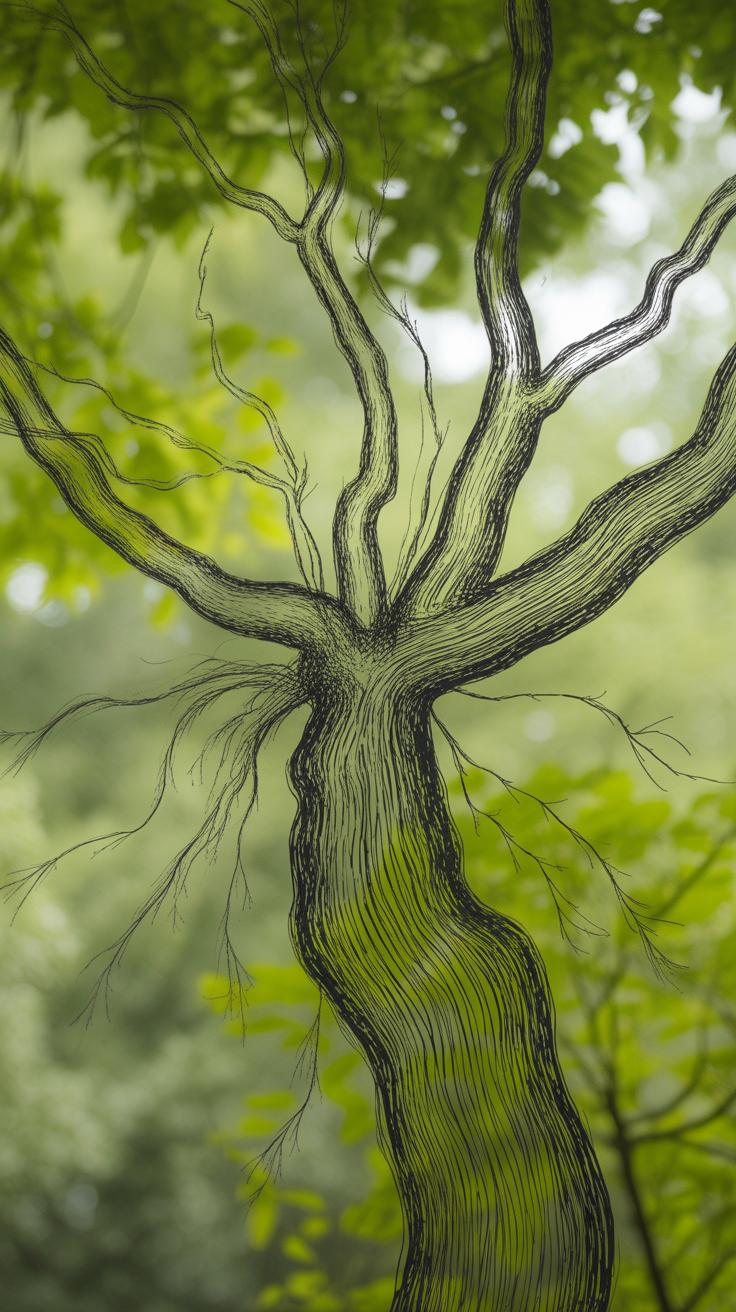
The way you draw branches can make or break the realism of a tree sketch. One key is to think about the natural growth and flow of branches, rather than just copying shapes. Try to follow the directional flow lines — those gentle curves and twists that branches naturally take as they extend outward.
When you start sketching, don’t rely on straight or mechanical lines. Branches rarely grow in perfectly straight or uniform ways. Instead, imagine a line weaving, bending slightly with the pull of gravity or the wind. Sometimes branches curve upward, sometimes downward, and occasionally they twist. Capturing this subtle movement with your line work brings a more organic feel.
Varying your line thickness is another powerful tool. Use thicker lines for the main, larger branches close to the trunk. It feels more grounded that way. Then, as branches split and thin, switch to lighter, thinner lines. This creates a sense of depth and hierarchy. You might hesitate on exactly how thick to go, but trust your eye. Look at real branches or photos and notice how thickness changes gradually, not abruptly.

It can feel tempting to draw every branch with the same line weight, especially early on. But pushing yourself to loosen up and push variation a bit makes a difference. You might find that playing with line weight also helps clarify the structure under the leaves or foliage. Give it a try — your branches will start to look a lot more natural and alive when you handle line flow and thickness thoughtfully.
Adding Texture and Detail

Getting bark texture right doesn’t mean drawing every crack or groove. That’s a trap many beginners fall into, ending up with something that feels overworked and stiff. Instead, think about simple patterns. For instance, short, uneven strokes running mostly vertically can hint at bark. You don’t have to be precise—randomness adds life here. Sometimes, a few angled lines crossing those vertical ones bring extra depth. Just remember, bark often looks rough but not chaotic. Keeping that balance is tricky.
When I started sketching trees, I wasted hours on bark details only to find the sketches looked more like scribbles. Now, I rely on a couple of easy patterns and adjust pressure as I go—lighter marks suggest smoother bark, while heavier marks suggest rough parts. Try that next time; it might help you relax and enjoy the process.
For leaves, drawing every single one is tempting but exhausting and unnecessary. The idea is to capture clusters or masses, not individual leaves. Grouping them with shapes—like loose blobs or layered ovals—can suggest foliage without overwhelming your sketch. Then, add a few lines or shapes inside these clusters to imply leaf shapes or veins without pinpointing each leaf exactly.
One method that works well is to draw overlapping leaf clusters, varying their size and shape. This variation keeps the sketch from looking repetitive. You might wonder—does this make the sketch less realistic? Maybe, but it often adds a livelier feel, closer to what you see. Often, those details you don’t draw let the viewer’s imagination fill the gaps, and that’s part of the art.
It’s easy to get stuck trying to perfect textures and details when a few well-placed marks can do the job just as well. Experiment with texture patterns and leaf clusters to see what fits your style and the story you want your sketch to tell.
Sketching Trees in Different Seasons
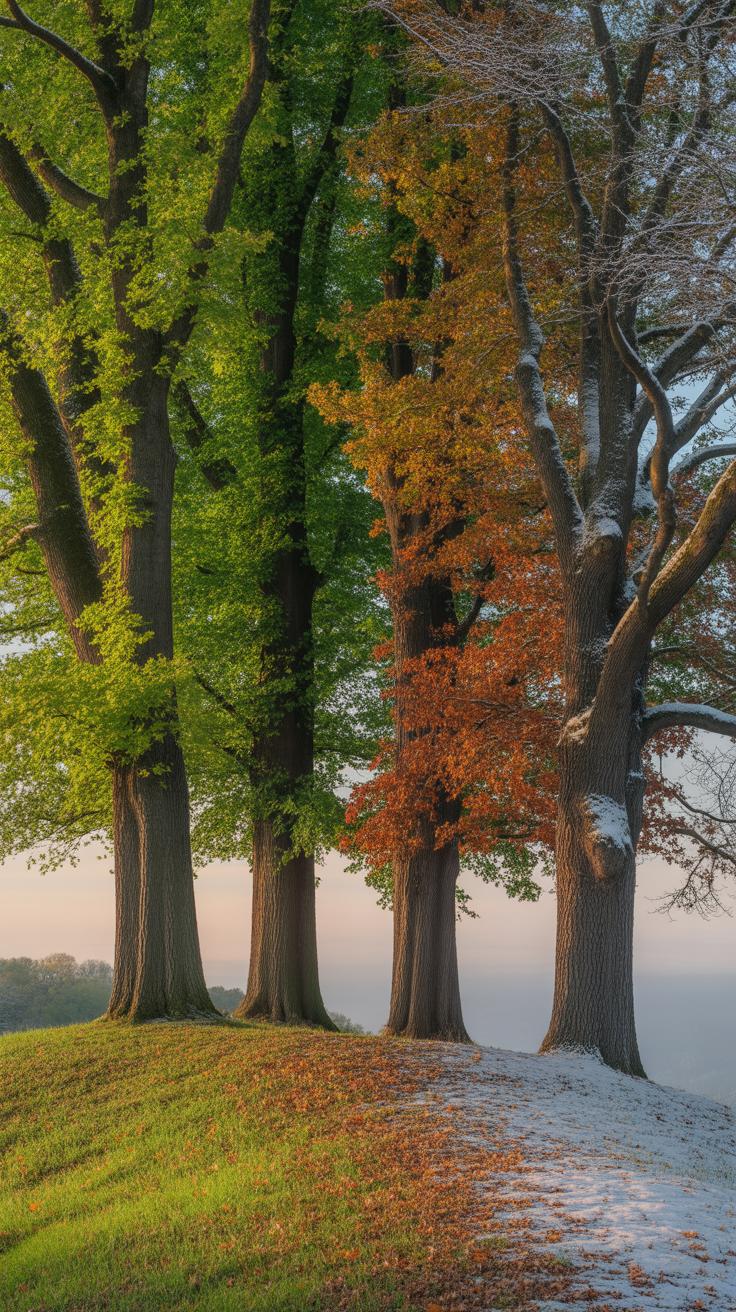
Trees change a lot from season to season, and this presents both challenges and opportunities when you sketch them. You might notice how in spring and summer, trees are often full of leaves, with dense canopies that can obscure branches. Then, autumn strips some foliage away, revealing the tree’s structure bit by bit. By winter, many trees stand bare, their branches exposed against the sky.
Capturing these changes means adjusting your focus depending on the season. For leafy trees, emphasize mass and shadow rather than every detail of a branch. But when leaves drop, you need to switch gears and pay close attention to the branching patterns—the twists, turns, and intersections that give the tree character. It’s like seeing the skeleton beneath the skin, and it challenges you to draw with more precision.
Try to think about what defines the tree in each season—is it the brightness of the leaves or the angularity of the branches? This mindset helps when you face a winter tree or a summer one overflowing with green. You don’t need to capture every leaf or twig, but your sketches should evoke the season and the essence of the tree as you see it.
Drawing Bare Branches in Winter
Winter trees can feel intimidating because the leaves that usually hide the details are gone. But this is often a chance to study the tree’s fundamental structure. When drawing bare branches, pay attention to how they taper and fork. Branches rarely split evenly; irregularity is the norm. This makes your sketches feel more natural and less mechanical.

Use quick, confident lines rather than overworking every inch. Vary the thickness of your strokes to suggest depth—thicker lines for closer branches, thinner ones for distant twigs. Don’t hesitate to break some lines or leave gaps. Your eye will fill in what’s missing, and your sketch will avoid looking stiff or overdrawn.
One tricky thing is capturing the randomness without it sounding chaotic. A few well-placed branches that cross or twist can create interest. Think about how light catches the angles and where shadows might fall. Even with no leaves, contrast shapes the scene.
Foliage Density in Summer
When trees are full in summer, the challenge flips. You’re not looking for structure but for volume and texture. Lush foliage isn’t about each individual leaf; instead, focus on clusters and how they form an overall shape.
Sketch areas of light and shadow to suggest depth. Remember, summer leaves create dappled shadows beneath. Use loose strokes or even scribbles to build up the feeling of thickness without drawing every detail. You might want to think of the leaves like patches of shadow and highlight, almost like a pattern rather than discrete objects.
Sometimes I find it helpful to step back and squint, which simplifies the tree’s mass. That way you avoid the temptation to overwork leaves. Dense foliage often looks best when it feels airy in parts, with small light gaps peeking through.

Which parts of the tree catch the sunlight? Are there areas darker under heavier leaf clusters? These questions guide your marks and give the sketch a sense of natural density without overwhelming complexity.
Comparing Sketching with Photos Versus Real Trees
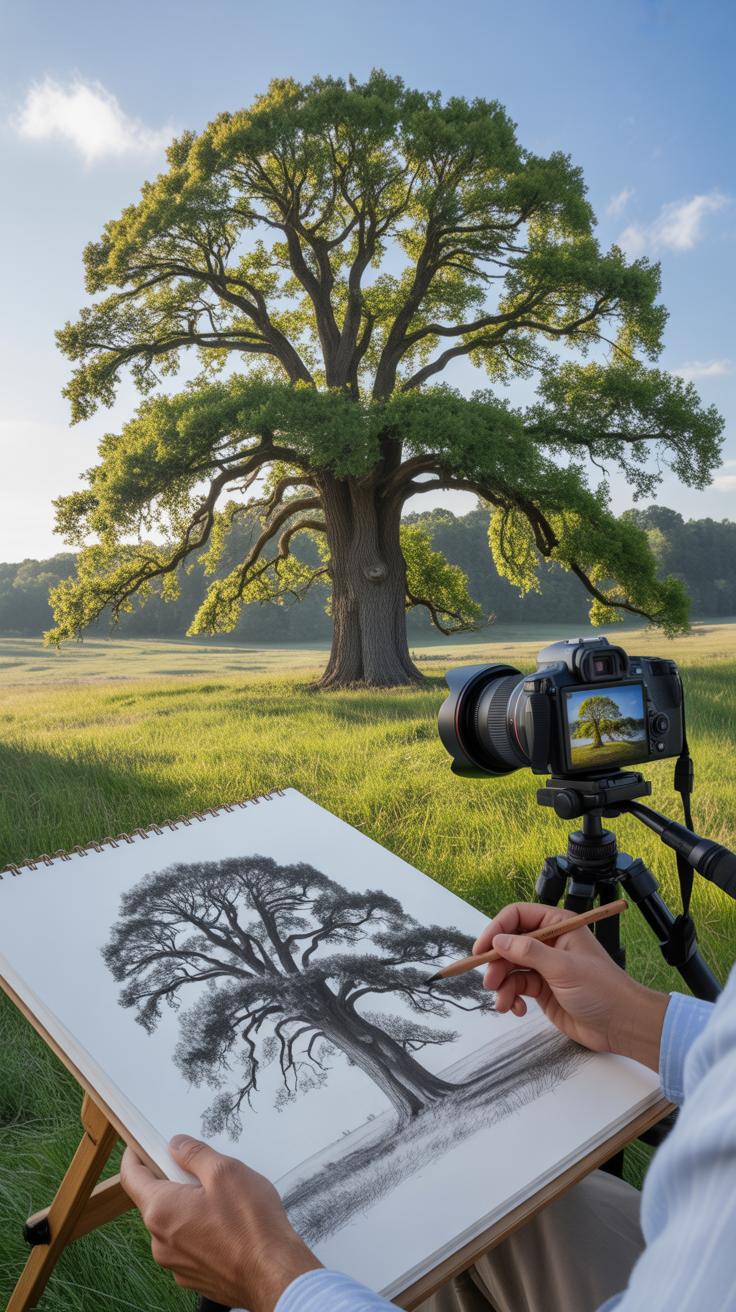
Benefits of Using Photos
Sketching from photos can feel like a practical choice, especially when you want to study a tree’s details without rushing. Photos hold a fixed moment—branches frozen in place, leaves captured mid-breeze. That stillness lets you spend time on tiny features that might otherwise shift with the wind or change as the day goes on.
There’s also the convenience factor. You don’t have to carry your materials outdoors or face weather interruptions. You can sketch indoors, anytime you want, without worrying about fading light. Plus, you can zoom in on a photo, revealing textures and forms that might be hard to observe directly.
Still, working from a photo can sometimes mean missing the broader context—like the way light filters through leaves or how branches subtly overlap in space. It’s a static view, which can limit how you interpret a tree’s overall shape and energy.
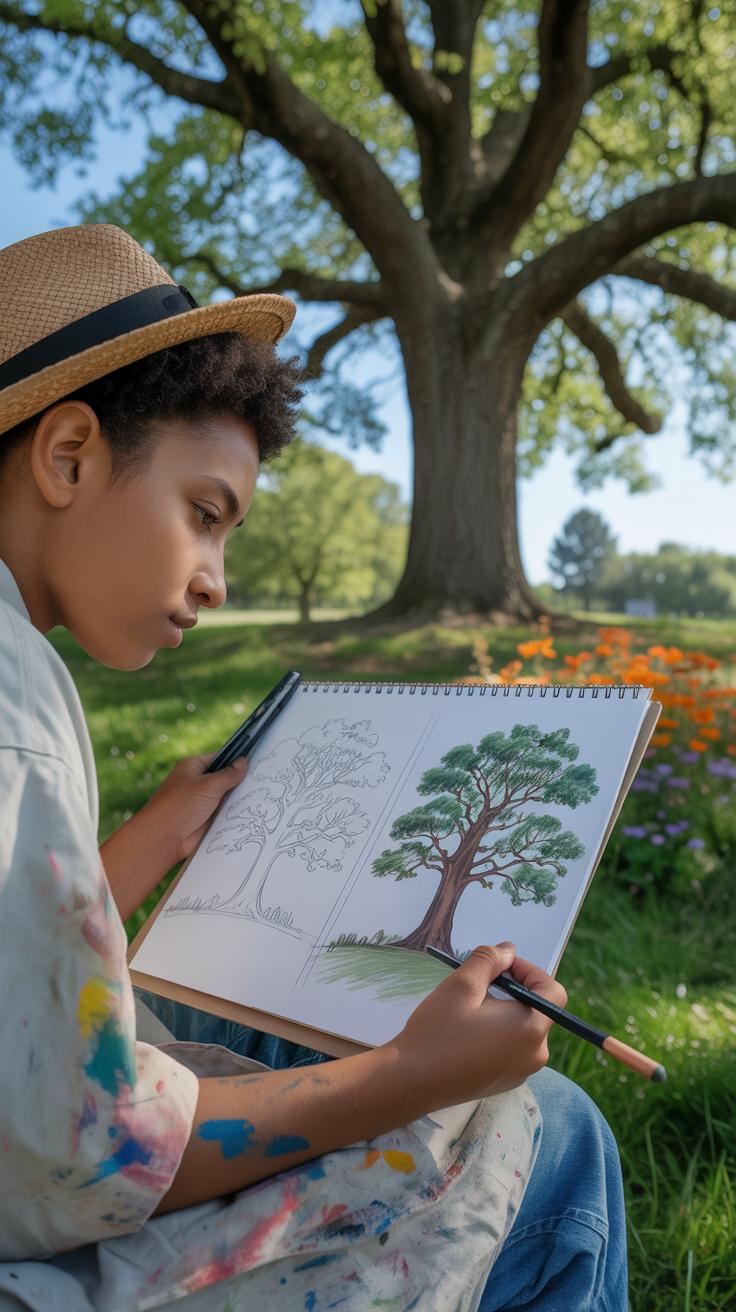
Why Sketching Real Trees Matters
When you sketch from a real tree, you engage more senses. You see how the branches actually curve, which angles change as you walk around, and how shadows dapple the bark. This kind of direct observation often leads to greater accuracy and a more lively sketch.
There’s something about observing a living subject that photos can’t fully capture. You notice how wind stirs branches, how the tree’s form evolves through light and time. These subtle shifts influence how you draw—and perhaps, how you understand the tree itself.
Of course, sketching outdoors can be tricky. Changes in weather, time, or even distractions mean you have to work faster or make choices about what to include. But maybe that’s part of the point—capturing not just a tree’s exact form, but its presence in a moment.
Basic Tools for Tree Sketching
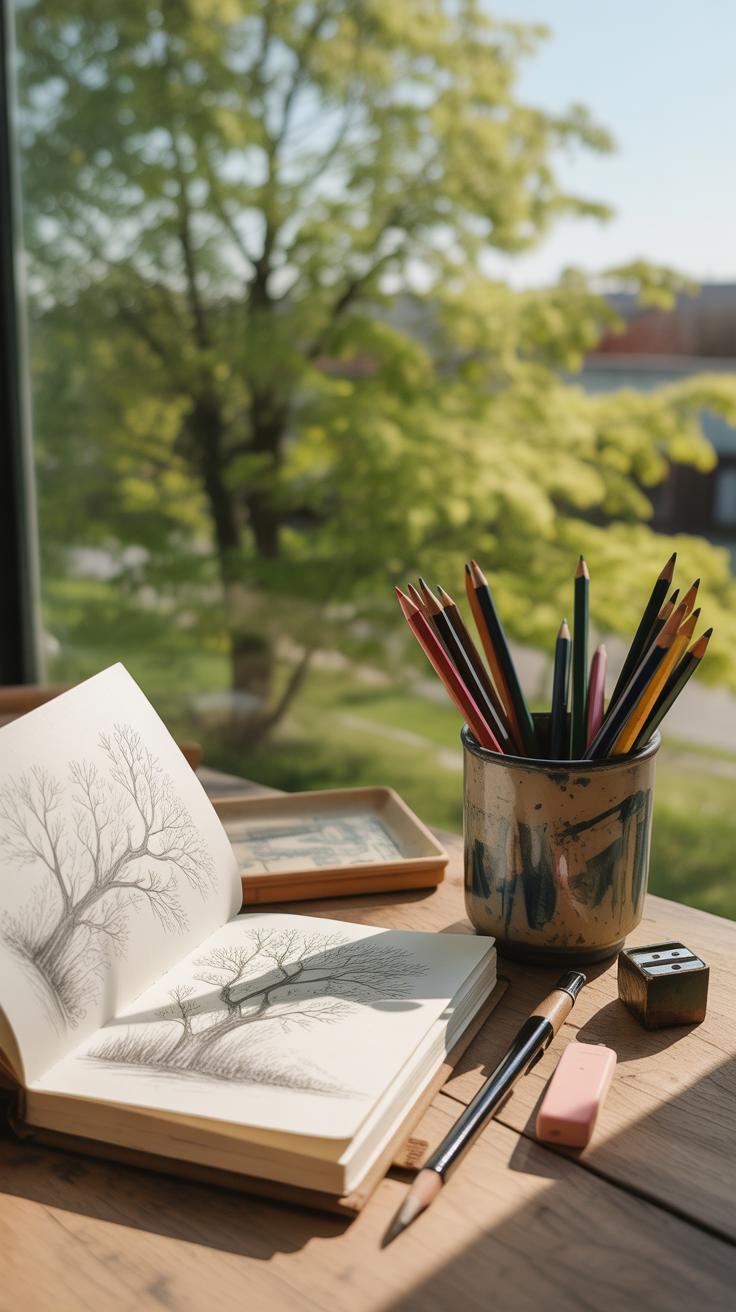
When you start sketching trees, the tools you pick can shape your whole experience. Not just in cost, but in how natural or frustrating it feels to capture a branch or leaf. For pencils, I’d suggest having a range from 2H up to 4B. The harder pencils (like 2H) give you lighter lines perfect for initial outlines, while softer ones (3B, 4B) let you dive into shading and texture. It turns out, using just one pencil type can limit how your sketch breathes.
Choosing an eraser might seem trivial, yet it’s really not. Kneaded erasers are nice because they don’t leave residue, so you can lift graphite gently without ruining the paper. I sometimes mix them with a basic white vinyl eraser for more stubborn marks. Each has a role.
As for paper, I’d say don’t overthink weight too much at the beginning, but around 100–150 gsm works well. You want paper that holds pencil without smudging excessively but isn’t so thick it feels bulky outdoors. Sketchbooks roughly 8×10 inches strike a balance between slip-in-your-bag convenience and having enough space to practice detail. You probably won’t want to carry a giant pad around when you’re already struggling to catch a fleeting moment under shifting light.
Picking smaller or larger isn’t wrong—some like tight, focused sketches; others prefer looser, broad studies. But try to keep your materials simple and consistent at first. That way you learn what each tool really does for your tree studies, beyond just guessing.
Step by Step Tree Sketch Process
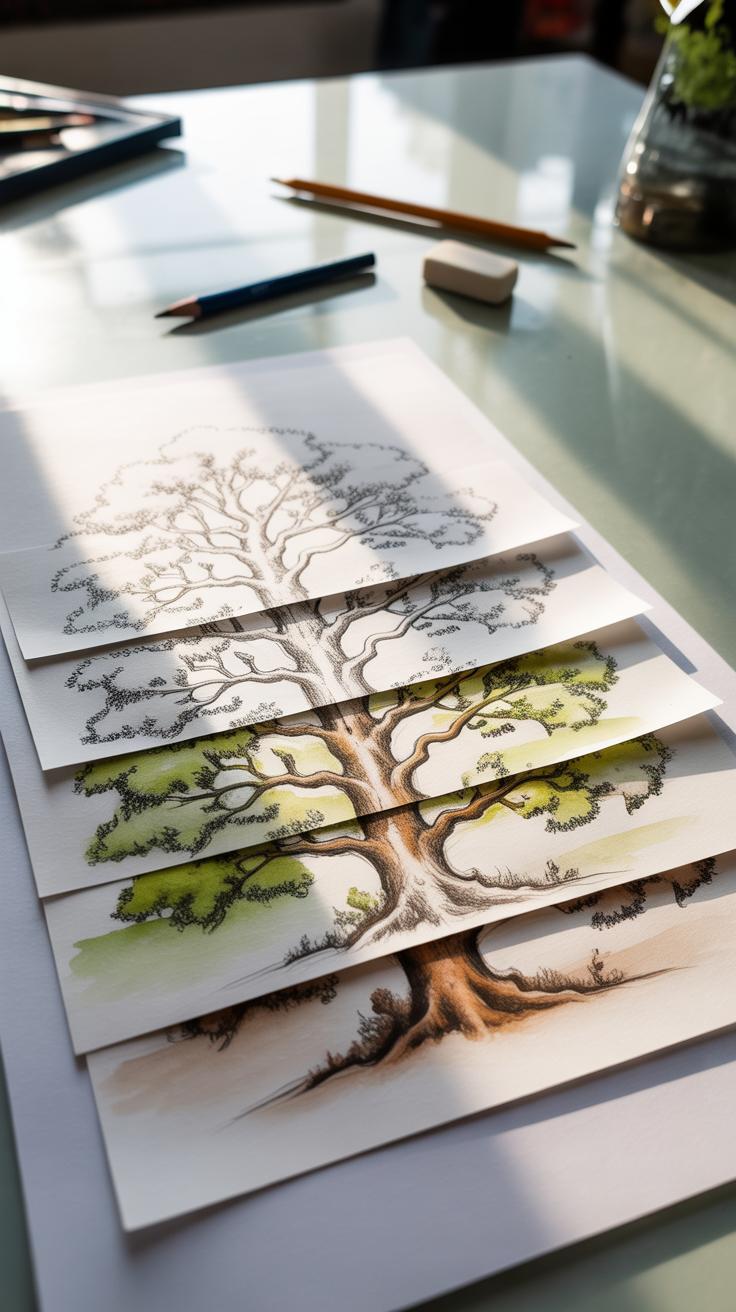
Starting with Basic Shapes
When you begin sketching a tree, it’s tempting to dive straight into details. But resist that. Instead, start by blocking in the major shapes. Think of the tree’s general form—maybe a large oval or circle for the canopy and a rough rectangle or cylinder for the trunk.
This stage is about capturing the tree’s overall mass and proportion. Don’t worry about exact branches or leaves yet. Sometimes, I find it helpful to look at the tree as a collection of simple shapes piled together. The silliness of this method surprises me, but it truly keeps your sketch grounded.
You might notice some shapes overlapping or oddly shaped; that’s fine. The goal is to establish where the tree “sits” on your paper and how big it feels.
Adding Details and Texture Last
After the big shapes feel right, move on to details. Here’s where you begin defining branches, leaf clusters, and bark texture. But take your time. The details don’t need to be perfect or clearly separated. Sometimes, letting them blend unpredictably adds natural character.
Use varied pencil strokes, maybe dots and dashes, to suggest rough textures or leaf bunches. Shading plays a key role now — it gives volume to the shapes. I often find myself hesitating, trying too hard to be precise. But texture doesn’t mean neatness.
Try layering light and dark marks. Let your strokes remain spontaneous; sometimes the most convincing tree bark or foliage arises from “imperfect” lines. The final sketch should feel alive, not mechanical.
Practice Ideas to Improve Tree Sketching
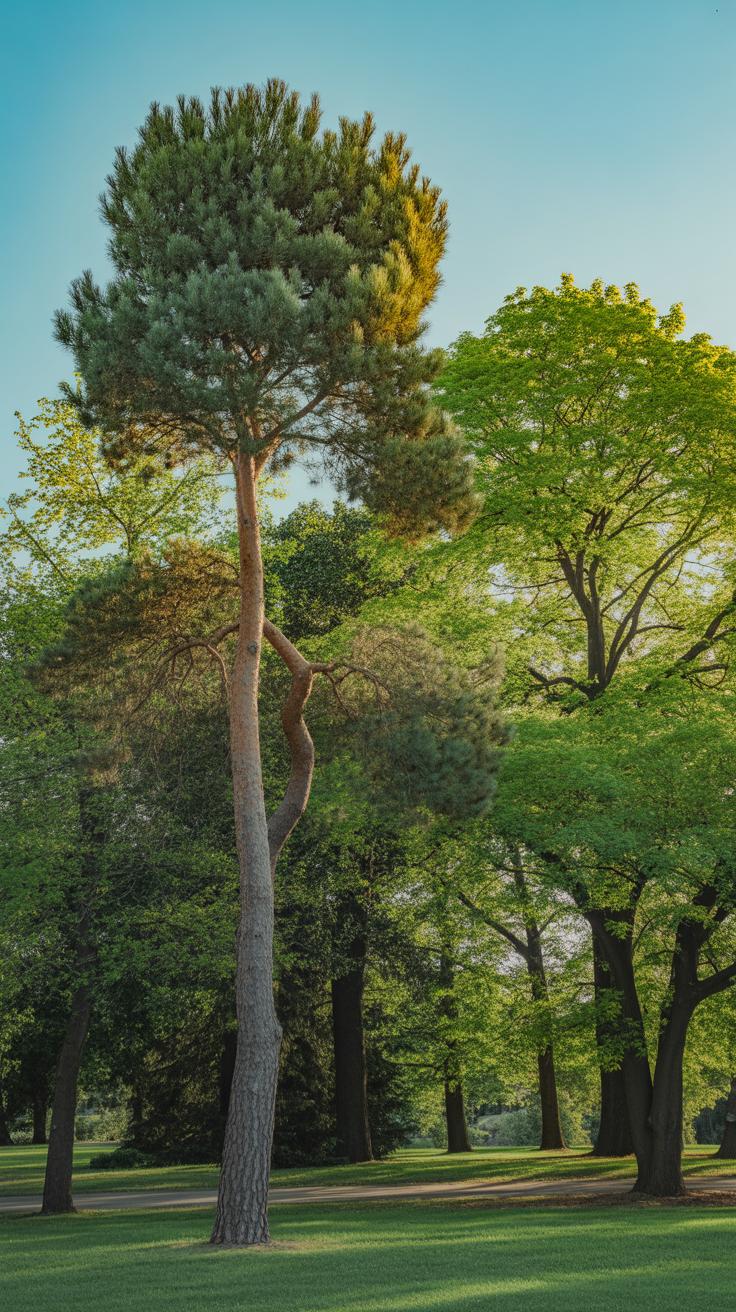
One way to get better at sketching trees is to challenge yourself with different species. Each type has its own structure—think of the towering pines with their straight trunks and clustered needles, or the broad, sprawling branches of oaks. Trying to capture these distinct shapes forces you to observe details you might usually overlook. Maybe start by drawing a few simple varieties you see nearby, then move on to more unusual ones.
Another idea is to set short timed sessions. You might give yourself just five minutes to sketch a tree. It sounds tough, but this pushes you to focus on the essentials and trust your instincts. It’s surprising how much you can catch with quick observation—sometimes better than when you stare endlessly.
Try mixing these exercises. For example:
- Pick three different trees to sketch in one sitting, aiming to highlight what sets each apart.
- Do a series of one-minute sketches to loosen up and break the tendency to overwork details.
- Set a theme, like “trees with twisted branches,” and sketch until you find interesting forms.
These practices not only build your skill but also keep you curious. Does focusing on speed change how you see form? How does drawing different species affect your line choices? Experiment. Sketching trees is, I think, as much about discovering your own way as it is about perfecting technique.
Conclusions
Tree sketching requires patience and practice. By avoiding typical beginner errors and applying the tips shared here, you can achieve better, more realistic tree drawings. Small changes in how you observe and draw can lead to big improvements.
Keep practicing different types of trees and use the techniques discussed to refine your sketches. Over time, your ability to capture the natural forms and details of trees will grow. Enjoy the process of learning and watch your tree sketches become more accurate and natural.


