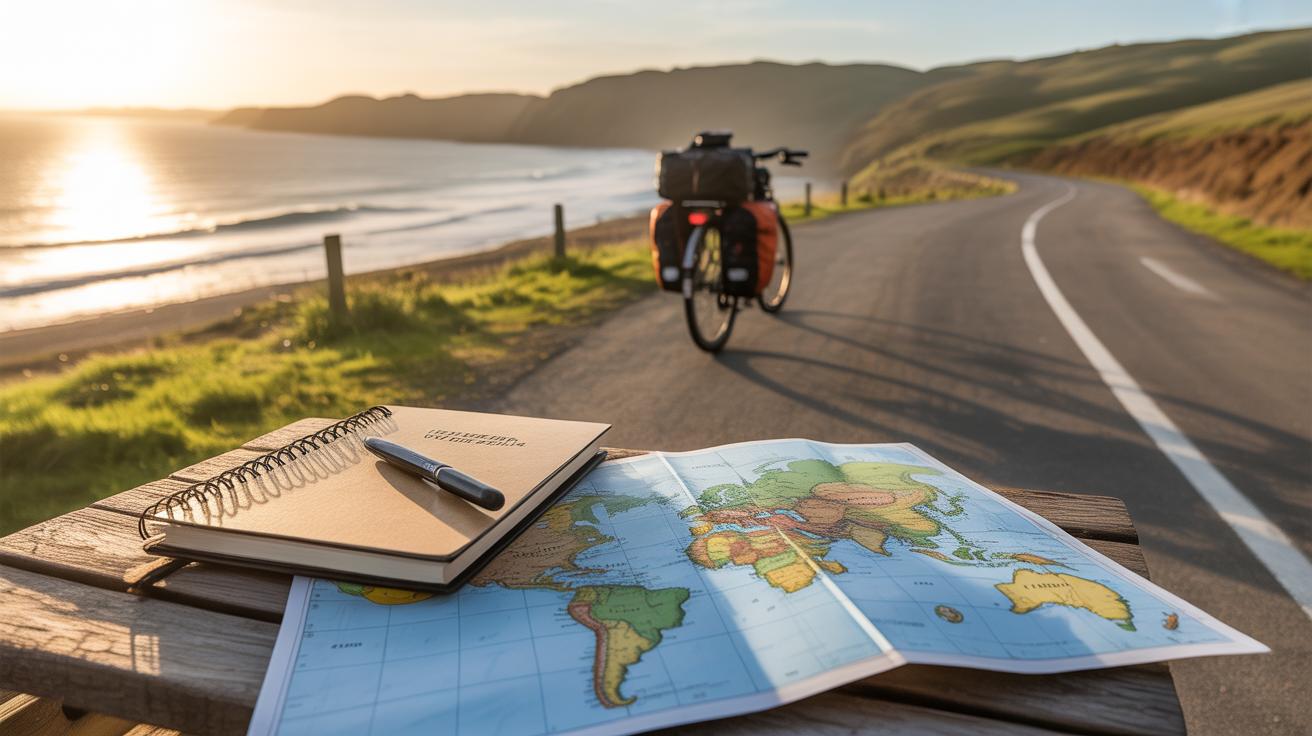
Introduction
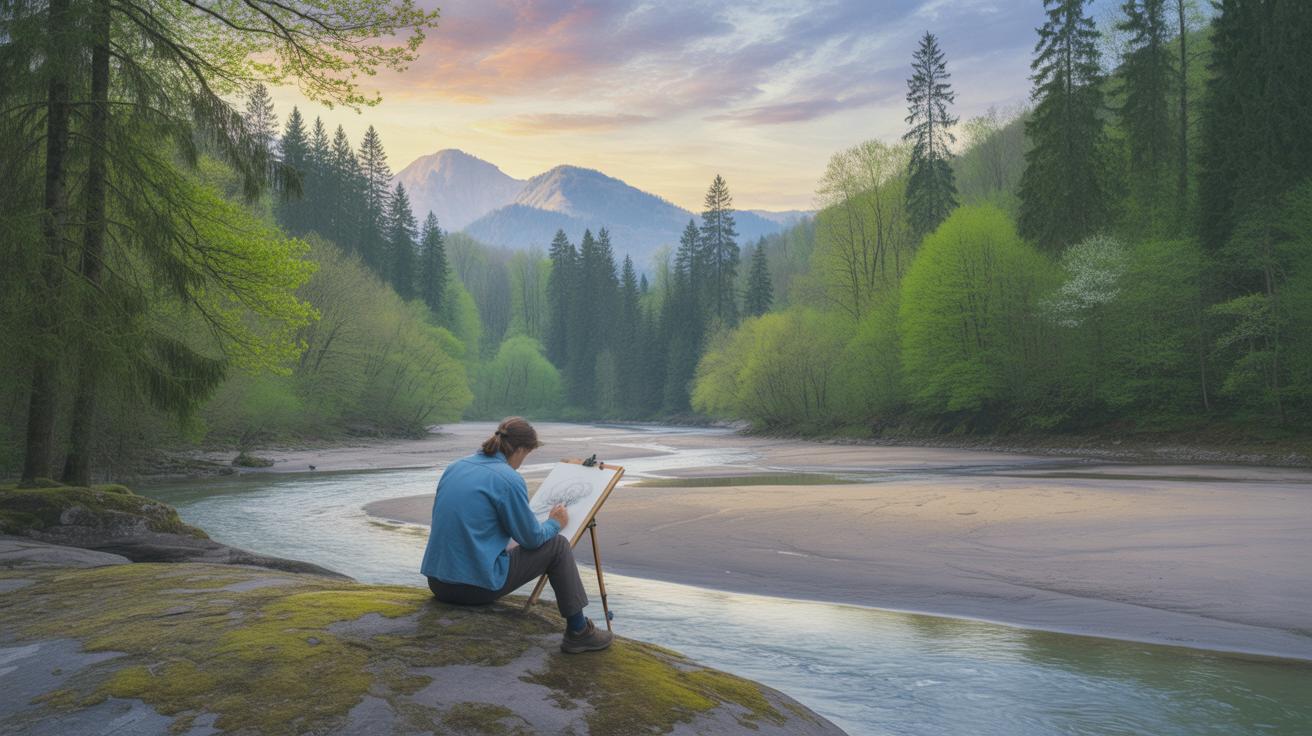
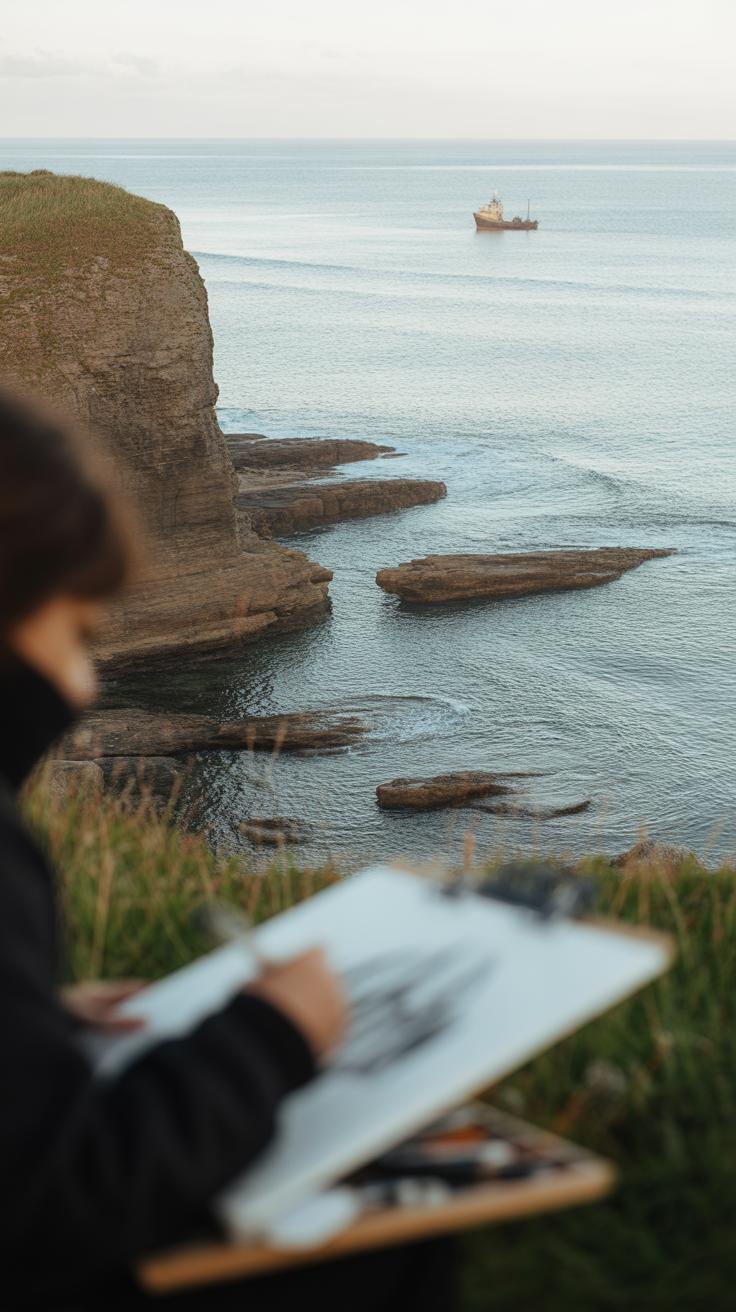
Travel drawing is a unique way to record your journeys by creating pictures using the paths you take. This fascinating method, including GPS drawing, lets you turn your travel routes into large-scale artworks. Whether you run, cycle, or drive, your movements can be captured and visualized as creative images that tell the story of your travels.
Transform Your Journeys Into Memorable Travel Drawing Logs by exploring different styles and techniques. Learn how to plan your routes, use digital tools, and add personal touches to make your travel drawing logs stand out. This article guides you through the steps to start your own travel drawing projects, capturing memories in a creative and meaningful way.
Planning Your Travel Drawing Route
When setting out to create a travel drawing, plotting your route comes first. You can’t just wander aimlessly unless you want a chaotic scribble. Planning helps shape your movement into something recognizable or meaningful.
Start by thinking about the image or pattern you want to create. Maybe a simple shape, a word, or a symbol that connects to your travel story. Sketch it roughly on paper or use a map app to visualize streets and paths fitting that shape. You’ll need to work within the constraints of the terrain and roads available, which can be frustrating—sometimes your idea doesn’t quite fit, so flexibility matters.
Choosing the right path isn’t just about the shape, though. Think about the time and distance. A complicated route might look great but could be exhausting or unfeasible on foot or bike. Some travelers use cars or even boats to cover more ground or make finer details, but that changes the experience and pace.
Also, consider how your route tells a story. The places you pass become part of your drawing’s meaning. When you record that journey with GPS or notes, your art isn’t just pretty lines on a map—it’s a personal narrative traced by your own steps or wheels.
Planning like this pushes you to engage with your surroundings in a new way. It might even make traveling more intentional, though sometimes spontaneity creeps in anyway, and that unpredictability has its own charm.
Route Your Planned Travel
Before you head out with your GPS device or map, taking some time to plan your route can make all the difference. It’s tempting to just pick a random path and start drawing, but that often leads to a disconnected or unclear image. When you plan carefully, you can create a route that not only forms the intended shape but also flows naturally with the terrain and streets available.
Choosing the right paths means balancing creativity with practicality. Sometimes the perfect image requires tweaking—maybe a street doesn’t quite line up or there’s an obstacle like a highway you can’t cross. I’ve found that adjusting your expectations a bit helps—choose simpler designs if your area’s roads aren’t laid out perfectly, or allow your drawing to be more abstract than literal.
Consider what kind of image you want. Do you want a bold outline, or a detailed pattern? Certain neighborhoods or park paths offer more curves, while city grids lend themselves to geometric shapes. Think of your route as a sketch itself—it doesn’t have to be flawless, but it should feel intentional.
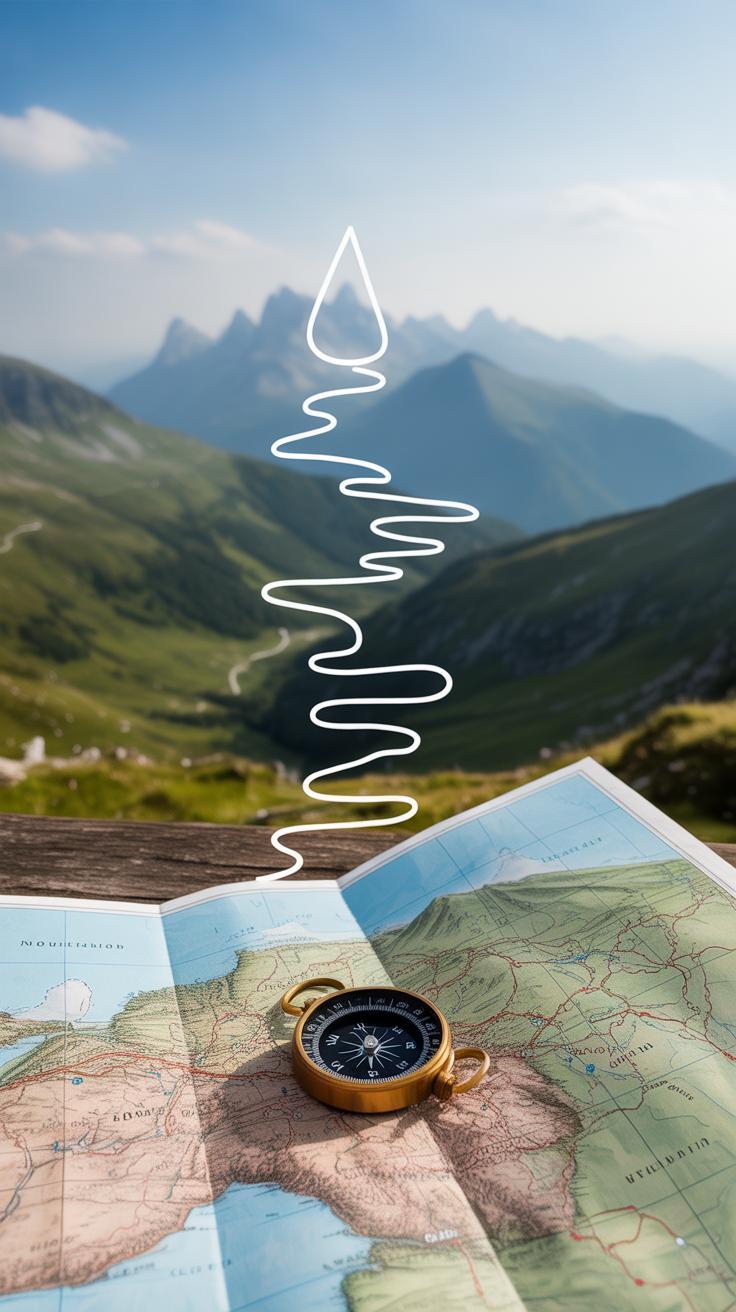
Finding Shapes and Ideas on Maps
Maps aren’t just for directions—they’re a creative playground. When you look at a map, try spotting shapes or patterns within the roads. Sometimes a cluster of streets vaguely resembles an animal or a letter, if you squint or rotate the view. I often zoom out and trace imaginary lines, testing if a figure can emerge.
One way I like to find ideas is to trace doodles directly on digital maps, using your mouse or finger to connect points spontaneously. You might find that a winding river or curving footpath adds character. And if you’re stuck, try flipping the map upside down or turning it sideways; the new perspective can spark fresh ideas.
There’s no hard rule—if a road looks like the wing of a bird or a smile, that could become the heart of your drawing. The trick lies in spotting these “hidden” images and imagining how your route could capture them.
Using Tools to Plan Your Route
Thankfully, some websites make route planning smoother than scribbling on paper. Sites like RouteDoodle.com and RouteSketcher.com let you draw out paths digitally, visualizing how your GPS drawing will look in real time. I’ve played around with these tools, and they save a lot of guesswork.
With these tools, you can click points on a map and see your route shape taking form immediately. It’s easy to tweak and reshape your path — maybe curve this segment or connect another street. You can also measure distances, which helps you estimate how long your trip might take.
Using digital planning tools also means you can experiment without leaving home. Try mapping multiple designs and compare them before you pick one for your actual travel drawing. But don’t rely on them blindly—maps can be out of date, or roads might be closed, so keep some flexibility.
Planning a travel drawing isn’t always straightforward. It’s a bit like plotting a story on the map, with some chapters clear and others left open to interpretation. And that, I think, is part of the fun.
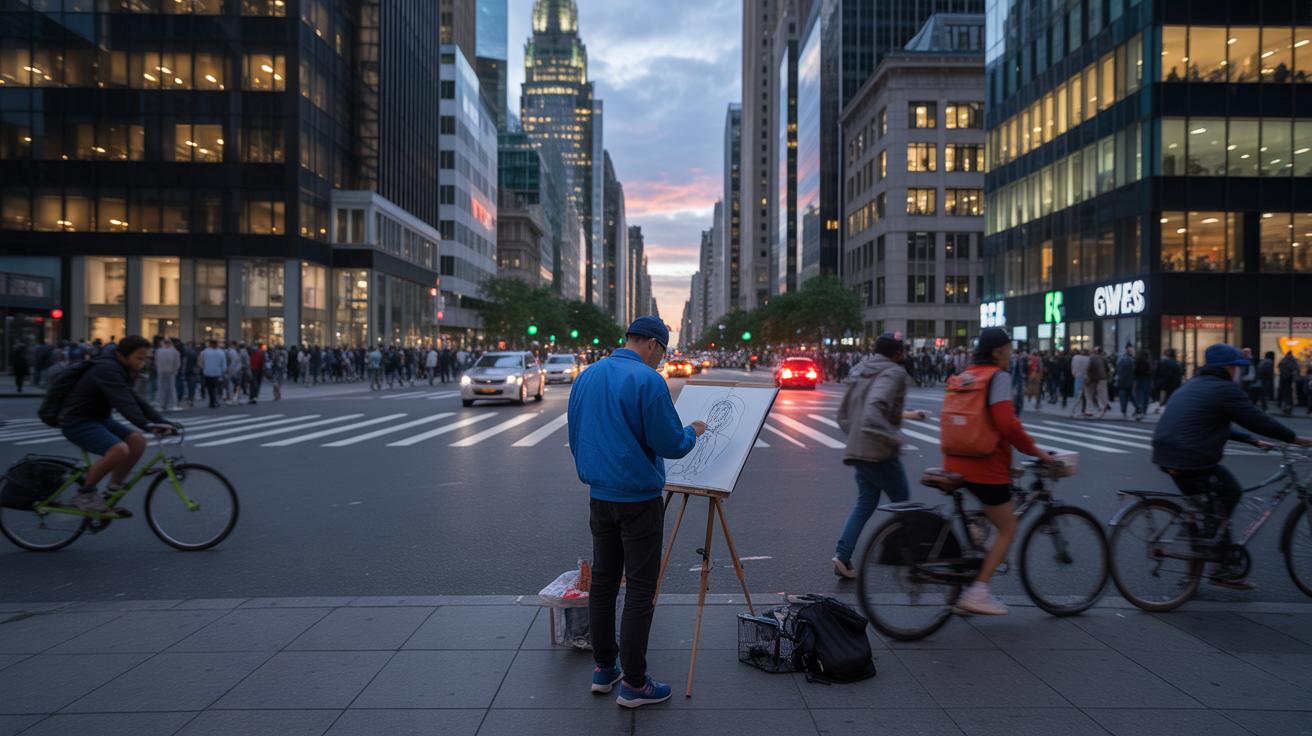
Choosing the Right Travel Method for Your Drawings
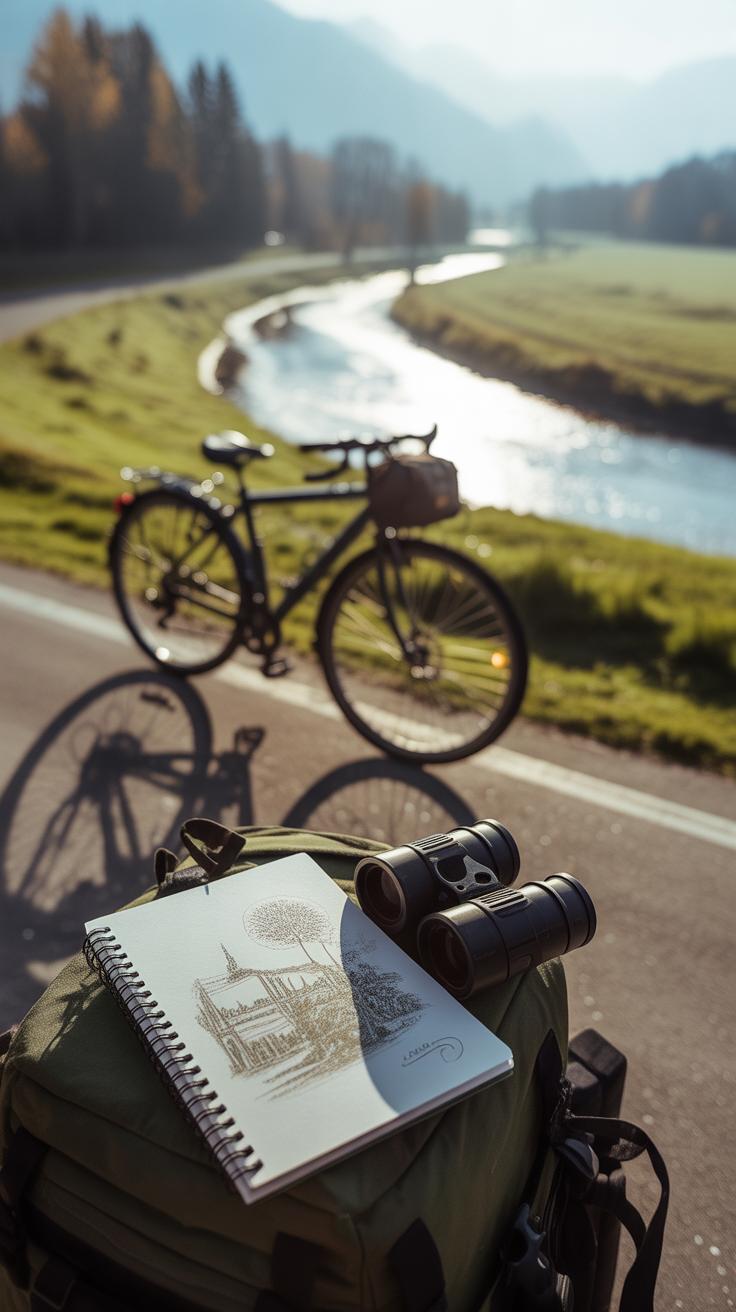
When it comes to travel drawing, the way you move shapes your artwork in subtle but real ways. Running or cycling lets you capture details up close—your drawings often end up smaller, more meticulous. Imagine tracing the curves of a winding path or the outlines of a park’s benches on foot; the pace suits those fine touches. You’re close enough to notice little things you might miss from a car window. It’s slower, yes, sometimes tiring, but that kind of immersion brings a different layer to your art. Plus, you can stop whenever you want to add detail or adjust your course.
On the flip side, using cars, boats, or planes opens up bigger possibilities. These modes let you draw large shapes or even freehand designs on a map. Your movements cover more ground quickly, so the drawings tend to be broader, more sweeping. For example, driving along highways or roads can trace out letters or shapes visible only from above. Boats on water can add fluid, curving lines, while flying creates sweeping arcs impossible to replicate on foot. It’s less about detail there, more about scale and freedom—though you might lose some intimacy with the scenery.
Think about what matters most to you. Do you want tight, detailed sketches, or grand designs spread out over miles? Your travel method nudges your style in one direction or another, sometimes in ways you wouldn’t expect. Have you tried combining both? You might find a perfect balance between detail and scale by shifting between slow and fast modes in one trip.
Executing Your Travel Drawing
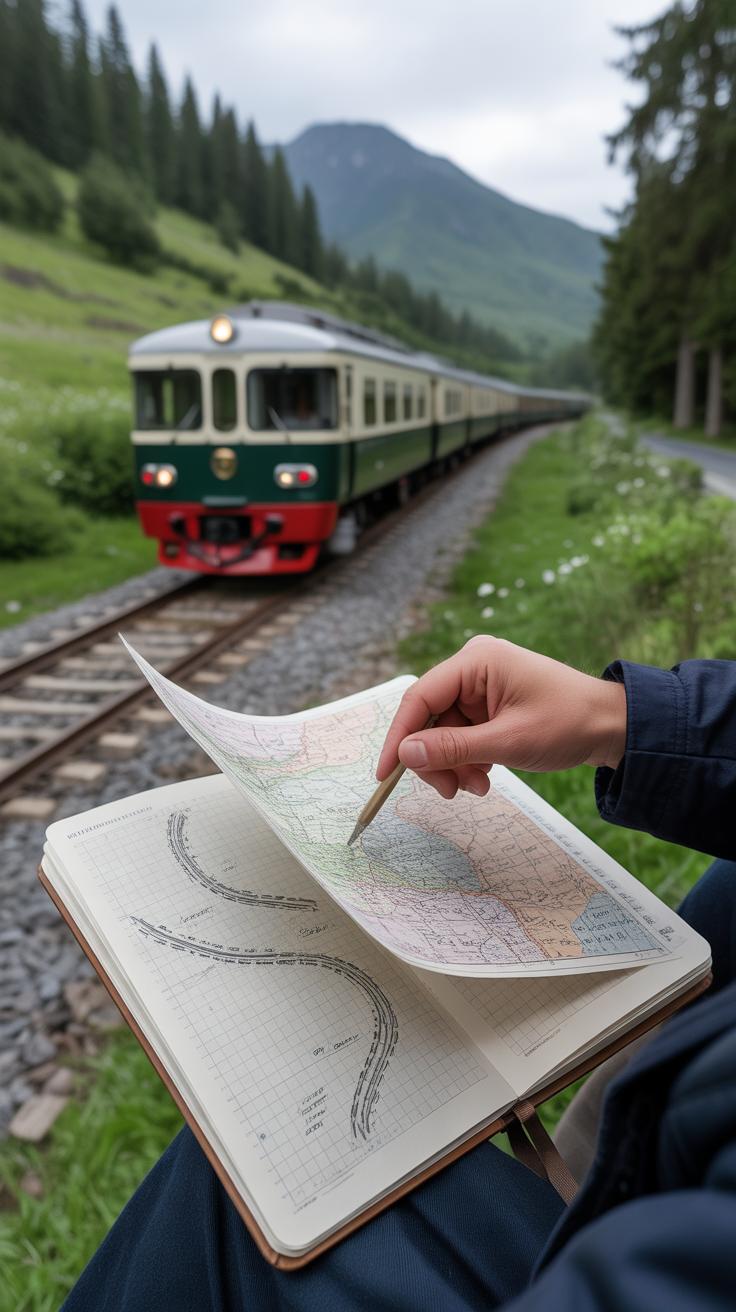
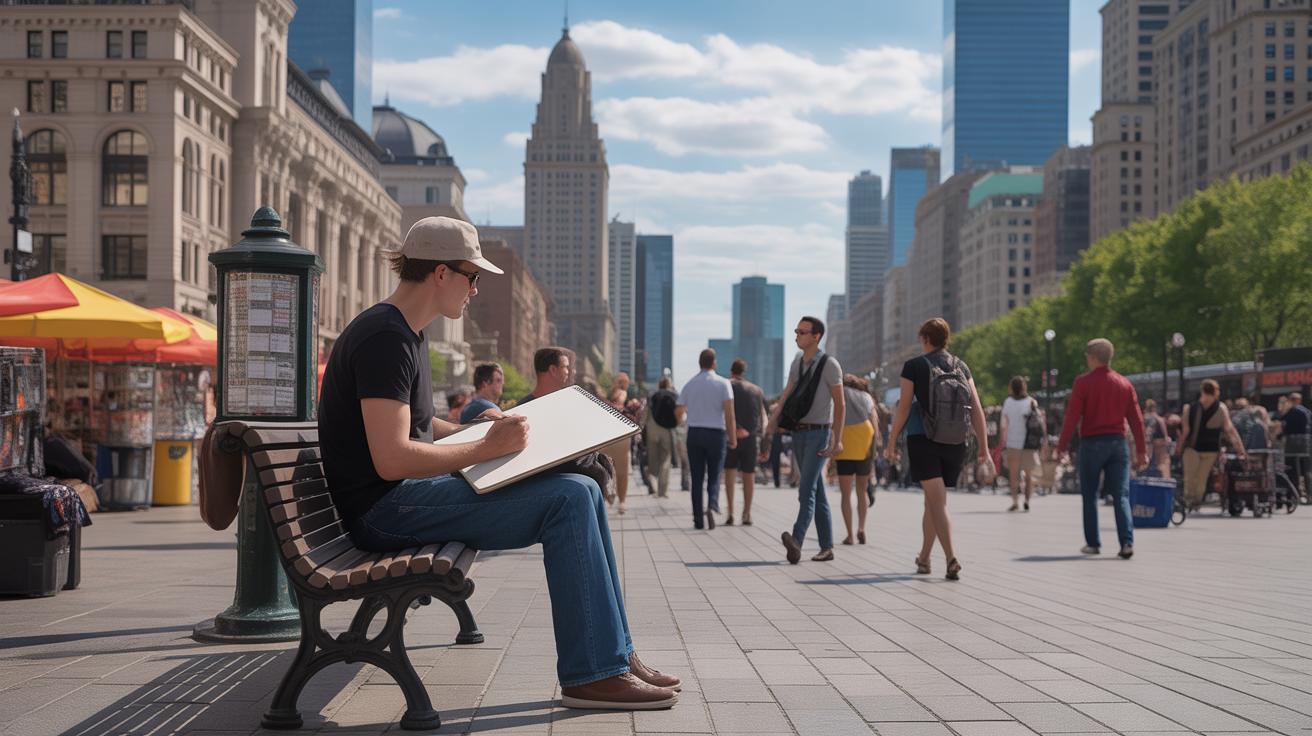
Creating a travel drawing while you’re on the move can feel a bit tricky, but breaking it down into simple steps helps keep things manageable. Start by following your planned route as closely as you can—this anchors your drawing in reality and gives it structure. Carry a notebook or a small sketchpad, and pause at interesting moments to add details.
Using GPS devices plays a big role here. Before you set off, load your route into a GPS app or device that lets you track your progress. This way, you can record your path and even retrace your steps if needed. But remember, GPS isn’t flawless—signal drops or glitches happen. So, keep a backup plan, like a paper map or simple landmarks.
To stay on track during the journey, break your route into chunks. Focus on one segment at a time rather than the entire trip. That makes things less overwhelming, and you’re less likely to lose direction. Check your GPS regularly but don’t obsess over it—sometimes detours or brief stops add personality to your drawing. After all, travel doesn’t always go as planned, and your drawing should reflect that.
Navigating Your Route with GPS
Using GPS technology to track your travel drawing feels straightforward but can get complicated if you’re not careful. Choose a GPS device or app that records your route as a track or a series of points you can export later. Try to keep your device charged and secure—it’s surprising how often these small details trip people up.
To avoid mistakes, don’t rely solely on GPS direction prompts. Cross-check your path with the map view often. Getting lost might feel like part of the adventure, but it can mess with the accuracy of your drawing. When the GPS signal weakens—like in thick forests or urban canyons—pause and use visual clues to reconnect your route.
Recording your path in real time is helpful, but consider marking key stops manually. Small notes or quick sketches of landmarks help you reconstruct your drawing if the GPS track shifts or jumps unexpectedly. A curious question to ask yourself: how much trust do you want to place in technology versus your own observation? Balancing both is often the best choice.
Adjusting and Improvising on the Go
No matter how much you plan, expect surprises that demand route changes. Maybe a road is closed or weather pushes you off course. Don’t stress; this is where creativity kicks in. You can adjust your drawing by adding unexpected loops or side trails—these often make your travel log feel more genuine and spontaneous.
To keep the drawing’s design intact while being flexible, try these tips:
- Quickly sketch new segments roughly, then refine them later.
- Use consistent symbols or lines to distinguish planned versus improvised parts.
- Make note of why you changed course, either with a quick annotation or small icon.
Improvisation doesn’t have to mean chaos. Sometimes a small detour adds depth and character. Next time, think about whether sticking rigidly to the plan matters more than capturing the moment. What does your drawing say about your journey if you embrace change rather than fight it?
Different Styles of Travel Drawing
Roads and Trails Only Style
This approach sticks closely to existing paths—roads, trails, and marked routes. It’s straightforward in a way, reducing the noise of wandering thoughts by following clear lines. You end up with shapes and forms that feel familiar, maybe even easy to recognize later. Yet, this style isn’t without its quirks.
The challenge lies in staying on those lines while still creating something visually interesting. Sticking only to roads can make your drawing look a bit rigid or predictable. Sometimes you want to stray a little—but force yourself to follow the path, and patterns emerge that you might not notice otherwise.
This style suits places with well-defined networks, like quaint towns or national parks with marked hiking paths. It makes retracing your journey almost like reading a map, which can be strangely satisfying. But if you’re somewhere wild or open, roads-only can feel limiting.
Freehand and Connect the Dots Styles
Freehand travel drawing feels more like wandering with your pen. You’re not bound to roads or trails but can roam over open ground, water, or even air. This flexibility lets you capture unexpected turns and shifts in direction—perfect when the environment feels fluid, like on a beach or river.
Creativity thrives here. Without rigid lines, your drawing might look less “accurate,” but it often conveys a stronger sense of place or mood. You might veer off a known path and reveal something fresh or unplanned. Yet, this freedom also means your drawing could be harder to read later—depending on how spontaneous you get.

The connect-the-dots style offers a kind of balance. By pausing your GPS to jump from one spot to another, you create a series of points linked by straight lines. This can produce abstract or geometric shapes—like a deliberate skipping through your journey instead of following every step. It’s useful in urban areas with lots of distractions, or when you want to highlight key places rather than the entire route.
Does any one style feel more “right” for your travels? Sometimes, mixing these approaches can capture both structure and freedom. After all, travel itself rarely fits neatly into one pattern.
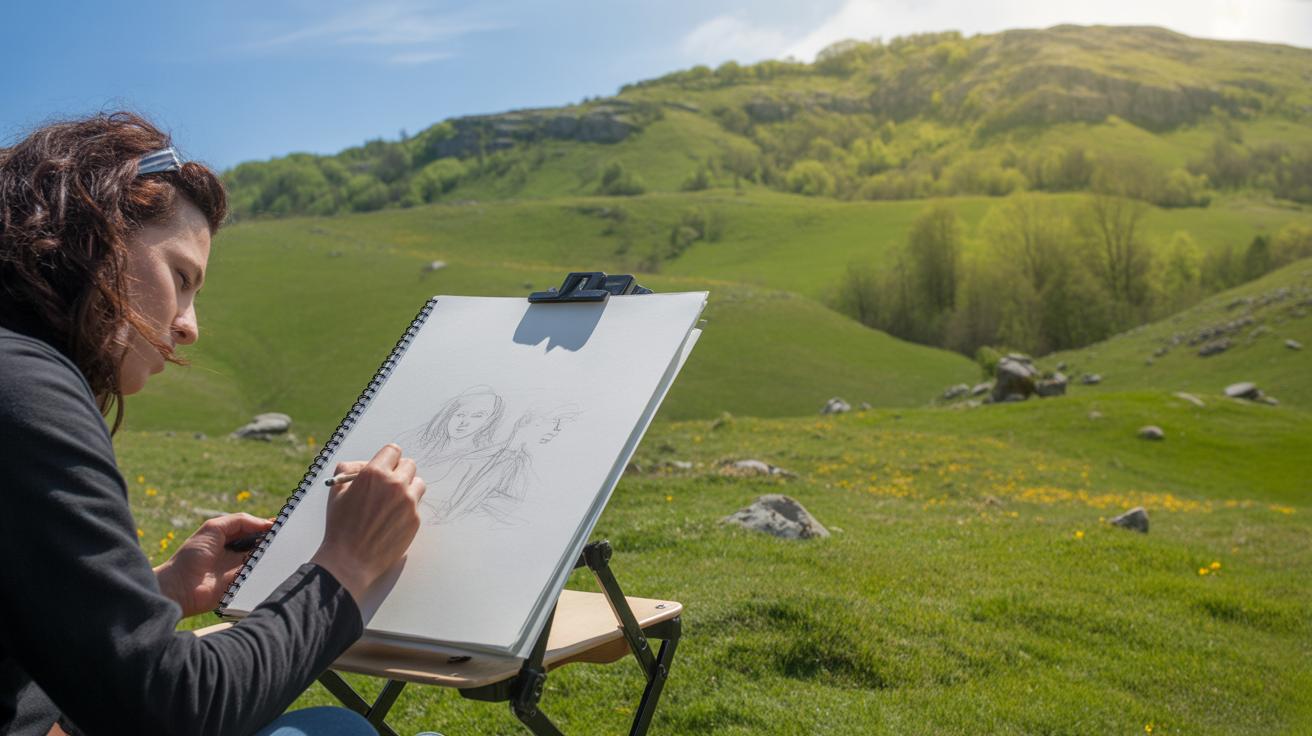
Adding Creative Details to Enhance Your Travel Drawing

Once you’ve captured the basic shape of your route, adding little details can make your travel drawing feel alive. Think about small lines or shapes that bring clarity or a bit of personality. For example, drawing tiny eyes or hats on certain segments can suggest animals or people you imagined along the way. These simple additions often make your drawing easier to recognize later—it’s like giving your lines a voice.
Sometimes, a few well-placed symbols or marks can clarify what you saw without cluttering the image. A wavy line might indicate a river, a cluster of dots a town, or an arrow could hint at a direction that had a special meaning. You don’t have to be an artist; even rough sketches work if they give context.
Pairing your drawing with actual photos or other artwork can expand the story. Maybe a photo of a sunset you saw near a particular bend helps the viewer feel what you felt. Or, if you’ve sketched a local flower alongside the route, it creates a richer experience. Blending these elements lets your travel drawing become more than just a route—it becomes a scrapbook that captures moments and moods along the way.
Sharing and Preserving Your Travel Drawings
Saving your travel drawings starts with choosing the right format. For GPS-based drawings, common formats like GPX or KML work well. They’re widely supported and easy to manage. Export these files to keep your routes safe and accessible for future editing. When it comes to images, JPEG and PNG remain reliable choices, balancing quality and file size. I sometimes stick to PNG to avoid compression artifacts, especially when lines and details matter.
Simple editing software like Photoshop Elements or free tools like GIMP can help enhance your drawings—adjusting colors, tweaking contrast, or adding notes. Don’t hesitate to experiment a bit; sometimes a slight color shift can make your route pop off the screen.
Sharing travel drawings offers more than just personal satisfaction. Platforms like Instagram, Pinterest, or specialized travel forums provide spaces to showcase your work. Sharing invites feedback and sparks conversations. You might even join a growing community of travel artists who exchange tips or inspire each other’s journeys. I’ve found that posting a simple route map alongside a quick story often draws interest—people love context.
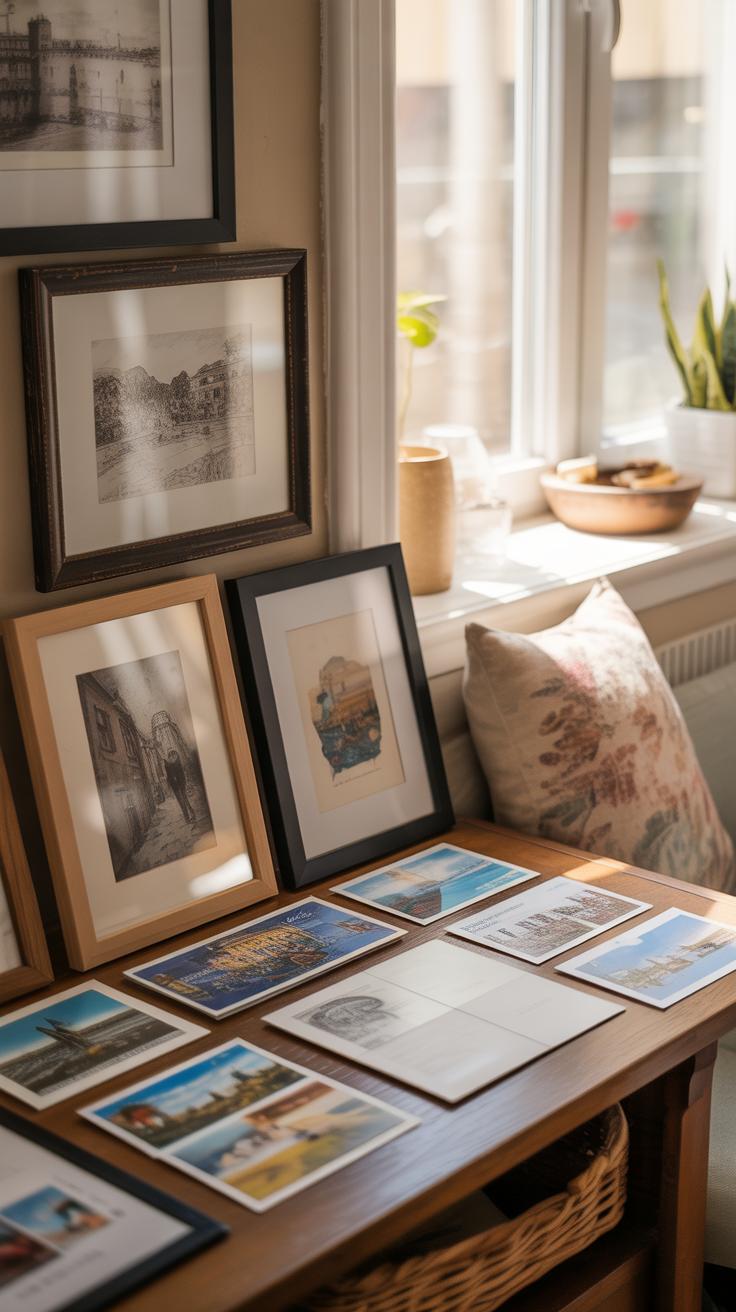
Of course, physical prints still hold a special place. Framing select drawings or compiling them into a handcrafted journal turns your fleeting adventures into lasting artifacts. It’s oddly rewarding to flip through tangible pages or see your path hanging on a wall. It makes your experiences feel more real.
How do you imagine sharing your next travel drawing? Would you focus more on digital communities or create something tangible for your home? Maybe a mix of both? It’s your journey to preserve—and narrate—in your own way.
Collaborative Travel Drawing Projects
Collaborative travel drawings open a new realm where multiple travelers contribute routes to form larger images or even simple animations. Imagine several people walking or cycling in different parts of a city or trail, each creating a piece of a bigger picture. When combined, these parts produce something surprising, much bigger than any single route alone could show. It’s not always easy to align paths perfectly—sometimes it feels like a puzzle missing a few pieces—but that challenge is part of the fun.
Working with Other Artists
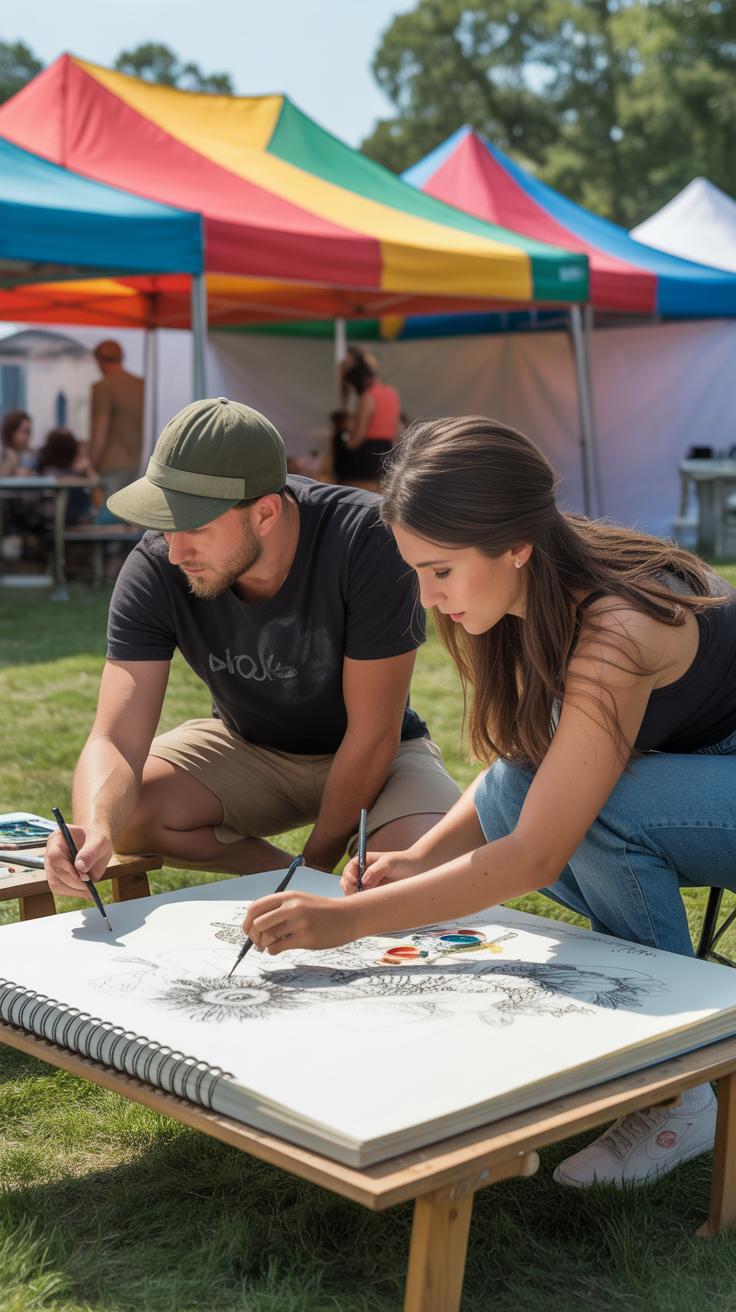
Teaming up with friends or a group to create a unified drawing requires some planning. You’ll want to coordinate routes ahead of time, perhaps dividing the shape into segments each person covers. Apps like Strava or MapMyRun let you share and compare GPS paths easily. I’ve found it helps to set a general timeline or deadline, so everyone works toward the same goal. Not everyone moves at the same pace, so you might need to adjust plans on the fly. Still, the feeling of building something together, even if imperfect, adds a layer that solo travel drawings often lack.
Community and Public Participation
Some projects invite more than just friends—crowdsourcing art through public GPS contributions brings an unexpected dimension. People from different places add their own routes, turning local maps into a collective creation. For example, community events encouraging runners or walkers to trace letters or shapes on familiar streets can grow into striking artworks. This kind of participation boosts engagement beyond the individual; it’s a way of connecting strangers through their movements. And while the final form may be rough or abstract, it captures a shared experience that’s hard to replicate otherwise. Could this be a new way to document travel moments, through many hands and feet instead of just one?
Getting Started with Your First Travel Drawing
Starting your own travel drawing project might seem tricky at first, but it’s really about taking small, manageable steps. Begin by planning a simple route — maybe a walk around your neighborhood or a trip to a local park. Don’t worry about complicated shapes or detailed maps; focus on straightforward lines or basic letters that reflect something personal or meaningful to you.
Once you have a route, take your phone or GPS and start tracking your movements. Try to visualize how your path might look when connected, and if possible, sketch a quick draft. When you’re actually on the move, pay attention to moments that catch your eye or spark an idea. You can always add those details later.
Sharing your drawings might feel a bit vulnerable, but it’s part of the fun. Whether you post online or keep them in a journal, showing your work opens the door to feedback and new ideas. Don’t hesitate to experiment — your first drawing won’t be perfect, and that’s okay.
Simple Steps to Begin
- Plan a short, easy route—think around one or two miles.
- Pick a simple shape or letter—circle, triangle, or your initials.
- Use a basic GPS tracking app or even a stopwatch to time your path.
- Sketch lightly in a notebook afterward to add any details.
- Try drawing with just lines first—shapes can come later.
You might wonder if small sketches really matter, but these little efforts build confidence and sharpen your observation. It’s less about accuracy early on and more about capturing your experience.
Tips for Success and Enjoyment
Keep your expectations flexible—your drawing doesn’t need to be flawless to be worth making. If you get frustrated, take a break or switch to just recording shapes without pressure. Finding joy in the process is key. Sometimes I find that slowing down, noticing small things, even if they don’t end up in the drawing, helps reconnect with why this is fun.
Try setting small goals like finishing one drawing a week. Share with friends or online communities; hearing others’ reactions can be surprisingly motivating. And remember, this is your pathway, literally and creatively—make it your own without worrying about rules.
What if your first attempt looks messy or nothing like you imagined? That’s part of learning—each line is a step toward something unique that only you can create.
Conclusions
Travel drawing offers a new way to experience and remember your travels. It combines creativity with exploration, turning your routes into personal stories visible on maps. By practicing different techniques and using available tools, you can create travel logs that are both artistic and memorable.
Your own travel drawing logs can inspire others and make your trips more engaging. Each journey becomes more than a trip; it transforms into a visual record of your adventures. Start drawing your travels today and unlock a new way of seeing the world around you.


