Introduction
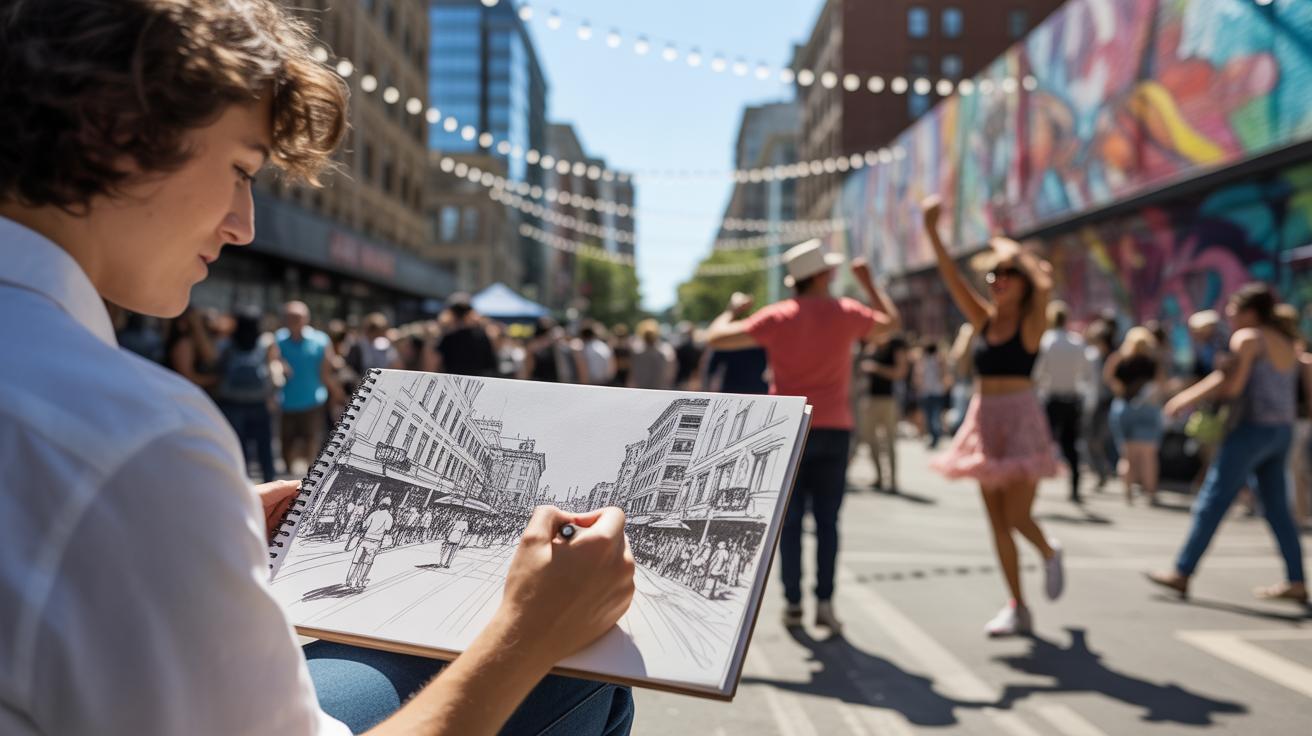
Street drawing is a powerful form of visual expression that transforms ordinary urban spaces into creative canvases. It engages viewers directly on the streets and invites interaction, making art a shared experience. Techniques To Bring Street Drawing To Life With Energy allow you to make your drawings stand out and communicate strong emotions and stories.
In this article, you will learn how to energize your street drawings through skillful use of lines, composition, color, and texture. We’ll explore practical methods that help your work capture movement and life. Whether you paint on sidewalks, walls, or other surfaces, these techniques will help your art connect deeply with your audience and live vibrantly in public spaces.
Creating Dynamic Lines to Convey Movement
Lines are perhaps the most basic element in drawing, yet they hold so much power. When you vary their thickness, direction, or style, they stop being just lines—they start to suggest movement, energy, even emotion. Thick, bold lines can feel heavy and grounded, while thinner, lighter marks might seem to dance or flicker. Have you ever noticed how a quick flick of the wrist creates a different energy than a slow, steady stroke? That contrast often makes the difference between a drawing that feels static and one that seems alive.
Direction matters, too. Lines that curve or spiral can mimic natural motion, like the flow of a breeze or the swirl of water. Straight, angled lines might suggest sharp turns or sudden stops. When you combine these thoughtfully, your drawing gains a rhythm, almost like a heartbeat. It’s tempting to overthink—should every line be perfect? Probably not. Sometimes a hasty, imperfect stroke carries more energy than a carefully measured one.
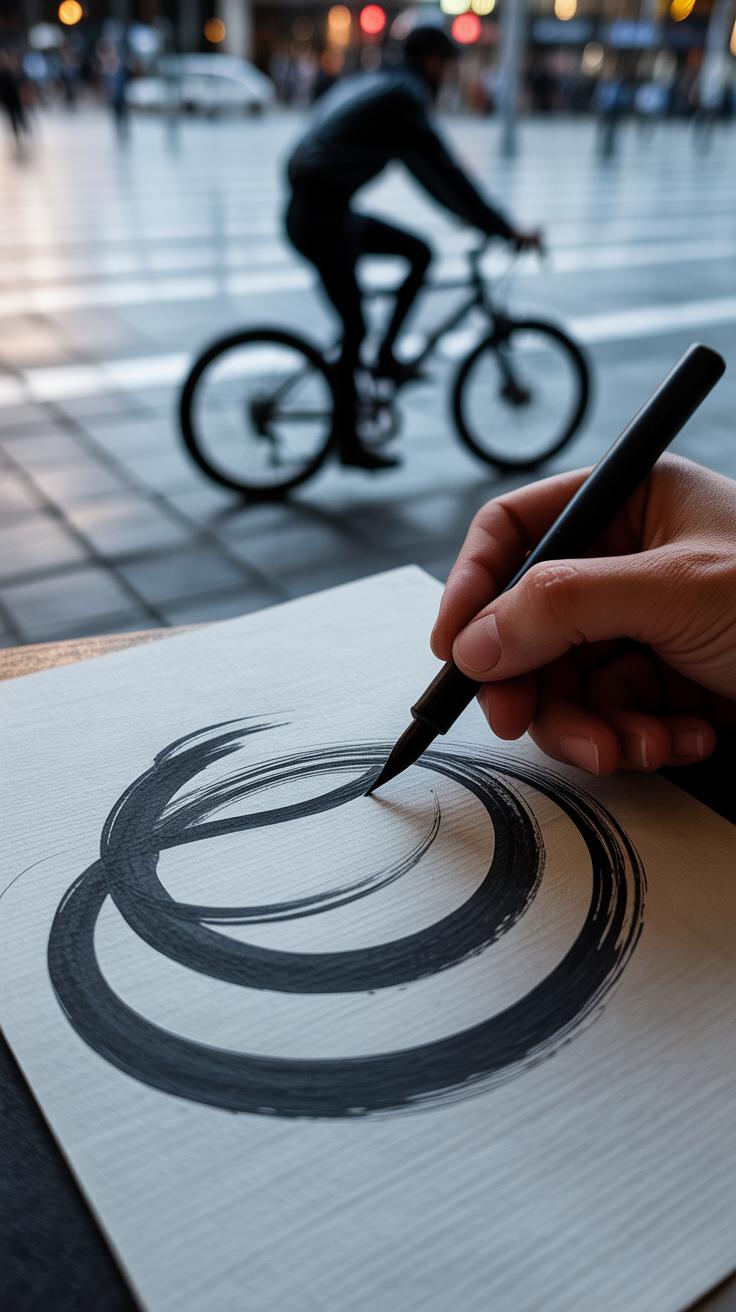
Confidence shows in your marks. If lines are hesitant or shaky, the drawing might feel uncertain or dull. Flowing, assured lines invite the viewer’s eye to move across the art, pulling them in. That’s why practicing quick, fluid strokes off to the side before you commit can be really helpful. It’s less about precision and more about movement. I find those exercises loosen me up, even if the marks end up messy.
Try imagining your lines like a dancer’s path — how they might twist, turn, or leap. Each line is a step, and together they tell a story of motion. Sometimes that story is subtle, maybe just a breeze across a flower petal; other times it’s more dramatic, like a cyclist speeding past. The key is to stay open to experimenting with how your lines move, rather than sticking to neat, expected patterns.
Dynamic Moverment Lines
Lines in street drawing aren’t just marks—they’re the pulse of your artwork. Varying line thickness can suggest motion: thicker lines often feel heavier, like a figure pressing forward, while thinner lines might flutter, indicating lightness or speed. Direction matters too. Lines that curve or tilt can create a sense of flow or urgency, whereas straight, sharp lines may feel more static or tense.
The style of your lines also speaks volumes. Jagged lines, for example, can bring energy and restlessness, while smooth, flowing lines offer calm movement. Broken or dashed lines suggest flickers or stutters in motion. I remember once trying jagged strokes for a runner in a busy street scene—it absolutely changed the piece’s energy, making it feel almost electric.
Confident, flowing lines tend to engage viewers more. Hesitant or shaky strokes can disrupt the rhythm and make your drawing feel stiff or lifeless. When your hand moves freely, that energy transfers to the viewer’s eye. It doesn’t mean every line must be perfect; sometimes the flaws add character. But overall, bold, assured lines bring life to your street art.
Experimenting with Line Weight and Style
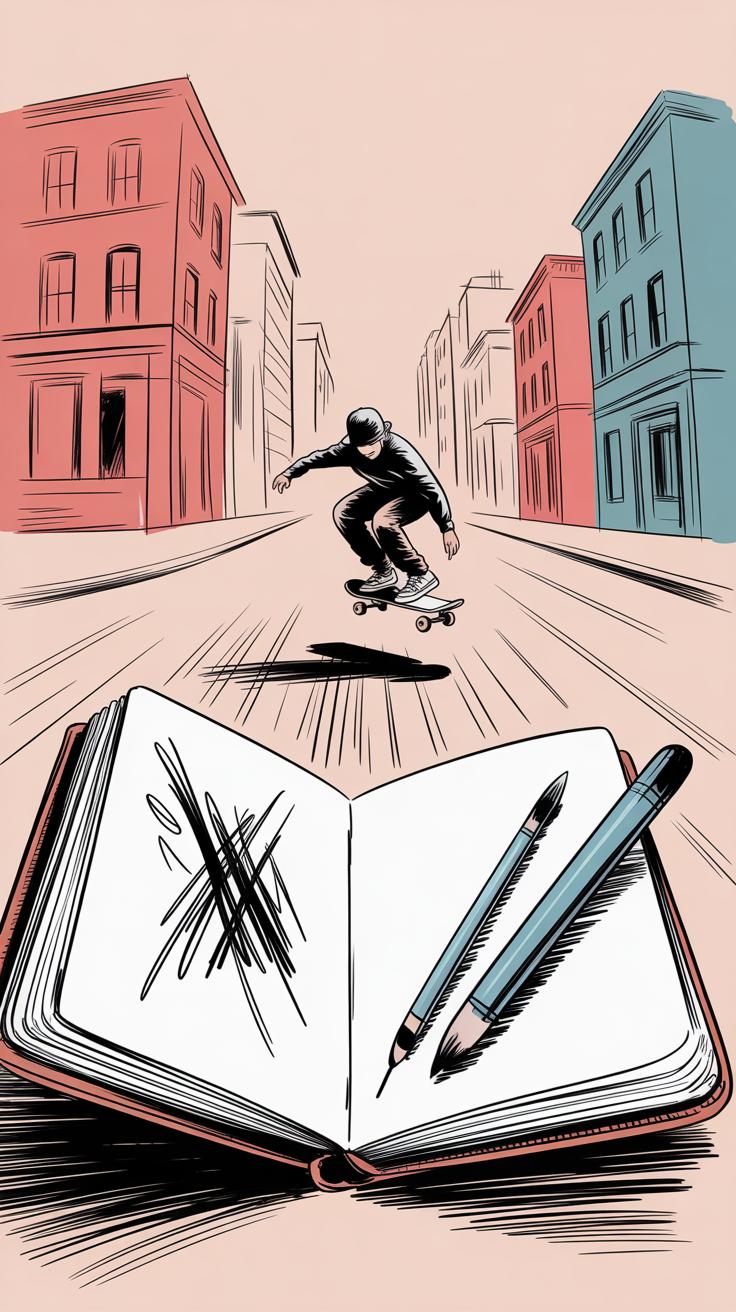
Playing with line weight can give your drawing surprising depth and movement. Thick lines often ground your subject—they bring it forward in the composition. Thin lines can recede or imply speed and lightness. Mixing them adds layers to your art. For example, you could draw a cyclist with broad strokes on the frame and finer lines on the spokes to hint at motion.
Different line styles each tell their own story:
- Jagged lines can express tension or rapid movement. Think of a city crowd rushing.
- Smooth lines convey grace or steady motion, like a gentle breeze ruffling clothes.
- Broken lines create a flickering or vibrating effect—imagine a dancer caught mid-spin.
These approaches aren’t rules to follow strictly but tools to test. Try switching styles within a single piece to see how it shifts the vibe.
Using Lines to Guide the Viewer’s Eye
The way you place lines shapes how someone experiences your art. Lines can steer the eye along a path, creating a story or rhythm within the scene. When you arrange lines thoughtfully, you pull the viewer deeper into the drawing—almost like leading them on a journey.
Here’s a quick guide for this:
- Lines moving toward a focal point draw attention and create anticipation.
- Repeating line directions can build momentum, nudging the eye onward.
- Contrasting line directions add tension or break the flow, which can highlight key moments.
One time, I noticed that arranging the street’s shadows as converging lines led people to notice a subtle detail I’d almost overlooked. It makes you wonder—what if your lines aren’t just there to show form but to conduct how your audience feels?
Mastering Composition for Maximum Impact
Creating Focus with Contrast and Space
Your eye naturally seeks a resting place in a drawing—this is the focal point. To guide that attention, contrast is your best tool. Think about differences in color intensity, brightness, or the amount of detail you add. For instance, a small, sharply detailed figure against a muted, blurry background instantly pulls you in. You don’t have to rely only on color either; a sudden change in texture or line density can work just as well.
Then there’s negative space. It’s tempting to fill every inch with stuff, but that can suffocate your drawing. Leaving blank areas allows your focal point to breathe and stops the eye from feeling overwhelmed. Negative space isn’t just empty—it creates a quiet that balances the noise. I remember once sketching a street scene filled with people and objects, then erasing clusters here and there—it gave the whole composition a kind of rhythm I hadn’t expected.
Arranging Elements for Flow and Movement
Where you put things matters more than you might think. The placement of shapes and objects can form invisible paths that encourage the viewer’s gaze to wander naturally. Imagine a series of street lamps or parked bikes arranged to lead your eye slowly across the scene. This isn’t always neat or linear, sometimes zigzags or curves work better—movement in a drawing isn’t always smooth or predictable.
Try to think like the eye itself: What route does it take? How does it jump from one spot to another? Creating flow through arrangement keeps the drawing engaging and lively. Sometimes I place an element deliberately off-center or just slightly askew, which can disrupt balance in a good way, making the composition feel more alive and less “planned.”
Balancing these compositional principles isn’t straightforward. A perfectly balanced scene can sometimes feel static, whereas a slightly off balance one might pulse with energy. So don’t be afraid to experiment with tension and release, movement and rest. That push and pull can be exactly what keeps viewers hooked.
Using Color to Inject Life into Street Drawings
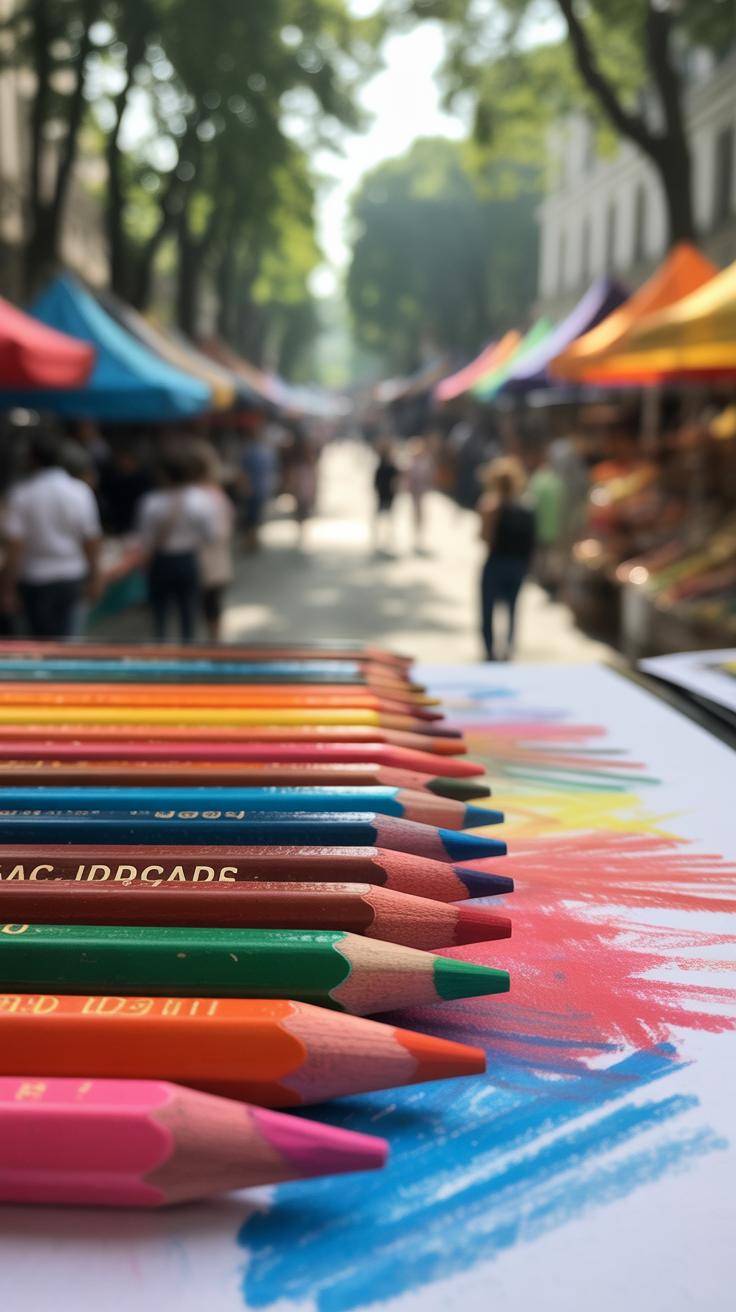
Color plays a huge role in setting the mood and energy of your street drawings. You might think of it as just “pretty hues,” but it’s more than that—it shapes how people feel when they see your work. Basic color theory can be a helpful guide here. For example, warm colors like reds and oranges can evoke excitement or urgency, while cool blues and greens might calm the scene. But sometimes mixing those effects creates tension or interest that draws the eye.
When selecting your color palette, consider how colors interact on the color wheel. Complementary colors, those opposite each other, like blue and orange, naturally stand out. Using them strategically grabs attention instantly. Or, if you want harmony, choose analogous colors—ones sitting next to each other on the wheel. These create a more subtle flow but can still pack a punch, especially with saturated or bright variants.
I recall trying a bold red and lime green combo once—the reaction was split, some found it jarring, others energized. It made me rethink how contrast doesn’t always mean “loud” for everyone. Sometimes, the context matters as much as the colors themselves.
To add depth, layering colors is key. You can start with broad strokes of one color and then overlay others to produce texture and light shifts. This layering breaks flatness and adds visual interest. Also, mixing materials, like chalk and spray paint, can alter how colors absorb or reflect light, making your drawing feel alive rather than static.
Think about the questions:
- What mood are you aiming for?
- Will bold contrasts lift energy or overwhelm your scene?
- How can layering subtly change the experience of your color choices?
By experimenting, you discover what feels right for your style and the story your street drawing wants to tell. Color isn’t just decoration—it’s a tool to shape how the energy moves in your art—and in the space around it.
Incorporating Texture to Enhance the Visual Experience
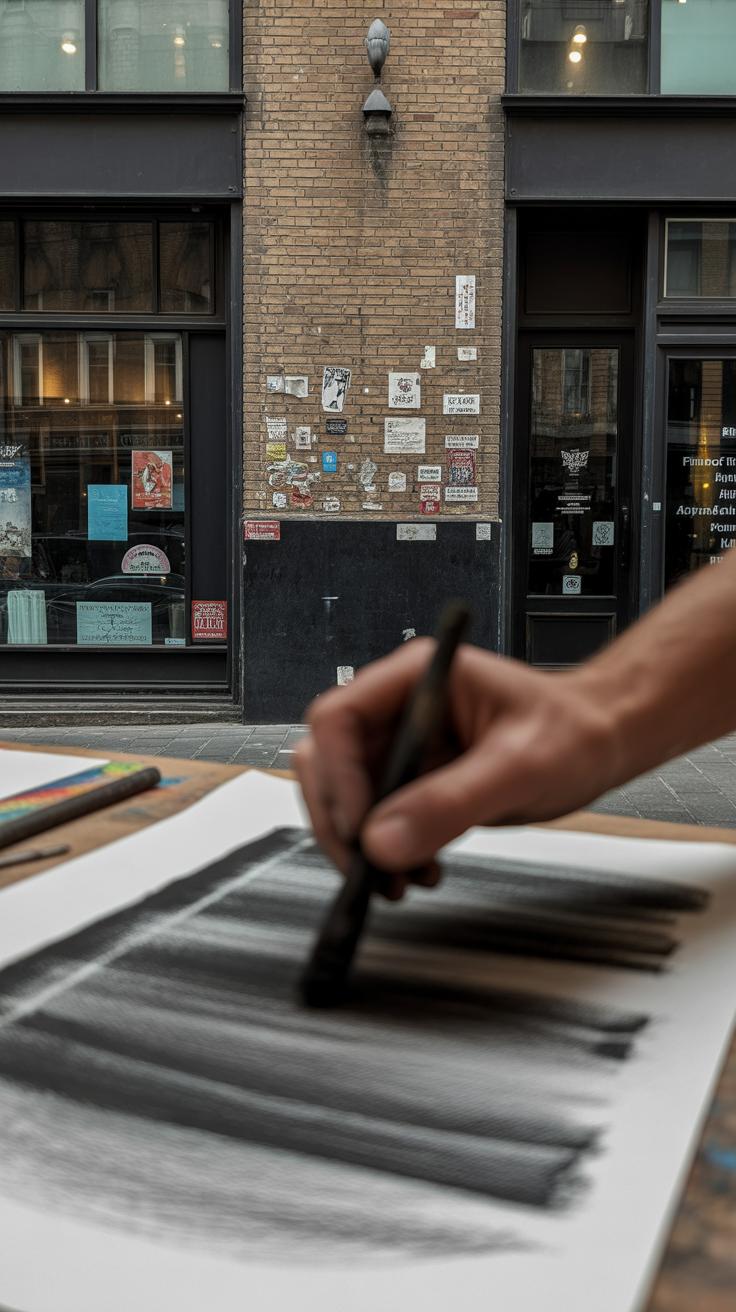
Texture adds a sensory layer to your street drawings that goes beyond what color can offer. It triggers not just the eyes but almost invites a touch, making the artwork feel alive. Visual textures—like rough patches, smooth gradients, or repetitive patterns—give your piece depth and complexity. Tactile textures, on the other hand, involve actual surface variations, which can make the art physically engaging if materials allow. Ever noticed how a cracked wall or peeling paint can make a simple drawing more interesting? That’s texture working quietly, pulling you in.
Techniques to Create Texture
There are many ways to bring texture into your street drawings. You can experiment with different tools: try scratching the surface with a palette knife or using sponge dabbling for grainy effects. Strokes matter, too—short, choppy lines can suggest roughness, while long, flowing strokes feel smoother. Including mixed media can open more doors: layering charcoal over chalk, or combining spray paint with brush strokes, creates contrasting textures.
- For a rough effect, consider stippling or splattering paint.
- Smooth textures emerge from blending or using softer materials like pastel or graphite.
- Patterned textures come from repetitive marks or stamps, adding rhythm to the piece.
Sometimes, uneven strokes or imperfect materials offer more character than flawless lines. I’ve found that a rough edge here and a dab of repeated dots over there can unexpectedly hold attention longer—it’s not just what you draw but how you draw it.
Texture’s Role in Perceived Movement
Texture can hint at motion in subtle but powerful ways. A layered, uneven texture can suggest turbulence or energy, making static images feel restless—like they’re about to shift or pulse. Smooth areas can contrast with rough ones, guiding your eye along a path that feels almost kinetic. You might not realize it, but texture creates visual “noise” that stops the viewer from zoning out.
Think about the way a swirling pattern or scratchy line makes you pause, searching for meaning or movement. That tension encourages longer engagement, which adds to the vitality of your art. So, while color sets the mood, texture is where your street drawing really starts to breath and move, pulling people closer without a single literal step forward.
Engaging Your Audience Through Interaction
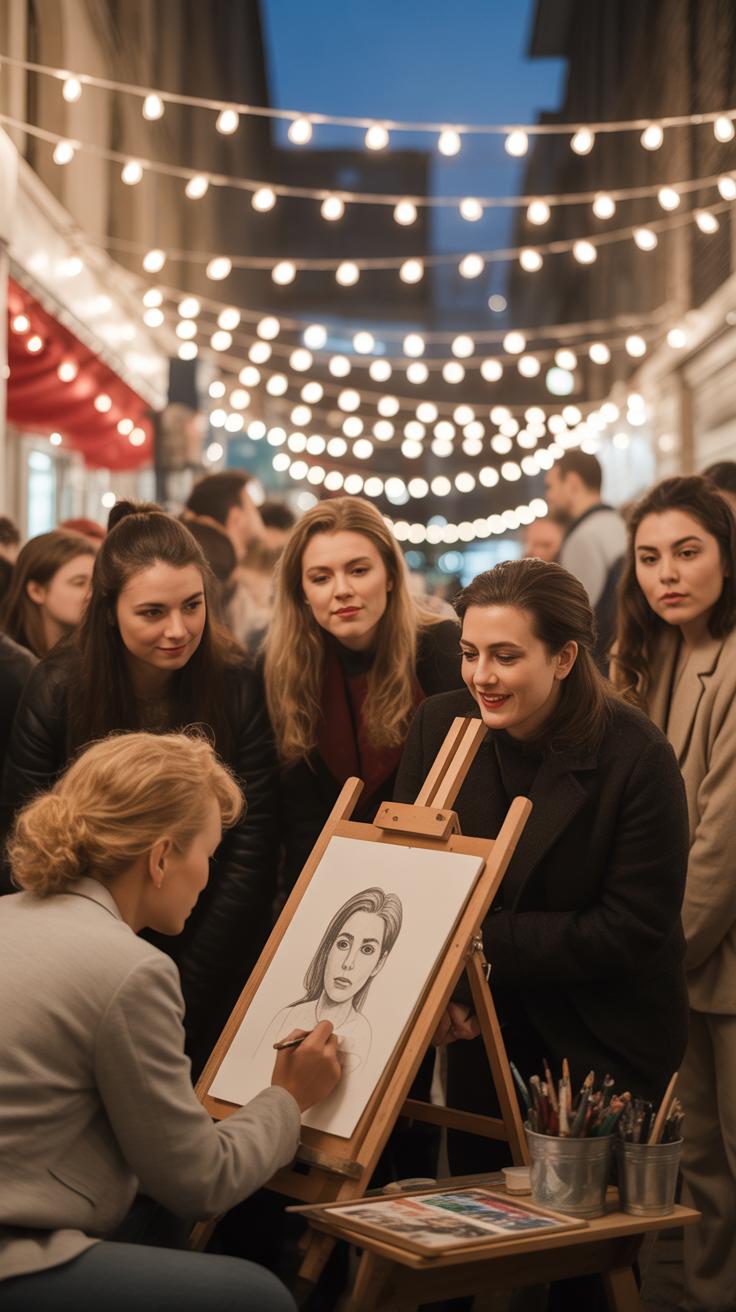
Using Space for Viewer Participation
Placing your street drawings in spots that encourage movement can turn a simple sketch into an experience. Think about how a 3D illusion on pavement invites people to step closer, lean in, or view from different angles to unlock its full effect. Footprints painted along a path, for example, guide viewers through a story or prompt them to become part of the scene. It’s not just about looking; it’s about inviting physical interaction, which often sparks curiosity and captures attention longer than static art.
Sometimes, arranging your drawing near benches or doorways makes it almost impossible for the public not to engage. They might walk around, crouch down, or even pose alongside your work. This kind of placement turns passive observers into active participants. I’ve seen children delightedly chase painted shadows or try “touching” an object that seems to extend out of the street, and it’s that movement and playfulness that give the drawing its pulse.
Encouraging Emotional Connection
Storytelling in your drawings can change the way people react. A simple image could hint at a shared experience or express a familiar feeling, making viewers pause or reflect. Using visual cues—like eyes that seem to follow, open hands, or inviting gestures—can subtly include the audience, creating a sense of connection. Sometimes the smallest details trigger the strongest feelings, even if the story behind them isn’t obvious at first.
Try to imagine what someone passing by might be thinking or feeling. Incorporate elements that resonate on a human level, perhaps a fleeting smile or a moment of surprise, which invite people to feel something. When viewers see themselves reflected or invited into the narrative—even ambiguously—they become energized and involved. It’s less about delivering a clear message and more about opening a space for personal interpretation, a place where energy grows from that very ambiguity.
Adapting to Environmental Factors
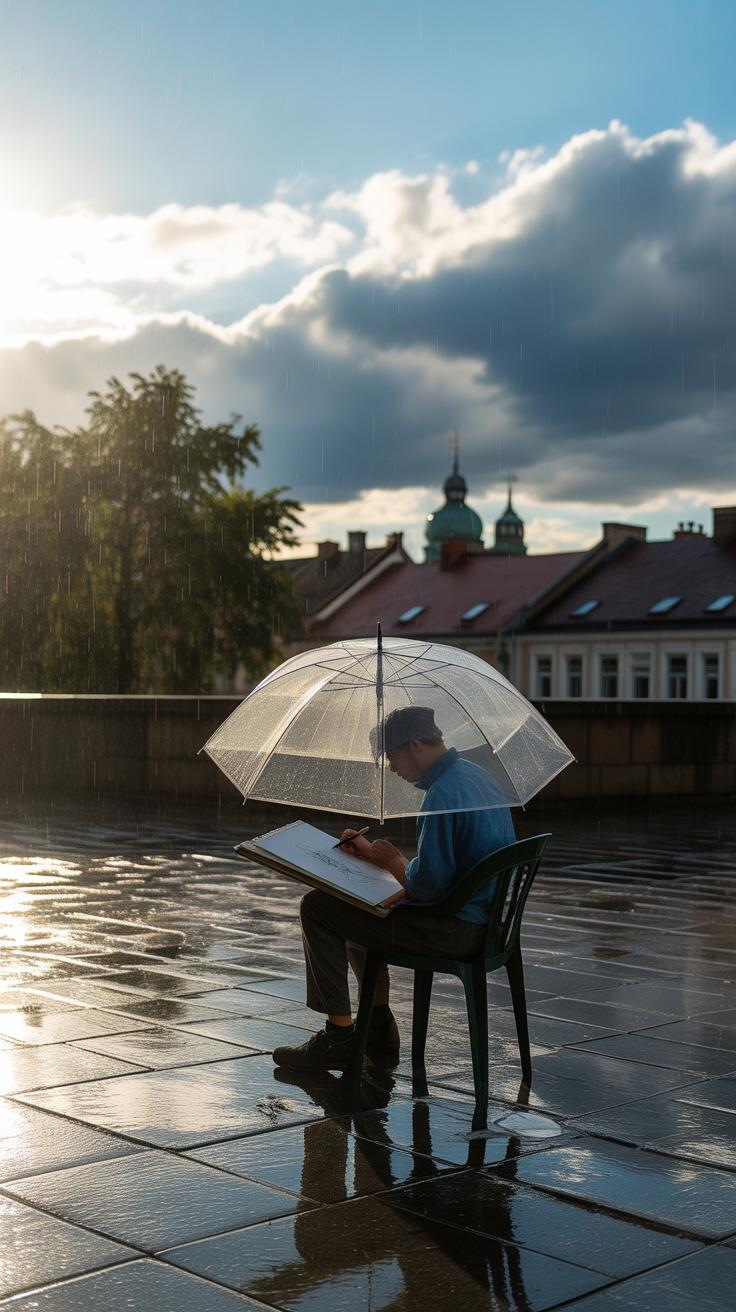
Weather, lighting, and surface conditions—these are all part of the unpredictable puzzle when you’re drawing on the street. Each can change the way your art looks and even how you work. Rain or damp surfaces might wash away chalk quickly, or cause smudges you didn’t plan on. Wind can scatter your materials or make delicate strokes tricky. Sometimes the sun is blinding, other times shadows hide your details.
Working with these factors means being flexible. For example:
- Choose chalk or pastels that hold up better when damp or use fixatives if available.
- Plan breaks during harsh sunlight or shifting shadows, so your colors stay true.
- Identify dry spots or smoother patches on the pavement before starting.
And, honestly, your process might sometimes need to pause. I’ve often found myself retreating from sudden drizzle, only to come back with renewed perspective—it’s frustrating but teaches patience in subtle ways.
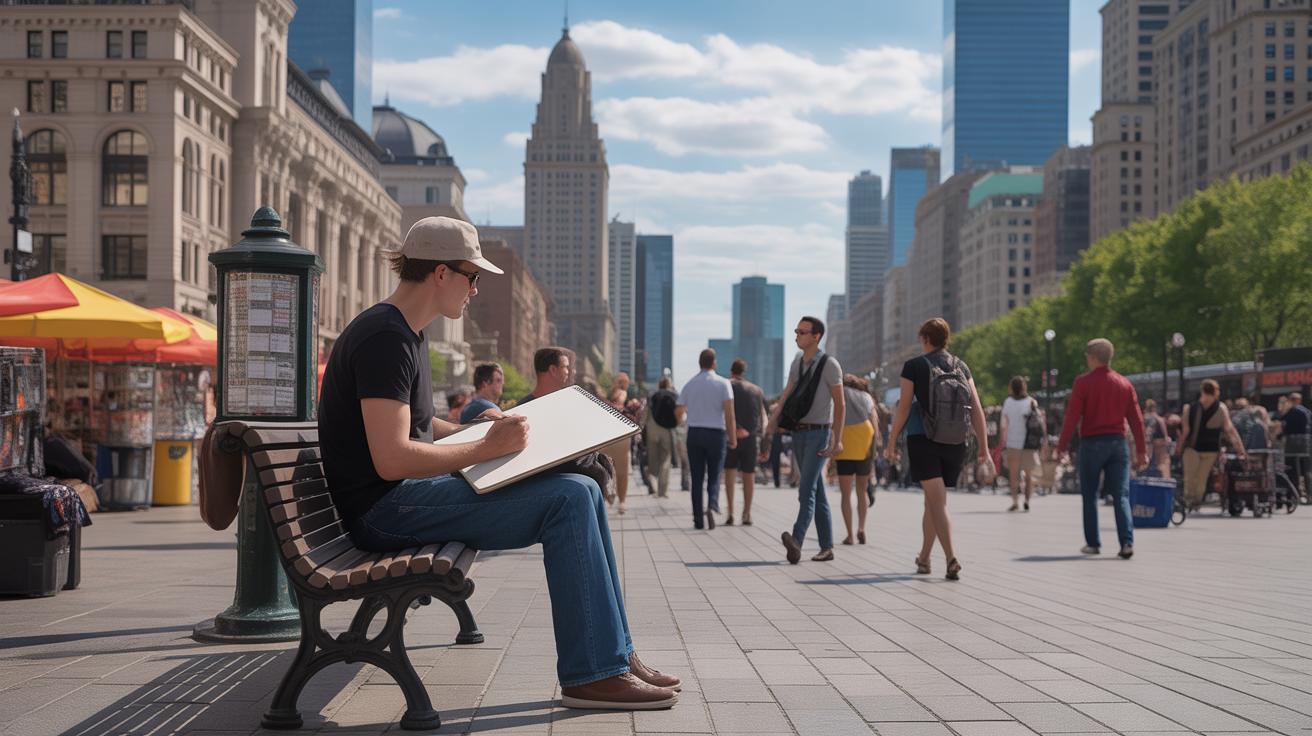
Choosing the Right Time and Place
Natural light doesn’t just reveal your art, it transforms it. Early mornings and late afternoons provide softer light with longer shadows, adding depth without glare. Midday might show every detail crisply but can flatten textures or wash out colors under bright sun. Think about how light angles change what passerby see as they move.
Opt for spots where light interacts interestingly with your drawing’s surface—sidewalk cracks or cobblestones can highlight lines differently. Busy areas might offer more eyes but unpredictable shadows, whereas quieter lanes let you control light better but fewer viewers.
Try drawing in different locations and times to witness how your work shifts visually. This can spark new ideas or challenge you to adjust your technique on the fly.
Protecting and Preserving Your Work
Street drawings often fade—exposure to foot traffic and weather makes permanence tricky. If you want to keep your creation longer, options include layering fixatives designed for chalk or pastel, though these can sometimes dull colors a bit.
Alternatively, documenting your work becomes key. High-resolution photos taken from various angles not only capture details but also the context—lighting, surroundings, and audience reactions. I usually keep a small tripod to stabilize shots and sometimes shoot quick behind-the-scenes videos to share later.
Think about the life your art will have: Is it a fleeting moment meant to interact with the day’s energy, or something you want to preserve? That choice shapes how you approach materials and time spent on the piece.
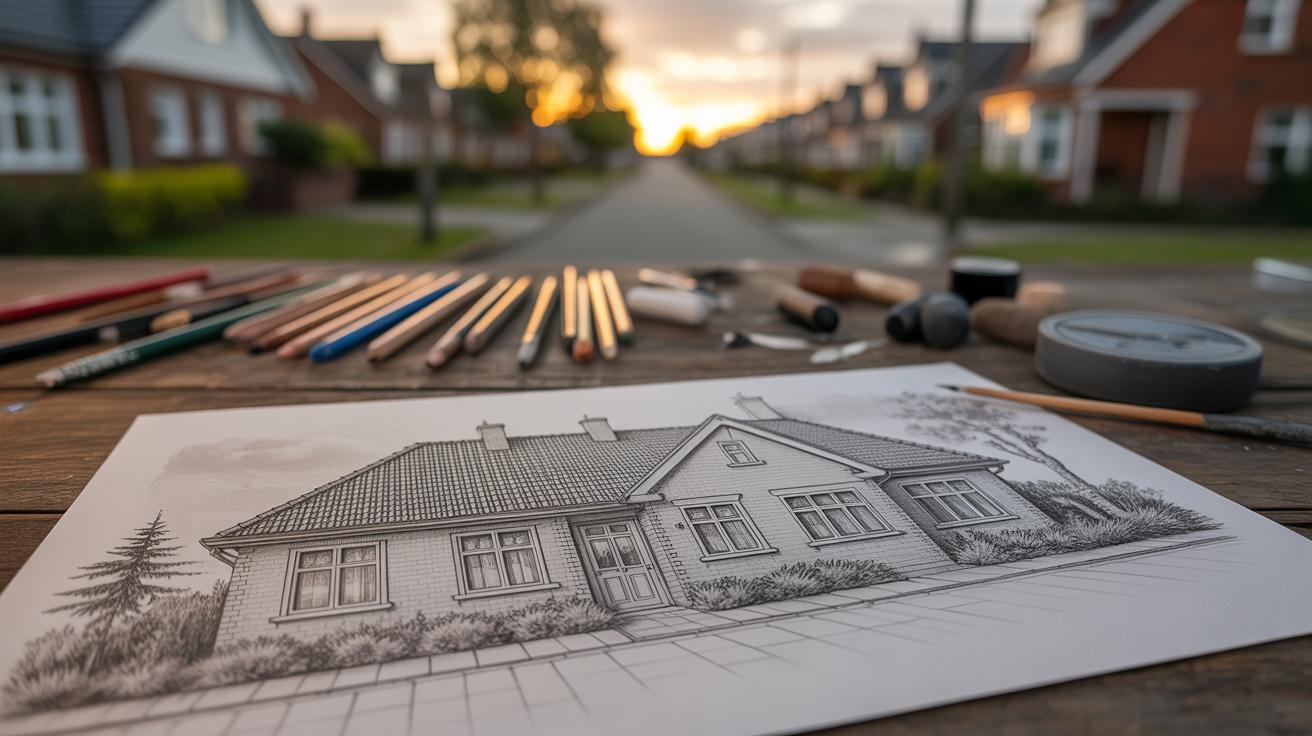
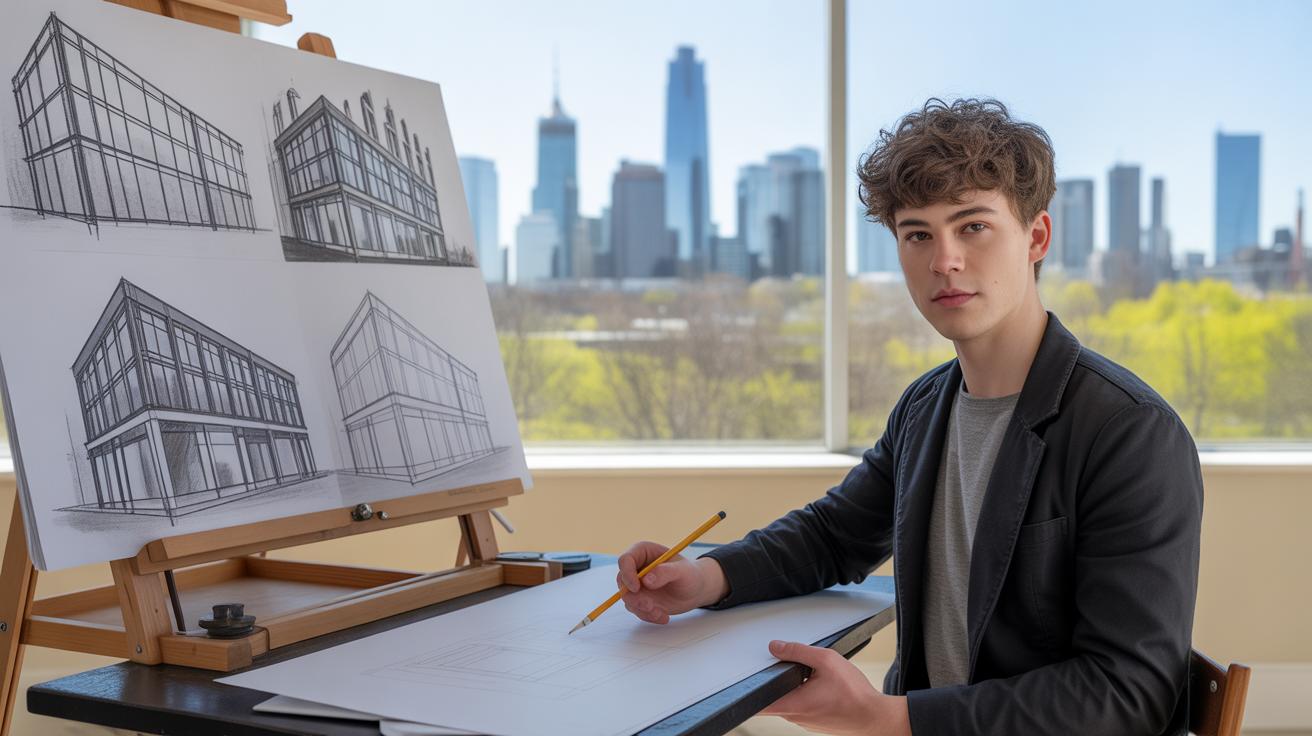
Building Your Skills and Style Over Time
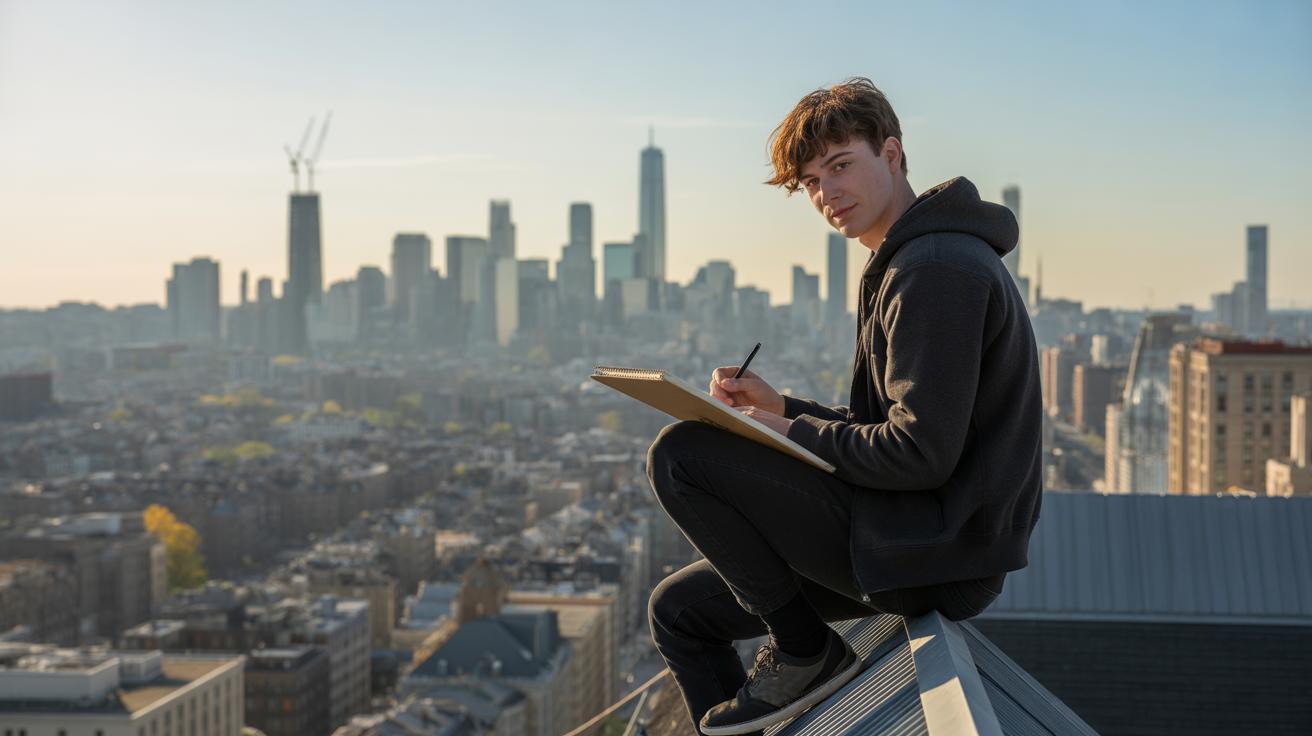
Developing an energetic street drawing style takes more than occasional bursts of creativity. It needs steady, ongoing practice—showing up with your sketchbook day after day. Try different tools, experiment with line weight, or challenge yourself to capture movement quickly. Each drawing teaches you something, even if it feels like a failure at first.
Keep your sketchbook close. Look back at old pages and see what worked or didn’t. Sometimes, a rough doodle holds a spontaneous energy that more polished pieces lack. Don’t hesitate to revisit and rethink those lines. You might find ways to push your style further.
Inspiration is everywhere—from a crowded street corner to the way shadows fall on a wall. Watch people’s gestures or listen to the city’s noise. Learning from other artists can spark new approaches too, but be mindful of blending their influence with your own voice. What really moves you? How can you show that feeling in your lines?
These steps won’t create a finished style overnight, but they keep the energy flowing. Keep drawing, keep questioning what you see and feel, and your work will start to pulse with life in ways that feel truly yours.
Conclusions
Every stroke you make on a street drawing adds to its overall energy and presence. By focusing on line quality and balanced composition, you set a solid foundation for your art. Incorporating vivid colors and textures further elevates the sense of life and motion. These elements together create street drawings that grab attention and evoke emotion.
Employing the techniques discussed lets you communicate your unique message clearly and powerfully. Keep practicing and experimenting with these methods to develop your style and maximize your impact. Your street drawings can truly come alive, leaving lasting impressions on all who see them.


