Introduction To Solarized Paper Crafts And Relief Art
Artistic Fusion
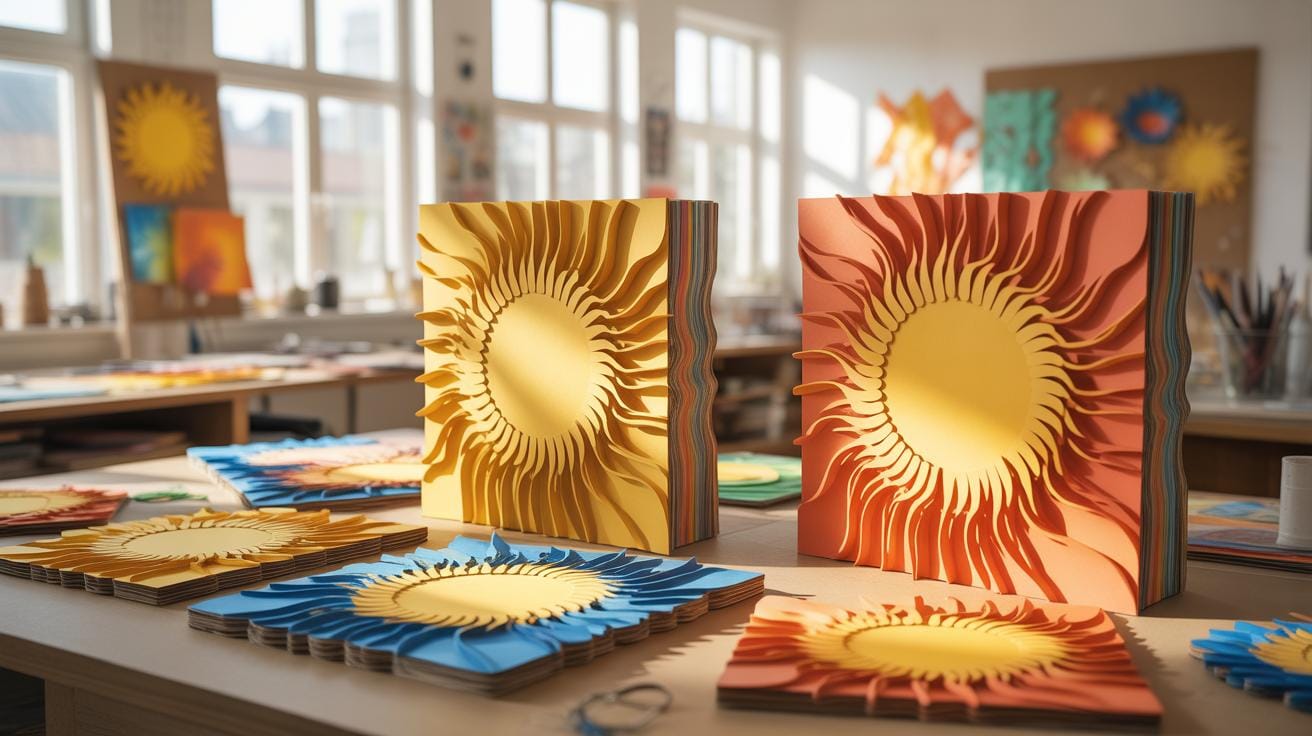
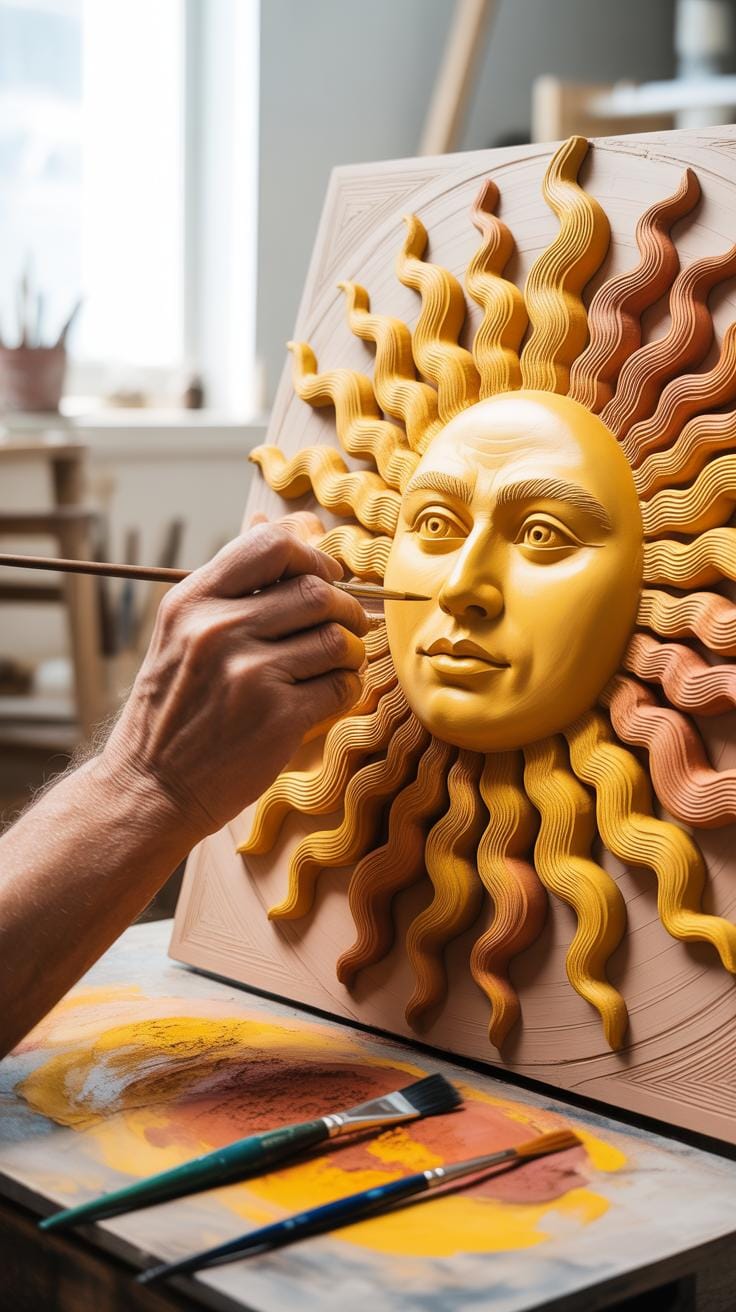
Merging cardboard relief with sun printing creates a striking Paper Solar System. You build layers of recycled materials to make a 3d Sun Craft. These physical shapes cast real shadows on light-sensitive surfaces. This method turns a flat Solar System Paper Cut Out into a vibrant scene. The process combines structural building with natural light. You learn how to make a 3d Sun Out Of Paper while using the environment.
The final art pieces show depth through shadows and chemicals. You can visualize a Jupiter Papercraft popping out from a flat background. This style mimics early twentieth century relief art. It uses simple materials like craft glue and thick cardstock. Every Solar System Paper Craft gains a rich texture during the washing process. Builders create a sturdy 3d Sun Model that seems to glow against deep blue tones.
Sun Exposure Basics
Solarized crafts rely on a chemical reaction called cyanotype. UV light hits the paper to turn it a dark Prussian blue. Areas covered by your 3d Model Of The Sun stay white or light blue. This creates a crisp silhouette of any object you place on the paper. You must time the exposure carefully to get the best colors. Bright midday sun works best for this project.
Artists often build a Solar-powered Paper House Project to test lighting effects. The sun acts as a natural developer for every Solar System Paper Craft. You place your cardboard shapes outside for several minutes. Once the paper changes color, you rinse it in cool water. This step stops the reaction and sets the final image. The result is a beautiful blue background that highlights your handmade paper structures.
Designing A Paper Solar System With Cyanotype Textures
Planetary Layout
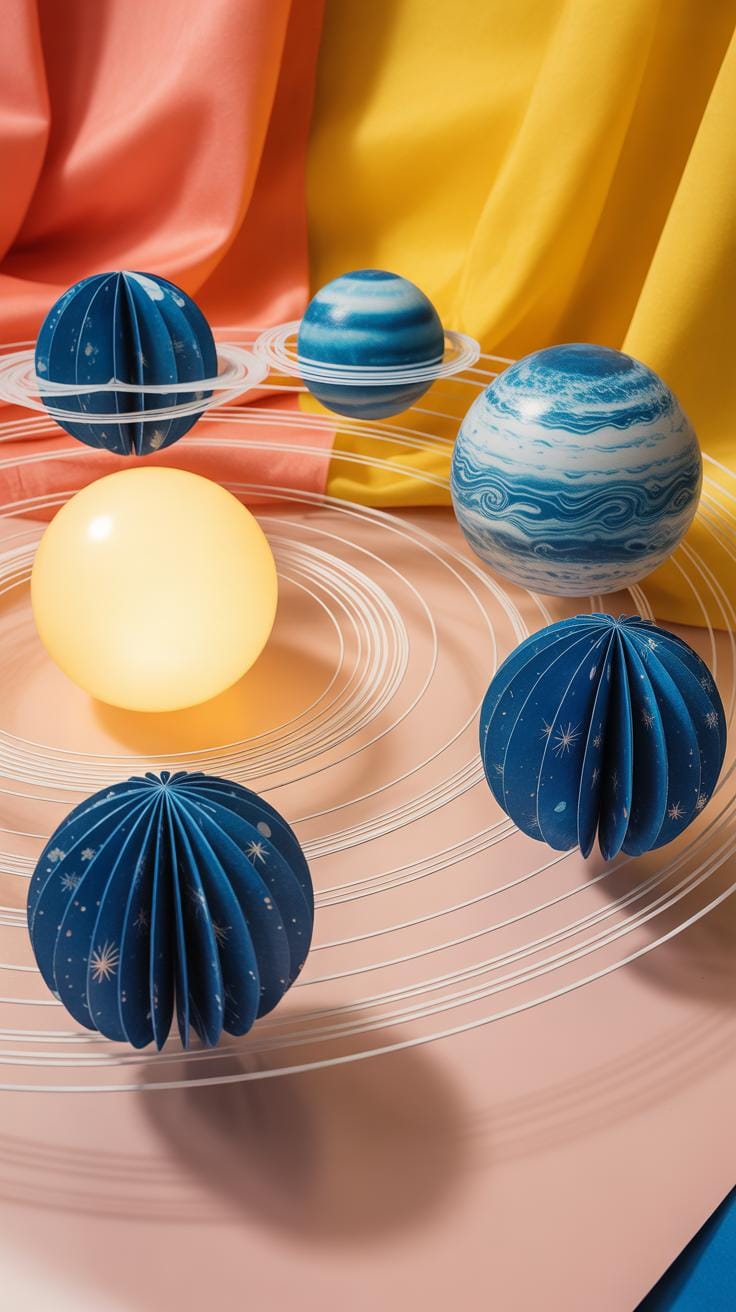
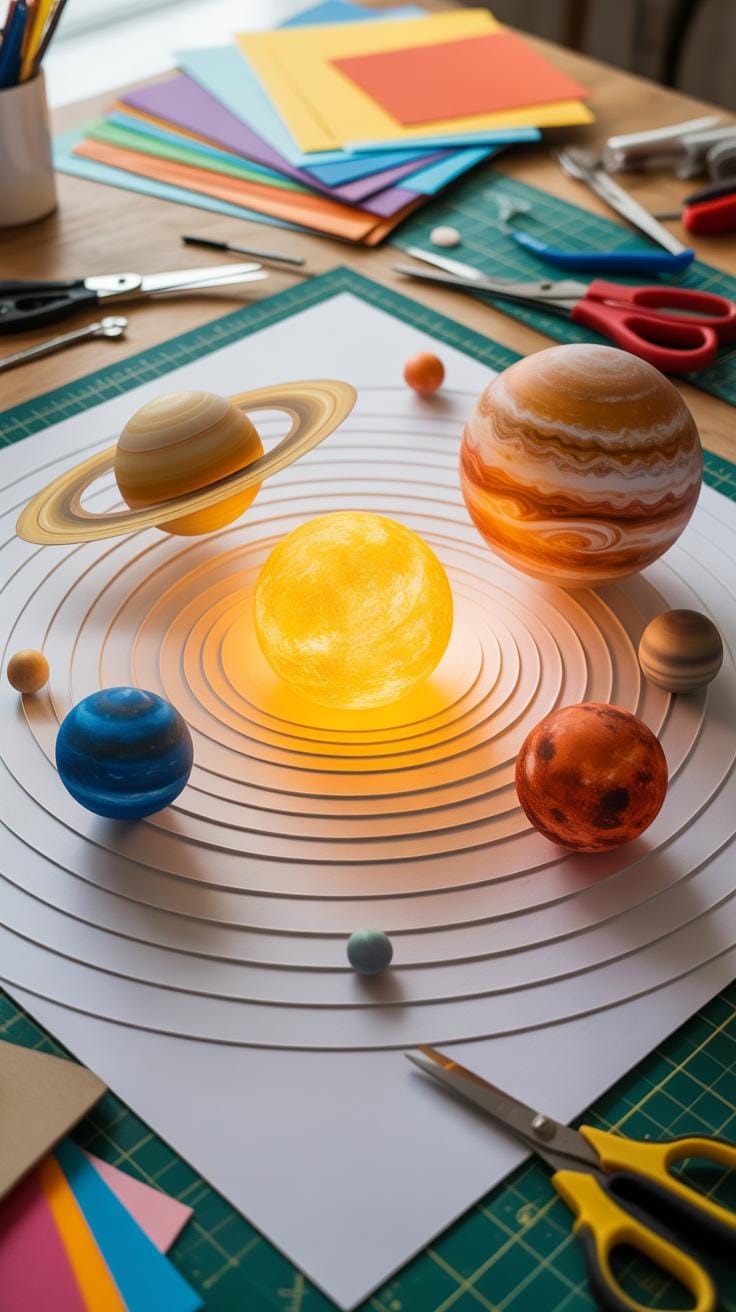
Creating a Paper Solar System requires a thoughtful arrangement on your background sheet. Position your central cutouts to mimic the vastness of space. Leave enough dark blue space between each Solar System Paper Cut Out to represent the cosmic vacuum. Use light pencil marks to map your orbit paths before committing to the final glue. This ensures every Solar System Paper Craft element feels balanced and intentional.
Balance your composition by placing larger celestial bodies away from the edge. Smaller planets should sit closer to the sun or follow a diagonal line for visual interest. When you finish your Solar-powered Paper House Project, use the leftover scraps for distant stars. A well-planned layout lets the Prussian blue paper highlight the white relief edges. Simple shapes create a clean and classic look for your wall.
Let the light and shadows of the sun breathe life into your hands’ work, turning humble paper and memory into a golden relief of the soul.
— Auguste Rodin
Texture Layering
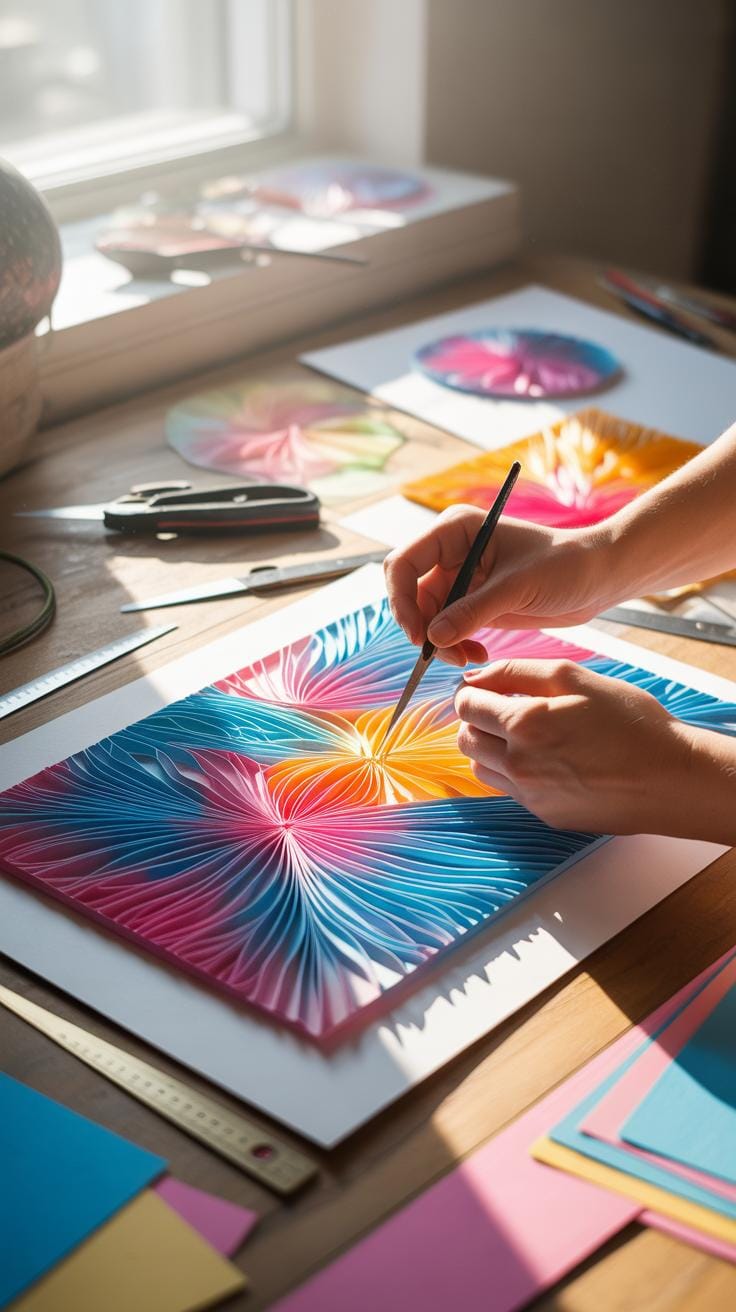
Control your exposure times to give each planet a unique look. Short exposures create pale blues for icy outer worlds. Longer times in the sun produce deep navy tones for gas giants. This technique is perfect for your Jupiter Papercraft to show swirling storm patterns. You can mask parts of the paper with circular objects to create a 3d Sun Model with glowing rings.
Building a 3d Sun Craft involves layering different paper weights for depth. If you want to know how to make a 3d sun out of paper, start with a sturdy central disc. Add sunbeams using various exposure shades to create a 3d Model Of The Sun that pops off the page. These textured layers make your art look professional. Your final display will show a beautiful range of solarized gradients.
Precision Cutting For Your Solar System Paper Cut Out Project
Stenciling Techniques
Achieving perfect circles is vital for a realistic Paper Solar System. Use metal compasses or rigid plastic templates to mark your sun-exposed sheets. These tools guide your blade with high accuracy. Precision helps when you start a Jupiter Papercraft or create smaller planets. Sharp pencils leave thin lines that disappear during the cutting process. Accurate shapes make your Solar System Paper Craft look professional and balanced.
Templates also help you plan the 3d Model Of The Sun effectively. Trace several circular layers to build depth in your work. This methodical approach ensures every Solar System Paper Cut Out fits together perfectly. Consistent stenciling prevents uneven edges that might ruin the visual flow. Secure your paper with low-tack tape to stop it from sliding. Steady hands and firm templates lead to a successful project.
Silhouette Creation
Sharp edges provide a striking look against soft solarized shadows. Use a fresh craft blade to cut through your Solar System Paper Craft materials. Clean lines help you understand How To Make A 3d Sun Out Of Paper with ease. The high contrast between the cut paper and the light-sensitive background creates a deep 3d Sun Model. Crisp silhouettes define the boundaries of each celestial body in space.
Your 3d Sun Craft gains a sense of movement when the edges are perfectly smooth. Use a self-healing mat to protect your table and ensure deep cuts. This technique works well for a Solar-powered Paper House Project too. Firm pressure gives your shapes a professional finish without ragged fibers. Small details stay visible when you maintain sharp corners. Your finished relief sculpture will capture light and shadow with high clarity.
Structural Integrity In A Solar System Paper Craft Display
Cardboard Support
Building a Paper Solar System requires a sturdy foundation to keep the planets from sagging. Recycled corrugated cardboard provides the necessary stiffness for a Solar System Paper Cut Out. This material handles the weight of heavy cyanotype sheets and glue without warping. Its rigid internal structure makes it perfect for a complex Solar System Paper Craft. You can layer multiple sheets for extra strength.
Crafting a 3d Sun Craft involves stacking paper rings to create depth. A cardboard base ensures your 3d Model Of The Sun stays upright on a tabletop. You can also use this backing for a Solar-powered Paper House Project or a dense Jupiter Papercraft. The rough texture of the cardboard helps adhesives bond quickly. It secures each part of your 3d Sun Model during the long drying process.
Essential Supplies

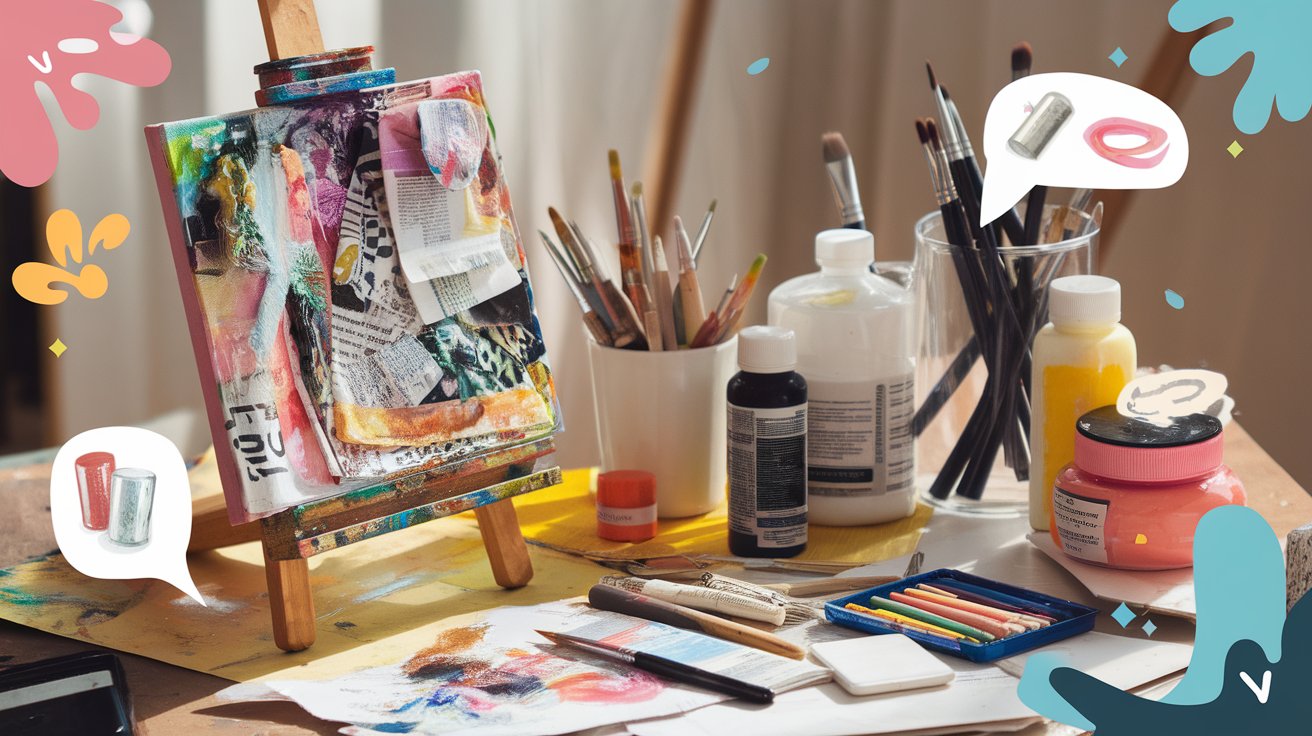
To begin your project, gather the tools needed to build a detailed 3d Model Of The Sun. High-quality paper coated with light-sensitive chemicals allows you to create blue-toned planet textures. You must coordinate your materials around the thickness of the cardboard to ensure a stable 3d Sun Craft. Proper supplies lead to a professional result when learning how to make a 3d sun out of paper.
- Sensitized Paper: Use paper treated with ferric ammonium citrate and potassium ferricyanide to create the sunprints. This light-sensitive surface captures the circular shadows and details needed for your Solar System Paper Craft planets.
- Corrugated Cardboard: Select clean sheets of salvaged shipping boxes to serve as the structural backbone. The internal fluting provides excellent rigidity for a Jupiter Papercraft or a heavy Solar-powered Paper House Project base.
- Precision Craft Knives: Sharp blades enable you to create a clean Solar System Paper Cut Out without tearing the fibers. Use these tools for intricate details on your 3d Sun Model or cutting small planet rings.
- UV Light Source: Direct sunlight or a UV lamp triggers the chemical reaction on the sensitized paper. This energy source is required to develop the deep blue shades for every piece of your Paper Solar System.
- Acid-Free Adhesive: Choose a strong glue that will not yellow or damage the paper over time. A reliable bond keeps the 3d Sun Craft layers firmly attached to the cardboard support system forever.
Organizing these supplies before you start prevents interruptions during the assembly of your Paper Solar System. Each item plays a specific role in maintaining the balance of the Solar System Paper Cut Out. Keep your UV source nearby to develop your Jupiter Papercraft textures while the glue sets on the base. Following these steps ensures your Solar System Paper Craft survives being moved or displayed in your home.
Mastering The 3d Sun Craft Elevating Relief Sculptures
Dimensional Rays Design
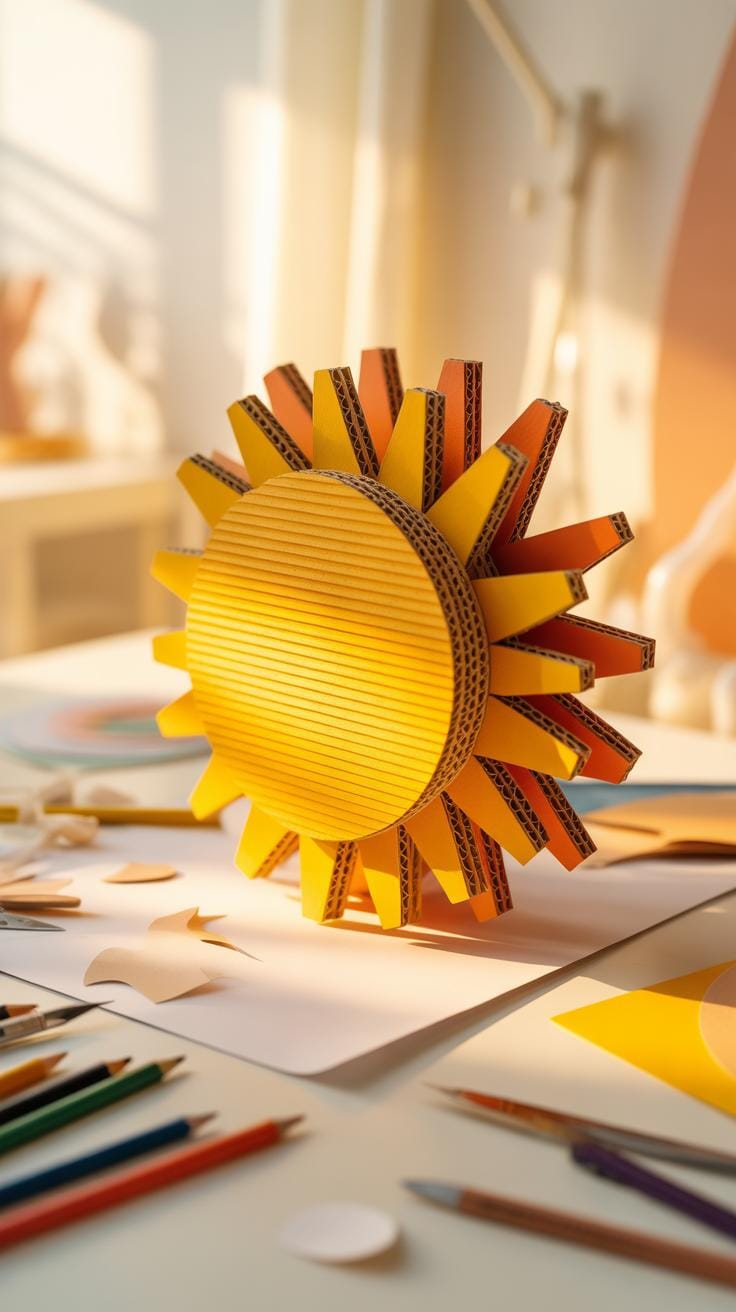
Constructing a 3d Sun Craft requires layering thick cardboard strips to build height. You start by cutting pointed shapes for a Solar System Paper Cut Out and folding them at the base. These folds allow the rays to stand away from the flat surface. Proper placement creates deep shadows on the backboard when light hits the paper. This technique makes your solar system paper craft feel alive and energetic.
You can learn how to make a 3d sun out of paper by varying ray lengths. Long rays should sit behind shorter ones to create a sense of scale. This method mimics the corona seen in a 3d model of the sun. Strong adhesives keep the heavy cardboard pieces from sagging over time. Building a 3d sun model this way adds a realistic physical presence to your final art piece.
Core Shading
Applying cyanotype liquid to a curved 3d sun model helps show depth. You brush the light sensitive solution onto the rounded paper surface before it dries. During sun exposure, the parts facing the light turn dark blue quickly. Areas in the curves stay lighter to create a natural gradient. This shading technique works well on a Jupiter papercraft or other large planetary models in your paper solar system.
A solar-powered paper house project looks better when you use these shading methods on the roof. The chemical reaction captures the path of the sun across your sculpture. This creates a blueprint effect that follows the actual shape of your sun craft. Use thick watercolor paper for the core to prevent the liquid from soaking through or warping the structure. Consistent brushing ensures the blue tones appear smooth and professional.
How To Make A 3d Sun Out Of Paper Using Sunprint Layers
Concentric Layering
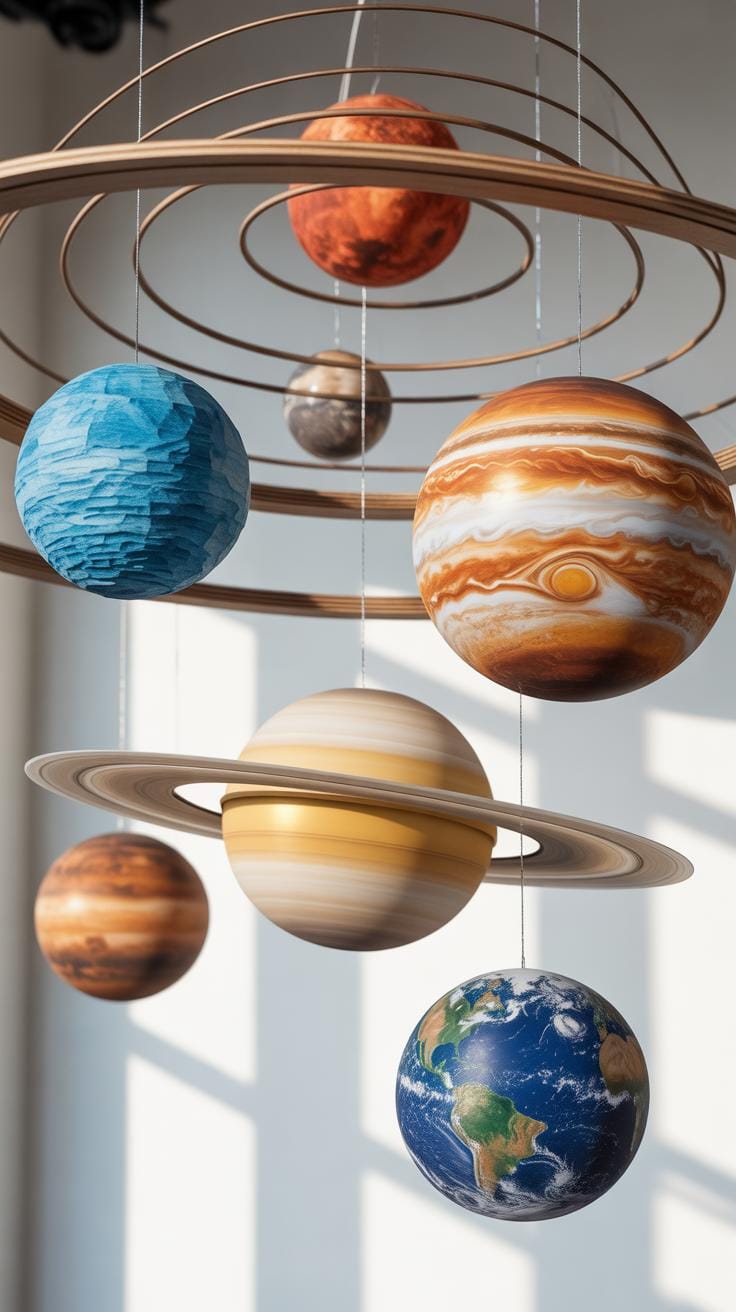
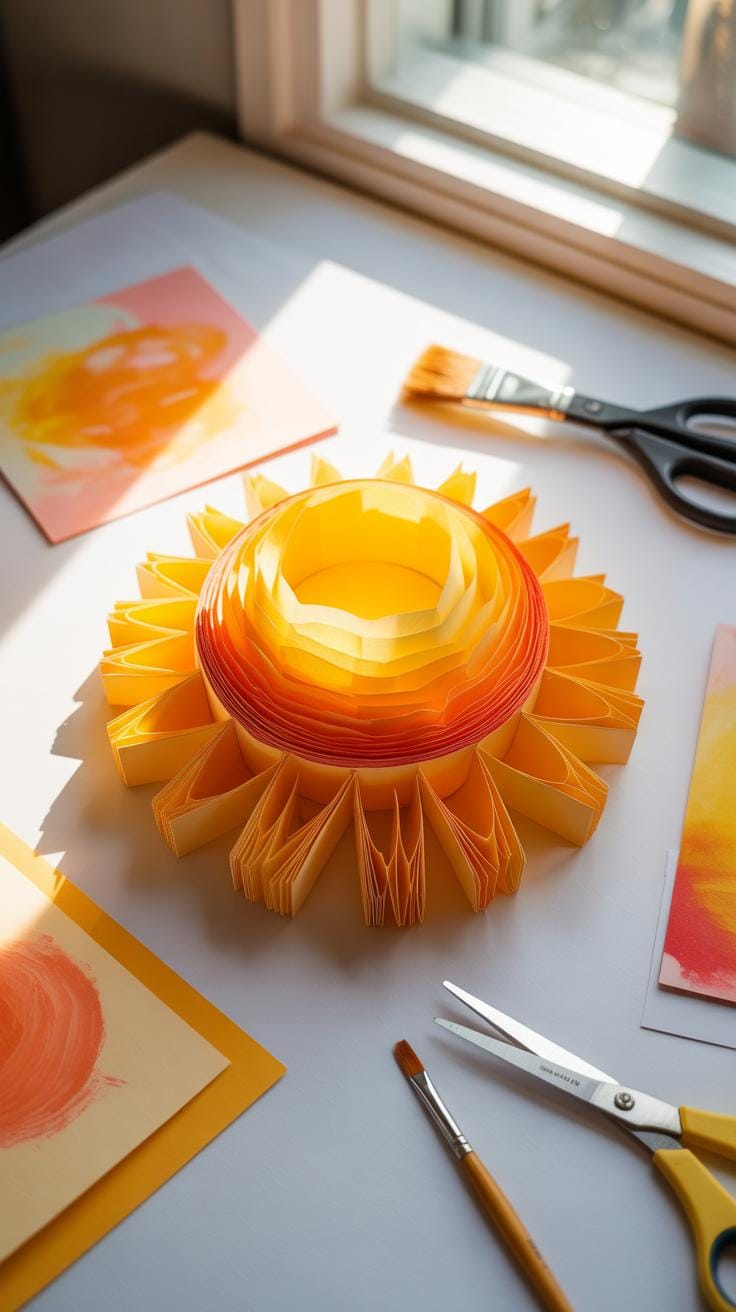
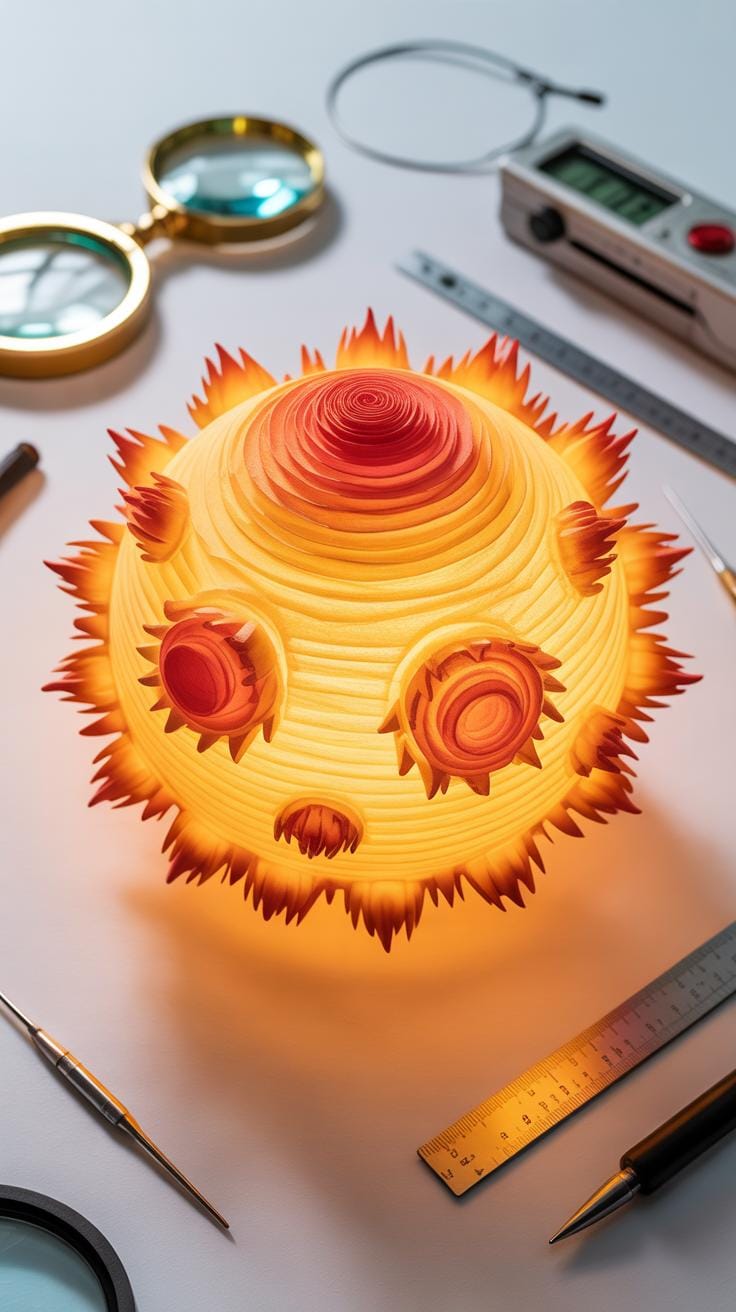
Creating a 3d sun craft begins with cutting graduated circles from cyanotype paper. You expose these sheets to sunlight to create deep blue hues and white rays. Stack these discs starting with the largest on the bottom. Use small foam spacers between each sheet to add height. This building method mimics the core and outer atmosphere of a 3d model of the sun.
This technique works well for a paper solar system project. You can apply similar layering to a Jupiter papercraft to show its swirling gas bands. Each level adds depth and helps you understand how to make a 3d sun out of paper. The final paper solar system piece feels solid and looks like a relief sculpture. You create a glowing effect by using brighter sunprints on the top layers.
Interlocking Slotted Design
A solar system paper cut out can stand tall without glue through smart engineering. Cut two matching sun shapes and slide them together using vertical notches. This method creates a sturdy solar system paper craft that looks great from every angle. It resembles a solar-powered paper house project because it uses structural stability instead of messy adhesives. The slots hold the 3d sun model firmly in place on your desk.
Clear slots allow you to build a complex solar system paper craft with ease. Align the center points carefully so the pieces balance. You can apply this same logic to other planets or even a solar-powered paper house project base. Using stiff paper ensures the sunprints do not sag or bend over time. This architectural approach makes your 3d sun model durable and easy to display for any science art show.
Prototyping A 3d Sun Model With Cardboard And Light
Shadow Play Engineering
Building a 3d Sun Model requires careful planning of light and depth. You can create a 3d Sun Craft by stacking cardboard rings to mimic solar flares. This relief technique works well for a Solar System Paper Craft because it adds physical texture. Arrange your shapes to catch the afternoon sun. These moving shadows turn a flat Solar System Paper Cut Out into a living story.
Correct placement of your 3d Model Of The Sun helps define its edges. If you build a Jupiter Papercraft or a Paper Solar System, use varying heights of cardboard. This strategy mimics how light hits planets in space. You can even combine these pieces with a Solar-powered Paper House Project for a complete scene. Use natural light to test how your Solar System Paper Craft looks at different times.
Durability Enhancement
Sunprints are sensitive to light and might fade over time. Protecting your How To Make A 3d Sun Out Of Paper project ensures it stays bright for years. Apply a UV-resistant matte spray to every part of your 3d Sun Model. This coating blocks harmful rays from the sun while keeping the paper dry. It is a simple step that saves your hard work from turning white.
Warping is another common problem for a Solar System Paper Craft made of cardboard. Use a heavy gel medium to stiffen the Paper Solar System components before assembly. This adds weight and strength to your Solar System Paper Cut Out pieces. A strong base prevents a 3d Model Of The Sun from sagging. Proper sealing keeps your complex relief artwork looking crisp and professional in any room.
The Science Of The 3d Model Of The Sun In Paper Relief
Scaling Astronomy
Creating a 3d model of the sun requires balancing massive proportions with a small workspace. You can build a paper solar system by choosing a scale that fits on your desk. Start with a solar system paper cut out to visualize the sizes of different planets. Using thick cardboard for the sun gives the project a sturdy base. This physical model helps you understand how large the sun is.
Building a solar system paper craft involves layering cardboard to show depth. You might wonder how to make a 3d sun out of paper that looks realistic. Focus on the core and the outer flares. A jupiter papercraft should look much smaller than your sun model to show real space distances. These paper solar system steps make astronomy feel real. This tactile approach teaches you about volume and space.
Photochemical Reaction
Solarized crafts use a chemistry process called the cyanotype method. You coat your solar system paper craft with iron salts. When you place your 3d sun model in the light, a change occurs. The UV rays turn the iron salts into a deep blue pigment. This reaction creates a beautiful image of your paper solar system. Sunlight acts as a natural tool to develop your art.
You can use this method for a solar-powered paper house project or a 3d sun craft. The light hits the paper solar system and leaves shadows. These shadows stay white while the rest of the paper turns blue. This effect adds texture to your solar system paper cut out. It shows how light and paper work together. You gain a practical understanding of how chemistry creates visual art.
Expanding To Other Planets The Jupiter Papercraft Challenge
Storm Swirl Textures
Creating a Realistic Jupiter Papercraft requires unique textures to represent moving gas clouds. You can apply salt and water to wet cyanotype paper before sun exposure. The salt pulls the blue pigment into crystal patterns that look like storms. This technique helps artists build a Paper Solar System that looks aged and organic. These natural chemical reactions perfectly mimic the complex atmospheric bands found on the largest gas giant planet.
The Great Red Spot becomes the focal point of your Solar System Paper Cut Out project. You can layer small circles of treated paper to show depth within the storm. Artists often use darker blues and faded whites to create contrast across the surface. This method produces a detailed Solar System Paper Craft that captures interest. Using these textures makes your work stand out compared to a basic 3d Model Of The Sun.
Giant Scale Modeling
Scale is vital when building a Jupiter model alongside a Solar-powered Paper House Project or smaller planets. You should use thick corrugated cardboard to give your Jupiter relief more height. This thickness highlights its massive presence in the solar system. A 3d Sun Model often sits at the center, so Jupiter must feel heavy and large by comparison. Adjusting the relief layers creates a sense of immense planetary volume.
You can learn How To Make A 3d Sun Out Of Paper to understand structural support first. Use those same structural skills to build wide, sturdy base layers for your Jupiter sculpture. This approach ensures your 3d Sun Craft and oversized planets stay balanced on the display board. Proper scale helps viewers see the size difference between inner rocky planets and outer gas giants. Strong layers prevent the heavy paper from warping during the drying process.
Advanced Projects The Solar Powered Paper House Project Integration
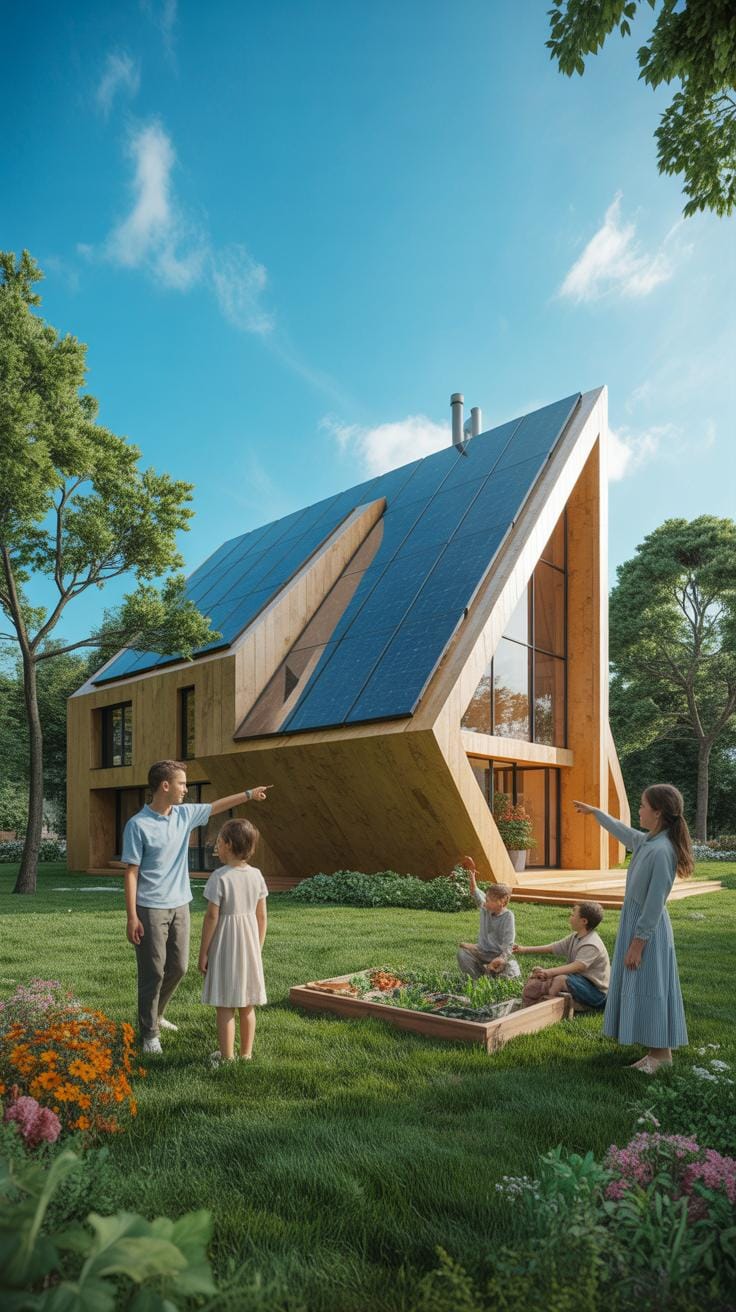
Architectural Cyanotypes
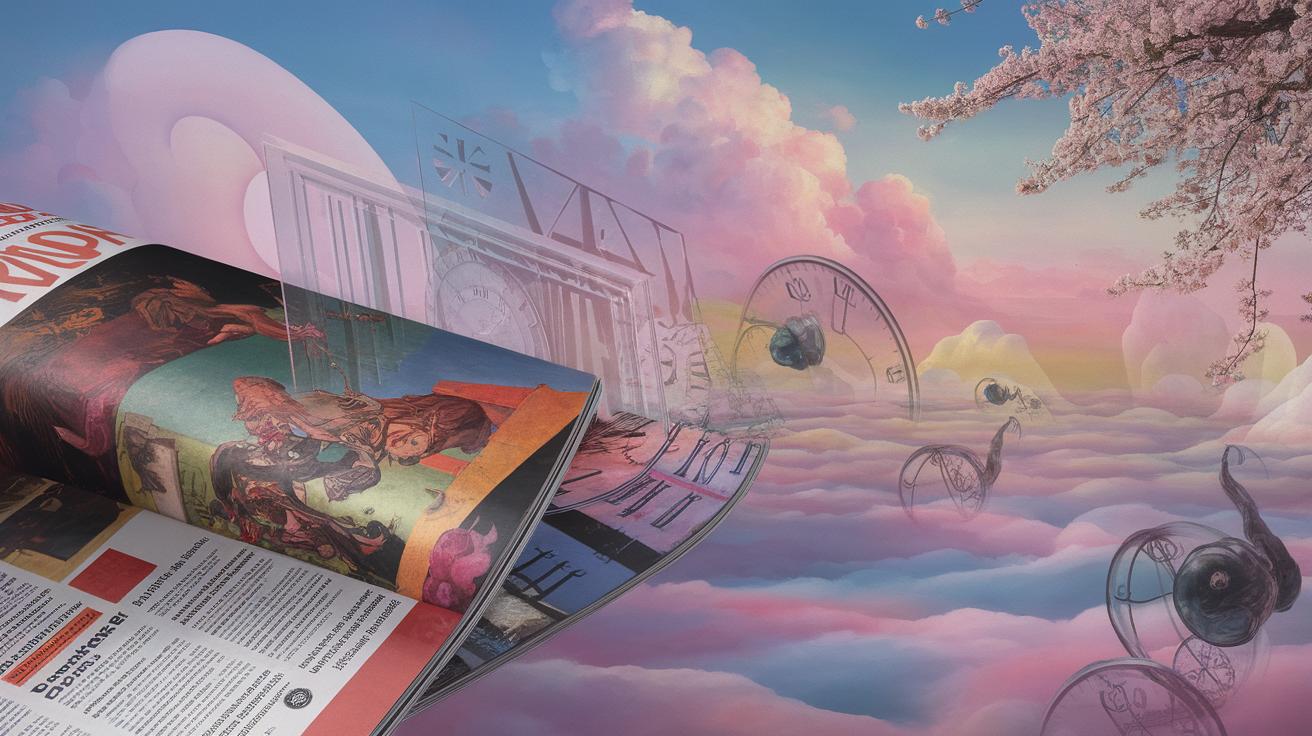
Paper architectural models gain a unique look when you apply potassium ferricyanide and ferric ammonium citrate to the exterior surfaces. This process creates a deep Prussian blue hue on your structure. You can place a Solar System Paper Cut Out against the damp paper walls before sun exposure. The sun leaves behind white shadows of the shapes. This technique mimics high-end design blueprints from the nineteenth century.
Constructing a 3d Sun Craft serves as a central focal point for your miniature neighborhood. Use thick watercolor paper to build the house walls so they handle the liquid sensitizer. Arrange your Jupiter Papercraft and other celestial shapes to cast shadows across the facade. Once you wash the paper in water, the blue color fixes permanently. Your Solar-powered Paper House Project will display stunning celestial patterns on every solid wall.
Incorporating Photo Sensors
Adding small hobbyist solar panels brings your 3d Model Of The Sun to life. You can hide wires inside a hollow Solar System Paper Craft to connect sensors to small light bulbs. These sensors detect when the room gets dark. When the lights go out, the internal battery turns on a glow inside your cardboard relief. Learning How To Make A 3d Sun Out Of Paper with working lights teaches basic circuit skills.
Position the solar cells on the roof of your paper house or at the center of your 3d Sun Model. Sunlight charges the system during the day while the cyanotype patterns cure. This setup turns a simple Paper Solar System into a functional lamp. The light shines through small holes in the cardboard to mimic distant stars. Your finished sculpture acts as both a piece of art and a working scientific tool.
Frequently Asked Questions

What exactly are solarized paper crafts and how do they combine different artistic mediums?
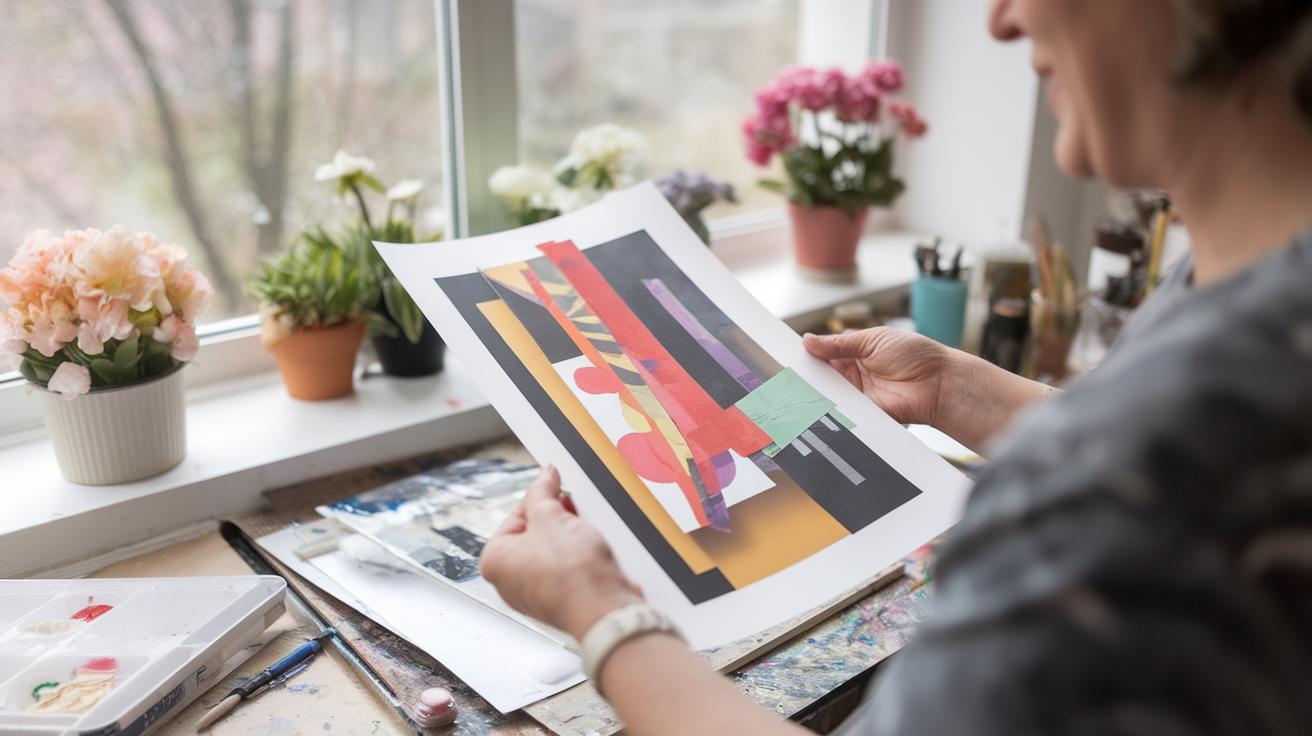
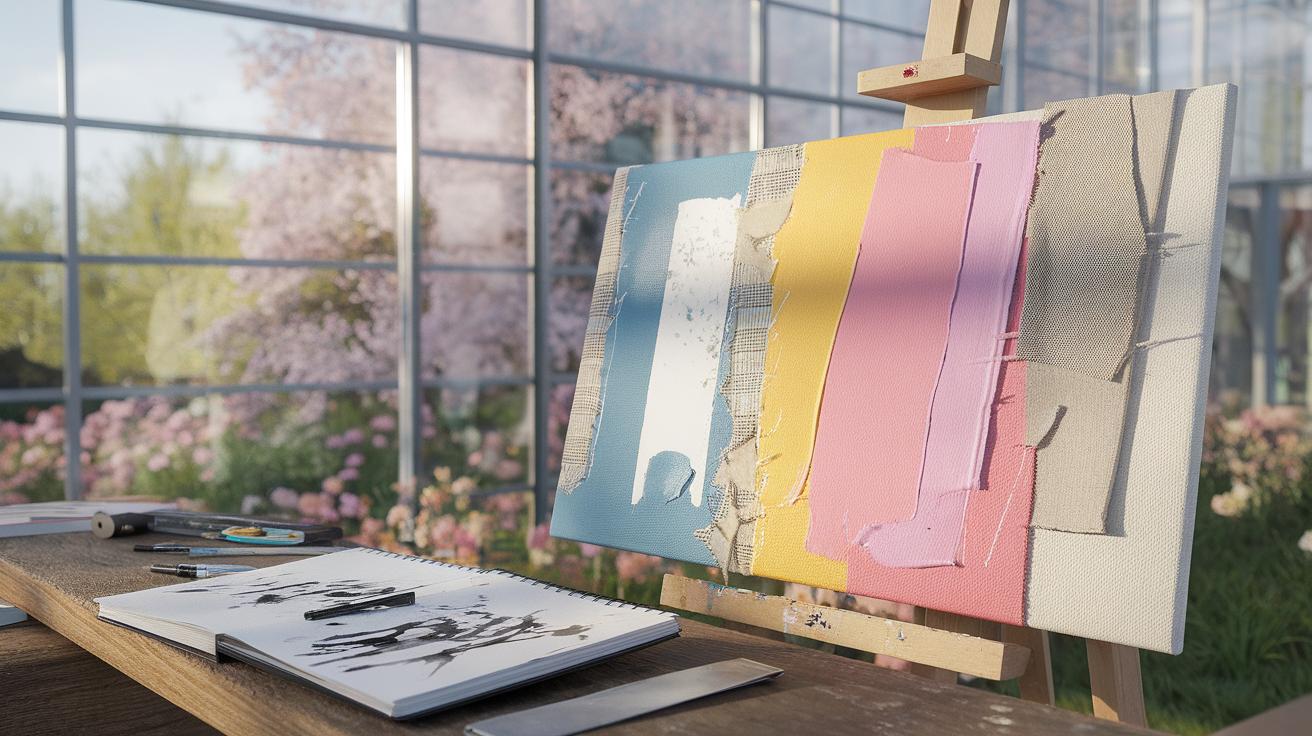
Solarized paper crafts are a unique fusion of three-dimensional texture and light-sensitive photography. This art form involves creating a relief sculpture using layered cardboard and then exposing it onto cyanotype or sunprint paper. The result is a stunning abstract artwork that captures the shadows and heights of your sculpture, blending industrial recycled materials with the ethereal, blue-toned aesthetic of solar printing for a sophisticated home decor piece.
How do I ensure my cardboard relief sculpture creates a clear image on the sunprint paper?
To master solarized paper crafts, timing and contact are essential. Start by layering your cardboard shapes into varying heights to create deep shadows. When you are ready to print, place your sculpture directly onto the light-sensitive paper and secure it with a clear acrylic sheet or glass. This ensures the paper stays flat against the relief, resulting in crisp edges and high-contrast abstract patterns once exposed to direct sunlight.
Do I need expensive photography equipment to start making this type of relief art?
Not at all! This creative hobby is incredibly accessible and budget-friendly. You primarily need recycled shipping boxes, scissors, and basic glue for the sculpture. The only specialized component is sunprint or cyanotype paper, which is very affordable. Since the sun acts as your developer and plain water serves as your rinse, you can produce professional-looking gallery art right in your backyard without investing in a darkroom or costly tools.