Introduction
Oil pastel painting is a colorful and creative art form that uses sticks made of powdered pigment and a mixture of oil and wax. These pastels are bright and easy to blend, making them a favorite for artists who want rich, clear colors. This article will help you learn vibrant blending methods for oil pastel paintings mastery. You will find simple techniques and tips that make your artwork look smooth and professional.
Throughout the article, you will explore the best tools, materials, and step-by-step methods to mix colors beautifully in your oil pastel paintings. Whether you are a beginner or want to improve your skills, these blending methods offer practical and useful insights that you can apply right away. Let’s start your journey to vibrant oil pastel art.
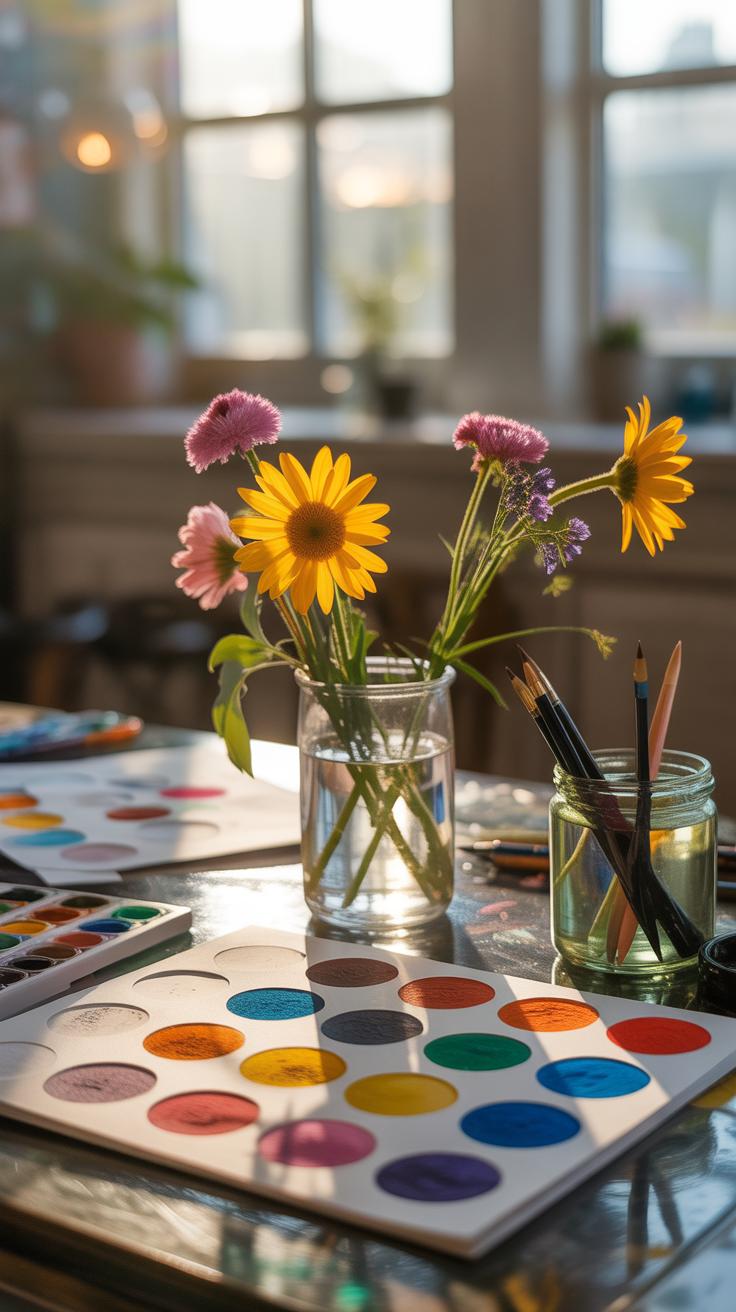
Essential Tools for Effective Oil Pastel Blending

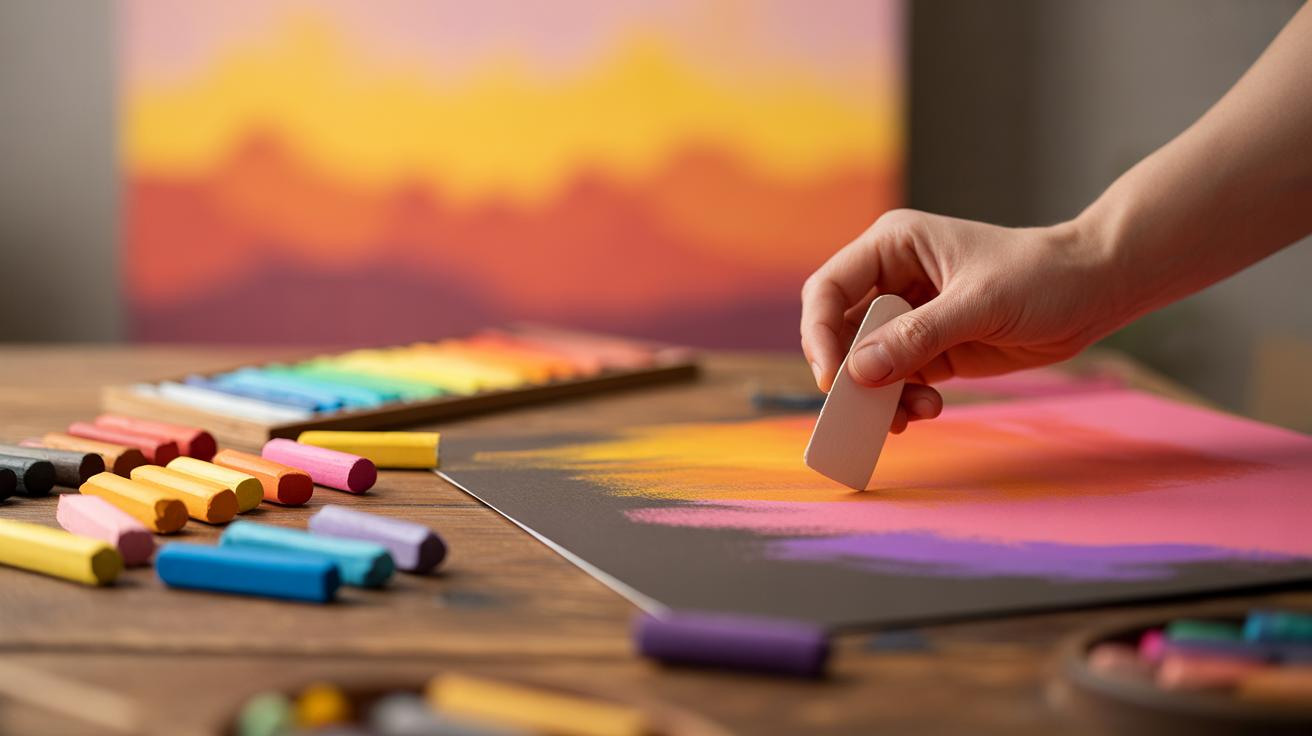
When blending oil pastels, what you use matters almost as much as how you blend. The tools can shape your results dramatically. Some artists rely on their fingers for blending. Fingers give direct control and a tactile sense of how colors mix. The warmth slightly softens the pastel, creating gentle transitions. But fingers can get messy quickly—and oils from your skin sometimes affect the paper’s texture. So, cleaning hands regularly helps maintain control.
Blending stumps or tortillons offer more precision. These tightly rolled paper tools pick up and smudge pastel in small areas. They’re great for fine details or creating soft gradients without losing the pastel’s vibrancy. Just keep the stump clean, or you’ll end up muddying colors instead of blending them.
Brushes might seem unusual, but certain stiff or slightly damp brushes can smooth the surface subtly. They help spread pigment thinly without over-saturating an area. Choose natural bristle brushes for more control and be careful with moisture—too much can damage the pastel layer or paper.
Solvents like turpentine or odorless mineral spirits offer another way to blend by dissolving the oil and wax binders partially. This can produce very smooth, painterly effects unattainable with dry tools. But solvents require caution: apply sparingly with a cotton swab or brush, avoid puddling, and always work in a ventilated space.
Do you prefer the immediacy of fingers or the refinement of tools? Each has its place, and often combining them yields the best results.
Using Your Fingers and Blending Tools Safely and Effectively
Blending with your fingers, at first, feels natural—you’re directly feeling the pastel’s texture. But it’s easy to overblend, losing texture and richness. Light, circular motions usually work best. Avoid dragging hard, or you’ll disturb layers underneath.
Cleaning fingers often helps to prevent color mixing where you don’t want it. Some artists avoid blending with fingers altogether for hygiene and neatness. Still, I find it hard to resist the control fingers offer for certain effects.
Blending stumps demand patience. Work gently, especially near edges, so you don’t penetrate or tear delicate paper. Rotate the stump as you blend to use a clean surface. Otherwise, smudges quickly turn into unwanted mud.
Brushes should be dry or just barely damp. Wiping them on a cloth between strokes prevents buildup. Also, test brushes on scrap paper—too much pressure or moisture can damage your piece. It’s about feeling the interaction, not forcing it.
When and How to Use Solvents for Smooth Blending
Solvents can transform oil pastel work, but timing and technique are crucial. They work best after layering enough pastel on the paper to dissolve and spread. Applying solvents too soon might smear thin layers rather than blend.
Use a cotton swab, soft brush, or even a small piece of cloth to apply solvents carefully. Dab or gently brush solvent on the surface without flooding. Apply only a small amount and build up gradually.
Work in a well-ventilated area. Solvent fumes can be sharp and unpleasant over time. Also, some papers react badly—warping or weakening with solvents. So test on a scrap piece first.
Solvent blending softens edges and creates painterly effects that dry blending tools can’t match. But it also reduces the pastel’s texture and may mute the saturation a bit. So choose solvents when smoothness and subtlety are the goal, not when you want strong, tactile marks.
Basic Blending Techniques for Beginners
Layering Colors for Depth and Richness
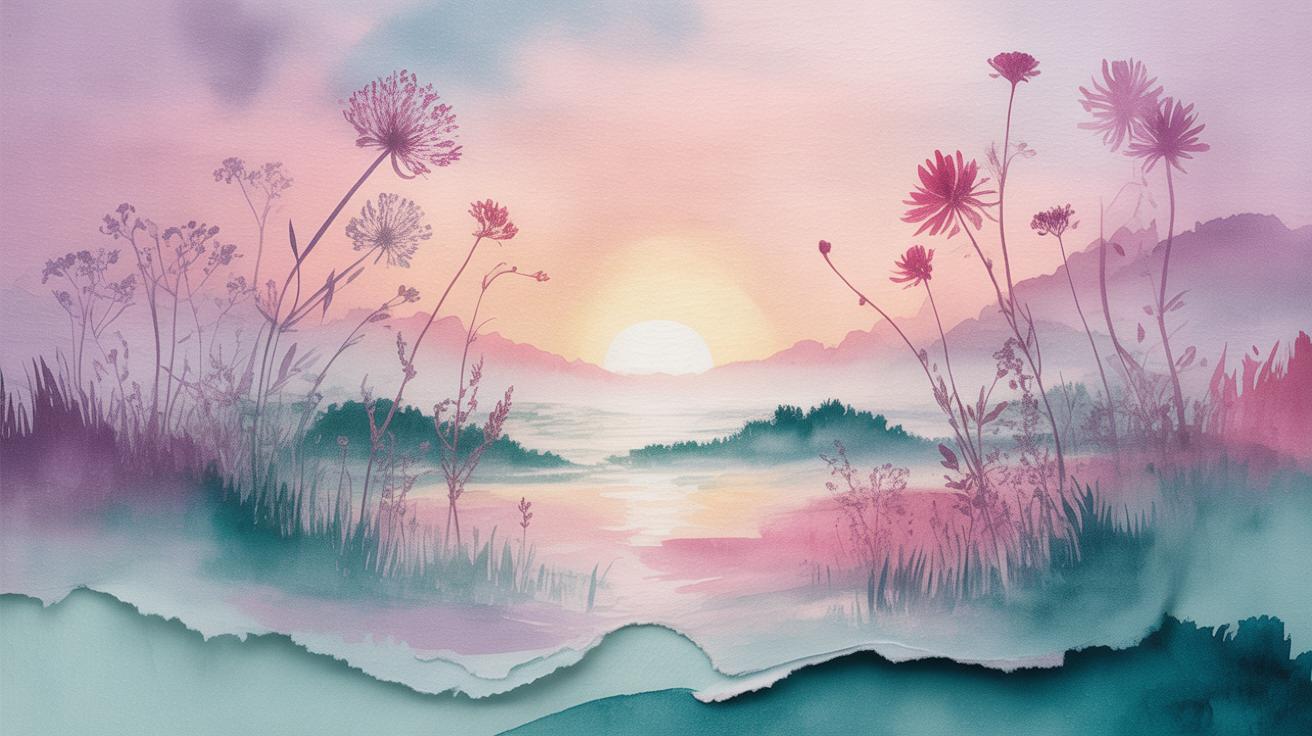
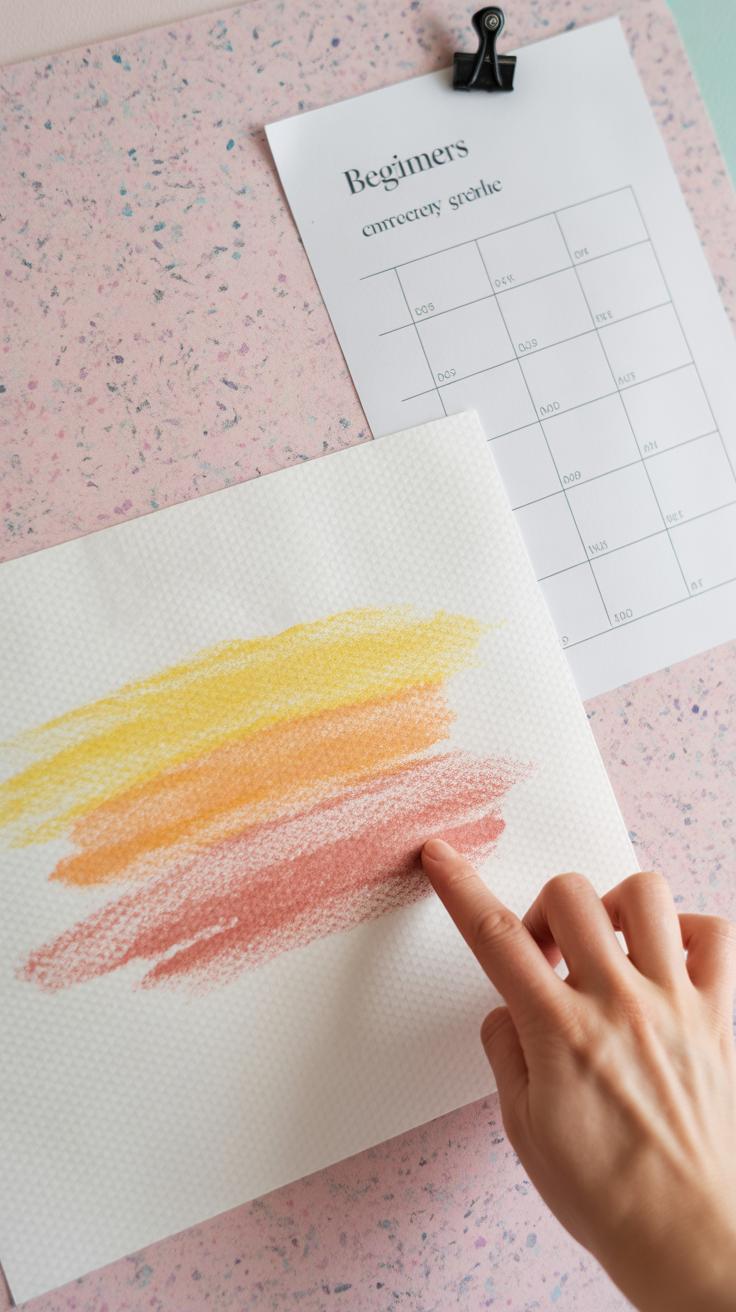
Layering is one of the simplest—and maybe most effective—techniques you can use when starting with oil pastels. You begin by applying a base color, then carefully add another on top. This builds complexity and gives your artwork a sense of depth that flat colors just can’t achieve.
Try experimenting with cool and warm tones layered together; this contrast can make the colors pop in unexpected ways. Don’t worry if the edges look rough at first. The idea is to gradually build up intensity, allowing the colors to interact as you keep adding thin layers.
Sometimes, layering can lead to a thick buildup of pastel, so patience is key. You might ask yourself—how many layers is too many? It varies. In some cases, three or four layers create richness, while more layers risk muddying colors if not done carefully.
Smudging to Soften Edges and Create Smooth Transitions
Smudging is another technique beginners often find handy. It involves gently rubbing the surface to blur harsh lines between colors, resulting in smooth transitions. You can use your finger or a soft tool, but be careful—too much pressure can spread pigment beyond your intended area.
One thing I noticed when smudging is that different surfaces react differently. A rough paper makes smudging less predictable, sometimes creating interesting textures, while a smoother surface lets you control blending better.
Smudging helps when you want a soft background or subtle shading without clear boundaries. But does soft blending always enhance your artwork? Sometimes too much smudging can dull vibrancy, so it’s a balancing act.
Advanced Blending Techniques to Enhance Your Artwork
Using Scumbling and Cross-Hatching for Texture
Scumbling and cross-hatching with oil pastels are subtle but powerful methods to build texture in your work. Scumbling involves applying light, broken strokes that barely cover the underlying color, creating a kind of textured haze. It’s almost like scratching the surface, letting bits of the base layer show through. This technique works well when you want a rougher, less polished feel without overmixing your colors.
Cross-hatching takes things a bit further by layering intersecting lines in varying directions. Unlike regular blending, here you’re intentionally keeping lines visible to add depth and complexity. If you think about it, it’s a bit like drawing with tiny, repeated pen strokes, but thicker and softer because of the pastel’s consistency. It lends a tactile quality to your painting, especially useful for fabrics, foliage, or textured backgrounds.
Try combining these methods—it’s easy to lose track of how loose or tight the marks should be. I found that sometimes the texture feels too busy and other times too flat, so experimentation really matters here.
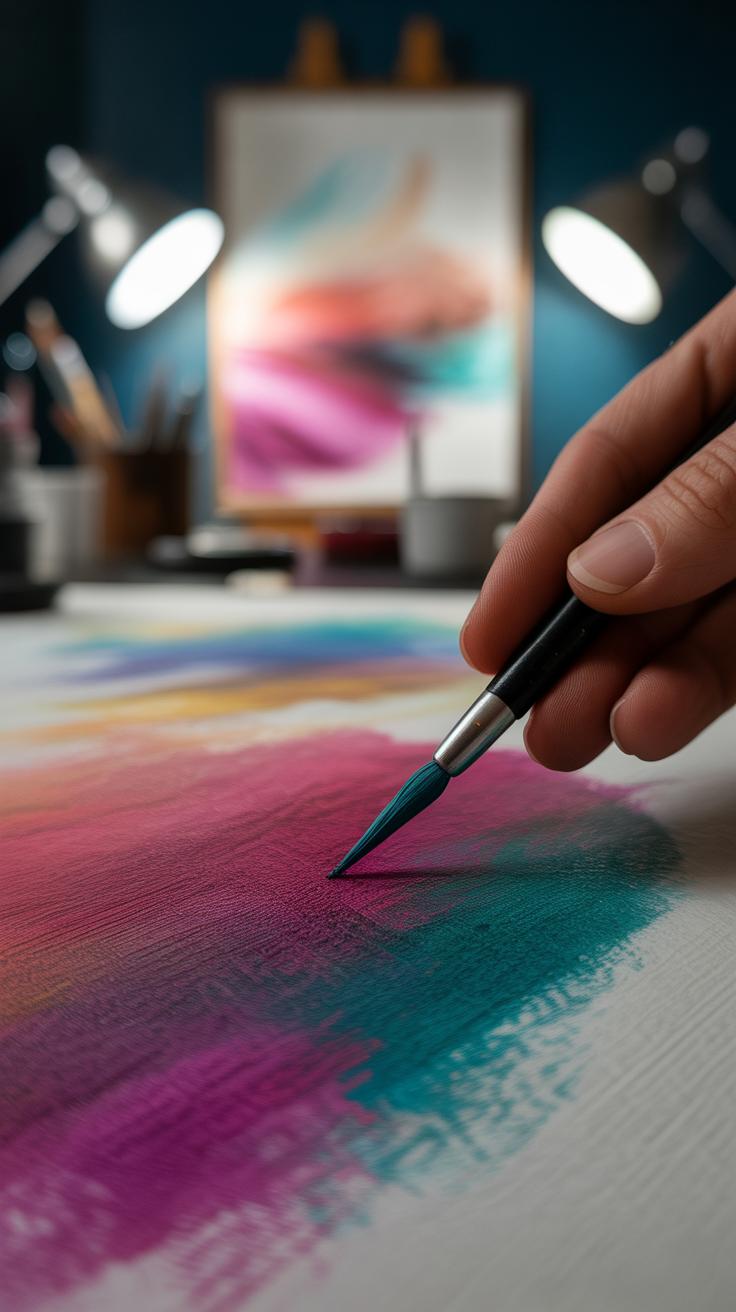
Creating Painterly Effects with Solvent Blending
Solvents can change how oil pastels behave, making them feel, dare I say, more like oil paint than pastel. When you apply a little solvent—turpentine, mineral spirits, or specific pastel thinners—it dissolves the binder in the pastel, allowing you to smooth and blend colors almost like wet paint.
This approach is especially handy if you want to soften transitions without losing pigment vibrancy. It can produce smooth gradients and subtle shifts in tone that are hard to get with just fingers or blending tools. You can even layer afterward to regain some texture if it looks too slick.
The trick is to use solvents sparingly; too much can cause pigment lift or unexpected spots. Plus, every brand behaves differently, so there’s a bit of trial and error involved. I remember the first time I tried solvent blending—it felt like unlocking a new dimension in oil pastel art. But honestly, some pieces looked better with less solvent than more.
Common Mistakes in Blending Oil Pastels and How to Avoid Them
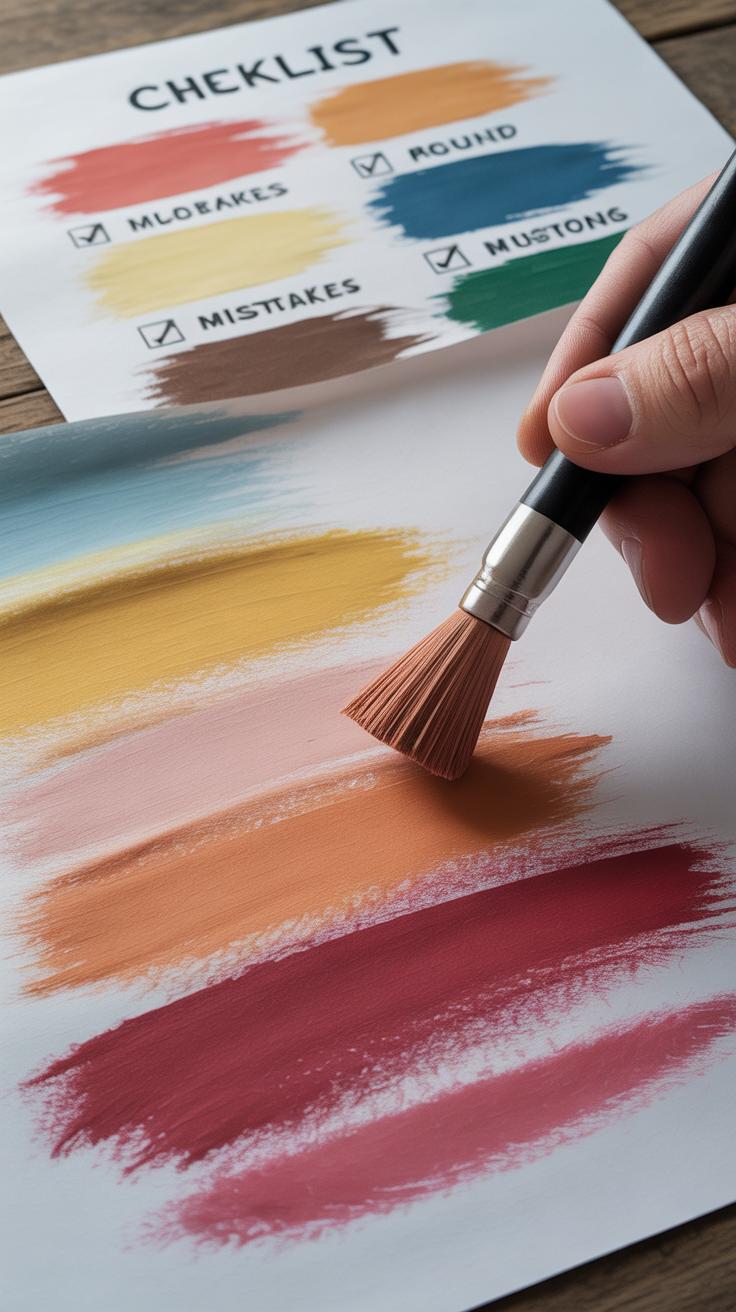
Recognizing and Fixing Overblending Issues
Overblending in oil pastel work is something I’ve seen many artists, including myself at times, stumble into. It happens when you mix colors too much, and instead of rich, distinct hues, you end up with a muddy or dulled surface. The vibrant energy of the pastels can fade, leaving a flat look that’s hard to reverse.
You may notice that the texture starts to disappear, and the layers look thick but lifeless. One way to avoid this is to blend just enough to soften edges without completely mixing the colors. If you’ve already overblended, try adding a fresh layer of pastel over the area—lighter or more saturated—then gently go back to your blending. Sometimes, a bit of scumbling or layering with a contrasting shade can restore some life.
Don’t rush the blending process either. Giving yourself a moment to step back and look can help prevent pushing the pigment too far.
Proper Pressure Application for Controlled Blending
Using the right amount of pressure is tricky, I admit. Too hard, and you squash the pastel, losing surface texture; too light, and the colors won’t mix enough. It’s a balance that can take some trial and error.
I usually recommend starting with gentle pressure—think of it more like brushing than pressing. This helps keep the color vibrant and the pastel’s natural grain visible. You want the strokes to melt into each other without crushing the pastel’s integrity.
If you push down too much, the pastel can harden on the paper and resist further layers, which feels frustrating after all that work. Also, when blending with fingers or tools, try to avoid heavy rubbing; instead, use a soft touch and small circular movements to maintain control.
Have you noticed how a few subtle changes in pressure can make a big difference? Play around with it until you find what feels right for that particular piece. The texture isn’t just a side effect—it adds depth and interest to your work.
Combining Oil Pastel Blending with Other Art Techniques

Blending oil pastels doesn’t have to happen in isolation. Actually, pairing them with other drawing or painting methods can produce some striking results. You might find that mixing oil pastels with dry media, like colored pencils or charcoal, opens up a range of textures and depths you wouldn’t get from just one alone.
Mixing Oil Pastels with Colored Pencils and Charcoal
When you blend oil pastels with colored pencils, the contrast between waxy smudges and sharp, fine marks creates variety that’s quite intriguing. Start by layering an oil pastel base and blending it softly. Then, add details on top with colored pencils. The pencils grip the pastel surface in a way that lets you define edges or add patterns.
Charcoal is a little tricky but equally rewarding. It’s dusty and powdery, which contrasts with the smoothness of pastels. You can sketch with charcoal first, then layer oil pastels, blending carefully so the charcoal doesn’t smudge too much. Or, reverse the order for a smoky, layered effect. The blending here feels less controlled, more spontaneous, which some artists like in their work.
Using Oil Pastel Underpainting with Acrylic or Oil Paint
Many artists overlook oil pastels as an underpainting tool, but they can form a colorful base underneath acrylics or oils. After creating a blended pastel layer, you can apply thin washes of paint over it. The pastel beneath adds richness and texture that often seeps through the paint layers. The key is blending the pastels well enough so the surface isn’t too rough or chalky before painting.
This method isn’t foolproof; acrylic paint might repel oily pastel spots if applied thickly, and oil paint’s drying time can complicate layering. Yet, the process encourages experimentation with transparency and layering that’s hard to replicate otherwise. Does that mean it’s always worth trying? Probably, if you like pushing boundaries a bit.
Practical Tips for Maintaining and Protecting Your Oil Pastel Paintings

Choosing Fixatives and Applying Them Properly
Fixatives can be tricky when it comes to oil pastels. Traditional fixatives often don’t work well, or worse, they dull the colors you carefully blended. I’ve found that workable fixatives specifically designed for oil pastels or charcoal are usually better choices. They help keep the vibrant hues alive without making the surface too matte or sticky. Spraying from a distance—about 12 to 18 inches away—avoids disturbing your layers or causing unwanted smudges.
It might be tempting to overdo the fixative, but a light, even coat is often enough. You can always add another layer after it dries if needed. Also, test fixatives on a small area or a scrap piece just to see how your pastel responds. Some brands react differently depending on the paper or surface, so a bit of experimentation rarely hurts.
Framing and Storage Solutions to Avoid Damage
Once your piece is fixed, framing becomes crucial. Because oil pastel remains somewhat soft, smudging happens easily. Using a glass frame with a mat spacer is almost essential—it keeps the artwork from touching the glass directly, preventing marks. I’ve made the mistake of skipping spacers before, and well, the pastel transferred to the glass after a while. That’s enough to make you rethink the whole process!
Storage also deserves thoughtful attention. Flat storage between sheets of wax paper works well for older pieces or works in progress. Rolling your paintings? Probably not the best idea; oil pastel can crack under pressure. And for finished works, avoid stacking without protection. Each painting needs its own space, or at least, some kind of barrier that won’t stick or rub off.
Have you noticed how quickly dust gathers? A sealed portfolio or box, placed away from direct sunlight and humidity, extends the life of your paintings. It’s surprising how environmental factors sneak up on us, even when we think we’ve done everything right.
Inspiration and Exercises to Practice Oil Pastel Blending
Getting comfortable with oil pastel blending often starts with simple, focused exercises. You might try layering just two or three colors, softly overlapping them and then using your finger or a blending stump to mix the edges. Experiment with pressure—light to heavy—and observe how it changes the textures. One easy subject idea is a basic sphere. Shade it with one color and blend toward the light source with another. This gives you a feel for smooth transitions without being overwhelmed.
Daily Blending Exercises for Skill Improvement
Try dedicating 10-15 minutes each day to repeating a few techniques. For example:
- Start with a single color, then slowly introduce a second, blending the meeting line until it disappears.
- Practice circular blending motions on a small patch, then switch to crosshatch strokes to compare effects.
- Use your finger, a paper towel, or a blending stick and note the differences in finish.
These exercises might feel repetitive, but consistency builds muscle memory. I’ve noticed my blending feels steadier after a week of this kind of drill, even if, sometimes, it seemed like no progress was happening.
Creative Projects to Apply Your Blending Skills
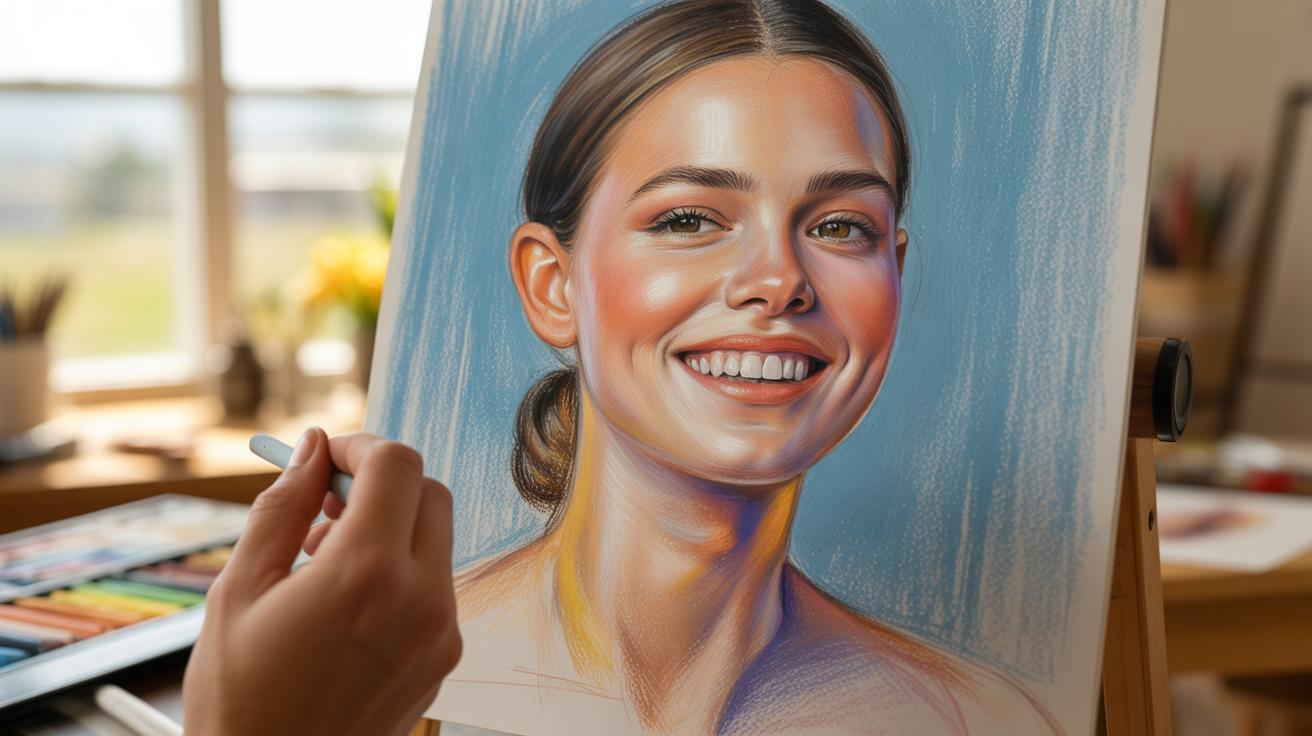
When you feel a bit more confident, apply blending to subjects you care about. Portraits, for instance, demand soft edge treatments between shadows and highlights on skin—try blending cheek areas or under the eyes carefully.
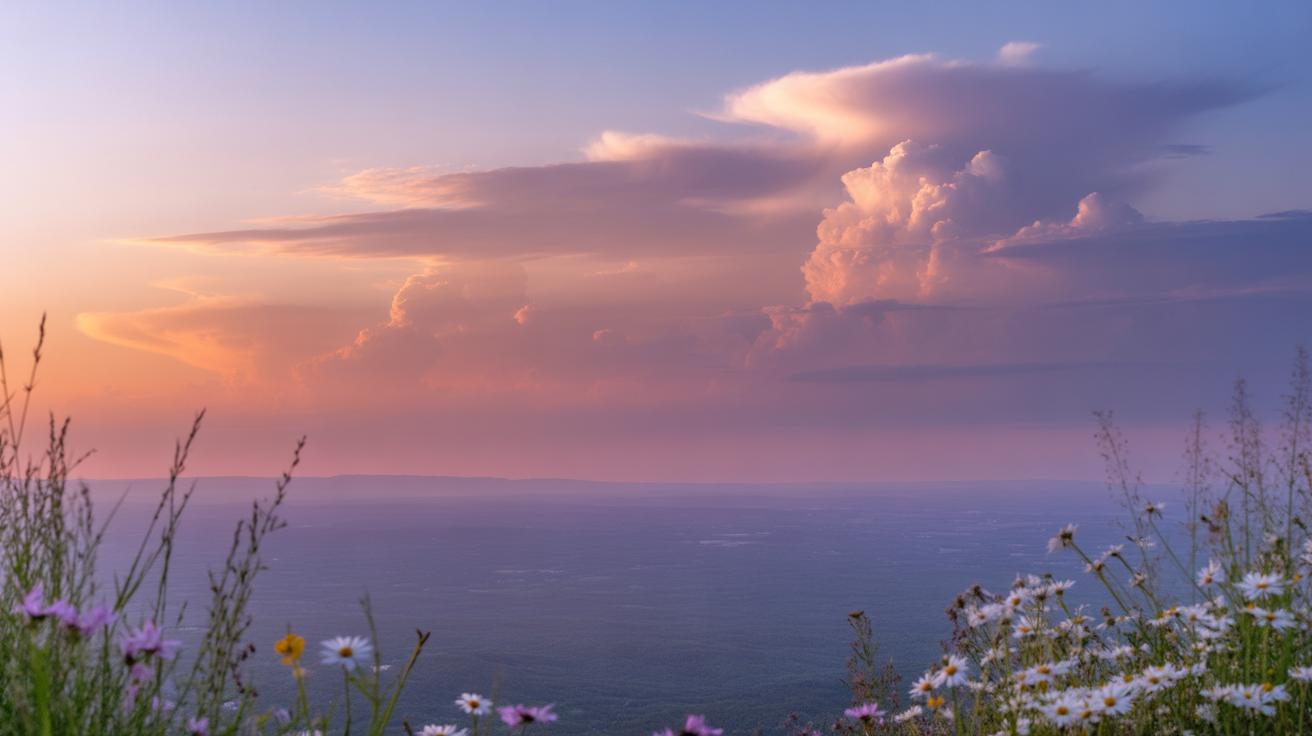
Landscapes also work well; blending skies or water can create that subtle gradient feel, although it’s easy to overdo it, so keep an eye on balance. Abstract pieces let you experiment without pressure—blend unexpected colors and shapes to see what resonates.
Are you drawn to people, places, or pure color explorations? Choosing your subjects this way can keep you motivated to keep blending and improve over time. What happens if you push the limits of blending in one project? Sometimes, the ‘mistakes’ lead to fresh discovery.
Conclusions
Blending oil pastels is a skill that takes practice but can transform your artwork by creating smooth and interesting color transitions. With the right tools, materials, and techniques, you have full control to express your creativity in exciting ways. Each blending method has its own style and effect, so experimenting helps you find what works best for your art.
Your mastery of vibrant blending methods will make your oil pastel paintings stand out. Keep practicing these steps and exploring new ways to mix colors. Your art will improve and you will enjoy the process of bringing your colorful ideas to life on paper.


