
Introduction
Pencil nature drawings offer a unique way to capture the beauty and detail of the natural world. Using various drawing techniques, you can create realistic art that reflects textures, shapes, and light effects found in nature. This article focuses on Pencil Nature Drawings Techniques for Realistic Art, guiding you through practical methods to improve your nature sketches.
We will cover key tools, sketching steps, shading methods, and ideas to enhance your artwork. Whether you are a beginner or want to refine your skills, the following chapters will provide concrete advice to help you get started and develop impressive pencil nature drawings.
Basic Tools And Materials

When getting started with pencil nature drawings, choosing the right tools makes a noticeable difference. You need a range of pencils varying from hard to soft to capture subtle lines and deep shadows alike. For example, harder pencils like H or 2H give cleaner, sharper details, ideal for delicate leaf veins or fine bark texture. Softer pencils, such as 4B or 6B, create richer darks and smoother shading, which come in handy for shading under branches or rocky surfaces.

Paper choice is equally important. You want paper with a bit of tooth to hold graphite layers but not so rough that it distracts from fine details. A smooth drawing paper with a medium texture often works well. Some artists lean toward heavier-weight papers, especially if they blend with tortillons or even water washes later. The paper’s color can also matter; off-white tones soften the overall look and can help your pencil marks stand out more clearly.
Don’t underestimate erasers either. Kneaded erasers let you lift graphite without scraping, perfect for highlights on water or delicate light spots on petals. A good white plastic eraser cleans larger areas without damaging the paper.
All these tools shape how realistic your nature drawings appear. Have you noticed how a simple change in pencil or paper shifts the whole effect? It’s not just technique, materials matter too.
Selecting Appropriate Pencils And Paper
Picking pencils isn’t just about softness or hardness—it’s about what details you want to emphasize. For crisp outlines and textures in nature, using a set that includes 2H, HB, 2B, and 6B covers most needs. The 2H is great for tight, light sketching and preliminary lines. HB offers a good middle ground for general sketching. 2B adds deeper shadows, while 6B brings in the darkest accents.
Paper texture influences how pencil strokes behave and hold. Rough papers tend to grab more graphite, which can make shading easier but may hinder very fine detail. Smooth or vellum-textured papers allow for clearer details but can feel slippery. I find that a mid-weight, smooth paper gives a balance, especially if you want to capture tiny leaves or intricate bark patterns without fuzziness.

Some artists prefer toned papers for nature sketches, especially when drawing plants or animals with subtle color variations. It’s a choice you might want to experiment with as you progress, but starting with classic white or off-white paper keeps things straightforward.
Essential Drawing Materials Checklist
Here’s a simple checklist to set up your nature sketching kit:
- A range of pencils: 2H, HB, 2B, 4B, 6B
- Drawing paper (smooth or lightly textured, medium weight)
- Kneaded eraser for gentle highlight lifting
- White plastic eraser for clean corrections
- Sharpener—preferably one that keeps pencil points fine but doesn’t break leads
- Blending tools like tortillons or paper stumps, optional but helpful for smooth shading
- Sketchbook or loose sheets—depending on if you prefer working outdoors or indoors
With this setup, you’re equipped to capture most natural subjects with detail and realism. You might find yourself adding or skipping certain tools over time, but this list gives you solid ground. Sometimes, less is more—though that’s not always the case when dealing with nature’s complexity.
Step By Step Sketching Process
Starting a pencil nature drawing can feel a bit overwhelming, but breaking it down into stages makes it manageable. First, begin with a rough sketch—just simple shapes and lines that capture the general placement of your subject. Don’t worry about details now; focus on getting proportions and composition roughly right.
Once the basic forms feel balanced, start refining those shapes, turning vague outlines into clearer ones. Slowly add details bit by bit. For example, if you’re drawing a leaf, first shape its overall silhouette, then hint at veins without rushing to perfect each line.
As you progress, observe closely how patterns and textures naturally appear. Maybe the bark has cracks or the petals aren’t perfectly smooth. Try to suggest these irregularities gradually. Using lighter strokes at first helps; you can always darken or erase later.
Step back occasionally and ask yourself if the drawing feels like the nature you’re trying to capture. This process isn’t a straight line—it’s okay to adjust or rethink parts. Patience really pays off here.
Creating Initial Shapes And Outlines
When you start sketching nature, focus on breaking complex forms into simple shapes—circles, ovals, rectangles, and lines. For instance, a tree’s canopy might begin as a rough oval, the branch structure as lines radiating from the trunk. This approach stops you from getting lost in detail too soon.
Try to use light, loose strokes; there’s no need to press hard now. At this stage, accuracy comes from observation more than perfection. Look carefully for subtle curves or angles within your subject, and replicate those cautiously. You might notice how a flower’s petals overlap or the uneven outline of a stone.
One trick I sometimes use is turning the reference upside down or viewing it from a different angle. It helps to focus on shapes rather than what the object is. This can improve proportion and structure before you dive deeper.
Refining Your Sketch For Details
Adding details takes time and patience. Once outlines feel solid, begin layering in texture. For example, leaves have veins and irregular edges; bark shows cracks and varied shading. Look closely at these patterns—they are rarely uniform or perfect.
Use a range of pencil strokes: short, fine lines can suggest delicate textures, while longer or crisscrossed strokes might show rough surfaces. Blending gently in some areas can increase depth, but keep some edges sharp to preserve realism.
Don’t hesitate to erase and redraw lines that seem off; your sketch is a living thing that evolves. Sometimes, stepping away for a few minutes and returning with fresh eyes unveils details you missed before. Also, consider lighting—the way shadows fall affects how textures appear.
Overall, let the details emerge gradually. It’s tempting to rush, but nature’s subtleties often reveal themselves slowly, and your drawing benefits greatly from this pace.
Shading Techniques Explained

Shading can feel like one of those tricky parts of drawing nature. You want your sketch to look real, not flat, but the way shadows fall isn’t always straightforward. That’s where some basic techniques like hatching, cross-hatching, and blending come in handy. They let you suggest volume and form without needing complex tools.
Hatching involves drawing closely spaced parallel lines. The more lines you add, the darker and denser the area seems. Cross-hatching builds on this by layering lines at different angles, creating even richer shadows. You might wonder when to stop adding lines—there’s no right answer. Sometimes less is more, sometimes you want something heavy and textured. I usually start with light hatching and only go darker if it feels right.
Blending and smudging offer a softer approach. Using a tortillon, tissue, or just your finger, you gently smooth out pencil strokes. This is especially useful for organic forms like petals or leaves, where shadows fade gradually. But blending can be overdone. If you smooth everything out completely, the drawing might lose its texture and look lifeless. I tend to blend selectively—keeping some crisp edges while softening others—because nature rarely calls for perfect gradients.
Capturing Texture In Nature
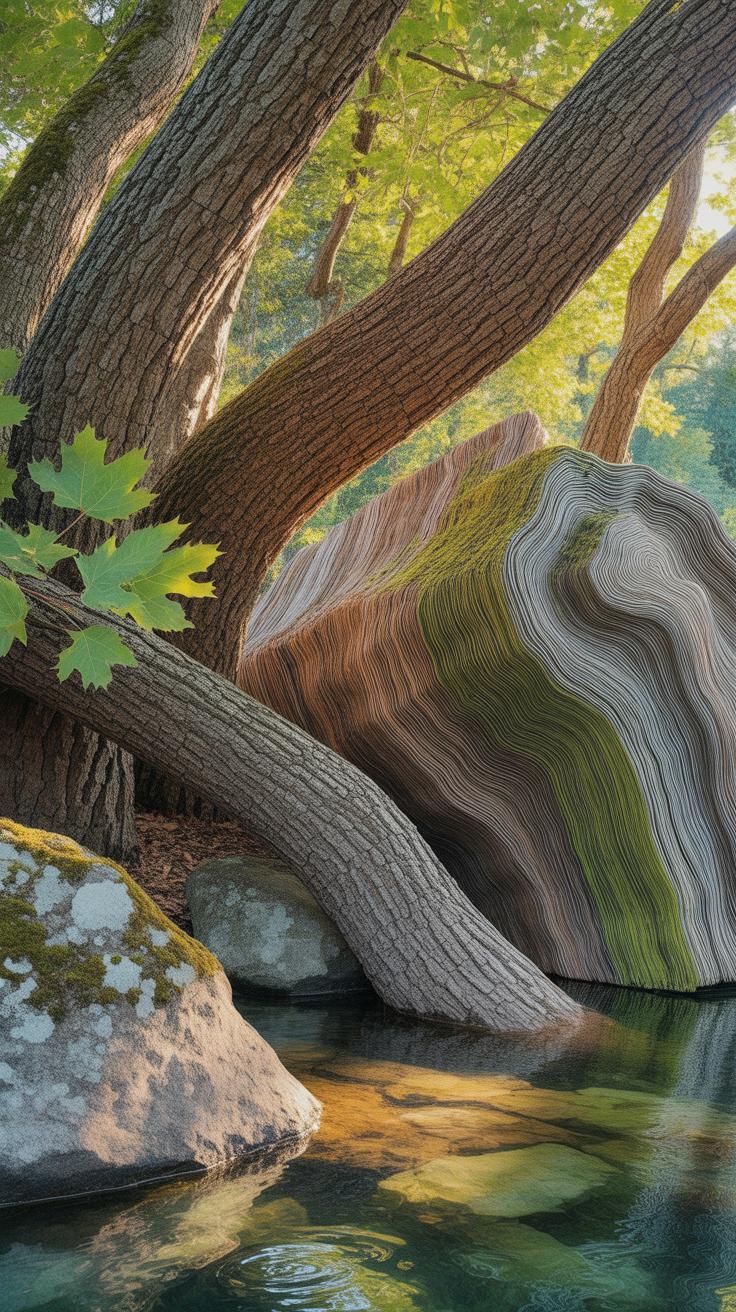
Texture is what brings nature drawings to life. When you look closely at a tree’s bark or a cluster of leaves, the feel of those surfaces is almost tactile—even in pencil. The key is to focus on subtle variations in line, pressure, and direction. You might find yourself switching between a sharp point for fine detail and a softer edge for shadow without thinking too much about it. That, I think, is part of what makes texture feel natural.
Try experimenting with a few go-to pencil strokes. For example:
- Short, overlapping lines can hint at rough surfaces.
- Curved, contour-following strokes suggest natural roundness.
- Fine crosshatching helps indicate shadowed texture without overworking the paper.
Also, don’t be afraid to leave some areas less detailed. Nature isn’t uniform, and your drawing shouldn’t be either. Have you tried breaking textures down into simple patterns first? Sometimes identifying the repetition in bark or the vein structure in leaves helps make the detail manageable.
Texturing Techniques For Wood And Bark
Wood and bark texture vary so much, from the smooth bark of a birch to the deeply grooved surface of an old oak. To capture that, you’ll want to think in layers. Start with broad strokes that establish the form—long, vertical marks can represent grooves, but randomizing them a bit keeps it from looking artificial.
More detailed effects often come from scraping or lifting graphite to mimic cracks and peeling layers. I sometimes lightly use an eraser like a drawing tool here. Also, pressing your pencil harder in certain spots helps create darker shadows inside crevices.
Don’t forget knots or scars—small irregularities add realism. Try observing a tree bark for a few minutes before drawing. Notice how no two ridges are perfectly parallel; the random chaos is what you want to aim for.
Rendering Leaf And Plant Surfaces

Leaves and plants demand a different approach. Their surfaces often combine smooth areas with complex vein networks. With pencil, you can play with light pressure for gentle shading and sharp lines for veins.
Start by lightly sketching the main vein lines before shading. The direction of your strokes should follow the leaf’s natural shapes—vertical lines on elongated leaves, circular patterns for round leaves. Varying your pencil’s hardness helps. Hard pencils capture fine veins without smudging; softer pencils can shade large areas gently.
Don’t strive to include every detail at first. Instead, suggest texture with confident strokes. Even lightly smudging around veins can imply the subtle elevation differences you see in real leaves. I’ve often noticed that less precise lines sometimes produce more convincing textures—nature rarely draws in perfect clarity.
Effective Nature Sketch Ideas
When you’re starting your nature drawing journey, it helps to have a range of subjects to explore. Try focusing on different natural elements that push your observation skills and pencil control in varied ways.
Here are some practical sketch ideas that you might want to try:
- Draw a single flower. Look closely at petal shapes and how they overlap.
- Sketch a cluster of leaves with varying sizes and textures.
- Study a simple rock or stone. Capture its surface irregularities and shading.
- Try a tree branch with small twigs and buds for detail work.
- Draw grasses or tall blades bending in the wind for movement practice.
- Focus on pinecones or seed pods, which have interesting patterns.
- Sketch shells or driftwood if you have access to them; they show unique textures.
These subjects aren’t too complicated but give you plenty to observe. It’s okay if your early sketches feel rough or incomplete. Sometimes I find simpler subjects force me to pay attention to subtle forms I’d otherwise overlook.
Simple Nature Subjects To Draw Today
If you’re just beginning, start small. Flowers, leaves, and rocks are great options to begin with. They’re easy to find, and most have distinct outlines and textures that help you practice pencil strokes without too much frustration.
For example, pick a leaf from your backyard, study its veins closely, and try replicating that pattern. Or, find a pebble and focus on shading to suggest its roundness. These small exercises build your confidence as well as technical skill.
Designing Compositions With Balance
When setting up your sketch, think beyond one subject. How will you place multiple natural elements on the page? A balanced composition usually avoids putting everything dead center.
Try arranging your subjects with some open space and some clustered areas. Maybe one large leaf on the left and a few smaller ones on the right, or a rock grounding the bottom corner with slender grass blades rising above. This creates an organic flow, which feels more natural.
Sometimes, it’s tempting to fill every inch of the paper, but negative space matters. It gives the eye a resting spot and helps the key elements stand out. I often sketch quickly to plan spacing before adding detail. You might find this helps too.
Common Pencil Drawing Challenges

When you first start drawing nature scenes with pencil, some issues tend to pop up repeatedly. One of the biggest hurdles for me was keeping my lines clean while avoiding those annoying smudges. It’s hard, right? Especially when you’re working on details like tiny leaves or bark texture—any slip can mess up hours of effort.
One thing I found helpful—though it took practice—was using a piece of scrap paper under my hand as I drew. This way, you don’t rest your palm directly on the drawing surface, which often leads to smudges. Also, choosing pencils with harder leads, like 2H or 4H, helps keep lines sharp and less prone to smearing early on. But then again, those can be tricky for shading.
Controlling light and dark contrasts is another struggle. Too much dark can flatten your image, while too little contrast can make it look lifeless. Balancing this involves layering your tones gradually, starting lighter and building depth slowly. Sometimes, I find it helps to step back frequently and squint to judge if the contrast feels natural or overdone.
- Use tracing paper or a clean sheet under your hand to avoid smudges.
- Experiment with different pencil grades; balance soft and hard leads.
- Layer shading slowly; avoid rushing to the darkest tones.
- Step back often; view your work from a distance to check contrast.
What challenges do you notice in your own nature drawings? Sometimes, struggles can reveal new techniques you might never have tried.
Using Reference Materials Wisely

Choosing The Right Reference Photos
Not every photo makes a good reference for nature sketches. When selecting photos, look for clear lighting that reveals the texture and shape of the subject. Too harsh or too flat lighting can hide important details or create confusing shadows. Ideally, the photo should show different angles or parts of the plant or animal, so you understand its structure better.
Details matter. Even if a photo looks nice, if it’s blurry or too small, it won’t help much. Sometimes, a less dramatic but sharper photo is more useful. Also, pay attention to background distractions. A busy background might make it harder to focus on the subject itself. I’ve found simple backgrounds help in isolating key features, making it easier to capture what really matters.
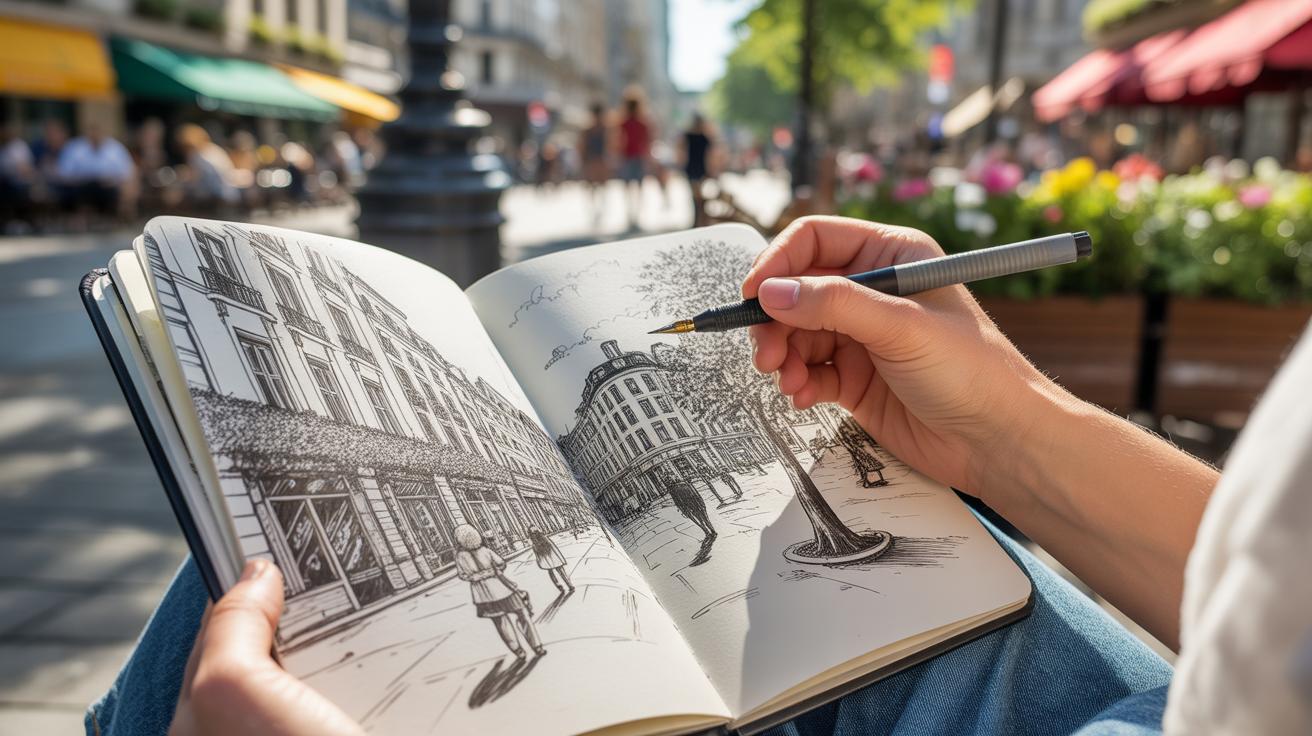
Drawing From Life Versus Photos
Sketching directly from nature feels more immediate but comes with challenges. The light constantly shifts, the wind moves leaves, and animals rarely sit still. This can be frustrating, but it forces you to observe quickly and carefully. It’s a way to really train your eye, noticing details you might miss in photos.
Photos, meanwhile, offer stability and time. You can zoom in or study something for minutes or hours without worrying it will change. Yet, photos flatten the subject, losing depth and sometimes altering colors in odd ways. There’s a distance to it that might dull your connection to the natural subject, making your drawing a bit more mechanical.
So, should you always pick one over the other? Maybe not. I often switch between both methods—starting with quick outdoor sketches, then refining from photos. It’s not perfect, but blending the two keeps things flexible and helps capture a more complete sense of nature’s variety.
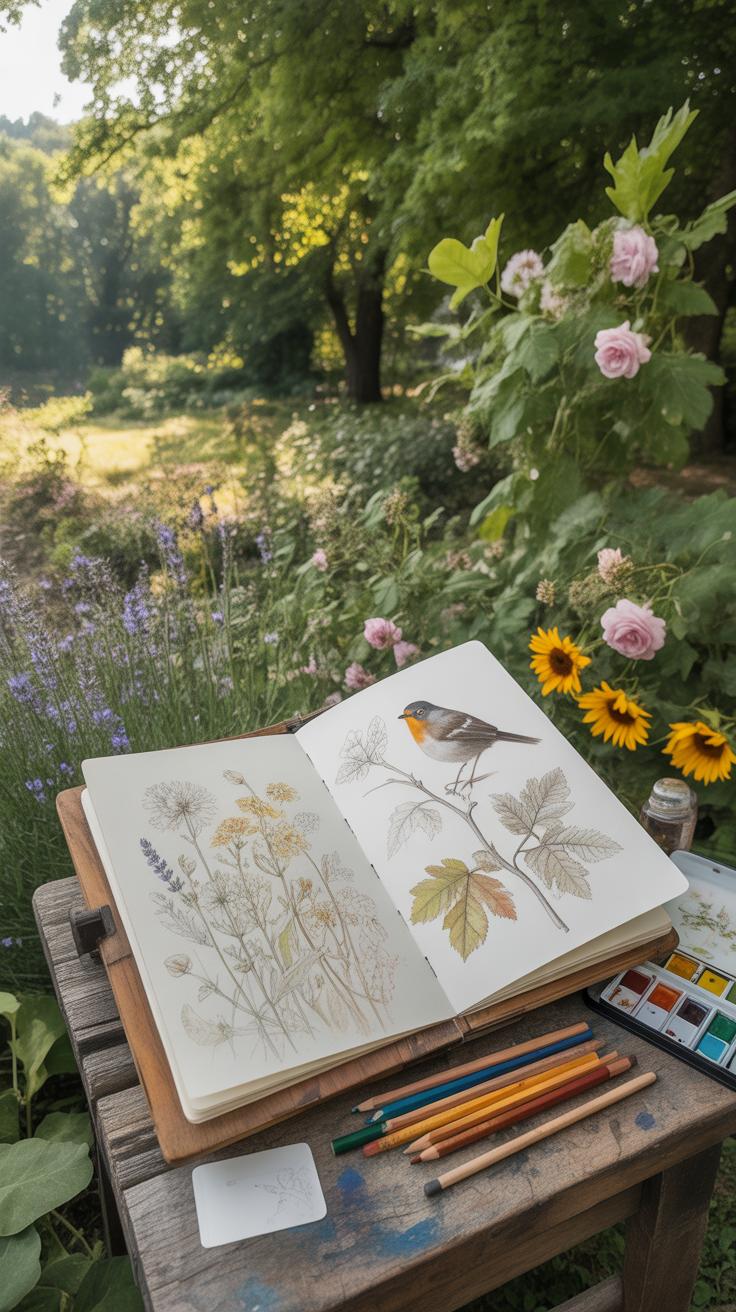
Nature Sketch Ideas
When you sit down with pencil and paper, the choices for nature subjects can feel endless—or maybe a bit overwhelming. You might think, “Where do I start? What should I try to capture?” It helps to narrow your focus, pick small, manageable subjects that reveal interesting details.
Try drawing a single leaf, but not just the overall shape—look closely at the veins, the texture, maybe even tiny tears or spots. It’s surprising how much character a leaf holds if you pay attention. Or, sketch a section of bark on a tree trunk, zooming in on the roughness and cracks. These simple objects force you to slow down and really observe.
Bird feathers can also offer delicate patterns and subtle shades that challenge your pencil control—experiment with layering light strokes to build depth. Then there are rocks or fallen twigs, which may seem plain but contain surprising shadows, shapes, and textures that teach you about light and form.
Sometimes, I find myself frustrated trying to capture a whole scene, so I switch to focusing on details instead. This shift keeps things fresh and helps develop your skills in different areas—contours, shading, texture. Have you thought about using nature’s smaller parts as your classroom? They’re right there, waiting.
Conclusions
Realistic nature drawings require careful observation and practice. Using the right techniques, materials, and step-by-step methods, you can depict natural elements in detail. Experiment with light, shadow, and texture to bring your sketches to life.
Regular practice and studying natural forms help improve accuracy and artistic expression. Apply these Pencil Nature Drawings Techniques consistently, and your artwork will grow stronger and more realistic over time.


