
Introduction
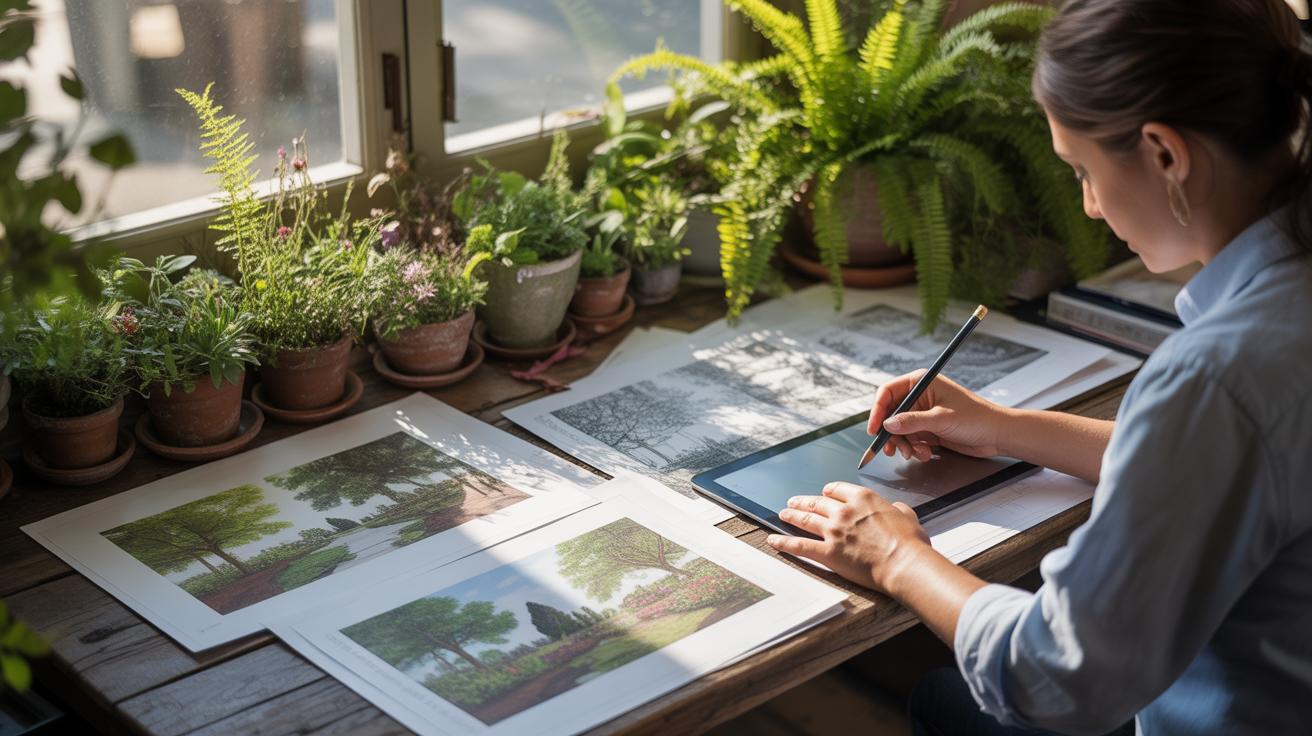
Nature sketching is a rewarding way to connect with the outdoors and improve your drawing skills. But many artists face common mistakes that hold back their progress and enjoyment. This article highlights those mistakes to help you recognize and avoid them.
By understanding what often goes wrong in outdoor nature sketches, you can improve your technique and create more accurate and vibrant artwork. We cover key errors, reasons behind them, and practical solutions, so you can enhance your outdoor art practice step by step.
Spotting Drawing Errors Early

When you’re just starting to sketch outdoors, it’s easy to miss certain mistakes because your attention is split between observing nature and putting pencil to paper. The most common errors usually involve proportions and perspective, but they can sneak in more subtly, too.
For example, you might notice your sketch has leaves that look oddly huge compared to branches or buds that don’t match up in size with the rest of the plant. Or a tree trunk might lean awkwardly without a clear reason, making it feel unbalanced.
Sometimes, trees or rocks in the background end up as big as those in the foreground, which flattens the image noticeably. That happens because it’s tricky to judge how scale changes with distance in a new environment.
If you can catch these errors early, you gain a chance to correct your eye and hand coordination before bad habits set in. It’s a bit like training your brain to see the world differently, not just the shapes but their relationships. That early recognition makes your sketches more believable and boosts your confidence, so you’re not endlessly frustrated—or stuck repeating the same mistakes.
Common Inaccuracies in Proportions
Beginners often struggle with proportion. Oversized leaves are a classic—sometimes you focus on a particularly detailed leaf and unconsciously exaggerate its size. Or branches might seem uneven, with one side oddly thick and the other thin, which throws off the tree’s natural balance.
This usually happens because you’re either too focused on detail or simply not stepping back enough to see the whole shape. I find it helps to glance away from the paper frequently and compare your sketch to what you’re actually seeing.
Another reason could be that the sketch is done in parts, rather than as a whole form first. Drawing separate elements without considering their size relative to each other sometimes distorts the overall scene.
Mistakes in Perspective and Scale
Errors in perspective can plague outdoor sketches, especially when you’re trying to capture depth in a forest or on a hillside. Distant objects often end up drawn too large, erasing any sense of space between near and far.
Another common problem is missing cues that indicate distance—like softer edges or lighter tones at a distance. Without those, your sketch might feel flat or confusing.
One way to notice these mistakes is by using quick value studies—simple shading to represent light and dark areas. It forces you to observe the scene’s depth better, making objects recede or come forward naturally.
Also, try measuring relative sizes with your pencil or finger while looking at the scene. It sounds basic, but it’s surprisingly effective at recalibrating your eye for scale differences in nature.
Why Accuracy Matters in Nature Art

Accuracy in nature sketching shapes how your work speaks to others. When you closely observe and capture the true form of a plant, an animal, or a terrain, your sketch gains a sense of authenticity that just can’t be faked. It’s not about creating a perfect copy, but about showing enough detail to reflect reality convincingly. You might think some looseness adds charm—but without enough accurate detail, your sketch can feel vague or incomplete.
Precise observation encourages you to really see the subject, not just glance at it. This attentiveness helps you notice subtle textures, how light falls on surfaces, the unique curves of a leaf. Sketching with care sharpens your eye over time, making each effort a bit richer. To me, the act of capturing these features builds both skill and a deeper connection to nature.
Details hold the viewer’s gaze. Think about a finely rendered feather on a bird or the veins in a leaf—they invite closer inspection and make your sketch believable. When the details are off, though, the experience gets disrupted. A stem that’s too thick or leaves that don’t match their shape can confuse the viewer. These errors pull attention away from the overall image, and sometimes, you don’t realize it until someone else points it out.
Besides distracting the audience, inaccuracies also weaken your sketch’s purpose. Nature art often serves as a record of a moment or an environment. Mistakes can distort that record, making it less useful or meaningful. Sometimes it even shifts the mood you intended by unintentionally altering shapes or proportions.

What happens if you let accuracy slide? Would your sketches still speak just as clearly, or would they start to feel like random doodles? For many artists, striving for accuracy is less about rigid perfection and more about respect for what is truly there. Maybe that’s why many of us keep coming back to nature sketching, trying again to get it “right”—even if that’s a moving target.
Tools That Can Make or Break Your Sketch

If you’re heading outside to capture nature, the tools you bring matter more than you might expect. Poor choices can frustrate you or even ruin a promising sketch. I’ve learned this the hard way — one time I brought a soft pencil that smudged constantly, and my drawing got blotchy before I finished. It made me rethink what to pack every time.
Some essentials you really want to have with you:
- Pencils: A range from hard (H) to soft (B) lets you adjust lines and shading depending on what you’re drawing.
- Paper: Durable and textured, so it stands up to rough conditions and captures detail well.
- Erasers: Both kneaded and regular—sometimes one works better than the other outdoors.
- Sharpeners: Handheld is best; electric ones are bulky and unreliable on the trail.
Choosing the wrong materials can result in faded, smeared, or shaky sketches that don’t reflect the scene’s true character. You might end up blaming your skill instead of the tools, which feels unfair. So, think about the environment you’ll be in. Damp or windy locations call for tougher paper, while dry days might let you take a lighter pad.
Choosing Pencils and Paper for Outdoors

Pencils feel basic but not all pencils play well outside. Harder pencils (like 2H or 4H) are better for fine lines and hold up well on rough, textured paper. Softer pencils (2B, 4B) add shading and depth but can smudge easily if you’re not careful. Personally, I carry a mix, switching depending on whether I’m sketching a tiny insect or a vast tree trunk.
Paper choice can confuse many. Nature sketching needs paper that’s thick enough to resist tearing or buckling with changing humidity. Rough or cold-pressed texture usually works better than smooth surfaces, helping grab pencil or paint without losing control. Sometimes you want a spiral-bound sketchbook for quick flips. Other times, loose sheets let you lay flat or experiment more freely. Durability wins out over elegance here because outdoor conditions are rarely forgiving.
Using Inks and Watercolors Carefully
Inks and watercolors bring life to nature sketches but carry their quirks outdoors. Inks dry fast but can bleed if the paper isn’t thick enough. I once soaked an entire page by accident because my watercolor brush caught a sudden rain shower. So, I keep a small sketchboard and clip paper down to avoid frustration.
Watercolors offer vibrant color and a sense of atmosphere, but they do require patience. If the wind blows dust onto wet paint or the sun dries it unevenly, your washes might turn blotchy. Using small, portable pans helps, and brushes with synthetic fibers hold up better to rugged conditions than natural ones. Also, consider a limited palette—fewer colors decrease packing and allow you to focus more on the sketch, not mixing colors endlessly.
Ultimately, your tools should serve your style and conditions, not weigh you down or dictate your work. Testing gear before heading out saves a lot of second-guessing under open skies.
Setup Checklist for Outdoor Sketching

Before you start sketching outdoors, having a clear setup plan can save a lot of frustration. Think about where you want to sit, what to carry, and how the environment might affect your materials and comfort. Sometimes rushing to sketch with half-packed gear results in abandoned projects or ruined pages.
Finding the right spot means checking the quality of light. Morning or late afternoon light tends to be softer, while midday sun can cast harsh shadows that are tricky to capture. I’ve learned the hard way that a place prone to strong wind can scatter papers or blow dust onto your work. It’s helpful to scout locations briefly before settling down.
Equipment has to be balanced between enough and too much. Bringing a small, sturdy stool or a portable cushion makes a huge difference during long sessions. A sturdy backpack that fits your sketchbook, pencils, erasers, and perhaps a small water bottle keeps things manageable. You might hesitate to carry too much, but lacking a few basics can break your focus.
Check local weather forecasts even if it looks clear. Sudden changes can ruin a day. Having a lightweight rain jacket tucked in your pack or a plastic cover for your sketchpad is a simple precaution. Also, think about the terrain—wet or uneven ground means extra care in choosing where to set up.
With these points in mind, your outdoor sketching can stay more comfortable and less interrupted. But each session teaches something new about what you really need, so don’t hesitate to tweak your setup checklist as you go along.
Comparing Quick Sketch vs Detailed Drawing

When to Use Fast Sketching
Quick sketches help you catch moments that vanish too fast for a slow drawing. Imagine trying to sketch a bird landing—by the time you finish a detailed line, it’s flown away. Quick sketching is great for jotting down shapes and movement, making it easier to remember or build on later. It’s almost like taking a visual note, capturing energy more than exact form.
You might find this approach best when the light shifts rapidly or animals move unpredictably. For example, I often use fast sketches early in my nature walks to set the composition or record a fleeting pose. These rough sketches can feel messy but somehow communicate the scene’s essence more than a careful, slow study could.
Of course, fast sketching won’t give you perfect proportions or refined textures, but it’s perfect for exploring ideas and warming up. It frees you from pressure, letting you experiment without “finishing” anything.
When to Focus on Fine Details
Slow, detailed drawing is like zooming in on your subject. It asks you to spend time observing tiny forms, textures, and subtle shifts in light. When your goal is realism, or if you want to study specific elements—like leaf veins or bark patterns—this method shines. You get a deeper connection with your subject because you notice what usually escapes quick glances.
Still, it can feel tedious, especially outdoors where the environment changes. I sometimes catch myself doubting if all this patience is worth it. Yet, those drawings often teach me more about nature and improve my skills in ways fast sketches don’t.
This approach suits moments when your subject stays put or when you want to create a piece to display or keep for study. But slow drawing can also make you lose the bigger picture. So, there’s a balance to strike—it depends on what you want to learn or express.
Correcting Common Sketch Mistakes

Fixing errors like wrong proportions, shaky lines, or awkward compositions can feel a bit tricky, but it’s doable if you take it step by step. First, don’t rush to erase everything when something seems off. Instead, try to use light guidelines or soft marks to check your drawing’s structure. You can sketch simple shapes or lines over your work to compare sizes and distances — sometimes just spotting the imbalance helps more than anything.
When proportions look off, gently erase problem areas bit by bit rather than wiping large sections. Maybe the leaf is too big or a branch looks too short. Redraw those parts using your new guidelines as a reference and try to match the rest. It’s okay if it feels awkward at first. Sometimes stretching or compressing small parts can get everything back on track.
For shaky or uneven lines, don’t try to fix them with a single nervous stroke. Instead, go over them a few times confidently, layering smooth strokes over the shaky ones. I often find that building lines gradually feels better than trying to erase and redraw perfectly from scratch. As for smudges, a clean eraser and some gentle tapping can tidy things up, but don’t scrub too hard or you might damage the paper surface.
Think of correcting your nature sketches as a process. Each small adjustment brings you closer to what you saw outside. It might be imperfect, but it’s part of the sketch’s story—and what keeps you learning.
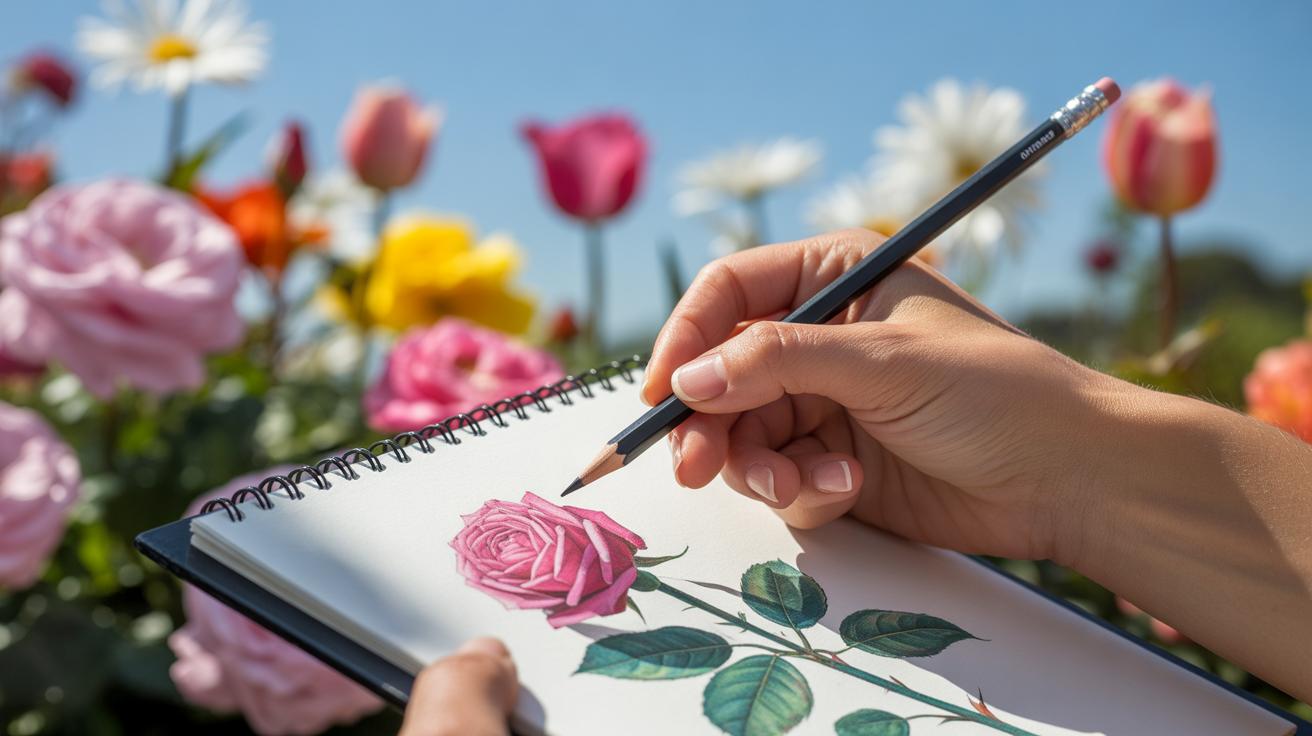
Building Observation Skills for Nature

Training your eye to really see nature is harder than it sounds. The key is to pause and closely study what’s in front of you, not just glance and assume. Try this: pick a plant or tree and spend a few minutes observing its overall shape. Then, break it down mentally into simple forms—circles, ovals, triangles. This kind of shape simplification helps you stop feeling overwhelmed by intricate details.
Next, focus on texture. Run your fingers over bark or leaves if you can—feeling often sharpens your perception. Notice the difference between rough and smooth, soft and brittle. Sketch these textures in quick, light strokes. Maybe a spongy moss looks like a cluster of tiny dots, while leaves might be more linear.
Light shifts in nature in ways that are hard to predict. Watching how shadows move across a branch or how sunlight filters through leaves can teach you a lot. I remember once sitting in a park as the sun went down—the whole scene changed dramatically in minutes. Try sketching the same object at different times or from different angles to catch these subtle changes.
Some practical exercises to build these skills:
- Spend five minutes drawing only the basic shapes of a plant.
- Take a close-up view and record the textures using varied line patterns.
- Make two quick sketches of the same scene under shifting light.
At times, you might feel stuck or frustrated—that’s normal. But each attempt deepens your connection to the scene. Are you willing to slow down and see beyond what your eyes first show you? It’s not just about copying; it’s about understanding nature’s subtle complexity, one shape and shadow at a time.
Handling Weather Challenges Outdoors

Weather can be unpredictable and really throw off your nature sketching plans. A sudden gust of wind might scatter your papers, or a light drizzle could start soaking your materials before you even notice.
When it gets windy, try using clips or weights to hold your sketchbook down. I’ve found that stacking a small rock or even a spare pencil on your pages does the trick. Rain is trickier—consider drawing under a tree canopy or using a portable umbrella. Sometimes, waiting out the rain might just be the best call.
Cold can numb your hands, making precise strokes hard. Layering gloves with fingertips exposed helps, but it’s a bit awkward. Heat, on the other hand, saps energy fast. Find shade, stay hydrated, and keep sessions brief so you don’t lose focus.
Protecting Materials from Weather
Your pencils and paper aren’t made for wet conditions. Moisture warps paper, and humidity can smudge charcoal or graphite. I usually carry a plastic folder or a ziplock bag to slip my sketchbook into when not drawing. A hard cover is handy for shielding sheets while you work.
Sunlight can bleach colors or dry out soft graphite, making it brittle. Setting up in a shady spot helps, or using a simple cloth over your kit. You might think keeping materials in your bag is enough, but direct sun can sneak in quickly and cause damage.
Keeping Comfortable to Focus Better
Comfort affects your concentration more than you probably realize. I try to wear breathable layers in cold weather so I can adjust easily. Sitting on a foldable stool or placing a cushion beneath you avoids aches during long spells.
Position yourself so the sun isn’t glaring in your eyes, but still lighting your subject well. Sometimes, reorienting your body or moving a few steps can make a huge difference. If you’re uncomfortable, chances are your sketches will reflect that tension.
Have you noticed how often sketching sessions get cut short just because of discomfort? Maybe a little preparation can extend your time outdoors—and your enjoyment too.
Daily Habits to Improve Nature Sketches

Building a steady routine for nature sketching can feel tricky, but even a small, consistent effort tends to pay off. Aim for a balance that feels doable, not overwhelming. For example, try spending 20 to 30 minutes outside sketching three or four times a week. That’s often enough to see progress without burning out or rushing details.
During these sessions, focus on different aspects each time—maybe one day on texture, another on shapes or light effects. This keeps your practice varied and prevents it from becoming monotonous.
After each sketch, take a moment to look back critically. Ask yourself: What worked here? Which parts stretched my skills? Are there recurring issues I keep missing? Jot down quick notes. Over time, this log forms a kind of personal feedback loop, highlighting progress and areas needing attention.
Sometimes, the mistakes become clearer after a few days, so reviewing sketches with fresh eyes is also valuable. You might catch something you overlooked initially, or feel differently about a line that felt uncertain in the moment.
In short, it’s not just about drawing outside often; it’s about thoughtful reflection on your work. This slow, steady cycle shapes better results more than sketching intensely but randomly. How often you practice can vary—what matters most is showing up, observing, and learning bit by bit.
Conclusions
Skipping common mistakes in nature sketching leads to better precision and deeper satisfaction in your art. By watching out for errors like rushing, ignoring proportions, and poor materials choice, you set yourself up for steady growth.
Careful observation, method practice, and mindful tool selection build a stronger outdoor art routine. With discipline and patience, your nature sketches will improve noticeably, enriching your experience with the natural world.


