Introduction
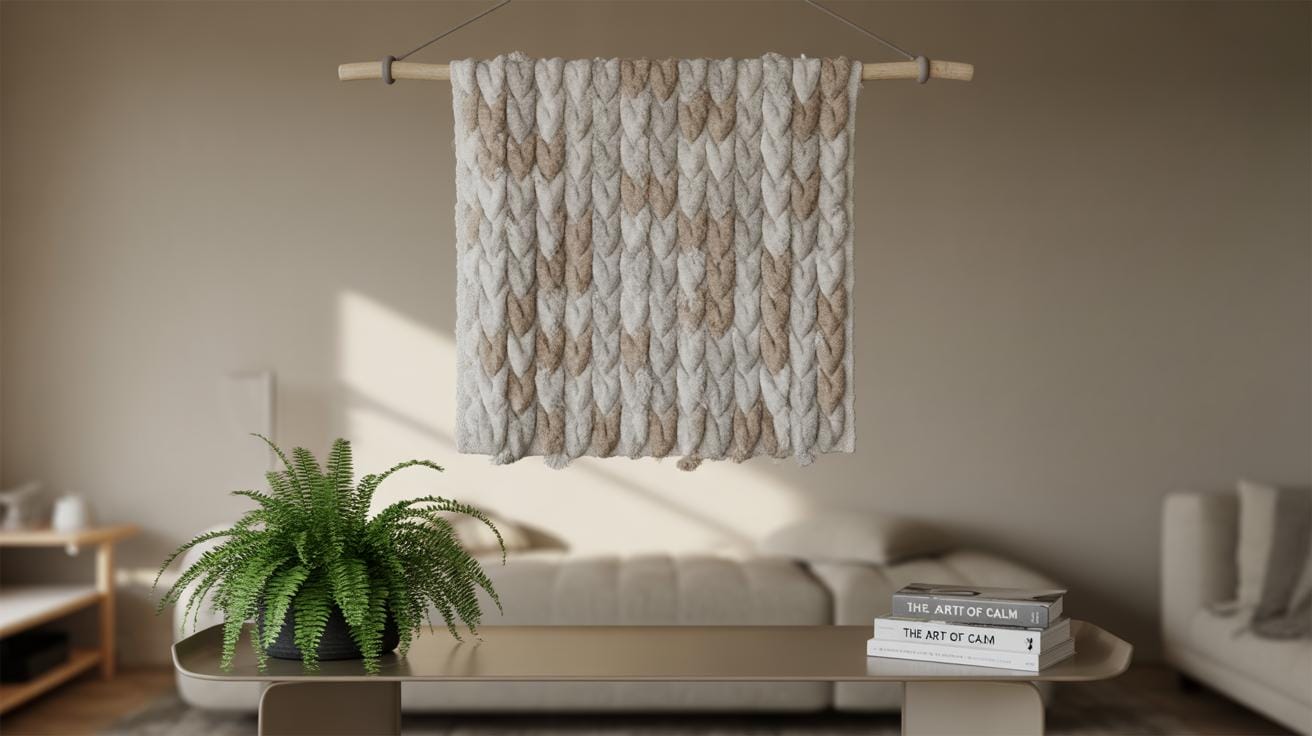
Macrame is a craft that uses simple knotting techniques to create beautiful designs. It is an easy and fun way to make your own wall hangings. In this article, we will guide you through a macrame wall hanging tutorial for complete beginners. You don’t need prior experience to start making your own pieces.
We will cover everything you need to know from choosing your materials, learning basic knots, to finishing your wall hanging with style. By the end, you will have the skills to create decorative items for yourself or as gifts. Let’s begin your macrame journey together.
Understanding Macrame And Its History
What is Macrame
Macrame is a craft that involves creating patterns by knotting cords or strings together. It’s not weaving or knitting; instead of looping or interlacing threads, you tie specific knots to form decorative designs. Think of it as crafting with knots instead of stitches.
The knots are the core of macrame. A few basic knots repeated in different sequences can make a variety of shapes and textures. You don’t need a loom or needles. Just some cord and your hands. It sounds simple, but it allows for lots of creativity. The fact that it’s so hands-on often makes people feel connected to the process, like they are physically shaping their art piece.
A Short History of Macrame
The origins of macrame trace back to Arabic weavers around the 13th century. They used decorative knots to finish the loose ends of woven textiles, preventing fraying. This practical technique eventually evolved into ornamental designs. I find it interesting how something functional transformed into an art form over time.
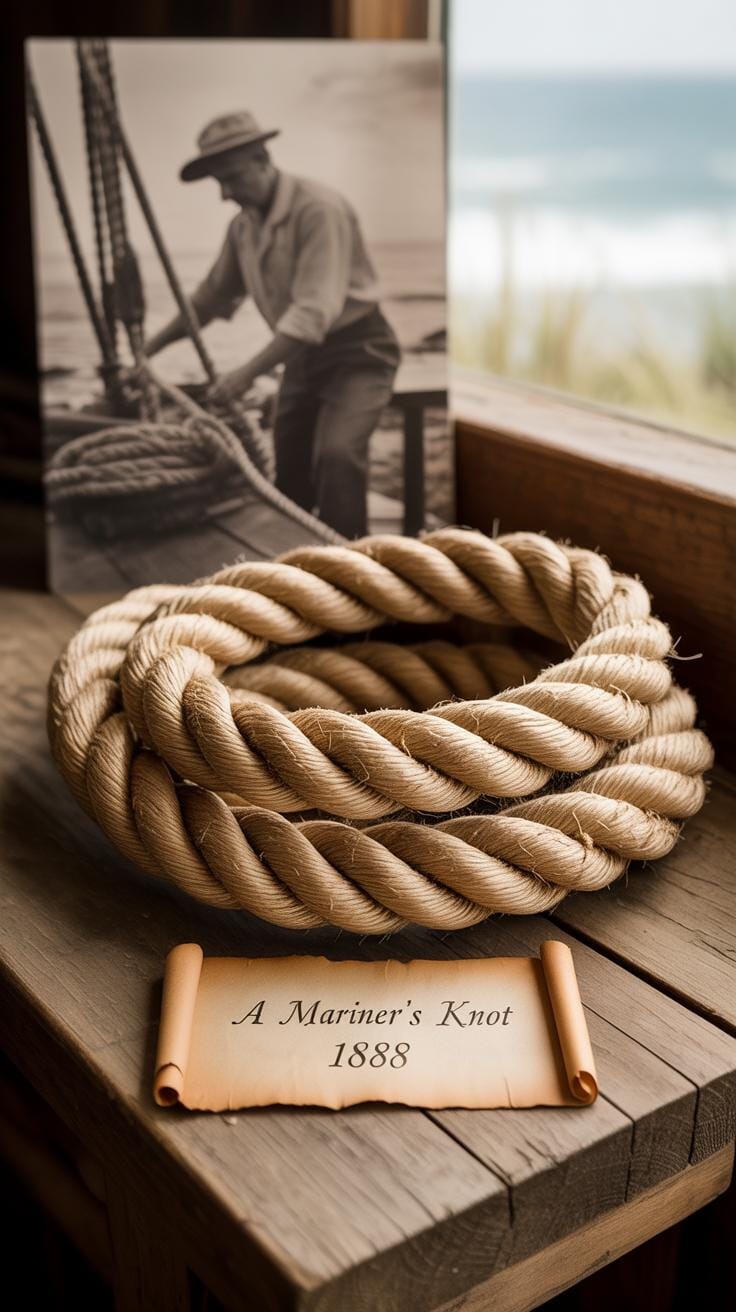
Later on, sailors picked up macrame, using knots to keep ropes tidy and create decorative items during long voyages. Their work helped spread macrame worldwide, making it popular on ships from the Mediterranean to the Americas.
The art fell somewhat out of fashion for a while but saw a revival in the Victorian era, as well as again in the 1970s with the rise of bohemian aesthetics. That comeback really brought macrame wall hangings and plant holders into living rooms everywhere. You might wonder what keeps macrame shifting in and out of popularity? Maybe its tactile nature and simple materials make it easy to rediscover.
Tools And Materials Needed For Macrame
Choosing The Right Cord
Picking the right cord can feel tricky at first, but you’ll get the hang of it with some trial and error. Common choices include cotton, hemp, and jute. Cotton is soft, easy to work with, and looks neat, making it popular for beginners. It also handles knots well, but can stretch a bit if it’s too thin. Hemp and jute are rougher and more rustic in appearance. They’re sturdy but sometimes harder to knot tightly, which might frustrate you if you’re just starting out. Their natural, earthy look suits boho styles, but they can shed fibers occasionally, so keep that in mind.
Think about the project’s final feel—do you want something soft or more rugged? Thickness matters too; thinner cords create delicate designs, while thicker ones build bold, chunky pieces. I’ve found that cotton at around 3 to 5 millimeters diameter works well for most wall hangings.
Additional Tools You Need
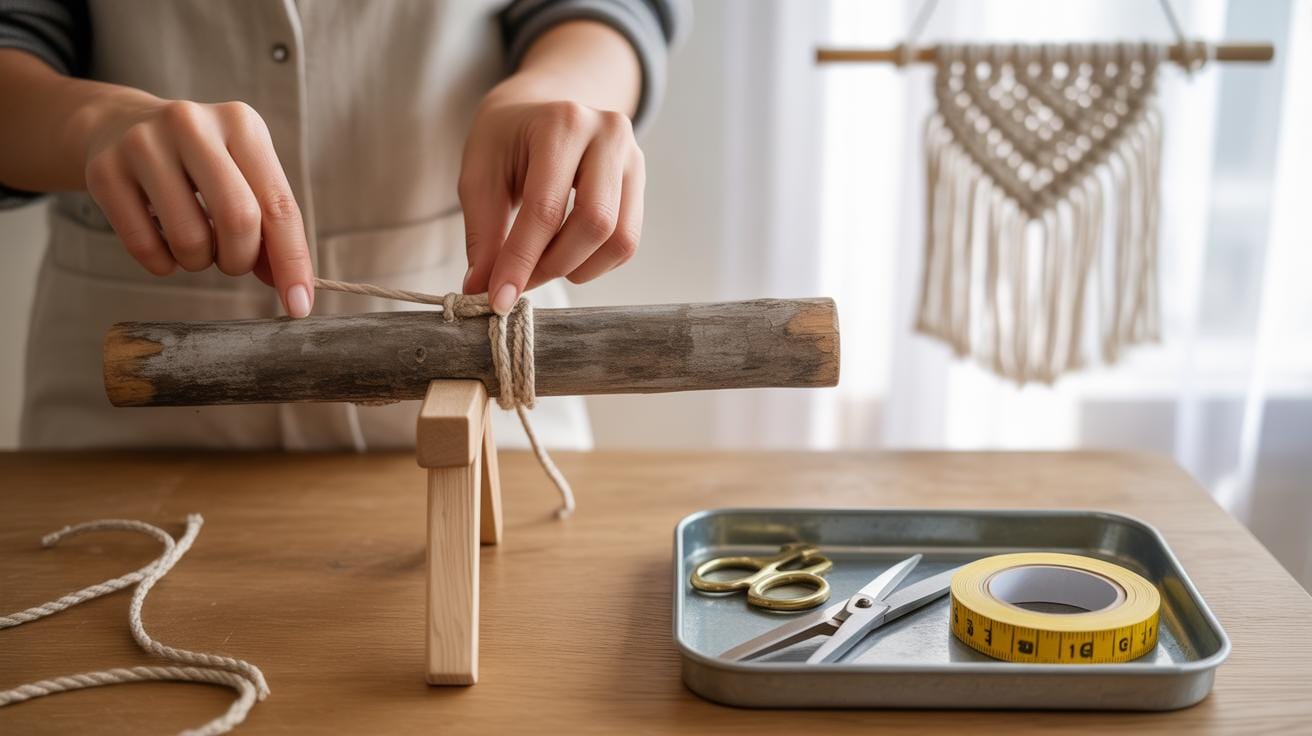
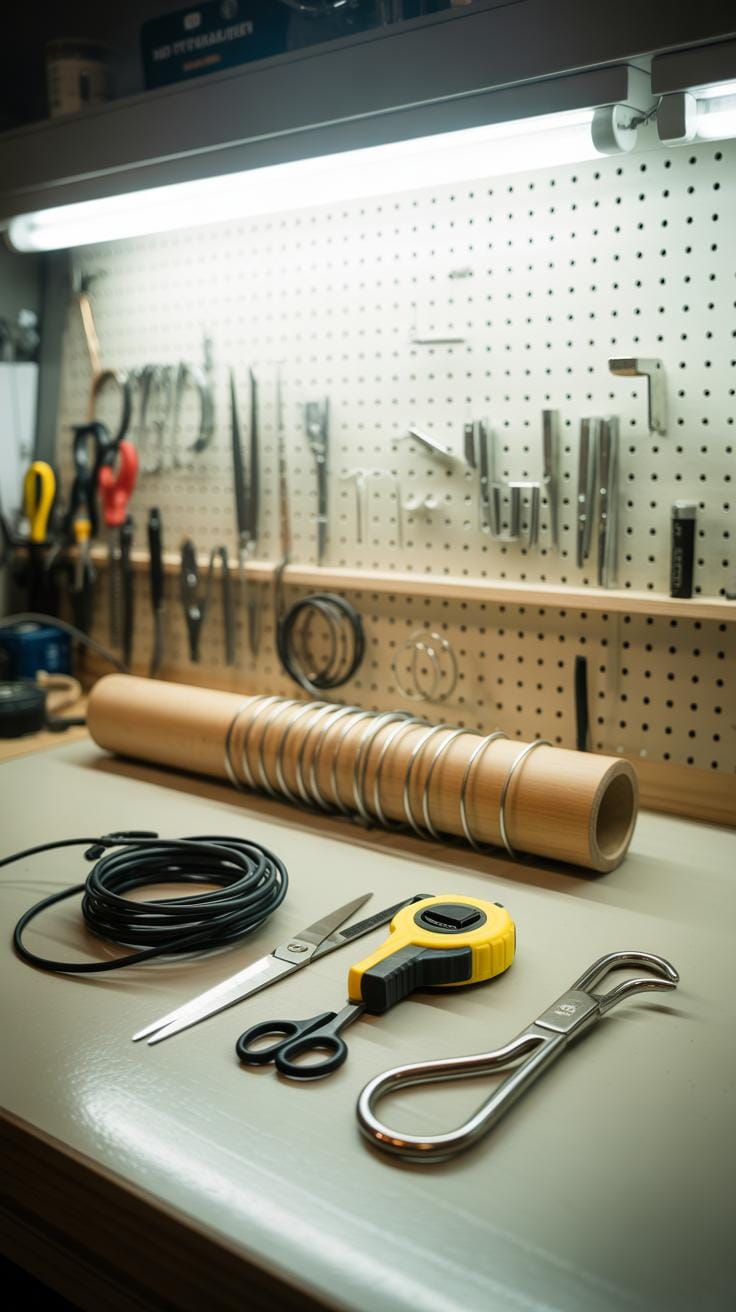
Other than cord, a few basic tools make the process smoother. Sharp scissors are a must—dull ones just ruin the threads and your patience. A tape measure helps you monitor your progress and keep lengths consistent, which oddly makes a big difference in how tidy your design looks. For hanging your work, dowel rods or metal rings act as the base. Each lends a different vibe; dowels feel more natural, rings can give a modern twist.
Optional extras like beads or feathers let you add personality, though you don’t need them at the start. Simple doesn’t mean boring, right? Also, some people like to use tape or clamps to keep cords in place while working, especially for longer projects. You might discover a preference as you go, so don’t feel pressured to have every tool from the get-go. Just the basics can get you quite far.
Setting Up Your Workspace
Finding Space To Work
Picking the right spot to create your macrame wall hanging matters more than you might think. You want a place with plenty of natural light, or at least bright enough so your eyes don’t strain. Sometimes I found myself starting in a dim corner, only to realize halfway through that I couldn’t see the details clearly. That slowed everything down. If you can, choose a space where you can hang your project easily—whether it’s a curtain rod, a clothesline, or even a door frame. Your work needs room to spread out without feeling cramped, because macrame cords can get tangled if they’re pressed against something else.
Think about the height too. You want enough vertical space to work comfortably while standing or sitting. If your macrame piece is long, does your chosen area allow it to hang full length without touching the floor? Sometimes you have to get creative. I once used a long broomstick between two chairs just to get the right tension and height.
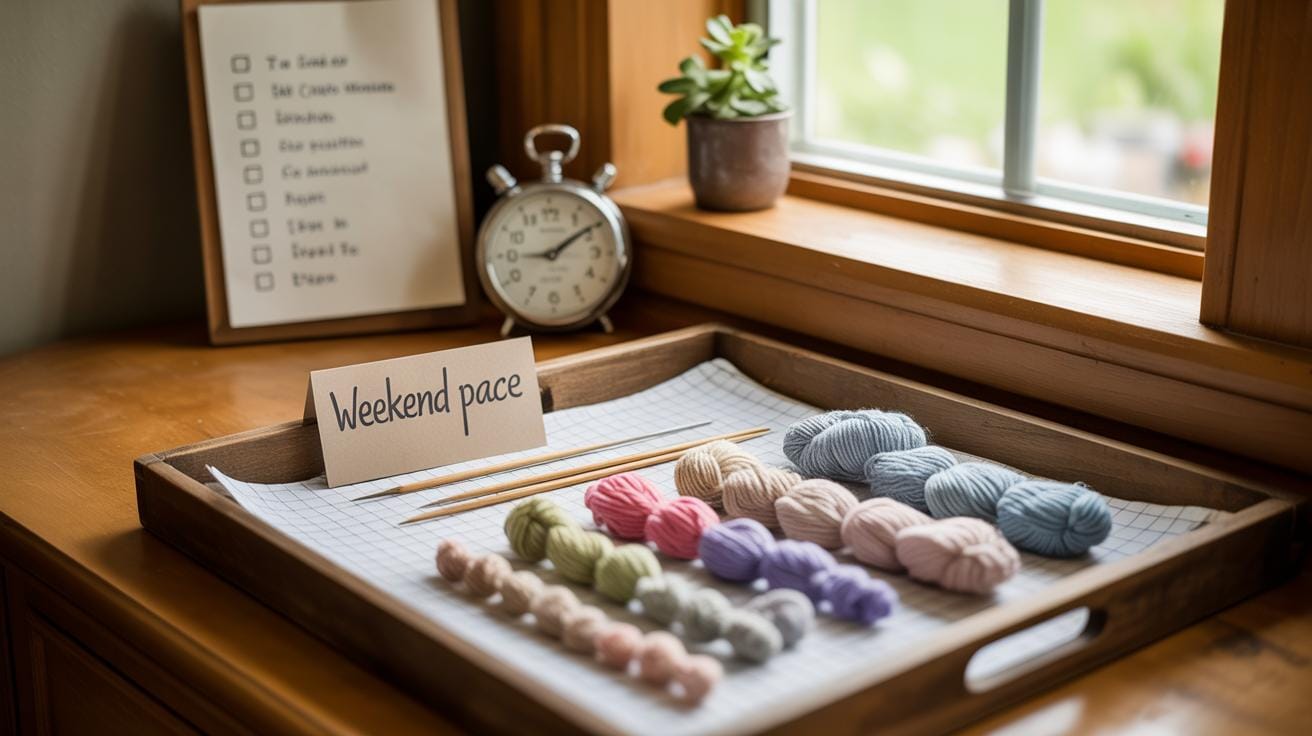
Organizing Your Materials
Once you have the space, sorting out your cords and tools can save a lot of frustration later. Before starting, lay everything out and group your cords by length and thickness. Keep scissors, measuring tape, and any beads or accents within arm’s reach. I recommend a small box or tray to prevent cords from rolling away. It might sound trivial, but having to chase stray cords repeatedly breaks your focus.
Some people like to wind their cords on spools or even clip them with binder clips to keep tangling at bay. Try a few ways and see what feels less fiddly for you. Personally, I sometimes over-organize and spend more time preparing than crafting—maybe you’ll be different. The key is to have what you need right there without clutter. That way, when you dive into knotting, you can keep your hands busy and your mind clear.
Basic Macrame Knots
When you start with macrame, the knots you learn become your toolkit. Each knot has a shape, a behavior, and a place where it works best. Knowing which knot to use and when can really change how your wall hanging turns out, so it’s worth spending some time here.
Let’s focus on two key knots that show up again and again — the square knot and the half hitch knot. They’re like bread and butter for macrame projects.
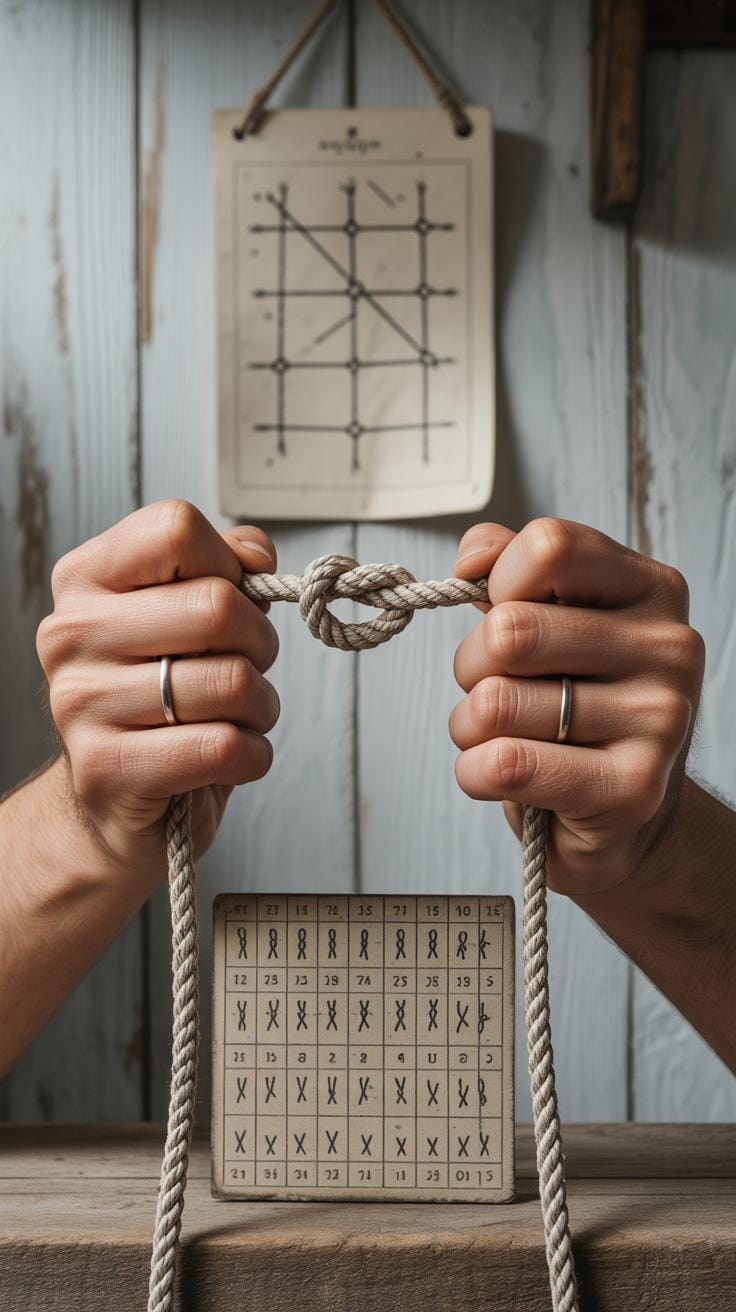
The Square Knot
The square knot is probably the most common knot in macrame. It forms a flat, sturdy shape that lies neatly in your design. If you’ve ever tied your shoelaces or a bandage, you’ve made a version of a square knot, but in macrame, it’s a bit more structured.
Here’s a simple way to tie it step by step:
- Take four cords — the two outer cords are your working cords; the two middle are fillers.
- Cross the left working cord over the two middle cords, forming a loop.
- Then pass the right working cord over the left, under the middle cords, and up through the loop on the left side.
- Tighten it by pulling both working cords gently.
- Now reverse the process — start by crossing the right working cord over the middle cords.
- Pass the left working cord over the right, under the middle cords, and up through the loop on the right side.
- Pull tight again — you’ve made one complete square knot.
It might seem slow at first, but it becomes second nature. You’ll see the knot lies flat and almost looks woven. Maybe you’ll find it boring to repeat, or maybe it’s oddly satisfying — I’m somewhere in between.
The Half Hitch Knot
The half hitch knot is a bit different. It feels less structured and more flexible. It’s perfect for creating curves, diagonal lines, or waves in your patterns. You can use it alone or in groups to make decorative swirls or borders.
To tie a half hitch knot, use one cord as your anchor, and loop another cord around it, pulling snug but not too tight. You can make single half hitches for subtle texture or connect multiple half hitches in a row for a more noticeable pattern.
Often, you’ll see the half hitch paired with itself in a row, creating lines that guide the eye or add complexity to simple designs. It’s a bit less rigid than the square knot, so it allows your design to breathe and flow more naturally.
Both knots are foundational. Master these, and you’ve got a solid start for almost any macrame project on your wall.
Measuring And Cutting Your Cord
Calculating Cord Length
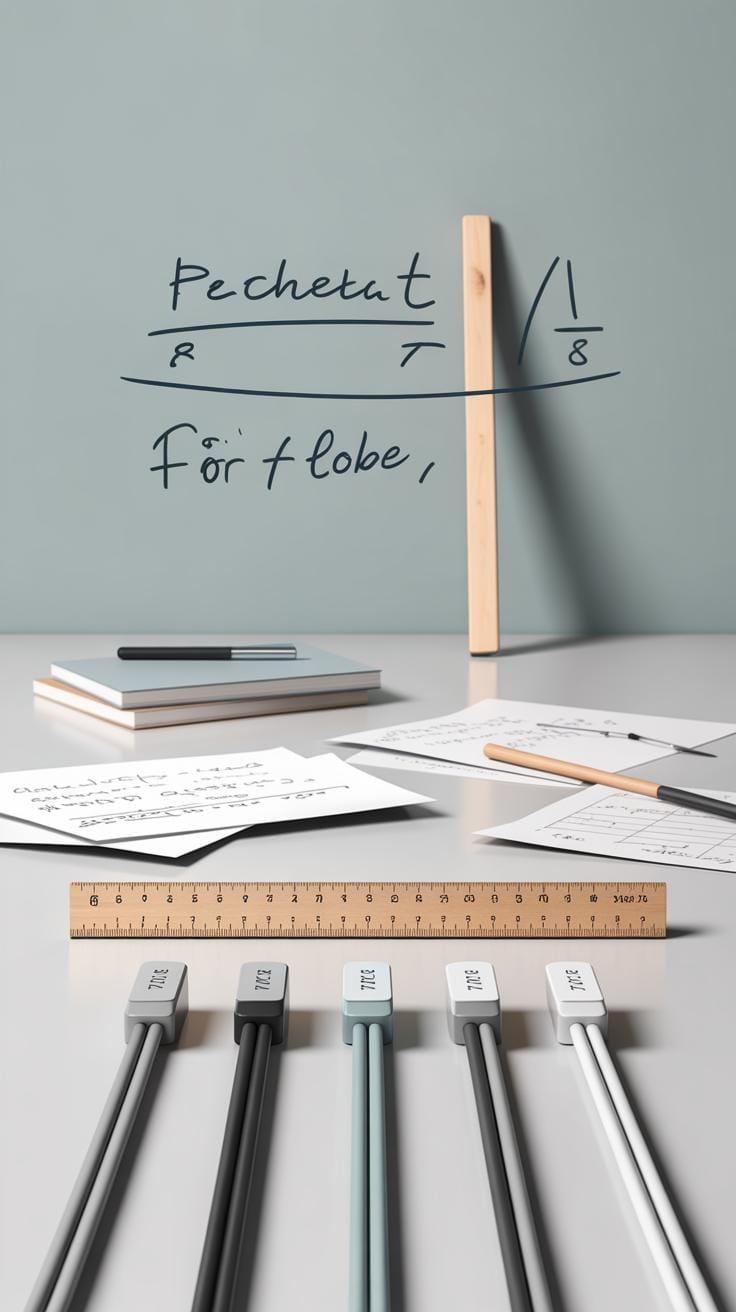
Before you start knotting, you need to figure out how much cord to cut. It’s not an exact science, and honestly, most beginners guess at first. A simple rule many follow is to multiply the desired finished length of your wall hanging by four to six times when cutting cord. For example, if your project should be 20 inches long, cut cords about 80 to 120 inches each.
This range covers the slack needed for knotting, but the exact amount varies with the complexity of your design and the thickness of your cord. If you’re unsure, leaning toward longer lengths can be safer—you can always trim excess later. I remember once cutting too short and realizing mid-project that I had to start over, which wasn’t fun.
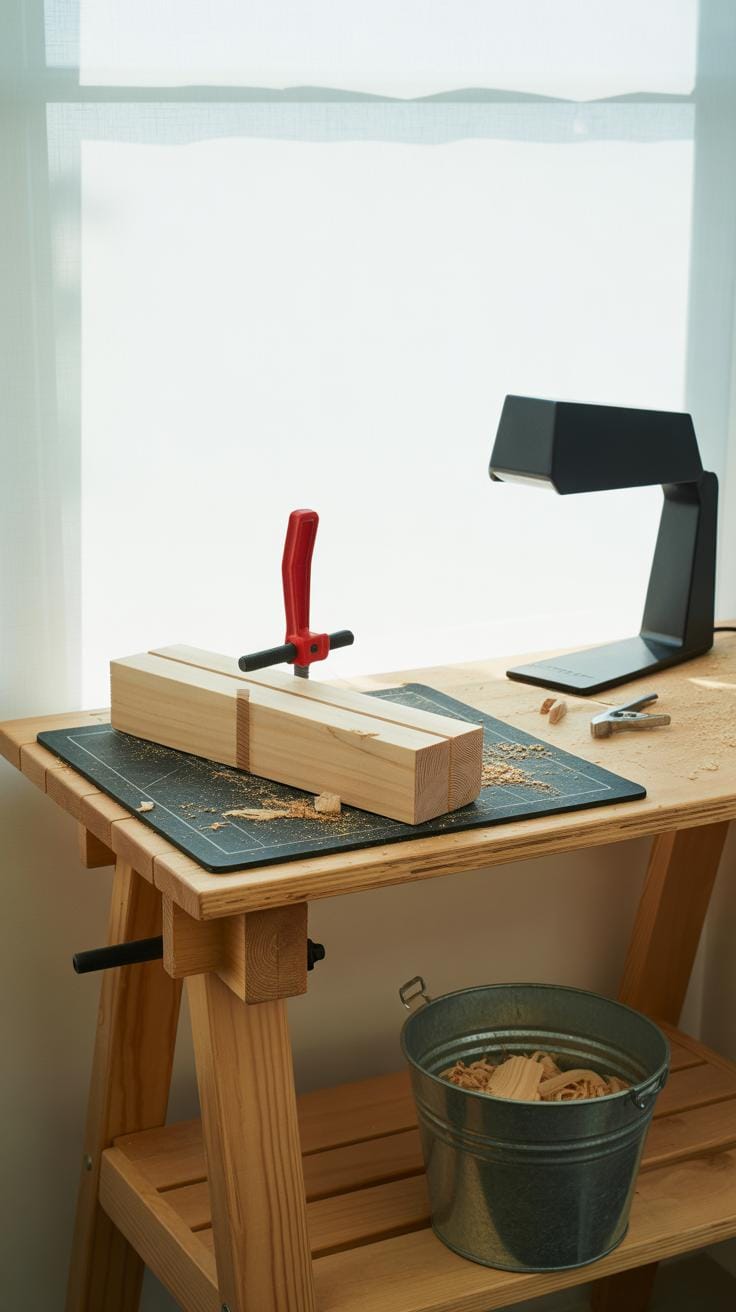
Tips For Cutting Cord
Clean cuts make your work easier and neater. Use sharp scissors—old or dull ones can flatten the cord ends and cause fraying, which gets annoying. Some people swear by a hot knife or lighter to slightly melt the edges, especially with synthetic cords, but with natural fibers, that might look messy.
Another trick is to wrap a small piece of tape tightly around the cord before cutting. This helps keep the strands together and minimizes fraying. Just don’t forget to remove it before knotting—or you might get stuck trying to untangle sticky tape from your cords.
Take your time measuring each cord, too. Small variations can throw off your final piece. And remember, cutting multiple cords at once saves time but requires close attention to keep lengths consistent. Have you tried on-the-spot measuring with a ruler, or do you prefer folding cords repeatedly to estimate? Either way works, just check twice if you’re new to this.
Starting Your Wall Hanging
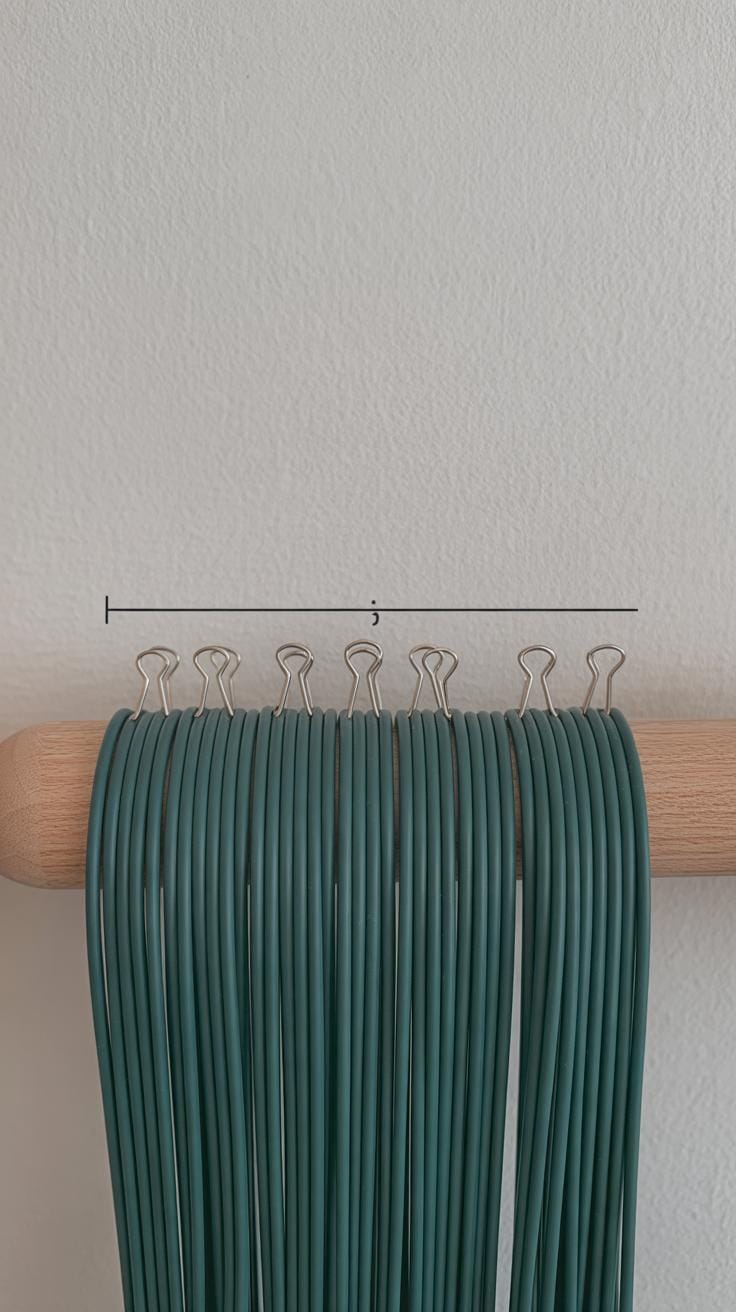
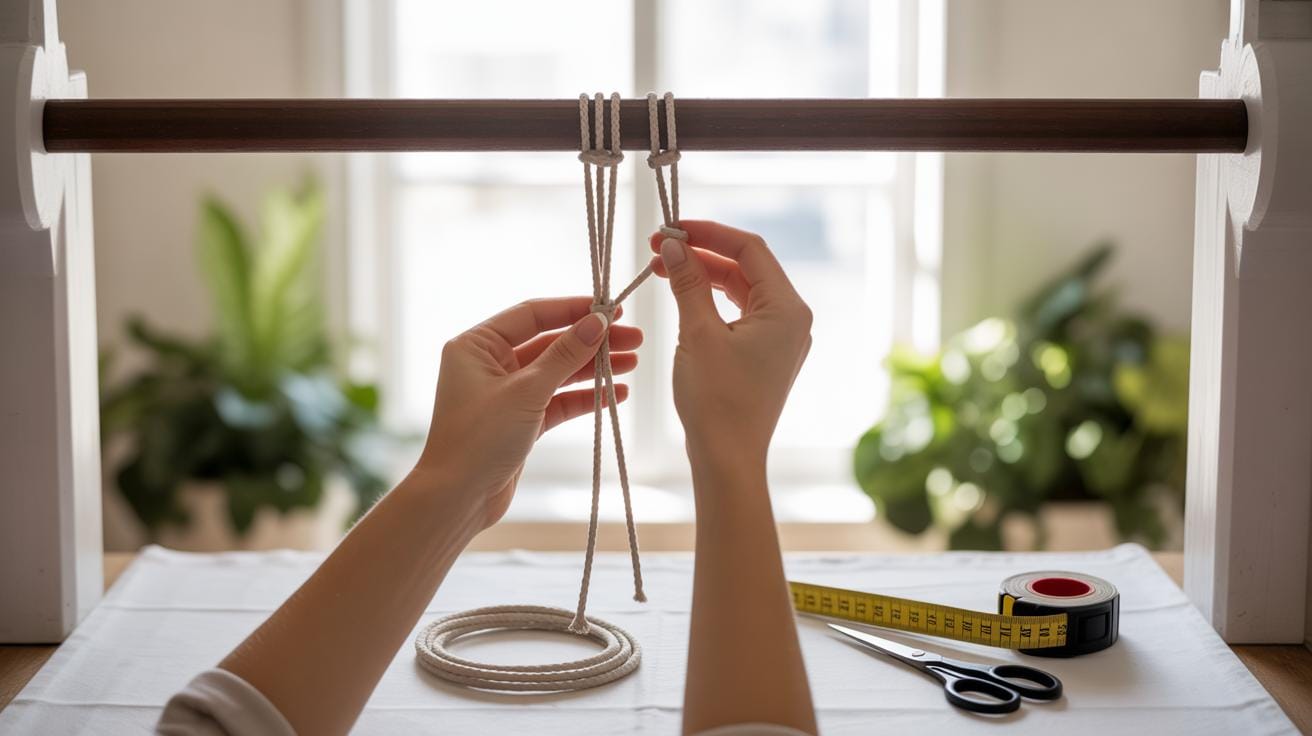
Attaching Cords To The Dowel
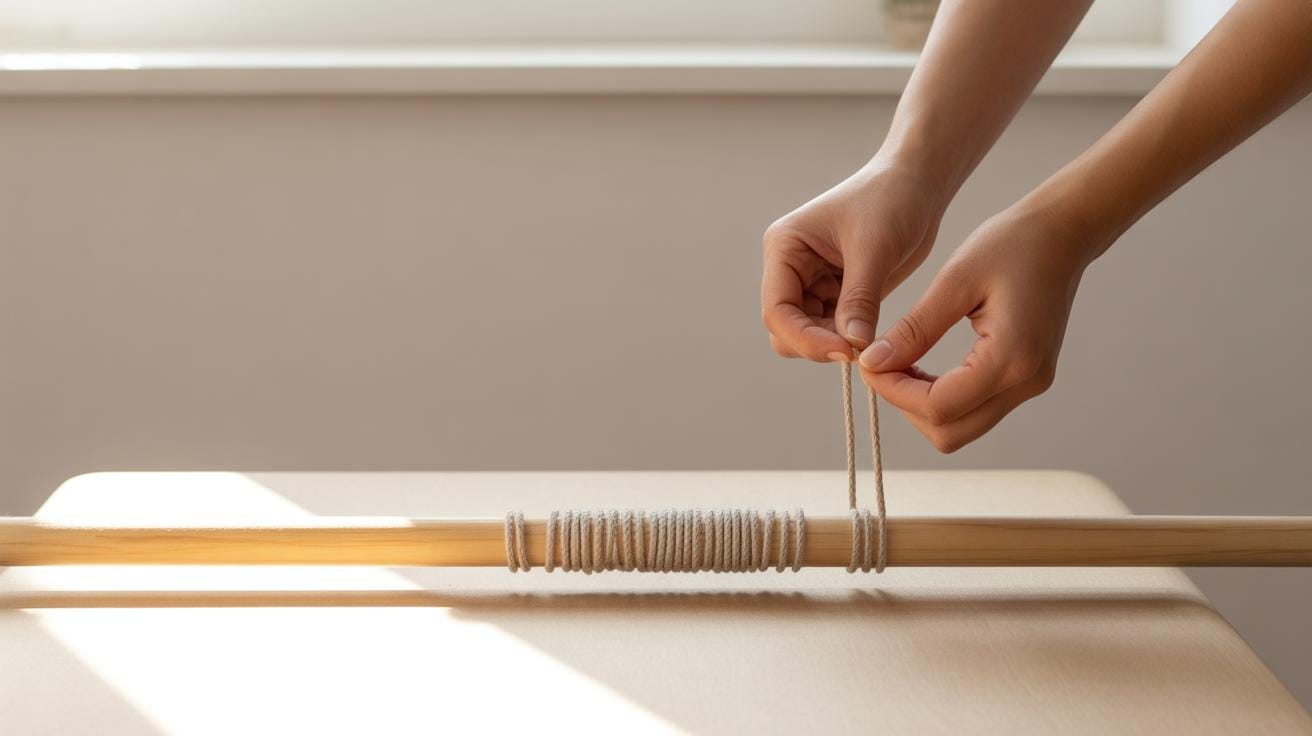
Before you dive into knotting, you need to secure your cords properly. The easiest way to do this is by using the lark’s head knot—it’s simple but sturdy enough to hold your work in place as you go. You fold your cord in half, place the loop under the dowel, then pull the ends through that loop. Tighten it, and you’re set. I remember getting stuck on this the first time, trying to figure out how tight is too tight. Turns out, a snug knot that can slide a bit if you gently tug is just right.
Try to keep all your cords evenly spaced on the dowel. It helps keep your work balanced, but don’t stress if they’re not perfect at first. You’ll get a feel for it as you go along. If your dowel is smooth, a light wrap of masking tape at the ends can prevent cords from slipping off while you work.
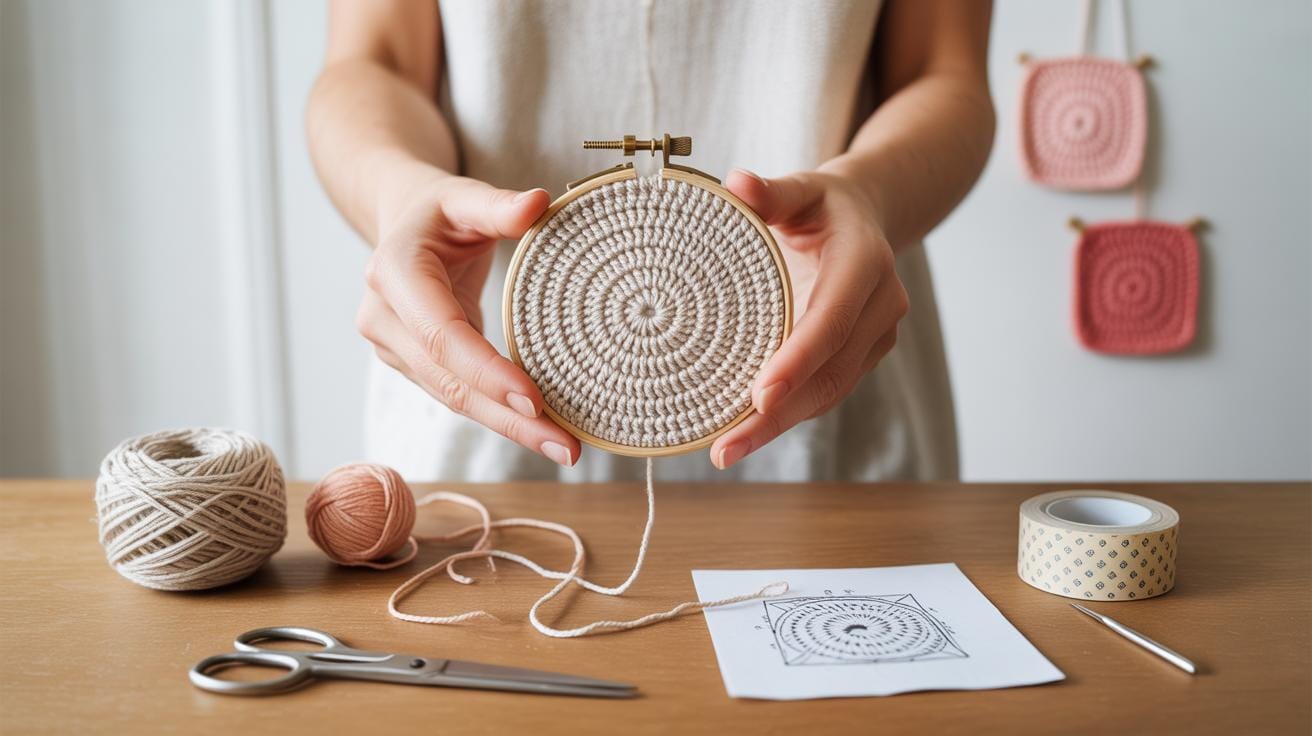
Planning Your Pattern
Now, before you knot away, give some thought to your design. I suggest starting with simple patterns—a few rows of square knots, maybe some half hitch knots. Complex designs can overwhelm a beginner, and that’s frustrating. Sketching your layout on paper, even roughly, can help. Don’t worry about making it look fancy. Just sketch basic shapes or lines representing where the knots and spaces will be.
Thinking in terms of repetition and symmetry might help—or maybe not. Sometimes a bit of randomness adds charm. What matters is that you have some idea of what you want before cords become a tangled mess. I often find myself tweaking the sketch as I work, so your plan doesn’t have to be final.
Creating Patterns With Knots
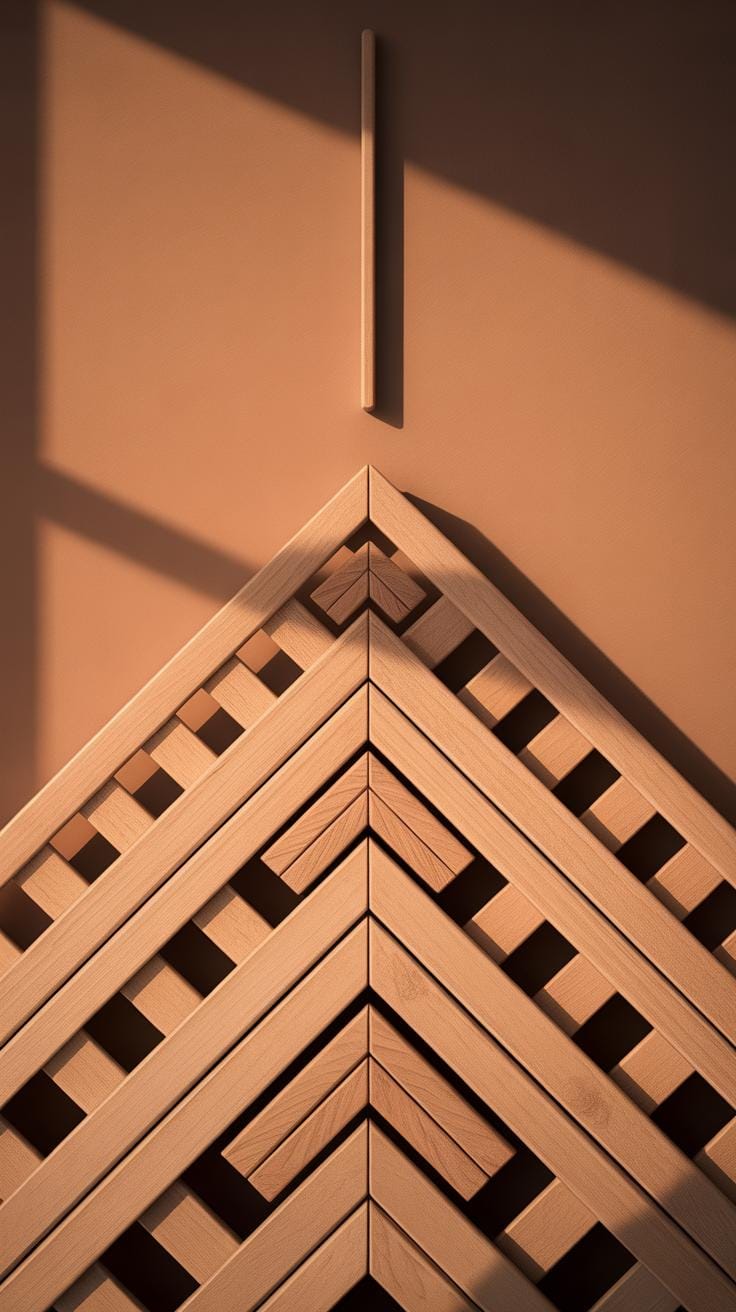
Combining knots in macrame is where things start to get really interesting—and a bit personal, too. You can take just a few basic knots and, by mixing their order and direction, create patterns that feel almost endless. Think of it as a kind of language, where each knot is a word, and a series of knots forms a sentence or even a story.
Repetition plays a big role in this. When you repeat a knot pattern—say, a row of square knots followed by a row of half hitch knots—you introduce texture and rhythm into your piece. It’s that feeling of flow that keeps the eye moving across your wall hanging. Sometimes, you might find that repeating the exact same knot becomes a little monotonous, but shifting the tension or spacing can fix that.
Mixing knots is a subtle art. For example, pairing square knots and half hitch knots can create an intriguing contrast between the tight, flat sections and the twisted, spiral parts. I recall one wall hanging where I layered square knot bands over diagonal half hitch spirals; it didn’t just look nice but also added a surprising depth to the whole design. Try varying the number of half hitches between square knots to see how the pattern changes—it’s almost like sculpting with rope.
What if you swap a knot out halfway through the row, or alternate knots every other stitch? Patterns don’t have to be symmetrical. Sometimes, that slight asymmetry adds character, making your piece feel more alive and less manufactured. So, don’t hesitate to experiment—it’s where you’ll find your own style emerging.
Adding Embellishments And Personal Touches
You might feel tempted to stick with plain cords, but adding beads can really change the character of your macrame wall hanging. When choosing beads, think about size and material—wooden beads bring warmth, glass beads reflect light subtly, and metal ones add a bit of edge. Threading beads isn’t always straightforward; sometimes the cord is too thick or the bead holes too narrow. I found that soaking cotton cords slightly can help them slide through beads easier, but that depends on your specific cord and beads.
It’s often best to add beads in the middle of your knots rather than at the ends to keep them stable. You can thread a bead onto one or both cords before tying the next knot, which locks it in place. You could also experiment with grouping multiple beads close together for a chunkier look.
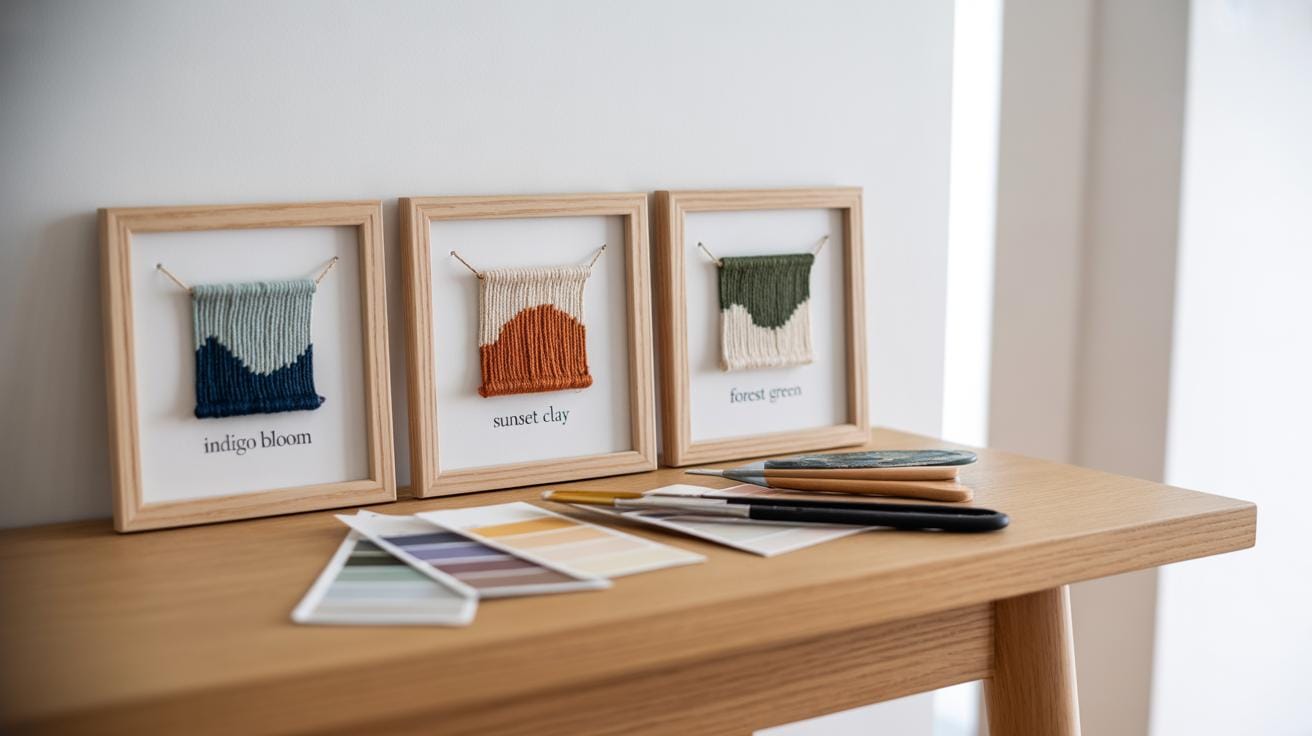
Playing With Cord Styles and Colors
Changing cords can dramatically alter the vibe of your piece. Thicker cords create a bolder, chunkier feel, while thinner cords give an airier, delicate look. Mixing thicknesses within the same hanging can add subtle texture. Colors are another game changer. You might think of sticking to a single color for simplicity, but small splashes of contrast really catch the eye. Even using natural dyed cords alongside dyed ones can add unexpected depth.
When picking colors, consider your space. Soft neutrals blend quietly, while bright or dark cords stand out. Some suggest working only with monochromes, yet I often find a limited palette with two or three colors offers more personality without feeling cluttered. Then again, maybe your style leans toward the bold side, and that’s perfectly fine too.
Finishing Your Macrame Wall Hanging
When it comes to finishing your macrame wall hanging, the bottom edges can make a big difference in the final look. You can either leave the cords loose for a fringe effect or knot them off to create a clean edge. Some people like to add a few rows of square knots or spiral knots near the bottom to anchor the ends in style. It’s a small touch, but it really frames your piece.
Securing your knots is crucial to keep everything from unraveling. One reliable method is to tie an overhand knot at the ends of each cord—simple, but effective. You might want to double knot, just to be extra sure, especially if your cords are slippery. Another trick I learned is to use a dab of clear craft glue or fabric glue on the knots for long-term hold. It’s subtle and won’t show once dried.
Trimming the cord ends takes patience. Don’t rush. Snip the ends evenly if you want a neat, straight bottom, or cut them at different lengths if you prefer more texture and movement. Sometimes, gently brushing out the fringe with a fine-toothed comb can soften the look and make it feel more natural. And yes, shaping isn’t only about trimming—giving your hanging a gentle shake or steam can help the cords fall nicely and settle into shape.
Hanging And Caring For Your Macrame Art
Best Ways To Hang
Once your macrame wall hanging is finished, finding the right spot to display it can be a bit tricky. You want it to catch the eye but also feel balanced within the room. Most people keep it simple by hanging it directly from the wooden dowel or branch you used. That way, the structure stays intact and the knots hold their shape.
You can use a nail or a hook driven into the wall—nothing fancy. I’ve noticed that sometimes using two hooks spaced apart prevents the dowel from tilting unevenly, especially if your piece is wide or heavy. Another approach is to attach a loop of cord on the ends of the dowel for easy hanging. It might sound obvious, but make sure the hanging point is strong enough to bear the weight. Gravity isn’t kind to delicate fibers.
Think about the height too; eye-level usually works well, but if your piece is very long, adjusting it slightly lower keeps it accessible and visible without overwhelming. And yes, sometimes I wonder—should it be centered on a blank wall or near other decorations? There isn’t a perfect answer, really. Each space feels different.
Cleaning And Maintenance Tips
Macrame can gather dust or even get a bit dull over time, especially if it’s in a busy or sunny area. To keep it looking fresh, periodic gentle cleaning helps. Dusting with a soft brush or a handheld vacuum set on low suction works well. I often use the brush attachment carefully—it loosens dirt without distorting the knots.
If it gets stained or grimy, spot cleaning with a mild soap solution is usually enough. Don’t soak the whole piece; too much moisture risks shrinkage or messing with the shape. Dab carefully with a damp cloth, then air dry flat or hung. Direct sunlight drying sometimes leads to fading, so maybe avoid that part if your macrame has vibrant colors.
Over time, a few strands might fray or come loose. It’s tempting to cut frayed ends quickly, but often just trimming slightly or gently teasing the fibers back into place preserves the look better. Would you rather have a pristine but stiff piece or one with a bit of softness and life? It’s a personal call, really.
Conclusions
You have learned that macrame wall hangings are made with simple knots and common materials. Starting with the right tools and practicing knots helps you build confidence. You can create many patterns once you understand the basics. Each step in the process helps you shape your design.
Macrame lets you express creativity while making something useful and beautiful. With practice, your wall hangings will look neat and impressive. Keep experimenting with different cords and knot combinations. Your skills will grow and you will enjoy crafting unique wall art for your home or loved ones.