Introduction
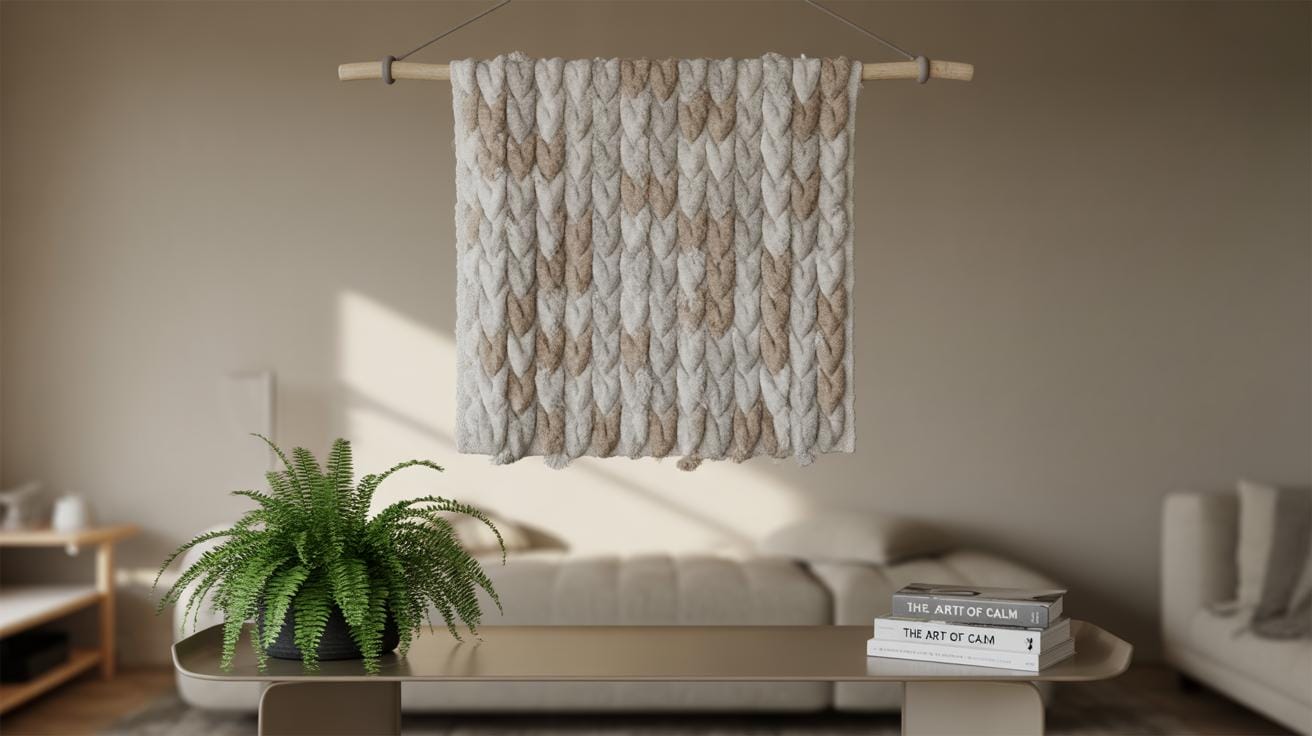
Micro macramé is a small-scale form of the craft known as macramé, which involves knotting cords to create textile art. This technique uses tiny knots to form detailed and delicate designs, perfect for wall accents. If you’re a beginner, micro macramé offers a manageable way to enter the world of knotting crafts without needing large amounts of materials or space.
In this article, you will learn about the materials required for micro macramé, the basic knots you need to master, and step-by-step guidance to create beautiful wall accents. This guide will help you build confidence and skills so that you can start crafting your own micro macramé decorations and enhance your living space.
Understanding Micro Macram and its Origins
What is Micro Macramé
Micro macramé is simply macramé on a smaller scale. It involves working with very fine cords and creating tiny, detailed knots. Unlike traditional macramé, which might focus on large wall hangings or plant holders, micro macramé zeroes in on delicate pieces—think jewelry, small charms, or intricate decorations. The precision needed is higher, and the patience required grows too, but it lets you explore patterns and textures in ways you might not with bigger projects. It also means you can carry your work around easily, or finish something in a shorter time.
What I find interesting is how micro macramé retains all the essential knotting techniques but applies them in refined ways, almost like zooming in on the details rather than the whole picture. So, learning micro macramé can actually strengthen your understanding of traditional macramé methods without needing a lot of space or expensive materials upfront.
History of Macramé
The history of macramé stretches back thousands of years, though tracing it precisely is a bit tricky. It’s thought to have roots in ancient Arab weavers who finished fabric edges using knotted fringes. Later, sailors popularized macramé by knotting ropes during long journeys, creating everything from hammocks to belts. It eventually spread into Europe, becoming popular in the Victorian era, where it was common for home décor and fashion accessories. The craft waxed and waned over the centuries, but it’s never really disappeared—just shifted in popularity with time.
Today, micro macramé brings a fresh twist to what some might call an old-fashioned craft. While traditional macramé usually deals with thick cords and larger creations, micro macramé picks up from the same foundation but explores a more intricate, perhaps even delicate, approach. It’s like revisiting an old technique but with new possibilities, driven by modern materials and a renewed interest in handmade items.
Have you ever considered how a craft so tied to everyday life—like ship rigging or decorative borders—can evolve into tiny works of art? That’s part of what makes micro macramé intriguing. It’s craftsmanship meeting detail, carrying on an ancient tradition in a quietly different form.
Choosing the Right Materials for Micro Macram

Picking cords for micro macramé can feel tricky at first, especially since the material and thickness really change how your piece looks and feels. Cotton cord is popular—you’ll find it soft and easy to knot, which many beginners appreciate. Linen has a bit more stiffness and texture, which can help your design hold shape but might be less forgiving when tightening knots. Hemp is coarser and sturdier, great if you want a rustic touch, but it could also be rough on your fingers over time.
Thickness plays a subtle yet key role. Thinner cords create intricate, delicate patterns, but they can be fiddly to manage. Thicker cords make for chunkier designs and tend to knot quicker. If you’re unsure, starting around 0.8 to 1.5 mm thickness might suit beginner projects—small enough for detail without overwhelming you.
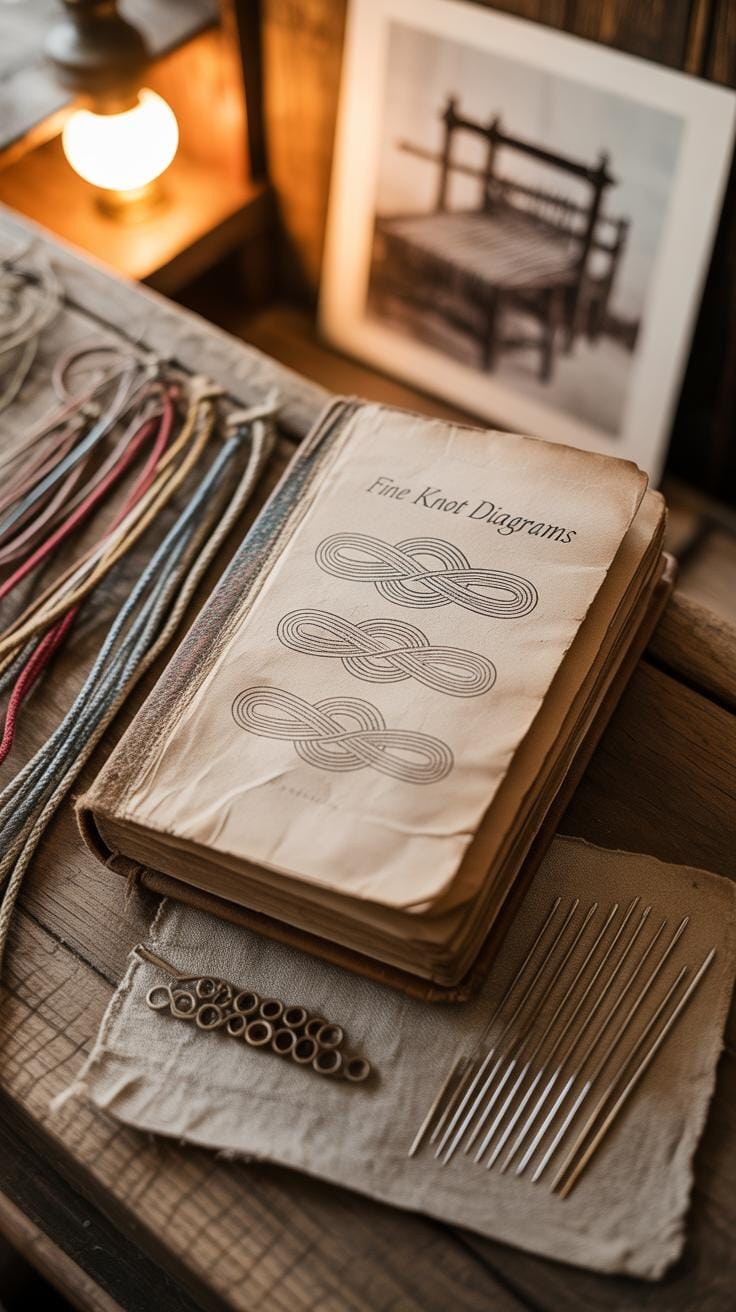
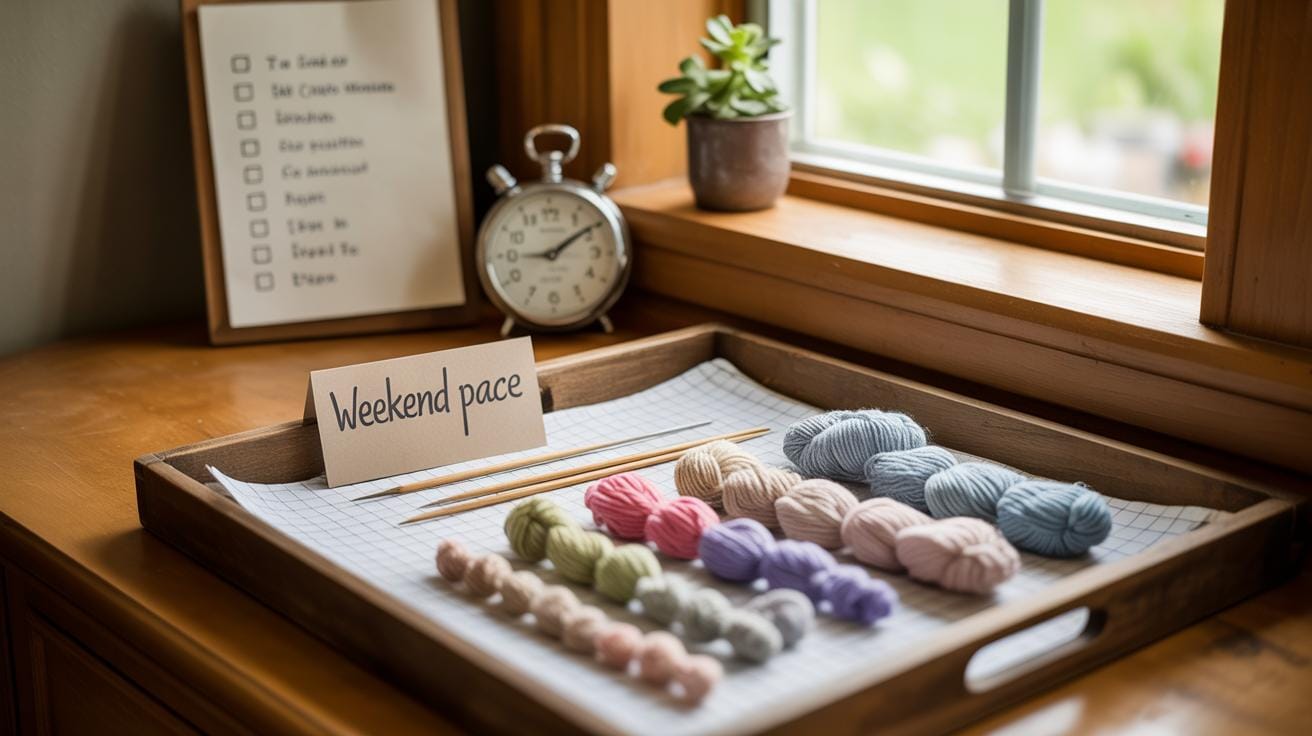
For tools, a sharp pair of scissors is essential—you’ll want clean cuts to avoid frayed ends that make finishing harder. Needles or tapestry needles can help thread cords through tight spaces, especially in dense designs. I’ve found pins or sewing pins useful for holding cords in place on a corkboard or foam board as I work. That steady base makes tiny knots less daunting.
Also, consider a simple clip board or a lap stand to keep your piece stable, especially if you move around while crafting. Budget-wise, you don’t need pricey materials right away. Basic cotton cord and a good pair of scissors offer a great start. Later, as you get comfortable, trying out different fibers and tools can inspire new textures and shapes in your work.
Basic Knots to Start Your Micro Macram Journey
When you begin with micro macramé, two knots really stand out as essential: the square knot and the half hitch. They form the building blocks for most small, intricate designs you’d want to create. Getting a handle on these early makes your whole project easier to manage, and honestly, more fun.
Square Knot Technique
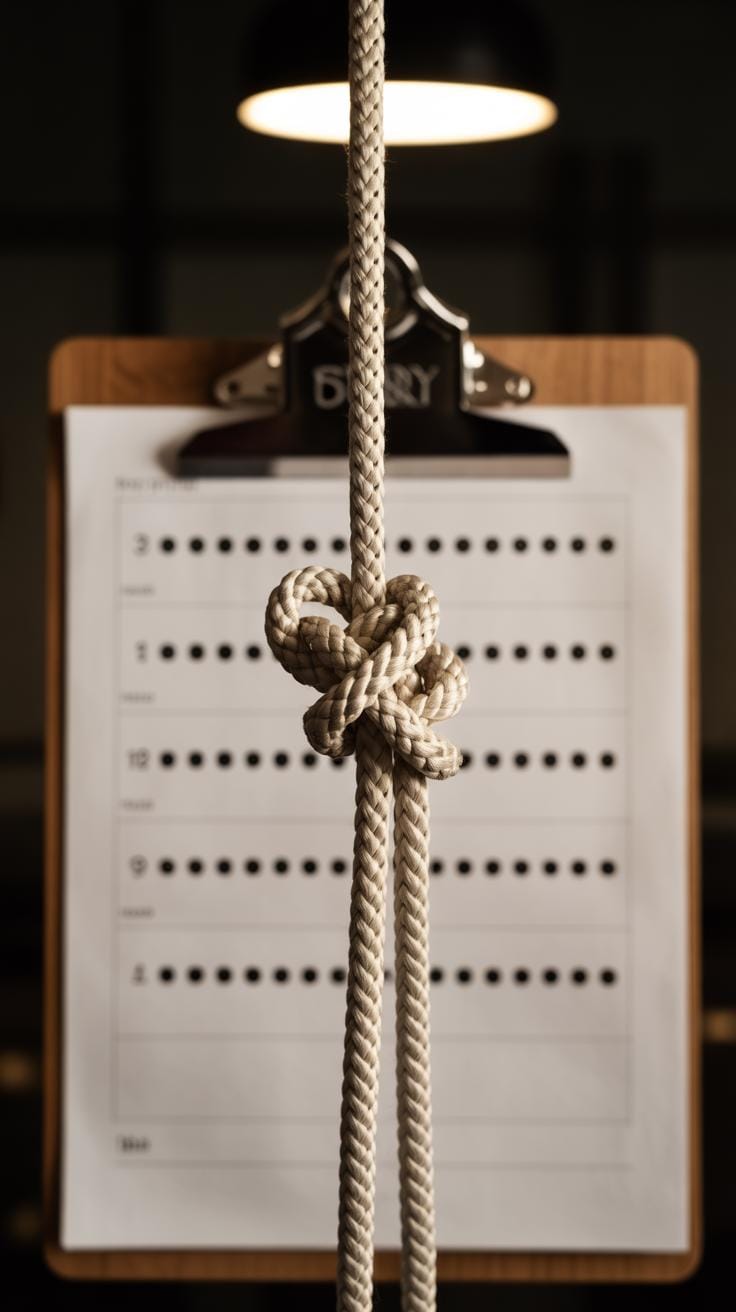
The square knot is probably the first knot you’ll want to master. It uses four cords—two “working” cords on the outside and two “filler” cords in the middle. You start by crossing the left working cord over the fillers, then the right working cord goes under the fillers and through the loop made by the left cord. Pull it tight, then reverse the steps starting on the right side. This reversal is what gives the knot its strength and makes it look symmetrical on both sides. I remember thinking it was tricky at first, but once you get the back-and-forth motion, it clicks. This knot holds well and creates a flat, neat band perfect for bracelets or wall accents where you want a clean look.
Half Hitch Knot Basics
The half hitch is simpler in structure but really versatile. It’s basically looping one cord around another and pulling it tight. Usually, you’ll use it to create lines or curves by making a series of half hitches along a “filler” cord. This knot doesn’t build bulk like the square knot does, but it’s great for shaping patterns or adding detail. I’ve found myself using half hitch to create subtle texture or little spirals in a piece—it’s amazing how something so straightforward can add complexity. You can make single half hitches or double ones, which tighten the knot further. The half hitch is your go-to for defining shapes, but it takes a bit of patience to keep consistent tension, especially when working really small.
Preparing Your Workspace for Micro Macram Projects
Setting up your space for micro macramé is more than just finding a table to work on. It’s about creating a spot where you can focus without interruptions, and where everything you need feels within reach. A flat surface is a must—something stable where your cords won’t slip or roll away. I found that a small board or even a clipboard helps keep pieces steady. It might seem trivial, but small shifts during knotting can get frustrating quickly.
Good lighting makes a huge difference. Natural light works well, though a daylight lamp close by can prevent eye strain, especially if you’re knotting late or in dim spaces. Organization matters too. A few containers or trays to separate beads, scissors, and cords can prevent that scrambling moment mid-project. I sometimes scatter tools and then waste time hunting for them, so I’m trying to keep them neat now.
Maintaining comfort while you work is crucial because micro macramé requires patience and precision. Sitting with a straight back, shoulders relaxed, and wrists in a neutral position can reduce tension—you don’t want stiff hands after an hour. Short breaks, even just to stretch, help keep your focus steady. Sometimes I get lost fixing a knot and forget to blink or breathe properly, which doesn’t help anyone. What small adjustments can you make in your posture right now to stay comfortable through your next project?
StepbyStep Guide to Your First Micro Macram Wall Accent
Starting Your Project
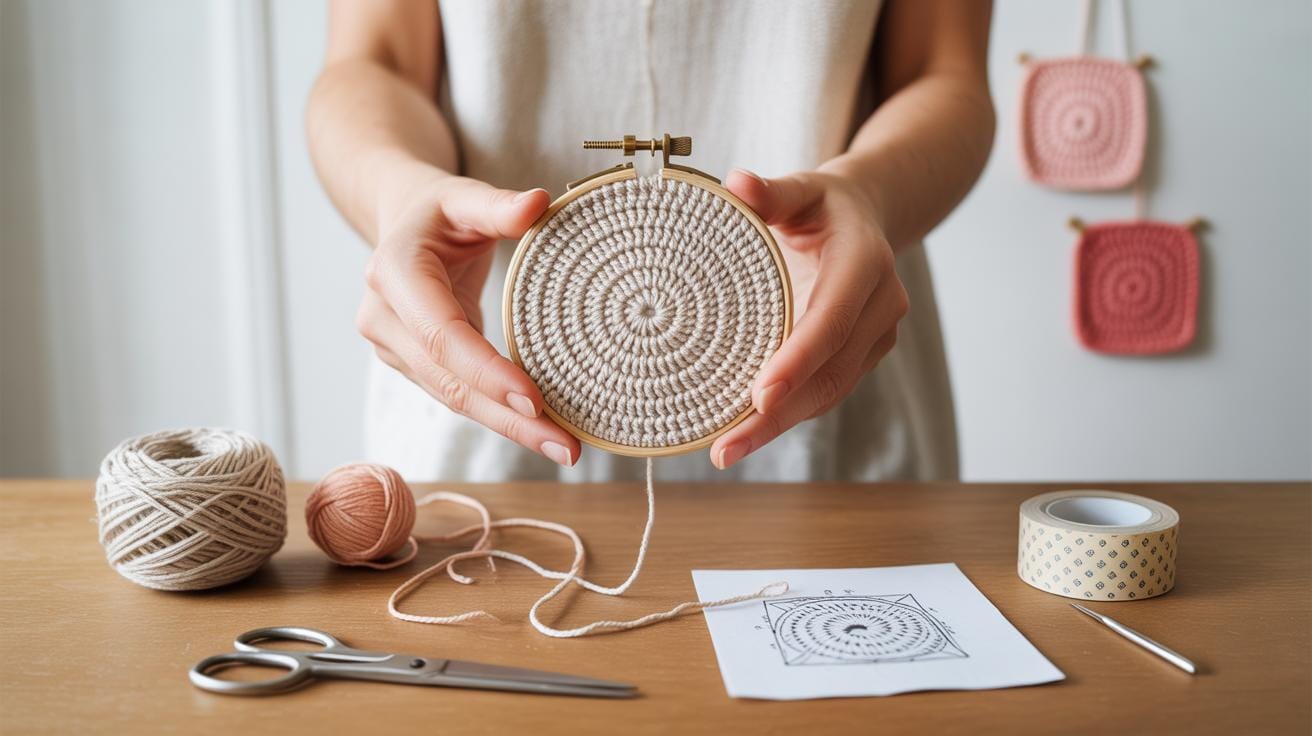
First, you’ll want to gather your cords and get them ready. For micro macramé, thinner cords work best—about 1mm or less in thickness. Cotton or waxed cords are common, but don’t feel locked into those options. Cut several cords, usually six to eight pieces of about two feet each, leaving a bit of extra length to avoid running short mid-project.
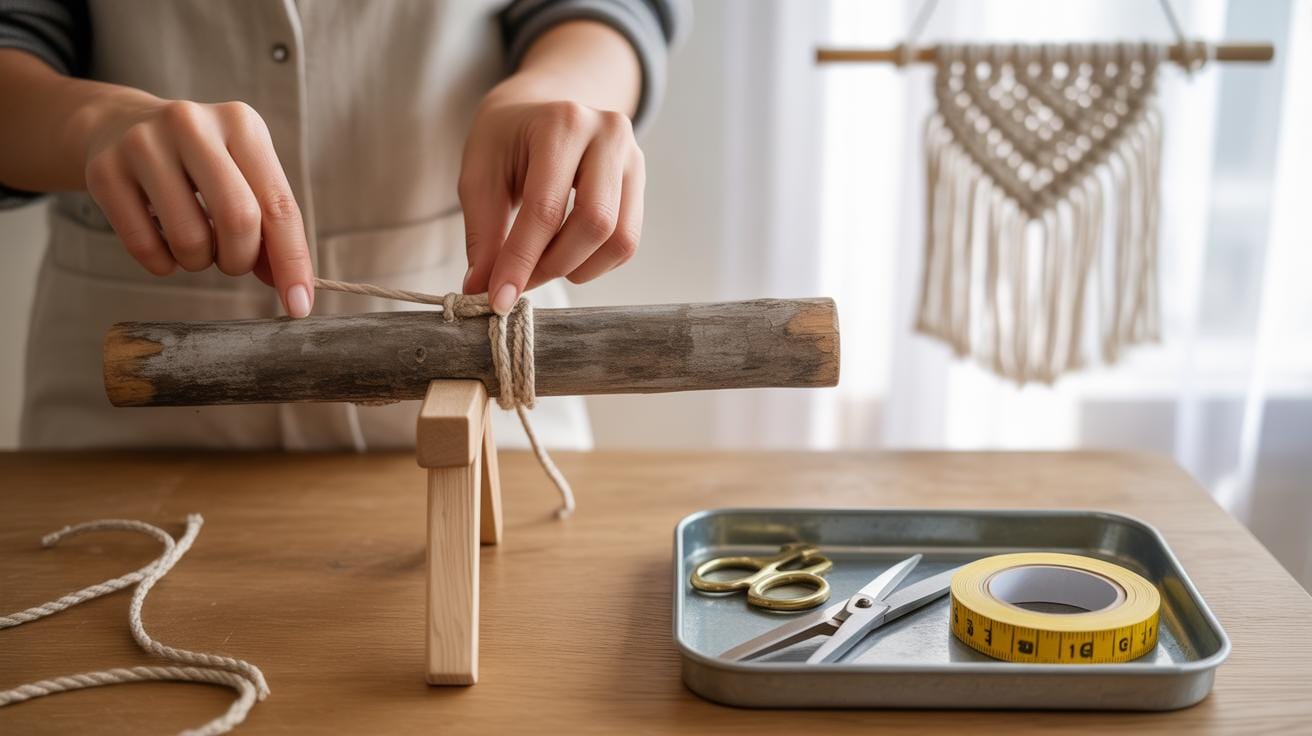
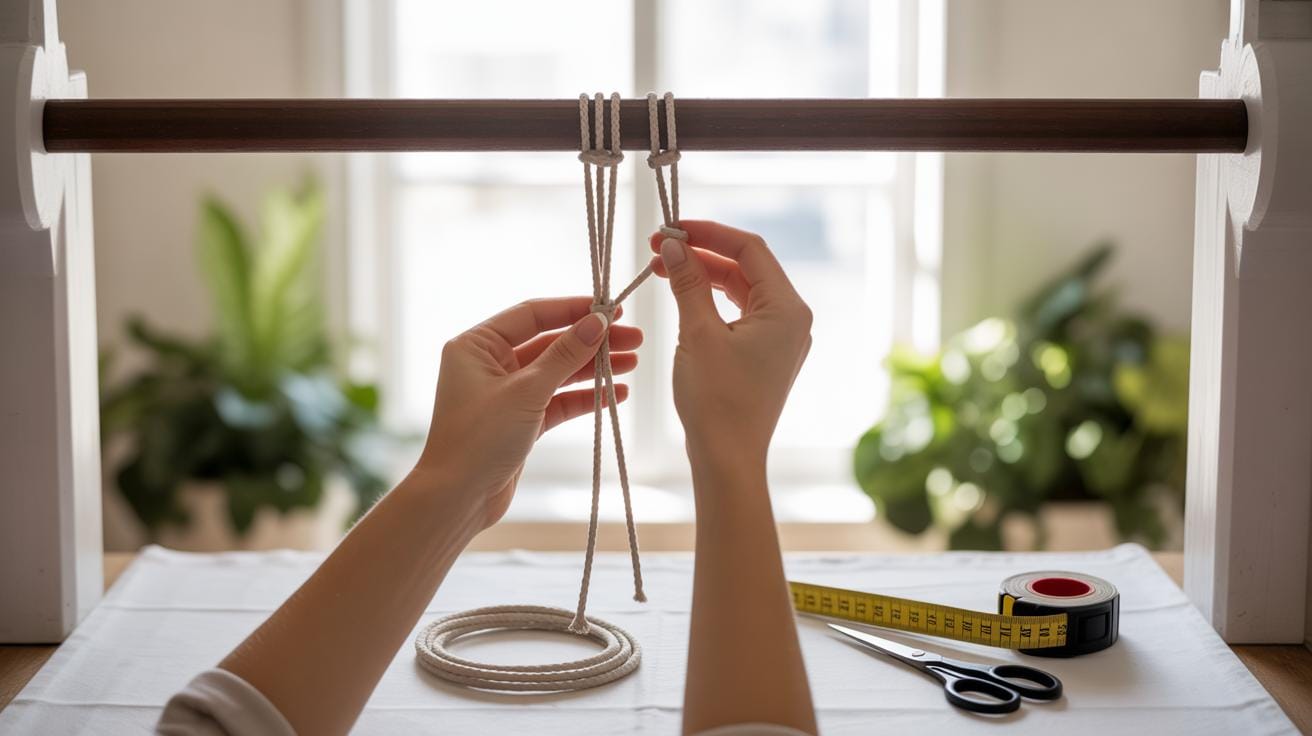
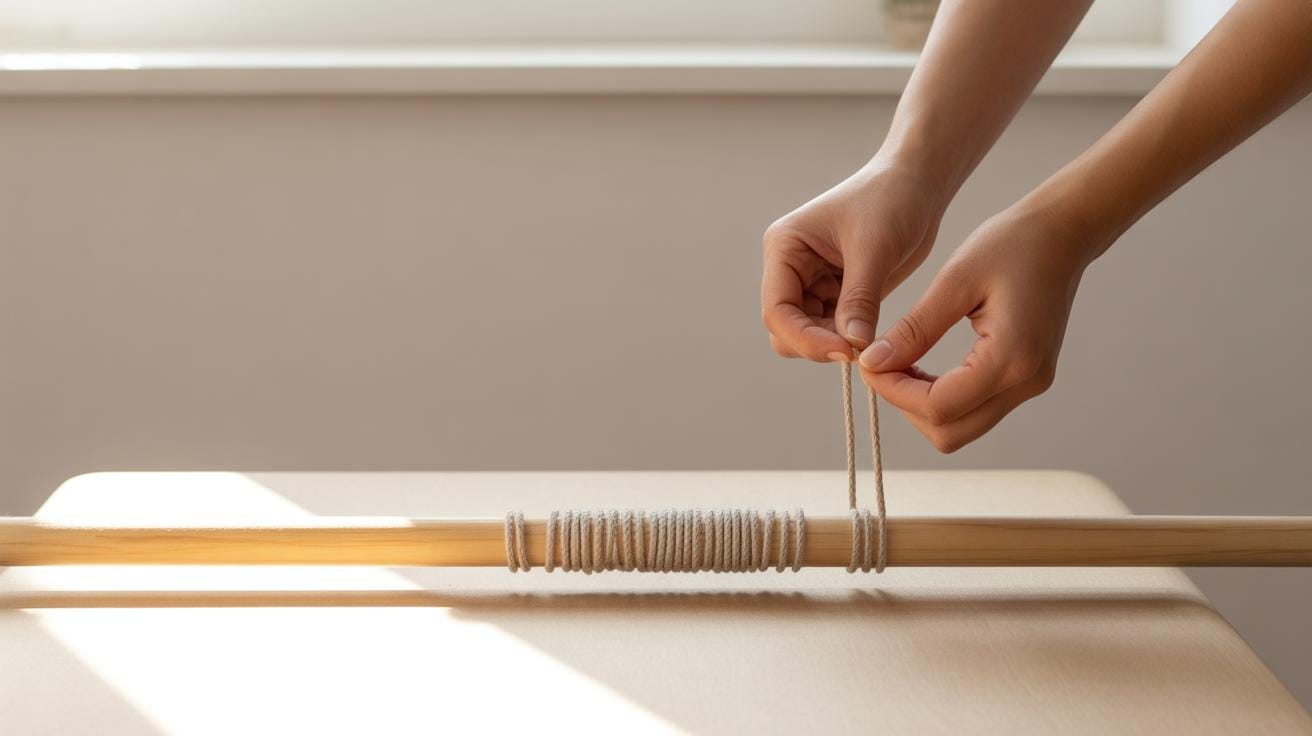
Next, set up your base. Most beginners start with a simple loop or a wooden dowel as the anchor. I often use a small ring or even a keychain ring when trying something new. Tie all your cords to this base using a Lark’s Head knot. It’s a straightforward knot where you fold the cord in half, place the loop behind the base, then pull the ends through. If you haven’t tried it before, it takes a couple of tries to feel natural, but once you do, it speeds things up.
Knotting the Design
The main action in micro macramé is knotting, obviously. For your first piece, I suggest sticking to square knots—they’re simple but versatile. To make one, separate four cords: the two outside ones become the working cords, and the inner two are fillers.
- Take the left working cord, cross it over the filler cords, then under the right working cord.
- Bring the right working cord under the filler cords and up through the loop created by the left working cord.
- Tighten the knot gently—you don’t want it too loose or too tight.
- Repeat the process, this time switching sides, to complete the square knot.
Forming a line of these square knots creates a neat band, which you can then shape by adding rows or combining with other knots like half hitch or alternating knots. Don’t rush through it; each knot’s tension affects the look and feel of your design.
After a few rows, your small pattern starts to emerge. It’s oddly satisfying. I remember being surprised how something so small could look so detailed once you get the hang of knotting. Just keep an eye on your cords—sometimes one slips and throws off symmetry.
Once your design reaches the desired size, end by tying off the cords with a secure overhand knot. Leave extra ends hanging for a fringe or trim neatly, depending on your style.
Adding Colors and Textures to Your Micro Macram
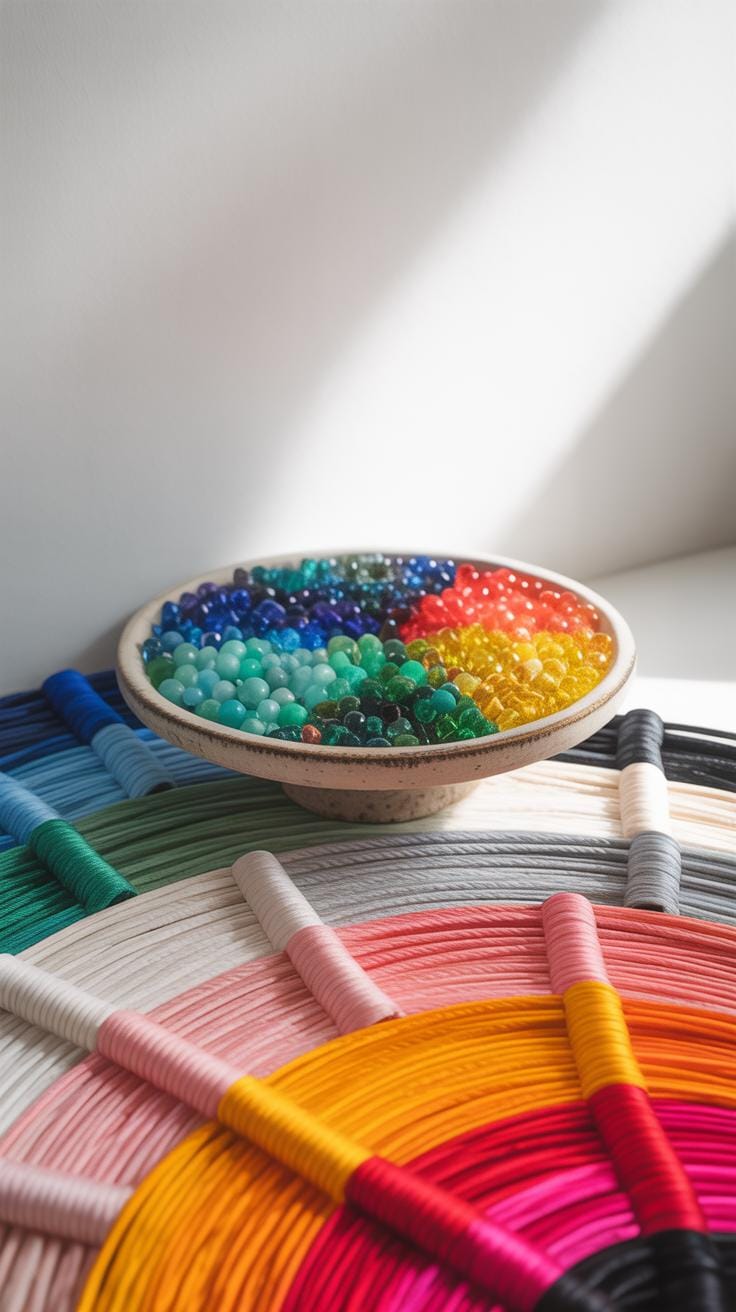
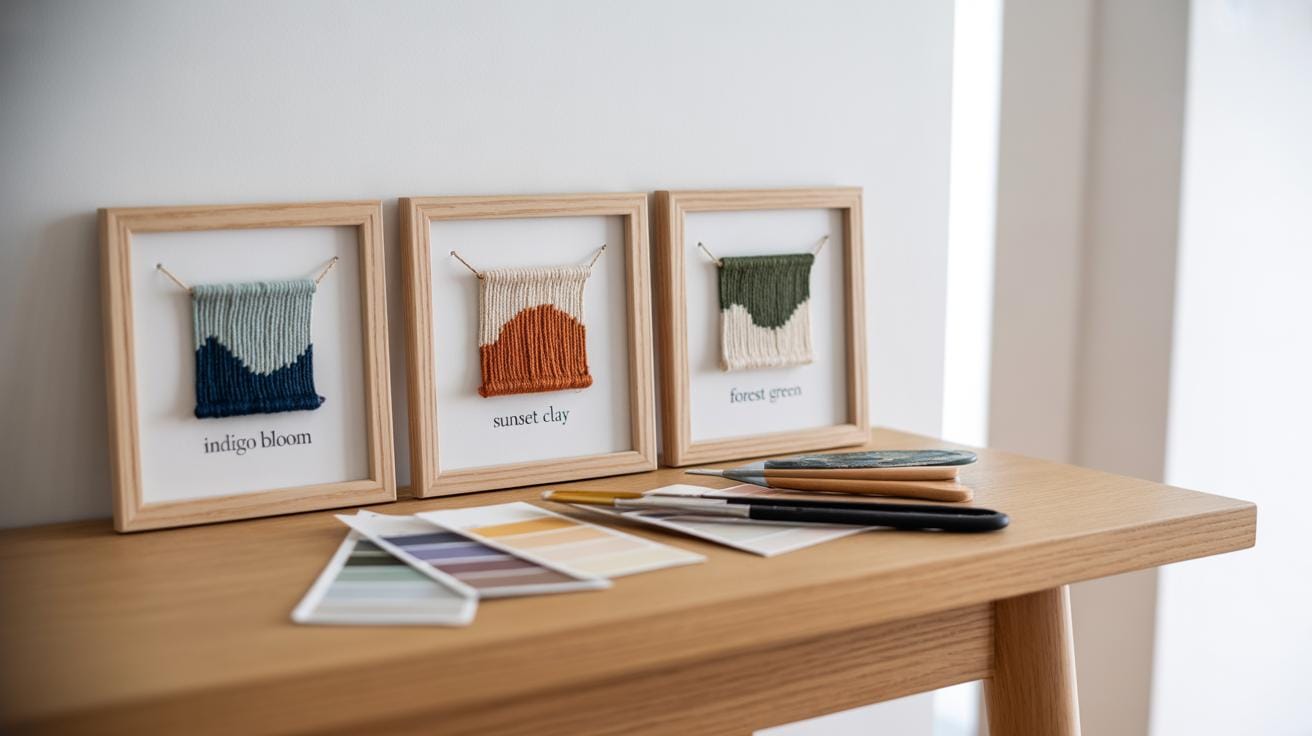
Using colors in micro macramé can really change the whole feel of your project. Choosing cords in different shades can bring subtle depth or bold contrast, depending on what you want. I’ve found that combining two or three complementary colors often works better than trying too many at once. For example, mixing earthy tones with a pop of teal can make a small design more interesting without overwhelming it.
Texture also plays a role, though it might be less obvious at first. Some cords are smooth and shiny, while others have a rougher, matte surface. You might try pairing silky threads with thicker cotton cords to add a tactile dimension to your piece. It’s not just about looks; touching the finished wall accent can surprise you.
Using Colored Cords and Threads
When mixing colors, I suggest starting with a color wheel or even just holding cords next to each other. It’s easier than guessing how they’ll work together once knotted. Go for variation in thickness too. A thin thread alongside a chunkier cord can create patterns that play with your eyes.
- Try to keep one color dominant and others as accents.
- Use gradient tones for subtle shifts instead of jarring changes.
- Don’t shy away from metallic or neon cords—but maybe just a little, for highlights.
At times, picking cords feels like too much, and that’s okay. You might start with neutral colors and add brightness later once you’re more comfortable.
Incorporating Beads and Charms
Beads and small charms add a bit of personality and can draw focus to parts of your design. I like to slide them onto the working cords before tying knots, so they sit securely within the pattern. Glass beads catch light differently than wooden or metal ones, which might change the overall tone of a piece.
Think about size and weight too. A heavy charm can pull on your knots and affect tension, so it’s best to use lightweight elements for delicate micro macramé. Sometimes just one carefully placed bead can elevate a simple knot sequence and make it look more refined.
Ask yourself: what do you want your accent to say? Adding color and texture isn’t just decoration—it’s a way to infuse your project with expression. Experiment a bit, and don’t be shy about undoing and redoing until it feels right. That’s part of the fun, isn’t it?
Troubleshooting Common Micro Macram Challenges
Fixing Knot Tension Issues
Uneven tension in your knots can really throw off the shape of your design. If some knots are tighter and others looser, the pattern can look warped or uneven. You might notice certain areas pulling in too much, while others seem loose or floppy. This makes it tricky to achieve the delicate look micro macramé usually demands.
To keep your knots balanced, try to maintain consistent pressure as you tie. One simple approach is to pause briefly after each knot and gently tug all cords to even out slack. Also, take breaks—your hands can get tired, which affects how tight you pull. And honestly, sometimes just being aware of tension is half the battle. Over time, it becomes more natural.
Correcting Pattern Mistakes
Mistakes happen. Maybe you tied a knot out of order or missed a step in the pattern. The good news? You don’t have to panic or start over completely. Undoing knots in micro macramé can be done carefully, though it requires patience.
Start by loosening the knot slowly—use a needle or a blunt tool if needed to ease the cords apart without fraying them. Pull gently to avoid stressing the fibers. Then, you can re-tie the knot correctly. It’s tempting to rush, especially when you’re eager to finish, but taking your time here saves frustration later.
Have you found yourself stuck on a tricky part and just pushing through? Sometimes stepping back and undoing a few knots feels like a setback but often leads to a better final piece. Do you agree it’s worth the extra effort?
Caring for Your Micro Macram Wall Accents
Cleaning Techniques
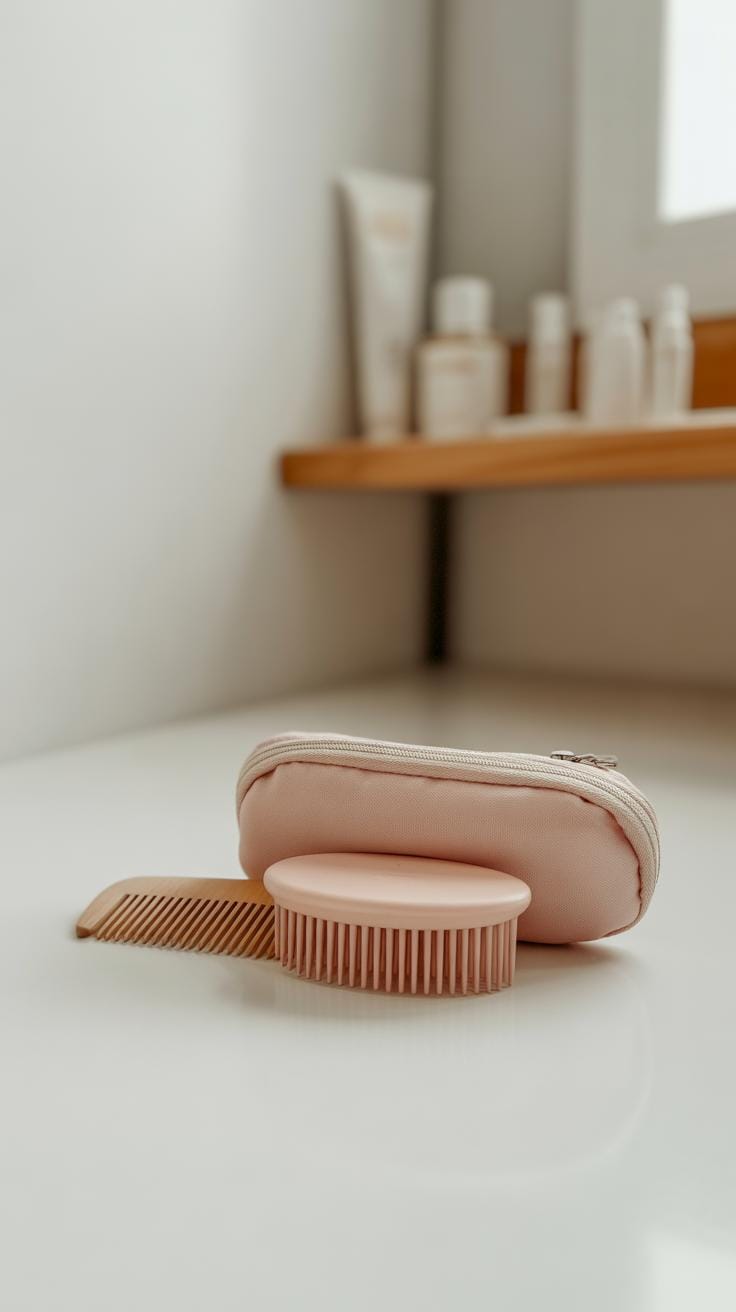
Micro macramé pieces are delicate by nature, so cleaning them requires a gentle touch. You don’t want to tug or scrub too hard, or those tiny knots might loosen or fray. I usually recommend a soft brush—like a clean, dry toothbrush—to sweep away dust carefully. If deeper cleaning is needed, a mild soap diluted in cool water works well. Dip a soft cloth or cotton swab in the solution and gently dab the knots. Avoid soaking the piece because the cords may stretch or lose shape.
Air drying is best, preferably laid flat on a clean towel. Sometimes I wonder if a little steam might refresh fibers without damage, but I’d be cautious about trying that unless you know your cord’s fiber content well.
Storage Solutions
Storing your micro macramé pieces needs attention too, since the tiny knots can easily deform under pressure. Flat storage on a rigid, dust-free surface usually works best. You can wrap the piece loosely in acid-free tissue paper or cotton fabric to shield against dust. A breathable container helps keep moisture out without causing mildew.
Hanging can be tricky—if the piece is very small and lightweight, hanging might cause it to stretch over time. If you do prefer hanging, use a padded hanger or clip with soft pads to reduce tension. Sometimes, a well-placed box or drawer works better, especially if you want to avoid accidental snags or tangles.
Maintaining the original shape and cleanliness feels like a quiet routine—one that preserves not only your handiwork but also the effort behind it. Would you keep your pieces under glass or just trust regular dusting? There’s no one perfect answer, only what fits your space and habits.
Expanding Your Skills Beyond the Basics
Once you’ve got the basic knots down and feel comfortable with small micro macramé designs, it’s natural to think about what’s next. You might find yourself curious about more complex knot patterns—those that don’t look like the simple repeats you started with. Trying intricate combinations, like alternating half hitches with lark’s head knots or experimenting with freeform designs, can push your skills. Sometimes, these patterns don’t follow a strict sequence and can feel a bit unpredictable, but that’s part of the fun.
Don’t hesitate to play around with unfamiliar knots or combine old ones in new ways. I’ve noticed that when I stray from structured patterns, the results often surprise me—sometimes pleasant, sometimes a bit confusing. That’s okay. Crafting is personal, after all.
If your small wall accents feel like only a start, why not move on to larger projects? Bigger pieces challenge you to manage tension and spacing over more material, which is a different kind of skill. You could try blending micro macramé with other crafts, like weaving or even adding beads and natural elements for texture. It might feel overwhelming at first but think of it as layering complexity gradually.
So, what kind of projects can you imagine making? A cascading wall hanging with varied knot styles? Or maybe a textured piece that combines fabric and cords? Exploring these options will keep your interest alive and your hands busy. Keep experimenting, and remember, growth in skills often comes from embracing the messiness of trial and error.
Conclusions
Micro macramé is a rewarding and accessible craft that allows you to create unique, intricate wall accents. By understanding the basic materials and knots, you can start practicing and enjoy making your own designs quickly. The small scale of micro macramé makes it less intimidating and easier to manage for beginners.
With patience and practice, you’ll improve your knotting techniques and develop your creativity. Creating micro macramé wall accents not only beautifies your home but also offers a calming and enjoyable hobby. Keep experimenting with different patterns and materials to find your own style and expand your skills continuously.