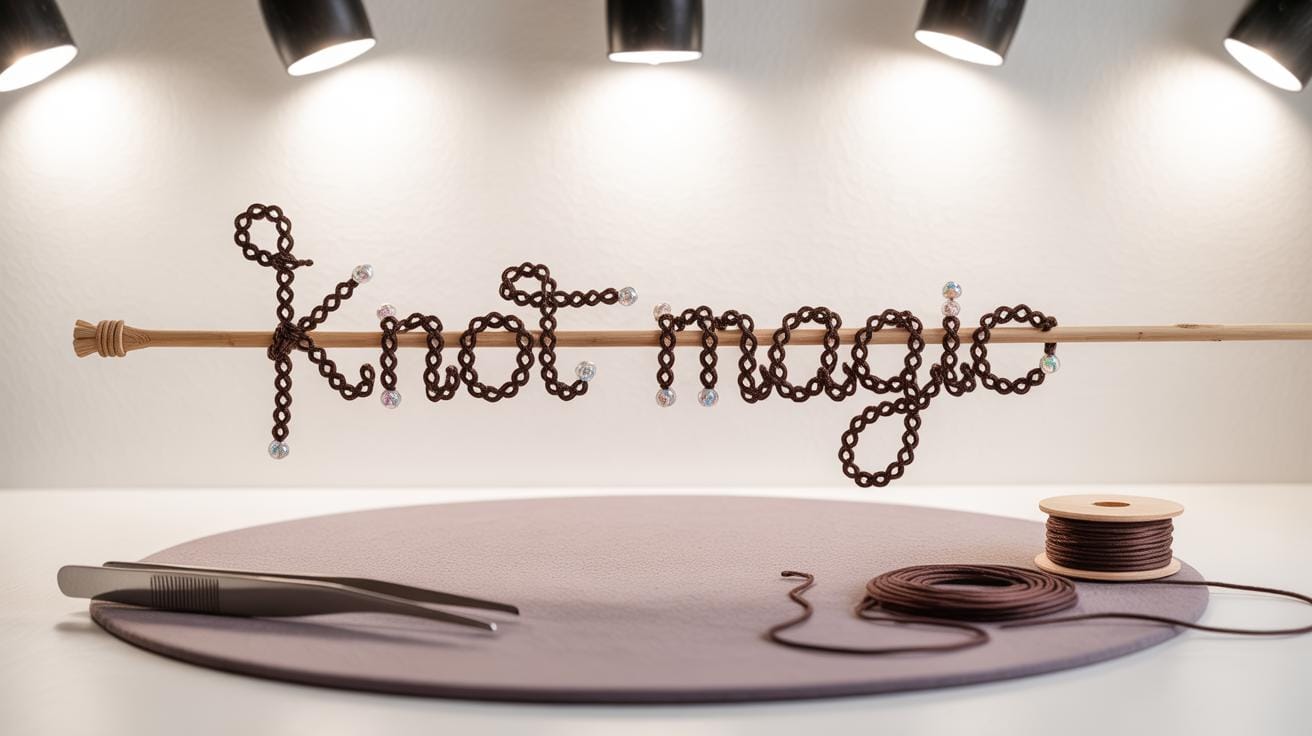
Introduction
Macrame is a craft that uses knotting techniques to create textiles and decorations. It has been popular for centuries, used for making everything from jewelry to home decor. This guide will help you start your macrame journey with projects designed for beginners. You’ll learn everything step by step to make your own unique pieces.
Whether you want to decorate your home or make personalized gifts, macrame projects are engaging and rewarding. This article covers tools, basic knots, and creative project ideas so you can develop your skills and enjoy a fun DIY experience.
Understanding Macrame and Its History
What Is Macrame
Macrame is a craft based on various knotting techniques used to create fabric-like designs. Unlike weaving or knitting that rely on interlacing threads or yarns, macrame involves tying cords in specific patterns. The knots themselves form both the structure and decoration of the piece. While you might think of macrame as just “knotting,” it actually has an intricate system of different knots, such as square knots and hitch knots, that build up textures and shapes. If you’re new to this, it might seem simple, but soon you notice how complex patterns emerge from something as straightforward as a knot.
Since it’s all about manipulating cords tied in knots, macrame allows you to work with thicker materials like cotton or jute, making it ideal for household items or wall hangings. The focus is on making shapes through knot combinations rather than threading yarn in rows or rounds.
Historical Uses of Macrame
Macrame has a sort of wandering past. Sailors in the 13th century probably started it as a way to pass time during long voyages. They used knotting to decorate ship parts or to create useful objects like hammocks. It spread through naval routes and slowly found its way into everyday life on land. The knots made both practical and decorative sense back then.
Later, during Victorian times, macrame became a fashionable pastime, especially among women. It was common in home décor—things like curtains, tablecloths, and even clothing trims were crafted with macrame knots. There was an emphasis on delicate patterns rather than the chunky ones sailors used. Oddly enough, despite its popularity, the art of macrame faded out for a while, only to return with a modern twist decades later.
It’s interesting to think about how the same knots served sailors and Victorian homes quite differently, don’t you think? The evolution of macrame shows how versatile knotting can be, moving from practical use at sea to refined decoration on land—and now, as a trendy craft you can pick up easily at home.
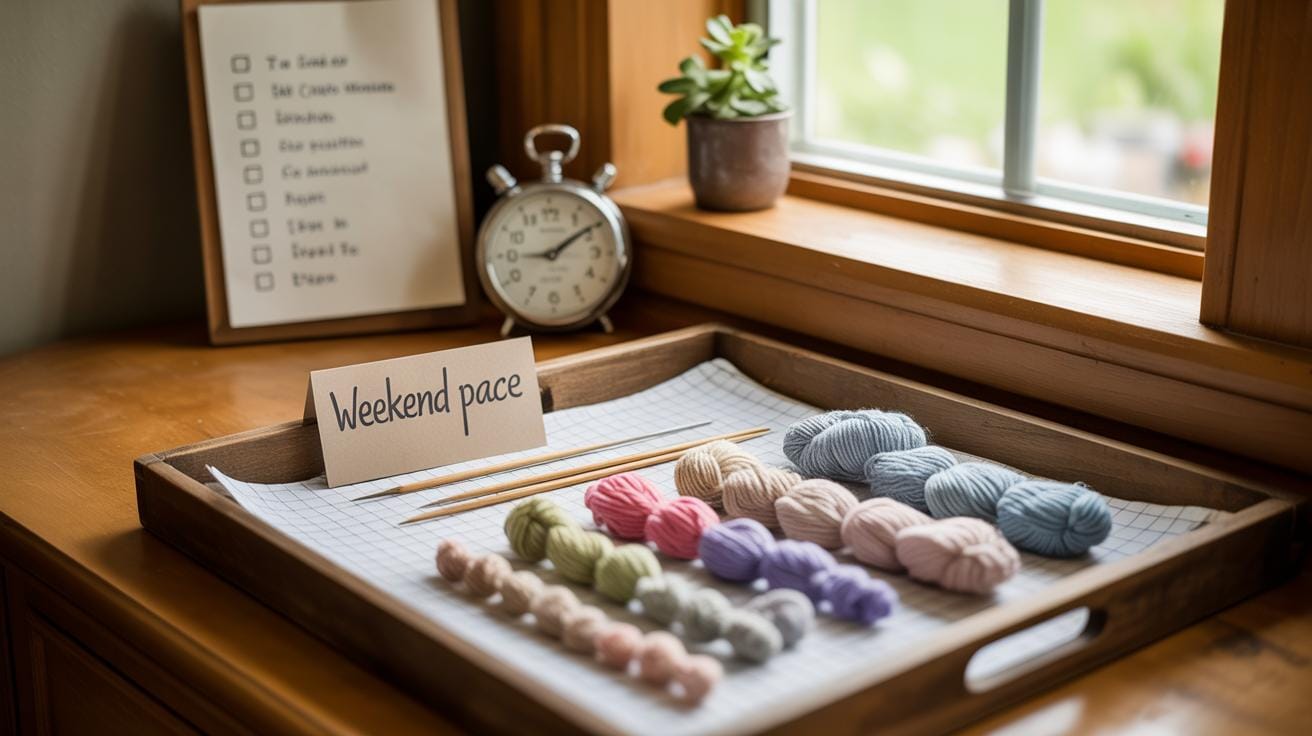
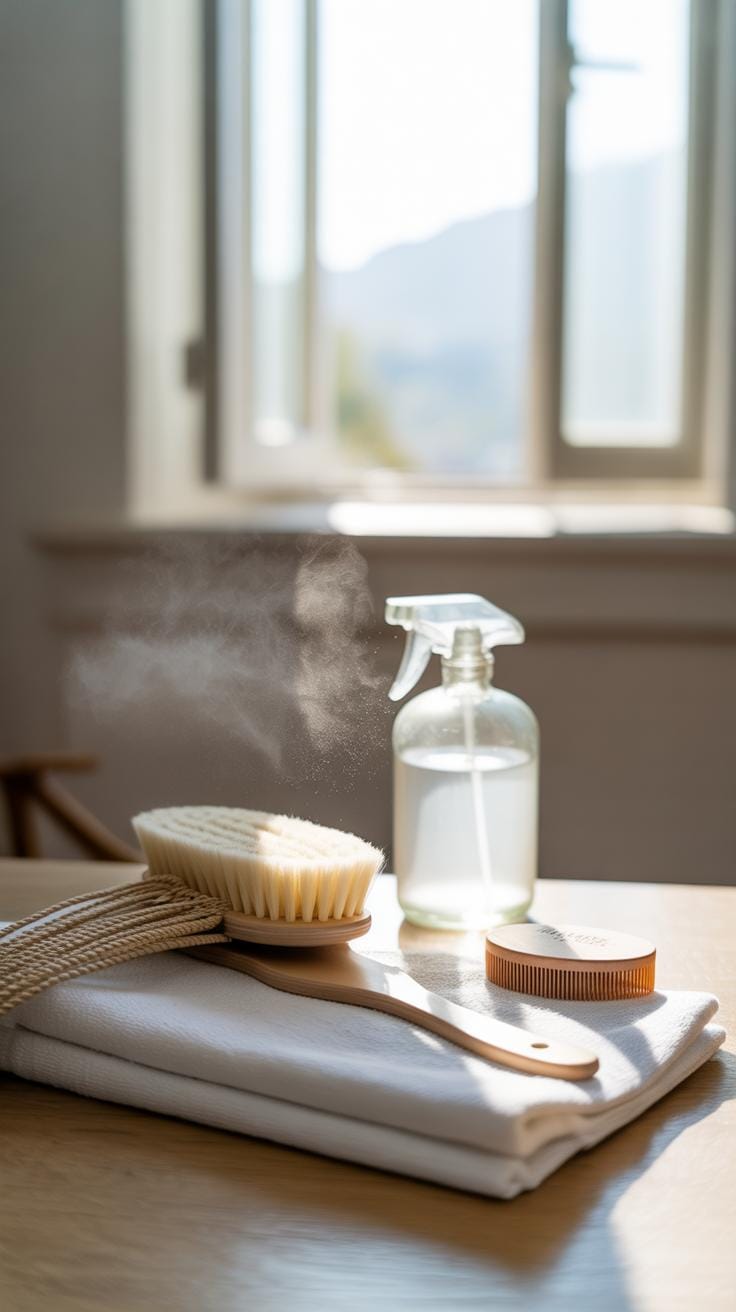
Gathering Your Materials and Tools
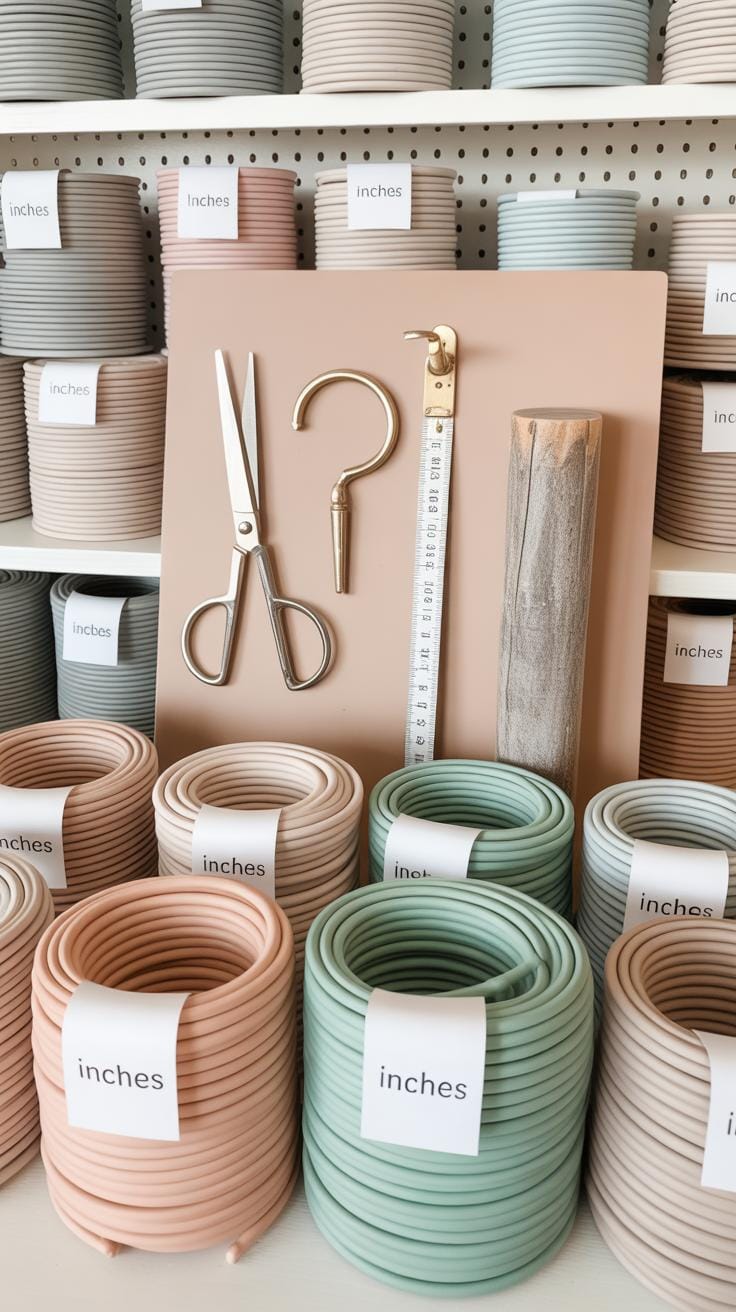
Before you start knotting your way into macrame, you’ll want to have the right materials on hand. Choosing the right cords can feel a bit puzzling at first because there are quite a few types, each with its own look and feel.
Types of Cords and Threads
Cotton is probably the most popular choice for beginners. It’s soft, easy to handle, and comes in all sorts of thicknesses. I’ve found it’s forgiving when you’re still figuring out your tension and knots. Then there’s hemp, which has a rougher texture and a rustic vibe—it’s great for projects that want a natural or earthy touch. Leather cords, while a bit trickier to work with, add a strong, modern edge to your pieces. They don’t stretch much, so the knots hold differently. You might wonder if synthetic cords, like nylon, are useful. They can be, especially for outdoor decor, but they tend to be slick and can slip during knotting, which might frustrate new makers.
Basic Tools Needed
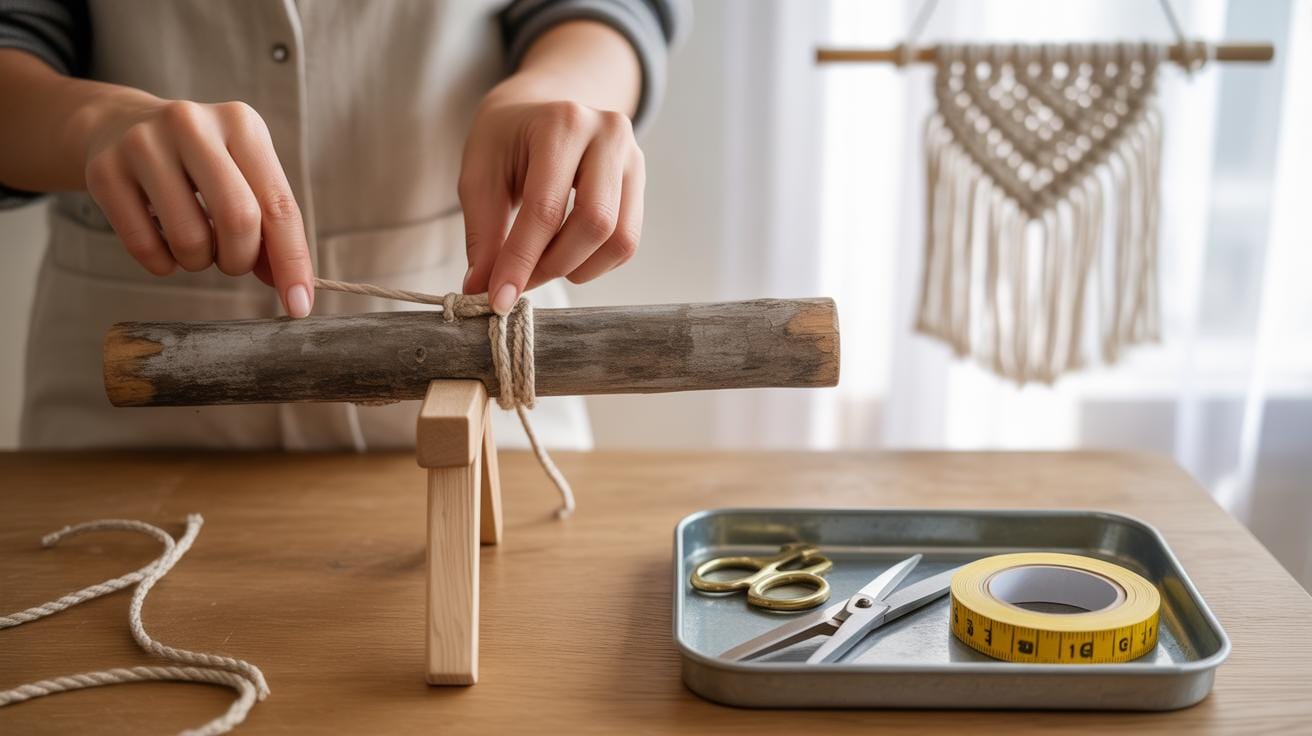
Honestly, macrame doesn’t call for a big toolbox. Scissors are a must, obviously. You want ones sharp enough to cut through thick cords cleanly. A measuring tape is another essential—guessing lengths usually leads to wasted cord or some very short projects! A clipboard or a simple corkboard can help hold your work steady, especially when learning knots. Some people like using a ruler or a macrame board, but those aren’t absolutely necessary at the start. Eventually, you might add beads or a comb for fluffing fringes, but those extras can wait until you’ve mastered a few knots.
When I first gathered supplies, I overbought cords because I wasn’t sure how much I’d need. It’s better to start small and test — do you agree? What types of cords do you feel drawn to for your first project?
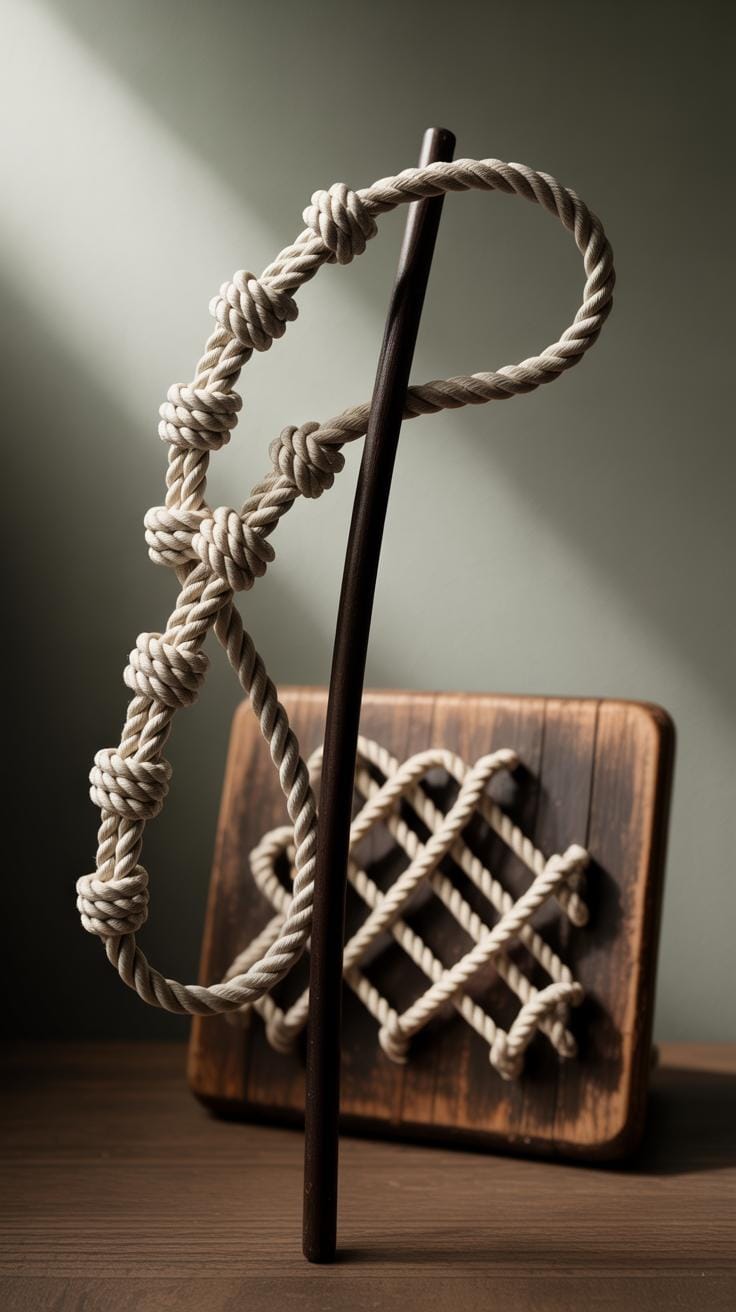
Learning Basic Macrame Knots
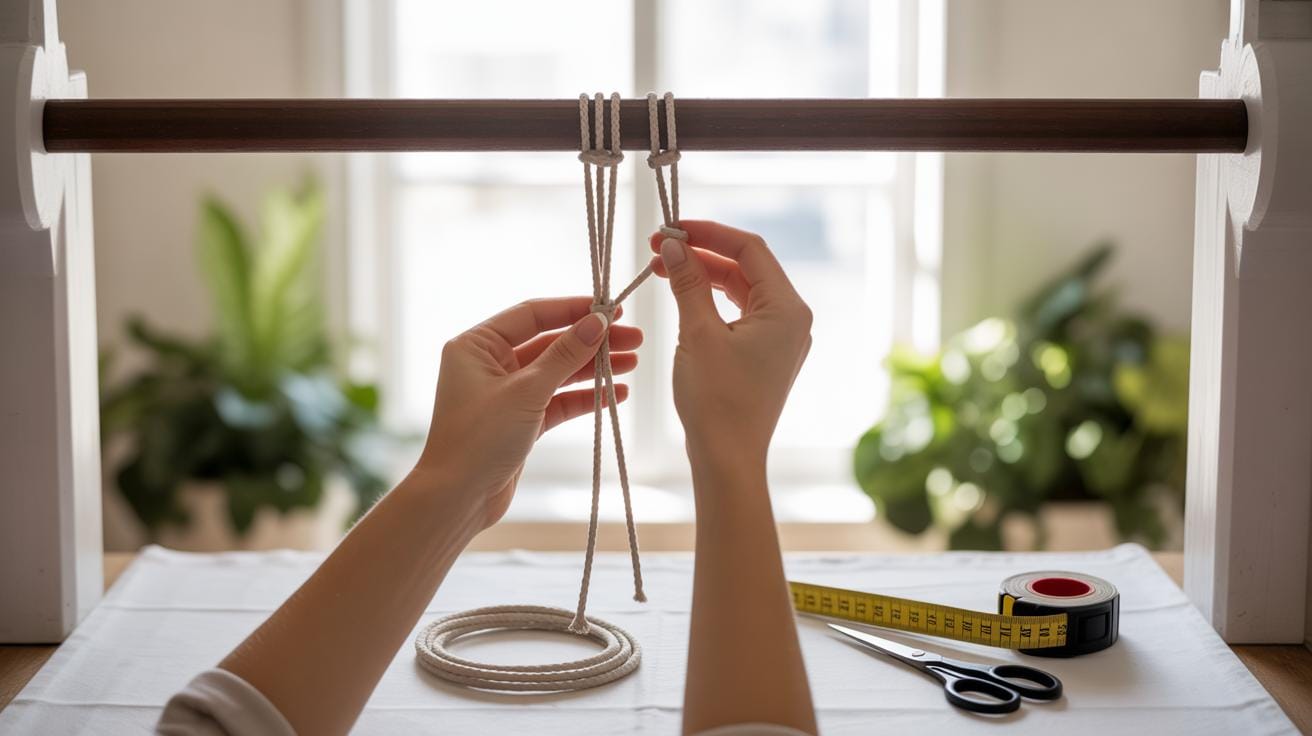
Before you jump into creating whole projects, it’s really useful to focus on the basic knots that form the heart of macrame. Two knots you’ll want to master early on are the square knot and the half hitch. These may seem simple at first glance, but they offer a lot of versatility once you get comfortable.
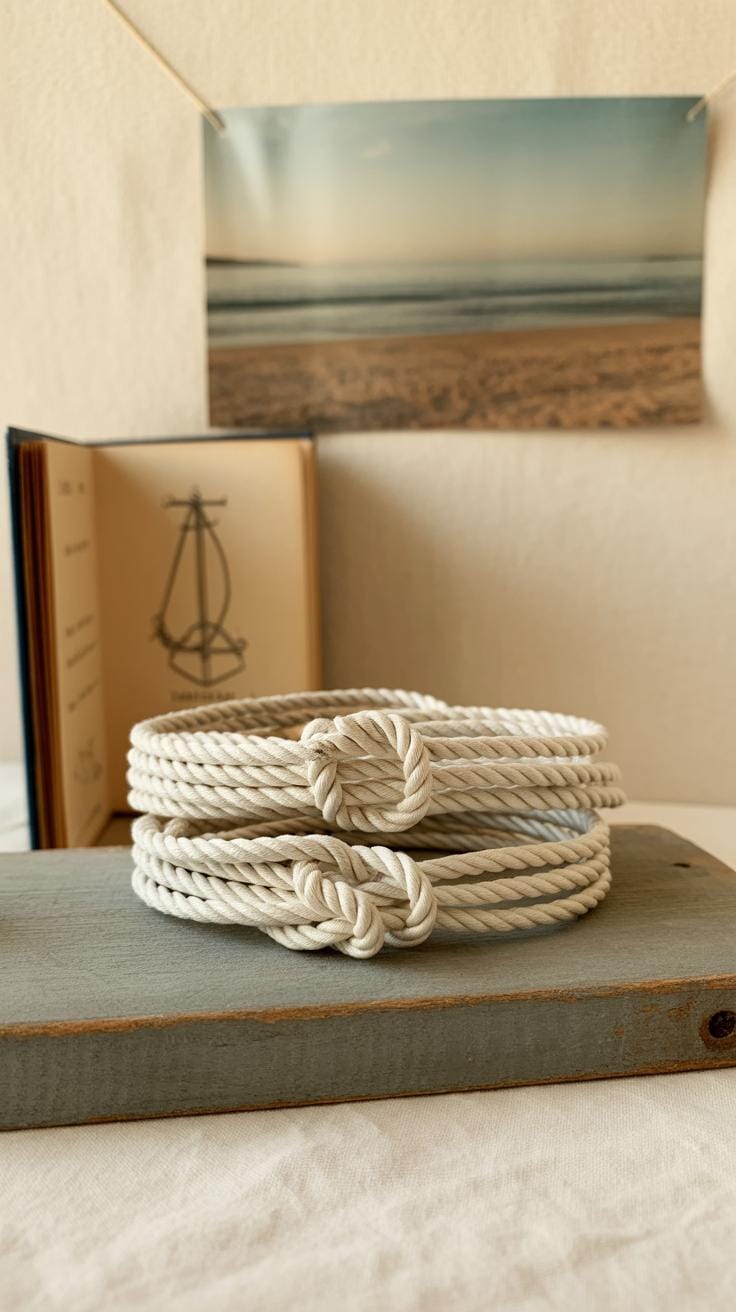
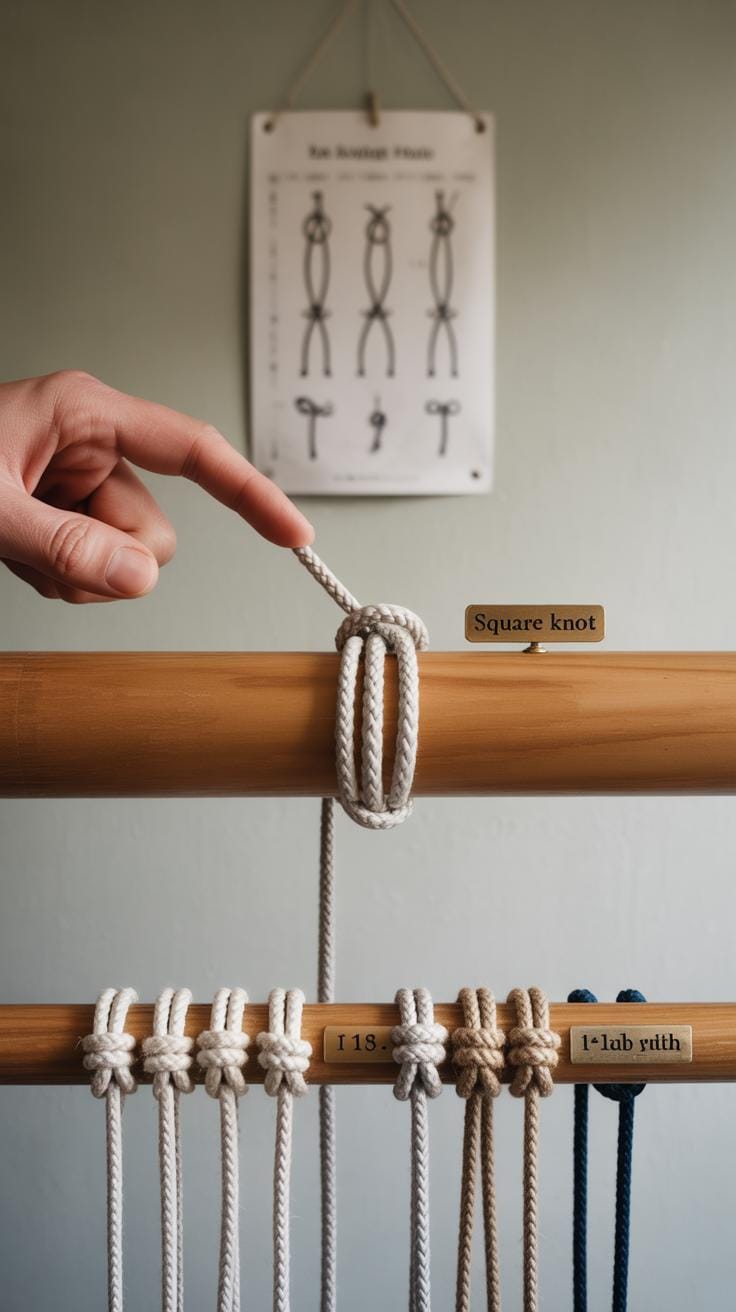
Square Knot
The square knot is probably the one you’ll encounter most often. It might seem fiddly initially, but follow these steps:
- Start with four cords—two center cords, which stay still, and two working cords on the sides.
- Take the left working cord and cross it over the center cords, forming a loop on the left side.
- Bring the right working cord over the left cord, then under the center cords, and pull it through the loop created by the left cord.
- Pull both working cords to tighten the knot around the center cords.
- Now reverse the process: this time start with the right working cord crossing over the center cords, forming a loop on the right.
- Take the left working cord over the right, under the center cords, and through the loop.
- Tighten again.
Doing this sequence once completes a square knot. You’ll get a pattern that looks neat and flat. Practicing slow and steady helps more than rushing through.
Half Hitch Knot
The half hitch knot is simpler but just as useful. You create it by wrapping one working cord around another cord or group of cords. Here’s a basic way to do it:
- Choose the cord that will do the hitching (often called the working cord).
- Wrap it around a stationary cord.
- Pull the end through the loop that forms.
- Tighten it snugly by pulling the working cord.
You can repeat half hitch knots along a vertical cord to create lines or curves in your design. For example, in wall hangings, they help make flowing, curved patterns. I remember struggling the first time trying to keep the tension even throughout a row of half hitch knots—it took some trial and error, but it’s satisfying once you get the hang of it.
Try to mix these knots as you practice. Asking yourself where you could use each knot in a project might clarify their practical strengths. And yes, it’s okay if your first attempts aren’t perfect—every knot you tie teaches you something.
Starting Your First Simple Project
Let’s try making a macrame keychain using the knots you’ve just learned. It’s a small project, but it really helps you get comfortable with the knotting techniques without feeling overwhelmed.
First, cut a piece of cord about 2 feet long. Fold it in half and slip the folded loop through your keyring, then pull the ends through to secure it. Now, take one cord from the left and one from the right to tie square knots along the length. Keep your tension even, but don’t worry if things look a bit uneven at first. The natural texture of the knots adds character.
Make about 6 to 8 square knots or until the keychain feels the right length to you. Then, finish off by tying a simple overhand knot to keep everything in place. Trim any excess cord, leaving a small tail if you want a bit of flair.
Keychain Project Steps
- Cut a 2-foot cord and fold it in half through the keyring.
- Use square knots to create the body of the keychain.
- Keep knots tight but adjustable for a natural look.
- Finish with an overhand knot and trim excess.
Tips for Finishing Your Project
To make sure your knots don’t unravel, you can add a bit of glue or clear nail polish to the ends, but even just firmly tying the last knot usually works. If trimming leaves rough ends, you might want to carefully melt synthetic cords’ tips with a lighter to stop fraying.
Before calling it done, give your keychain a little tug and adjust any knots that seem loose. Present it neatly by brushing out or smoothing the ends for a clean finish. This simple project might feel basic, but it’s quite satisfying—and it’s a great way to see your progress firsthand.
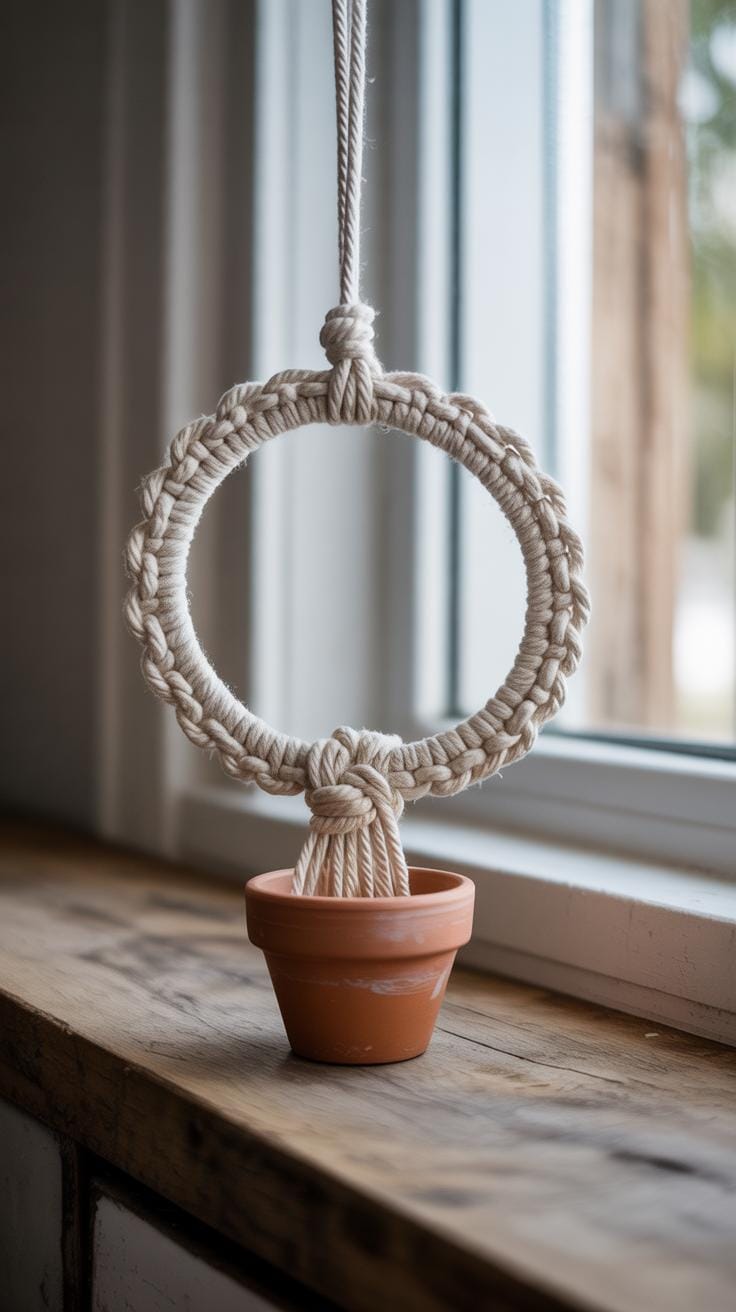
Making Macrame Plant Hangers
Choosing the Right Cord Length
Measuring and cutting cords for a plant hanger can feel a bit tricky at first. Generally, you’ll want to start with at least four times the length you want your finished hanger to be. For example, if your plant will hang about 30 inches from the ceiling or hook, cut cords roughly 120 inches long. It’s easy to add extra length, but too short means starting over, which can be frustrating—trust me, I’ve been there.
Think about the size of the pot, too. Larger pots usually need longer cords and more room for knots. If you’re unsure, cut a few extra inches per cord—you can trim the ends later but you can’t undo a cord that’s too short.
Knot Arrangement for Support
The key to a strong plant hanger is how you place your knots. For beginners, square knots and gathering knots are reliable and easy. Usually, grouping the cords in fours lets you tie square knots in sections, spacing them a few inches apart so the plant sits snugly without slipping through.
After forming several square knots downward, bring all cords together at the bottom with a tight gathering knot. This holds the pot steady. You might wonder where to space those knots exactly—too close and it looks stiff; too far and your pot might wobble. Experiment a bit, but about 2-3 inches between square knots often works well.
In my early attempts, I spaced knots unevenly and ended up with a tilted plant—lesson learned the hard way. But this simple arrangement keeps the pot balanced and supported, perfect for a beginner project that’s both fun and functional.
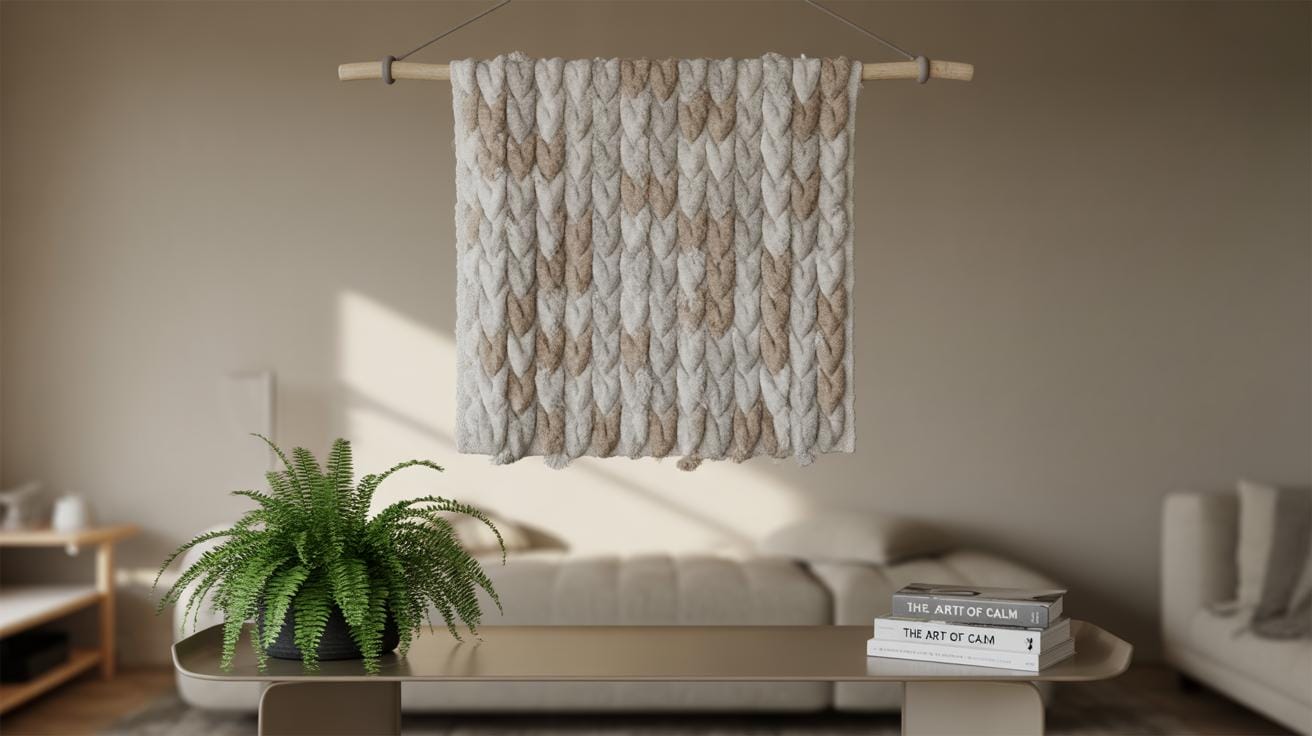
Creating Wall Hangings for Decoration
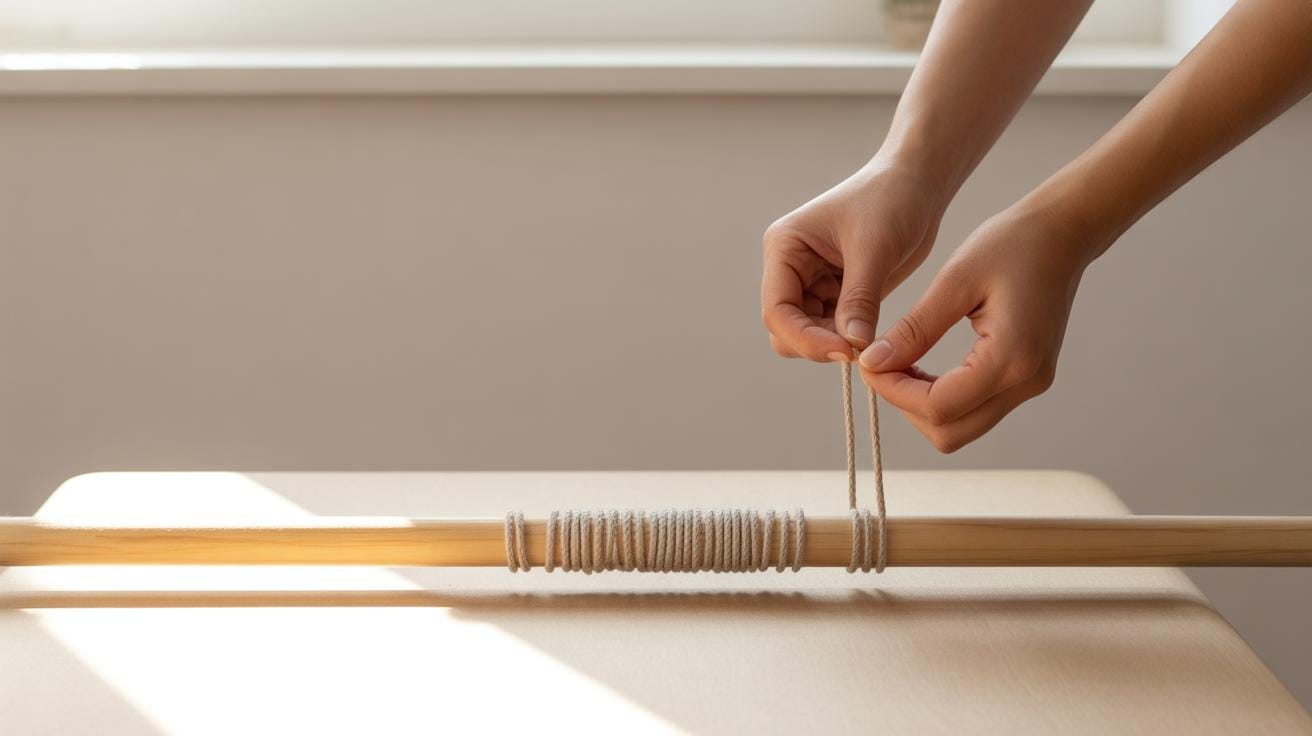
Simple Macrame Wall Hangings Using Basic Knots
You can start a wall hanging project with just a few basic knots—square knots, half hitch, and lark’s head knots will get you surprisingly far. Tie your cords evenly onto a dowel or stick using lark’s head knots. From there, create rows of square knots. Don’t worry about being perfect; slight variations add character. The half hitch knot can form gentle curves or diagonal lines if you want some subtle texture. I found that keeping the pattern repetitive at first makes it easier to follow and helps you get comfortable with the motions. Once you get the hang, mixing knots helps your piece feel handmade rather than machine-made.
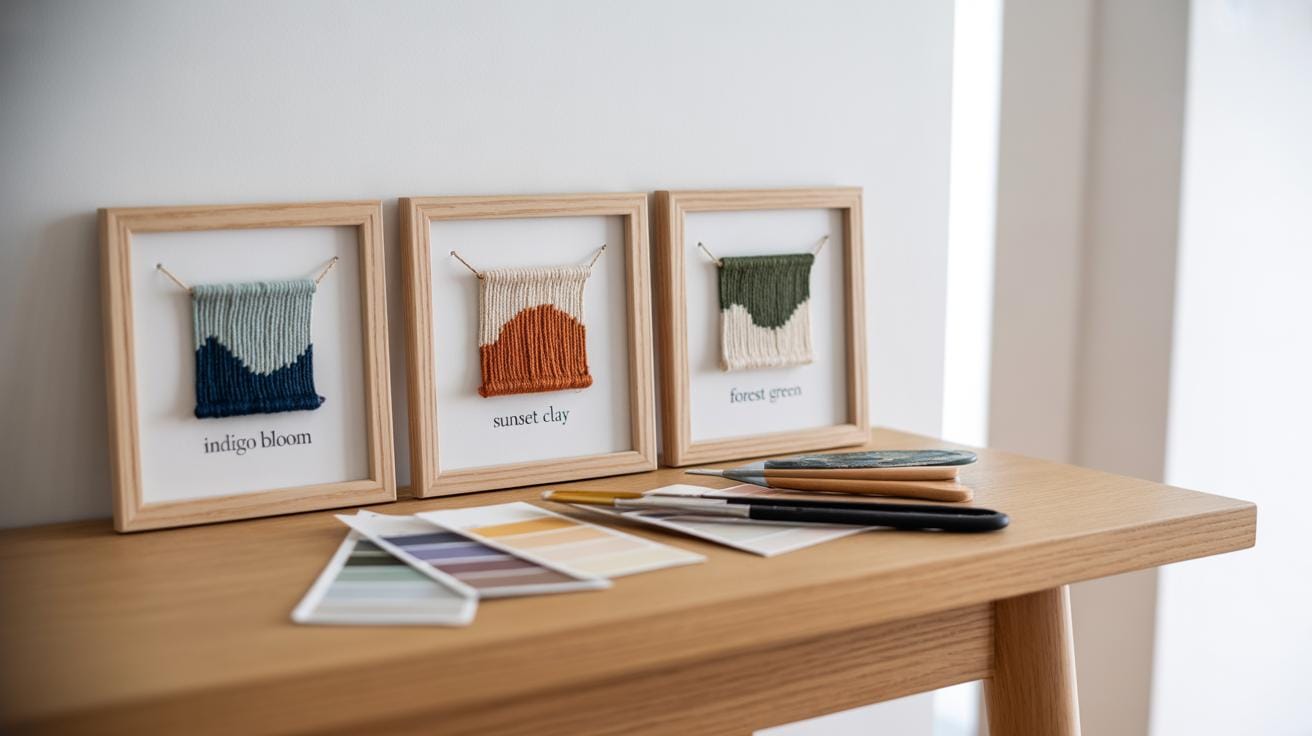
Design Ideas for Wall Hangings
Begin with simple patterns that play on knot placement and spacing. For example, arrange rows of square knots interspersed with empty spaces to let light peek through. Or try a triangular shape by gradually decreasing the number of knots per row. Using cords of different thickness or color can add personality without complicating the knotting itself. Try creating a fringe at the bottom instead of completing all the rows; it adds a nice finishing touch and keeps the project manageable.
- Horizontal rows with consistent knots for a classic rectangular hanging
- Chevron or V-shaped patterns using half hitch knots
- Mixing short and long strands for varied lengths and textures
- Adding beads on select strands before knotting for subtle decoration
Are you sticking with one color or experimenting? What about including a natural wooden rod versus a painted one? These small choices change the vibe a lot.
Mounting Your Wall Hanging
Once your knots are finished and trimmed, it’s time to mount. Usually, you’ll have your cords tied to a wooden dowel or natural branch—both work well, but each gives a different feel. Tie a sturdy cord or twine on either end of your rod to create a hanger. Length depends on where you wanna hang it; short for tighter spaces, longer for dramatic drape. You can also wrap some cord around the middle of the rod and tie it off decoratively. This can add visual interest and help balance the wall hanging’s weight.
Trying to fix your piece directly to a hook instead of a rod? It might not drape as nicely and could pull unevenly. Trust me—taking a little extra time to find the perfect rod and attaching a reliable hanger pays off. It’s part of the art that blends functionality with the look.
Advanced Knots to Expand Your Skills
When you feel comfortable with basic knots, it’s tempting to jump right into complex patterns. But, learning a few new knots carefully can make a huge difference without overwhelming you. Two knots I find worth focusing on next are the double half hitch knot and the Lark’s Head knot. Both open up new possibilities.
Double Half Hitch Knot
The double half hitch knot might sound tricky at first, but it’s really a reliable way to create lines and curves in your design. You form it by wrapping your working cord twice around the holding cord, tightening each wrap carefully. This offers more stability than a single hitch and lets you create tight, precise patterns.
You’ll often use this knot when you want to create diagonal lines or add detailing to your wall hangings or plant holders. Practicing it slowly helps avoid uneven tension—which can make your project look a bit messy—so take your time. Maybe try making several in a row to get the feel of keeping the wraps consistent. Don’t rush; it’s better to have loose knots than stressed cords that might snap later.
Lark’s Head Knot
The Lark’s Head knot is one to know because it’s the easiest and most common way to start many macrame projects. You basically loop the cord around a dowel, ring, or other base, and pull the ends through that loop, creating a secure hold.
This knot feels simple but is super important because it sets the foundation for your whole piece. I sometimes forget how important a neat start is until I try to undo a loose project. It’s used not just to attach cords but also to add additional cords later on without disturbing the main setup.
Practice by attaching cords to a rod or even a chair back, just to get a feel for the tension and placement. Try to keep the loops even and tight but not pulling too hard. Good starts make finishing easier—and that’s the goal, isn’t it?
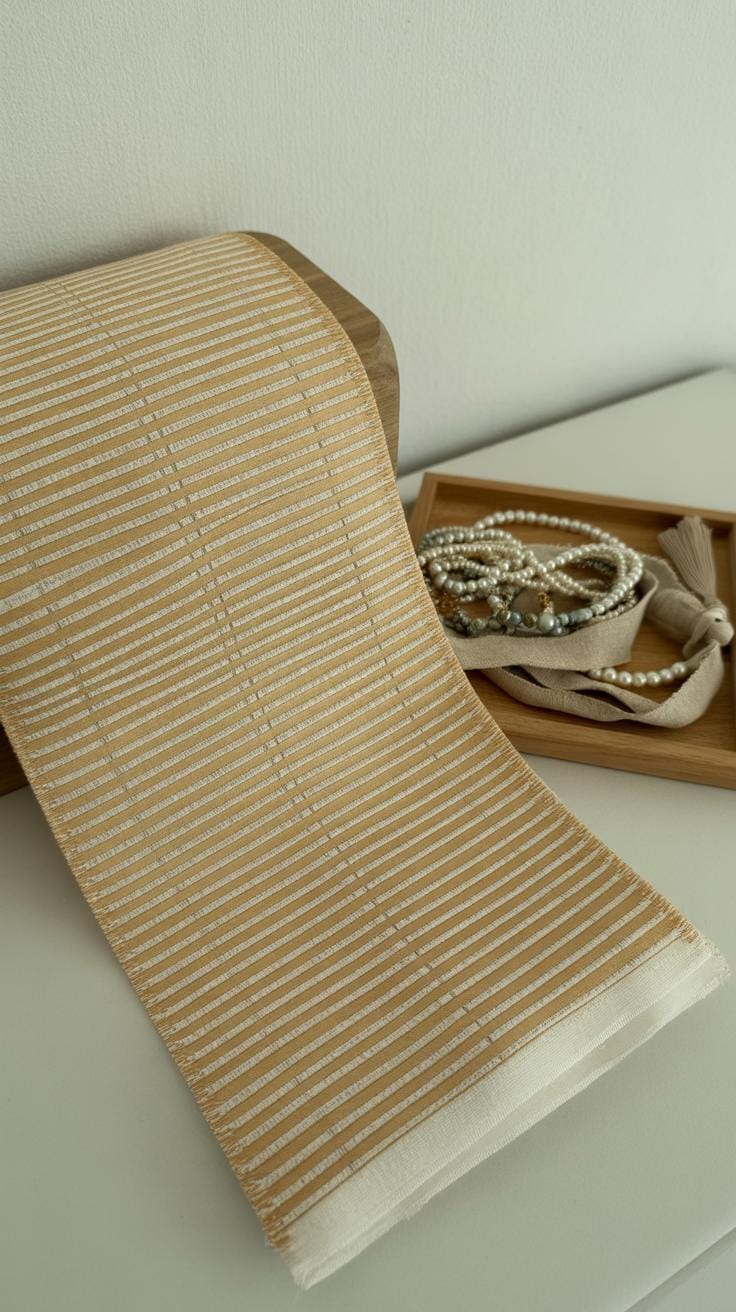
Caring for Your Macrame Projects
Keeping your macrame looking fresh isn’t always straightforward. You might notice dust settling into the knots or cords losing their crispness over time. It’s easy to forget that these pieces need a little attention to stay in shape, especially if they’re hanging around for a while.
When it comes to cleaning, the type of cord makes a big difference. Cotton cords, for instance, can usually handle a gentle hand wash with mild soap and lukewarm water. Avoid scrubbing too hard—it can fray the fibers and ruin your work. For synthetic cords, a soft sponge or cloth dampened with water can help without soaking the whole piece. If you’re unsure, testing a small, hidden section first never hurts.
After cleaning, shaping your macrame is key. You might find knots loosening or edges looking uneven. Carefully reshaping while the cord is damp can restore some structure. I remember once trying to fix a wall hanging after a spill—it took some patience but brushing and adjusting while slightly wet really helped.
Storing macrame is another story. If you blindly toss it into a box or closet, knots tangle or cords flatten oddly. Instead:
- Hang pieces on a hook or a wooden hanger to keep their shape
- Lay flat in a well-ventilated space if hanging isn’t an option
- Wrap delicate or loose-ended cords gently to avoid knots
Sometimes, just seeing them daily and giving a quick fluff or straightening solves a lot. Do you tend to have that problem with your macrame? I find little routine upkeep nudges them to last much longer.
Finding Inspiration and Sharing Your Work
When you’re just starting out with macrame, ideas don’t always come naturally. Sometimes, staring at a blank wall or tangled cords leaves you wondering where to begin next. That’s why searching for inspiration can be a helpful way to spark new projects or techniques. You might find a pattern in an old craft book that surprises you with its simplicity. Websites dedicated to crafts often offer free tutorials, giving you step-by-step guidance on fresh designs. Social media platforms like Instagram and Pinterest host countless photos and videos, creating endless opportunities to explore different styles and knots. You’ll discover everything from traditional plant hangers to modern wall art this way.
Sharing your projects can feel intimidating at first. But putting your work out there, whether online or with a local craft group, brings unexpected benefits. Feedback from fellow macrame fans often encourages you and sometimes offers tips you hadn’t thought of. Joining a group—online forums or even casual meetups—connects you with others who understand the quirks of this craft. People exchange ideas, patterns, and troubleshooting advice that can deepen your skills. Plus, seeing how others interpret similar projects might just inspire your own next creation. Have you ever noticed how sharing your passion can turn a simple hobby into a small community? It really changes the whole experience.
Conclusions
Macrame offers a simple way to create beautiful, handmade items with just a few materials and techniques. By mastering the basic knots and practicing regularly, you can make a variety of projects from wall hangings to jewelry. The steps and suggestions shared in this article will help you grow your skills confidently.
Your creativity is the limit once you understand the basics of macrame. Keep experimenting with different knots and designs. This craft not only lets you personalize your space but also provides a calming and enjoyable activity. Start your macrame projects today and watch your skills blossom.