Introduction
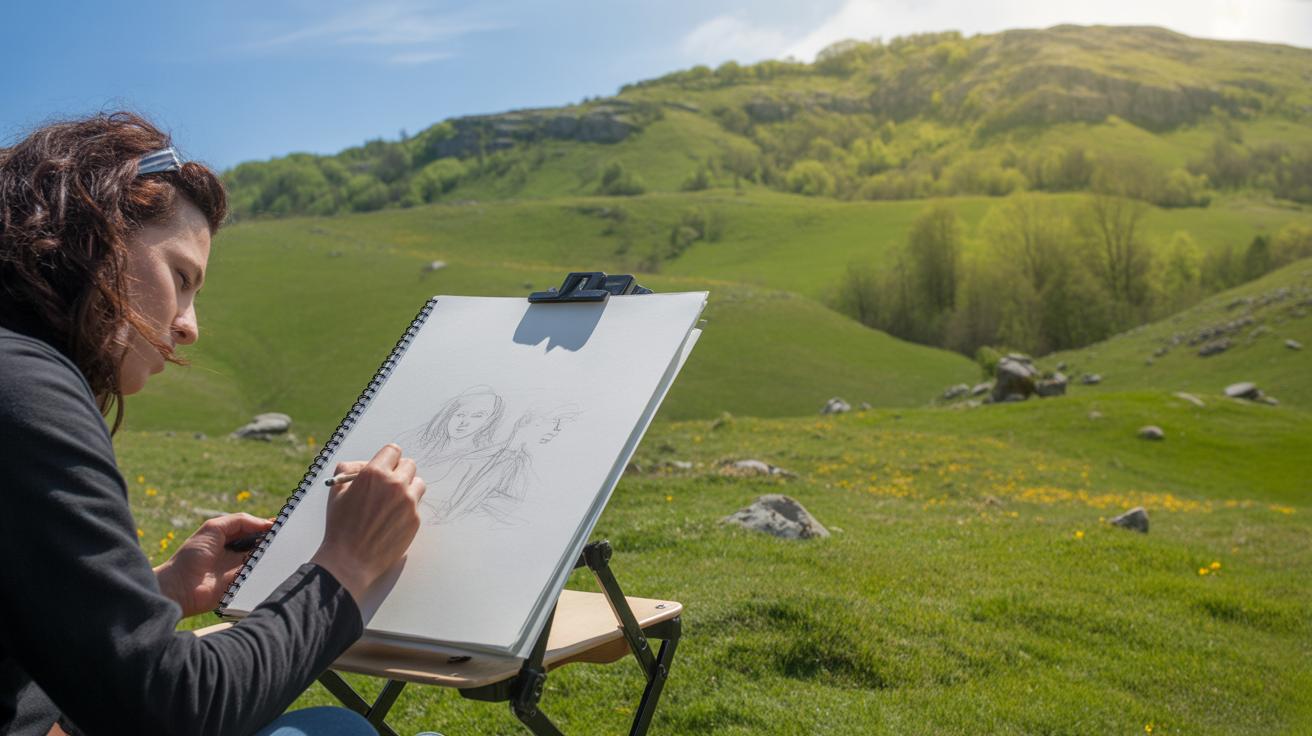
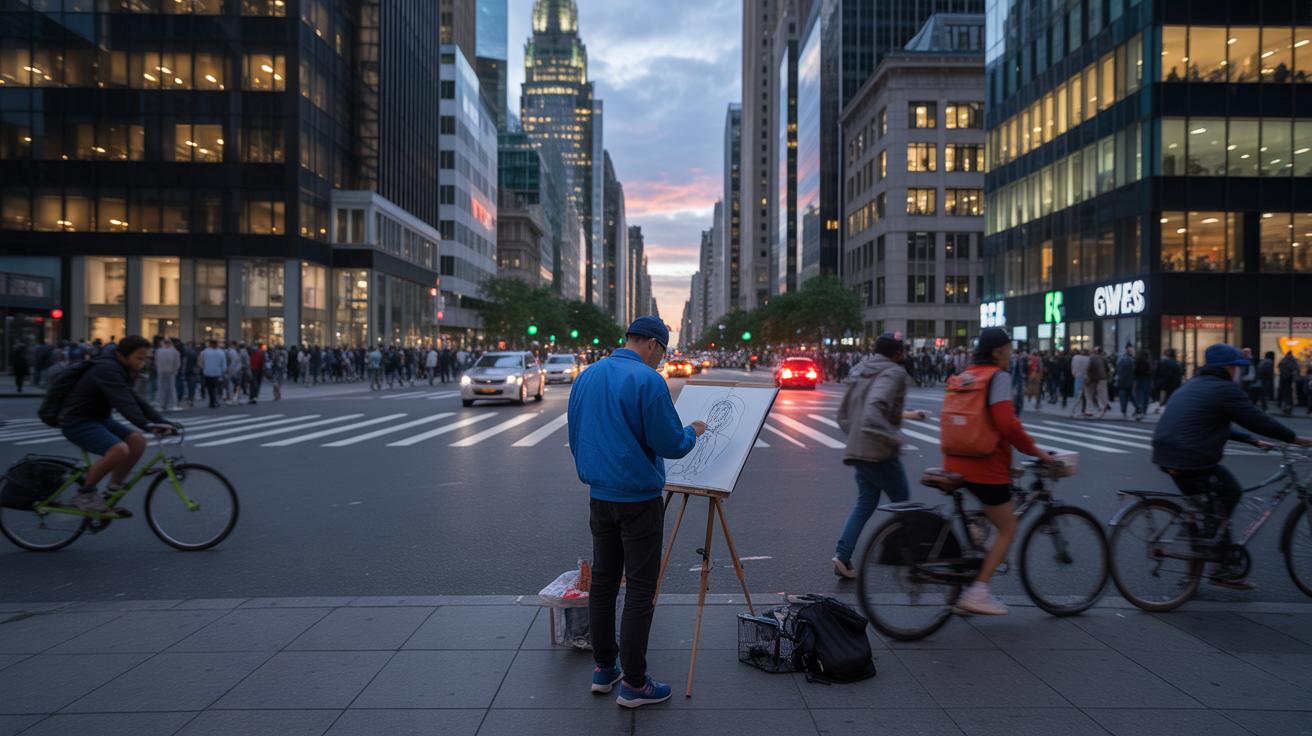
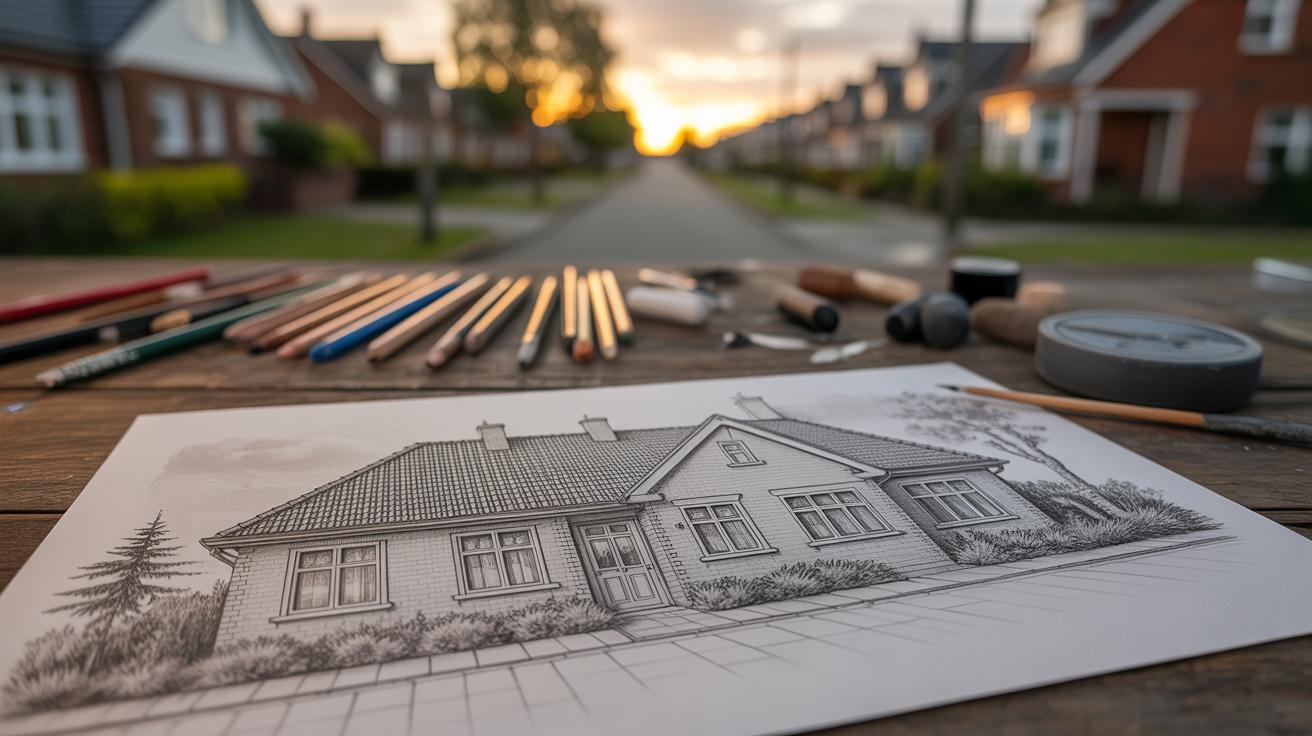
Capturing the essence of a scene quickly is a skill that unlocks your ability to create outdoor art anytime and anywhere. Rapid landscape sketching allows you to seize fleeting moments and translate them into inspiring images. This method is perfect for artists who want to work freehand without focusing on every detail.
In this article, you will explore tips for rapid landscape sketching to help you develop your outdoor art skills. You will learn how to use the right tools, understand the basic methods, and practice techniques that make the sketching process efficient and enjoyable. Let’s start your journey to making quick, expressive sketches that tell powerful stories about nature.
Choosing The Right Tools For Rapid Sketching
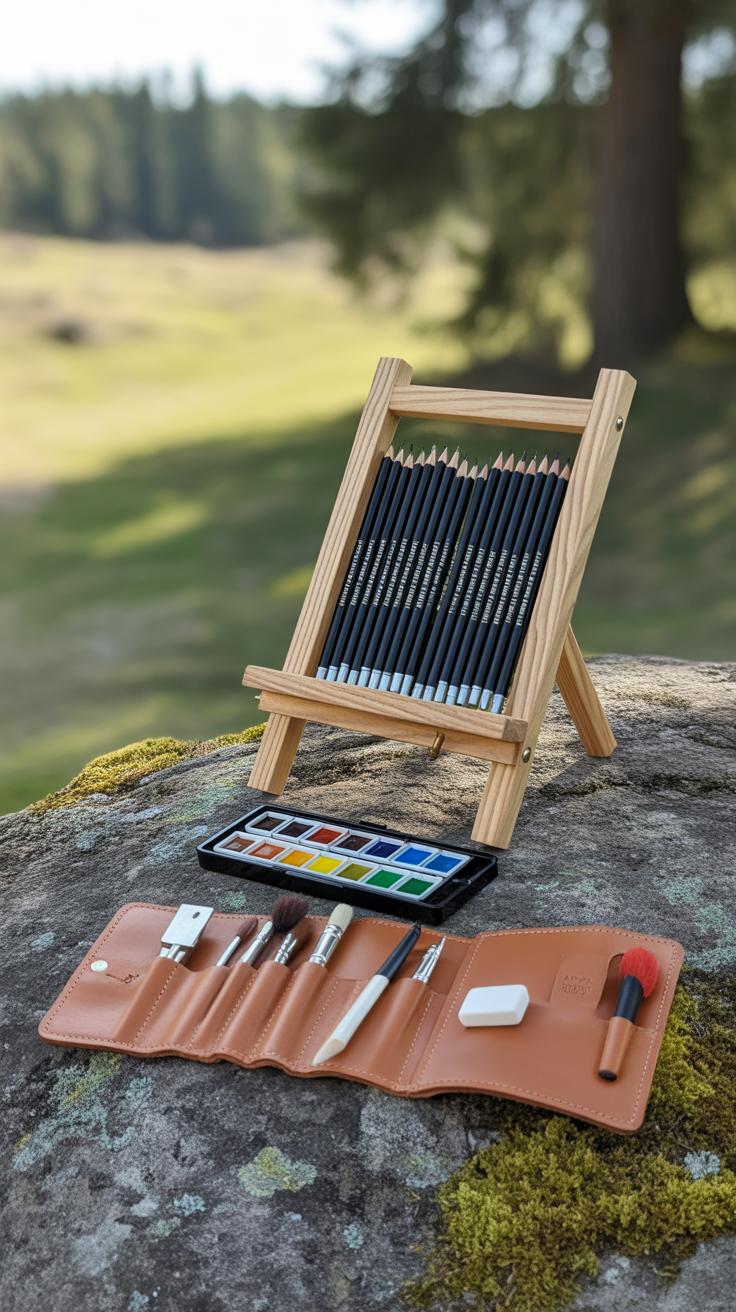
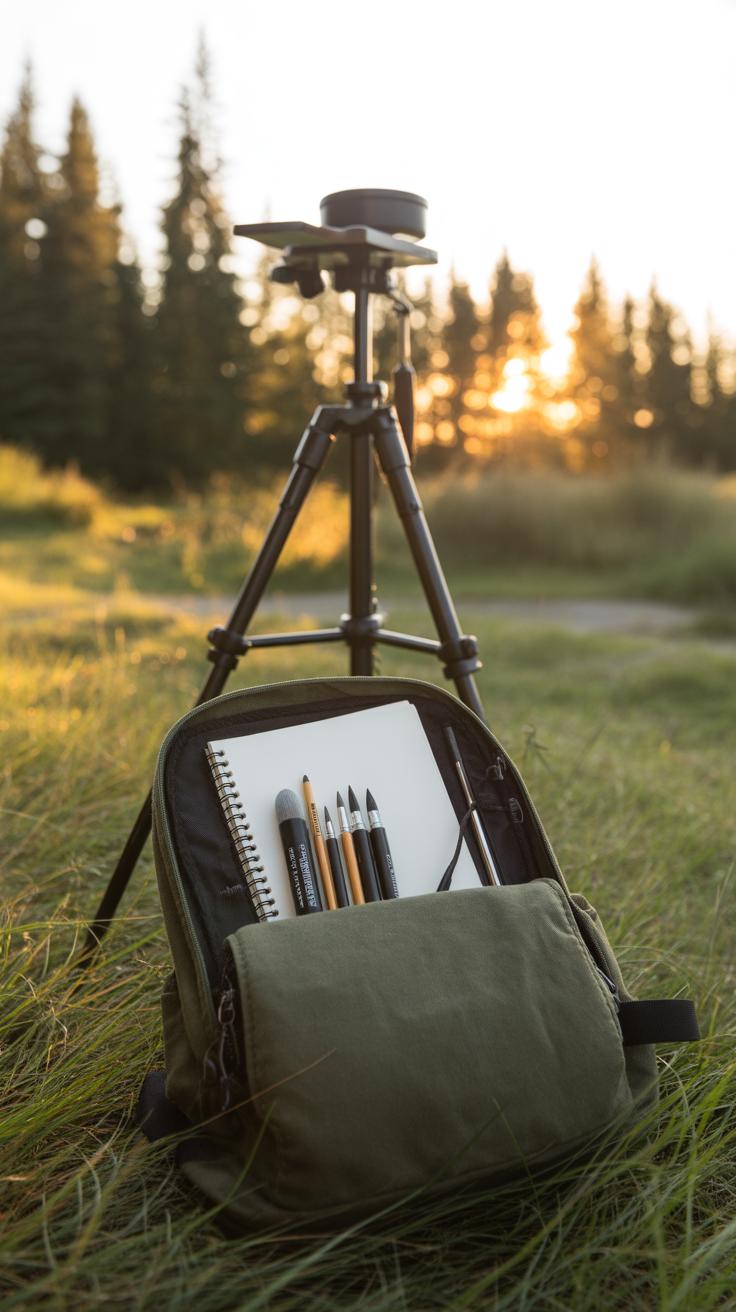
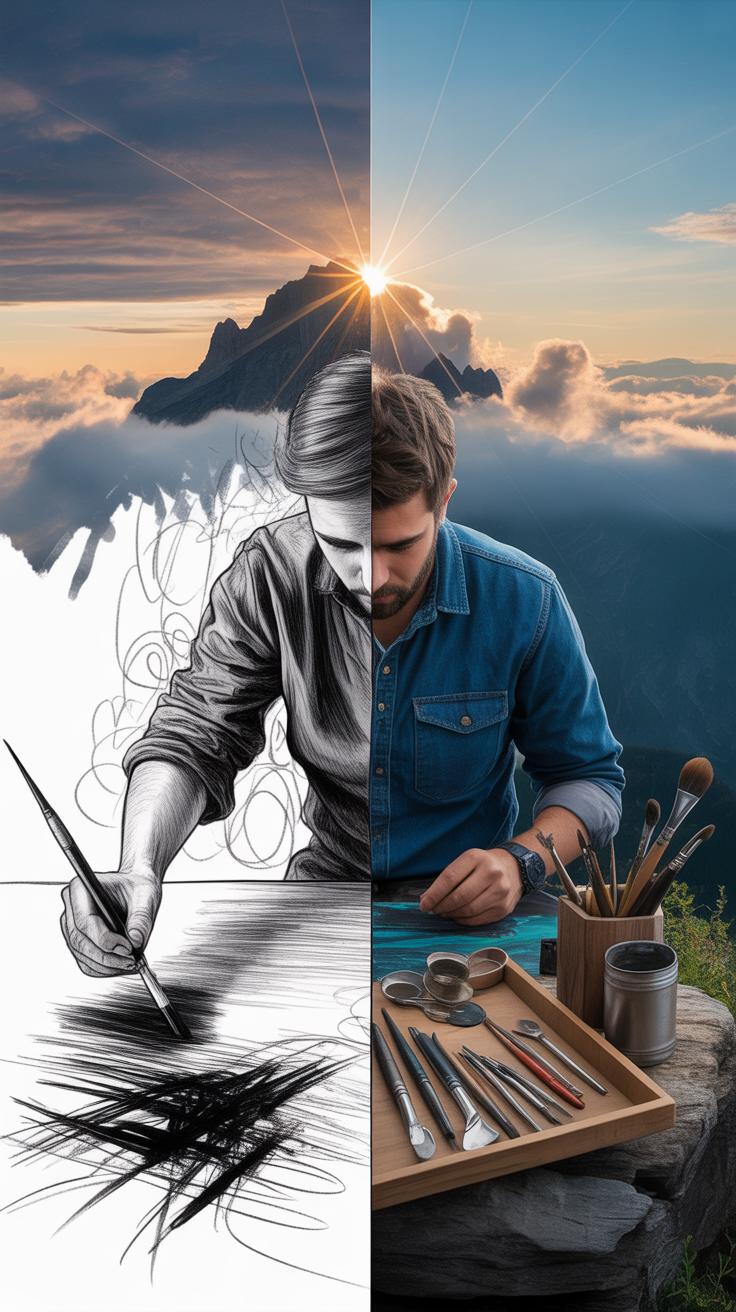
When you’re sketching outdoors, the gear you bring can make or break the experience. You want tools that won’t weigh you down or slow you up. That means lightweight, compact, and reliable — no cumbersome sets or fragile materials. Think about what you can carry comfortably while standing or sitting in uneven terrain.

Pencils are a classic choice because they’re straightforward and forgiving. Mechanical pencils stay sharp longer, cutting down on sharpening stops. For faster, bolder lines, water-resistant pens with fine or medium tips work great. Markers add quick contrast and depth but pick ones with durable tips that won’t fray after a few strokes. An eraser, preferably soft and small, rounds out your kit for quick fixes.
A small, portable sketchbook is essential. Big sketchbooks are tempting, but they can be awkward to hold or slip into bags. A size around 5×8 inches is handy. Look for paper sturdy enough to handle different mediums without buckling, yet not too thick—too thick can add weight and bulk.
For me, carrying fewer but better-quality supplies feels less annoying than bringing everything “just in case.” When tools are light and easy to use, you focus more on the scene, not your bag. That’s the kind of freedom you want.
Best Drawing Tools For Quick Sketches
Choosing your pencil is surprisingly personal. If you want quick, light outlines, a harder lead like 2H or HB might work. For darker, sketchier lines, softer leads—2B or 4B—offer more expression but wear down faster. Mechanical pencils avoid the hassle of sharpening, which is a nice bonus outdoors.
Pens come in many types, but I lean toward waterproof ink and fine tips around 0.3 to 0.5 mm. They provide crisp lines that don’t bleed even if it rains or you decide to splash a little water. Felt tips or brush pens bring in variety and texture but watch that the tips don’t get mushy or hard to control.
Markers? Pick ones with quick-drying ink and sturdy tips. Alcohol-based markers blend nicely but can bleed through thin paper. Water-based markers are gentler on your sketchbook but usually less intense. For quick work, a dual-tip marker offers versatility—you get broad strokes on one end and detailed lines on the other.
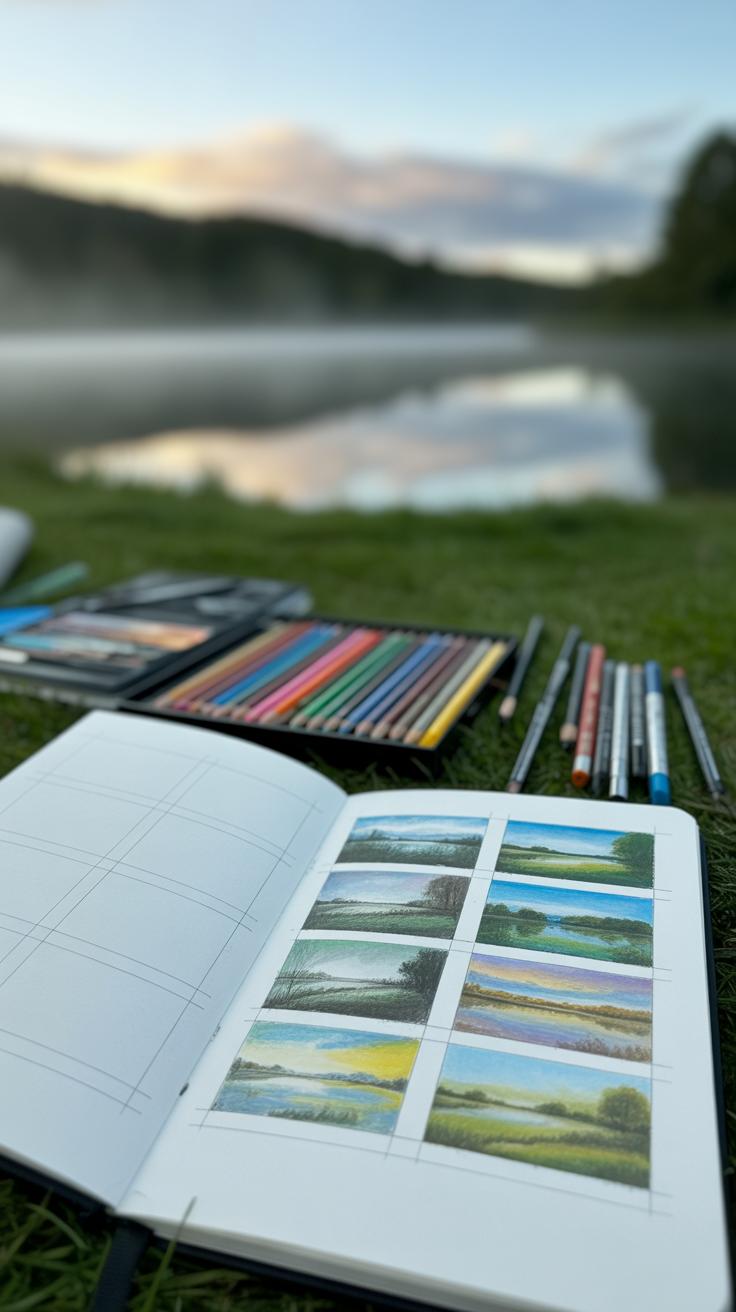
Selecting A Portable Sketchbook
Your sketchbook is your portable studio. It should feel right in your hands, neither too big to hold while standing nor too small to limit your creativity. Many artists prefer spiral-bound sketchbooks because you can fold them flat or flip pages easily, but some like stitched bindings for sturdiness.
Paper choice matters more than you might expect. Rough paper holds pencil and pen marks in different ways; a slight texture can add character to your sketches. Smooth paper favors pen and marker lines but can feel less forgiving when erasing. Weight-wise, aim for paper that’s heavy enough to resist bleeding but light enough to keep you active in the field—around 90-120 gsm is a good range.
I once tried a huge sketchbook on a hike, thinking more space would help. I ended up barely using half the pages because lugging it around became a chore. So, smaller, quality sketchbooks tend to encourage more frequent and happier sketching moments outdoors—you might find the same.
Understanding The Basics Of Rapid Sketching
When you sketch quickly outdoors, the goal isn’t to craft a perfect, polished piece right away. Instead, think about working loosely—letting your hand move freely without getting stuck on tiny details. Sketching fast means capturing the essence of what you see rather than every leaf or blade of grass. Shapes and lines become your main focus. You want to recognize the big forms first—the masses of trees, the sweeping outlines of hills, or the curves of a river.
Over-detailing can bog you down, making it hard to finish or even lose interest. I’ve caught myself trying to draw every rock once or twice, and it never feels productive. So, step back a bit, zoom out, and simplify. Your sketch should feel alive and spontaneous, not labored. Striking that balance between enough detail and too much isn’t always easy, but it’s what keeps the momentum going.
Line Drawing And Its Role
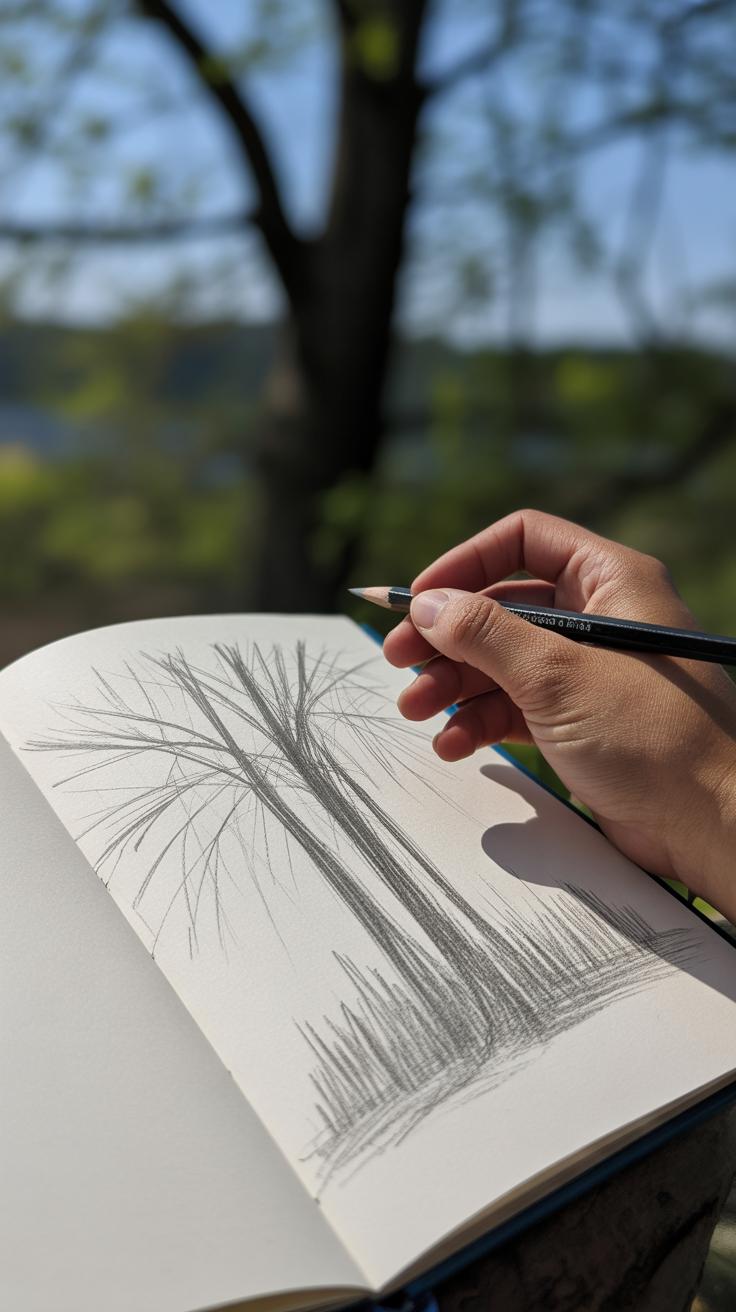
Line drawing is sort of the backbone of rapid sketching. When you focus on lines, you’re basically tracing out the structure and flow of what you see. This is quicker than trying to fully shade or color. Lines tell you where things start and end, their angles, and how they connect. They give form fast.
I find that drawing confidently—without hesitation—creates stronger sketches. Tentative, wobbly lines don’t communicate much. Sometimes, layering multiple loose lines instead of one perfect one pays off better. Lines also help you figure out perspective and proportion in the moment, which is key for outdoor drawing when subjects don’t wait.
Using Shading To Add Depth
Even a quick sketch can benefit from a touch of shading. Basic techniques like hatching (parallel lines) or cross-hatching (lines crossing one another) add texture and dimension without slowing you down too much. Shading lets certain areas recede or pop forward, giving your sketch a sense of form and weight.
When time’s short, you don’t need full gradients. Just a few strokes in shadow areas can make a difference—like under a tree’s canopy or along the curve of a hill. Sometimes, less shading can also leave room for imagination, which feels kind of nice. I often experiment with pressure, pressing harder or lighter with my pencil to suggest different values quickly.
Preparing To Sketch Outdoors
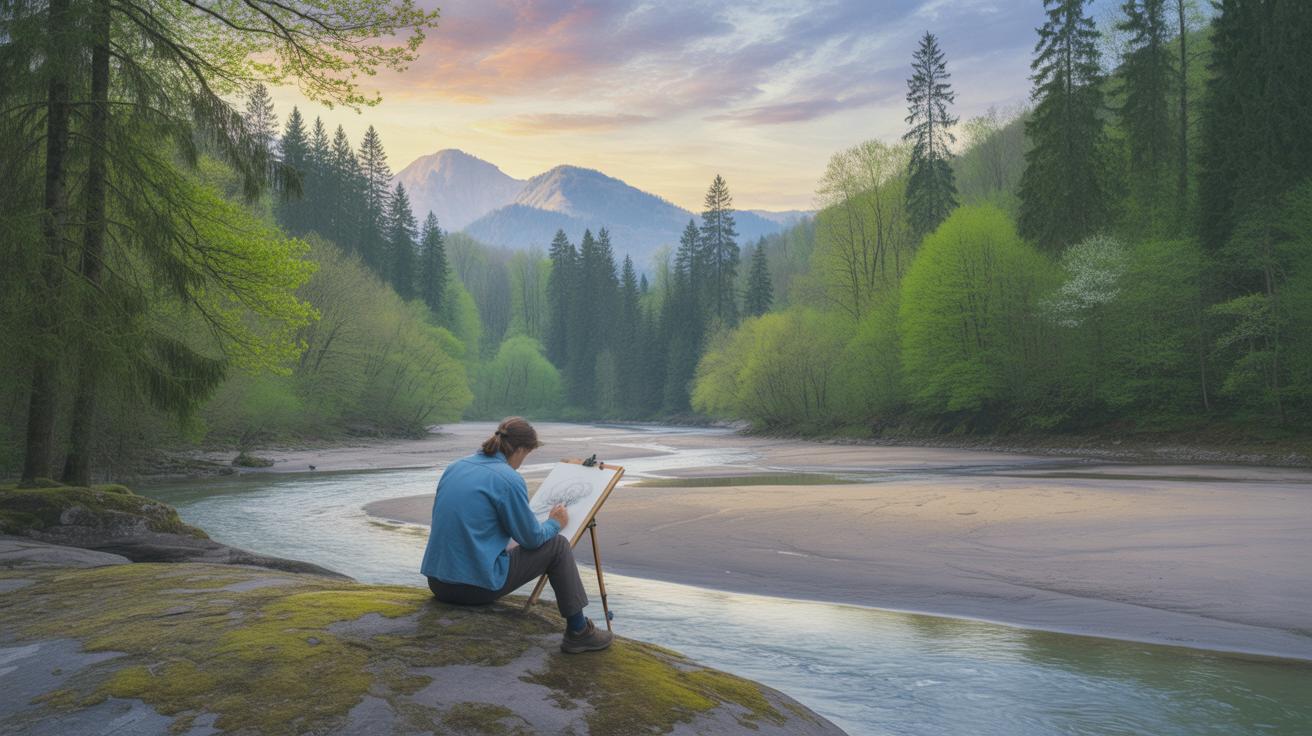
Before you pull out your sketchbook, take a moment to set yourself up right. Finding a spot isn’t just about comfort—it shapes what you’ll see and how easily you can catch the details you want. Sometimes the perfect place isn’t obvious; it might mean a short walk or waiting a bit for the light to change.
Once you settle, look around and assess the light. Is it harsh midday glare, or soft morning shadows? Light changes fast. You want to pick a scene where shadows help bring out shapes but don’t wash everything out. If the sun moves behind a cloud, you might lose that contrast and suddenly your sketch looks flat.
Timing matters. Early morning and late afternoon often give you the best natural light for quick sketches—longer shadows, more texture. But weather can be unpredictable. Sometimes you have to be flexible, maybe make a quick line or two as clouds shift or a breeze stirs the leaves.
- Scout a spot with a clear view and interesting shapes, not blocked by clutter.
- Check the direction and quality of light, favoring angled light that emphasizes depth.
- Plan your session during calm weather; sudden wind or rain can ruin supplies and focus.
- Allow some extra time—not just for sketching but for settling and watching the scene.
There’s a bit of trial and error here, honestly. Sometimes you’ll think a place looks perfect, only to find the shadows too flat or the background too busy. But with experience, you’ll develop a feel for what works and what doesn’t—sometimes without needing to think too hard about it.
Quick Observation Techniques For Sketching
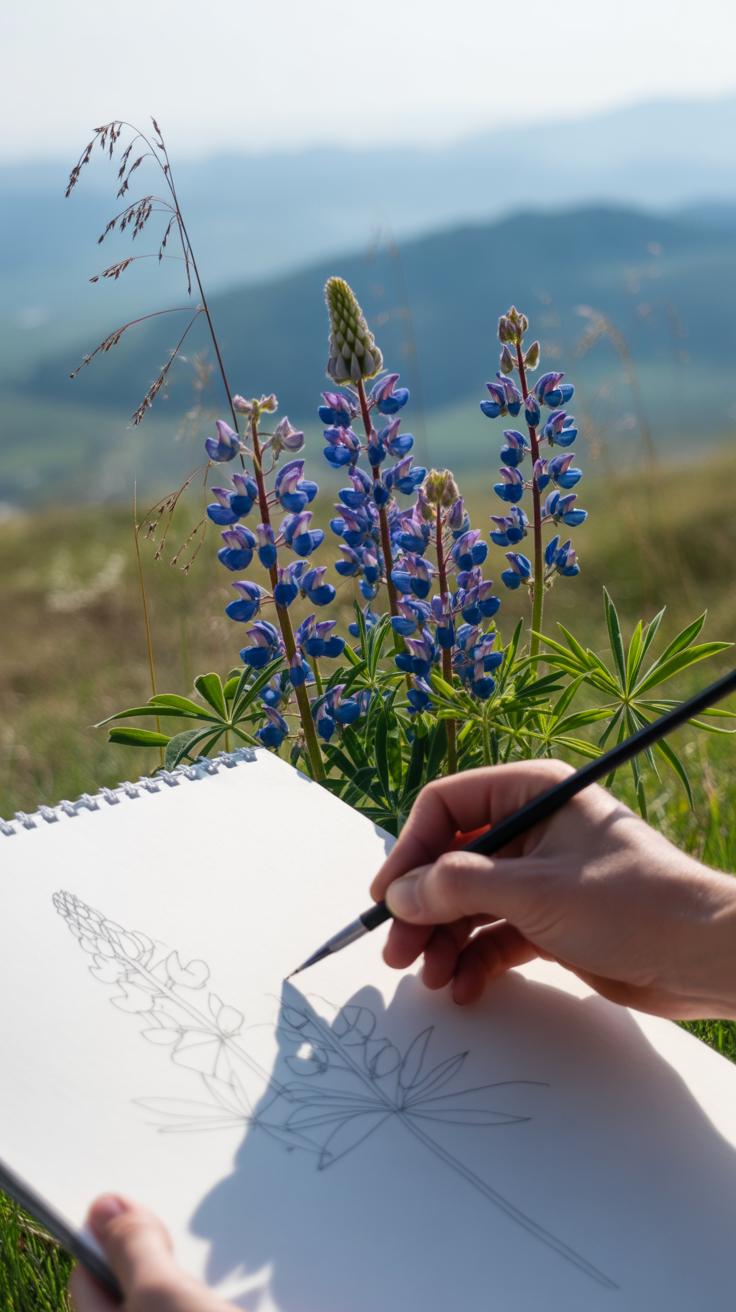
When you’re out in nature with limited time, your eyes must learn to scan fast and focus on what really matters. The trick isn’t trying to draw everything but to catch the essence of the scene quickly. That means picking out main shapes and forms first—things that stand out and give the landscape its character.
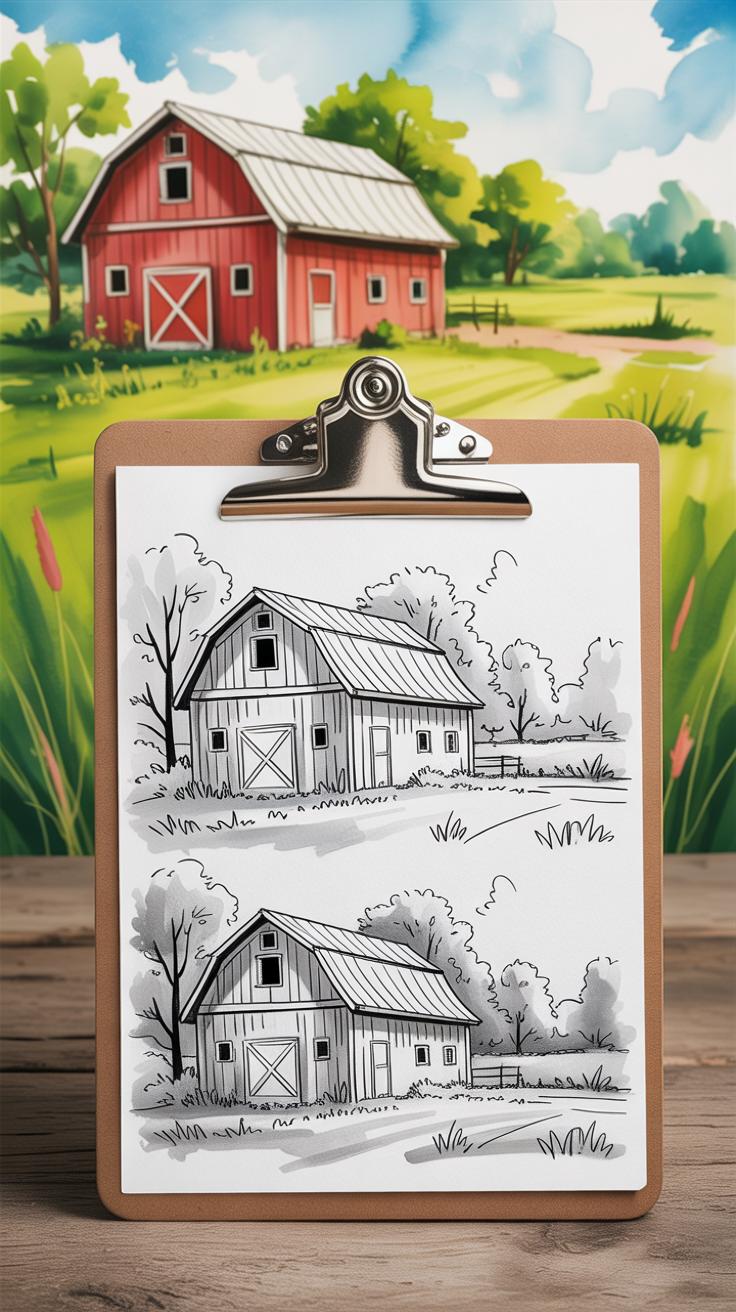
Look for simple geometric shapes: triangles in mountain peaks, rectangles and trapezoids in buildings or tree trunks, ovals in bushes. These shapes help you block in the scene rapidly without getting lost in details. I usually start by identifying a few large shapes—maybe a big triangle for a hill, a rectangle for a barn—and then fill in smaller ones around them. It’s almost like piecing together a puzzle.
Another key is spotting patterns and contrasts. Patterns can be repetitive lines in tree branches or the grouping of stones, which you can suggest with quick marks. Contrast draws your eye—dark shadows against light areas or sharp edges versus soft, fuzzy ones. Noticing where the light hits and where shadows fall transforms a flat sketch quickly. Sometimes, finding just two or three strong light and dark areas is enough to add weight and depth.
Have you ever tried staring at a scene and then closing your eyes? Strange as it sounds, it helps. You forget little details and focus on dominant shapes and overall light values. Next time you sketch outdoors, take a moment to simplify what you see before putting pencil to paper—it can make a big difference.
Steps To Create A Rapid Outdoor Sketch
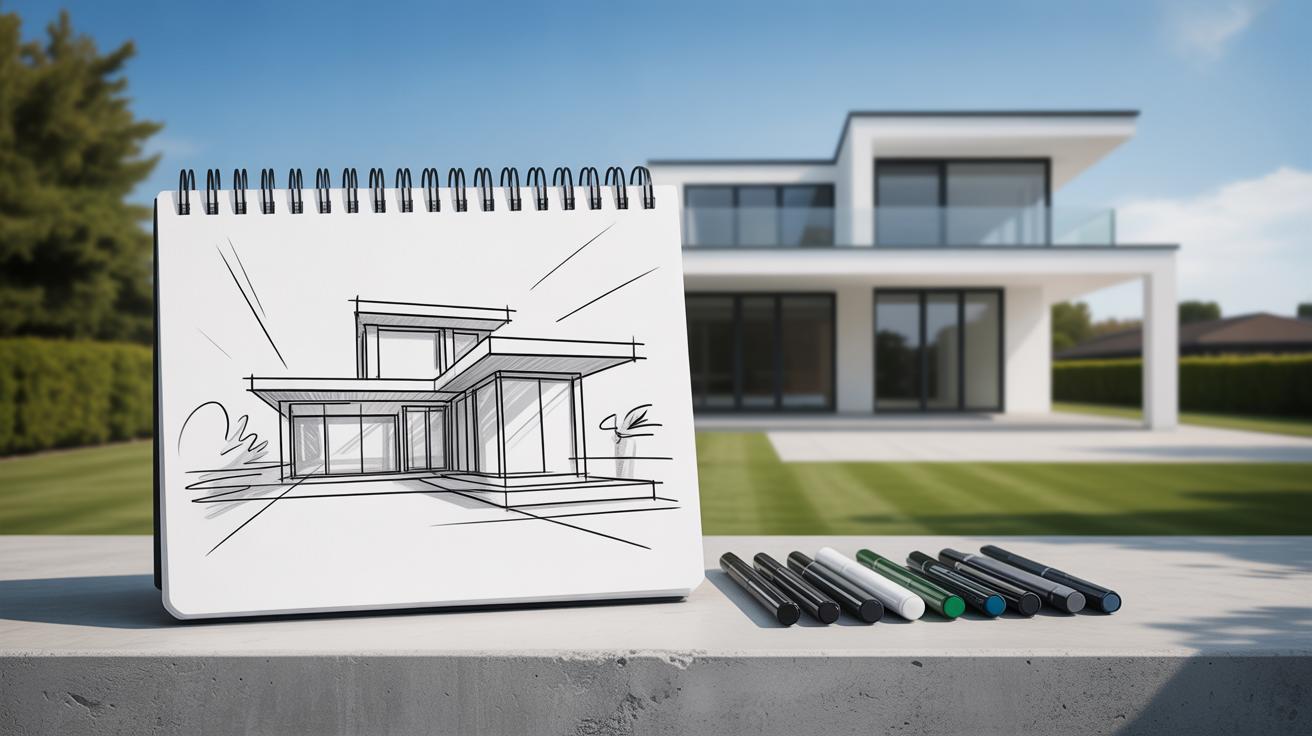
Laying Out The Composition

Start by deciding where your main focal points will go on the paper. You don’t need an exact map, but roughly blocking in the largest shapes helps. Think of placing the horizon first — usually about a third of the way down or up feels balanced, but feel free to shift it depending on what draws your eye.
Next, sketch simple geometric shapes to represent big forms: a triangle for a mountain, a rectangle for a building, circles for trees. Don’t fret over accuracy here; the goal is a loose framework to guide you. Position these shapes with some breathing room around them, so your sketch doesn’t get cramped.
I often find that starting too tightly can make the sketch feel stuck before it even begins. Let your hand wander a bit. Sometimes I place a shape off to the side, only to realize it adds an interesting tension to the scene. The initial layout doesn’t have to be perfect or symmetrical — it just needs to hold enough information to keep you moving forward.
Adding Details Efficiently
Once your basic composition is down, start layering in details selectively. Focus on what defines the scene rather than trying to capture every leaf or blade of grass. Concentrate on contrasts — dark tree trunks against a light sky, or the texture of rocky ground that catches your eye.
Use quick, confident strokes; skip long, hesitant lines. If a detail doesn’t add something important, leave it out. I find it helps to think in “what draws my attention the most?” and sketch only those parts. Perhaps it’s the twist in a branch, or the pattern of clouds. Small hints can suggest more than full renderings.

As you add details, resist the urge to overwork the sketch. The goal is to keep the energy alive, which fades if you slow down too much. Sometimes, less detail actually makes the sketch feel more alive, allowing your viewer’s imagination to fill in the blanks.
Common Challenges And How To Overcome Them
Dealing With Changing Light Conditions
Light can shift surprisingly fast outdoors, and that often throws off your sketch more than expected. The sun might duck behind a cloud, or shadows stretch and squish before your eyes. When this happens, I find it helps to work in layers—start with broad shapes and values first, so if the light changes, you haven’t committed to details that suddenly look wrong.
Another approach is to pick a time of day when the light is steadier, like early morning or late afternoon. But if you’re stuck with midday sun, try focusing on forms and contrasts rather than exact colors or shadows. Sometimes, just noting down the current lighting in quick words or tiny marks on the paper helps you remember what you saw.
Some artists keep a small reflector or use their sketchbook’s page to shade areas, creating consistent conditions to see shapes better. It’s a bit weird but can save your eyes and help your brain make sense of the scene despite changing brightness.
Maintaining Focus Amid Interruptions
Sketching outdoors means you’ll probably face distractions—people walking by, noisy traffic, or curious onlookers. I often tell myself to accept these disruptions, rather than fight them. It’s almost impossible to shut the world out completely, and trying too hard only makes it worse.
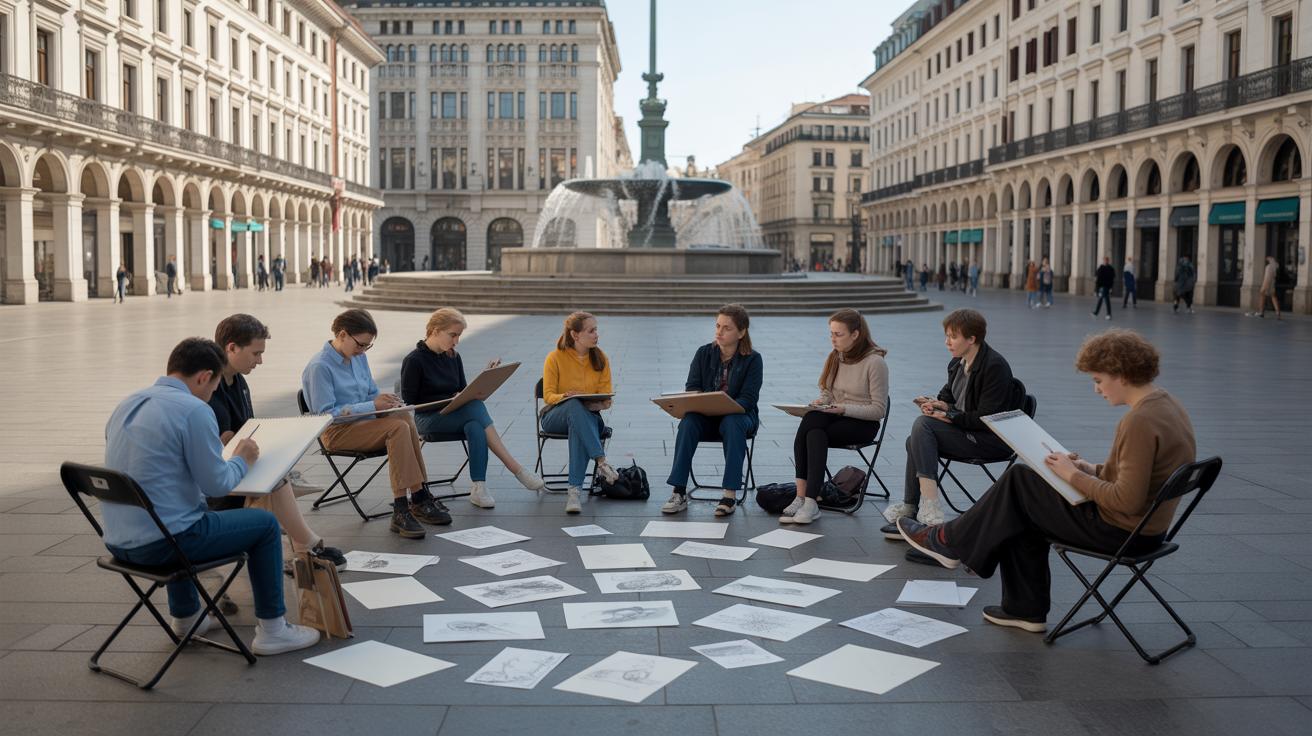
Breaking your sketch into small tasks can help regain focus. For example, concentrate just on the horizon line, then pause, then move on to sketching trees or rocks. This step-by-step approach can keep your mind steady even if a dog barks or a cyclist zooms past.
Sometimes, plugging in earbuds with calm music or white noise works, though it depends on the environment—safety first, right? Also, setting a short timer might create a gentle pressure to focus briefly, which oddly enough helps block out distractions for a few minutes.
Still, it’s normal to lose concentration now and then. When that happens, take a deep breath, look closely at the scene again, and remind yourself why you started sketching outdoors in the first place.
Building Your Skills Through Practice
Practice is often mentioned but rarely feels as straightforward as it sounds. Still, carving out even a few minutes daily for quick sketch exercises can make a noticeable difference in how fast and confident you become. Try starting every sketch session with a simple 5-minute challenge: focus on capturing just the shapes and forms, ignoring details completely. It’s surprising how this sharpens your eye and forces you to make decisions quickly.
Some days, I find it helps to sketch something completely different—like trees one day, water the next—to keep your skills adaptable and prevent boredom creeping in. This also mirrors how nature rarely presents the same scene twice, so keep your drawing muscle ready for anything.
Daily Quick Sketch Exercises
Developing a habit doesn’t mean perfect pages every time. Try these simple routines:
- Set a timer for three to five minutes before you begin sketching any outdoor subject.
- Draw the basic shapes and structure, focusing on speed rather than detail.
- Limit yourself to one or two drawing tools—maybe just a pencil or pen—to simplify choices.
- Experiment with sketching from different viewpoints without pausing to erase or perfect lines.
- Reflect briefly after each sketch about what you caught quickly and what slowed you down.
Over time, this builds your visual memory and helps you trust your instincts more. But sometimes, pushing for speed can make your sketches feel rushed or unfocused—so balancing quickness with observation is a bit of an art in itself.
Experimenting With Different Styles
Trying several sketching styles isn’t just about finding what looks best; it’s about discovering what feels right to you in a given moment. You might find that rough, blocky strokes suit your mood in the morning, while gentle, flowing lines work better as the day fades. Or perhaps mixing styles—like using quick hatch marks combined with softer shading—opens new possibilities.
It’s easy to get stuck copying one “correct” style, but I think freedom to explore lets your sketches breathe. Some days, your lines might be messy and unfinished—and that’s okay. The variety helps your hand and eye respond to different outdoor scenes and keeps your approach fresh. So, why not switch between loose, gestural sketches and tighter, more controlled drawings as a practice routine?
Trying styles can also shake up confidence, sometimes making you second-guess yourself. But don’t overthink it; remembering why you started sketching outdoors can help you push through those moments when things feel off.
Using Your Rapid Sketches To Inspire Finished Art
Quick outdoor sketches aren’t meant to be finished artworks; they’re snapshots of a moment’s impression, a foundation rather than a final product. But that’s where their real value lies. When you return to these sketches later, they can spark fresh ideas or remind you of a scene’s mood and energy that photos rarely capture. Sometimes, a loose line or a splash of color in a hurried drawing hints at a detail worth expanding into a more polished painting.
You might start by revisiting a sketch and asking: Which parts stand out? Could that crooked tree or shifting cloud shape become your focal point? Using your sketches as visual notes gives you freedom to experiment with composition, lighting, or color without pressure.
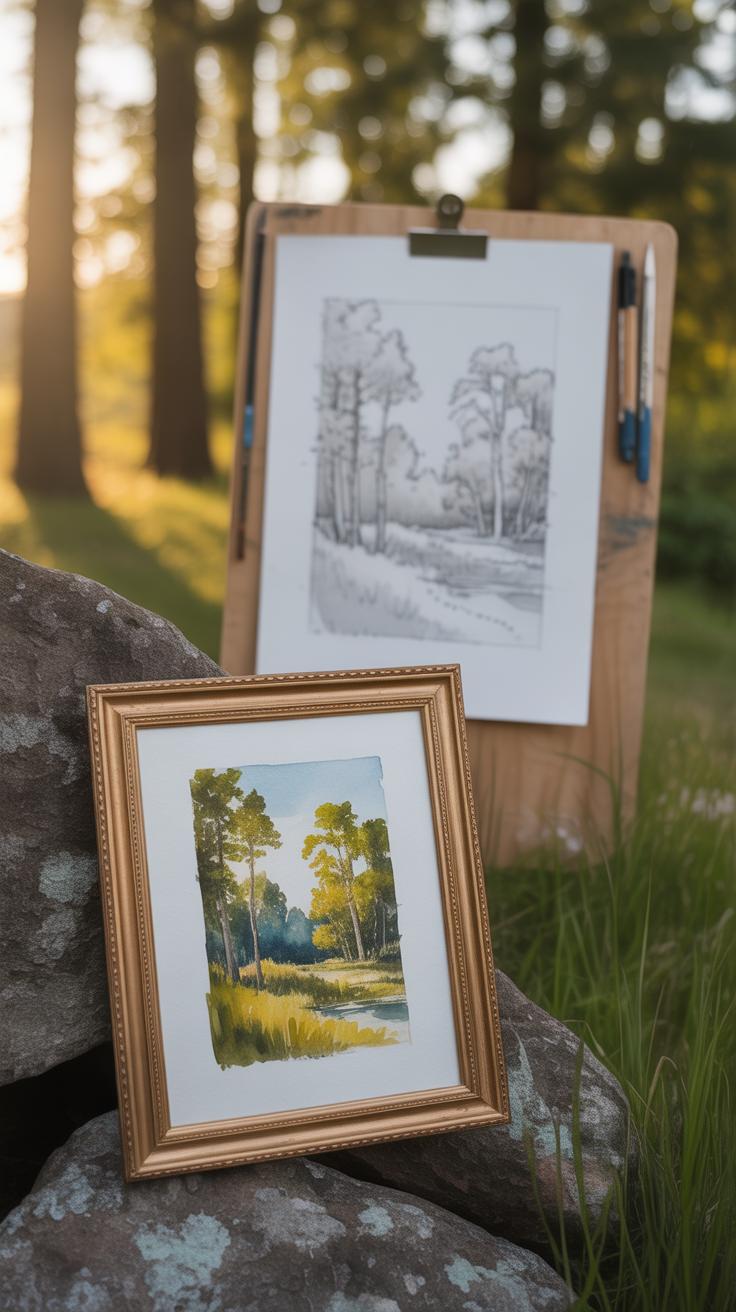
Turning Sketches Into Detailed Work
Transforming your rapid sketches into complete works often means layering. Begin by scanning or tracing your sketch. Then you can develop structure and detail step by step. Maybe you add perspective or correct proportions. After that, explore value and texture, gradually building up complexity.
This process can be straightforward or messy. You might start with acrylics or watercolors right on top of your sketch, or create a digital painting using the sketch as a guide. It’s useful to keep some of the original spontaneity—too much control risks losing what made the quick sketch alive in the first place.
Keeping A Sketchbook As An Inspiration Archive
A sketchbook is more than just a place to draw fast ideas. Over time, it becomes a personal archive of your visual thoughts and progress. Flipping back through it, you may discover old themes or motifs that inspire new projects. It’s like carrying a mini gallery of your evolving style and interests.
Plus, seeing your own growth can boost motivation. Not every page has to be a masterpiece; some exist simply to remind you what caught your attention in a moment. That kind of ongoing reference is priceless when you’re planning future artwork or searching for fresh perspectives.
Conclusions
Rapid landscape sketching gives you the freedom to translate outdoor scenes into art swiftly. It encourages you to observe carefully, focus on key elements, and build confidence in your drawing skills. Using the right materials and techniques helps you capture movement and atmosphere that inspires your creativity.
By practicing these rapid sketch tips, you will improve your ability to represent nature with simplicity and clarity. Keep experimenting with your style and tools, and soon your outdoor sketches will become a personal collection of inspired moments. Remember, the goal is to enjoy the process and express your unique view of the world around you.


