Introduction
Ink pen sketch techniques offer a unique way to capture the essence of urban scenes with precision and character. These skills can enhance your urban sketching by focusing on details, textures, and contrasts that bring cityscapes to life. If you enjoy drawing outdoor scenes, mastering ink sketches can help you create drawings that stand out with clear, sharp lines and dynamic shading.
This article will guide you through essential ink sketch methods to improve your urban sketching skills. You’ll learn about selecting the right pens, controlling your lines, and practical steps to develop your technique. By applying these focused strategies, your urban sketches will gain depth and interest, making them more engaging and professional.
Why Ink Sketches Matter
Ink sketching holds a unique place in urban sketching for several reasons. One is how it brings out details that pencil sometimes misses. The sharp lines and strong contrast draw attention to textures like brickwork, rusted metal, or rough pavement—elements that give a city its character. When you sketch with ink, these features tend to stand out, making the scenes feel more vivid and real.

Many artists are drawn to ink because of its permanence. Unlike pencil, ink doesn’t smudge or fade easily. This quality encourages a certain decisiveness; you can’t easily erase and go back, which might make some feel hesitant, but often leads to bolder choices. Personally, I think that sense of commitment pushes you to observe more closely before setting pen to paper.
Ink’s sharpness helps in clarifying the structure of complex urban scenes. The strong black and white contrast doesn’t just make your lines visible—it adds depth and clarity to the architecture and street life you capture. Maybe that’s why so many find ink sketches more readable and engaging, especially when sharing their work with others.
Advantages Over Pencil Drawings
Ink sketches differ from pencil mainly in visual impact and how long they last. Ink lines tend to be more confident—bolder, and sharper. That boldness can make your drawing pop, whereas pencil often feels softer or more tentative. This can work well for mood, but when you want to emphasize form or edge, ink shows up better.
Durability is another factor. Pencil sketches fade over time and can smudge if handled a lot. Ink, on the other hand, is generally permanent and stays crisp, which means your drawing will age better. I’ve seen pencil sketches lose their charm after a few years, but ink drawings maintain their presence, almost like they carry a stronger story.
There’s also a psychological factor. Using ink makes you think differently about lines—you don’t have the luxury of erasing every mistake. That pressure might sound intimidating, but it can also improve your focus and confidence with each stroke. For some, that’s a reason enough to prefer ink.
Capturing Urban Atmosphere

When you’re sketching urban scenes, atmosphere matters as much as accuracy. Ink excels at capturing the mood of a street or building. The way it handles shadows, reflections, and the layers of city life helps convey not just structure, but feeling. Dark ink strokes can suggest shadowed alleys or the weight of crowds, while white space balances the composition.
Ink’s capacity to emphasize architectural features also plays a key role. Whether it’s the curve of a wrought-iron fence or the sharp angles of a skyscraper, ink outlines these elements with precision. This can bring a scene to life more effectively than softer mediums. Personally, when I see a well-done ink sketch of a city scene, I feel the texture and rhythm of the place in a way pencil sketches sometimes leave out.
Street details—like signposts, windows, or streetlights—gain a new presence through ink. These small components, often overlooked, define the character of a neighborhood. Ink forces you to make deliberate choices about what to emphasize, which can make your urban sketches not just drawings, but stories.
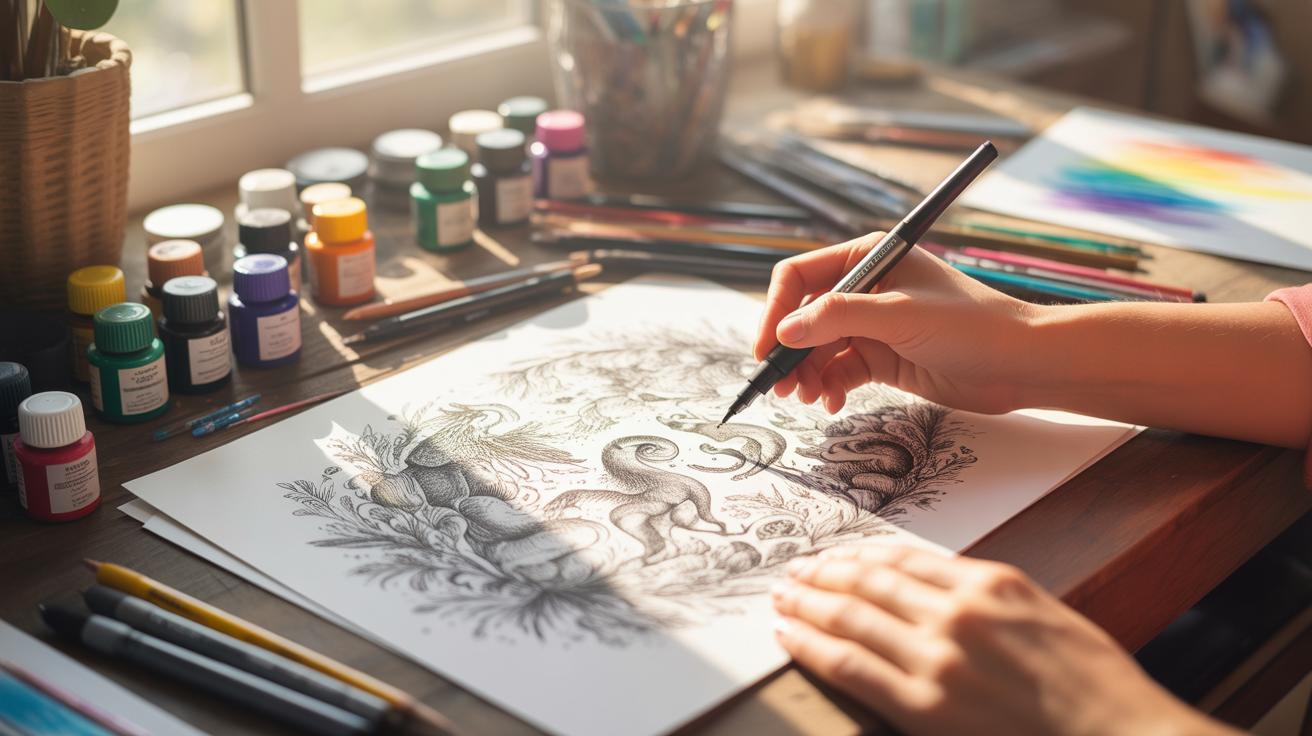
Choosing The Right Pens
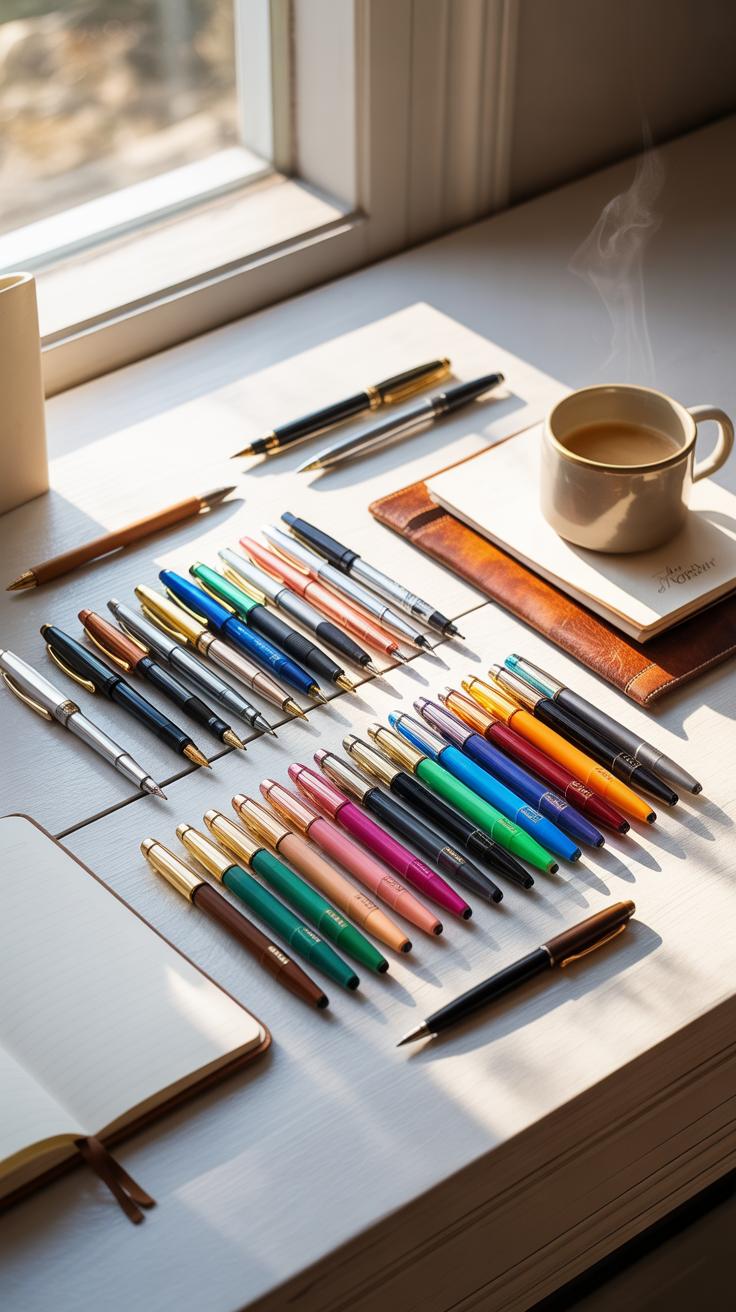
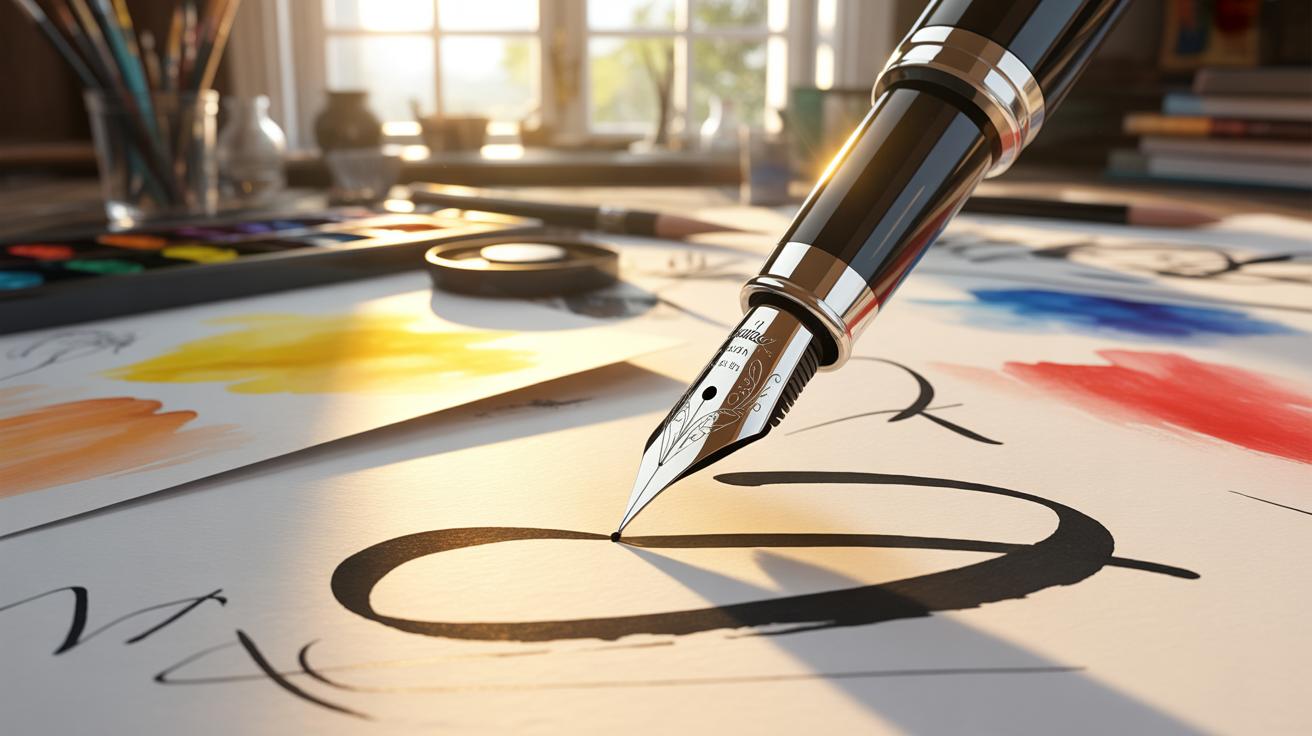
Picking the right pen for urban sketching feels a bit like choosing your tools for a task you don’t fully know yet. You’ll hear people swear by fineliners, fountain pens, or brush pens, but what suits you depends on your style and comfort.
Fineliners offer precision—great for detailed architecture or tight lines. They come in various nib sizes, from super fine (0.1 mm) to broader tips (around 0.8 mm). Smaller nibs give crisp, thin lines but can slow you down, while larger nibs let you work faster at the cost of fine detail.
Fountain pens bring a fluid quality. Their nibs can flex slightly, creating varied line widths with pressure. But you need ink that dries quickly, or you risk smudging. I usually find fountain pens rewarding, but messy at times if your paper isn’t up to the task.
Brush pens let you capture gesture and movement effortlessly. The nibs range from firm to flexible, ideal for expressive strokes or shading. Yet, brush pens can be challenging in tight spaces, and the ink flow varies depending on the brand.
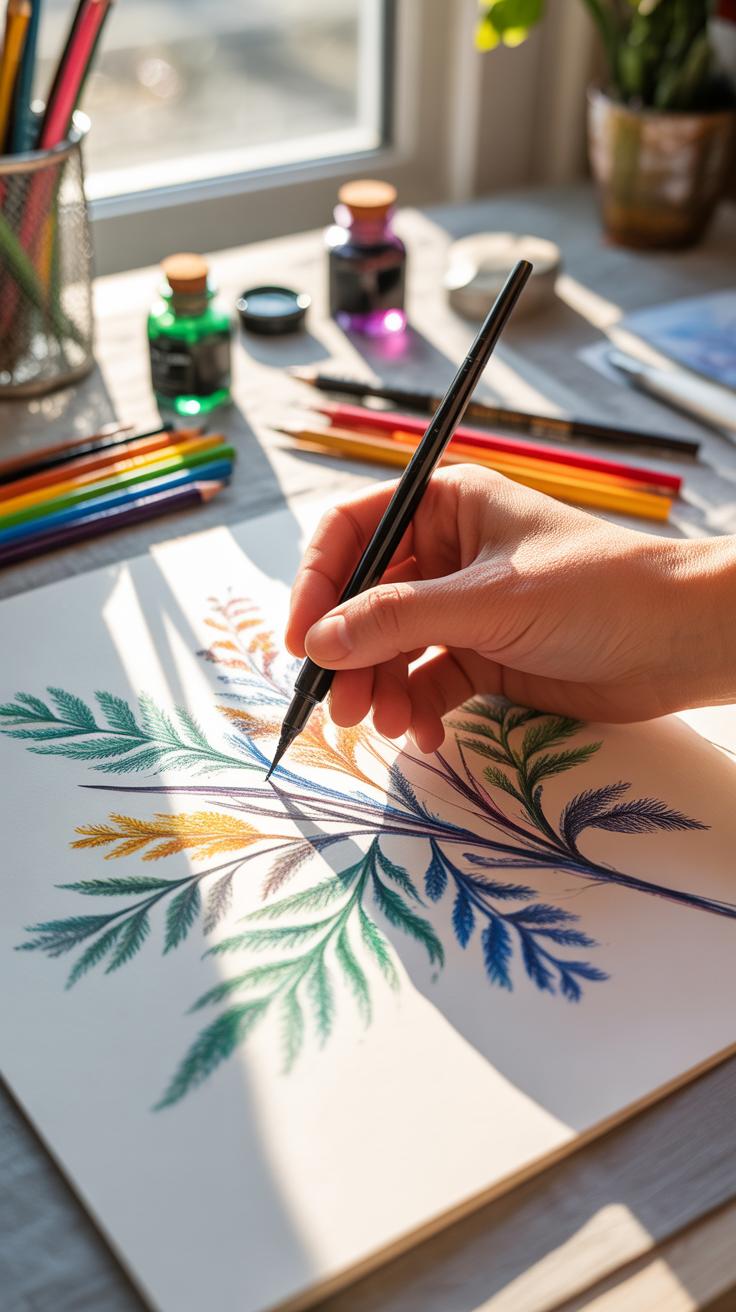
Ink type also shapes your lines—pigmented inks tend to be waterproof and less prone to bleeding, whereas dye-based inks can be vibrant but risk smudging. Pay attention to how your paper interacts with your ink. Rough papers soak up ink more and can cause feathering, while smooth papers might not hold ink well, leading to pooling.
Choosing pens is a bit trial and error, honestly. Try different combos. Notice how the pen feels in your hand, how it moves on your chosen paper. It’s not always just about line quality but also how the tool encourages you to sketch—does it slow you down or speed you up?
Line Control Basics

When it comes to ink pens, controlling your lines feels like mastering a small, delicate instrument. You need to find a rhythm between your hand’s movement and the pressure you apply. Often, people think pressing harder will always make stronger lines, but it’s a bit more nuanced than that. A slight change in angle or speed shifts the line’s quality dramatically. Experiment with holding your pen more upright for thinner lines and tilt it slightly for broader strokes—that subtle difference can open up new ways to define edges or shadows in your sketches.
Moving your hand steadily matters a lot. I remember trying to rush a line once and ended up with a shaky mess. What helped was slow, deliberate strokes, almost like tracing. Yet, too slow sometimes makes the lines look stiff, so there’s a balance to find. It might feel frustrating at first, but steady movements bring clarity and personality to your lines.
Try these points to improve control:
- Use your whole arm, not just your wrist, for longer, smoother lines.
- Practice slow and steady movements, then gradually pick up speed without losing precision.
- Vary the pen angle to see how it changes line thickness without altering pressure.
- Rest your hand lightly on the paper to stabilize your strokes.
Few things feel more satisfying than a clean line flowing naturally from pen to paper. But if you notice shaky or uneven lines, don’t blame your tools immediately. Sometimes it’s just your hand needing a little more confidence and control.
Step By Step Urban Sketch Process
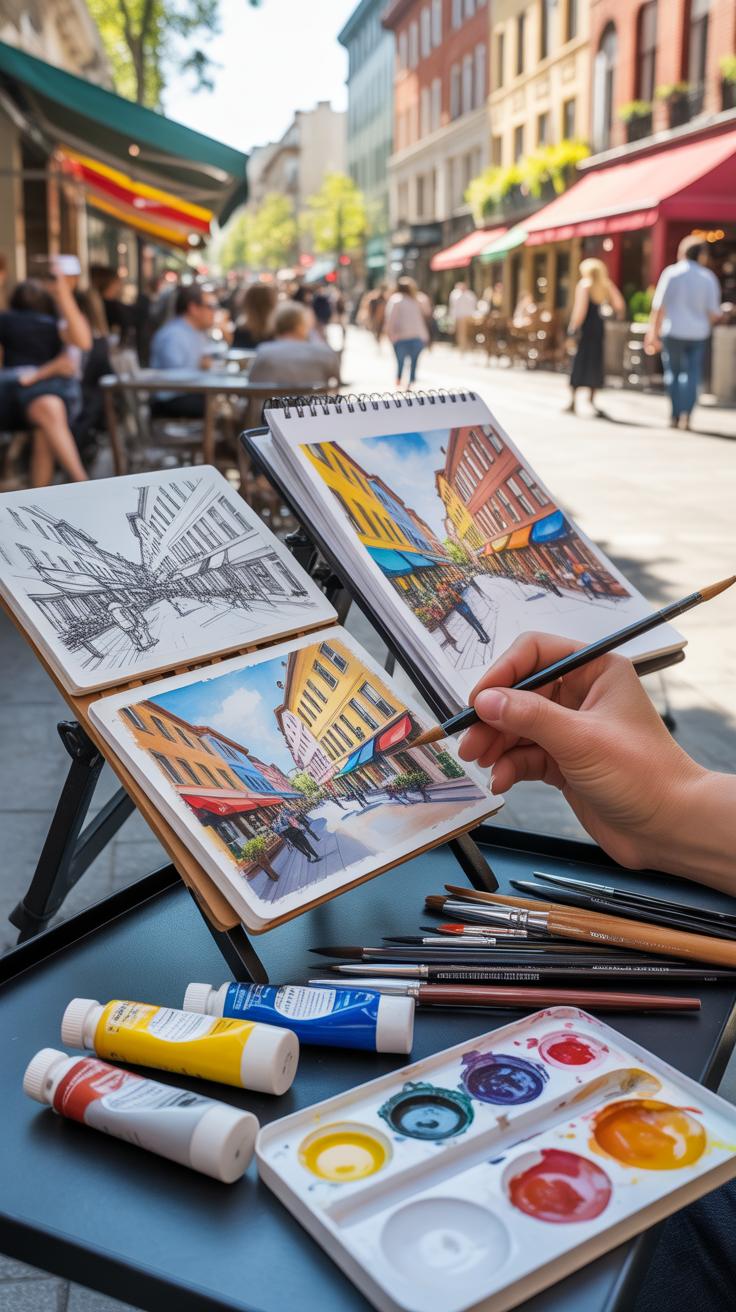
Choosing a scene is where your journey begins. Walk around your city or neighborhood, looking for a spot that catches your eye. Maybe it’s a busy street corner with interesting architecture or a quiet alley filled with shadows. Don’t rush this step—sometimes the best scenes reveal themselves when you least expect.
Next, lightly sketch a rough layout in pencil. This isn’t about details yet, just placement. Block in major shapes and perspectives with soft lines. Think of it as a map for your ink work. Keep it loose and simple. If you start to get too caught up in tiny elements now, you might lose the overall flow.
When you begin inking, start with your main outlines. Use a fine pen to trace over your pencil shapes, but don’t be afraid to adjust lines as you go. The first ink strokes give structure and confidence to your sketch. Sometimes it’s tricky to keep control here — your hand might hesitate or overcorrect. That’s normal and part of the process.
Once your base lines are down, add details carefully. Work gradually, layering lines to build texture and depth. Try cross-hatching or stippling to suggest surfaces like brick or foliage. Avoid jumping into heavy shading immediately. Instead, pause and ask if each new line serves the scene or just adds clutter.

For shading, use varying ink densities sparingly. Strong shadows can emphasize form without overpowering the sketch’s spirit. Balance is key – too much ink can make the drawing feel stiff. Sometimes less really does mean more, even though it’s tempting to “finish” everything perfectly.
Comparing Ink Sketch Vs Digital
When you look at a traditional ink sketch side by side with a digital drawing, the difference is quite clear—yet not just in the obvious technical ways. Ink on paper carries a certain unpredictability. Lines vary in pressure and flow, often resulting in subtle imperfections that feel alive, almost breathing. The rough edges, the occasional blot, sometimes even the texture of the paper all contribute to a unique look you just can’t copy exactly with pixels.
Digital sketches, on the other hand, seem cleaner, more controlled. The workspace feels infinitely adjustable. You swipe, zoom, undo. And those layers—oh, those layers—allow you to experiment wildly without fear. Yet, sometimes this can strip away the rawness that many enjoy in hand-drawn work.
You might find that traditional sketches come with a slower, thoughtful rhythm. The pen in your hand, the way it moves on paper—it’s tactile, immediate, and it demands your full attention. In contrast, digital sketching can feel more like assembling pieces—dragging and dropping colors, selecting brushes, clicking undo, repeating attempts instantly.
The workflow is influenced by these experiences. Ink sketches often call for planning and commitment, maybe a bit more patience. Digital tools encourage exploration and quick corrections, which can either enhance creativity or dilute the intensity of a sketch, depending on how you use them.
Pros Of Traditional Ink Sketches
– Tactile feedback connects your hand directly to the page, creating a physical relationship with the medium.
– Spontaneity arises from unpredictability—every stroke is final, pushing you to be deliberate yet instinctive.
– There’s an organic quality that often feels more authentic to the viewer and the artist.
– You learn to accept imperfections and work with them, adding character to your sketches.

– No screens or batteries, so no interruptions—just you and your pen in the moment.
Advantages Of Digital Sketching
– Layers allow you to separate elements, making complex compositions easier to manage.
– The undo function offers freedom to experiment without fear of ruining the piece.
– Wide color ranges and adjustable brushes open up options that ink alone can’t provide.
– Tools like zoom, guides, and rulers can help achieve precision impossible with pen and paper.
– Files are stored instantly and don’t degrade over time, unlike physical sketches which might fade or get damaged.
So, where do you stand? Are you drawn to the immediacy and charm of ink and paper, or do you prefer the flexibility and convenience of digital tools? Maybe it’s less about choosing one over the other and more about understanding how each can sharpen your urban sketching skills in different ways.
Common Pitfalls To Avoid

Managing Ink Smudges
One of the trickiest issues when working with ink is smudging. It’s frustrating to see carefully drawn lines ruined by an accidental smear. To reduce this, try to plan your hand position as you work. If you’re right-handed, draw from left to right, and vice versa. This way, your hand won’t travel over wet areas. Using a scrap sheet of paper under your hand can also prevent unwanted contact with fresh ink.
Drying time varies depending on the ink and paper, but don’t rush to touch or flip your sketch. Waiting just a minute longer can make a big difference. Some artists use blotting paper to gently lift excess ink. Just be careful not to press too hard or move the paper around. It’s a simple step that can save a sketch from chaos. Have you noticed your smudges often happen around shaded areas? Perhaps that’s where you should pause a bit.
Keeping Sketches Simple
Simplicity in ink sketches often leads to stronger results. It’s tempting to cram every detail into a drawing, but too many lines can overwhelm and muddy the image. I’ve learned that limiting complexity forces you to focus on what’s essential. Ask yourself: what really needs to be shown to capture the scene or mood?
Clear, confident lines usually speak louder than dozens of tentative strokes. Sometimes, less detail invites the viewer to fill in gaps, making the sketch more engaging. Don’t be afraid to leave parts unfinished or implied; it adds a kind of energy and openness. If you find yourself overworking an area, step back. Could a few bold marks do the trick instead of countless tiny ones? It’s surprisingly tough to resist adding “just one more line,” but that restraint can transform your urban sketches.
Tools Checklist For Beginners
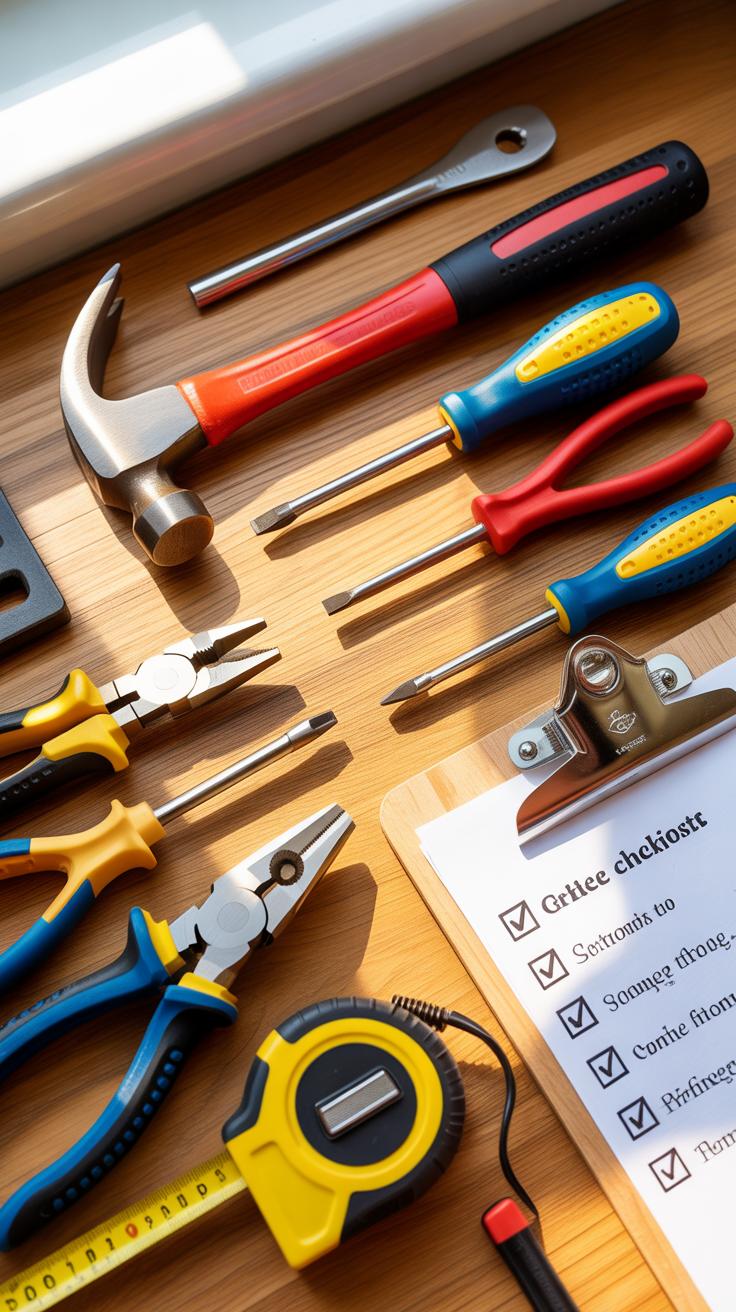
Starting urban ink sketching means gathering a handful of key tools that feel right in your hand. You might think you need a whole studio setup, but really, a few basics will get you going. For pens, fine liners in different nib sizes—like 0.1, 0.5, and 0.8—are most popular. Micron or Staedtler are common choices, but don’t hesitate to try others. I found that experimenting with a brush pen adds variety, though it’s not essential at first.
Sketchbooks are another critical piece. Look for paper that can hold ink without bleeding. Around 90-120 gsm is usually safe. Personally, a spiral-bound book lets you fold pages back for easier outdoor sketching. Smooth paper is often better for ink work, but some prefer more texture—it depends on your style.
Ink itself mostly comes pre-loaded in pens, but bottled ink works if you want to dip or refill. Waterproof black ink is ideal for layering or using with watercolors later. For erasing, a soft rubber or kneaded eraser is enough—the eraser won’t erase ink, but light pencil guidelines help.
Must Have Equipment
- Fine liner pens (varied nibs, such as 0.1 to 0.8)
- Ink-friendly sketchbook (acid-free, medium-weight paper)
- Black waterproof ink pens or bottled ink
- Pencil and soft eraser for initial outlines
- A portable clipboard or drawing board for stability
Optional Extras
- Brush pens for bolder strokes or shading
- White gel pen for highlights or corrections
- Ruler or small straightedge for architectural details
- Compact watercolor set if you want to add color later
- Blending stumps for subtle shading with graphite before inking
- A pen case or pouch to keep your tools organized on the go
Experiencing different tools helps you discover what suits your urban sketch style. If you tend to sketch quickly, smaller pens might work better. If detail fascinates you, varied nib sizes and rulers could be worth trying. What’s your approach? Knowing this influences the tools you choose and shapes your practice.
Examples Of Ink Sketches

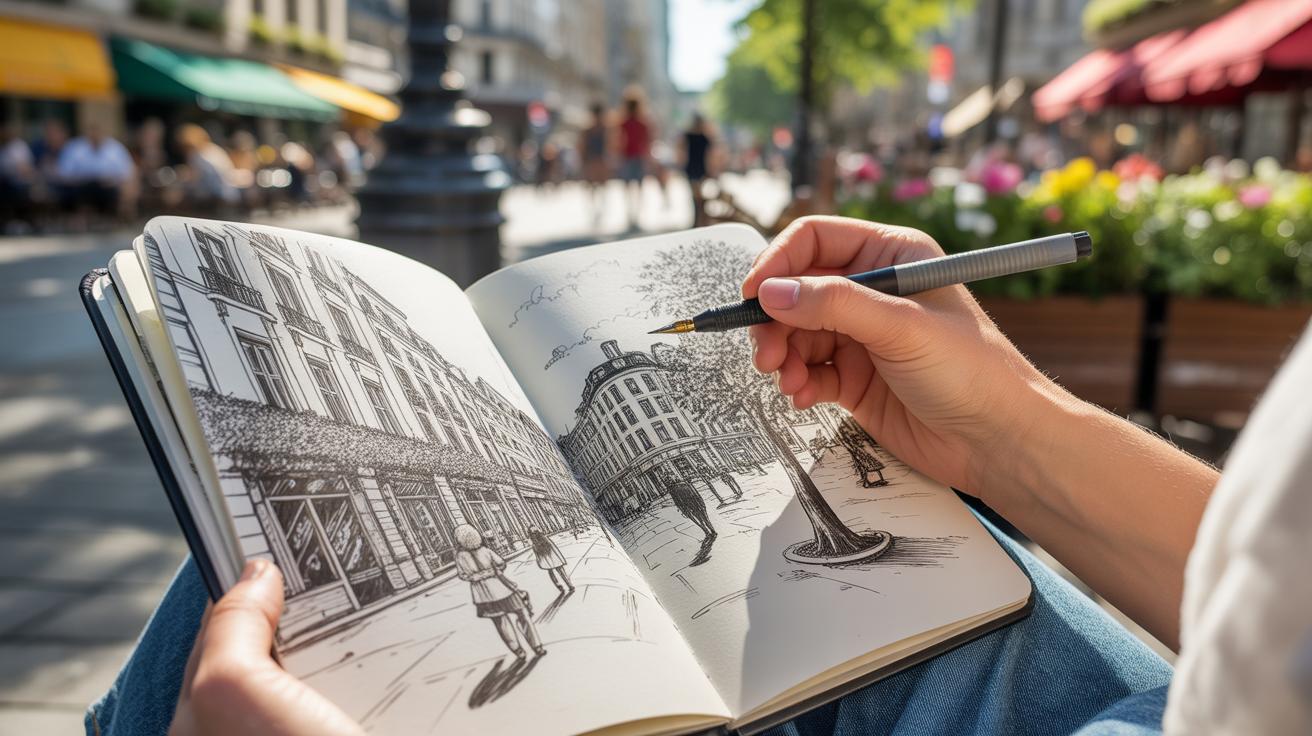
Take a look at an urban ink sketch that captures a bustling street corner crowded with people, vehicles, and a mix of old and new buildings. The artist relied heavily on varied line weights to separate foreground figures from distant architecture. Quick, confident strokes suggest movement—pedestrians rushing, cars honking without needing to be fully detailed.
What stands out here is the layering of hatching and cross-hatching; shadows beneath awnings and between buildings add depth without overwhelming the scene. The occasional blot of solid black anchors the composition, drawing your eye toward key areas like store signs or a vendor’s umbrella. This sketch doesn’t aim for pristine accuracy but instead feels alive, even a bit noisy, much like a real street scene.
On the other hand, consider a quiet park sketch in the heart of the city, where ink lines become gentler, more deliberate. Thin, delicate strokes depict grass blades and leaves, contrasting with the thick, deliberate outlines of benches or lamp posts.
The calm is emphasized through open spaces and fewer overlapping lines. Instead of clutter, the focus is on light and shadow created by simple parallel hatching. You can almost feel the stillness, maybe even hear birds or see a lone person reading. The subtle, uneven quality of the lines — sometimes shaky, sometimes smooth — brings a human touch that feels honest, not forced.
Looking at these examples, you might wonder how you can tweak your ink work to either capture chaotic energy or a tranquil moment. Which approach fits your urban sketching style the best? Maybe you’ll try mixing both in one drawing.
Conclusions
Ink pen sketching is a powerful technique to add detail and personality to urban drawings. By practicing the right methods, like choosing suitable pens and refining line control, you can make your sketches more expressive and clear. Understanding these essential steps helps you capture the unique feel of city life with accuracy and style.
Consistent practice using these techniques will steadily improve your skills. Keep experimenting with different tools and styles until you find what works best for you. Urban sketching becomes more rewarding when you see your drawings gain life and detail through ink pen techniques.


