Introduction
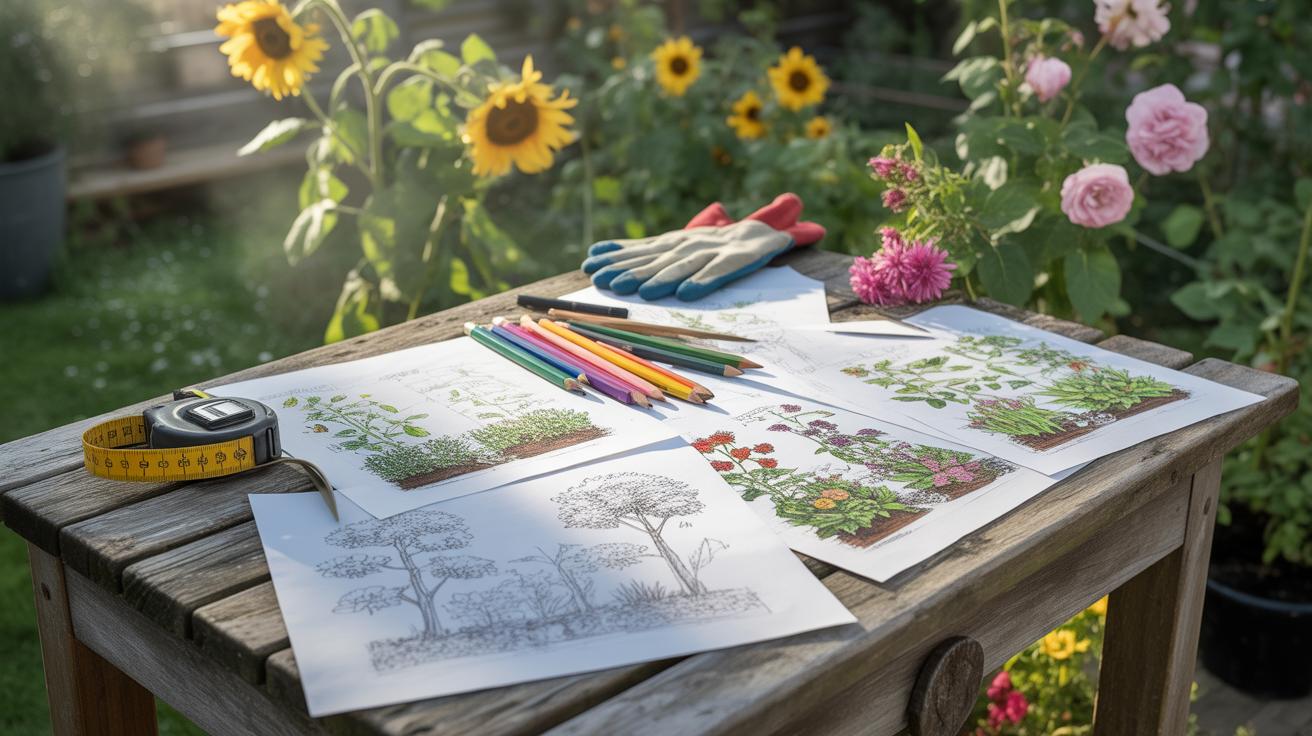
Creating a garden sketch is an important step in planning your outdoor space. It helps visualize how your garden will look and functions before any plants are placed or paths built. But many gardeners make mistakes in their sketches that hurt the final result.
This article covers common garden sketch mistakes that ruin your landscape design plans. You will learn why these errors matter and how to plan better. Following these guidelines will help you create a solid foundation that leads to a beautiful and functional garden.
Common Mistakes in Garden Sketching

When you start sketching out your garden plan, it’s easy to overlook some basic yet crucial details that later make the whole thing unravel. One of the biggest errors I often see—or maybe have made myself—is ignoring scale and proportion. Drawing a garden sketch without a consistent scale sets you up for trouble. You might think a path will fit comfortably between two flower beds until drilling down reveals it’s actually too narrow to walk through, or worse, a tree planned in one spot turns out too close to a fence when planted.
Sketching without proper proportions is like guessing a piece of a puzzle without knowing the size of the other pieces. It leads to cramped spaces or wasted areas that feel awkward when implemented. Think of it this way: drawing a circle that represents a shrub but not accounting for its actual mature size means your garden ends up with overcrowded plants that compete poorly.
Another slip-up: overlooking the site’s unique conditions. When you sketch, it’s tempting to treat the whole plot as uniform soil and sunlight, but gardens don’t work that way. Ignoring things like drainage or sunlight direction causes certain plants to struggle or die despite looking perfect on paper. For example, sketching a sun-loving plant in a shady corner just because it fits the layout leads to ongoing frustration.
You might find that the shadows from buildings or trees aren’t considered and suddenly your supposedly sunny flower bed receives half the expected light. Planting without acknowledging soil type is another thorny issue; clay-heavy spots can drown roots, sandy patches lose moisture too fast, and neither gives all plants the care they need. If you keep this in mind while sketching, you avoid a lot of reworking later.
So, the key takeaway? Treat your sketch like a rough but real blueprint. Always check the scale; make room for how plants grow and think through the land’s quirks before putting pen to paper—or pencil, if you prefer.
How to Plan Your Garden Sketch

Before you put pencil to paper, take time to really understand your garden space. Start by gathering detailed site data: measure carefully, note sun patterns, soil type, drainage, and any existing structures or plants that stay. These fixed features shape what you can realistically plan for, so missing them could mean your design clashes with reality later.
When measuring, try using a tape measure for small areas, but if the space is larger, pacing out steps or employing a laser measure might save you some headaches. Sketch your space to scale—roughly at first—and mark spots like trees, paths, fences, or buildings. Don’t forget things like power lines or slopes; they often get overlooked.
Think hard about your garden’s purpose. Is it for quiet relaxation, growing vegetables, entertaining friends, or something else? Your goals will steer the kind of plantings, hardscape, and layout you’ll need. At the same time, consider what style speaks to you. Do you lean toward formal symmetry, wild naturalism, or something modern and minimal? This affects how you arrange elements and pick features.
Sometimes, your preferences might feel at odds with the space itself. That’s okay. Try to balance your vision with practicality—your sketch will evolve as you figure out what really works. After all, no design is perfect at first glance.
Garden Sketch Setup Checklist

Before you put pen to paper—or stylus to screen—make sure your garden sketch has all the essentials. Missing one can throw off your entire plan, trust me. Start by outlining the property boundaries clearly. This gives you a real sense of scale to work with. Next, sketch in fixed elements you can’t move, like fences, walls, or existing trees. It might seem obvious, but I’ve seen designs ignore those and cause headaches later on.

Don’t forget paths, driveways, and any water features. These set the stage for how people will move through your garden. Then, add utility points such as irrigation heads, electrical outlets, or outdoor lighting spots. You want these mapped out early to avoid last-minute surprises.
Think about access points too—doors, gates, or terraces. These affect flow and how you position plants or furniture. Lastly, make a note of soil types or slopes if you know them. These details shape what plants will thrive and where.
Listing Hardscape and Softscape Features
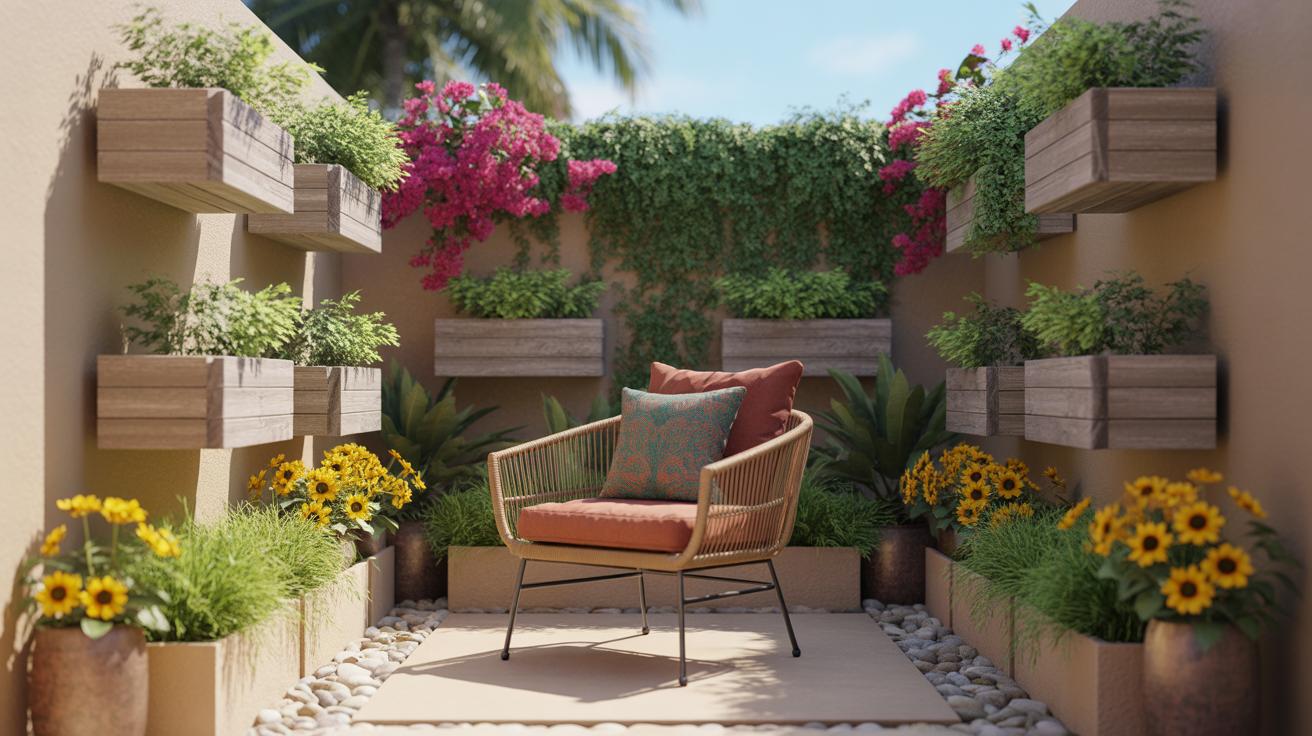
Hardscape and softscape elements serve different roles but both deserve attention when drafting your sketch. Hardscape refers to the non-living components like patios, walkways, retaining walls, or pergolas. Plan these carefully because they’re permanent fixtures. Their placement influences everything else, from plant groupings to seating areas.
Softscape covers the living parts—trees, shrubs, flowers, lawns. When listing these, include plant sizes at maturity, bloom times, and textures if you can. I once forgot to consider mature tree heights, and it turned out some spots became unexpectedly shady.
Try categorizing hardscape and softscape clearly in your sketch. It helps you see the balance—too much hardscape makes a garden feel stiff; too much softscape can overwhelm maintenance plans.
Marking Sun and Shade Areas
One of the trickiest parts is figuring out where sun and shade fall during the day. You might guess, but seasonal shifts can surprise you. Mark these zones on your sketch—it guides you in placing plants where they’ll do best. For example, sun-loving flowers go in the bright spots, while shade-tolerant ferns or hostas can thrive under tree canopies.
Don’t forget to note areas affected by afternoon or morning sun differently. I find afternoons harsher, and some plants can wilt unexpectedly in that heat. Also, buildings or fences cast shadows that change through the year. So, take a couple of site observations, if possible.
Pinpointing these light patterns can save you from redoing your planting later. Plus, it might even inspire new ideas for seating spots or garden art in spaces with the best light.
Common Garden Sketch vs Landscape Design Roles

When you think about a garden sketch, it’s easy to assume it’s just a smaller version of the full design. But really, garden sketches and landscape design play very different roles—though they’re linked. A garden sketch is like your first attempt at capturing ideas on paper. It’s rough, open to change, and mostly about figuring out where things might go.
Sketching lets you test basic concepts visually. You can quickly try different layouts, see how paths or flower beds might flow. It’s not about details yet, more about shape and feel. I remember once making a sketch where I scribbled potential spots for seating just to check sightlines. It wasn’t perfect, but it helped clarify what I wanted before going further.
Landscape design takes all those early ideas and adds the real specifics. It’s where you pick exact plants suited to your soil and climate. You plan hardscape features like patios, walls, or irrigation systems. Maintenance also becomes part of the equation—how much effort will it take, and how will everything age?
So, in brief:
- Garden sketches provide a loose plan, a base to discuss and visualize ideas.
- Landscape design turns those ideas into a full set of instructions that consider practical details and ongoing care.
They’re connected stages, but the sketch isn’t just a tiny design—it’s more a conversation starter in your planning process. Maybe that’s why skipping the sketch phase can leave you stuck with vague plans. Without it, you risk diving into decisions too soon, missing the chance to explore options freely.
Tools to Create Effective Garden Sketches

Sketching your garden can be surprisingly straightforward—or not, depending on the tools you choose. Sometimes, a plain pencil and a scrap of paper do just fine. Other times, you might find yourself wishing for more precision or color to bring your vision closer to reality. It really depends on how detailed you want to get and how confident you feel about your drawing skills.
Using Traditional Drawing Tools
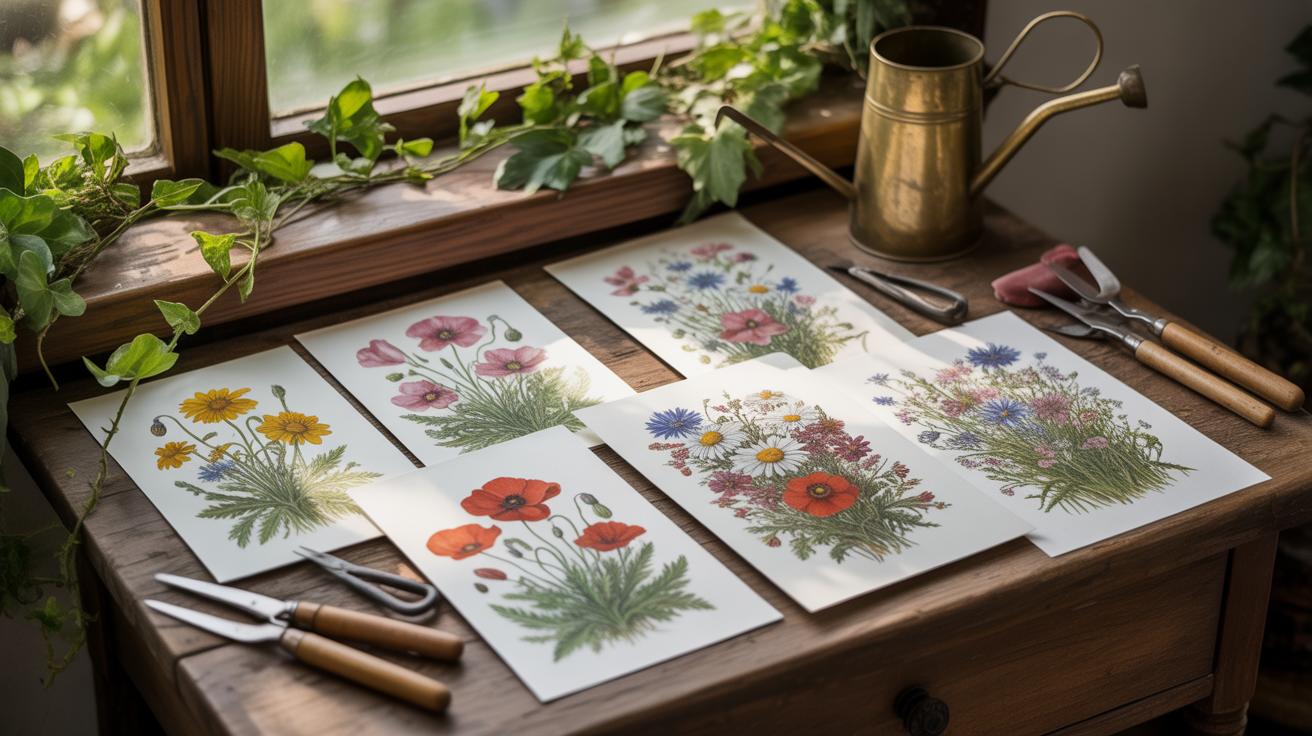
Grid paper can make a world of difference. It helps keep your proportions in check without the need to constantly measure. When paired with a ruler, you can draw straighter lines and more accurate shapes. This really helps when plotting out paths or defining bed edges. Colored pencils often come in handy too—they allow you to separate flower beds, grass, and other elements at a glance, reducing confusion later on. I’ve noticed that when I use color in my sketches, it’s easier to spot where I might have crammed too many plants or overlooked empty spaces.
Digital Sketching Software Basics
For those who want to move beyond paper, there are beginner-friendly apps and software that don’t require a steep learning curve. Many offer drag-and-drop features—you just select a plant icon or a patio shape and place it where you want. These programs often include scale tools too, so your sketch matches real-world dimensions better. This means fewer surprises when you start planting or building. One app I played with recently even lets you tweak layouts quickly, saving time compared to erasing and redrawing by hand. Sometimes, though, digital tools can feel a bit limiting—you might miss the hands-on feel of pencil on paper, which is oddly satisfying and helps think through ideas differently.
How to Avoid Overcrowding in Your Sketch

Overcrowding in a garden sketch often sneaks in because we get excited about fitting everything we want into a limited space. But if you’re not careful, your plants and features end up cramped, competing for light, water, and room to grow. Keeping your sketch balanced and spacious means thinking ahead—about both the present and the future.

Start by planning plant group sizes carefully. Don’t just think about how a plant looks now, but about its mature size. A small sapling can become a sprawling shrub in a few years. Give each plant enough breathing room for healthy root growth and air circulation. Sketch circles roughly representing how wide each plant will get, then space them out to avoid overlap. You might find it tricky to resist crowding; I know I do. But open space helps plants thrive and makes your design easier to maintain.
Clear pathways are often overlooked in early sketches, yet they’re crucial. Paths aren’t just for walking—they define movement and create visual breaks between planting areas. Reserve ample space for these paths. Narrow walkways can feel confining, while wider ones invite exploration. Think about who will use the garden and how—maybe even picture yourself walking through it. You want paths to be practical but also a part of the design’s charm.
When sketching, try to switch between close-ups and stepping back mentally to get a sense of overall space. Does anything look squeezed? If so, adjust before finalizing. Avoid the temptation to fill every inch. Sometimes, less really is more—even if it doesn’t feel that way at first.
Examples of Poor vs Good Garden Sketches

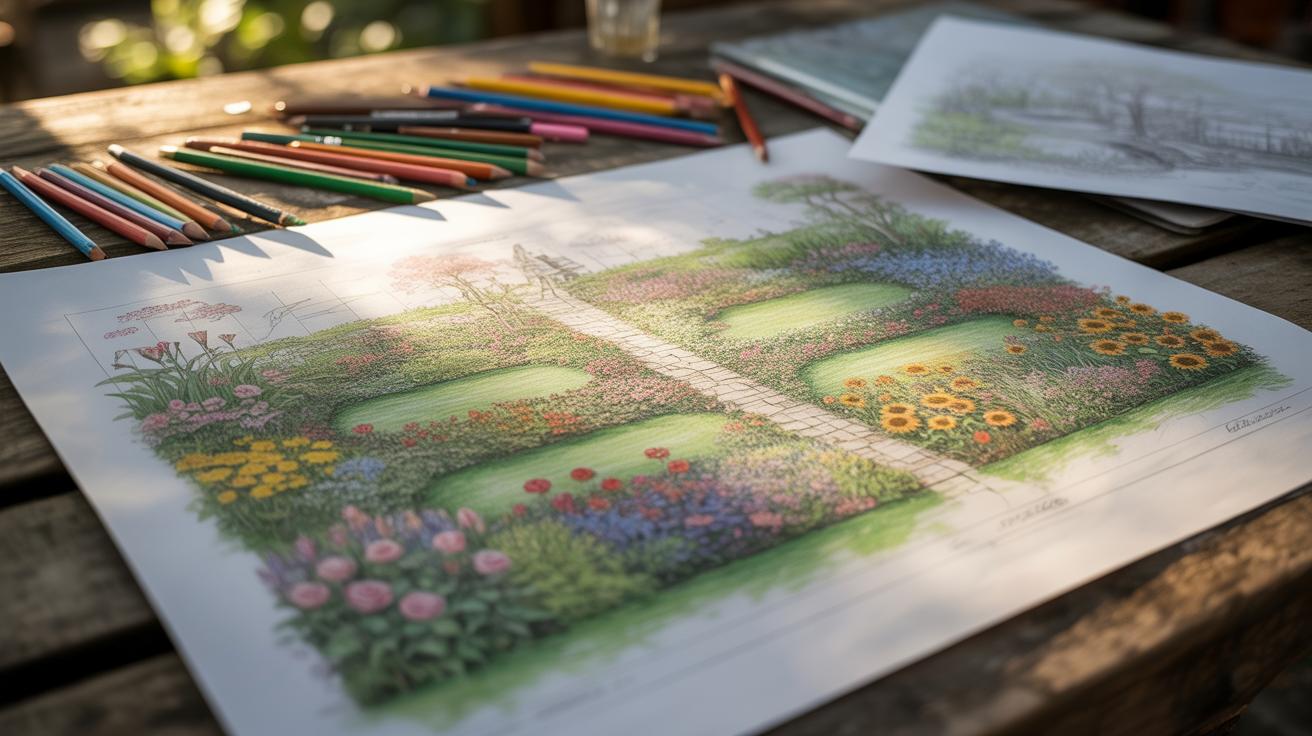
Looking at garden sketches side by side often makes mistakes glaringly obvious. One common issue is layout imbalance. Imagine a sketch where most plants are packed tightly along one side, leaving the other side almost bare. This creates a cramped feeling on one end and emptiness on the other—not ideal for a comfortable garden. The uneven distribution not only looks awkward but can limit how you actually use the space, making some areas feel neglected.

In contrast, a balanced sketch carefully spreads elements throughout the area. The plants are arranged with purpose—some clustered for impact, others spaced to allow movement and airiness. Paths and seating spots appear thoughtfully placed, showing consideration of both aesthetics and function. It’s not just about filling the space but about how each part works for you and your garden’s needs. Sometimes, a well-spaced sketch invites more creativity, making the whole design feel practical and inviting.
When you compare those two approaches, the difference becomes clear. One feels restrictive and chaotic; the other open and manageable. Do you think your sketches reflect this balance, or could they use a rethink on where things go? This comparison can spark better choices for how you sketch next time.
Review and Improve Your Garden Sketch

After your garden sketch is done, it’s tempting to jump straight into planting or building. But pause for a moment. Take a fresh look—really scrutinize your plan before you break ground.
Ask yourself questions like:
- Does the layout feel balanced yet practical for everyday use?
- Have I left enough space for plant growth and maintenance?
- Are the pathways wide enough and logically placed?
- Do the features align with how I actually want to enjoy this space?
Sometimes, details that seemed fine earlier suddenly appear off when viewed as a whole. This is normal. Trust that feeling. It means you’re refining, not failing.
Check your plant choices too. Are they really suited for the conditions you’ve marked—sunlight, soil, drainage? I once picked a shade-loving hosta for a sunny spot just because it looked pretty on paper. The result? Pretty much a lost cause. So verify those preferences carefully.
Don’t keep your sketch to yourself. Share it with someone who knows gardening—be it a friend or a local expert. Fresh eyes often catch issues you missed or suggest improvements you didn’t consider. You’ll probably get conflicting opinions too, but that’s okay. Weigh them, and then tweak your plan until it feels right to you.
Remember, your garden sketch is not a final decree. It’s a starting point you get to shape. The more you review and adjust now, the less you’ll regret later.
Next Steps After Completing Your Garden Sketch

Once your garden sketch is finished, it’s tempting to just jump into planting or buying materials. But before you do, take a moment to figure out what your sketch really means in practical terms. Think about budgeting—not just for plants, but for soil, tools, and maybe even some unexpected expenses. You might find yourself surprised by how fast costs add up, so setting a clear budget early on helps keep things in check.
Turning your sketch into an actual planting plan means matching plant choices with seasons, growth patterns, and supplies. For example, if your sketch includes spring bulbs, you’ll need to order those well in advance to get the right bulbs at the right time. Make a list of what goes in when, but don’t be afraid to leave some wiggle room. Timing isn’t always perfect in gardening.
Maintenance planning is the often overlooked step. It’s easy to imagine a neat, thriving space, but gardens need time and attention. Ask yourself how much you realistically can commit to watering, pruning, weeding, and perhaps pest control. Maintenance varies widely—from weekly visits for a high-care garden to monthly checks if you favor low-maintenance species. Knowing this upfront can save frustration later.
You might find you underestimated the effort needed, or maybe you’re pleasantly surprised by how little time some plants require. Either way, putting your sketch to the test with real scheduling, budgeting, and care planning will help turn your idea into a garden that grows well and fits your life.
Conclusions
Your garden sketch sets the stage for the entire project. Avoiding common errors will prevent costly rework and frustration. A clear plan helps you choose plants wisely, arrange features logically, and make the most of your space.
Take your time sketching with care. Seek feedback and use a checklist to catch oversights. Good sketches improve your confidence and increase the chances your garden will thrive exactly as you imagined.


