Introduction
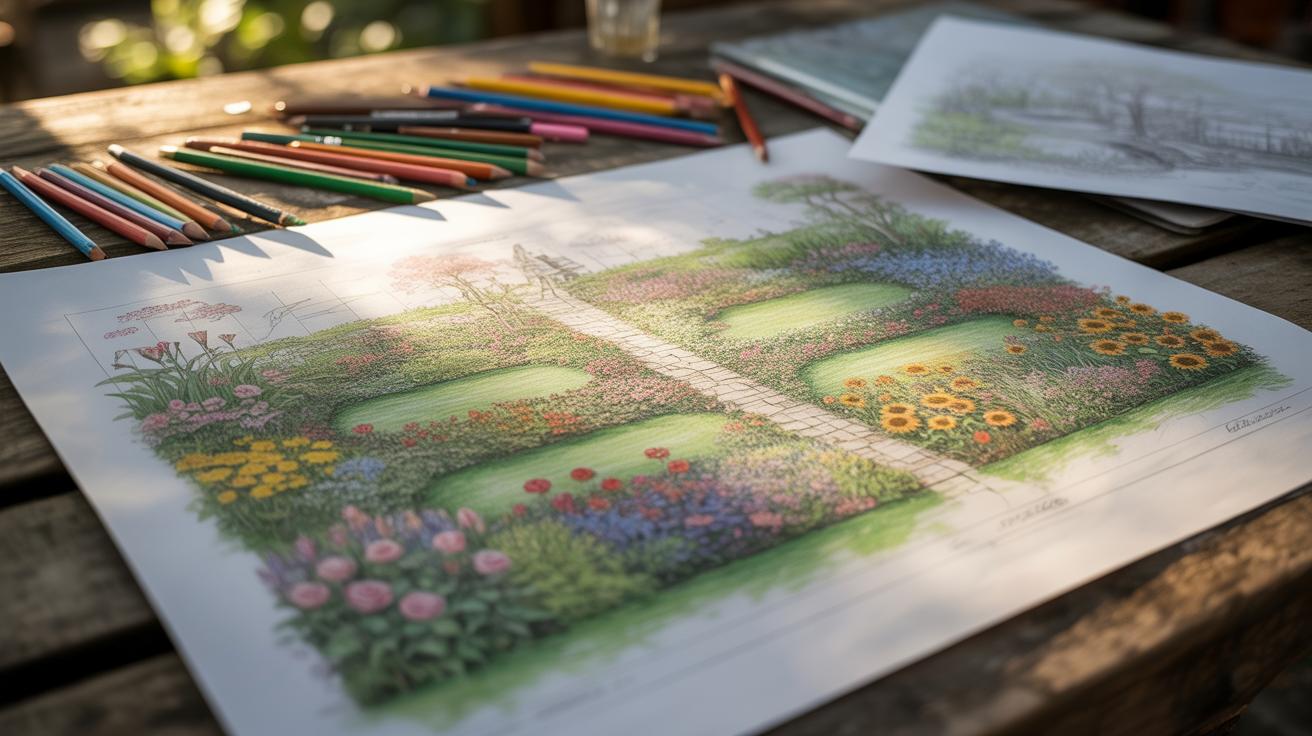
Garden drawing plays a crucial role in planning your outdoor space. Having a clear and accurate drawing helps you visualize your landscape design and avoid costly mistakes during the actual setup. Yet, many gardeners make common errors in their drawings that end up ruining their landscape design plans.
This article highlights typical garden drawing mistakes and provides practical advice on how to avoid them. By understanding where errors happen, you can create better garden drawings that truly reflect your vision and save time and money as you build your ideal garden.
Common Errors in Garden Drawings
You might think drawing a garden is just about placing plants and elements on paper. But many typical mistakes sneak in, messing up the whole plan before the garden even exists. One major issue is inaccuracies: often measurements are guessed or roughly noted, which throws off everything later. For example, a pathway drawn too narrow might look fine on paper but feels cramped in real life.
Proportions also get ignored. Sometimes the size of plants or features on the drawing doesn’t reflect how big they’ll be in reality. That can make your planned seating area seem spacious when it actually won’t fit comfortably after everything grows.
Missing details is another frequent slip-up. Things like drainage slopes, underground pipes, or the direction of sunlight rarely make it onto initial sketches. That absence can lead to problems once you start digging or planting. I’ve seen some plans that looked perfect until the water pooled unexpectedly or a tree ended up in full shade but needs sun.
Why Accuracy Matters
Getting measurements wrong isn’t just an annoyance; it affects your entire project. If you have a scale error—say, 1 inch equals 5 feet on your drawing but you accidentally use 1 inch for 6 feet—it changes distances and space allocation. Suddenly, benches don’t fit, or flower beds overlap paths.
This slipping scale can break your flow for installation. Contractors rely on precise dimensions, and when those come out faulty, it’s wasted time, extra costs, and frustration. Perhaps more than once, I’ve seen gardens needing last-minute redesigns because of these errors. You might feel tempted to skip double-checking measurements, but it pays off if you don’t.
Overlooking Plant Growth
One mistake made again and again is forgetting how plants change over time. You put a small shrub in a corner, thinking it’s neat and fits well. Five years later, it’s a sprawling bush crowding out nearby flowers, blocking windows or paths.
Ignoring mature size means your garden turns from planned harmony into chaotic overcrowding. It’s not always obvious at first; for years you may think the space works. Then suddenly, sunlight gets blocked, and movement becomes difficult.
Have you ever planted without researching growth habits? I have. It’s a frustrating lesson. A good garden drawing always includes future growth space, or at least notes about it. Without that, your inviting outdoor area can become a tight, tangled mess.
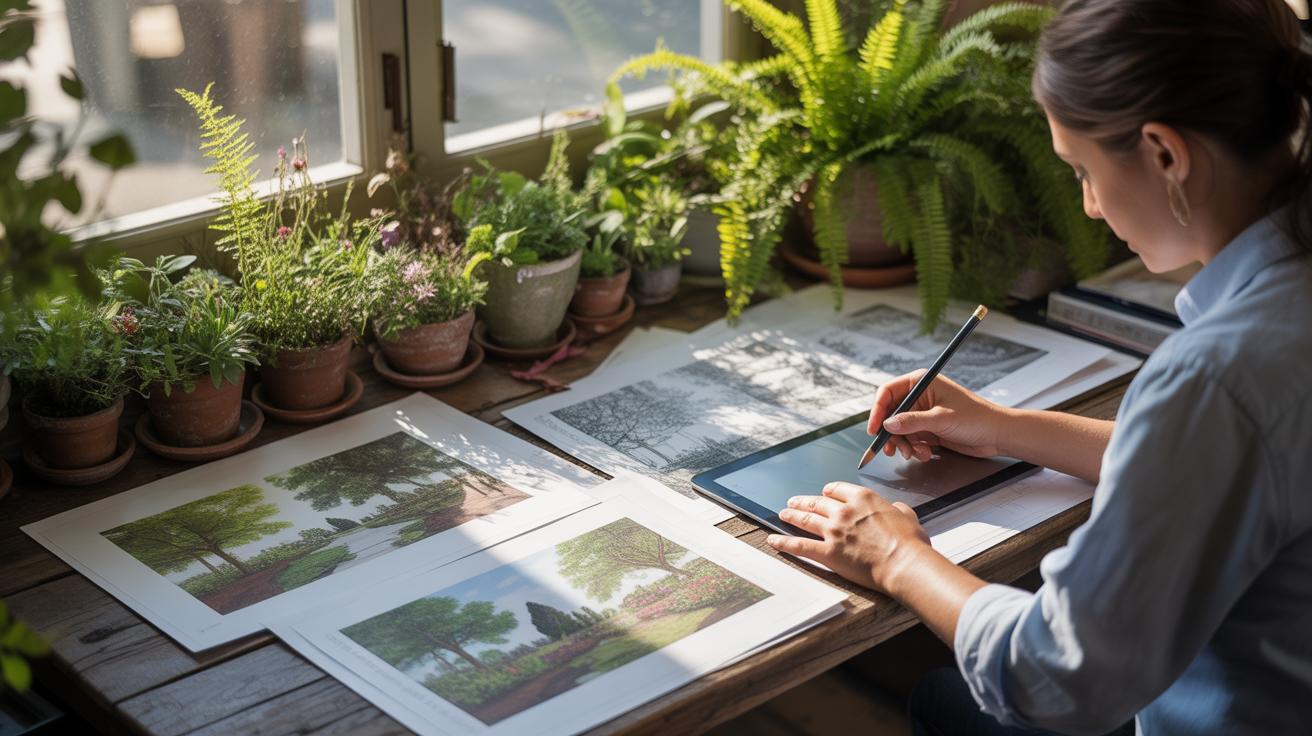
Measuring and Scaling Your Garden
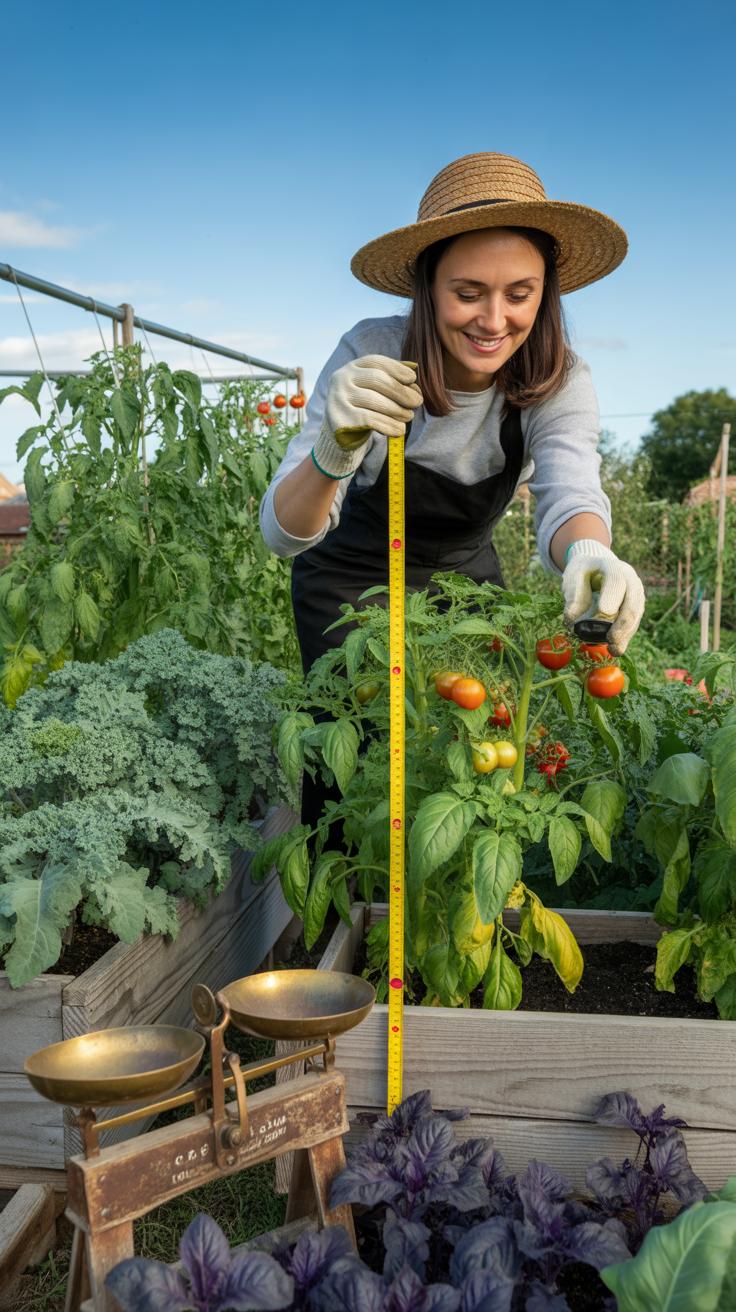
Getting your garden’s measurements right is more than just a step in the process—it’s the foundation of a useful drawing. If your measurements are off, even by a little, your whole design might end up looking awkward or, worse, simply not fit when you try to bring it to life. The trick lies in careful measurement, and then translating those numbers onto your paper with the proper scale.
For this, you’ll need a few basic tools. A measuring tape is the go-to, preferably a longer one—something at least 30 feet if your garden’s on the bigger side. Sometimes a laser measurer can come in handy if you’re after speed and a bit more precision. Then, you’ll want graph paper—that grid makes it so much easier to keep everything proportional when sketching out your space. A clear ruler and pencil are must-haves, too, especially for marking and straight lines.
Here’s a way to approach measuring and drawing:
- Start by sketching your garden’s rough outline on a blank sheet—no need for details yet.
- Measure each boundary carefully. Take several readings if unsure, and maybe get a helper to hold the tape or laser device.
- Record these lengths on your rough sketch; think of this as your raw data.
- Decide on a scale—say 1 inch equals 5 feet. The garden’s size will help dictate the scale; large spaces require more reduction.
- Transfer your outline onto graph paper, marking the scaled measurements square by square.
- Double-check each dimension before moving on. Small slip-ups here can cause bigger headaches later.

Drawing to scale feels tedious at first. Yet, once you see your garden realistically shrunk down, it becomes a practical guide, not just a vague idea. Scaling not only helps you fit your plan on paper but forces you to think closely about the space you have—reminding you of boundaries and opportunities you might otherwise overlook.
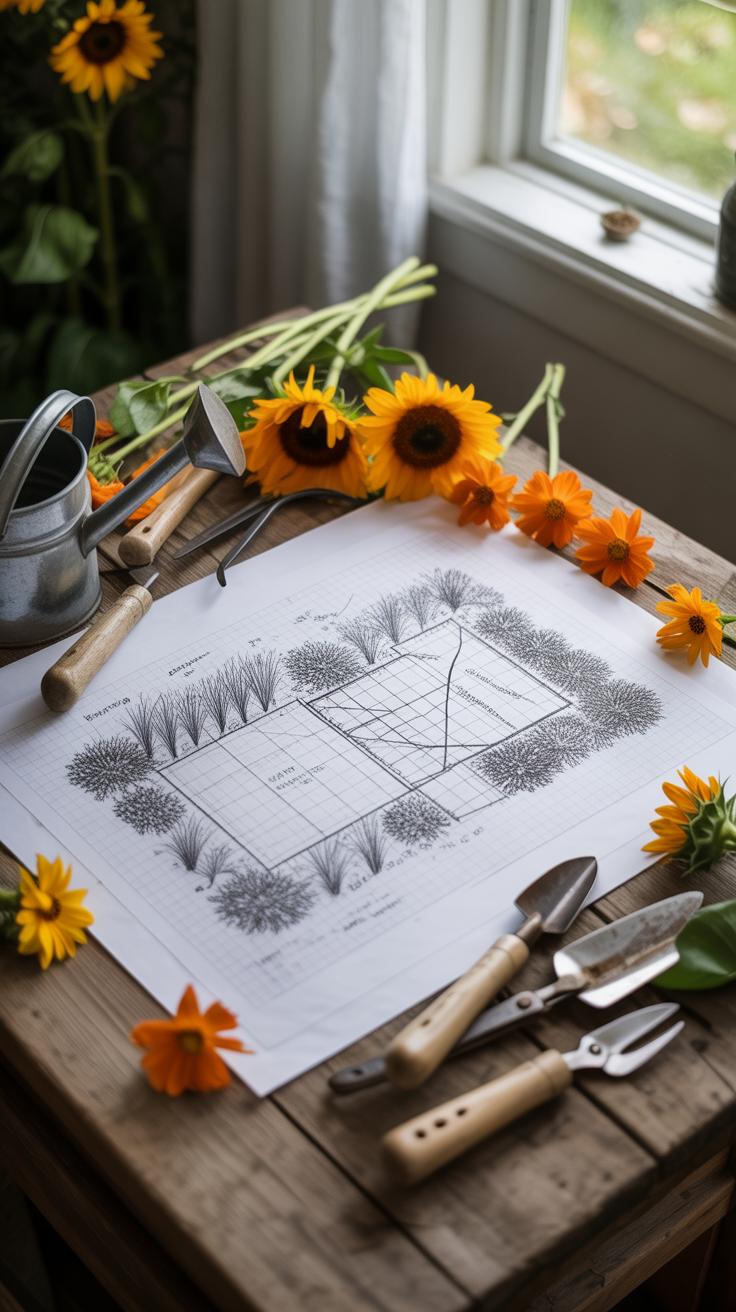
Including All Garden Elements
When you’re drawing your garden, leaving out even one small feature can throw the whole plan off balance. Paths, irrigation lines, structures like pergolas or sheds, and of course the plants themselves—each plays a role in how the space functions and feels. You might focus on the bigger, flashier plants and forget to add something as simple as a stepping stone path or a drip irrigation system. But those details are there for a reason, and ignoring them can lead to awkward gaps or practical headaches later on.
Here’s a basic checklist to keep handy while you draw:
- Primary and secondary pathways
- Irrigation zones and controls
- Seating areas or garden furniture
- Structural elements like fences, walls, trellises
- Lighting fixtures
- Plant groups, including trees, shrubs, flowers, and ground cover
- Water features such as ponds or fountains
- Utility areas (compost bins, tool sheds)
- Drainage spots or slope indications
When you skip something, the consequences aren’t just minor. The design can feel incomplete or disjointed—like a sentence missing its verb. Maybe your irrigation plan clamps down plants too tightly, or paths end abruptly with no connection. You may plan a seating area in sunshine only to find it lacks shade without a pergola or tree. I’ve seen designs where structures were forgotten, forcing costly adjustments on-site. So, including everything might seem tedious, but it prevents surprises and lets your garden actually work the way you imagine it.
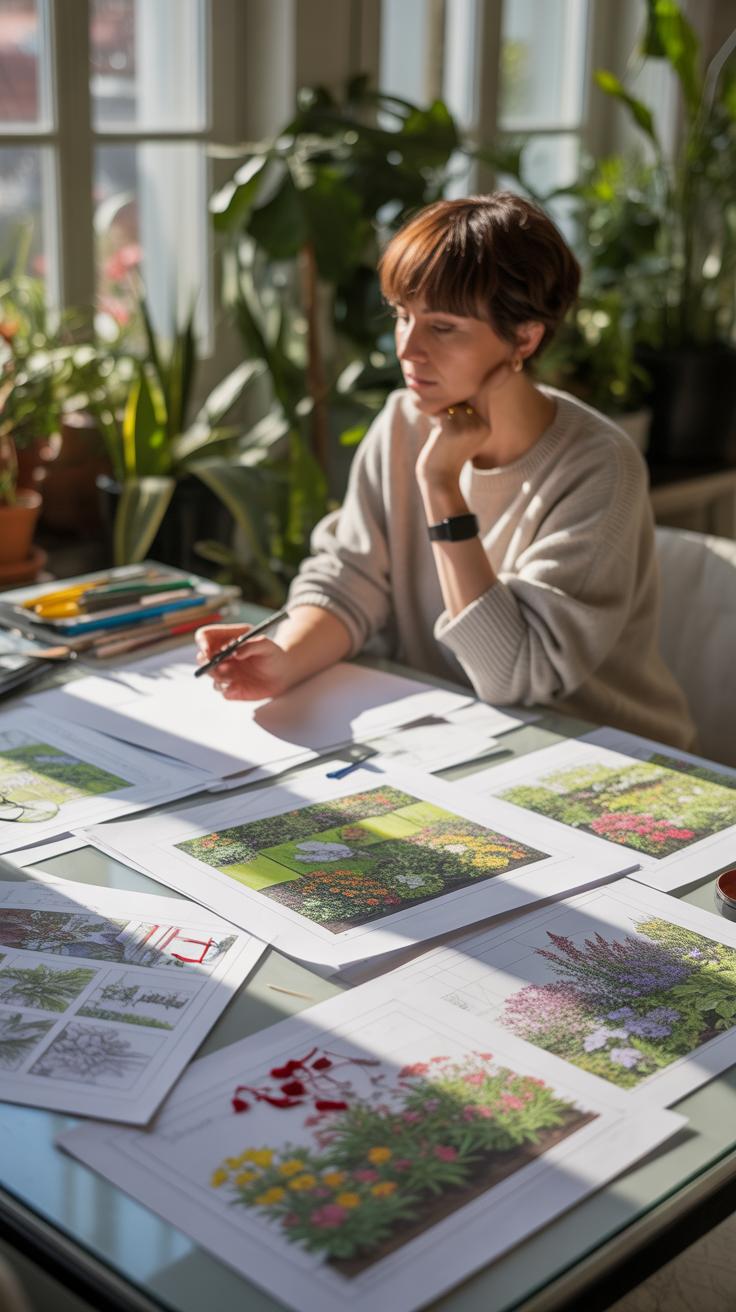
Comparing Hand Drawing versus Digital Tools

Benefits of Hand Drawing
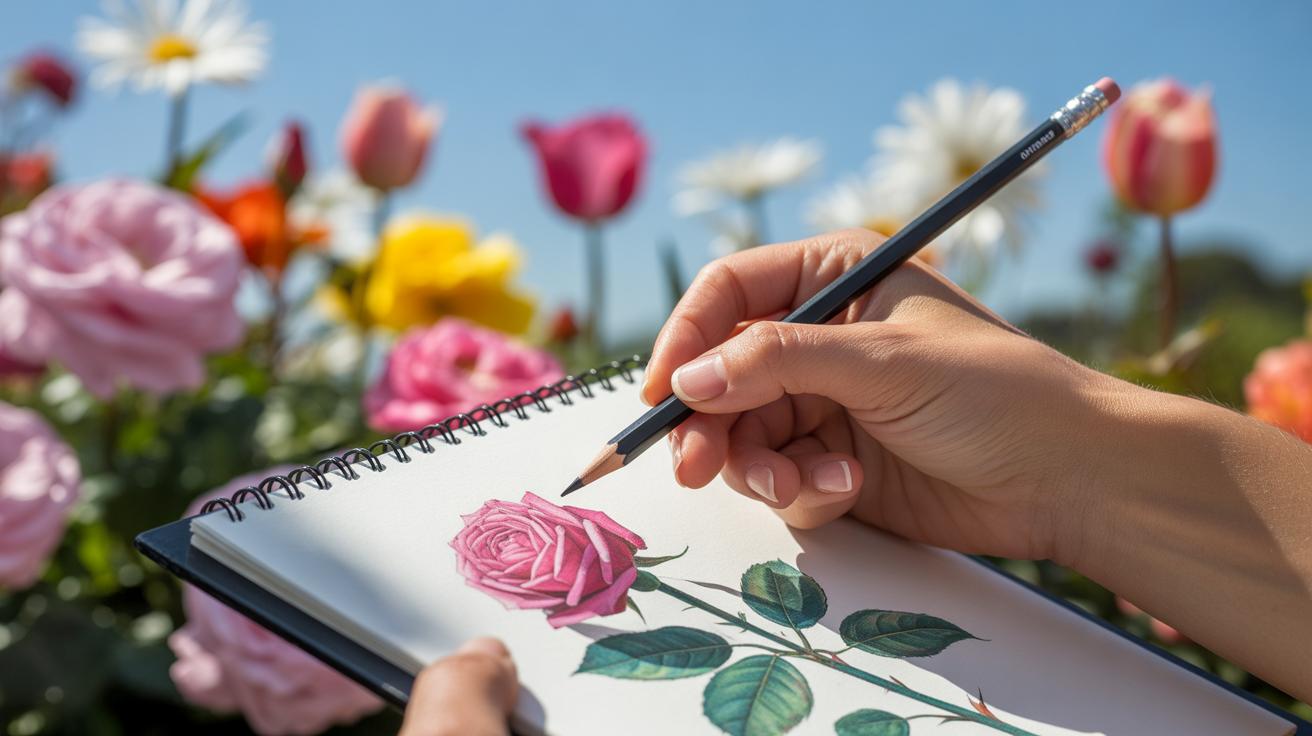
There’s something about sketching your garden plan by hand that feels more personal. You can capture ideas quickly, almost instinctively. When you’re brainstorming or just starting out, grabbing a pencil and paper lets you work without distractions. You don’t have to fuss with menus or settings, just draw what you imagine.
Hand drawing can be especially helpful when you want to experiment freely. It’s easier to scribble, cross things out, or reimagine a corner on the spot without worrying about undo buttons or layers. Sometimes working manually makes you notice details digital tools conveniently hide or overlook—like how plants actually look together or how paths might flow in real space.
Granted, precise measurements can be tricky. But if your focus is on getting a feel for overall layout or rough placement, hand drawing fits that well. And I think many people find the process calming, almost meditative, unlike staring at a screen for hours.
Advantages of Digital Tools
Switching to digital tools often cuts down errors connected to scale and proportion. You can snap elements into place, maintain consistent dimensions, and switch views easily. Features like drag-and-drop planting libraries or terrain shaping can save time and reduce guesswork.
Most garden design software offers layering, so you can separate hardscape from plants, or irrigation plans from lighting. That separation can prevent confusing your drawings and mixing incompatible elements. Plus, digital tools often include plant databases specifying growth habits or sun exposure needs, making it harder to pick inappropriate species.
Zoom and grid functions help catch alignment or spacing problems early on, which might go unnoticed in hand sketches. And if you want to share your plan or adjust it collaboratively, digital files are much easier to distribute than paper sheets.
Still, digital tools can sometimes feel rigid, as if they encourage over-planning. And if you’re not careful, it’s easy to spend more time perfecting the drawing than actually getting outside or testing ideas in real life.
Process for Reviewing Your Drawing

When you finish a garden drawing, resist the urge to dive right into building. Take time to review your plan carefully—this step can save you a lot of headaches later. Start by stepping back and studying the overall layout. Look at paths, plant placements, and structural elements with fresh eyes. You might notice imbalances or crowded spots you missed before.
Next, verify measurements. Check if the scale is consistent and if the spaces between plants allow for growth. Sometimes, you think you’ve left enough room, but the plants will soon outgrow their spots. Think about sunlight and drainage too, even if you didn’t map them explicitly. Visualize how your garden will change from season to season.
Walking through this process methodically can help catch errors early—like a misplaced tree that blocks a view or a flowerbed too close to a walkway. It takes some patience, but revisiting your drawing multiple times will give you a clearer picture. And if you feel stuck, don’t hesitate to pause and come back later; fresh perspectives can work wonders.
Self-Check Questions
Ask yourself specific questions as you review your garden drawing. These keep your focus sharp and uncover hidden issues. Consider questions like:
- Does the overall layout flow naturally? Or does something feel cramped or out of place?
- Are the plant sizes and growth patterns realistically represented?
- Have I accounted for sun exposure and shade shifts through the day?
- Is access to key areas convenient and safe?
- Do the materials and colors complement each other without clashing?
- Have I left enough space for maintenance tasks or seasonal changes?
These questions might seem obvious, but they help spot mistakes that often slip past initial enthusiasm. Keep a mental note of any answers that cause hesitation or uncertainty—they probably need a closer look.
Using a Second Opinion
Sometimes, you just can’t see your own drawing clearly. That’s when a second opinion becomes invaluable. Sharing your plan with a gardening friend or an expert can reveal overlooked flaws or inspire new ideas. When I showed my last garden draft to a friend, she immediately pointed out a spot where water might pool—something I wouldn’t have noticed.
Choose someone who understands plants and space well, but don’t fear casual opinions either. Different perspectives can challenge your assumptions and even highlight practical concerns you hadn’t thought about.
Don’t just ask for praise; invite honest critique. Be open to adjustments—even if they feel inconvenient. Remember, the goal is creating a garden that works as well as it looks.
Case Study of a Failed Garden Drawing
Once, I came across a garden that looked promising on paper but turned out to be a mess in real life. The drawing was neat, sure, but it had serious flaws that nobody caught until it was too late.
One major mistake was scale. The drawing showed a large flower bed, but no one realized it was far too big for the space. When planting started, the bed overwhelmed the area, blocking sunlight where paths were supposed to be. Speaking of paths, they were almost completely missing in the plan. There was an implied walkway, but it wasn’t marked or sized properly, so people created informal routes that damaged vegetation. It quickly became clear the garden wasn’t usable the way the drawing suggested.

What could have fixed this? First, a more precise scale. Using a scale ruler to check each element would help avoid oversized beds. Also, clearly marking all paths would ensure smooth movement through the space. It might help to draft multiple versions, walking the site with paper in hand, and adjusting as you go. Careful, iterative drawing almost always stops these errors early—saving effort, money, and, frankly, frustration.
Planning for Future Changes

When you draw your garden, think beyond the here and now. Plants don’t stay small forever—they grow, spread, and sometimes even change shape. So, your drawing needs to reflect that reality, or you’re likely to run into trouble later, like overcrowding or shading issues.
One way to handle this is to include growth projections. You can get this by checking plant tags or gardening books to find average mature size. Then, mark each plant’s eventual spread on your plan, maybe with dashed circles around the original planting spot. It might feel a bit excessive at first, but seeing those boundaries can prevent future headaches.
Seasons complicate matters too. Your garden won’t look the same in spring as it does in fall. Some plants die back, others bloom. Evergreens stand out; deciduous trees vanish during winter. So, consider how your layout feels throughout the year. You could sketch separate layers or notes indicating seasonal changes. This means envisioning your design as a living thing that shifts—not just a static snapshot.
I once didn’t think much about seasonal shifts when drawing my garden and regret it; empty spaces in winter felt awkward and uninspired. You might want to add winter interest plants or plan paths that won’t muddle in slippery months. If you don’t plan for seasons, your garden risks being less usable or attractive when conditions change.
It’s tricky to predict everything, but taking some time to factor in growth and seasons makes your garden drawings smarter. It helps avoid surprises and lets your garden evolve more gracefully with you.
Simplify Complex Garden Designs
When you face a complicated garden idea, your first instinct might be to cram everything into one drawing. But that quickly becomes messy, confusing, and hard to follow. Instead, try breaking down the design into smaller, manageable pieces. Think of it like handling a puzzle—focus on one chunk at a time without losing sight of the whole.
Using layers or sections makes this approach clear. For example, put all the planting zones on one layer. Then, dedicate separate layers for paths, water features, and structures. This lets you work on each element without distraction. You might find that what looks overwhelming on a full map becomes straightforward when seen piece by piece.
Color coding further helps. Assign one color to trees and shrubs, another to flowers, and something different for paving or water. It’s easier to spot overlaps or missing elements this way. Personally, I once struggled until I started using soft greens for plants and calm blues for water—simple choices, but they cut confusion dramatically.
What parts of your garden seem tangled when sketched? Could a layer focused on soil type or sun exposure clarify things? Sometimes breaking things down shifts your perspective entirely, revealing options that were hidden before.
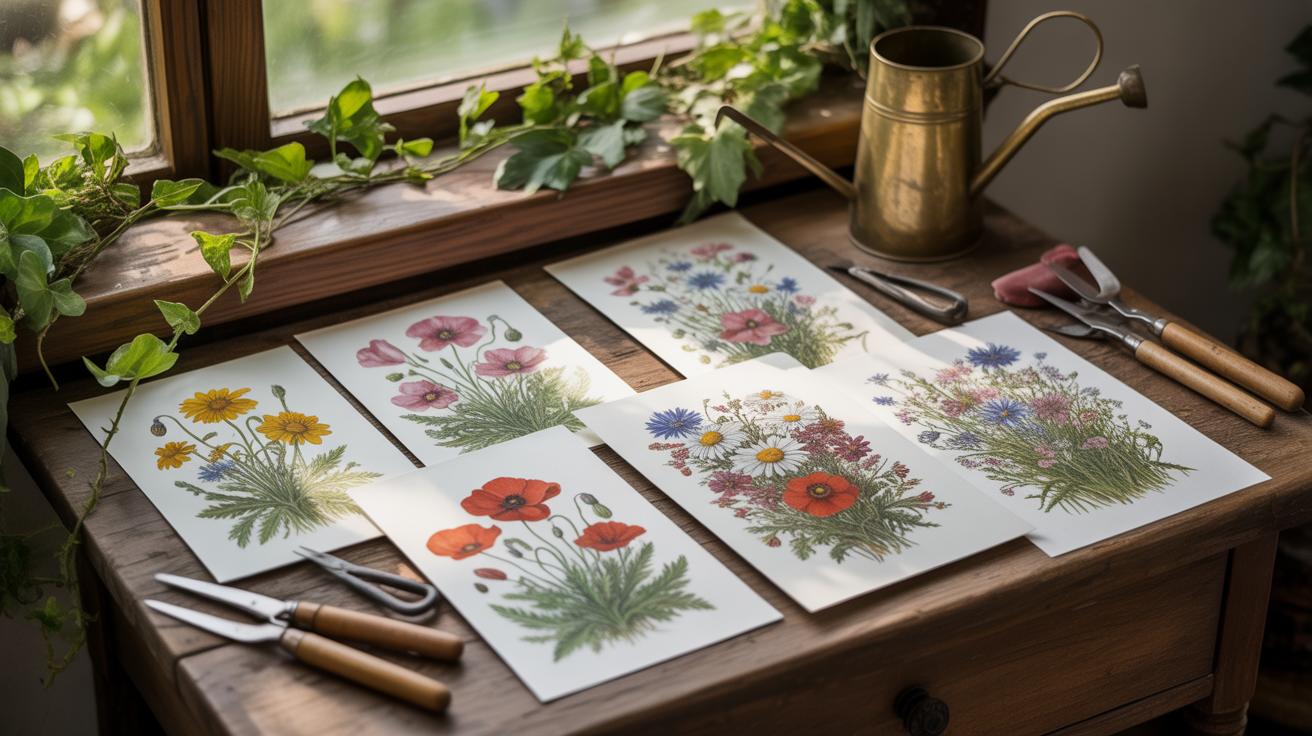
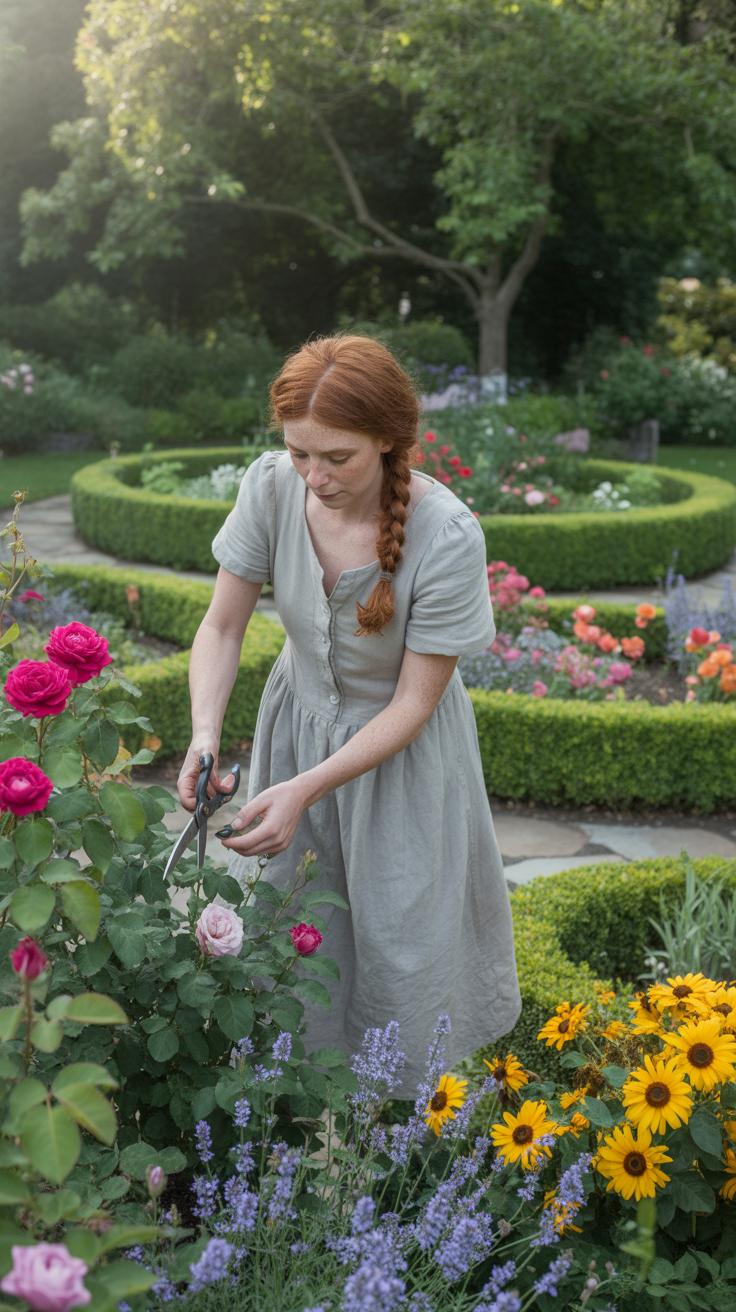
Plant Placement Strategies

When you’re sketching out your garden, one of the trickiest parts is figuring out exactly where each plant should go. It’s not just about filling space—there’s a balance to strike between how things look and how they function. You want to avoid sticking a sun-loving plant next to a shade-preferring one, or else you’re in for some disappointed greenery. So, I find it helps to group plants by their water and sunlight needs early on. This makes maintenance a little less of a guessing game later.
Consider creating clusters of plants that thrive under similar conditions—maybe a dry, sunny patch for succulents and a damper, shadier nook for ferns. Draw these zones clearly so you don’t accidentally mix them up. It’s a simple step that saves frustration—and dead plants.
Visual balance is another challenge. You don’t want a random splotch of color on one side and dullness on the other. While perfect symmetry can feel stiff, aim for a spread of colors and shapes across the garden. For instance, balance tall, vertical plants like hollyhocks with low, sprawling ones like creeping thyme. This variety keeps the eye moving but also prevents any awkward gaps.
Don’t hesitate to sketch a few different layouts. Sometimes shifting one cluster just a bit can change the whole feel. And if you ever wonder whether your choices clash or harmonize, step back and squint—sometimes that’s enough to spot a visual imbalance you missed in the details.
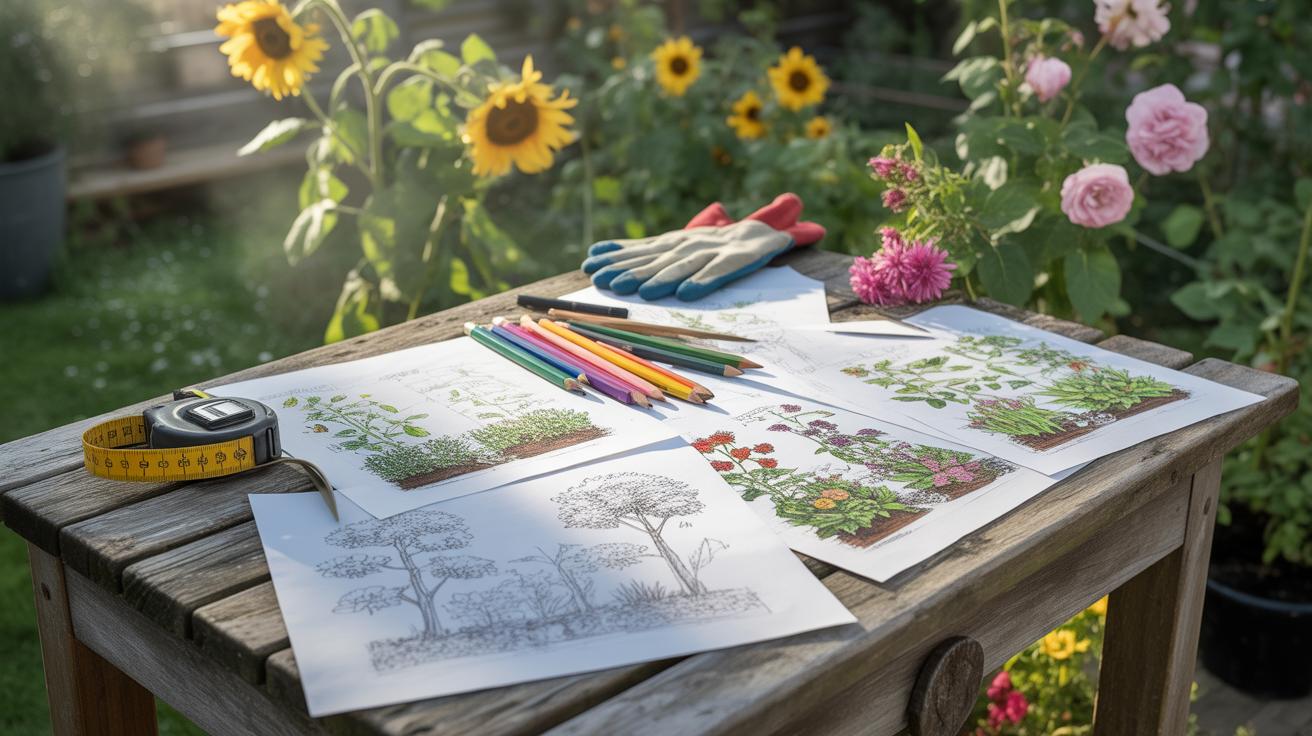
Final Steps Before Starting Your Garden
Before you break ground or lay down any soil, take a moment—actually, maybe a few moments—to go over your garden drawing once more. It’s surprising how often small miscalculations slip past even the most careful eyes. I’ve been there, thinking my measurements were set, only to realize halfway through that a pathway was narrower than planned. Double-check your dimensions. Walk the space with a tape measure, compare it against your drawing, and yes, trust your gut if something feels off.
Beyond measurements, think through the materials and tools you’ll need. If your drawing calls for a stone border, do you really have enough stones? Are those garden gloves still usable or should you replace them? Gather everything beforehand—plants, soil, mulch, edging, tools. Having it all ready avoids those frustrating mid-project runs to the store. It might seem a bit much now, but I think it helps things go smoother than you expect.
So, before planting day arrives, here’s a quick checklist to run through:
- Verify all measurements—paths, beds, spacing.
- Match your materials list exactly to the drawing.
- Inspect tools and replace or repair as needed.
- Consider weather timing—are conditions right for planting?
Are you overlooking any details? Sometimes it’s the little things that cause the biggest headache later on.
Conclusions
Good garden drawings are essential for successful landscape design. Avoiding common mistakes improves clarity and ensures your design matches your expectations. You can save money and avoid frustration by double-checking your drawings before starting any physical work.
By following the simple tips shared here, you will gain confidence in your design plans, catch potential errors early, and create outdoor spaces that bring your garden vision to life. Your drawing is the first step to achieving a beautiful, functional garden.


