Introduction
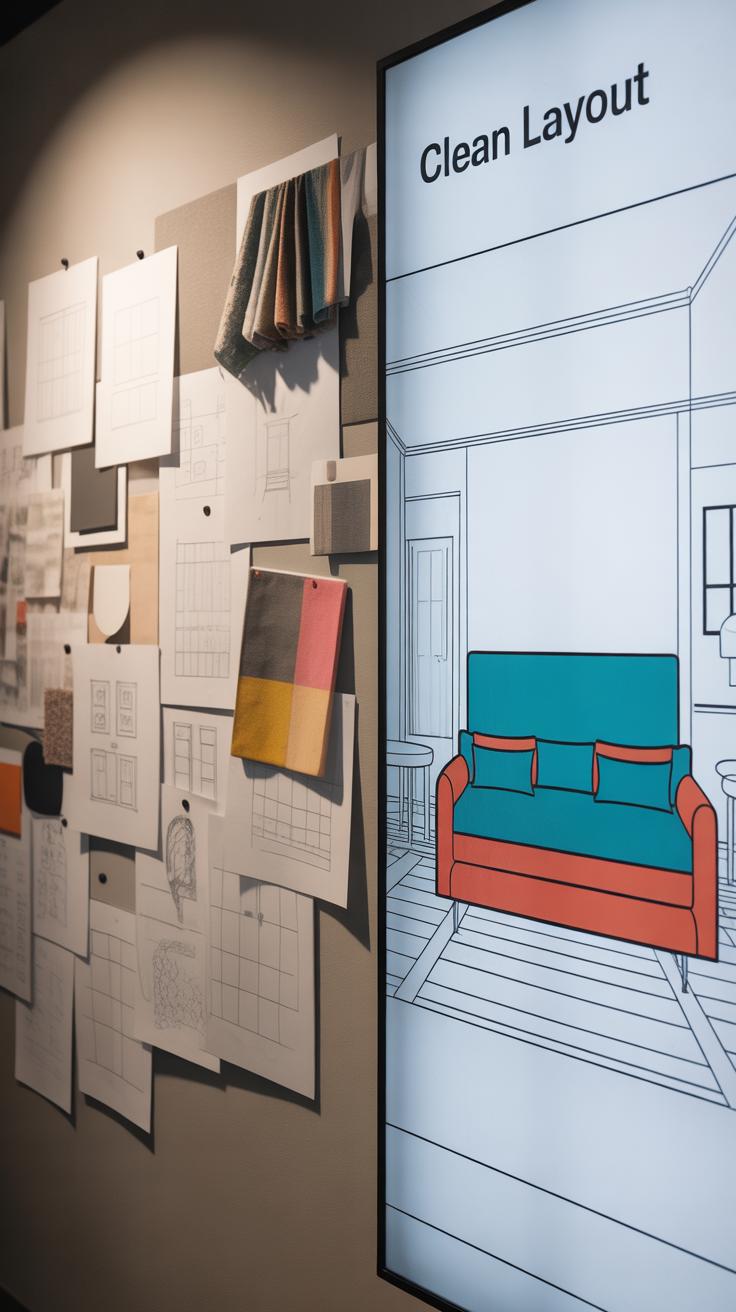
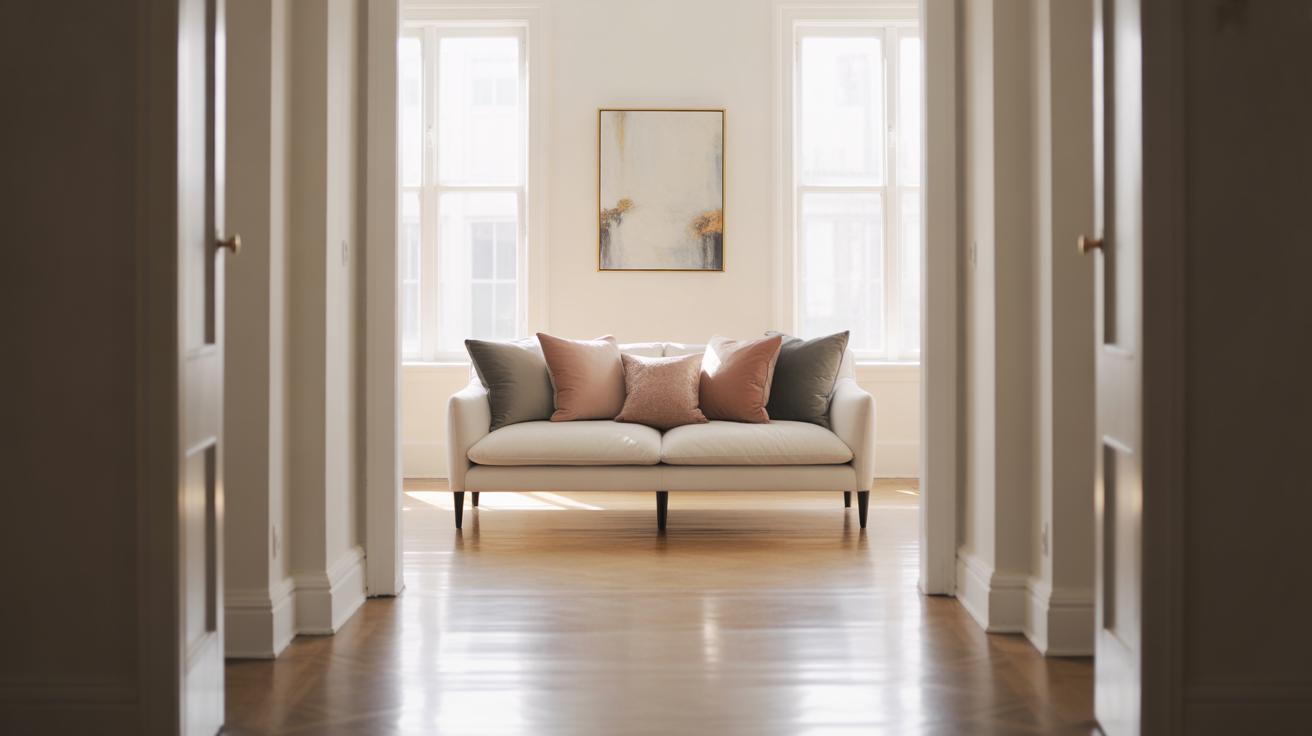
Gallery walls offer a wonderful way to display your favorite art, photos, and memories. But arranging multiple frames on a wall can be tricky. A printable gallery wall template can simplify this process. It provides a clear design layout you can follow, making hanging art easier and more accurate.
Using a gallery wall template saves time and reduces mistakes. It guides you on the spacing and placement of each frame, ensuring a balanced and professional look. This article explores how to use printable gallery wall templates effectively. You will learn tips, steps, and ideas to create a stunning display in your home.
Benefits Of A Gallery Wall Template
Using a gallery wall template can change how you hang art, in ways you might not expect at first. For one, it really cuts down on time spent fiddling with placement. Instead of guessing where each frame should go, you have a clear guide. This means less poking holes in your wall, fewer readjustments, and less stress about whether it looks right.
When I tried hanging a collection without a template, I ended up with crooked frames and uneven spacing. It took ages to fix. With a template, you skip most of that trial and error. You can even trace the outline onto your wall before making any marks permanent. That early planning always saves hours — and a bit of frustration.
Beyond time savings, templates help create balance. They lay out even spacing and alignment so your eye moves comfortably across the display. That balance matters. It makes your gallery feel intentional and cohesive rather than random or cluttered.
Have you ever stood back from a wall and wondered why the frames don’t quite “feel” right? A template tackles that, ensuring symmetrical gaps and level lines that your brain appreciates, even if you don’t actively notice. It doesn’t guarantee perfection, but it nudges the result toward something visually satisfying.
So, yes, templates save time and cut down errors. But they also shape the look, making it easier to get a harmonious arrangement. When you use one, hanging art becomes less trial, more plan—and that shift can make a big difference.
Types Of Gallery Wall Templates
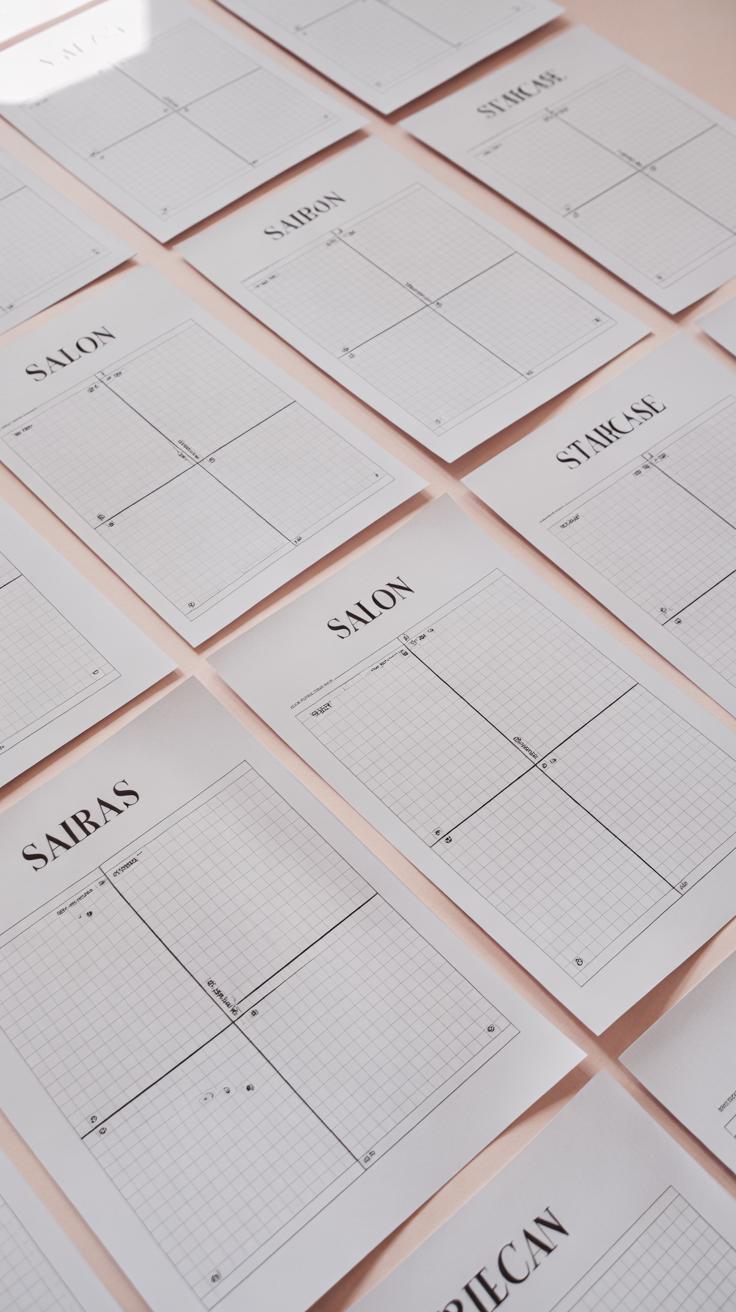
When setting up your gallery wall, the style of template you choose can make a big difference. There are several popular types to consider, each with its own feel and approach to arranging your art.

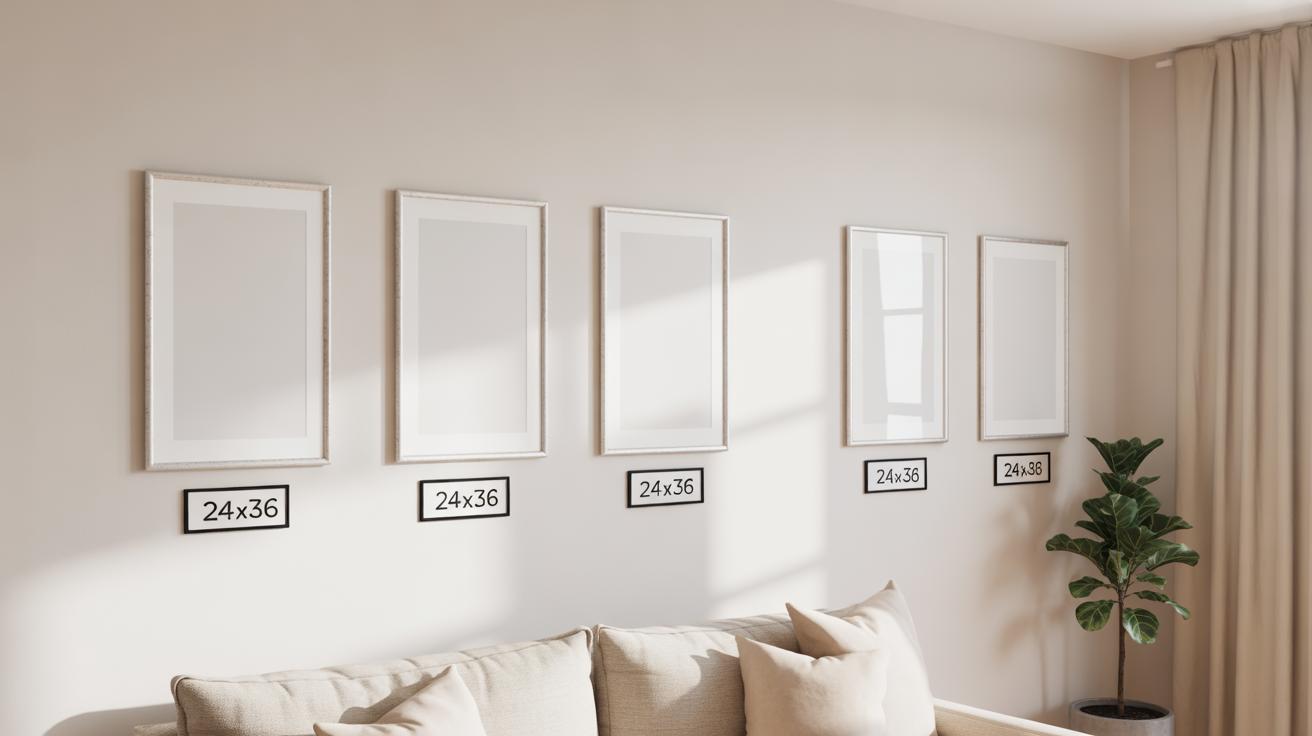
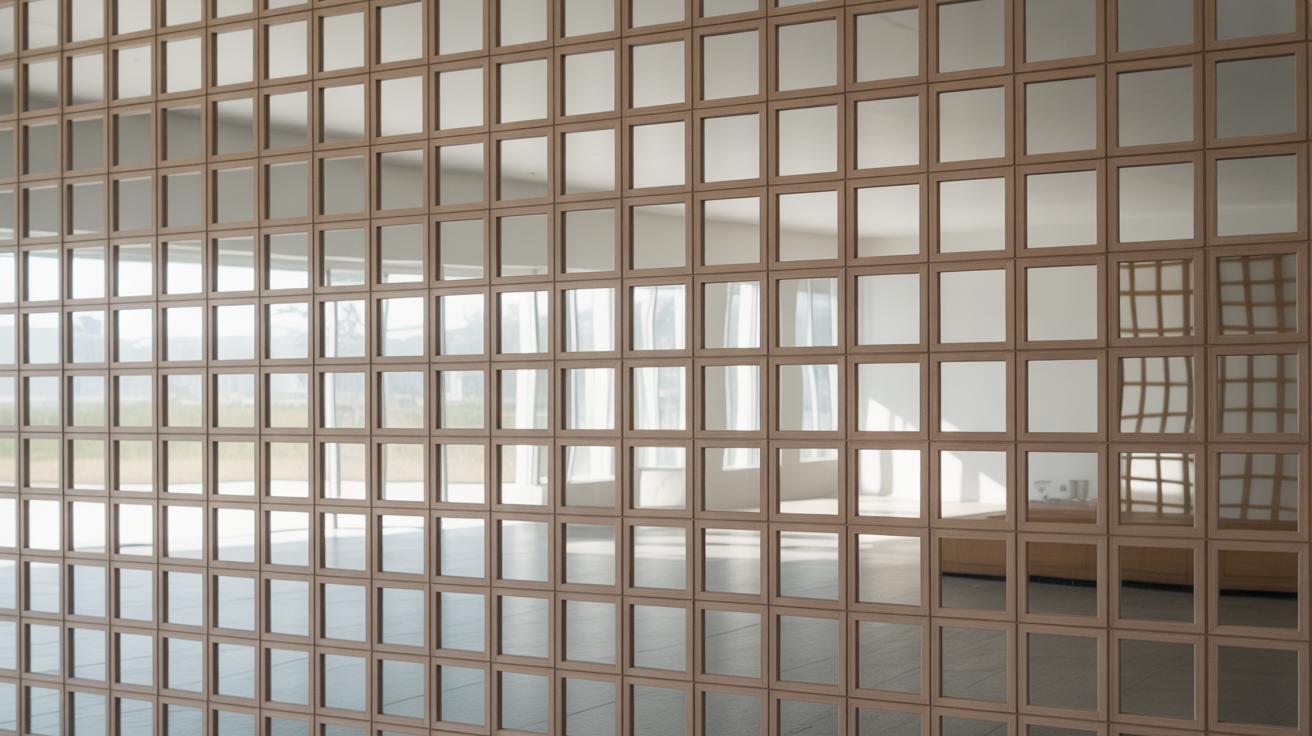
One of the most straightforward options is the grid template. This style lines up frames in neat rows and columns, creating a sense of order. It’s almost like a puzzle where every piece fits perfectly, which can be really satisfying for those who prefer a tidy and consistent look. Similarly, linear templates arrange artworks in one or more straight lines – horizontal or vertical – which can visually elongate a wall or define a clear boundary. Both of these can be surprisingly calming to the eye, though sometimes they might feel a bit rigid depending on your space.
On the other hand, salon style templates break away from uniformity. Inspired by old Parisian salons, this style mixes frame sizes and is more about filling space evenly, without strict lines. It feels organic and slightly wild, like the wall tells a story through its assortment of pieces. The asymmetrical template takes creativity up a notch, too. It allows you to place frames of various sizes without strict alignment but still seeks a visual balance overall. If you’re someone who likes to experiment and play with scale and spacing, this might suit you well.
Between these options, the choice really depends on how much structure you want versus how much freedom you want to explore. Some people swear by grids for the simplicity, but others find that salon or asymmetrical layouts make their collection feel lively and personal. So, what do you think fits your style better? Organized and neat or free and eclectic?
Choosing The Right Template For Your Space
When picking a gallery wall template, the size and shape of your wall play a big role. Before anything, measure your wall carefully—width and height. This helps avoid picking a layout that either feels cramped or leaves awkward empty spaces. For example, a narrow wall might not suit a sprawling salon-style arrangement, while a large, blank wall could swallow a tiny grid design, making it look almost invisible.
Think also about the frames you plan to use. Mixing large and small frames works best with templates designed for variety, like asymmetrical or salon styles. If your frames are mostly the same size, a grid or linear template might give a cleaner look. I remember trying a mixed-frame layout on a small wall once; it ended up chaotic because the template didn’t consider the limited space.
Your room’s style matters, too. If your space is modern and minimal, something symmetrical and orderly might fit better. But in a cozy, eclectic room, a more relaxed template can add personality without feeling forced. Ask yourself: does the template reflect the mood of the room, or does it clash? Sometimes, breaking the “rules” actually creates a more interesting display, even if it feels a bit off at first.
How To Use A Printable Gallery Wall Template
Prepare Your Frames And Wall
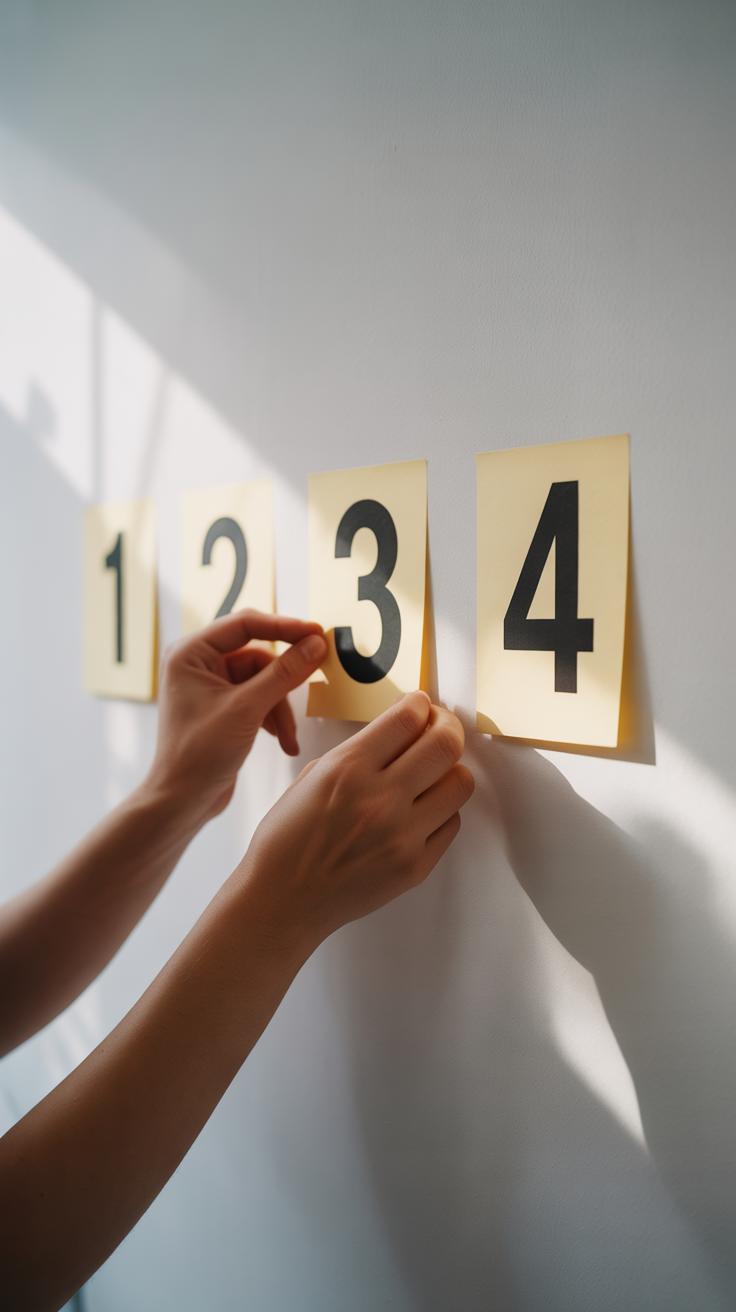
Start by measuring each frame carefully. Jot down their widths and heights—you’ll want to keep this info handy. Don’t guess here; small differences can throw off your whole layout. Next, clean the wall you plan to use. Dirt or dust might prevent tape from sticking well, and that’ll just make things frustrating. I usually wipe the area with a damp cloth and wait a bit for it to dry before moving on. It’s a simple step, but skipping it might cause the template to peel off or shift unexpectedly.
Align And Tape The Template
Take your printed gallery wall template and hold it up on the wall where you want the display. Step back a little—does it feel balanced? You might want to adjust its height or centering. When you’re satisfied, use painter’s tape or masking tape to secure the corners. Don’t tape too tightly; you want to be able to remove it later without damaging the paint. If the template is large, add a few pieces along the edges to keep it flat. It’s okay if it wrinkles slightly, but try to keep key parts smooth—these marks guide your nail placement. This step always feels a bit fiddly, but patience pays off when your gallery looks just right.
Tools And Materials Needed
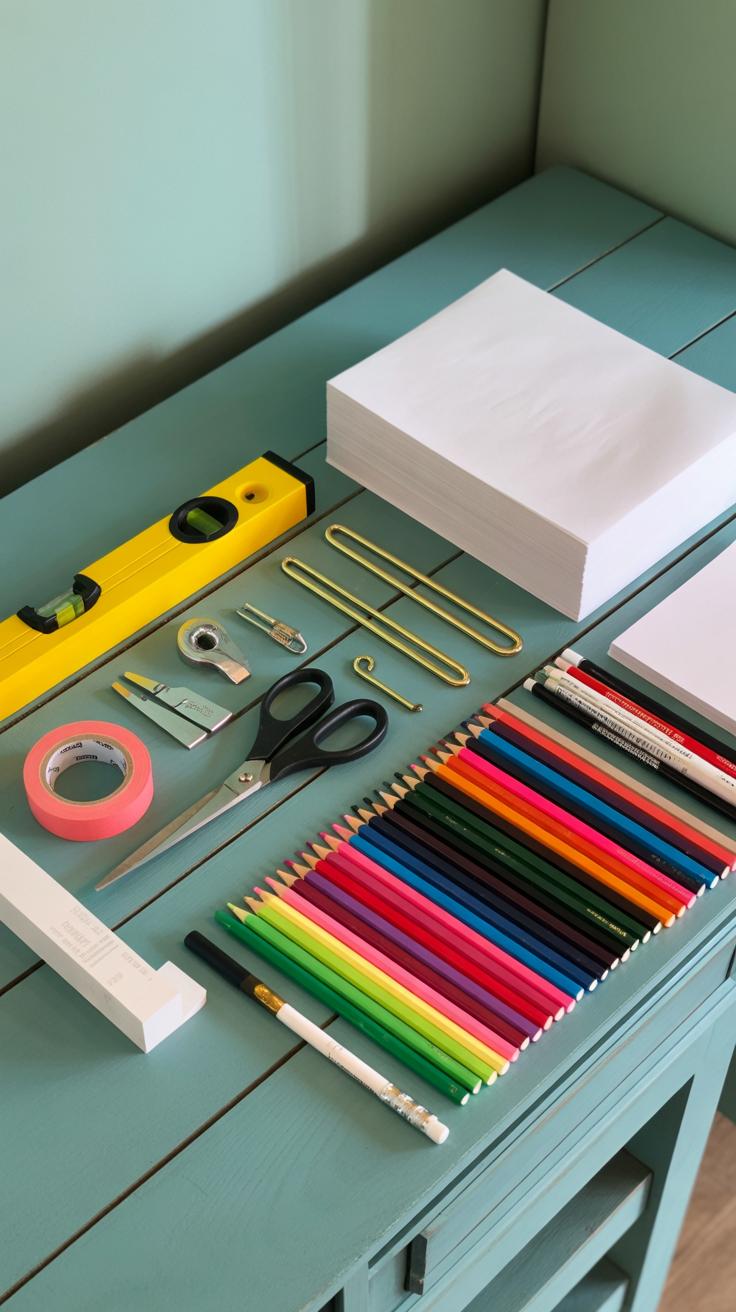
Basic Hanging Tools
When you’re getting ready to hang a gallery wall using a template, a few basic tools can make all the difference. You’ll definitely want a tape measure to figure out spacing and placement—guessing rarely works well here. A level is next; no one likes crooked frames, and even if you think you’re good at eyeballing, a level saves you the hassle of readjusting. A hammer and nails come in handy, especially if you’re hanging heavier frames or those without built-in hardware. I often keep a pencil nearby to mark spots directly on the wall through the template. You might find yourself wishing you had a small screwdriver for any frame-specific adjustments, but that can wait till later.
Sometimes, simple is best—fewer tools can mean fewer chances of messing up. But, of course, you might want some extra nails or picture hanging hooks on hand, just in case. It’s a bit of a guessing game how many you’ll need, honestly.
Using Command Strips And Hooks
Not everyone wants to put holes in their walls—that’s when Command strips and hooks come into play. These damage-free options work well for lighter frames or when you’re renting and need a temporary solution. Command strips come in different weight limits, so matching the strip to your frame weight matters. I’ve tried these before; sometimes they hold strong for months, other times, the frame slips a little if you’re not careful with surface prep.
Hooks are another choice—some are adhesive, others traditional—but if you want a no-drill method and the wall material cooperates, they’re a nice alternative. Just keep in mind your frame’s size and weight, because the last thing you want is a mid-air faceplant. Using a template works just as well with these options—mark where the hooks or strips should go and follow through. Are you willing to accept some compromise on durability for easier cleanup? That’s the trade-off with these.
Tips For Perfect Frame Placement
Getting your frames to hang straight and evenly spaced can feel more tricky than it actually is. The key is patience and some careful measuring. I often find myself double-checking before driving in a nail—just a little hesitation can save you from crooked frames later.
First, use a level to keep everything horizontal. Even a small tilt becomes obvious when you step back. Holding a ruler or tape measure helps keep the gaps consistent. I recommend marking the wall lightly with a pencil to guide where each edge should go. It’s surprising how much difference a quarter-inch can make.
Spacing isn’t just about visual balance but also the flow between pieces. Too close looks cluttered; too far apart feels disconnected. Try about 2 to 4 inches of space between frames as a starting point, and adjust depending on the wall size and frame scale. It’s okay to tweak a bit if something feels “off.”
Height matters a lot. The center of your gallery wall should ideally be near eye level—around 57 to 60 inches from the floor. But this can shift depending on who spends most time in the room or furniture height. I once hung a wall based strictly on that average and realized it felt low sitting down with guests. So maybe think of eye level as flexible rather than fixed.
In brief, check your level and spacing multiple times. Stand back often and imagine how it feels to view the arrangement daily. It’s easy to get too focused on tiny details and forget the overall effect.
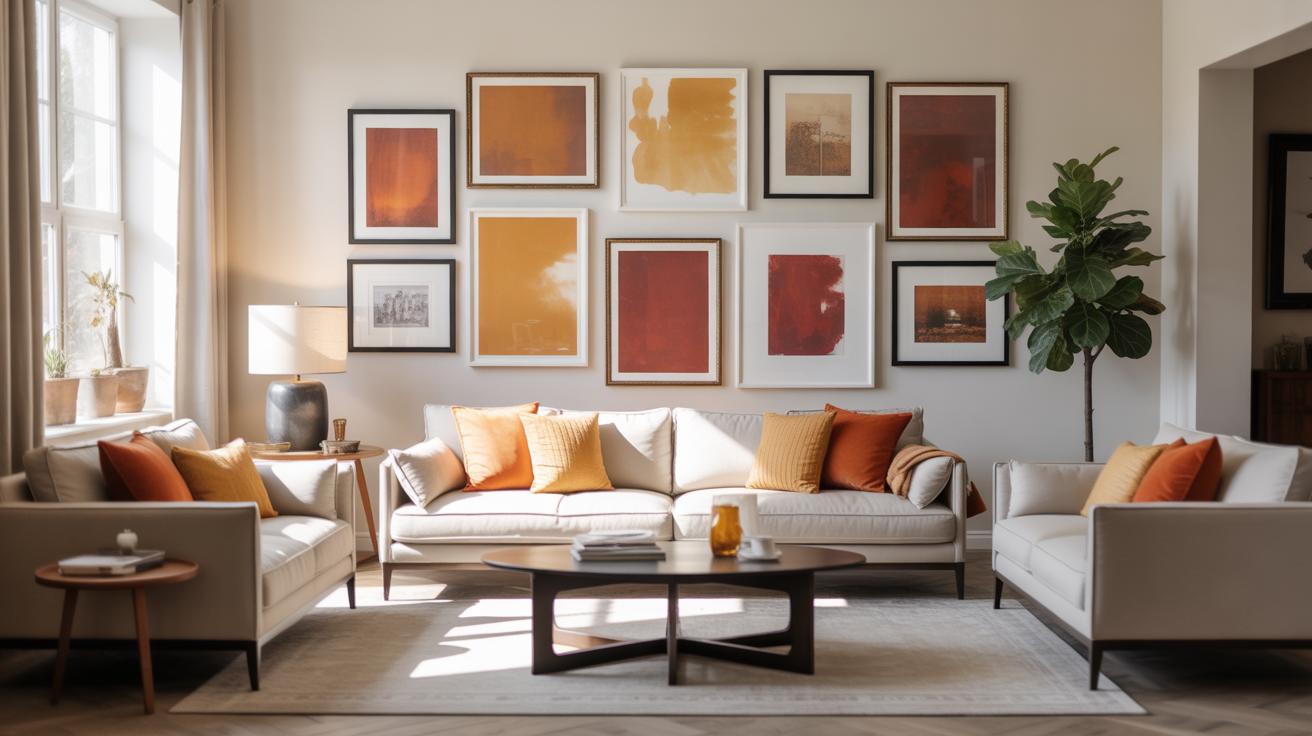
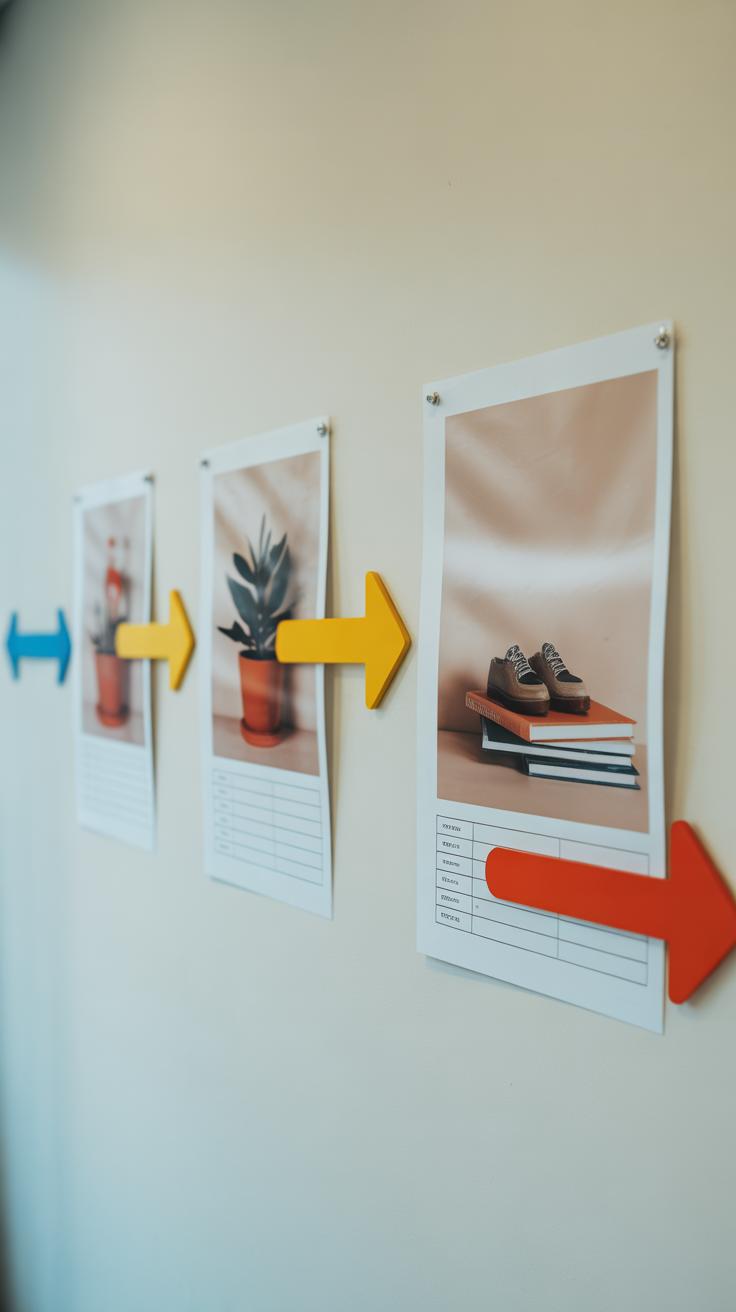
Ideas For Mixing Frame Styles And Art
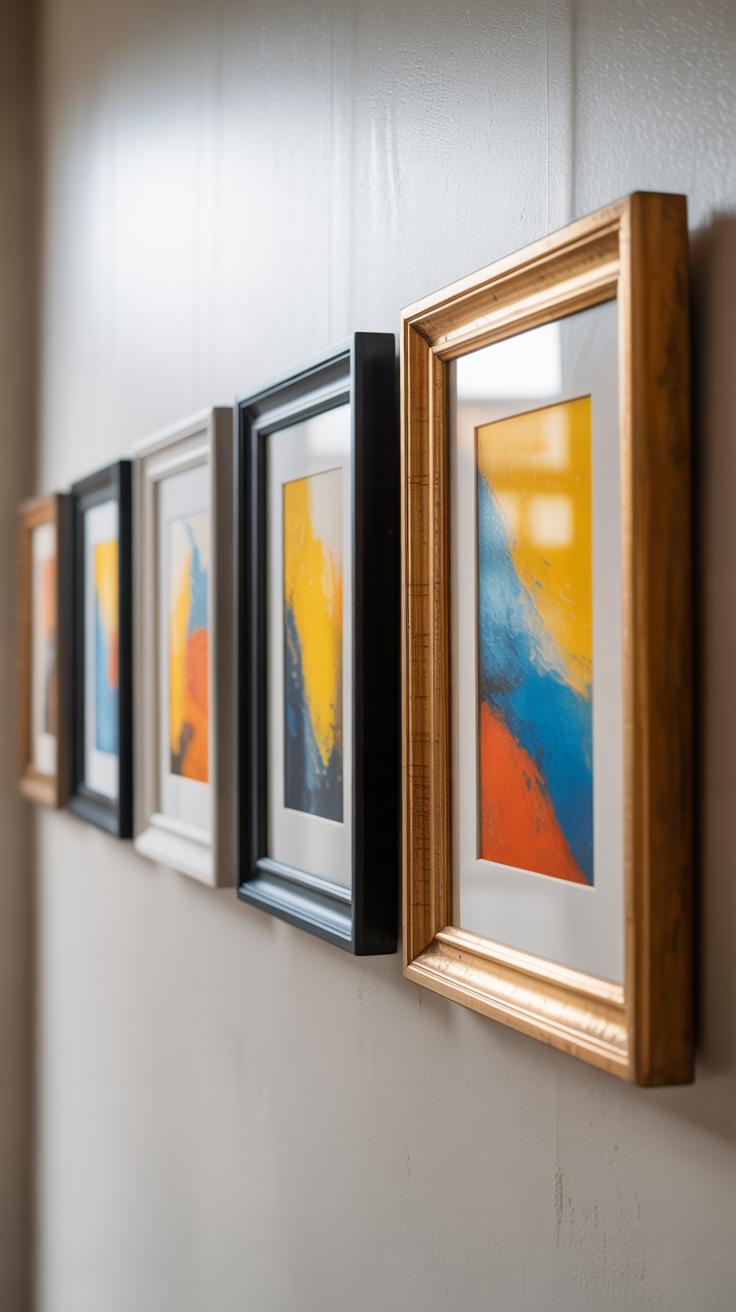
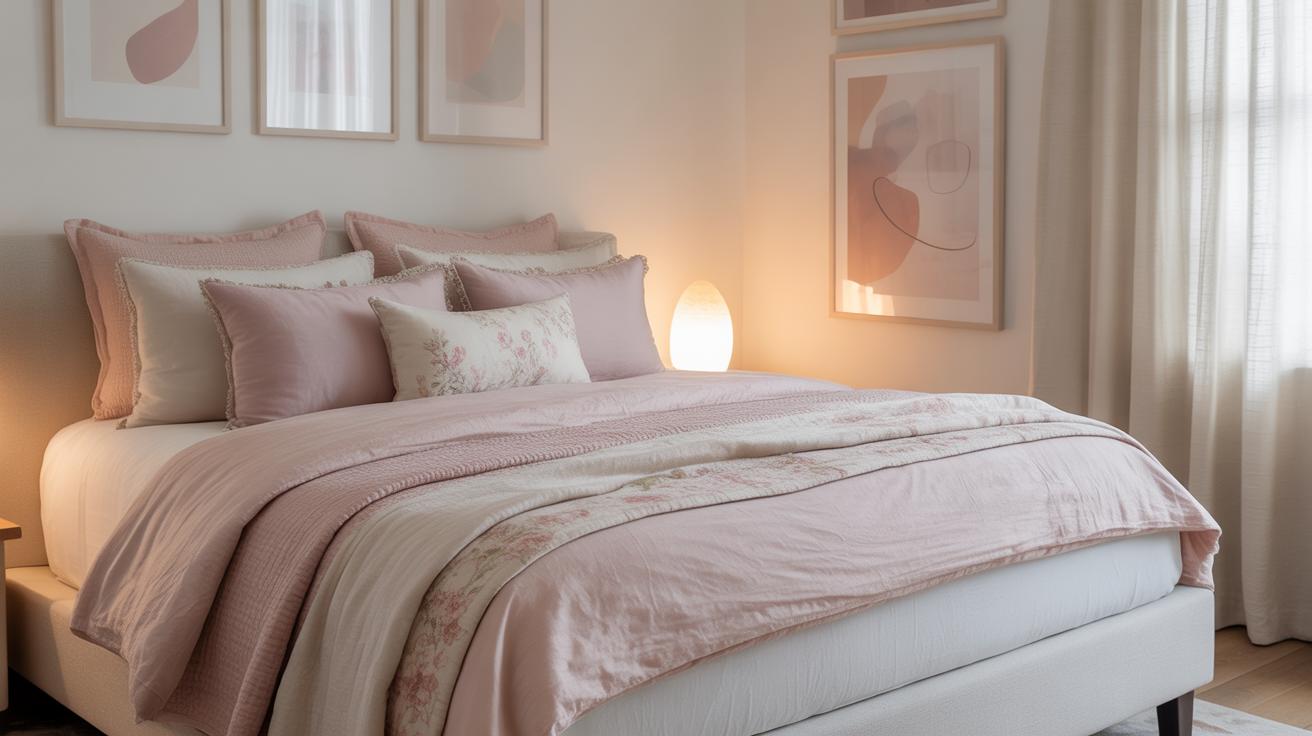
Mixing frame styles can really breathe life into your gallery wall. You might want to try combining sleek black metal frames with rustic wood ones, for example. The contrast adds interest—but to keep it from feeling chaotic, I usually recommend sticking to a shared element. Maybe it’s a similar thickness or a common color tone within the materials. You could experiment with matte versus glossy finishes, too, as long as there’s something tying them together.
When it comes to art, blending photos with other pieces can surprise you. Family photos, when placed alongside abstract prints or watercolor paintings, create a balance between personal and artistic. I’ve found that switching between black-and-white photos and colorful art can both unify and differentiate the wall. It’s about giving each piece room to stand out, while still telling a collective story.
Try these ideas:
- Choose two main frame materials, like metal and wood, but vary the colors within those materials.
- Mix formal art prints with casual snapshots; the contrast keeps it interesting.
- Use one or two colors recurring in the frames or mats to subtly unify the entire display.
- Consider frame shapes too—mix squares with rectangles or even circle frames—if it feels right.
Does your collection lean more nostalgic or modern? Sometimes, blending the two styles can feel a bit off, or maybe almost perfect, depending on your taste. So, you might need to reshuffle a bit based on what feels right in your space.
Common Mistakes To Avoid
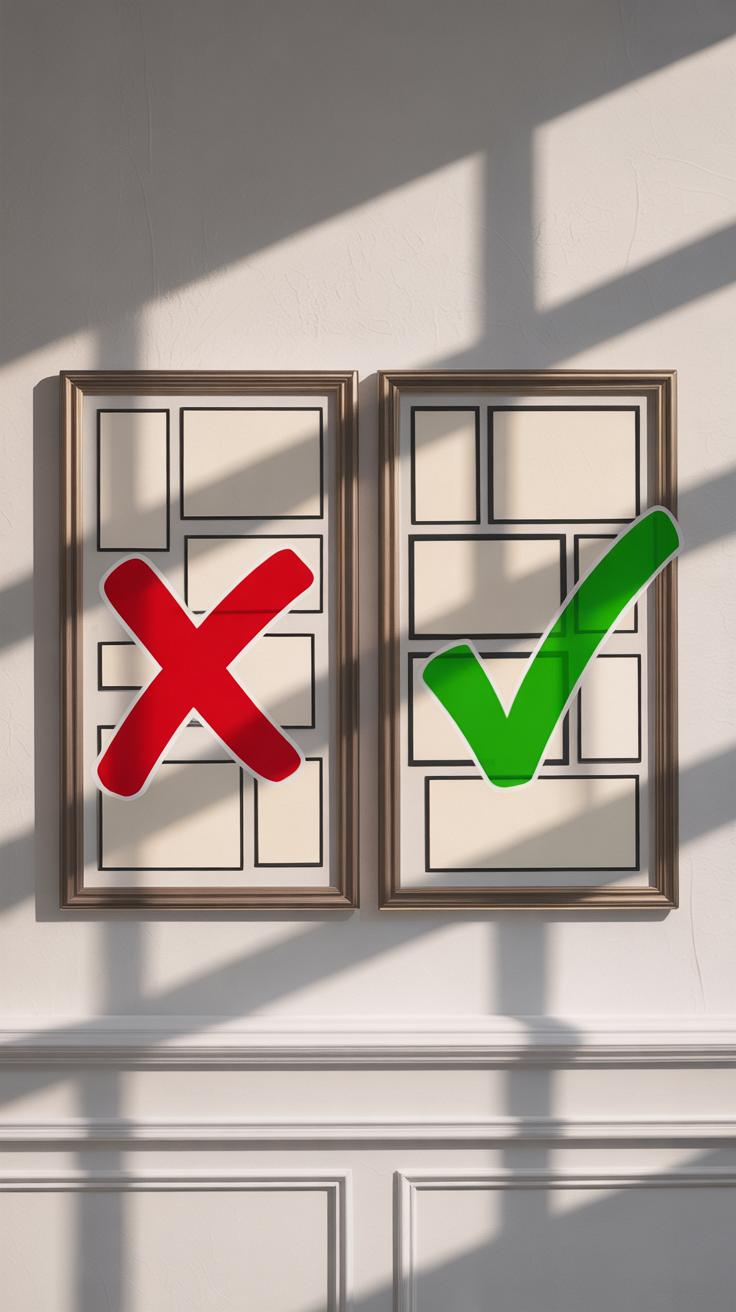
Ignoring Wall Scale
One mistake that trips up many is picking a gallery wall template without thinking about how it fits your actual wall. It’s easy to grab a layout that looks great in an online example or in the printable itself, but it might be way too big or too small for your space. If the template is too large, your arrangement may crowd the wall, leaving no breathing room around the edges. Too small, and the display can look lost or awkwardly placed, like it’s shrinking in the room.
Think about your wall’s size before committing. Even if a template boasts tons of frames, does your wall really have the room? Sometimes, less is more. I learned this the hard way when a template that worked on a blog ended up looking cluttered where I tried it. It made me realize that matching scale isn’t just practical—it actually changes the feel of the entire room.
Skipping Measuring Steps
Measuring might sound tedious, but skipping it can mess up the whole effort. I get it, you want to start hanging art quickly, but trust me: careful measuring avoids headaches later. Without measuring, you risk crooked lines, uneven spacing, or misaligned frames.
Take the time to measure both the wall and your printed template carefully. Lay out the paper cutouts before the hammer even comes out, and check spacing multiple times. You’ll catch mistakes early and feel more confident hanging each piece. It feels like an unnecessary pause, maybe, but it makes the difference between a nearly perfect wall and one you’ll keep adjusting for days.
Have you ever hung a piece only to realize the next one doesn’t fit where you thought it would? Measuring stops that. Don’t rush—trust the tape measure more than your eyes.
Creative Alternatives To Printable Templates
While printable templates offer quick and easy ways to plan your gallery wall, they’re not the only way to figure out the layout. Sometimes, getting hands-on with the actual wall can give you insights a paper template never will. A method I’ve found surprisingly simple and useful is using painter’s tape directly on the wall. It lets you outline where each frame will go, and you can shift things around until the arrangement feels right. This makes it easier to see the scale and spacing in your actual space without committing nails or holes too soon.
Painter’s tape is forgiving, too—it sticks without damaging the paint and peels off cleanly. You can create rectangles that mirror your frame sizes, even mix and match different sizes as you go. It’s practical and tactile, which helps if you like to see and touch things rather than just envisioning them.
On a different note, there are quite a few digital tools that might appeal to the more tech-oriented. Apps and software designed for interior design or photo organization can also help plan a gallery wall layout. Some let you upload photos of your artwork, drag and drop, resize, and rotate until you get something close to what you want. Others work with room photos and give a 3D preview, which can be quite handy, especially if you want to try several ideas before putting anything on the wall.
Some of these tools aren’t perfect, though. Sometimes, they feel a bit fiddly or too formal compared to the casual trial-and-error of tape on the wall. But they do provide a sense of precision and the ability to save or share your ideas easily.
So, whether you prefer the hands-on, physical experiment of tape or the convenience of digital planning, both alternatives offer useful ways to bypass printable templates. It’s all about finding what clicks with your style and space.
Maintaining And Updating Your Gallery Wall
Keeping your gallery wall looking fresh doesn’t have to be a hassle. Over time, tastes change, new pieces catch your eye, or maybe some wear sneaks in. It’s actually kind of fun to think about your wall as a living display, something you can tweak or refresh whenever the mood strikes.
Cleaning And Frame Care
Dusting is a simple habit but often overlooked. You can use a soft cloth or a microfiber duster—something gentle—to wipe down frames every few weeks. It’s surprising how much dust can dull the appearance, making vibrant colors look muted. Also, try to keep your art out of direct sunlight. Even if frames look sturdy, UV rays can fade photos and prints over time. If repositioning isn’t an option, consider UV-protective glass or acrylic for delicate pieces.
Swapping Art Pieces Easily
One great way to update your gallery wall is by swapping out art pieces without redoing the entire layout. Think about using removable hanging systems or picture ledges, so switching becomes practically effortless. You might want to store seasonal art or rotate favorites to keep things interesting—like bringing out a bright, sunny print in winter. I once swapped just one painting after a year, and the whole wall felt renewed without a single new nail in the wall. Do you prefer constant change or letting your gallery settle for a while?
Conclusions
Printable gallery wall templates help you achieve a neat and stylish art display without the guesswork. They offer clear patterns to follow, guiding you through frame arrangements step-by-step. These templates make your hanging project straightforward and stress-free.
With a little planning and the right template, you can transform any wall into a captivating art gallery. Use the tips shared here to pick a design, arrange your frames, and enjoy your new gallery wall. Your photos and art will shine, adding warmth and personality to your space.