Introduction
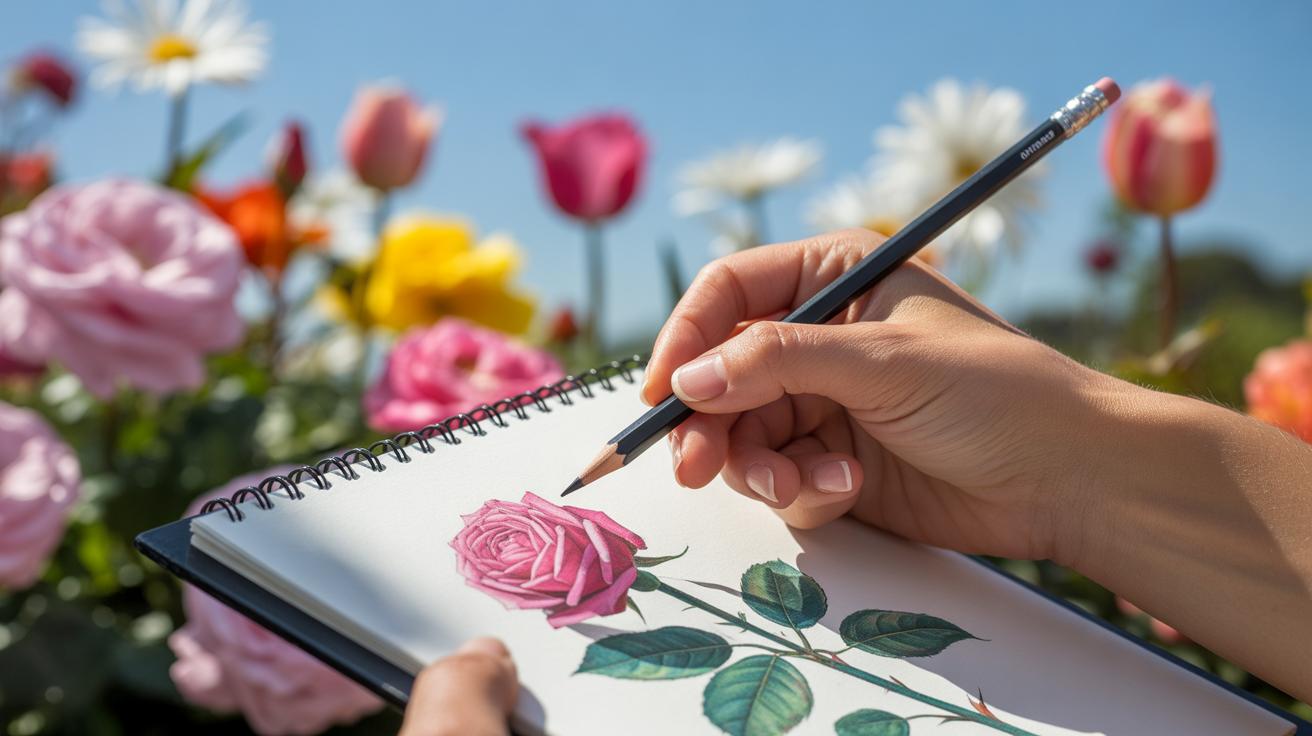
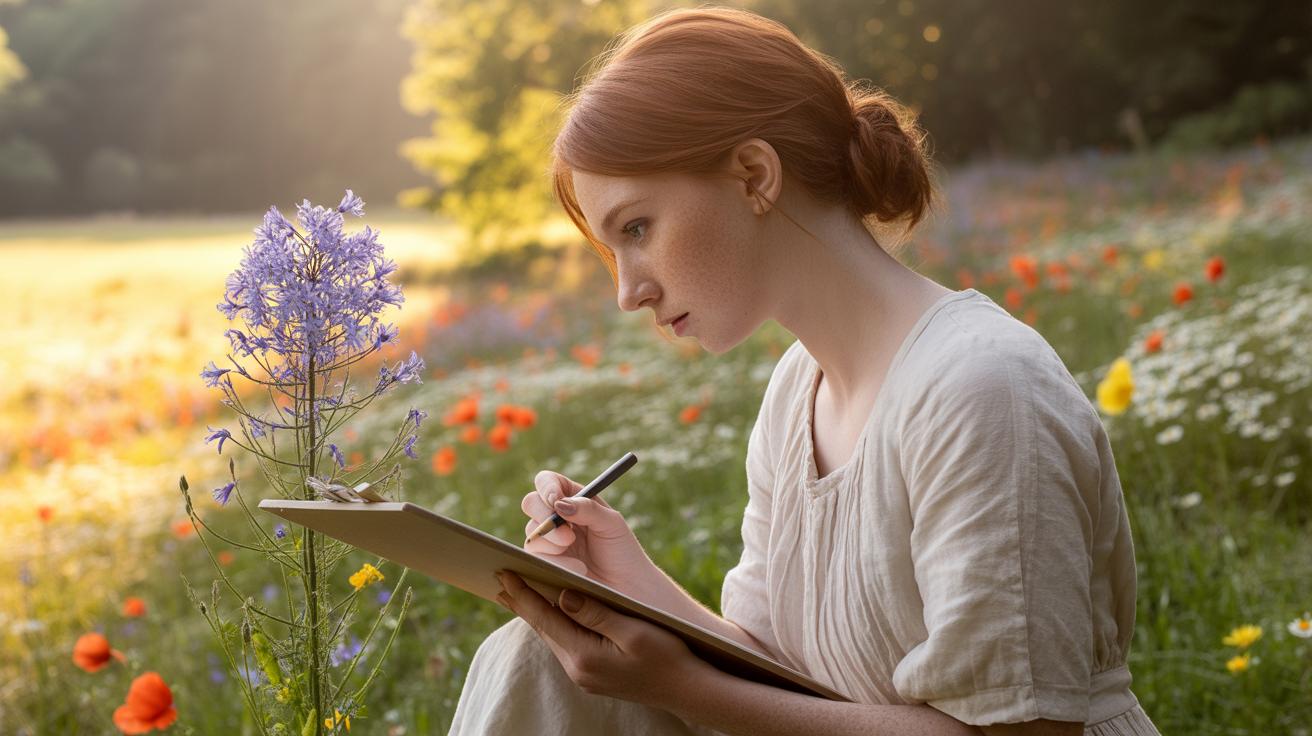
Drawing a flower garden can be a rewarding and creative activity. It allows you to capture the beauty and variety of flowers in a simple and artistic way. Mastering flower garden drawing through simple techniques can help you bring your garden ideas to life on paper. This skill opens the door to expressing your creativity while learning to observe nature in detail.
Throughout this guide, you will explore easy steps and practical advice to improve your flower garden drawing abilities. From choosing the right tools to understanding basic shapes and composing your drawing, the techniques shared here will assist you in creating stunning flower garden drawings with confidence and ease.
Starting Your Flower Garden Sketch
To begin a flower garden drawing, start with very light pencil strokes. Use a soft pencil—like a 2H or HB—so you can easily erase or adjust as you go. Sketch rough shapes first, avoiding details. Think of these as placeholders: simple ovals for flower heads, loose lines for stems, and rough curves for pathways or garden borders.
Outline the garden’s general layout before diving into individual flowers. Map out where you want clusters, paths, or open spaces. At this stage, don’t worry about precision; your goal is to establish an overall flow. Does the placement feel natural? Is there room to breathe between elements? Sometimes empty spaces matter as much as flowers themselves.
Keep the composition loose and flexible. Balancing filled and empty areas prevents your drawing from feeling crowded or flat. You might try rearranging shapes until the garden feels right to you. This early sketch is your chance to experiment—no details needed, just shapes and movement.
Choosing Your Drawing Surface
Not all drawing papers are created equal, and your flower garden will reflect that choice. Smooth Bristol paper works well if you want sharp lines and clear details. If you prefer softer shading or a textured effect, cold-pressed watercolor paper or textured drawing paper could be better.
Size matters too. Bigger paper gives you more space to play with complex gardens, but it can be intimidating. Smaller sizes, around 8×10 inches, are easier to control and finish. Also consider paper weight—thicker sheets (above 100 lb) handle erasing and layering better.
Keep in mind your medium: graphite works well on most papers, but if you plan to add watercolor or colored pencils later, choose a heavier or textured surface. Personally, I’ve tried sketching on both smooth and textured sheets, and each creates a distinctly different mood in the final piece. Do you want crisp flowers or soft impressions?
Planning Composition Effectively

Planning composition goes beyond just placing flowers randomly. Think about major flower clusters as focal points. These should catch the eye first. Pathways or garden borders guide the viewer’s gaze, so position them with care to lead naturally through your drawing.
Don’t hesitate to leave some spots empty. Those spaces let your flowers breathe and prevent visual chaos. Placing too many elements close together often makes the drawing feel cluttered, which isn’t always desirable, even in a dense garden.
Try sketching a few thumbnails first—small versions of your idea. Play with where groups of flowers or empty spaces go until the arrangement feels balanced but not predictable. As you do this, ask yourself: Does this composition invite me to explore? Or does it feel static?
Drawing Flower Shapes Simply
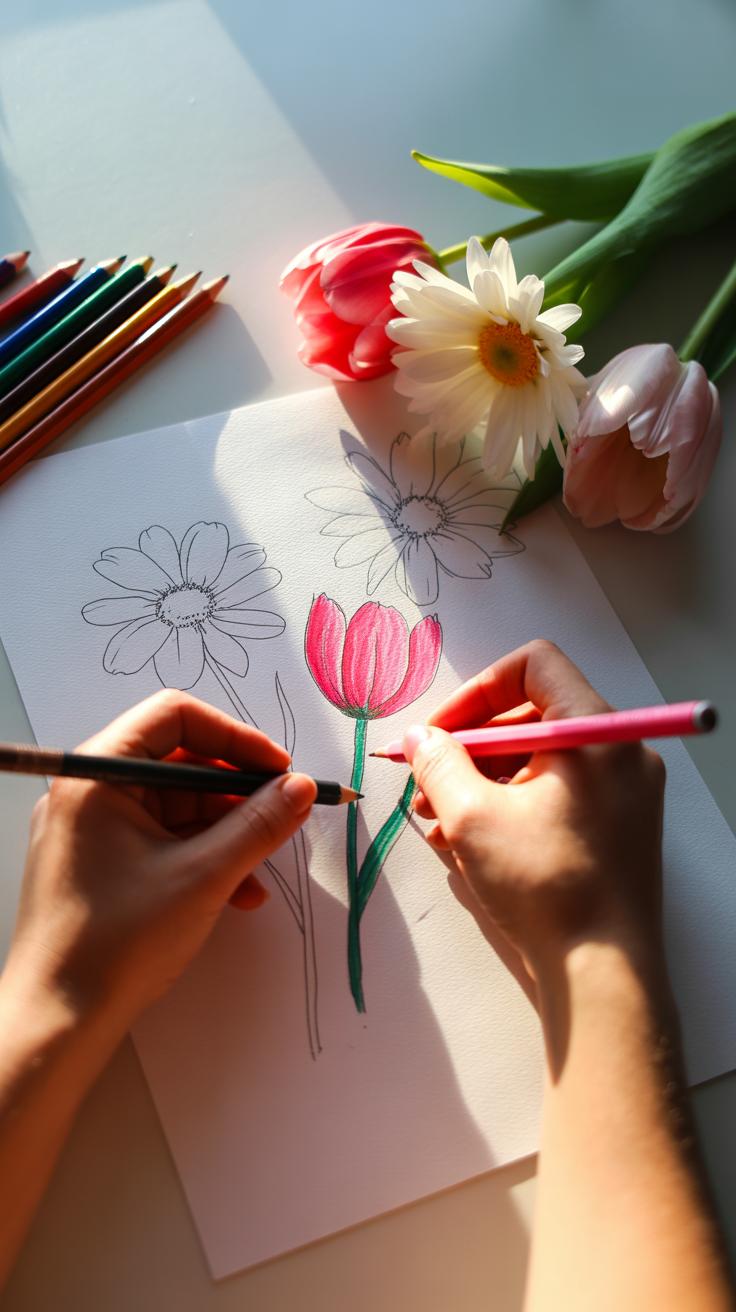
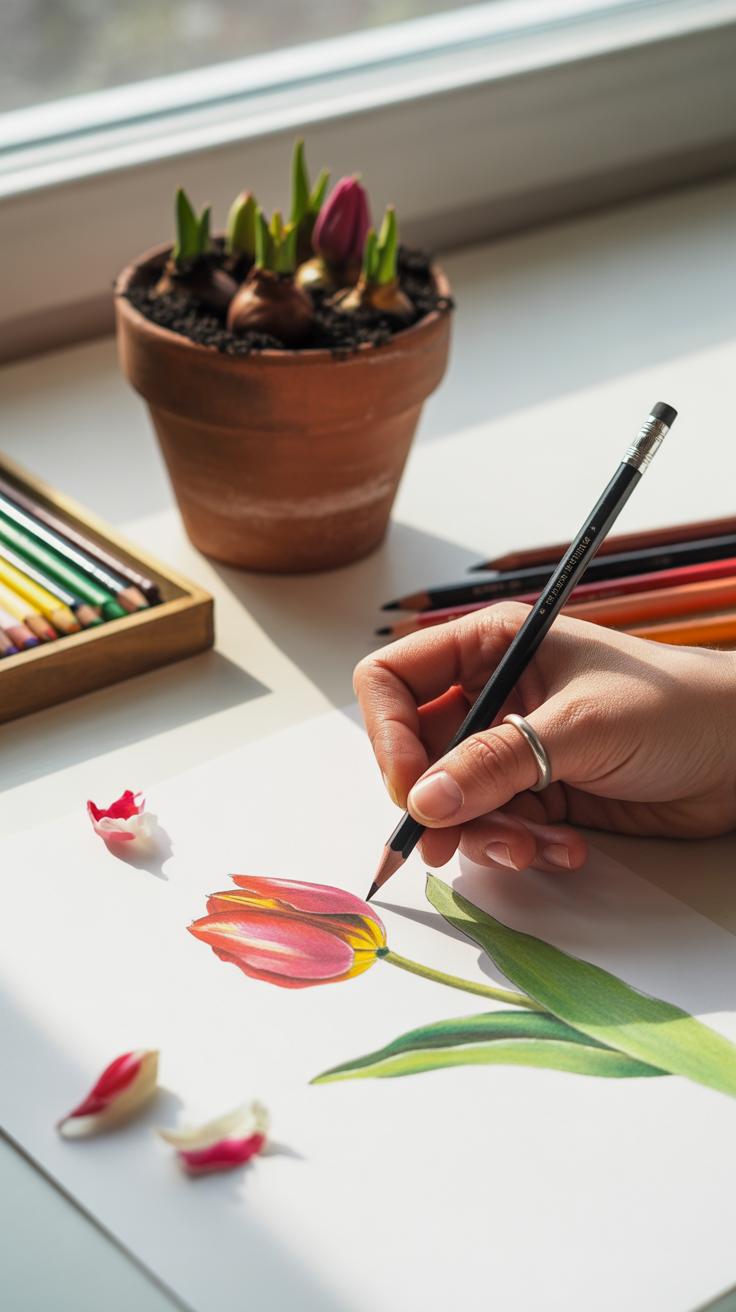
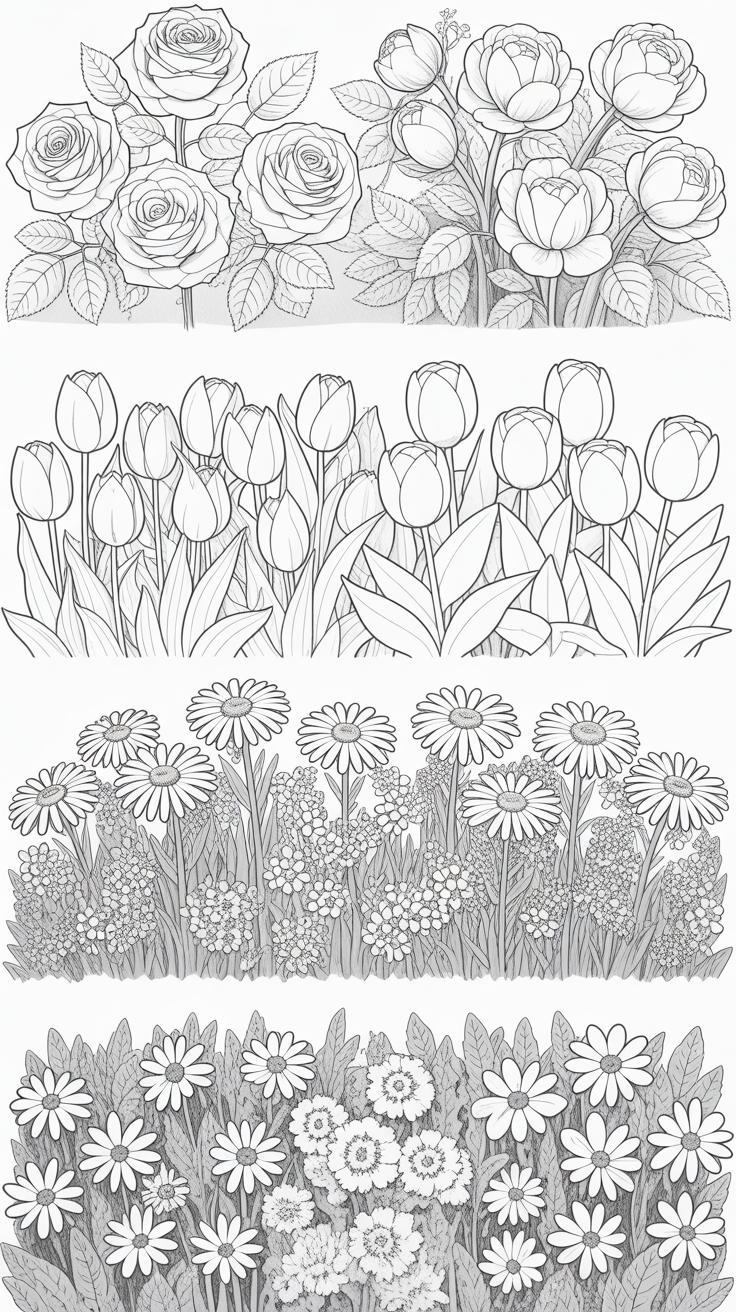
When you look at a typical garden flower, you might think it’s complicated to draw. But if you break it down into simple shapes, drawing becomes much easier. Try starting with basic forms like circles for flower centers and ovals or teardrop shapes for petals. For example, a daisy can start with a small circle in the middle and elongated ovals radiating outwards. This keeps the shape recognizable without drowning in detail.
Leaves and stems follow the same idea. Stems are usually just straight or slightly curved lines. Leaves can be drawn as elongated ovals or triangles attached to those lines. Don’t worry about perfect symmetry—nature rarely sticks to exact shapes, and neither should your drawing.
Think of tulips as simplified teardrops with a few petals indicated by overlapping ovals. Sunflowers may look intricate, but sketching a large central circle with petal shapes layered around it does the trick. You’ll find that simplifying complex flowers into these basic shapes helps keep your drawing clear and approachable.
To add depth, layering plays an important role. Overlap petals slightly to give a sense of natural growth. Leaves tucked behind flowers create space and prevent your drawings from feeling flat. When layering, use lighter lines for the elements behind and darker or thicker strokes for the elements in front. This keeps layers visually distinct, helping your flower garden image come alive on paper.

What happens if you make petals too perfect? It might look stiff. Try varying the petal shapes or sizes a bit. That little imperfection adds life and interest. Remember, your goal isn’t a photo-realistic image but a clear, simple representation that feels close to what you see in a garden.
Adding Color to Your Garden Drawing
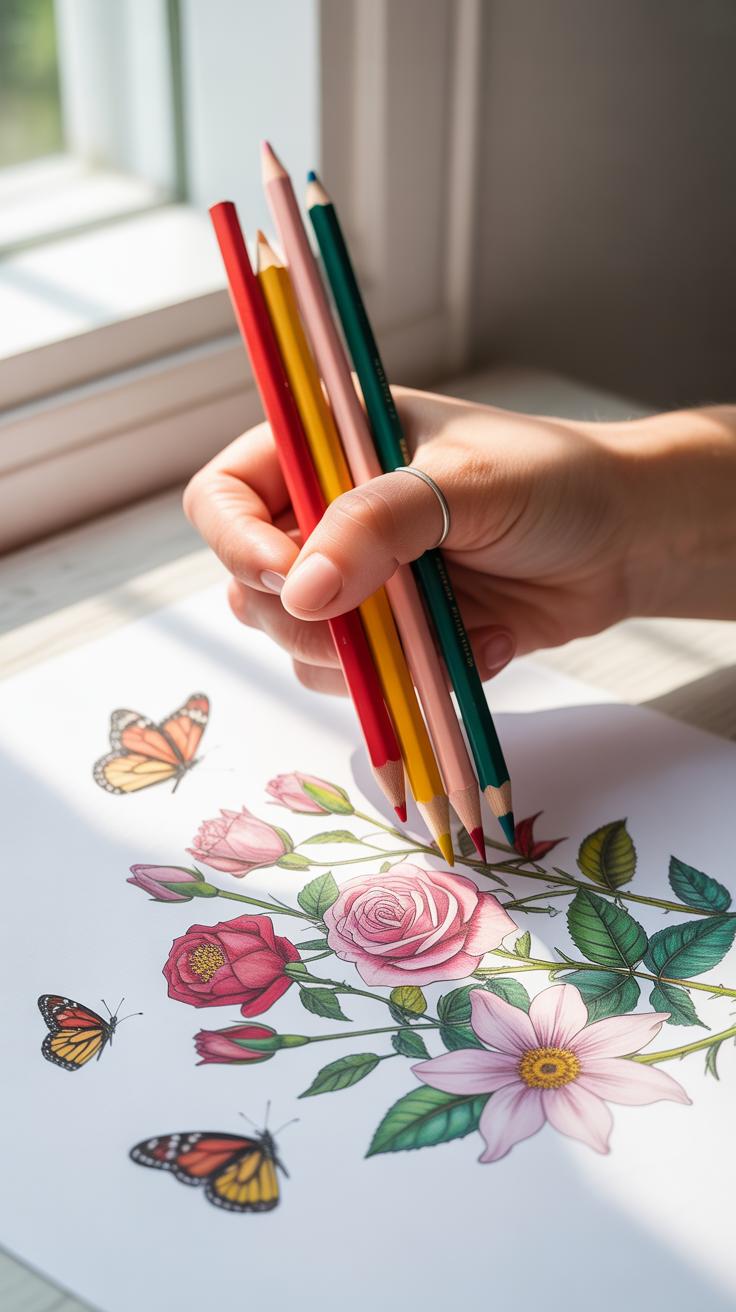
When you start adding color to your flower garden drawing, the choices you make can completely change the look and feel. Colored pencils, markers, and watercolors all bring different qualities to the table. For example, colored pencils give you fine control and layering ability but can sometimes look a bit flat if not blended well. Markers are bold and vivid, but they can be unforgiving if you want subtle shading. Watercolors can create soft, natural blends but might require some patience and practice to avoid blotches.
Choosing colors often depends on the mood you want to create. You might want bright, contrasting colors for a lively garden, or softer pastels for a delicate feel. Blending colors gently on petals and leaves adds depth and prevents your drawing from looking too flat. I find starting with lighter colors and gradually adding darker shades works well. Also, don’t be afraid to layer and experiment a bit—sometimes unexpected blends bring the most life to your drawing.
Best Coloring Materials for Beginners
For beginners, picking the right tools can be a bit overwhelming. Here’s a quick look at some options:
- Colored pencils: Easy to use, affordable, and versatile. You can layer colors gradually without worrying about mess. Yet, they sometimes lack the vibrancy markers have.
- Markers: Deliver strong, bright colors immediately. They are perfect for bold designs but can bleed through paper and don’t blend easily, which could be frustrating starting out.
- Watercolors: Great for soft gradients and natural looks. Requires more care in water control and paper type. Beginners might struggle with maintaining the right balance of water and pigment.
Personally, I started with colored pencils because they felt low pressure. Markers came later, and using watercolors still makes me hesitate sometimes, wondering if I’ll lose control.
Color Blending and Shading Tips
Smooth blending and shading really bring your flower garden to life. Here are a few simple ways to start:
- Use a lighter color first, then add shadows with a darker shade. This creates dimension without harsh edges.
- For pencils, try gentle circular motions while layering colors. Press lightly at first, then more firmly as you build up.
- With markers, layering can be tricky, but using a colorless blender marker or layering quickly before the ink dries can help.
- Watercolors need patience. Apply more water to soften edges where colors meet, allowing them to flow into each other naturally.
One thing I always remind myself is to avoid rushing. Harsh lines often come when you press too hard or too quickly. Soft transitions might feel counterintuitive at first, especially when you want bold details, but they add realism. Have you noticed how shadows can suggest shape and texture without drawing explicit lines? That subtlety is key.
Common Mistakes and How to Fix Them

One mistake I often see in flower garden drawings is flowers that look… well, off. Maybe too big, or way too small compared to others. It can throw off the whole piece, making it feel awkward. To fix this, try measuring key parts of your flowers against each other with a pencil or your thumb—it’s a simple way to check if the sizes match up better. Comparing petal widths or stem lengths can help you see when something feels out of place.
Sometimes, your garden’s layout might feel cluttered or empty in spots, which can distract the viewer or make the drawing less engaging. You might want to shuffle flowers around or even erase some to keep things interesting. Try stepping back from your work often, maybe even flipping the paper to spot imbalances you didn’t catch before.
When balancing composition, think of your eye moving smoothly across the drawing. Are there areas that pull too much attention? Or places that feel neglected? A couple fewer roses here, or one more daisy there, could make a difference. It’s a bit like tuning a musical instrument—small tweaks can really improve the harmony of your drawing.
Fixing these common errors isn’t always straightforward though. Sometimes you need to undo and redraw. Other times, embracing a slight imperfection adds charm. Just keep observing your work with fresh eyes and don’t rush adjustments. Over time, your sense of proportion and composition will naturally get sharper.
Comparing Drawing Styles for Flower Gardens
When it comes to drawing flower gardens, the style you choose can shape not only the final look but also your experience while creating it. You might find yourself drawn to realistic details, or maybe you enjoy the playful freedom of cartoon shapes; some even lean toward abstract forms that barely resemble flowers at all. Each style brings something different to the table, and the challenges vary depending on your skill level and patience.
Realistic drawings focus on capturing the exact appearance of flowers—their petals, textures, and the way light touches them. This style can be incredibly rewarding because it teaches you observation and patience. But it can also be tough if you’re just starting out: details pile up fast, and it’s easy to get overwhelmed or frustrated if your work doesn’t look “perfect.” Realistic work suits settings where you want to impress or study nature closely, maybe for a botanical project or detailed gift.
On the other hand, cartoon flower gardens offer simplicity and charm. Exaggerated shapes, bold outlines, and bright colors make it easier to express fun or mood without focusing on technical accuracy. Beginners often find cartoons less intimidating—they’re forgiving of mistakes, and you can experiment without worrying about proportions. But, cartoon styles might feel limiting if you aim for subtlety or realism, and it can take practice to avoid clichés or overly childish looks.
Abstract flower gardens hold the opposite appeal: here, you’re free from the need to represent flowers “correctly.” Think of using irregular shapes, unexpected colors, or repeated patterns to suggest blossoms and foliage. This style can unlock creativity and personal expression. But it might confuse some viewers or even you, because abstraction isn’t always easy to control or explain. Starting abstract might seem daunting too, since it feels less guided by rules or references.
Which style fits you? Maybe one day you want to try a realistic scene, and the next, something wildly abstract. Exploring all three can strengthen your skills and broaden your creative voice. What’s your instinct telling you about how you want to draw your next flower garden?
Realistic vs Cartoon Garden Drawings
Realistic flower garden drawings emphasize natural proportions, careful shading, and fine details. You’ll need to observe flowers closely, noticing tiny veins on petals or the subtle gradients where light fades. It’s about patience and accuracy. You might pick this style when aiming to create something lifelike, perhaps as a study or for a gift to someone who loves nature’s precision.
Cartoon flower gardens ditch exactitude for bold lines and simplified forms. Flowers might look rounded, eyes or faces might be added, and colors jump off the page with little concern for real-world shades. This style encourages expressiveness. It’s great for playful projects or when you want to capture a mood rather than a moment. The technique leans toward fluid outlines, flat colors, and exaggerated features.
Approach realism with detailed studies, slow layering, and patience. For cartoons, focus on clean shapes and strong contrast. Both styles have their hurdles: realistic drawings demand time and skill, cartoons require balancing simplicity and engagement without losing character.
Exploring Abstract Flower Designs
Abstract flower garden drawings might not look like a garden at first glance. Instead of petals and stems, you might see overlapping circles, jagged triangles, or swirling patterns that hint at flowers without naming them. Colors take center stage—sometimes clashing, sometimes blending unexpectedly. This approach lets you break free from literal representation.
Using shapes and patterns helps evoke floral impressions without strict rules. You might repeat a shape to mimic a cluster of blooms or use a spiral to suggest growth. Colors can convey the warmth of the sun or the coolness of morning dew, all without drawing recognizable plants.
While abstract drawing frees your creativity, it also demands a good sense of composition and color balance, even if it seems random. Beginners might find it tempting but confusing—where do you start? Intermediate artists tend to enjoy pushing these boundaries more confidently, though. Have you tried painting a flower garden with just shapes and colors? Sometimes, the less literal you get, the more your personal style shines through.
StepbyStep Flower Garden Drawing Process
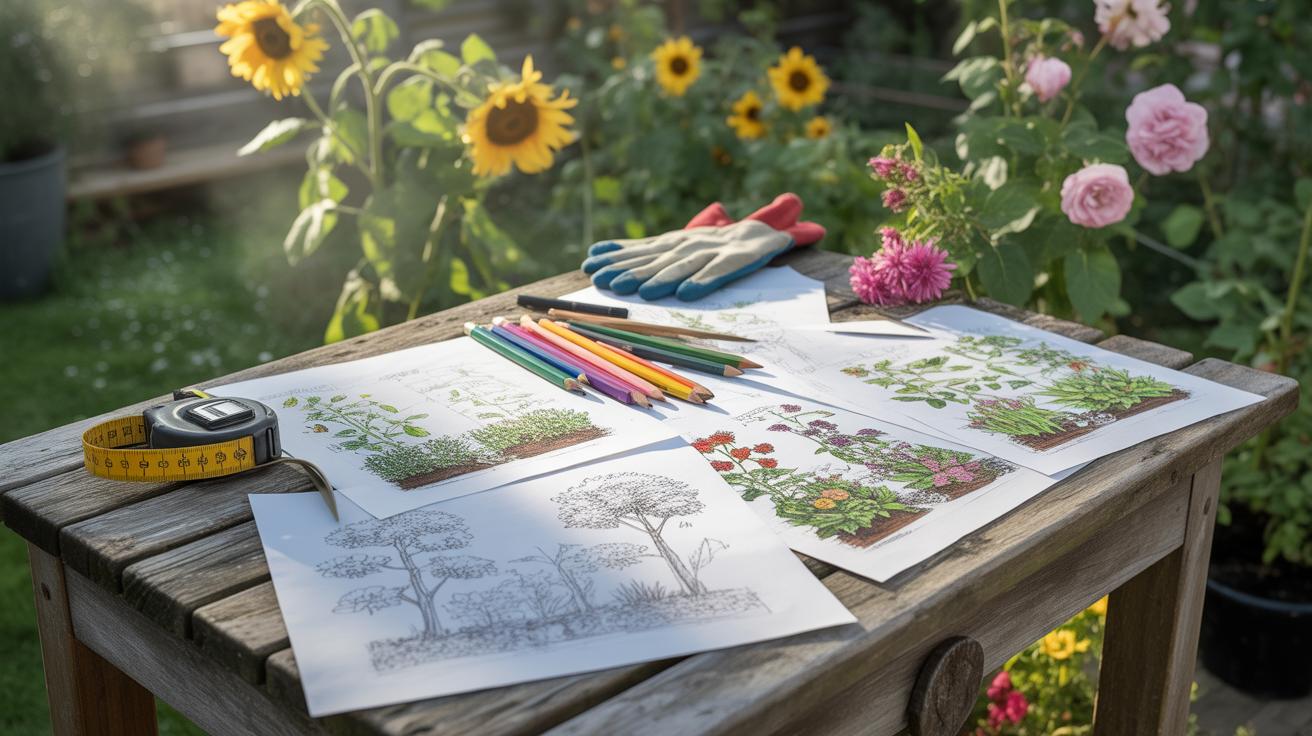
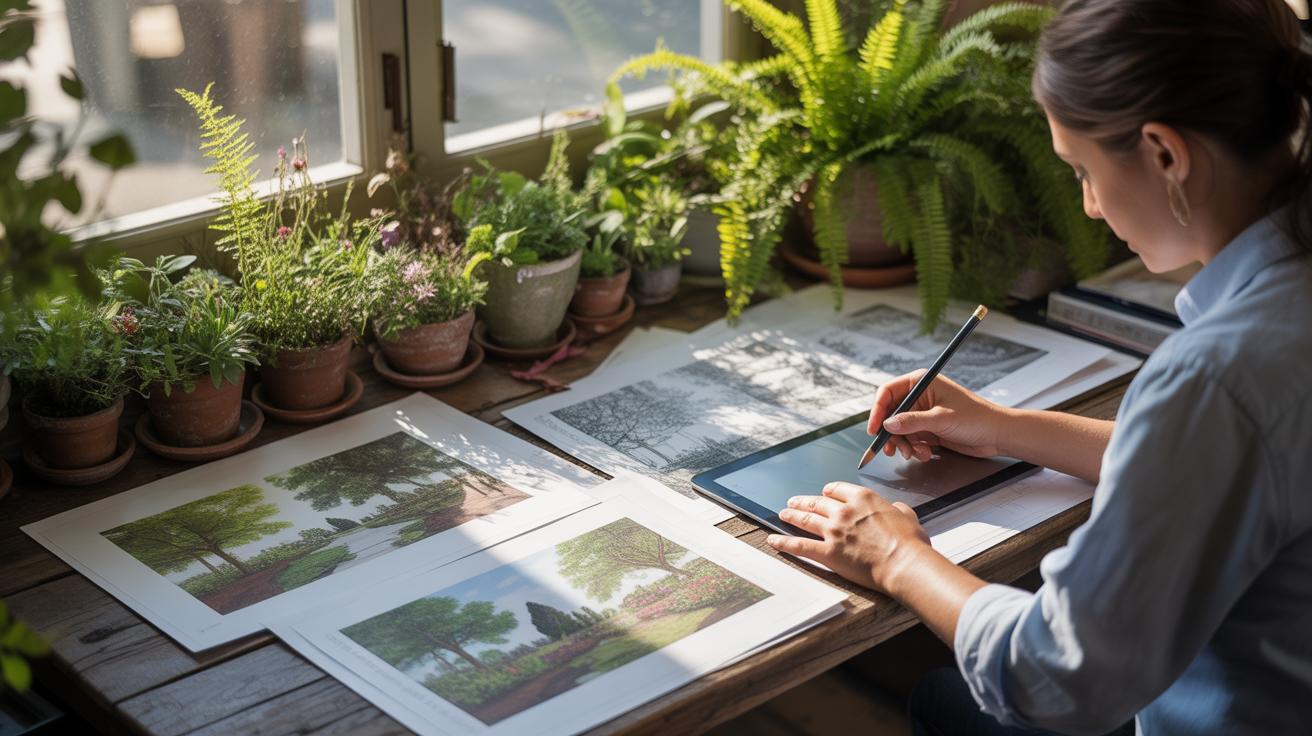
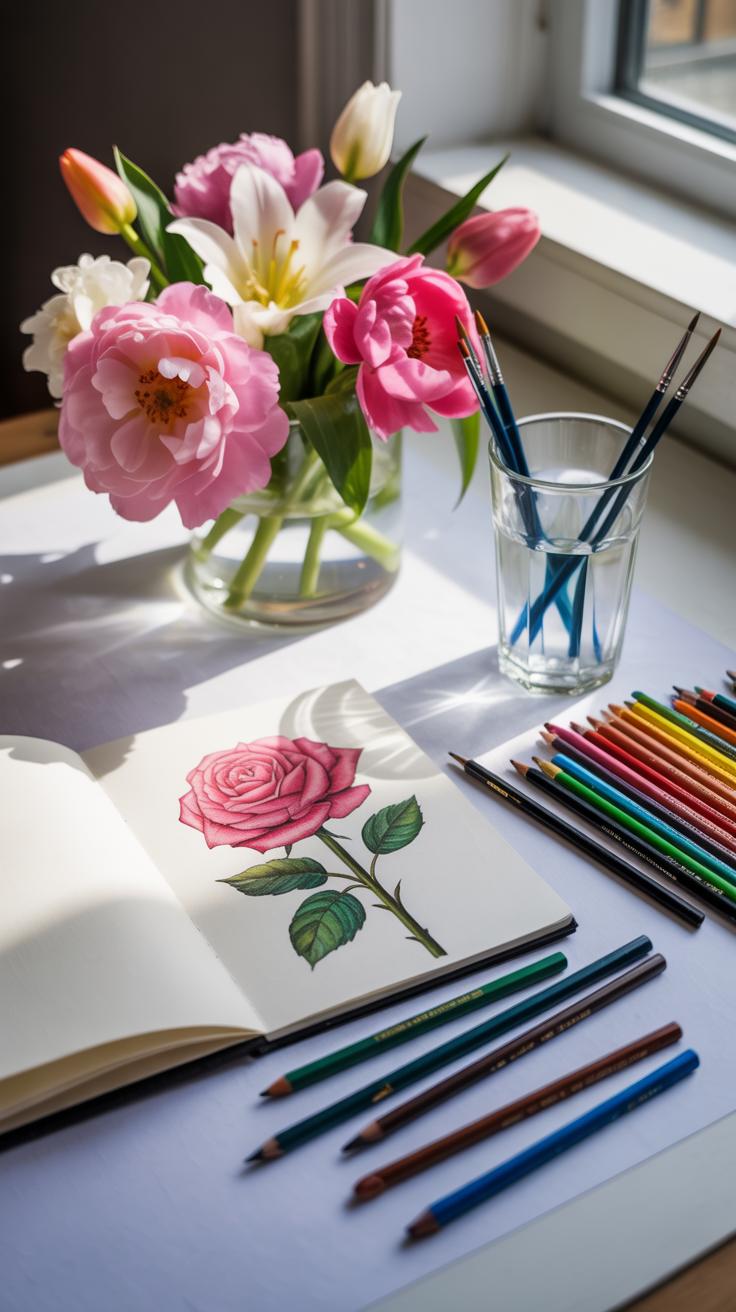
Start by setting up your workspace—make sure it’s clean and comfortable. Lay out all your pencils, erasers, and coloring tools within easy reach. It’s a small thing, but having everything ready keeps the flow going without awkward pauses.
Next, lightly sketch the basic shapes of your flower garden. Think about where the main flowers will go, how they’ll overlap, and let the sketch be loose at first. You’re just mapping the space.
When the general layout feels right, begin adding details. Define petals, leaves, and stems one by one. It’s tempting to jump in with dark lines early, but try to keep your strokes soft. This will give you room to correct or refine.
Now, onto coloring. Choose your colors carefully, maybe test them on scrap paper first. Layer shades subtly rather than slapping on too much color at once. The way shadows fall between petals is often what gives a drawing real depth.
Finally, pay attention to the last touches. Add highlights where light would hit petals and leaves. Clean up unnecessary sketch lines gently with your eraser. You might want to sign your work—just small and tasteful, near a corner. These finishing strokes pull everything together and lend a professional feel.
Examples of Flower Garden Drawing Projects

Simple Flower Bed Drawing Example
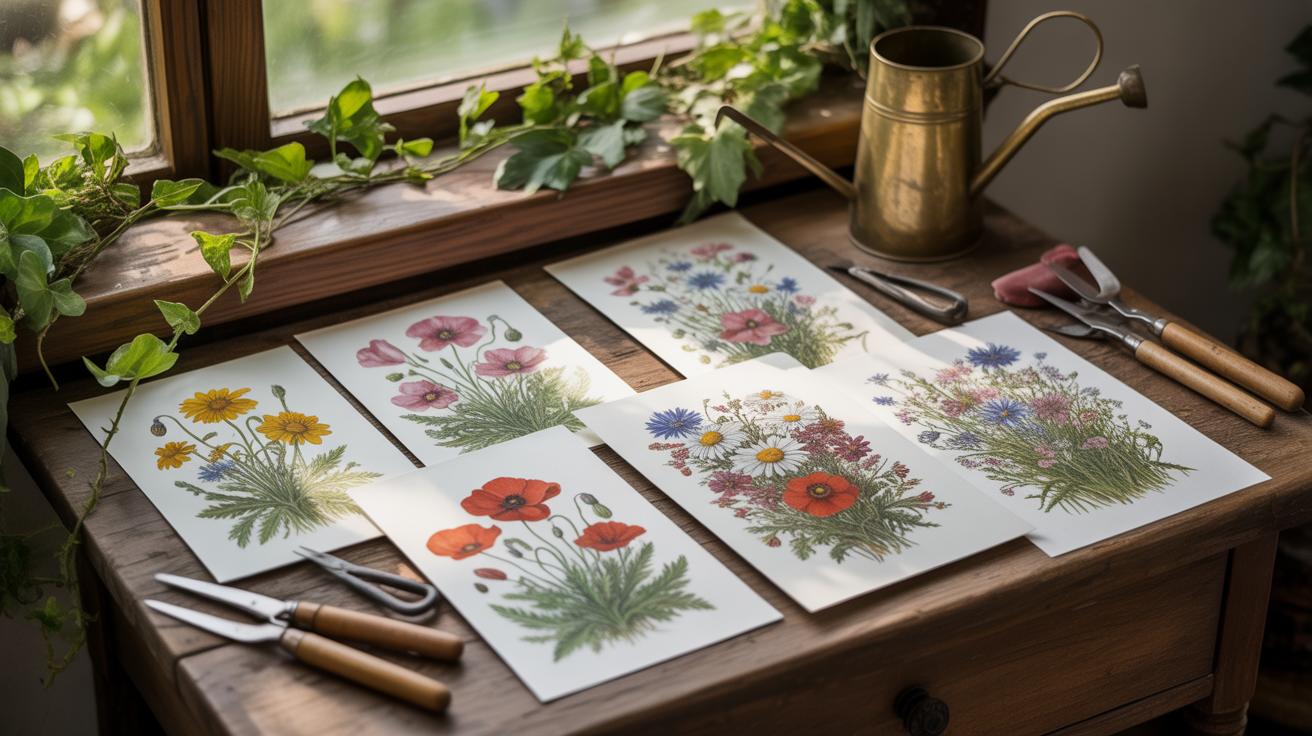
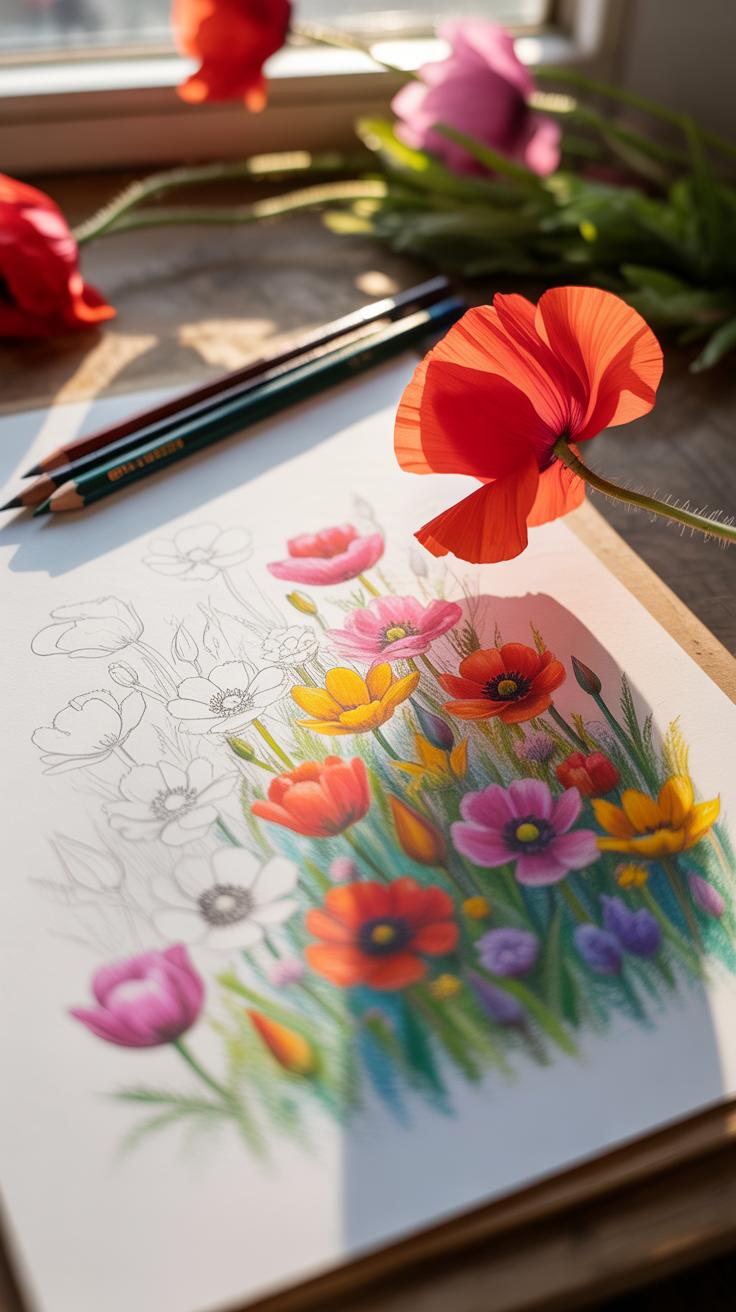
One straightforward project I tried was drawing a small flower bed using simple shapes and a limited color palette. The flowers chosen were basic types—daisies and tulips—because their shapes felt easier to capture without overwhelming detail. The layout was just a gentle cluster, nothing too ambitious, with flowers spaced evenly but not perfectly aligned.
For tools, I stuck with colored pencils and a fine-tip pen for outlining. The technique focused on layering flat color and leaving some white space for light reflection. The main challenge was keeping the shapes recognizable yet effortless. I found myself erasing outlines a few times to prevent the drawing from looking stiff. This taught me that sometimes less detail can speak more clearly, especially when starting out.
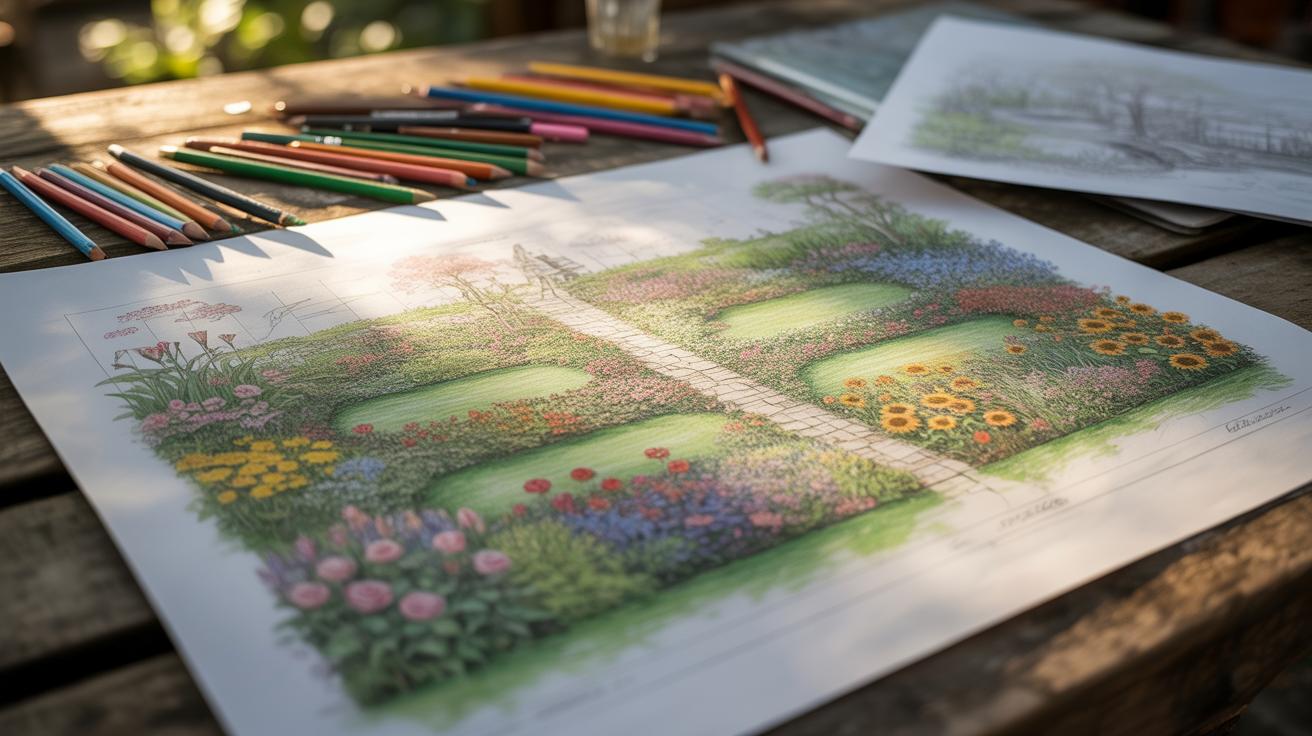
Decorative Garden Scene Illustration
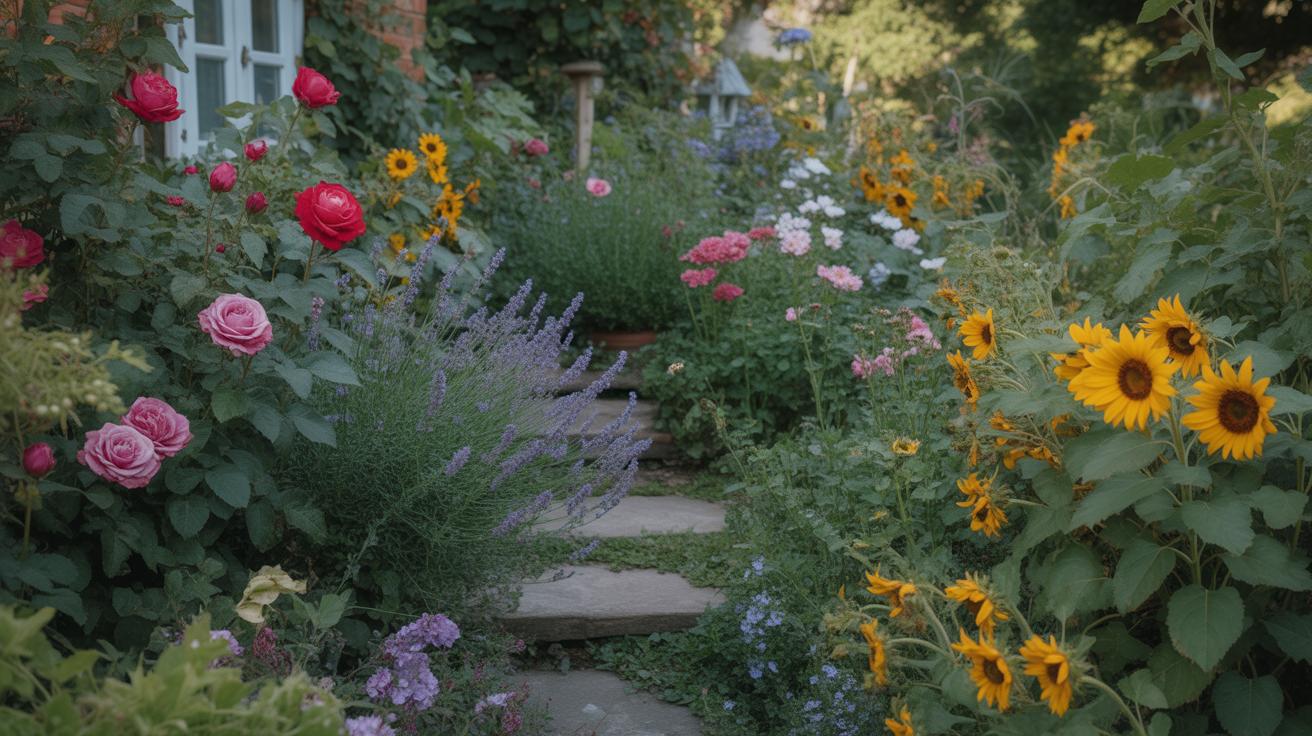
On the other hand, I also worked on a more detailed garden scene. This one included winding pathways, a mix of flower types like roses, lavender, and sunflowers, plus some natural elements like stones and grass patches. This project demanded mixing various techniques—stippling for textures on gravel paths, crosshatching for shadows, and blending colors for petals.
I used watercolors alongside ink pens to add depth and softness. The complexity made it tricky to balance the composition; at one point, the scene felt cluttered. It required stepping back and simplifying certain areas so the flowers didn’t compete for attention. This project showed me how combining different methods can enrich a drawing but also how easily it can become overwhelming if not handled with care.
Tools Checklist for Flower Garden Drawing
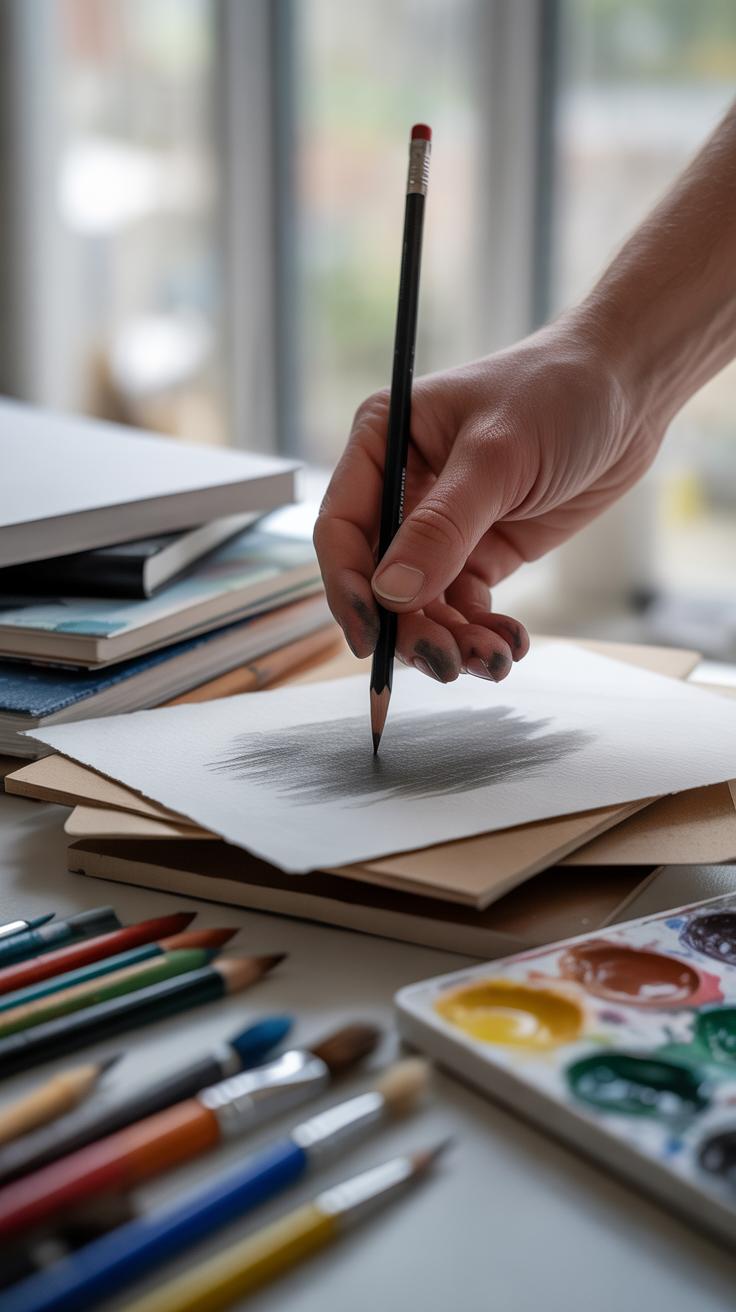
Must-Have Basic Drawing Tools
When you begin drawing flower gardens, some tools quickly become your go-to companions. First, a set of graphite pencils is essential. Different grades like HB, 2B, and 4B allow you to sketch light outlines or create deeper shadows. I usually start with an HB for drafting, then switch to softer pencils for shading. An eraser is just as important—both a kneaded one for gentle corrections and a regular rubber eraser for sharper clean-ups.
Paper matters more than many expect. Smooth, heavyweight sketch paper works well for pencil drawings and holds detail without too much smudging. If you plan to add color later, a thicker paper or mixed media type can prevent warping. You don’t need the fanciest sheets at first; even decent sketchbooks are okay to practice on.
Optional Tools for Detail and Texture
Once the basics feel familiar, you might want tools that add depth or texture. Blending stumps help smooth pencil shading and create subtle transitions between tones, which is handy for soft petals. Fine liners bring crisp outlines and tiny details, especially for veins or delicate flower centers. Textured paper can introduce extra dimension—rougher surfaces catch pencil strokes differently, making leaves and grass stand out better.
Coloring tools can also expand your options. Colored pencils, watercolors, or graphite sticks each produce different effects. Keep a small brush or tissue nearby to blend colors without overpowering the sketch. Sometimes, experimenting with these extra tools reveals new possibilities you hadn’t thought about before.
Conclusions
You now have a clear path to start drawing flower gardens with simple and effective techniques. By practicing basic shapes, colors, and composition, your drawings will show more life and charm. With patience, you can enhance your skills and enjoy the artistic process more fully.
Keep exploring different styles and flowers to make your garden drawings unique. Each piece you create will be an opportunity to improve and share your appreciation of natural beauty. Your new drawing skills can turn simple sketches into beautiful flower garden art.


