Introduction
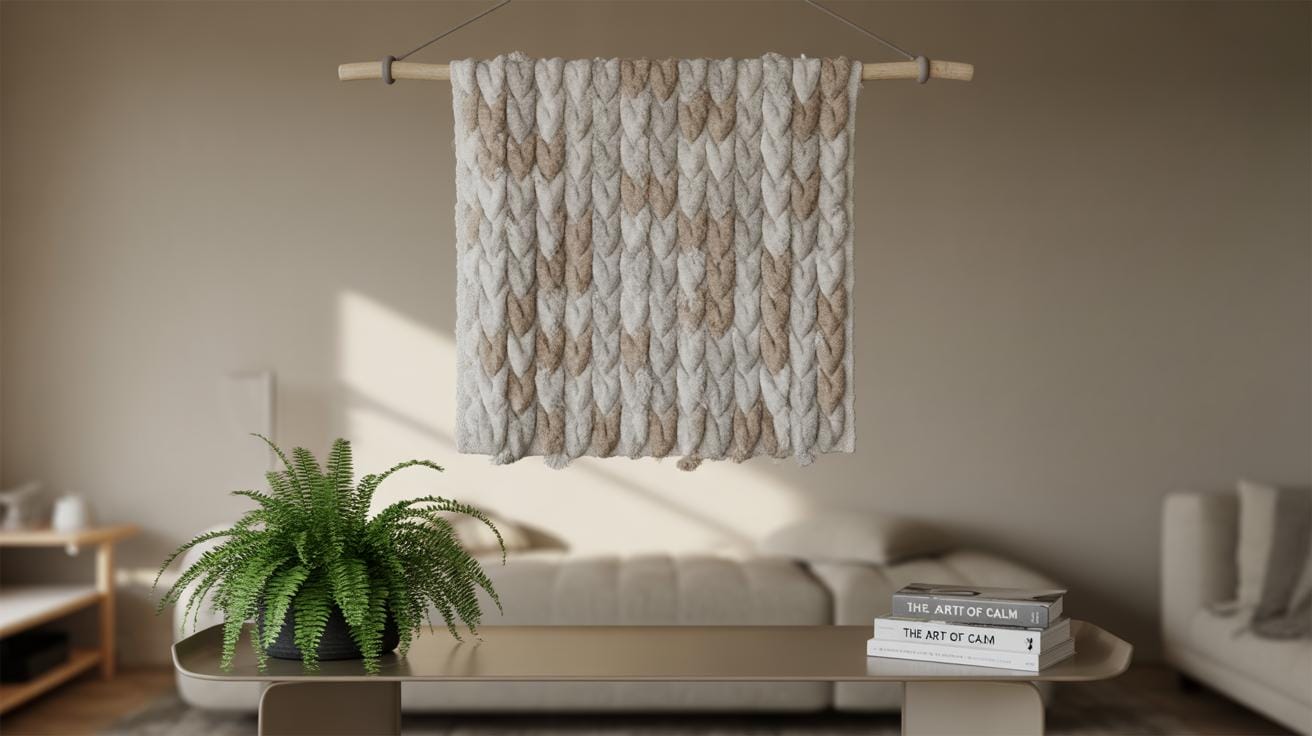
Making a macrame plant hanger is a creative and enjoyable activity. This guide will help you, step by step, to create your own plant hanger even if you have never tried macrame before. Macrame is the art of knotting cords into decorative patterns, and with just a few materials and simple knots, you can make a beautiful hanger for your plants.
In this article, you will learn about the tools and materials you need, understand basic knots, follow clear instructions for making your plant hanger, and get tips on choosing the right plants. By the end, you will have a lovely handmade item to add charm to your home or garden.
Understanding Macrame And Its History
What Is Macrame
Macrame is a textile craft centered around knotting cords. Unlike weaving or knitting, it doesn’t rely on looping threads or interlacing fibers. Instead, it uses a series of knots to create patterns, textures, and structures. Think of it as tying knots in intentional ways to form a design, sometimes simple, sometimes intricate. The cords themselves become the whole piece—there’s no added fabric or backing.
This approach means the material you pick—cotton, jute, hemp—shapes the final look and feel. You might start with just a few basic knots, but the variety you can achieve is pretty broad, from open net-like forms to dense, tight patterns. That’s what makes it appealing for projects like plant hangers, where strength and flexibility both matter.
A Brief History Of Macrame
The roots of macrame trace back centuries, with one popular story tying it to sailors. They supposedly decorated ship rigging with knots, partly to show off skill, partly for practicality—knots won’t slip, and cords last longer this way. Each knot had a purpose, whether decorative or functional. It’s a bit unclear where exactly it began, but the Mediterranean and Arab craftspeople often get credit for early development.
Fast forward to the 1970s, and macrame enjoyed a serious comeback as part of the home décor trend. People began using it to create wall hangings, curtains, and particularly plant hangers. Suddenly, those simple knotted cords from ship decks turned into a fashionable way to add organic texture to indoor spaces. The plant hanger, specifically, was popular because it combined utilitarian use with that handmade charm.
Whether it’s old maritime roots or ’70s retro vibe, macrame carries a tactile, hands-on spirit. That’s probably why it remains popular even now, encouraging beginners to try their hand at knotting and crafting something personal and lasting.
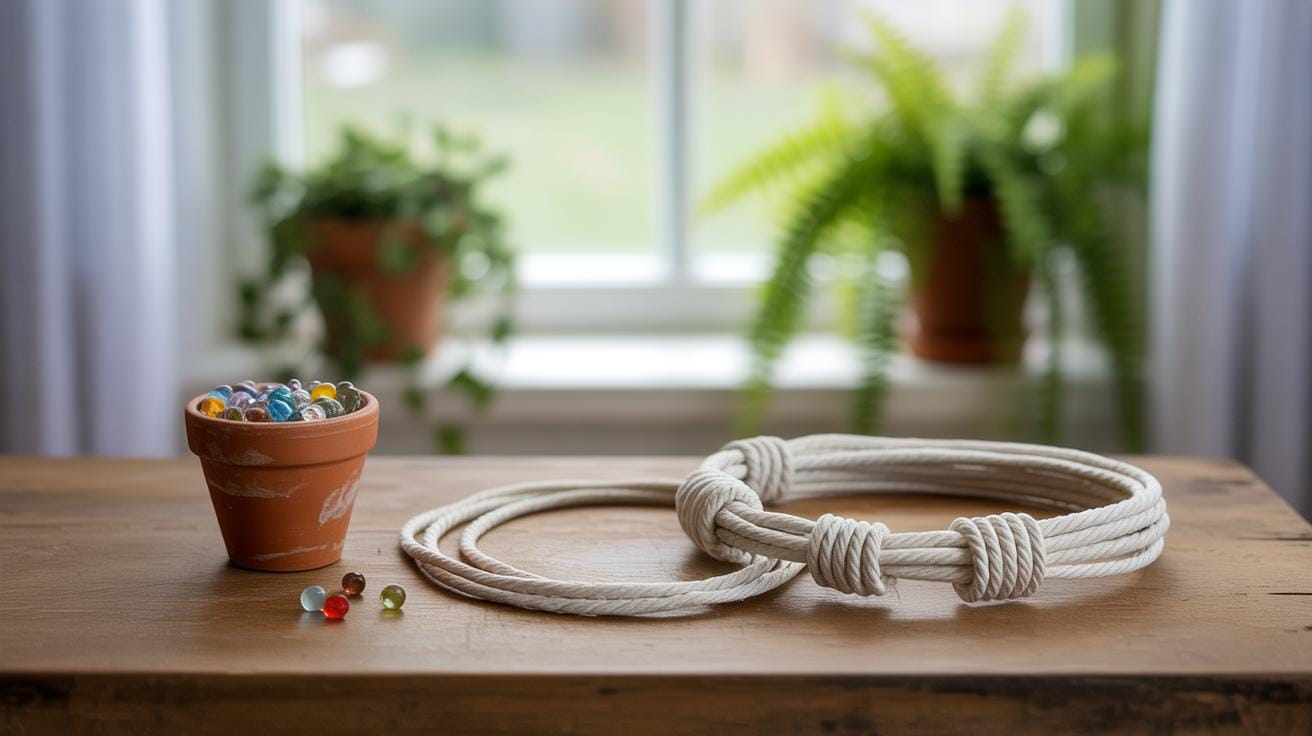
Tools And Materials Needed
Choosing The Right Cord
Picking the right cord can be a bit trickier than you might expect. There are several types to choose from, each with its own feel and behavior. Cotton cord is probably the friendliest for beginners—soft, easy to handle, and it holds knots well. It also comes in natural or dyed varieties, so you can play around with colors. Hemp and jute are sturdier but a little rougher, which can make knotting a bit more challenging if you’re just starting out. They add a rustic vibe, though, which some people really like. Sometimes I’ve wondered if cotton’s softness makes hangers less durable, but most people find it lasts just fine indoors. You may want to start with cotton, then try the others once you’re comfortable.
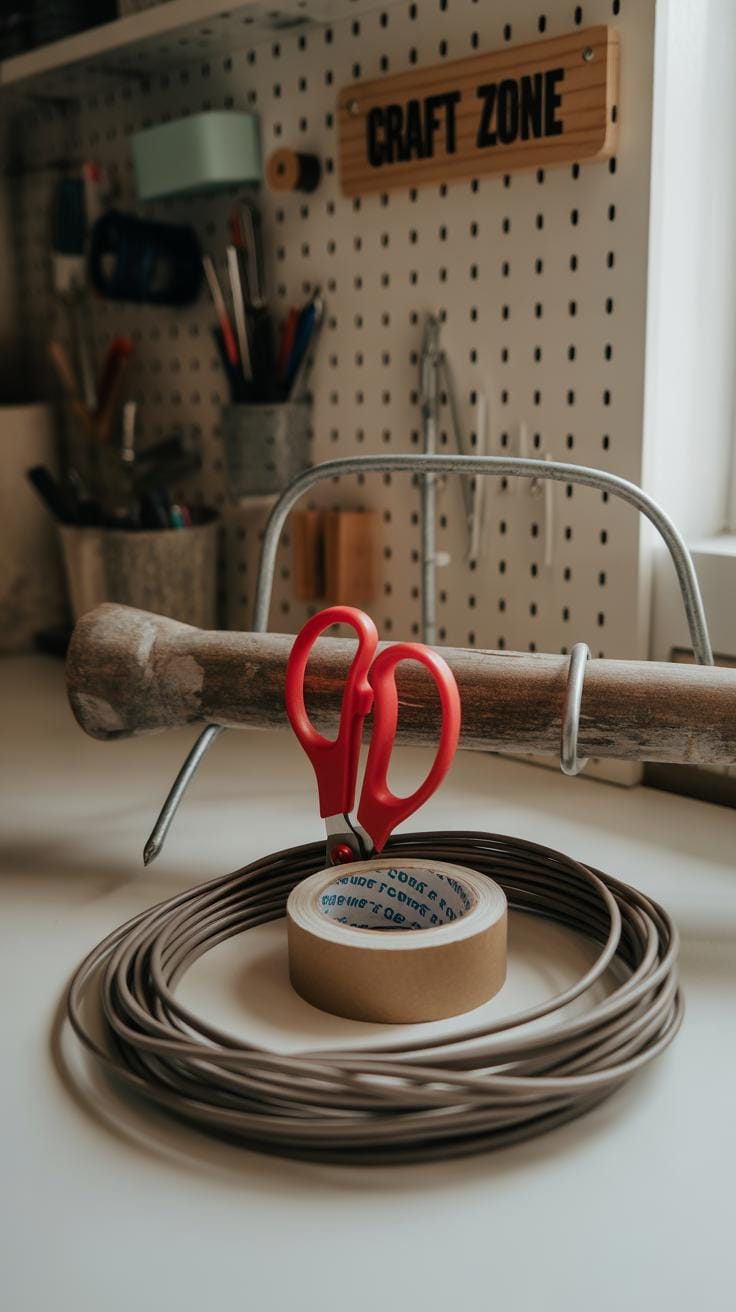
Other Tools You Will Need
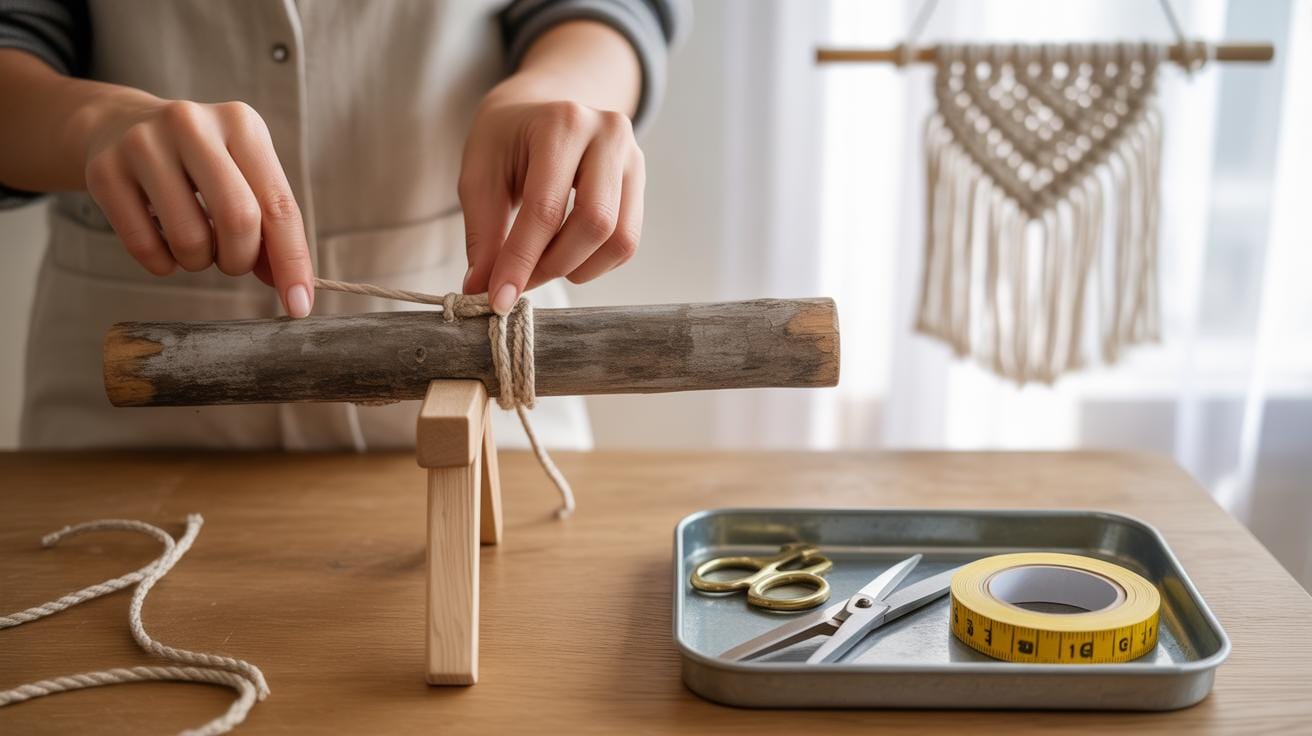
Besides the cord, a few tools will make your macrame project much easier. Scissors are obvious, but choose sharp ones—you don’t want to tug and fray your cord unnecessarily. A measuring tape is helpful too, since macrame requires lengths of cord that aren’t always intuitive. I often cut cords a bit longer than suggested, just in case. A metal or wooden ring is almost always used at the top for hanging; its size varies depending on your design but around 2 to 3 inches in diameter works well. Sometimes, having a clipboard or a sturdy surface to pin your cords while working can keep things tidy, though it’s optional. These few tools keep your workspace manageable and your project neat as you knot away.
Basic Knots Used In Macrame
When you start making your own macrame plant hanger, knots are at the heart of the craft. Getting comfortable with a few key knots really makes the difference. You don’t have to learn every complex knot right away. Instead, focus on the basics that many plant hanger patterns rely on.
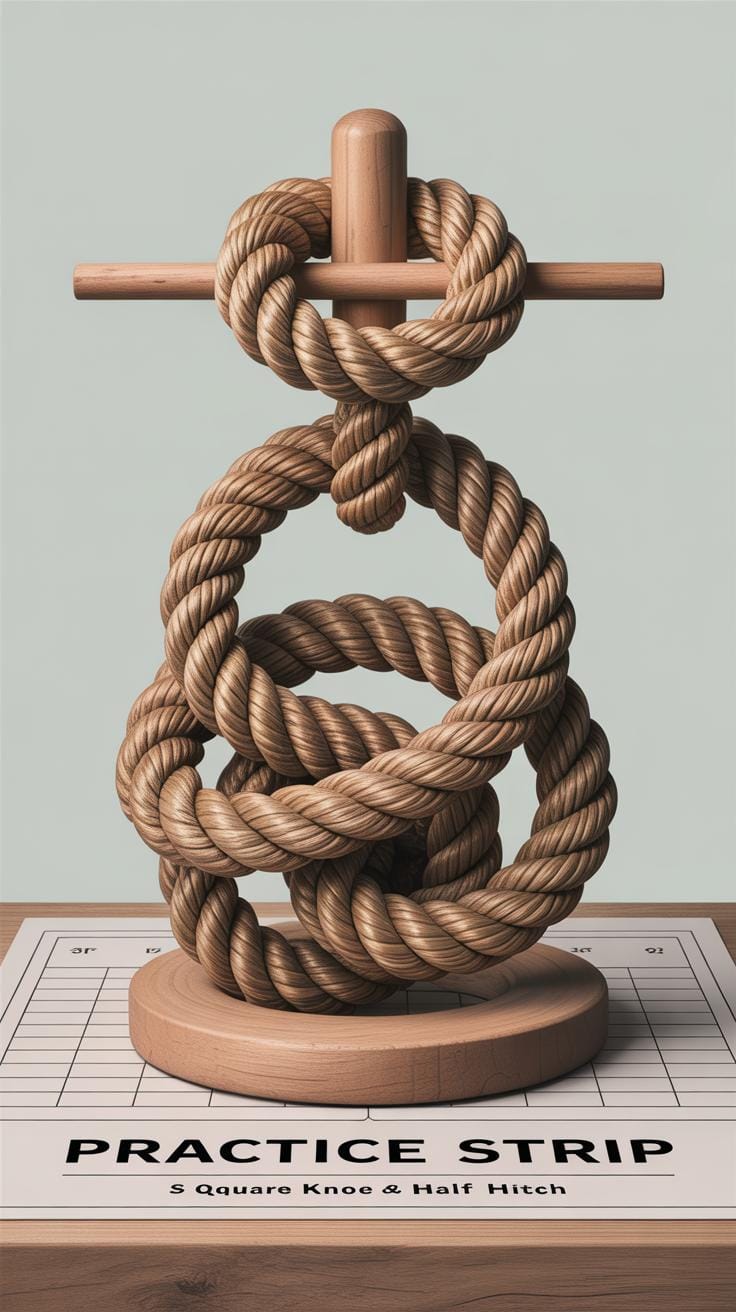
Square Knot
The square knot is probably the most common knot you’ll use. It looks neat, holds securely, and can be repeated to create detailed patterns. To tie it, you’ll need four cords — two at the center that stay fairly still and two outer cords that do the knotting.
- Start by crossing the left outer cord over the two center cords, then tuck it under and through the right outer cord.
- Next, cross the right outer cord under the two center cords and pull it through the loop created on the left side.
- Tighten to create half of the knot. Then reverse the process—this time start with the right cord crossing over, and the left going underneath.
- Pull tight again. This back-and-forth completes the square knot.
It might feel awkward at first. I remember fumbling with the cord direction, but after a few tries, it clicks. Your hands get used to the motions faster than you think.
Half Hitch Knot
The half hitch knot is more subtle but a key for adding texture or securing cords along your hanger. It’s basically a loop made by wrapping one cord around another and pulling tight. You’ll often see it used in a series, called double half hitch, to form straight or diagonal lines.
- Take a working cord and loop it over the holding cord.
- Pull the end of the working cord through the loop created.
- Tighten the knot by sliding it up close to the last knot or base.
This knot can seem like a minor detail, but using it well can really change the look of your hanger. Sometimes I underestimated it until I played around with patterns that rely heavily on half hitches. They add neat structure without bulk.
Starting Your Project Step By Step
Measuring And Cutting Cords
Before you start knotting, you need to figure out how much cord to use. It’s tempting to just grab a few lengths and wing it, but take a moment to measure carefully. Typically, for a basic plant hanger, you’ll want cords that are about four times the finished length of your hanger. So, if you want a 30-inch hanger, cut cords roughly 120 inches long. I’ve found it’s better to cut a bit longer than shorter—trimming is easier than adding more cord later.
Use a tape measure or ruler and mark your cords, then cut with sharp scissors to avoid fraying. You’ll need multiple cords—how many depends on the design, but usually, eight to twelve cords is a solid starting point. Lay the cords out flat to check for twists or knots before moving on.
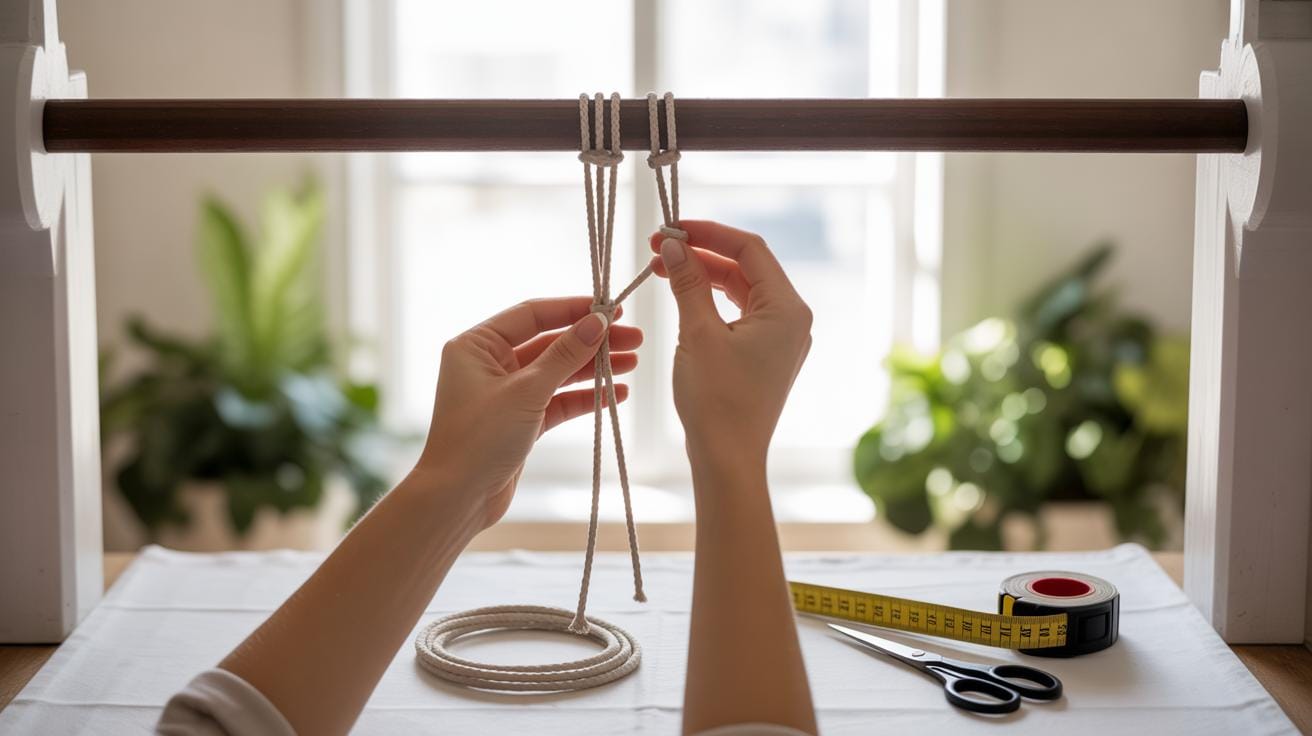
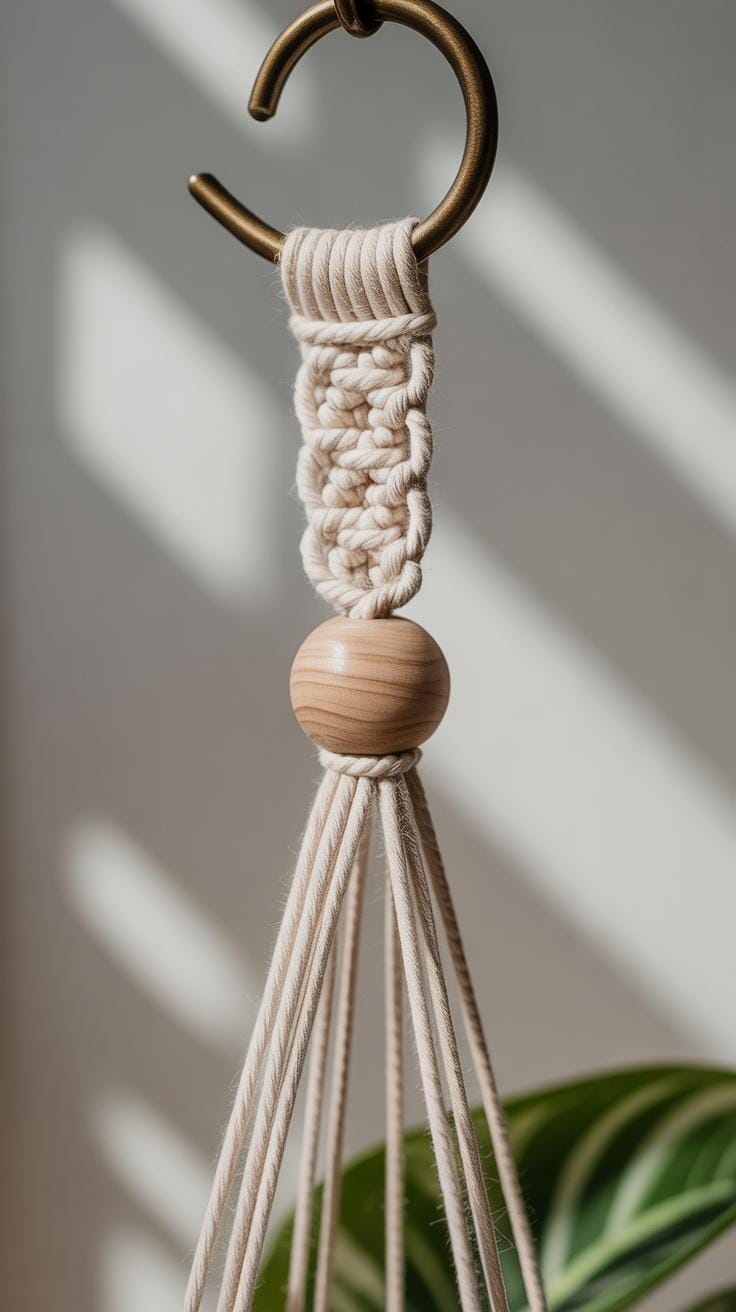
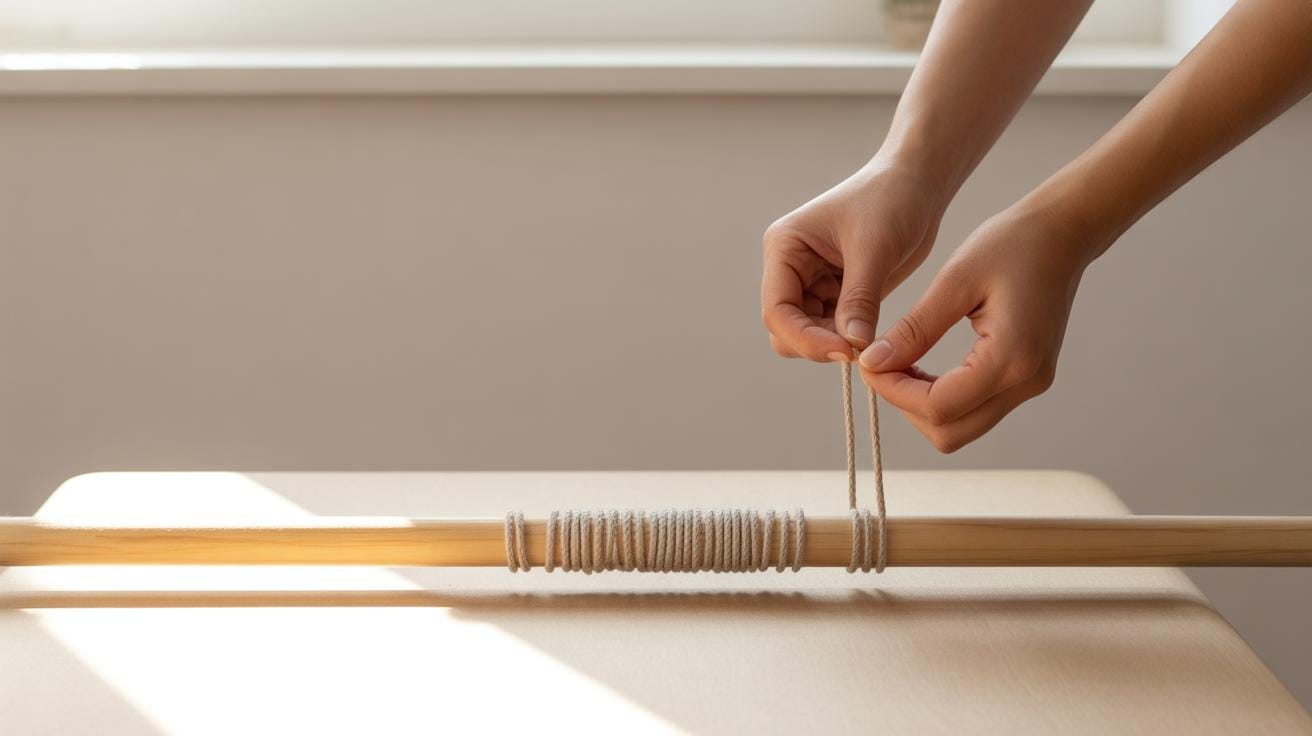
Attaching Cords To The Ring
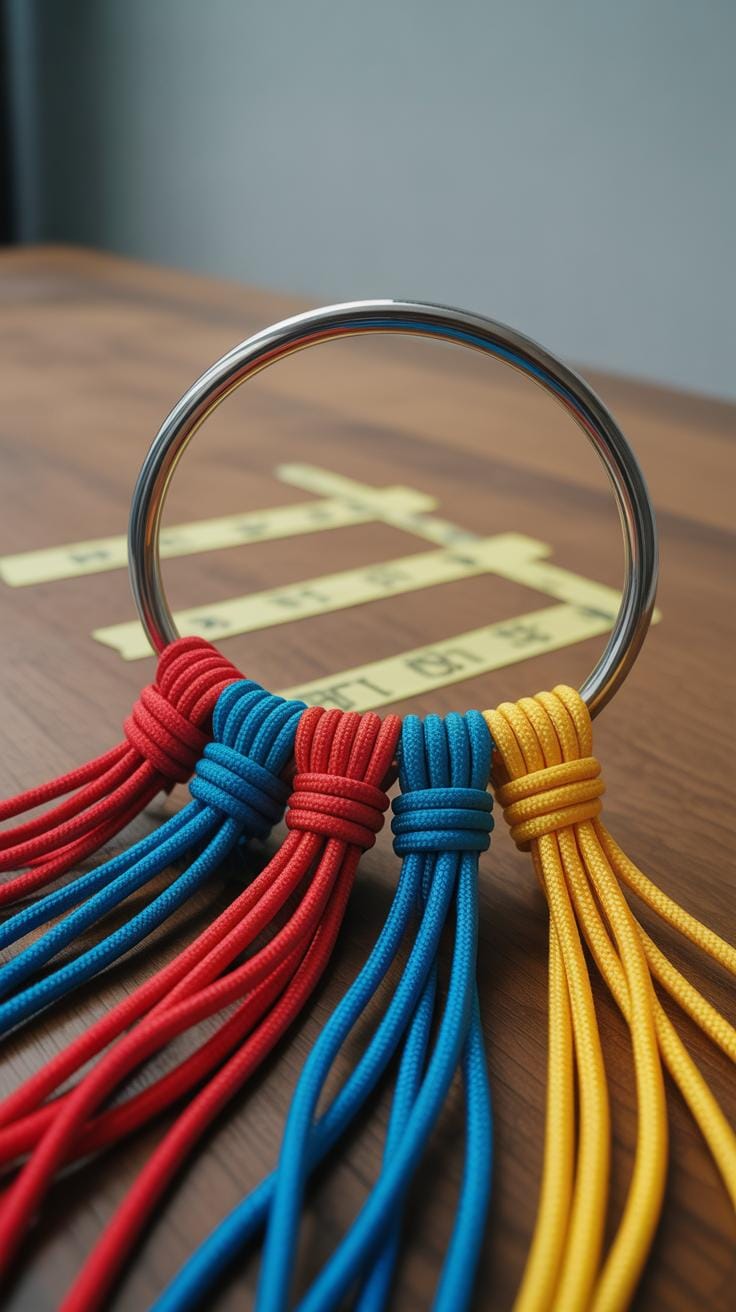
Once your cords are ready, it’s time to attach them to the hanging ring. This ring will be the anchor point for your knots and the top of your plant hanger. Fold each cord in half to find the midpoint because you’ll work with loops to secure them.
Loop the folded end through the ring, then pull the loose ends through the loop, creating a lark’s head knot. This knot holds tight without slipping, which is crucial—you wouldn’t want your plant to drop. Make sure each cord is snug around the ring but not so tight that it bunches up. You want enough space to eyeball your distances later, so things don’t feel cramped when you start knotting.
Counting the cords as you attach them helps keep things balanced. If one side ends up with more cords than the other, the hanger might lean oddly once it’s ready. You want it to hang evenly, so take it slow and adjust as needed.
Making The Main Body Of The Hanger
Forming The Knot Pattern
Start by dividing your cords evenly and securing them to your anchor point. The core of your macrame hanger is built from a series of square knots—simple but effective. To tie one, take the left cord over the center cords, under the right cord; then, bring the right cord under the center cords and through the loop on the left. Pull tight but not too tight—there’s a fine line.
Repeat this step—the reverse now—starting with the right cord crossing over the center cords, under the left cord, then left cord under and through. These two steps complete one square knot. Keep them consistent as you move down the cords, creating the net that will hold your plant pot.
You might want to space knots evenly at first; I found counting helps keep rhythm, but sometimes a tiny variation adds character. Don’t rush. The pattern doesn’t have to be rigid—feel free to pause and glance over your work.
Checking Tension And Symmetry
It’s tempting to pull each knot super tight, thinking it means sturdier, but too much tension can warp the shape. Aim for knots that are snug enough to hold form, yet a bit relaxed so cords lie flat. This balance ensures your hanger won’t twist oddly when loaded.
Step back periodically—holding your project up or even draping it over a chair—to check symmetry. Are the knots aligned on both sides? Is the spacing uneven? If you catch a loose knot early on, fix it before moving on; adjusting later gets trickier.
If you notice one side tighter than the other, gently loosen or tighten to match. Think of it like balancing a scale: not every knot has to be perfect, but the overall look should feel steady. And if it doesn’t, don’t worry. That slight asymmetry might just be part of the charm.
Adding Finishing Touches
Once you’ve crafted the main body of your macrame plant hanger, it’s time to tidy things up and make sure it’s ready to support your plant safely and attractively. Finishing well can really change how your hanger feels—not just structurally but also visually. It’s like the difference between something rushed and something you’re proud to display.
Securing The Ends
The ends of your cords can unravel if left loose, so you need to secure them properly. One straightforward way is to tie off each cord with a tight knot—often a basic overhand knot does the job. You want it snug enough so it won’t loosen over time but not so tight that it damages the fibers. Another method is binding the ends with a smaller piece of cord wrapped around a few times, then tied or glued. This looks a bit more polished and can add a subtle decorative touch.
Some prefer to melt synthetic cords’ ends slightly, but for natural fibers, that’s off-limits. So, you might experiment with fraying or leaving little tassels if you like that look—though this can be a tiny risk if you don’t secure them well beforehand.
Trimming And Styling
After securing, trim the excess cords to a length that suits your style and practical needs. Keeping cords too long might bulk up the hanger unnecessarily, but very short ends may reveal knots or look unfinished. So, finding that middle ground is a bit of personal choice. When cutting, use sharp scissors to avoid ragged edges.
For a final touch, you could comb out the trimmed ends to create soft fringes or add a bead near the knot for subtle decoration. Experiment with how your hanger balances both form and function—after all, each macrame piece reflects your taste and patience. What feels right to you might surprise you once you see the finished product holding a plant gently in its embrace.
Choosing Plants For Your Hanger
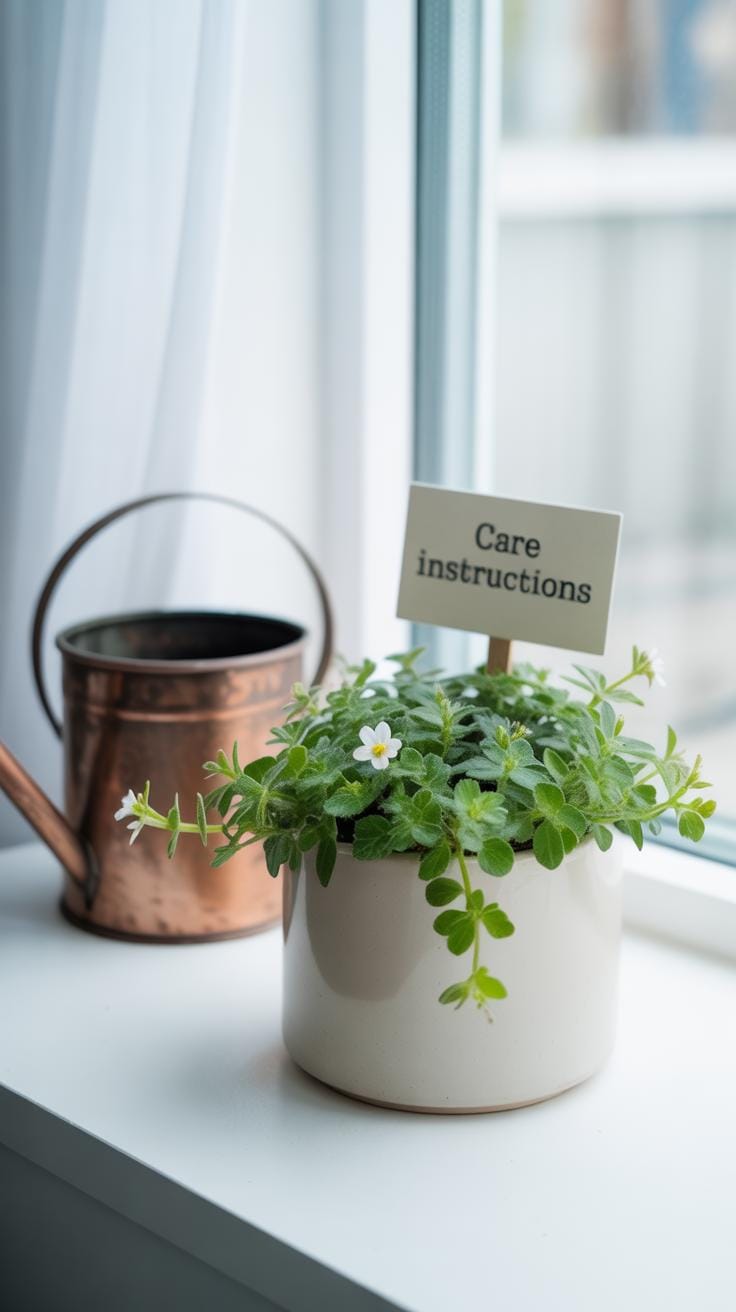
Picking the right plant for your macrame hanger might be trickier than it seems. You want something that fits well in the basket and suits the light where you’ll hang it. For indoor spaces, small plants often work best because they don’t get too heavy or awkward in size. Think about plants like pothos or spider plants—they’re pretty forgiving and grow nicely when suspended. Succulents can also be a neat choice if you have a spot with good light, though they need less water, so don’t overdo it.
Outdoors, you might look for plants that can handle more breeze and shifting light, maybe herbs or certain trailing vines. But it does depend on where you hang them—under a porch or in a shaded corner will change what thrives.
Taking care of hanging plants isn’t really complicated, but it does require a little attention. Make sure to check on moisture levels regularly—hanging pots dry out faster than ground ones. Rotate the plants sometimes so all sides get light. And if the leaves start looking a bit sad, maybe trim back or repot. I found pothos especially forgiving; it bounces back well even if you forget it once in a while. What kind of plant care routine fits your lifestyle? It might help you decide what to try first.
Displaying And Caring For Your Macrame Hanger
Finding The Right Spot
Choosing where to hang your macrame planter might be trickier than you expect. You want a place that’s both safe for your plant and visually pleasing for your space. Think about stability first—avoid spots near heavy foot traffic or where a breeze might knock the hanger around. Sometimes, a corner feels cozy but may get less light than you think, so watch how sunlight hits the area through the day. Does your plant like bright indirect light, or can it handle some shade? That matters for both the plant’s health and how your hanger looks over time.
Also, consider the ceiling or wall hook’s strength. I once hung a plant in a spot that seemed sturdy, only to find the hook loose a week later. It’s okay to test the hook gently first or buy a hook rated for more weight than you expect. You might have to try a few places before you find the perfect one. The right spot often balances safety, light, and how the plant and hanger complement the room’s feel—sometimes that takes some trial and error.
Cleaning And Maintenance
Keeping your macrame hanger looking fresh isn’t just about keeping it dust-free. The cords can collect dirt, especially if your plant needs frequent watering or if the hanger is near a window. You can clean the cords by wiping them with a damp cloth or gently hand-washing with mild soap if they get really grimy. Just be careful not to soak the knots too much—sometimes the fibers stiffen up when they dry.
Over time, the cords might darken or fray, especially in humid areas. I noticed that sun-exposed hangers sometimes fade a bit, which isn’t always bad—it adds character, maybe. If you want your hanger to last, check the knots periodically, too. Tighten any loose ones and trim stray threads. Treat it with gentle care, and it will quietly support your plants—and your decor—for a long time.
Conclusions
Creating your own macrame plant hanger can be a fun project that adds a personal touch to your space. By using simple knots and following step-by-step instructions, you can make a unique hanger that suits your style and plant needs. This project enhances your crafting skills and gives you a new way to display your favorite plants.
As you practice, you can try new patterns and materials to make more complex designs. Your handmade macrame hanger will not only hold your plants but also decorate your home with a natural, creative flair. Enjoy crafting and bringing life to your space.


