Introduction
Are you interested in adding a personal touch to your home decor? Crochet wall art offers a creative way to decorate your walls using yarn and simple crochet stitches. If you are a beginner, this art form is accessible and fun to learn. It combines the traditional craft of crochet with a modern twist to make beautiful wall hangings, dreamcatchers, or framed art.
This article will guide you through easy crochet techniques suitable for beginners. You will discover simple stitches, tools needed, step-by-step project ideas, and tips to customize your crochet wall art. With patience and practice, you can create unique pieces that brighten up any room.
Understanding Crochet and Its Origins
What is Crochet
At its core, crochet is a textile craft that involves making fabric by pulling loops of yarn or thread through other loops, using a hook. The key thing is that each stitch is finished individually before moving on to the next. This means you don’t have several active loops on the hook, unlike knitting. Instead, you complete one stitch at a time, which can make crochet both straightforward and a bit more forgiving in some ways.
The tools are pretty basic: mainly a crochet hook and some yarn or thread. Crochet hooks come in different sizes, depending on the thickness of your yarn and the stitch pattern you want. You don’t need much beyond that to start experimenting.
History and Evolution
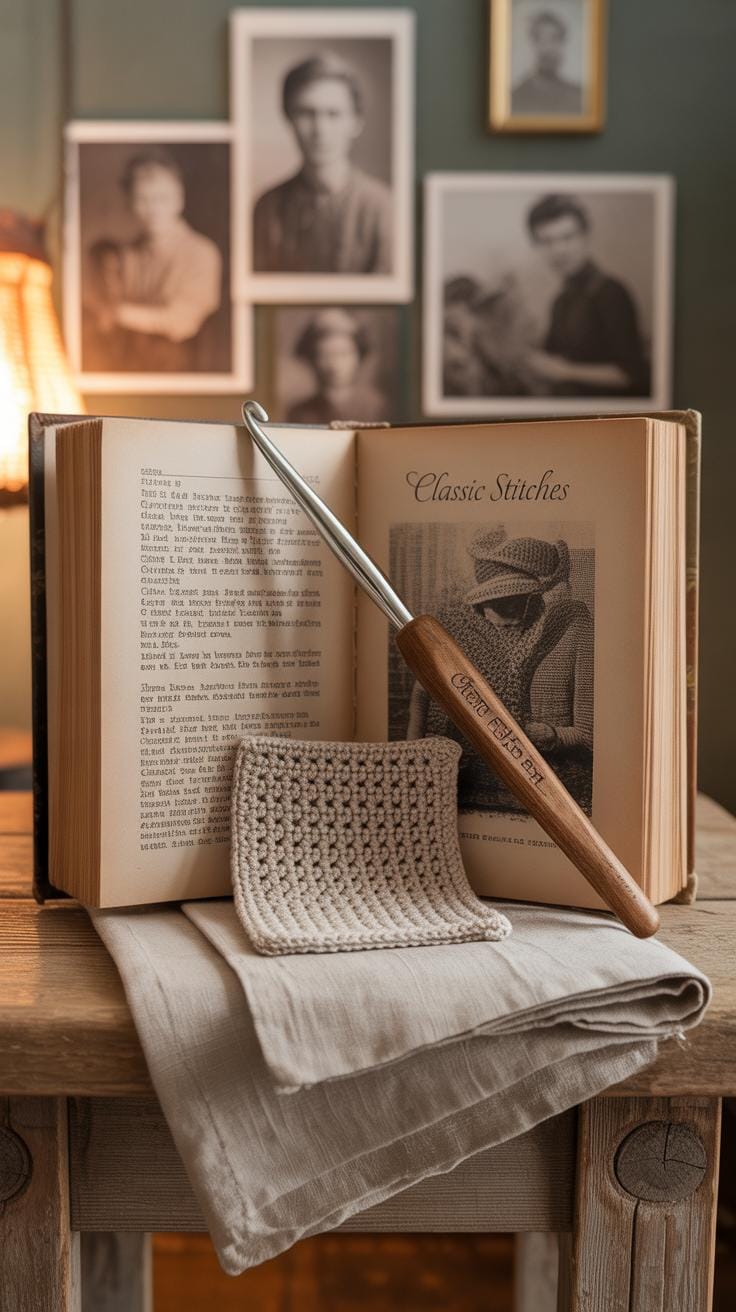
Crochet’s origins are a bit mysterious—there are no clear records pinpointing exactly where and when it first appeared. Some suggest it evolved from earlier practices like tambour embroidery or needle lace from the 16th century, but the craft as we recognize it took hold more strongly in the 19th century, especially in Europe.
Originally, crochet was mainly used for making clothing and functional items, but over time, its decorative potential became more appreciated. It’s a bit surprising that crochet didn’t catch on earlier as an art form since the loops and textures you can create are so unique. Nowadays, crochet has found a new life beyond just scarves or blankets, expanding into artistic areas like wall hangings and other home décor.
Wall art made from crochet blends traditional craft skills with modern design ideas. It’s interesting how something so old-fashioned feels fresh in today’s creative spaces—and it makes you wonder how much more you can do, starting with simple stitches and a hook.
Gathering Materials for Crochet Wall Art
Choosing Yarn and Hooks
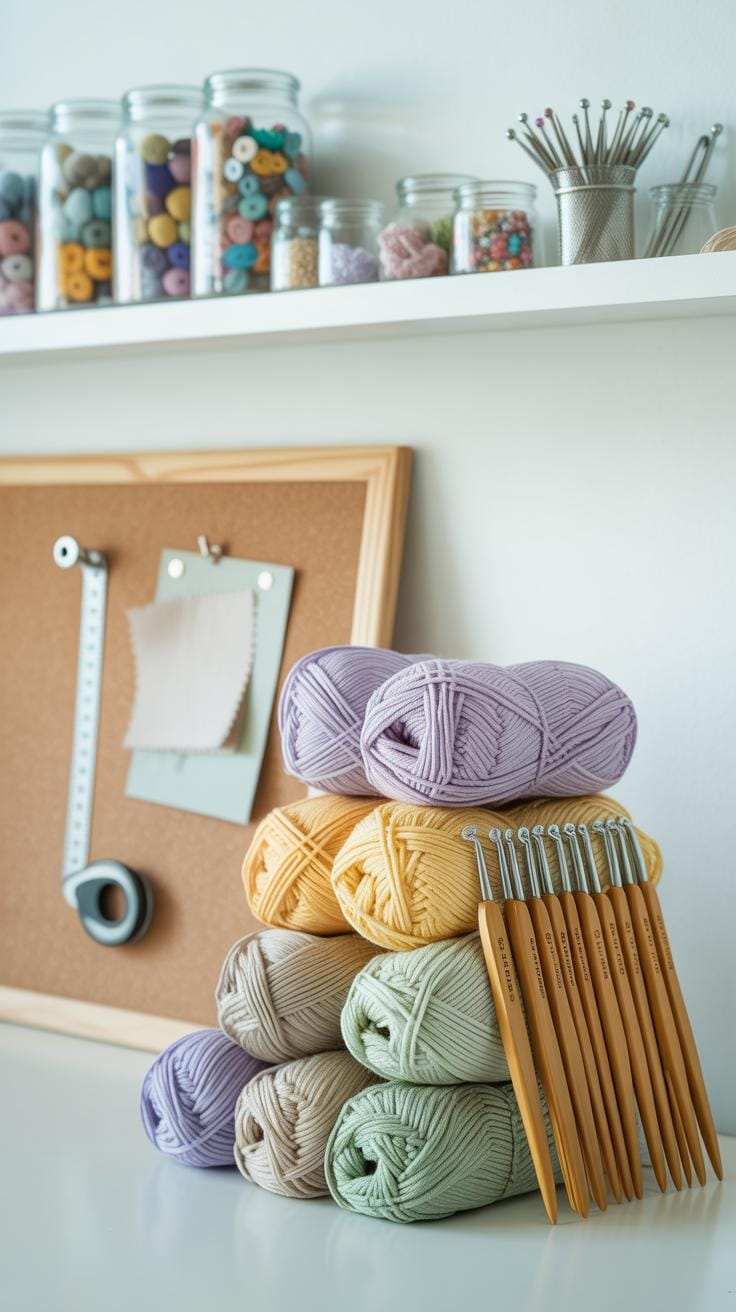
When you’re starting out with crochet wall art, picking the right yarn can feel a bit confusing. Not all yarns behave the same way on a wall, and the texture really matters. For beginners, I’d suggest sticking to medium-weight cotton or acrylic yarn. Cotton tends to hold its shape well and has a matte finish, which works nicely for wall decor that should look neat and structured. Acrylic is softer and sometimes fuzzier, which can add a cozy touch, though it might sag a bit over time.
The hook size should match your yarn’s weight, but you don’t have to be exact. For example, a size H (5.0 mm) hook often pairs well with worsted weight yarn. I’ve found that slightly bigger hooks create looser stitches, which can give the piece a lighter, airier look. Smaller hooks produce tighter stitches, making your art sturdier but sometimes less flexible. Material-wise, aluminum hooks are common, but bamboo or plastic can feel more comfortable, especially if you crochet for a long stretch.
Additional Supplies
Besides yarn and hooks, a few extra tools really smooth the process. Sharp scissors are a must—crochet sometimes means cutting strands cleanly and quickly. A tapestry needle helps with weaving ends back into your work; it’s an easy way to hide those tails and make the piece look polished. I often lose track of where I am in a pattern, so stitch markers come in handy, marking rows or special stitch points.
When it comes to displaying your finished art, think about how you want to hang it. Wooden dowels, simple clip hangers, or wire hoops can all work, depending on the shape and weight of your piece. Sometimes, even a sturdy pin on the wall does the trick, especially for lightweight designs. You might not need all these things right away, but having a few options can make your crochet wall art look exactly how you want it to.
Learning Basic Crochet Stitches
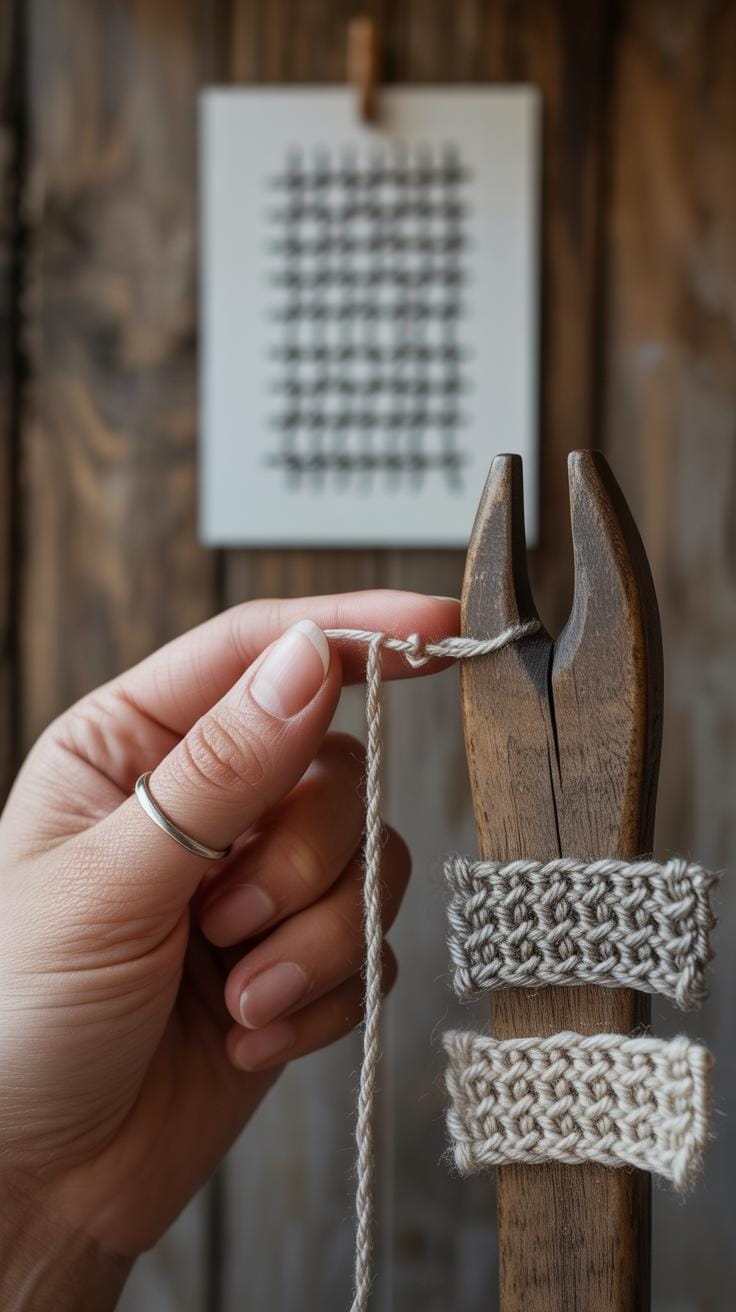
Starting with crochet wall art means getting comfortable with a few basic stitches. These stitches form the backbone of many patterns and will soon feel like second nature. You probably already guessed the chain stitch comes first—it’s where most projects begin. To make a chain stitch, you loop the yarn around your hook and pull it through the loop on the hook. Simple, right? But don’t rush; getting a consistent tension here really makes a difference later. Alongside the chain stitch, the slip stitch often sneaks into projects to join pieces or create neat edges. It’s just pulling the yarn through the loop on your hook and the stitch below, creating an almost invisible join.
Once these basics are in your hands, single and double crochet stitches come next. Single crochet is straightforward—insert your hook into the stitch, yarn over, pull through, yarn over again, and pull through both loops on your hook. It builds tight, firm fabric, great for geometric shapes and strong lines. Double crochet is slightly taller, which means your work grows faster and has a bit more texture. You yarn over before inserting the hook and finish pulling through loops a bit differently. Together, single and double crochet stitches let you create everything from smooth backgrounds to detailed motifs. Those stitches might sound simple, but playing with them a bit reveals endless possibilities. What could you imagine making if you get just these basics down?
Planning Your Crochet Wall Art Design
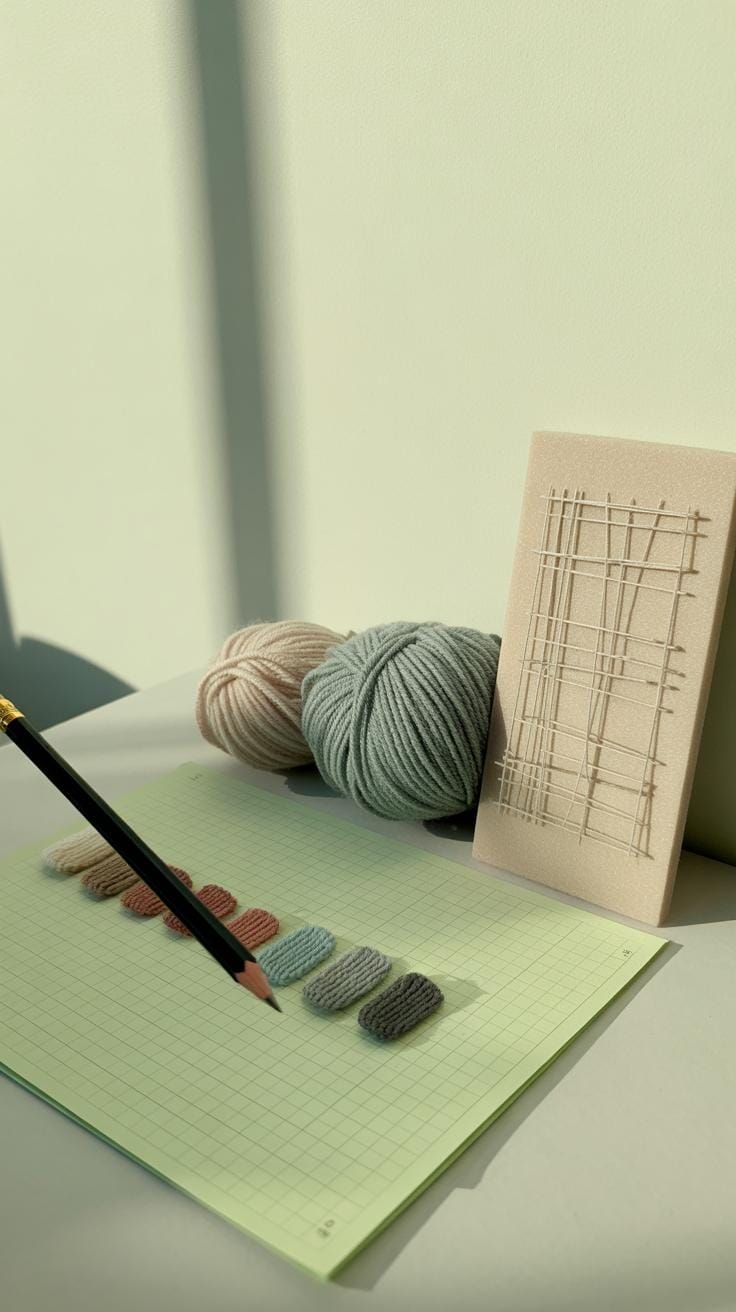
When starting a crochet wall hanging, it helps to pause and picture what you want before picking up your hook. Think about the shape first. Do you want something simple and square, or maybe a circular piece that feels a bit softer? Sometimes, odd shapes like triangles or even asymmetrical designs work well, especially if you want your art to stand out in a minimalist space.
Choosing a style might be trickier than you expect. Geometric patterns often appeal because they’re easy to repeat, and the clean lines can suit many rooms. Floral motifs bring a delicate touch and might fit cozy or vintage decor—but they can require a bit more skill or patience. Abstract shapes give room to play and keep your options open, if you’re someone who prefers creating as you go along instead of sticking rigidly to a pattern.
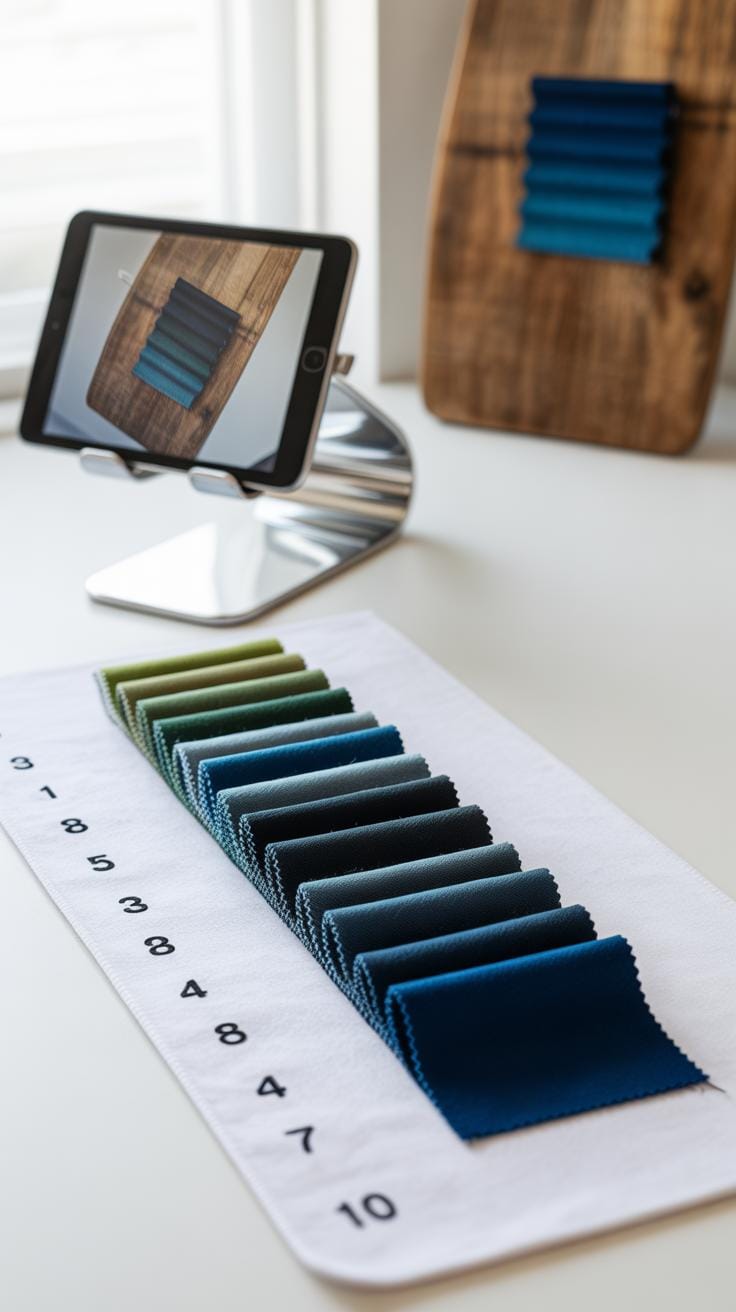
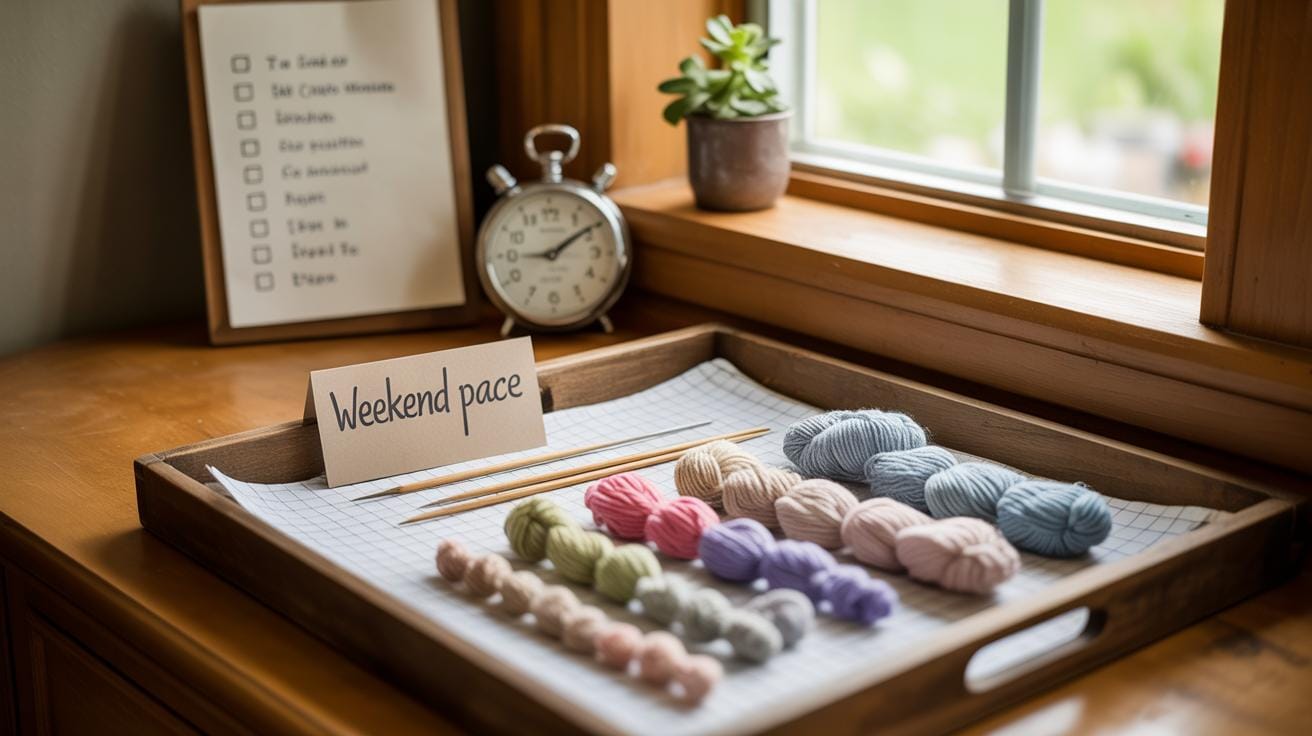
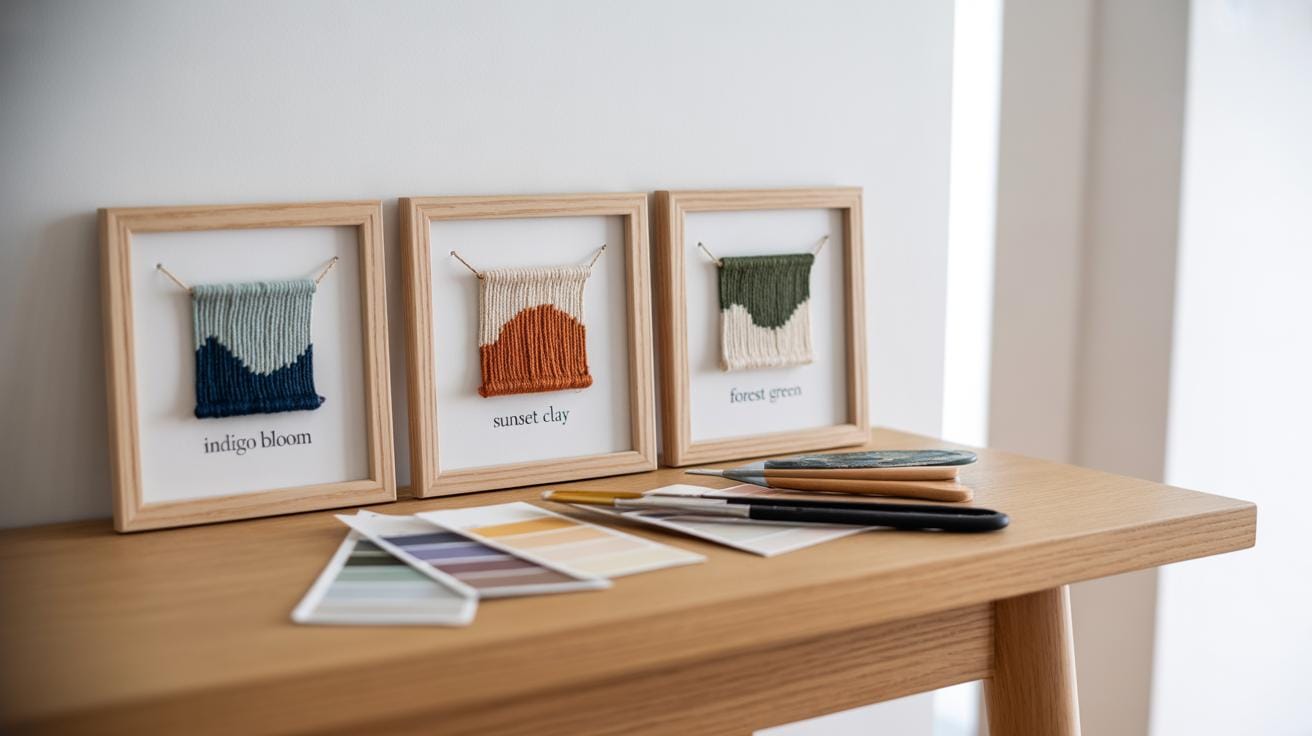
When it comes to color and yarn, the choice really shines through in the final look. Bright, bold colors might energize a room but be careful—they could clash if the rest of your space is calm or neutral. Soft pastels or earth tones tend to blend nicely with most decors and often feel more relaxed. Texture matters too; a fluffy yarn creates a different mood than smooth cotton. Sometimes I pick a mix—maybe a matte yarn with a touch of shiny thread for contrast. It’s fun to imagine how different yarn types will look and feel before deciding.
It helps to measure the wall space where you want to hang your creation. Will a large piece suit your room, or is a smaller accent better? Size affects not only the impact but the time you’ll spend crocheting. Starting small can be less overwhelming and lets you test your ideas without committing to hours of work.
Lastly, ask yourself: what mood do you want to set? Cozy, modern, playful? That thought guides your choices more than you might realize. Planning may seem like extra work, but it’s worth spending a little time imagining before diving in.
Step by Step Simple Crochet Wall Art Projects
Project Setup and Starting the Work
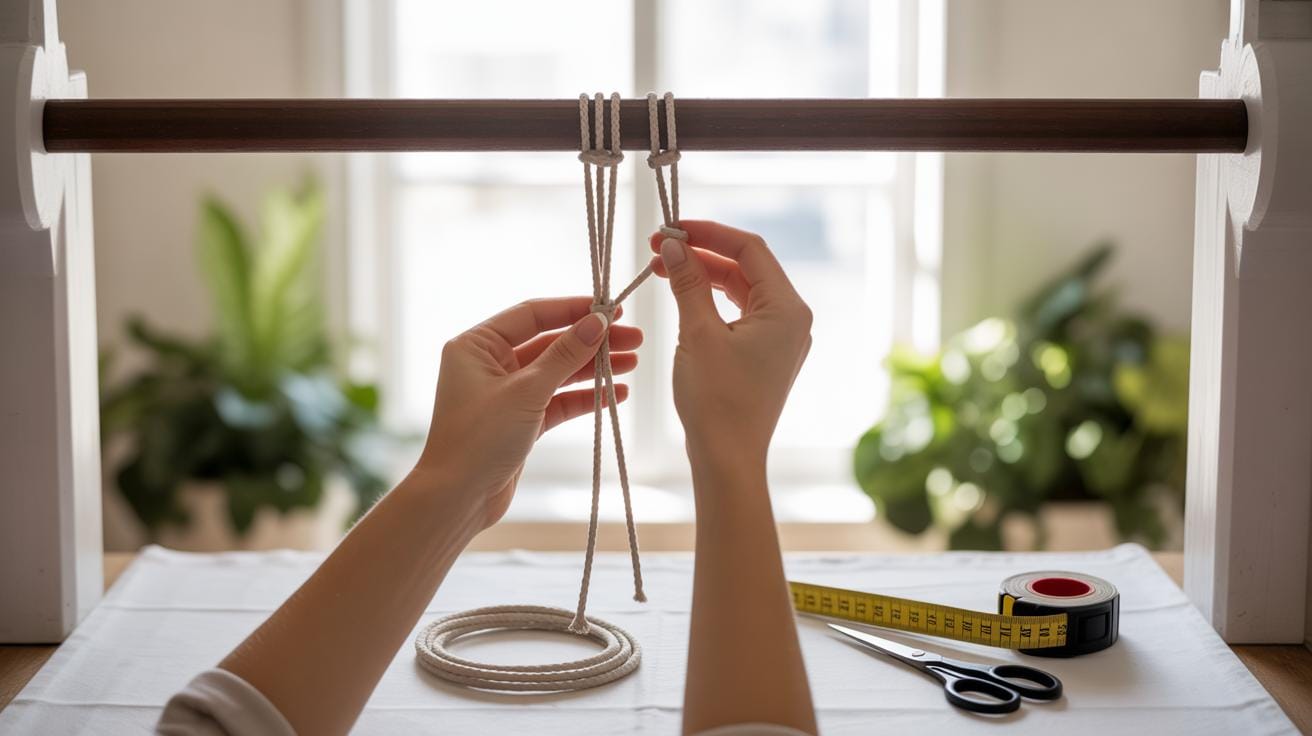
Before you jump in, gather your supplies in a quiet spot with good light—this really helps keep mistakes down, at least in my experience. You’ll need a crochet hook suited to your yarn; usually, a medium-weight yarn with a 5mm hook works well for wall art. Start by making a foundation chain that matches the width of your desired piece. If you’re going for a 12-inch wide panel, count your stitches to fit that length—not exact, but close enough is fine here.
Don’t stress too much about a perfectly straight chain. You’ll find the rhythm as you go. Keep your yarn untangled and your tension consistent. Maybe lay down a small towel or mat to keep your yarn clean and prevent it from rolling away. Your workspace isn’t just where you crochet; it’s where your piece begins to take shape.
Completing and Finishing the Piece
For the main pattern, stick to simple stitches like single crochet or double crochet. Rows of these are easy to track, and you get a neat, flexible fabric. Don’t hesitate to count your stitches every few rows or check the width. It’s a little tedious, sure, but better than discovering it’s too narrow after hours of work.
When you’ve hit your target length, finish off by trimming your yarn and pulling the tail through the last loop. Then, it’s time for edges—some prefer a neat border of slip stitches; others just leave the edge natural. Both look fine, really. If you want, you can add small tassels or simple crocheted flowers for a bit of flair, though this is optional. The goal is a piece you’re proud to hang, even if it isn’t perfect. You’ll learn as you go, and your next project will feel easier anyway.
Adding Texture and Dimension to Wall Art
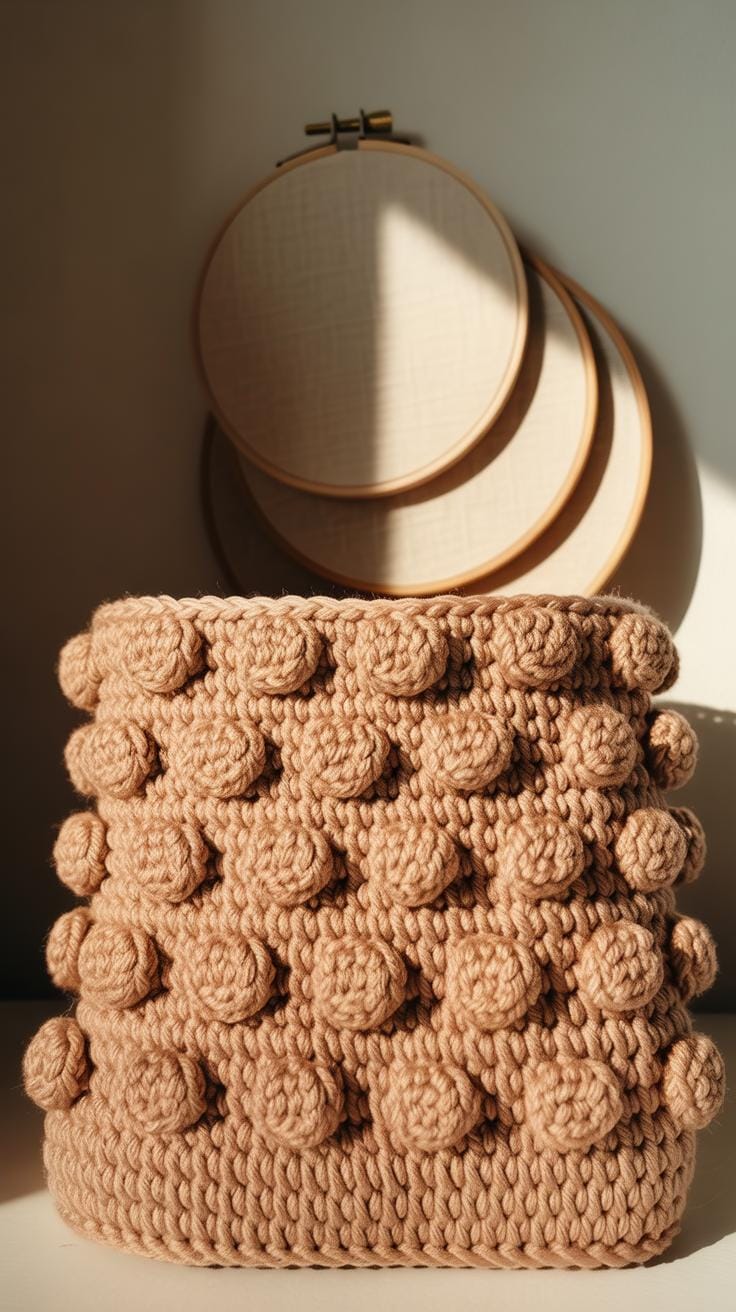
When you want your crochet wall art to stand out, adding texture and layers can make all the difference. Simple techniques can turn a flat piece into something more engaging. You might start with the choice of stitches—mixing a basic single crochet with a few puff or bobble stitches can give your work a sculptural feel. These stitches create small bumps or clusters that naturally catch the eye and add surface interest.
For example, using puff stitches in a row can create a raised stripe, while bobbles sprinkled around can look like little dots of texture. They’re not too hard to learn, and you don’t need many to make a big impact. Honestly, I sometimes overdo it, but that’s part of playing with texture.
Yarn selection plays a role too. Combining yarns that vary in weight or fiber type—say a thicker, fluffier yarn alongside a finer cotton—adds depth. You can also choose contrasting or complementary colors to make parts of your design pop or recede. Sometimes just a subtle color shift with similar yarns changes how layered your piece feels.
Think about what you want to highlight. Do you want parts to stand out, or more gentle variations? It’s a bit trial and error at first. Texture might surprise you by how much it changes the whole piece; occasionally it’s better to keep it simple, but for most wall art, some variation keeps things interesting.
Mounting and Displaying Crochet Wall Art
When it comes to turning your crochet pieces into wall art, the way you prepare and display them can really change how they look in a room. You want your piece to stay flat and look tidy, but maybe not so perfect that it loses its handmade charm—that balance is tricky sometimes.
Framing and Stretching Options
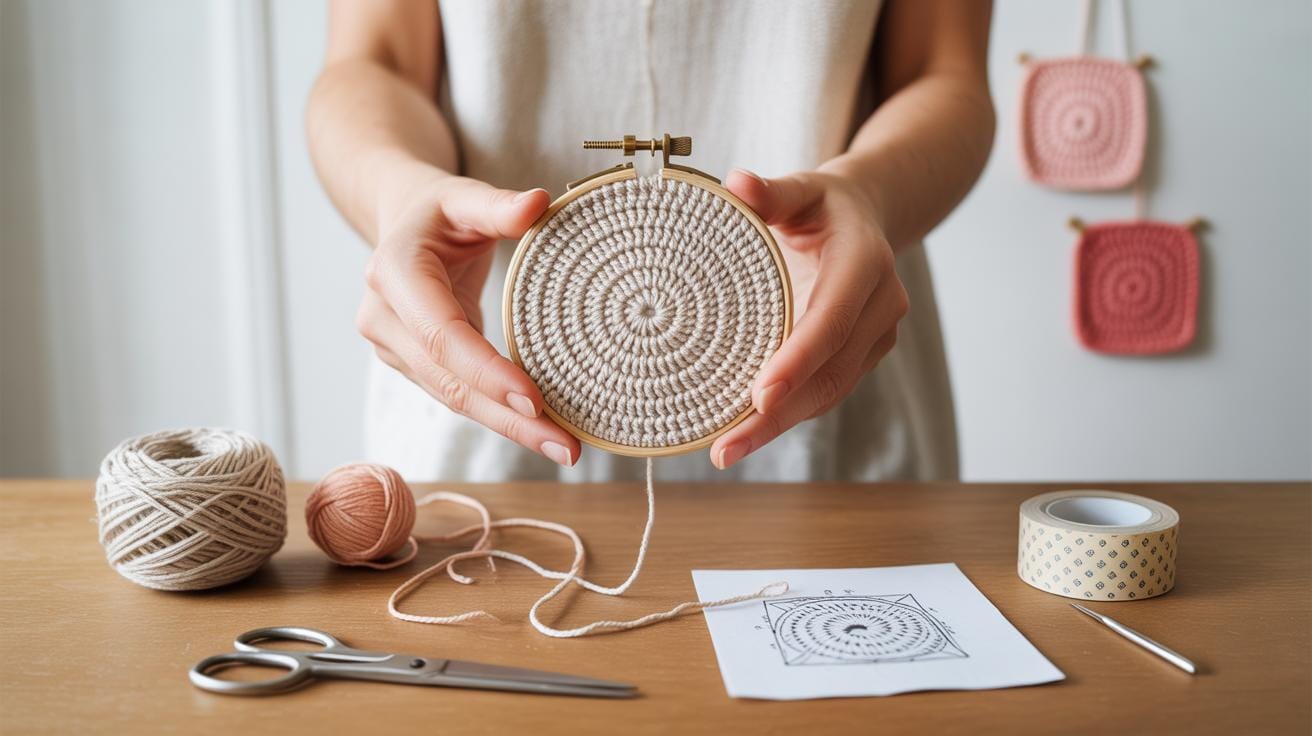
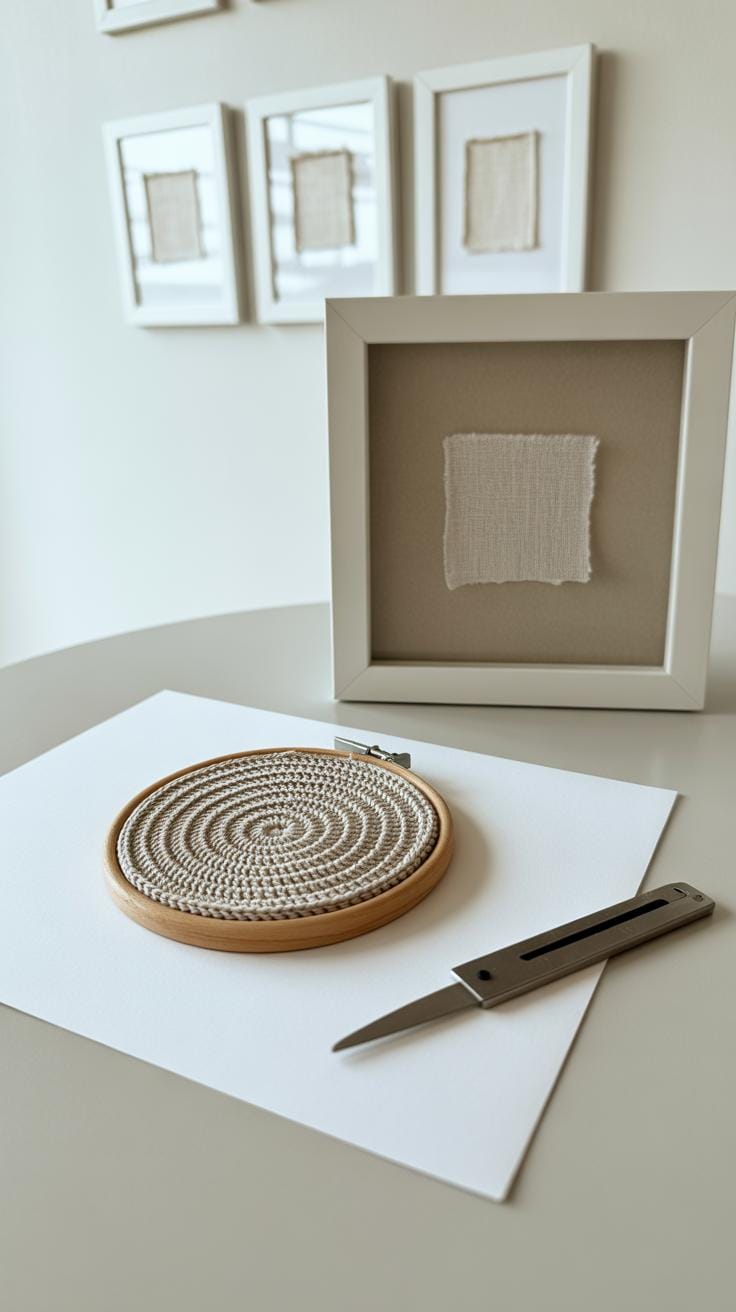
One method is to stretch your crochet over a simple frame or an embroidery hoop. This helps keep the stitches flat and visible, especially if your piece tends to curl or ripple. I’ve tried stretching a doily over a hoop before, pinning the edges with sewing pins, then tightening it to hold everything taut. It wasn’t perfect, but the texture popped out more on the wall.
Frames with glass can protect delicate pieces, but they sometimes press down the texture too much, which I don’t always like. For a bolder texture, open hoops are better. Stretch your piece gently but firmly—too tight, and it might distort. Too loose, and it droops.
Alternative Hanging Methods
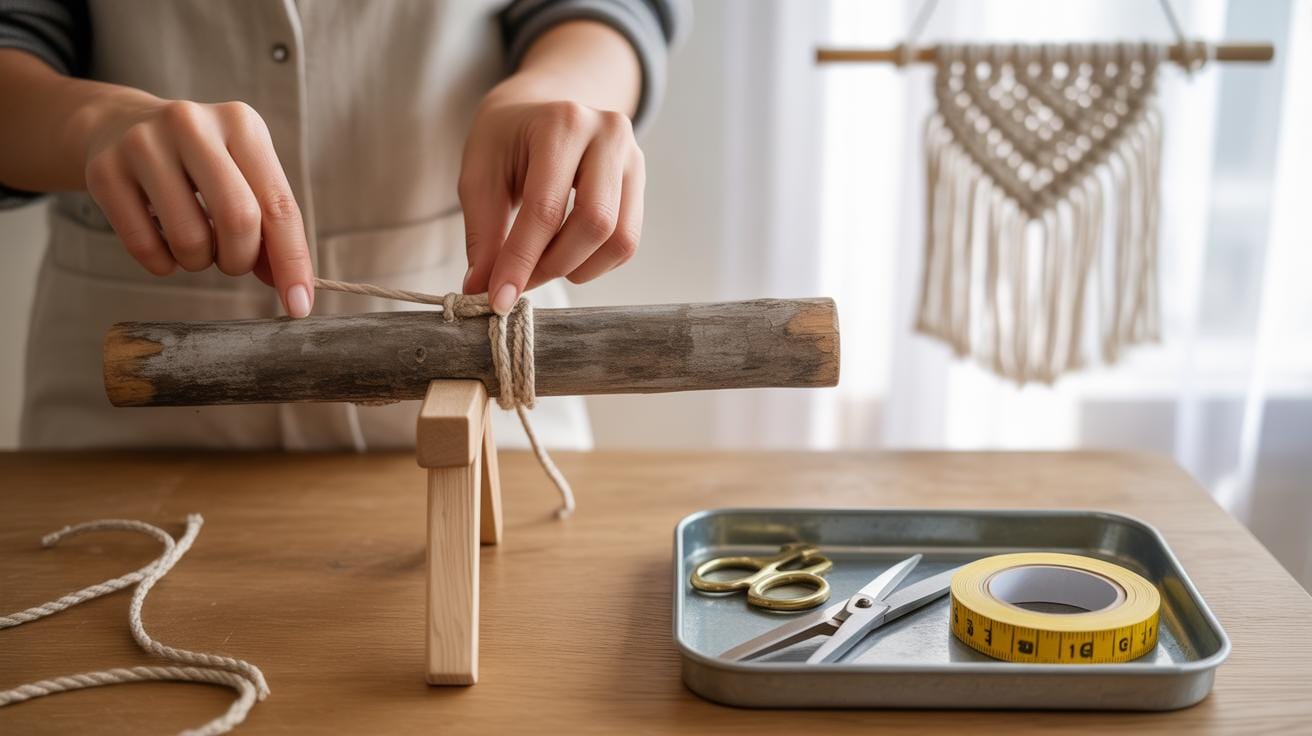
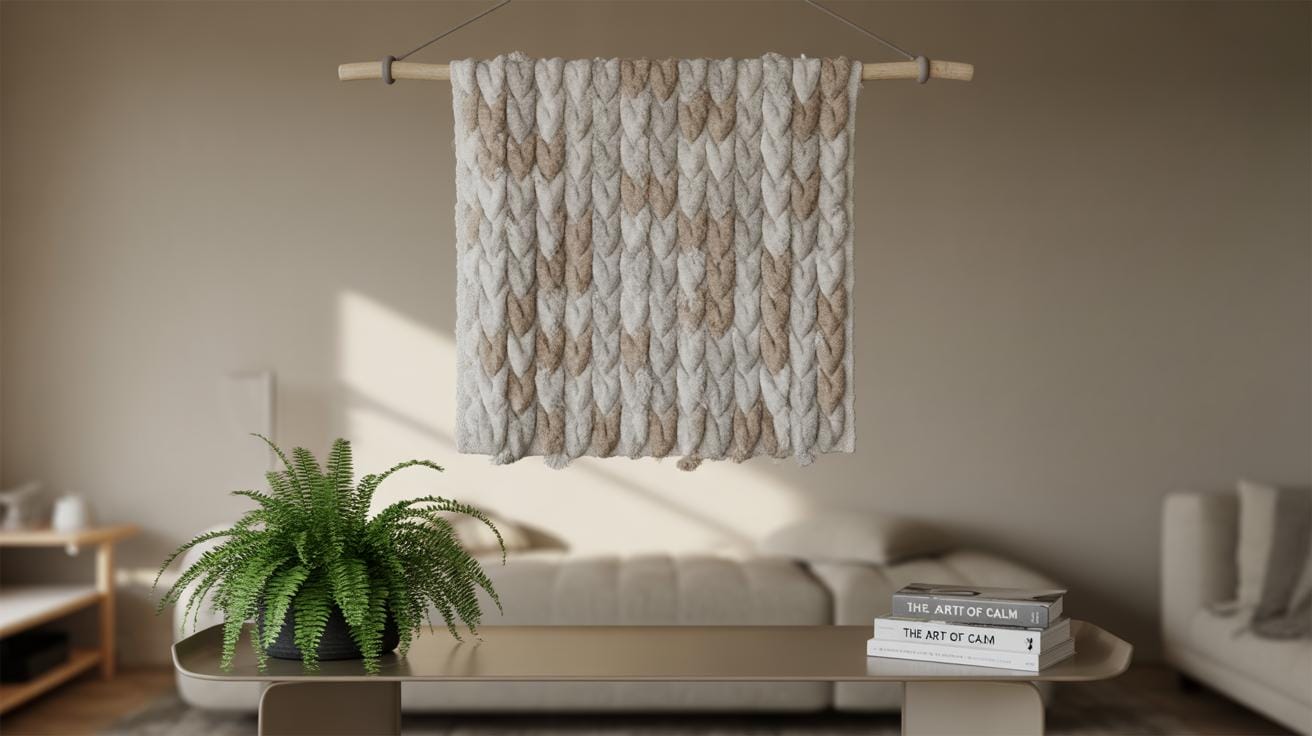
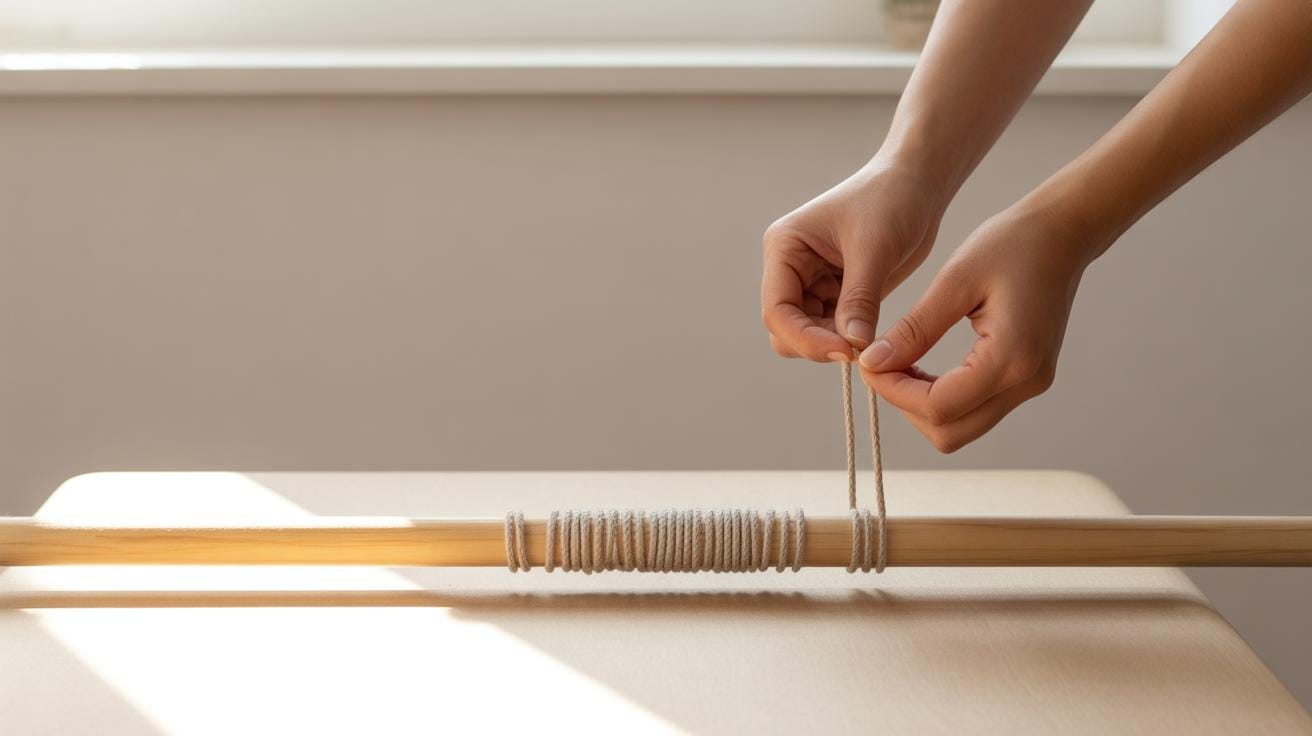
Not every piece needs a frame. Consider simple methods like hanging your crochet on a wooden dowel or even a sturdy branch for a rustic look. You can sew a pocket or loops on the back of your work to slide the dowel through. This approach is lightweight and easy to shift around.
Clips and binder clips also work surprisingly well, especially for larger pieces. Attach clips to the edges, then hang from hooks or nails. This avoids any damage from pins or glue, though the clips might show a bit.
Speaking of glue, some people use adhesive hooks right on their walls to hold lightweight crochet pieces directly, but that’s best for smaller, flatter items. It’s quick but might feel less intentional—like a placeholder rather than a proper display.
How do you want your crochet to feel on the wall? Neat and polished, or relaxed and casual? Sometimes the way you hang it adds a story on its own.
Tips for Improving Your Crochet Skills
Getting better at crochet takes time and patience. You might feel stuck or frustrated sometimes—it’s perfectly normal. The key is to keep going, even when the basics seem repetitive or slow. Practicing regularly really does help; those simple stitches become second nature after a while. I remember once spending thirty minutes on a single row just to get the tension right. It was tedious, but that repetition made a difference later on.
Learning from your mistakes is probably more useful than you think. When a stitch looks off or a pattern doesn’t turn out as expected, don’t just shrug and move on. Try to figure out what tripped you up. Was it the yarn, the tension, or maybe skipping a step? Even small errors teach you something valuable.
There’s no shortage of resources to assist you. Books can offer detailed explanations, and online videos often show techniques in real time, which helps a lot—especially when a written pattern feels confusing. Don’t hesitate to pause, rewind, and watch a tricky part several times. Sometimes watching someone else’s hand movements clears up what words can’t.
Here are a few practical ideas to keep in mind:
- Set aside short, regular crochet sessions instead of waiting for long stretches of free time.
- Choose simple projects when starting out. Finishing something motivates you to tackle more complex work.
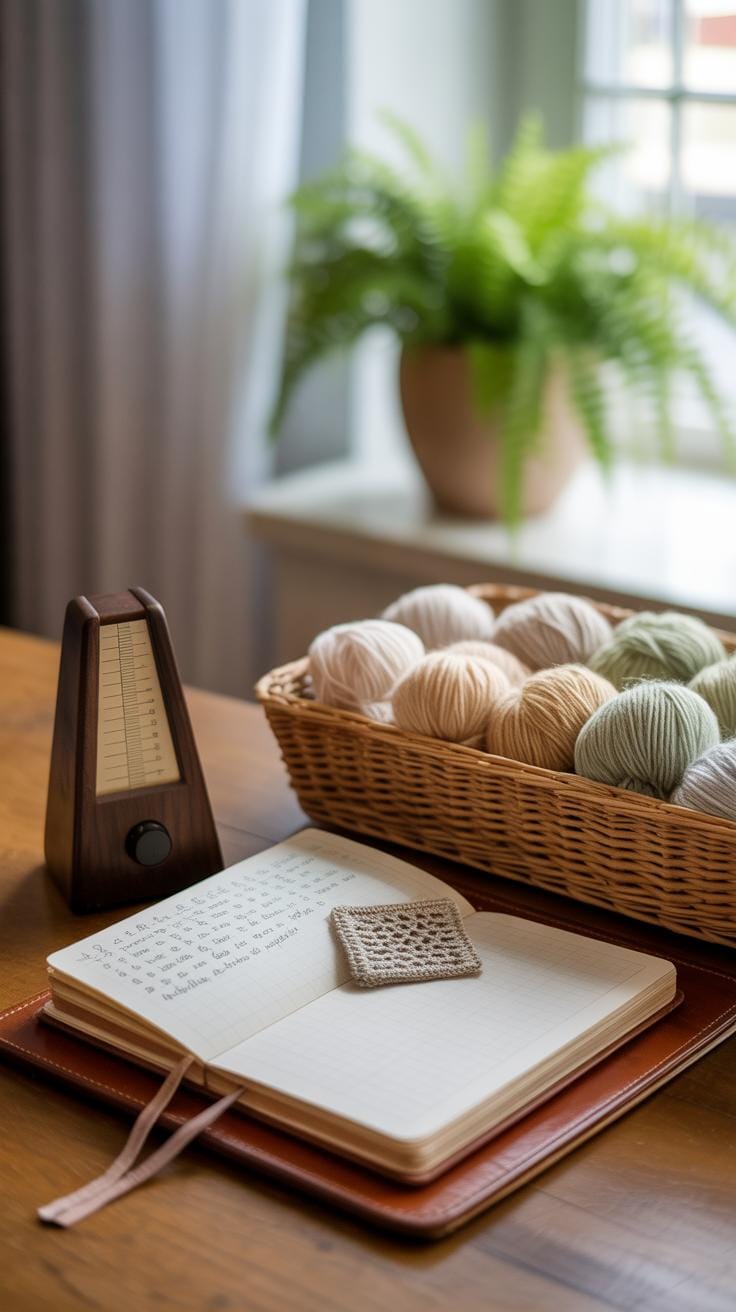
- Keep a crochet journal or notes about what stitches or patterns you find difficult.
- Join crochet groups—online or in person—where you can share tips and ask questions.
Do you ever wonder if you’ll ever crochet as easily as some pros? Maybe you will—and maybe you won’t. What matters is that you keep trying and learning with each stitch.
Conclusions
Crochet wall art is a rewarding craft that allows you to express your creativity while decorating your space. Using basic stitches, you can produce stunning designs without complications. Starting with simple patterns helps build your skills and confidence.
Remember, your crochet wall art reflects your style. Experiment with colors, yarn types, and stitch combinations to make pieces that are truly yours. With practice, your handmade art will transform your home and impress friends and family.