
Introduction
Cool art drawings offer an easy way for beginners to explore their creativity. They focus on simple shapes and styles that anyone can learn online. These drawings include popular designs like the Cool S, an iconic graffiti shape made from line segments. They appeal to kids and adults alike because of their straightforward construction and recognizable form.
This article breaks down the current trends and styles in cool art drawings. You will see what styles are popular, why basic shapes matter, and how to practice drawing cool shapes step-by-step. It will help you start your art drawing journey with clear and practical tips.
Basic Shapes To Start Drawing
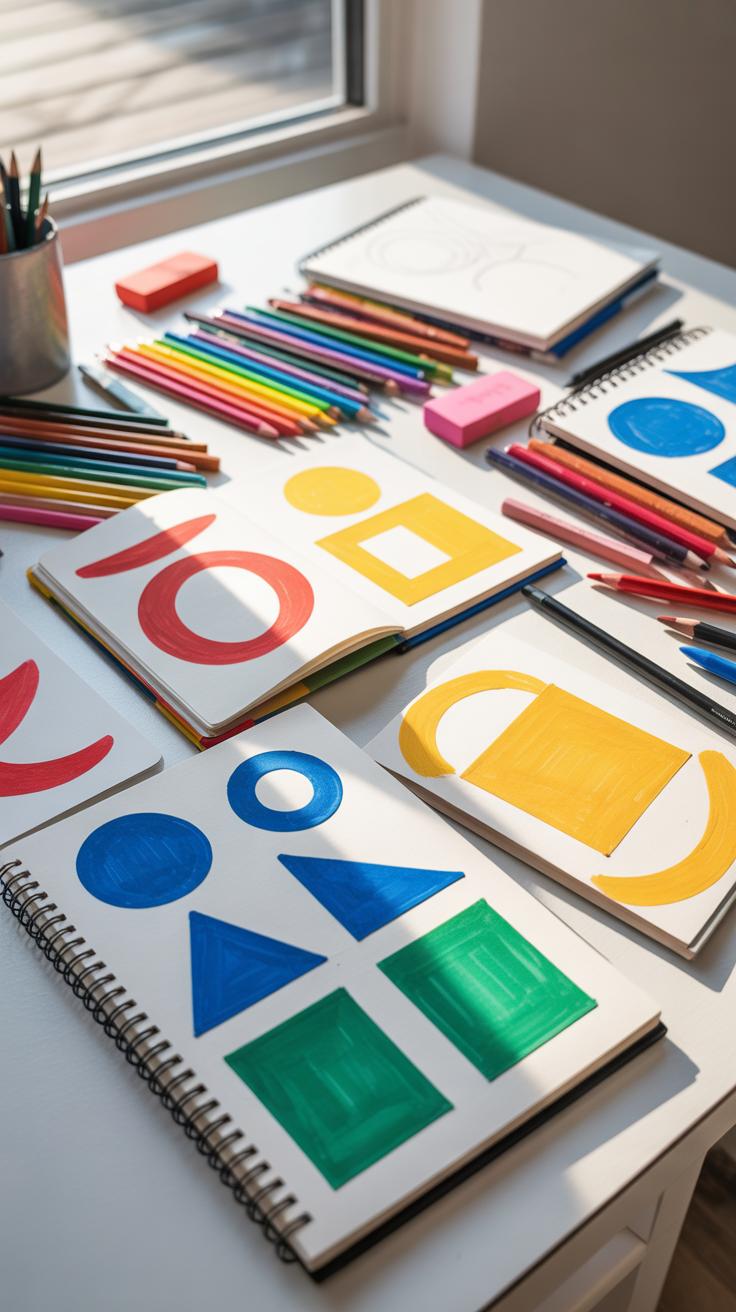
Simple shapes like circles, squares, and lines are the cornerstones of drawing—pretty much everything you see in art starts there. Maybe it sounds obvious, but breaking down a complex subject into these basic parts can totally change how you approach drawing. Think about a face: the head is basically an oval or circle, eyes and nose fit into simple geometric zones, and the outline often rests on straight or curved lines.

These shapes help you build the structure before adding details. When you look online for beginner tutorials, many start by mapping out these forms first. It’s almost like creating a skeleton for your drawing. I find that this step calms the nerves, too—you’re not trying to jump straight into a perfect portrait or object, just assembling manageable bits. It makes complicated drawings less daunting, and cool designs start to look possible. So, learning to see and draw these simple shapes can give you a solid foundation for faster progress.
Simple Geometry In Cool Art
Simple geometry isn’t just for math class—it’s amazing for crafting eye-catching art. Lines—vertical, diagonal, horizontal—are surprisingly powerful. For instance, the classic Cool S shape, which many remember from school notebooks, uses only straight line segments. That shape looks sharp and recognizable, even though it’s built from nothing but repeated lines. It’s a perfect example of how a small number of elements can create something familiar and striking.
These geometric building blocks give your drawings balance and rhythm. Vertical lines might suggest stability, while diagonals add movement. Playing with these can make your designs more dynamic or calm. When beginners experiment with these shapes in simple patterns, they get a sense of how geometry controls flow and form in a drawing. So, mastering basic line work seems dull at first but actually leads to memorable and cool designs.
Learning With Easy Patterns
Copying simple patterns feels repetitive, yes, but that repetition works in your favor. By following a few straightforward steps over and over, you gradually build muscle memory without noticing it right away. This is how beginners gain confidence—they see that sticking with basic patterns leads to something more detailed and interesting.
For example, tracing or recreating sequences like zigzags, spirals, or grids can slowly turn into complex drawings. It’s not about copying blindly but understanding how small steps combine into larger forms. I remember once trying to draw a basic leaf pattern dozens of times; at first, it was tedious. Later, that same pattern became part of a detailed tree sketch without much thought. It’s a slow process but one that helps your hand and eye coordinate better. And that can make all the difference when you want to tackle cooler art styles later on.
Popular Styles In Cool Art
When you look around online, some art styles just pop up again and again, especially for beginners. These styles often feel approachable but still have that “cool” factor. One is graffiti signs. Think of shapes like the Cool S—a symbol many of us sketched unconsciously in school notebooks. It’s basically a combination of straight lines stacked and connected to create a letter S with a twist. You can draw it by first making three vertical lines, then connecting them with specific diagonal lines to form the shape. Breaking it down into small steps makes this kind of shape less intimidating than it looks at first.
Cartoon and doodle art is another style that beginners love. These drawings usually have bold outlines and exaggerated features—big eyes, oversized heads, or quirky expressions. You don’t need years of practice to try these. A simple smiling character with thick borders can look fun and inviting. Sometimes, the charm of these drawings comes from their imperfections and loose style rather than precise detail.
Pattern-based designs also show up a lot in beginner tutorials. They often use repeated shapes or abstract doodles to fill a space, which can be relaxing to create. These patterns might look simple, but they help to develop your steadiness and creativity. Have you ever tried drawing just random zigzags or circles and noticed how quickly it becomes almost meditative? That’s part of their appeal.
Use Of Lines And Angles

Lines and angles are the unseen architects of any drawing. When you play with straight, diagonal, and curved lines, you start to build shapes that feel more complex than they really are. You might think it’s just a bunch of lines thrown together, but the way they meet and bend creates forms that catch the eye.
Try mixing these line types in your sketches. A straight line can give structure, while a diagonal one introduces energy or movement. Curved lines soften the edges and add life. Combining them isn’t just about complexity—it’s about balance. Maybe your drawing needs a sudden sharp angle here, or a gentle curve there. Experiment with placement because tiny changes shift everything.
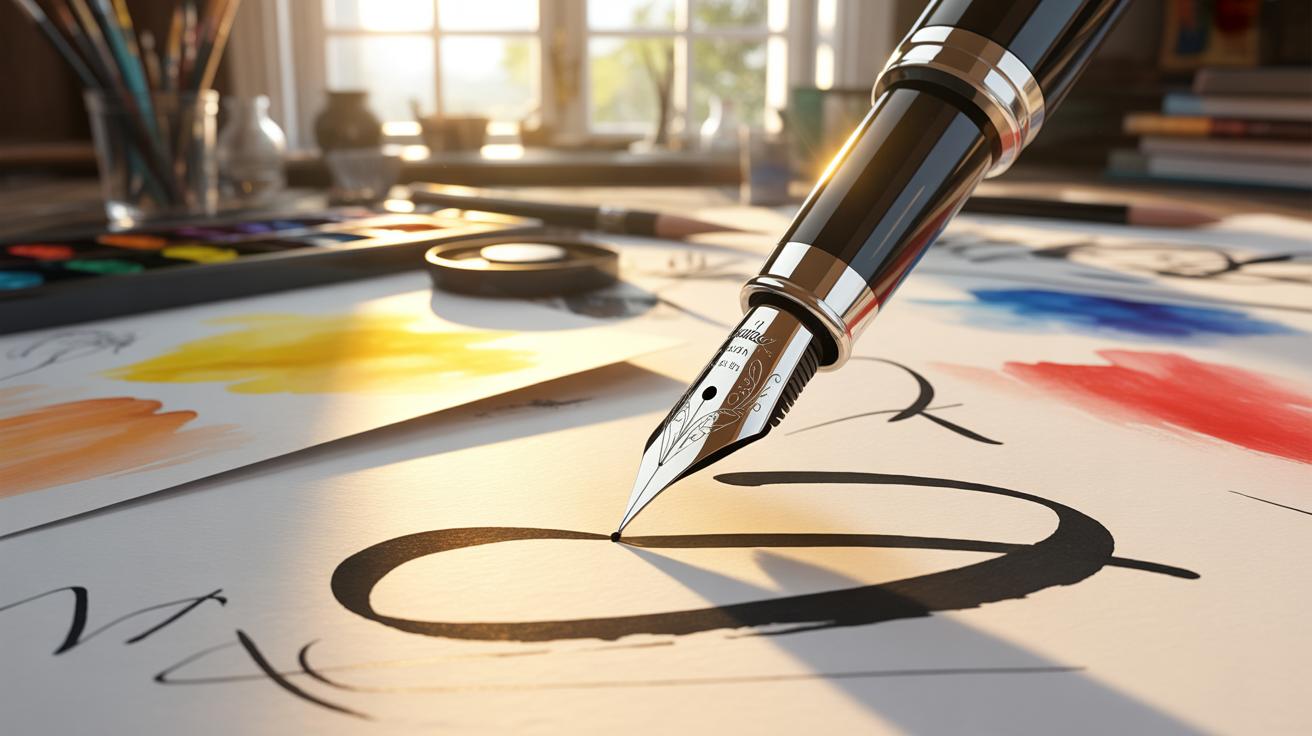
When it comes to joining line segments, it’s not about just sticking pieces end to end. Think of how a flowing “S” shape connects segments smoothly—this connection adds rhythm and depth. It makes your drawing feel like it breathes rather than being rigid or disconnected. This “S” connection is subtle, but noticeable if you watch closely.
Angles dramatically affect the mood of your design. A slight tilt can transform a simple shape into something unexpected. For example, altering a 90-degree corner just a few degrees can turn a box into a diamond or even give it a 3D illusion. It’s fascinating to see how these small angle shifts lead to entirely new interpretations of the same base shape.
Have you watched your own doodles and wondered why some shapes pop more than others? Maybe it’s the choices you made with lines and angles, even if you didn’t realize it. Play around, adjust angles, connect segments creatively. Sometimes the best results come from the quirkiest combinations.
Step By Step Drawing Process

Getting better at cool art drawings doesn’t happen overnight. It’s more like building a habit, day by day, a little bit at a time. You might think, “Where do I even start?” Well, it helps to break things down into small, manageable steps so you’re not overwhelmed and don’t lose motivation halfway.
Try this routine for a few weeks:
- Week 1-2: Focus purely on drawing basic shapes—circles, squares, triangles. Keep your hand loose and your lines light.
- Week 3-4: Start connecting those shapes with simple lines to form rough sketches of objects or figures.
- Week 5-6: Add small details like shadows, textures, or curves. Don’t rush; spend time really observing your shapes.
- Week 7 onward: Combine multiple shapes and details to create more complex scenes or characters. Feel free to experiment.
This phased approach keeps practice focused. Instead of jumping straight into complicated drawings, you’re building a foundation. It may sound slow at first, but trust me, you’ll see progress if you stick with it. And try to keep your sessions consistent—short but regular beats long and sporadic any day.
Daily Shape Practice Routine
Start with just 15 minutes daily focused on shapes and lines. Not too much time, just enough to get the muscle memory going. Here’s what you can do:
- Draw basic shapes repeatedly but with slight variations. For example, circles that are not always perfect—this actually helps loosen your hand.
- Practice connecting two or three shapes with straight or curved lines, like linking a circle to a square.
- Try overlapping shapes to see how they interact visually.
- Finish with quick sketches interpreting simple objects as combinations of these shapes.
Doing this daily builds your confidence. Shapes are the building blocks for anything cool you want to draw later. And keep in mind—your lines don’t have to be perfect. Sometimes messy lines hold more character, and over time, you’ll find your own style emerging without pressure.
Building Complexity Gradually
Once you feel comfortable with basic shapes, it’s tempting to jump into complicated drawings. But holding back a little can pay off.
Start by adding small details in stages:
- Add textures like shading or patterns inside your shapes.
- Turn straight lines into more organic curves or mix sharp and soft edges.
- Play with proportions—stretch a shape here, shrink it there—to develop interest.
- Introduce simple backgrounds or elements interacting with your main object slowly.
It’s a bit like layering. Each time you add something new, try to keep the original shape recognizable. Some days you’ll feel ready to push your limits, others not so much—and that’s okay.
Is it better to master a single technique before moving on? Maybe, but sometimes just trying out new details even before perfecting basics leads to unexpected breakthroughs. So don’t be afraid to experiment while keeping things grounded in simple forms.
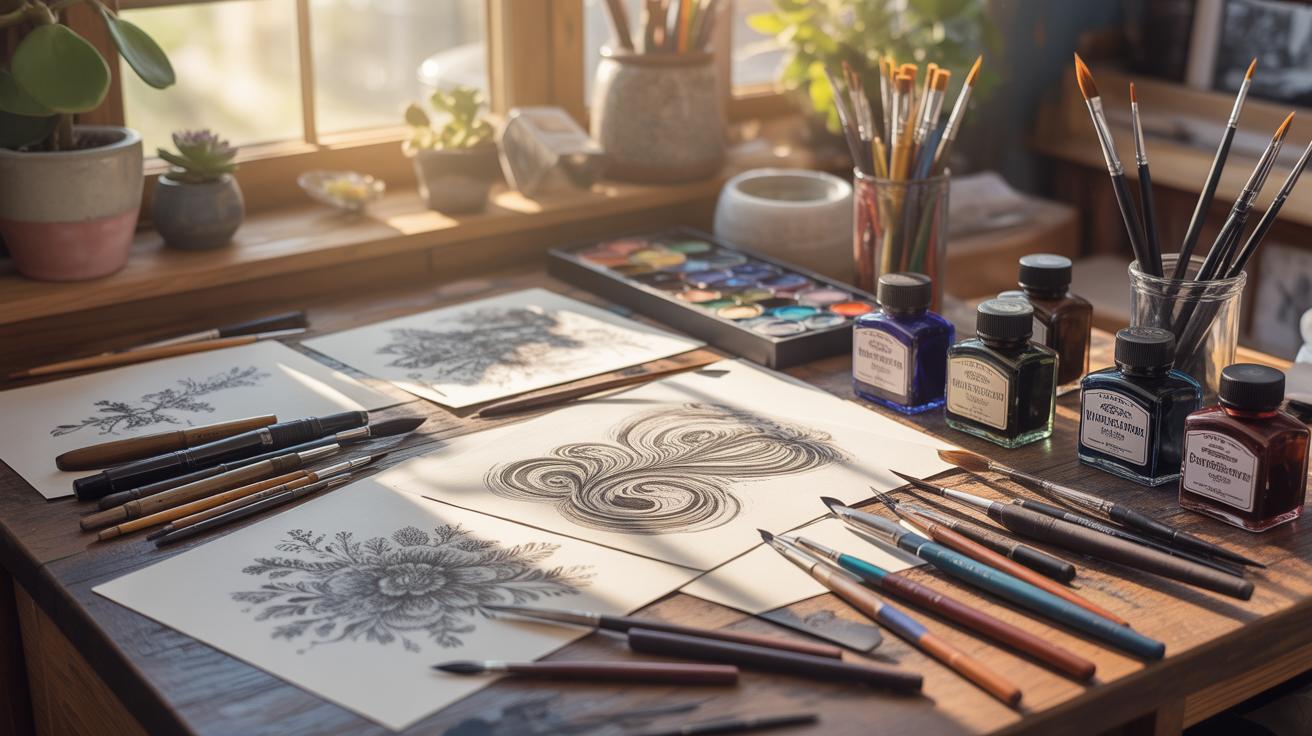
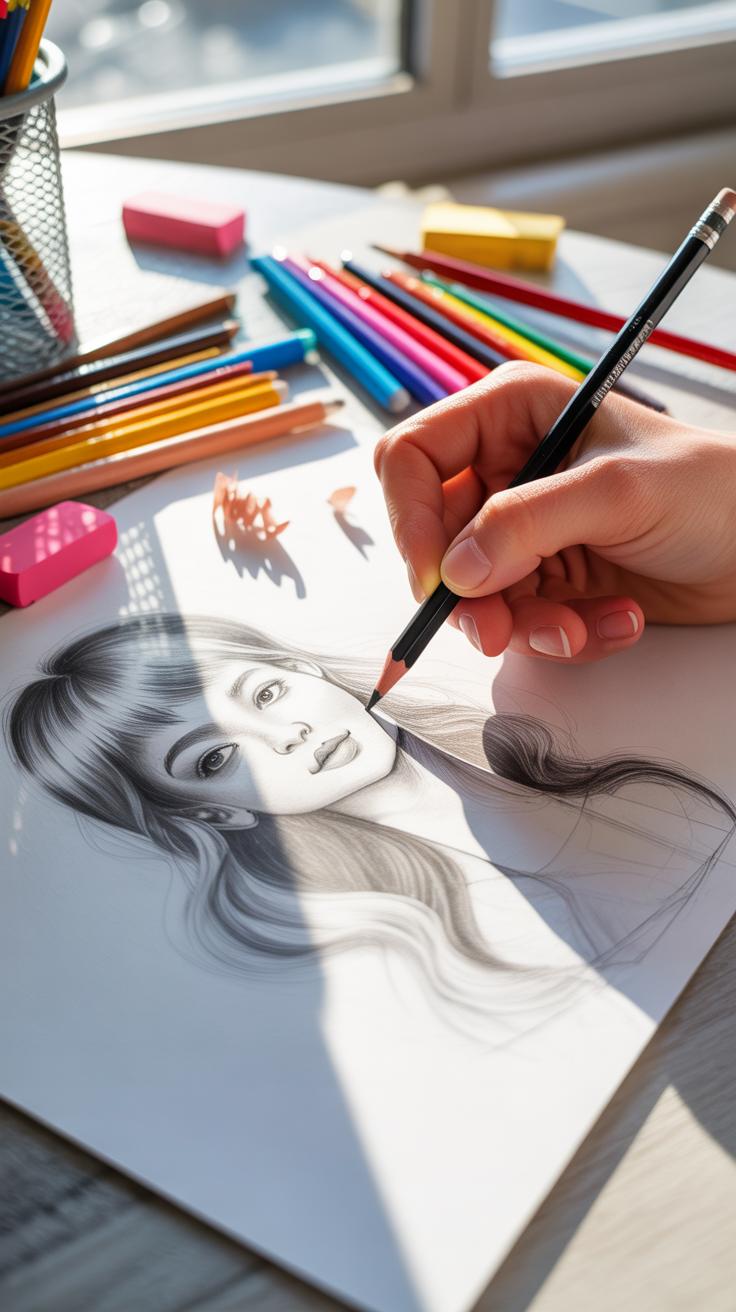
Tools Needed For Drawing
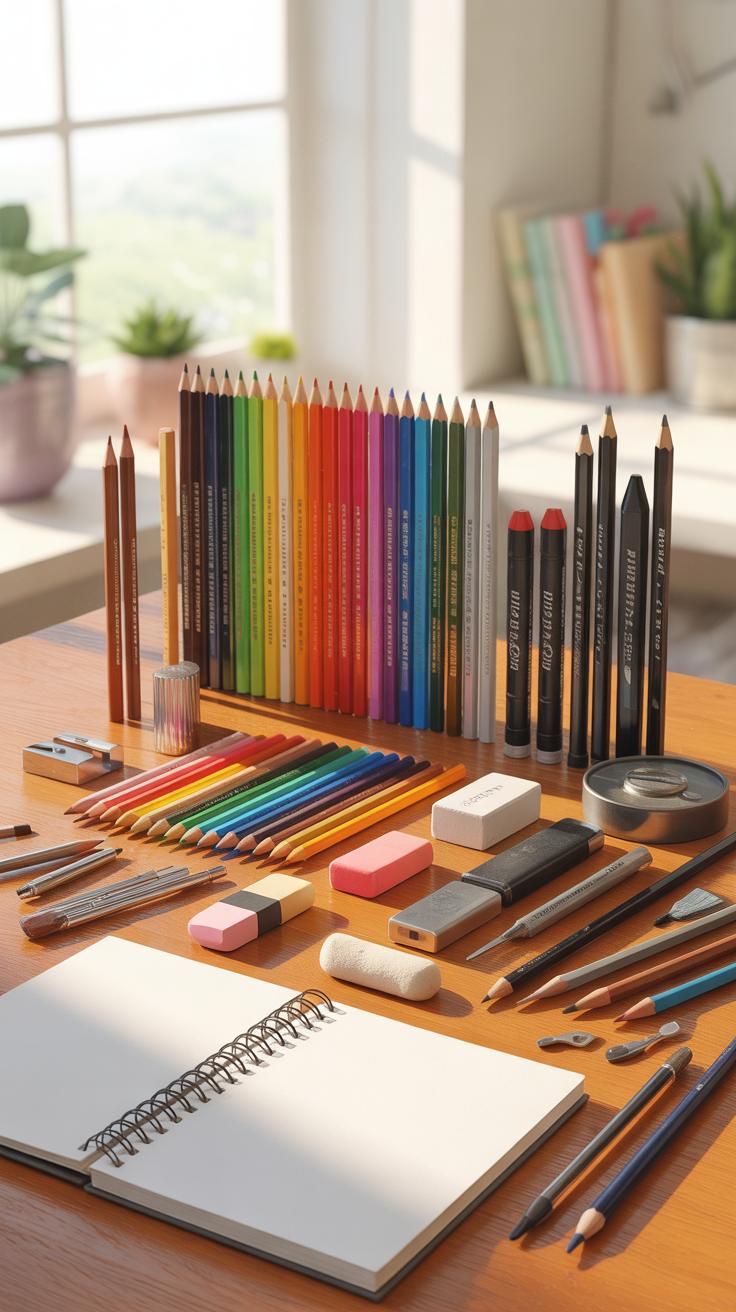
Drawing Materials Checklist
If you’re starting to create cool art drawings, certain basic tools can really make your experience smoother. Think about pencils first—get a few different grades like 2B for softer lines and HB for general sketching. It’s tempting to grab the fanciest pencils right away, but simple ones often do the trick just fine.
Good erasers matter, too. A kneaded eraser lets you lift graphite gently without damaging the paper, and a regular rubber eraser handles heavier corrections. Rulers feel obvious, but a transparent plastic ruler with clear markings helps you draw straight edges and measure proportions accurately.
Paper choice shapes your work more than you might realize. Standard sketch pads with a medium texture work best for pencil drawings. Rough textures can give your strokes more character, but if you want clean lines, smoother paper is better.
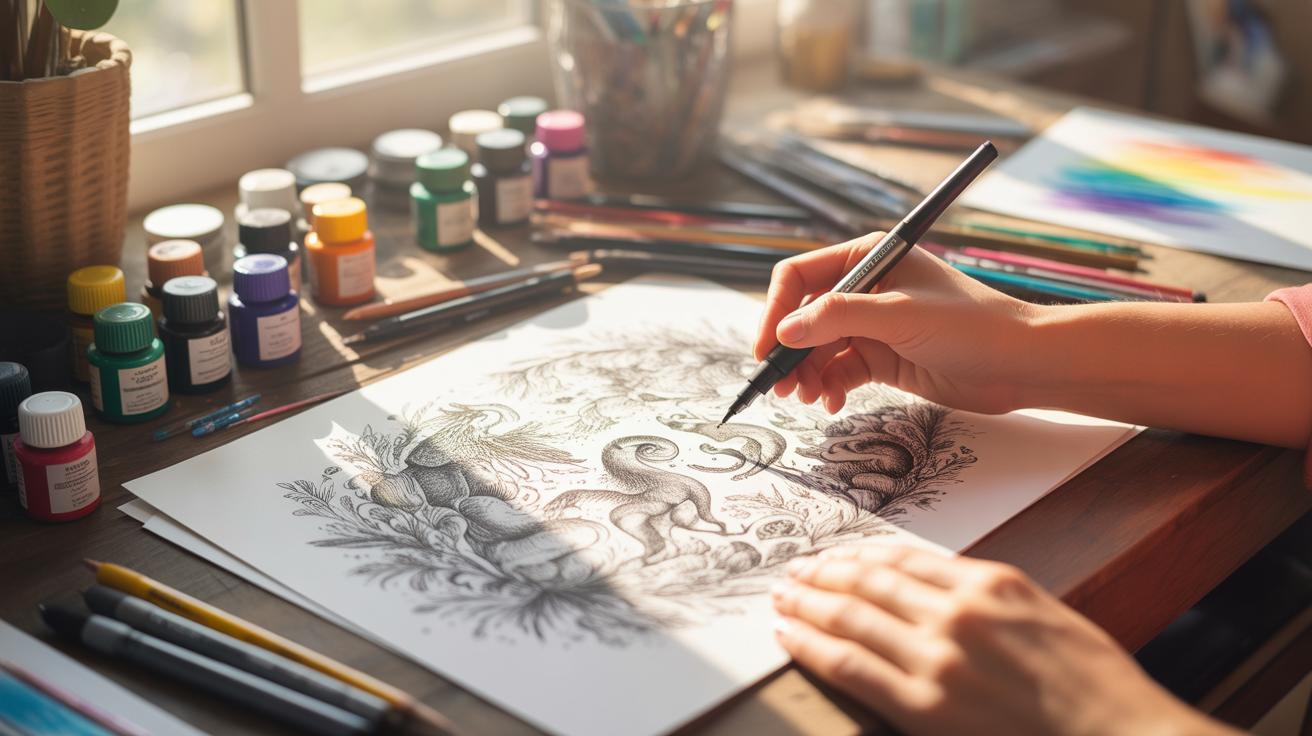
Using Digital Drawing Apps
For those leaning toward digital art, apps like Procreate, Autodesk SketchBook, or even free options like Medibang Paint offer user-friendly interfaces. You don’t need to be tech-savvy to start; these platforms let you experiment with brushes, layers, and colors in ways traditional tools can’t easily match—often without cluttering your desk.
Try using a tablet with a stylus if you can. It feels more natural than a mouse, closer to holding a pencil. Yet, many beginners find themselves sticking to simpler apps on a computer screen, partly out of convenience or habit. It’s oddly reassuring to know digital art can be as rough or refined as you want, depending on how much you tinker.
Do you find yourself more drawn to physical or digital tools? Maybe a mix of both could suit your style best. Exploring these options might surprise you—sometimes, the tools shape the art as much as the artist does.
Common Mistakes To Avoid

When you start drawing cool art, it’s easy to get caught up in what feels natural but ends up causing problems later. One frequent mistake is misplacing lines and angles. If your lines aren’t quite right, the shapes can look off — maybe a face looks stretched or a hand looks awkward. Something that helped me was stepping back and squinting at the drawing to spot these issues. Sometimes using a ruler or flipping the paper over can reveal misalignments that aren’t obvious at first.
Another thing I noticed — and you might too — is rushing. You might feel you have to finish a piece quickly, especially if you’re excited about a complex design. But skipping foundational practice usually causes frustration rather than progress. Taking your time with simple shapes, practicing basic shading, and slowly adding complexity makes your art stronger. You don’t have to draw perfectly every time, just pace yourself enough to build skills without stress.
So, a few practical tips:
- Use light pencil marks for initial lines so you can erase and adjust easily.
- Check angles by comparing them to reference lines or objects around you.
- Don’t jump into detailed shading or complex patterns too soon — get the outline right first.
- Set small, manageable goals for each drawing session instead of aiming to finish everything in one go.
In your drawings, ask yourself: Does this line feel natural? Does the overall shape look balanced or does something seem “off”? With practice, identifying these early will become second nature, and your cool art will keep improving.
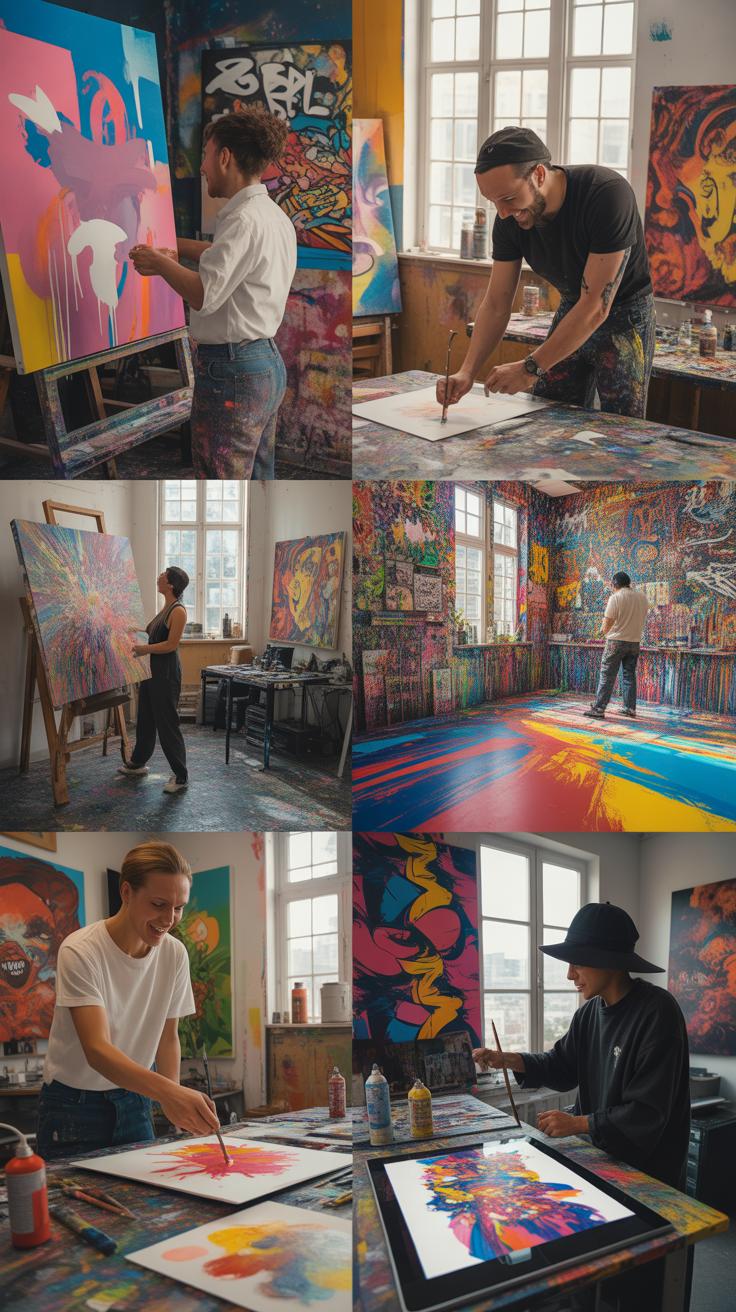
Comparing Drawing Styles Graffiti Cartoon and Doodle


Graffiti art often grabs attention immediately with its sharp, angular lines and bold colors. The style feels almost architectural in how letters and shapes interlock, which gives it this urban toughness. In contrast, cartoons lean toward soft, rounded outlines that make characters appear friendly and approachable—think of a comic strip or animated show. Doodles feel even looser, with sketchy, sometimes messy lines that echo spontaneous thought, or just plain boredom on a notebook margin.
If you’re wondering which style might suit you as a beginner, think about what excites you visually and emotionally. Do you like crisp precision and working with shapes that almost demand a bit of planning? Graffiti might appeal, though it needs steadier hands and careful layering of colors. Cartoons and doodles, meanwhile, give more creative freedom to experiment without stressing over exact lines, which might feel more relaxing when you’re just starting.
Skill-wise, graffiti calls for some discipline — it’s not only drawing but also understanding how letters and forms can twist and fit together attractively. Meanwhile, cartoons ask for basic anatomy knowledge and expressive faces but usually let you play around with exaggeration. Doodling? It brings out your imagination the most, requiring less precision and more willingness to just let ideas flow without worrying about the outcome.
So, if you enjoy structure and bold visuals, maybe try graffiti. If light-hearted, fun characters are your thing, cartoons might feel more natural. Or if you want freedom and no rules, doodling could be your best bet. What feels right? Sometimes dabbling in all three gives surprising insights into what you really like to create.
Examples Of Easy Cool Art
Let’s look at some simple drawings that feel cool without being too complicated. The classic Cool S is a perfect example—you often see it in notebooks but maybe never tried to draw it yourself. It’s fun and surprisingly simple once you get the hang of the steps. You don’t even need special tools; just paper and a pen or pencil can do the trick.
Drawing The Cool S
The Cool S is basically made from straight lines and connection points. Follow these steps slowly:
- Draw six vertical, evenly spaced short lines in a row.
- Connect the top of the first line to the top of the second line with a diagonal line slanting down.
- Connect the bottom of the second line to the bottom of the third line diagonally upward.
- Repeat this zigzag pattern across all six vertical lines.
- Now, connect the ends to shape the edges of the S, closing the figure.
- Trace over the sketch lines you want to keep, erase the rest.
It looks tricky at first glance, but breaking it down like this helps. Sometimes I catch myself fumbling the order a bit, but that’s okay—it’s part of learning. Plus, you can always experiment with line thickness or add shadows to make it pop.
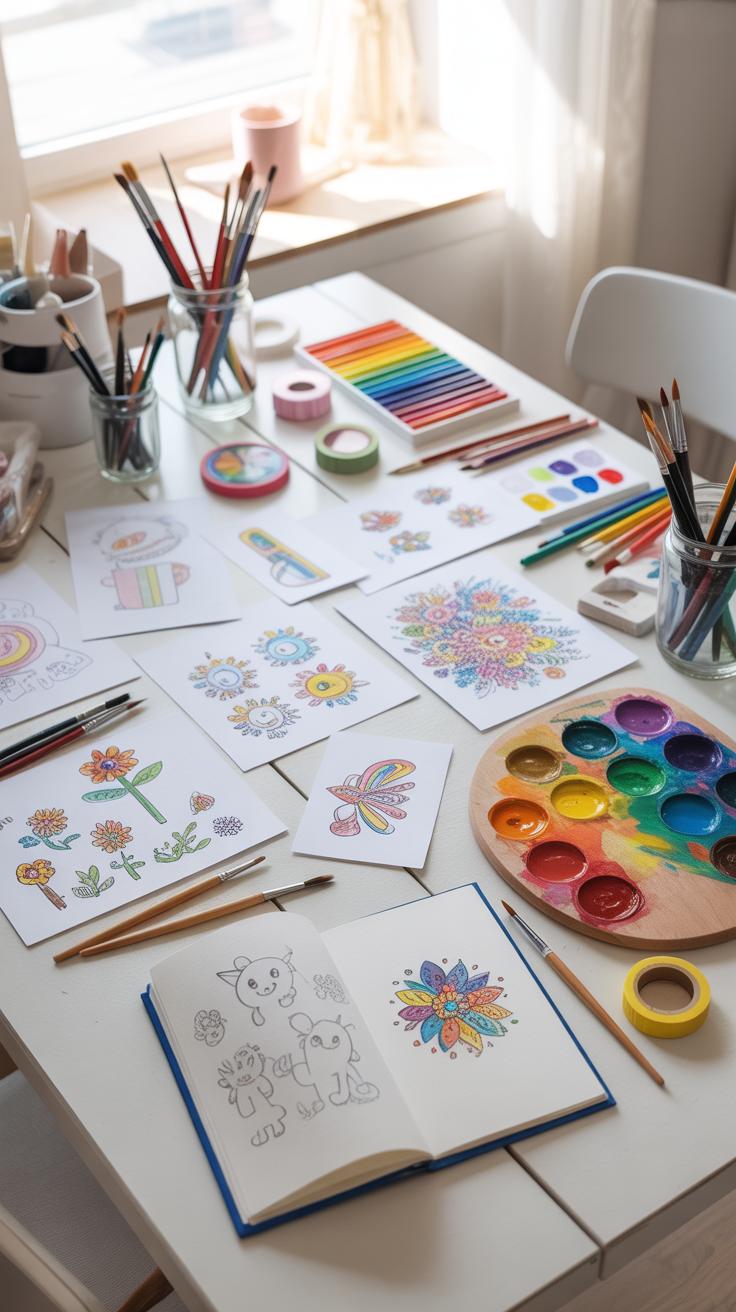
Simple Doodle Examples
Doodles don’t have to be chaotic scribbles. They can be basic shapes put together with a little pattern practice. Here are a few ideas to try:
- Draw a series of circles and fill them in with different simple patterns: dots, stripes, zigzags.
- Create clusters of triangles linked at points, then add lines inside for texture.
- Sketch spirals that gradually get bigger or smaller—follow the outline with a pen for emphasis.
- Combine squares and rectangles into a mosaic-like design, then shade randomly.
These small steps might seem dull at first, but they build your comfort with lines and shapes. I find repeating patterns in doodles oddly calming. You might discover new patterns you enjoy or just loosen up your hand for freer drawing later on. Why not pick up your pen now and try a few?
Tracking Your Drawing Progress
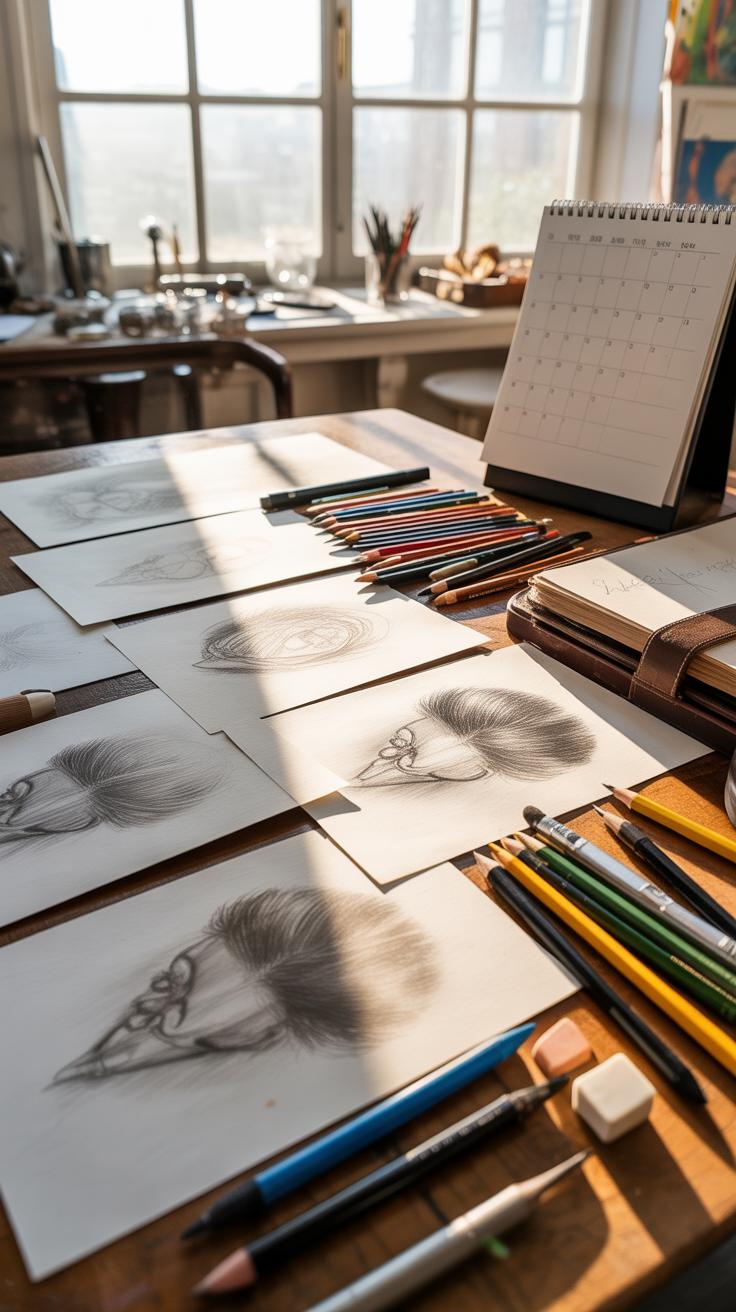
Watching your drawings improve over time can be surprisingly motivating. But how do you keep track of that growth without losing track of your own work? One way is to create a dedicated system to record and review your art regularly. This might sound simple, but it’s often overlooked.
Consider setting up a folder or digital gallery where you save all your sketches and finished pieces. Date each one so you can easily spot changes later. Sometimes, scanning or photographing your drawings works better than keeping physical copies, especially if space is tight.
Also, think about using a calendar or checklist to mark drawing days. Seeing a streak of consistent effort—even if the art isn’t perfect—helps build confidence. It’s the small steps, day by day, that add up.
Keeping A Drawing Journal
Keeping a drawing journal might sound like a task, but it’s more flexible than you think. You don’t need to write pages every time. Even jotting down short notes on what you learned or struggled with after a session can be helpful.
Try setting aside five minutes after drawing to answer questions like:
- What went well today?
- What was tricky or confusing?
- Which technique felt more natural?
- Anything you want to try differently next time?
Over weeks, these notes create a personal guidebook. Some days, you might notice repeated issues, and other times, it’ll highlight sudden breakthroughs. It’s kind of like a progress diary but less formal and more about feelings and discoveries.
Reviewing And Adjusting Techniques
Looking back at older drawings can be uncomfortable, especially when they feel rough or awkward. But this reflection is key. When you compare a week-old sketch with one from three months ago, you can pinpoint exactly what improved—or not.
Try to find patterns: Are your shading skills getting smoother? Are proportions becoming more accurate? Maybe your line confidence has grown, but perspective still trips you up.
Once you identify these areas, you can make small adjustments in your practice. For instance:
- Focus more on challenging shapes next time.
- Experiment with different pencils or tools.
- Try new poses or subjects that push your limits.
Tracking progress is not always a straight path. Some skills rise steadily, others feel stuck or even seem to regress. That’s normal. What matters is keeping track, so your effort doesn’t go unnoticed, even on days it feels like you’re standing still.
Conclusions
Cool art drawings provide a fun and manageable way to begin drawing. By focusing on basic shapes and familiar styles like the Cool S, beginners can gain confidence. Practicing simple forms stepwise builds skills you can use in many types of art.
Try drawing different shapes and designs regularly to grow your abilities. Learn the popular styles and their drawing methods from online resources. With practice, your cool art drawings will improve and become a rewarding hobby.


