Introduction
Collage is an art form where you glue different pieces together to make something new. It has a long history, going back thousands of years and has become popular in modern art, especially through artists like Picasso. Collage lets you take bits of paper, photos, and other materials to create pictures that tell a story or show an idea in a fresh way.
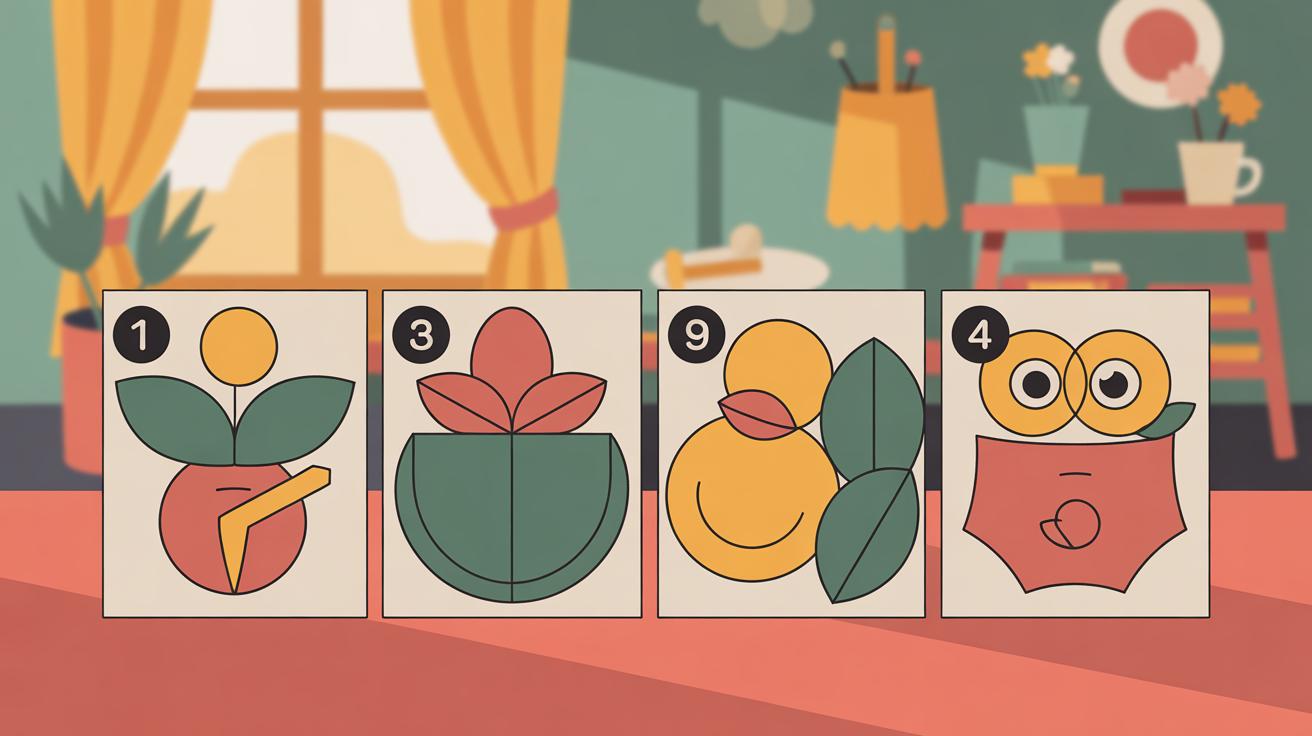
This article will look at beginner friendly collage techniques that deliver big results. You will learn about simple materials to use, how to plan your collage, easy ways to cut and arrange pieces, and how to finish your artwork so it looks great. We’ll guide you step-by-step from the basics to ideas that show how fun and rewarding collage can be for everyone.
What Is Collage and Its History
Collage is an art form where you combine various materials—like paper, fabric, or found objects—onto a surface to create something new. It’s more than just pasting pieces together; it’s about layering stories, textures, and sometimes even conflicting ideas in one space. You might think it’s a modern invention, but collage actually has deep roots that stretch way back in time.

People in different cultures started using collage-like methods long ago. For example, in China and Japan, they experimented with paper cutouts and layering centuries before it caught on in the West. These early efforts were often tied to practical or decorative uses rather than fine art. I find it fascinating how those simple beginnings influenced later developments.
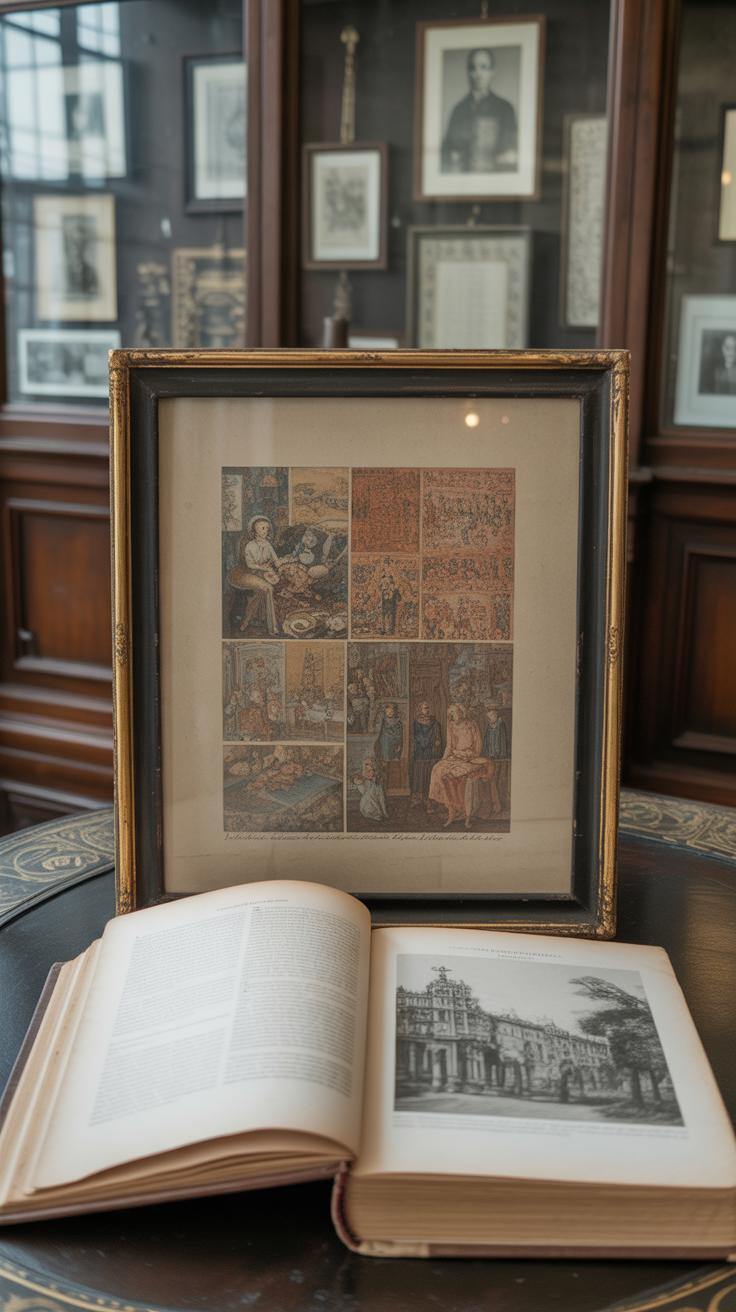
In the 20th century, collage suddenly became more prominent. Artists such as Pablo Picasso and Georges Braque began incorporating bits of newspapers, wallpapers, and fabrics into their paintings. This wasn’t just a neat trick—it challenged traditional art by blurring lines between painting and reality. It opened new ways of seeing and making art. Have you ever wondered how sticking scraps of paper turned into a major movement? It’s a story worth teasing apart, as it reveals much about creativity and change.
Origins of Collage
Collage-like techniques first showed up in East Asia, perhaps as early as the Tang Dynasty in China. People used rice paper cutouts and pasted them onto scrolls or screens. Japan took this further with intricate paper layering in arts like kirigami and chigiri-e. These methods weren’t just decorative; sometimes they were symbolic or had religious meaning. It’s interesting how these early uses remained practical or ceremonial rather than purely artistic.
As paper spread westward, collage evolved slowly. During the Renaissance, artists occasionally combined different materials, but collage didn’t really catch on as a defined practice. You could say it was waiting for the right moment to break free from conventions. That moment arrived in the 20th century, when artists threw out old rules and started experimenting boldly.
Collage in Modern Art
The early 1900s changed everything. Picasso and Braque began gluing newspapers and fabric into their cubist paintings, bringing in real-world elements. Suddenly, art was not only about representation but also about texture, layers, and mixed media. This blurred the boundary between art and life, making viewers rethink what art could be.
This period saw collage shifting from craft to a core part of the modern visual language. Later artists embraced it in different ways—Dadaists used collage to question society, while Surrealists created dreamlike compositions. Collage opened doors for ideas like fragmentation and juxtaposition, reshaping art styles significantly.
So, collage isn’t just sticking pieces on paper. It’s a conversation across time, cultures, and artistic philosophies. Maybe that’s why it feels so approachable—you’re stepping into a rich history while making something uniquely yours.
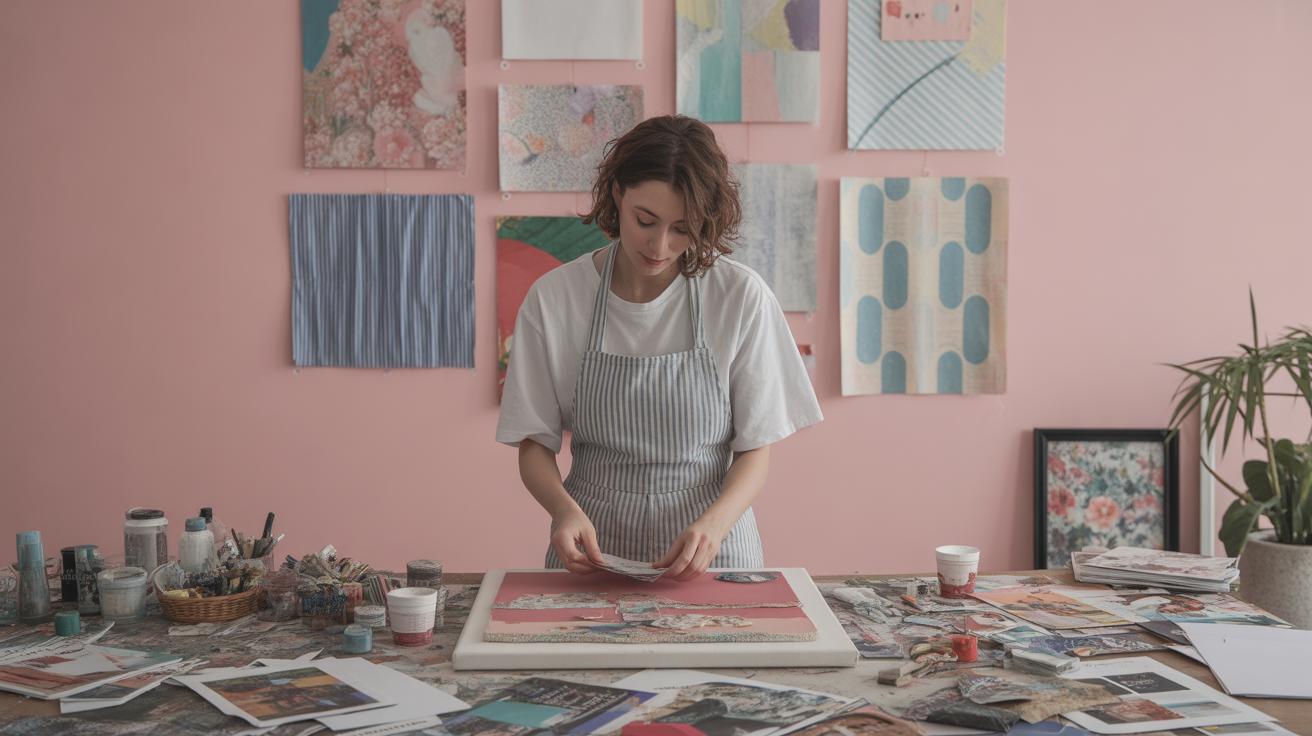
Gathering Materials for Your First Collage
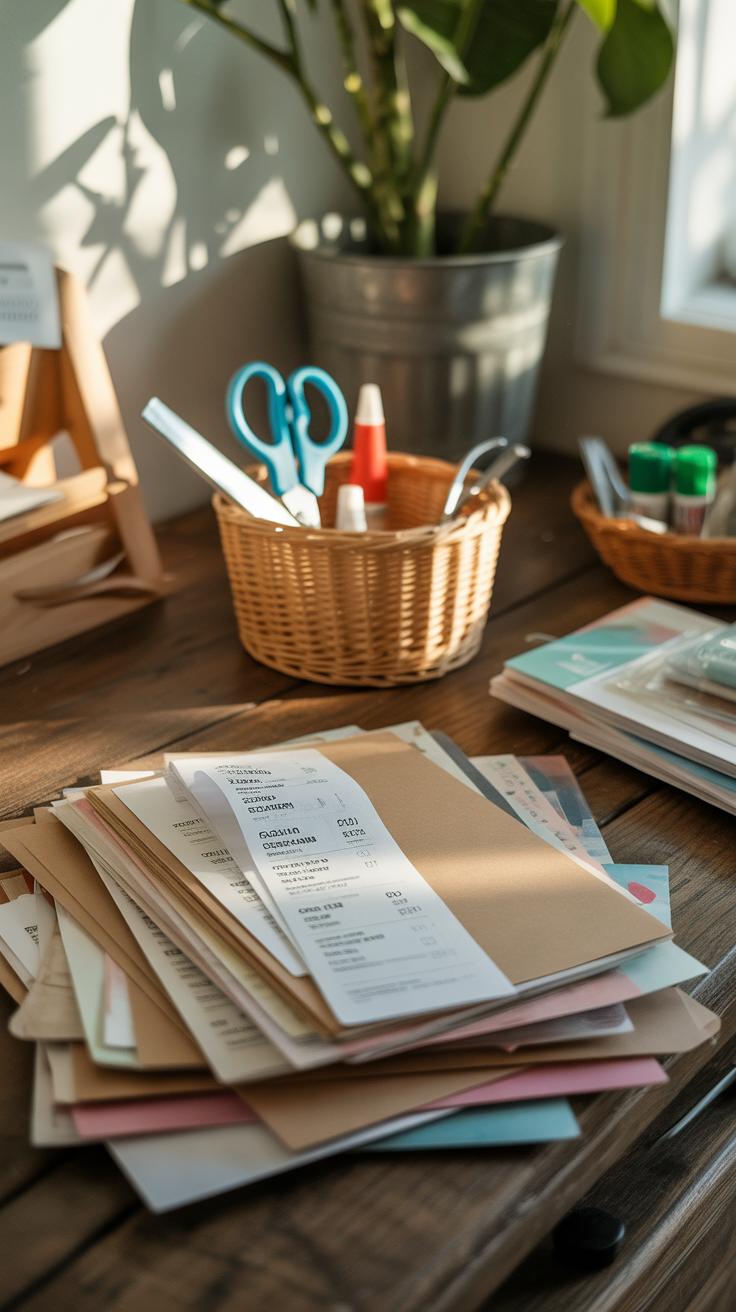
When starting your first collage, gathering materials can feel a bit overwhelming, but it doesn’t have to be. You really just need a few basic items that are easy to find around the house or nearby stores. Magazines and newspapers are an obvious go-to. They offer a variety of images, text, and colors that can spark ideas. Sometimes, ripping out a vibrant photo or an interesting headline leads you somewhere you didn’t expect.
Colored paper also works well. Construction paper, wrapping sheets, or even scrapbooking paper can add clean color blocks or patterns. Plus, cutting shapes out of these is simple and satisfying. For adhesives, glue sticks or white craft glue usually do the trick—nothing fancy needed here, but avoid using too much or your paper might wrinkle.
As a backing, you could use anything sturdy enough to hold your pieces: cardboard from a cereal box, canvas boards, or even thick drawing paper. Scissors are an obvious tool, but if you like tearing edges for texture, your hands can do the job just as well. Don’t overthink it; the low-cost, easily accessible materials are often the most discouragingly effective.
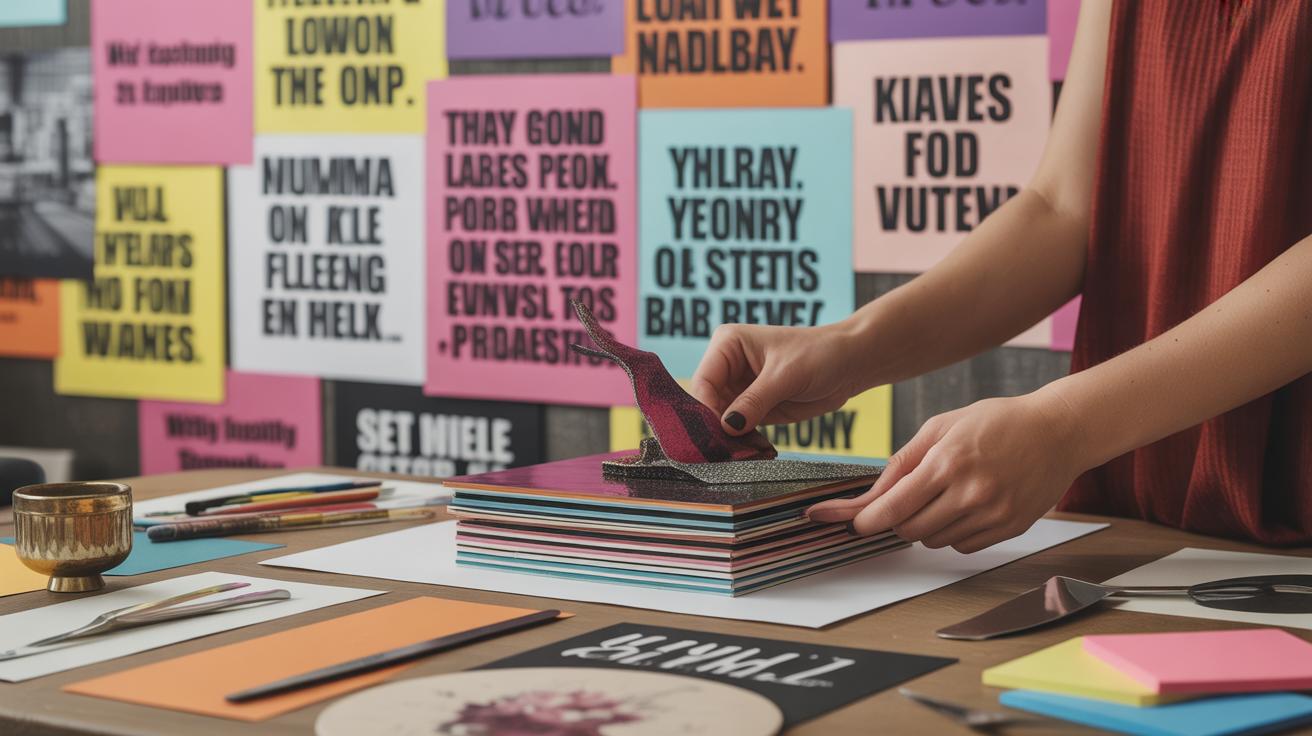
Choosing Paper and Textures
Picking your paper can really change how your collage feels. Glossy magazine pages reflect light and add a slick look, while matte paper is softer and more subdued. Textures also matter—tissue paper gives a delicate, layered effect, while newsprint can lend a rough, vintage vibe. Thicker card stock can add weight and dimension, making some pieces stand out physically.
Think about what you want the final piece to say. Smooth, slick papers catch eyes differently than crinkled or transparent ones. Sometimes I try mixing thin tissue with something heavier just to see how the contrast plays out. At times, the unexpected mix of textures surprises me, adding interest without extra work.
Additional Items to Include
Collage doesn’t have to be just paper. Adding fabric scraps, bits of ribbon, or even lace can pull a piece together in ways flat paper alone can’t. Old photos, postcards, or ticket stubs bring personal stories and nostalgia into your work. Sometimes, I grab a stray button or a leaf stuck between pages—it’s fun, though slightly random.
These extras don’t have to clutter your collage. A small piece of patterned fabric might anchor a corner. A photo can be the centerpiece or a subtle background element. The key is to experiment with one or two additions to see what feels right. Don’t worry about having a perfect collection; often, the most meaningful collages come from materials you already have, or find unexpectedly.
Planning Your Collage Design
Before you jump into gluing pieces down, spend some time thinking about what you want your collage to say. Picking a theme helps with this—it gives your work focus and makes it more meaningful. Without a theme, you might end up with a random pile of images that don’t quite connect. For example, if you choose “nature” as your theme, you can gather leaves, flowers, and earth tones that speak to that idea. It’s like giving yourself a gentle direction, even if it’s broad or a bit vague.
Colors play a big part in how your message comes across. They set moods, create contrasts, or pull everything together. You don’t have to choose just one color palette, but it helps to narrow down your options. Sometimes I’ve started a collage thinking I’d use lots of bright colors, only to shift midway toward softer pastels because it felt more natural. Don’t be afraid to change your mind here—it’s part of the process.
Sketching a layout is a simple way to keep your ideas organized. You don’t need to be an artist. Just rough shapes or boxes showing where images might sit can save frustration later. Try moving pieces around on your sketch or scraps before you glue them. It’s easier to change your mind on paper than to peel glued paper off again. A quick sketch also helps when you’re working with overlapping shapes or patterns, so you can visualize balance and flow.
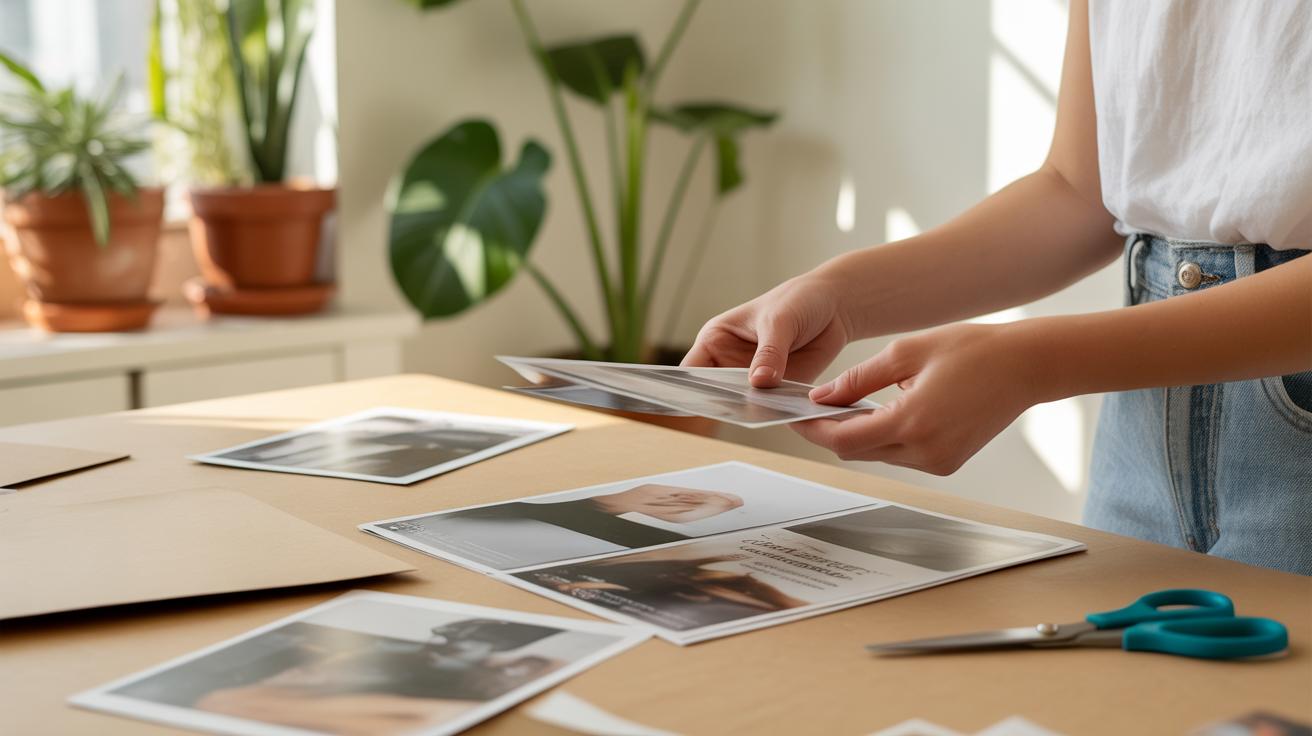
Cutting and Preparing Collage Pieces
When you start cutting your collage materials, the way you do it can really change how easy it is to arrange them later. I often find that setting aside a bit of time to cut with intention — not just quickly snipping whatever comes in front of me — makes the whole process less frustrating down the road. Try to think about shapes that will work well together, and don’t feel like you have to cut out every piece perfectly right away. Sometimes leaving a little margin or an interesting edge gives you more options.
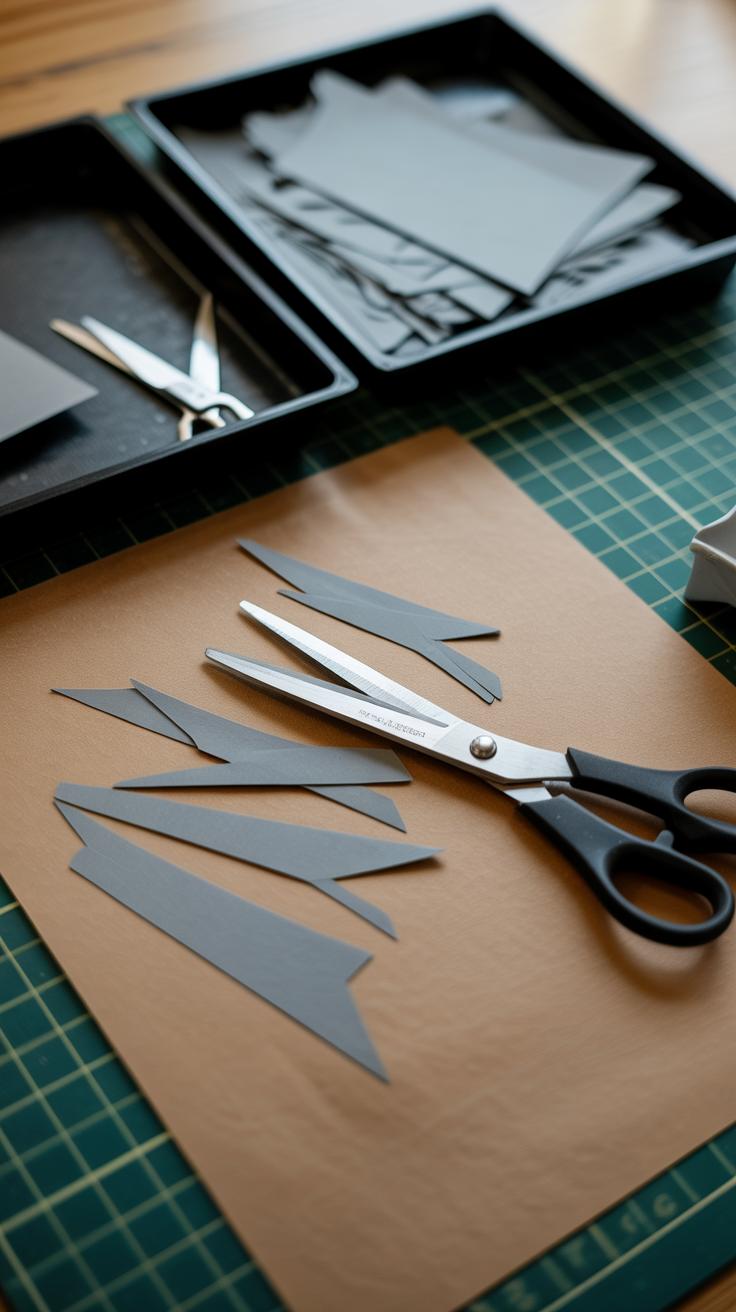
Using Scissors and Craft Knives
Scissors seem simple, but they require some care if you want clean shapes. Using sharp scissors can make a big difference. Dull ones just crush the paper, which might be fine if you’re going for a rough look, but it gets frustrating otherwise. When working with craft knives, always cut on a safe surface — a cutting mat works best. Hold the knife firmly, but don’t press too hard; a gentle, steady hand usually leads to neater edges. I find it helps to draw faint outlines before cutting, so you’re not guessing as you go. Slow and steady wins the race here, I think.
Tearing for Texture
Tearing paper by hand is something I wasn’t sure about at first. It felt a bit uncontrolled. But it adds a lot of texture and life to a collage. When you tear, the edges become softer, with little fibers showing — that can make your piece feel more natural and less rigid. You can try tearing towards or away from yourself to get different looks, or tear quickly for rough edges or slowly for smoother ones. Tearing doesn’t have to be perfect; sometimes the irregularity is exactly what catches the eye. It’s kind of liberating — letting go of perfect lines and seeing where the paper wants to break.
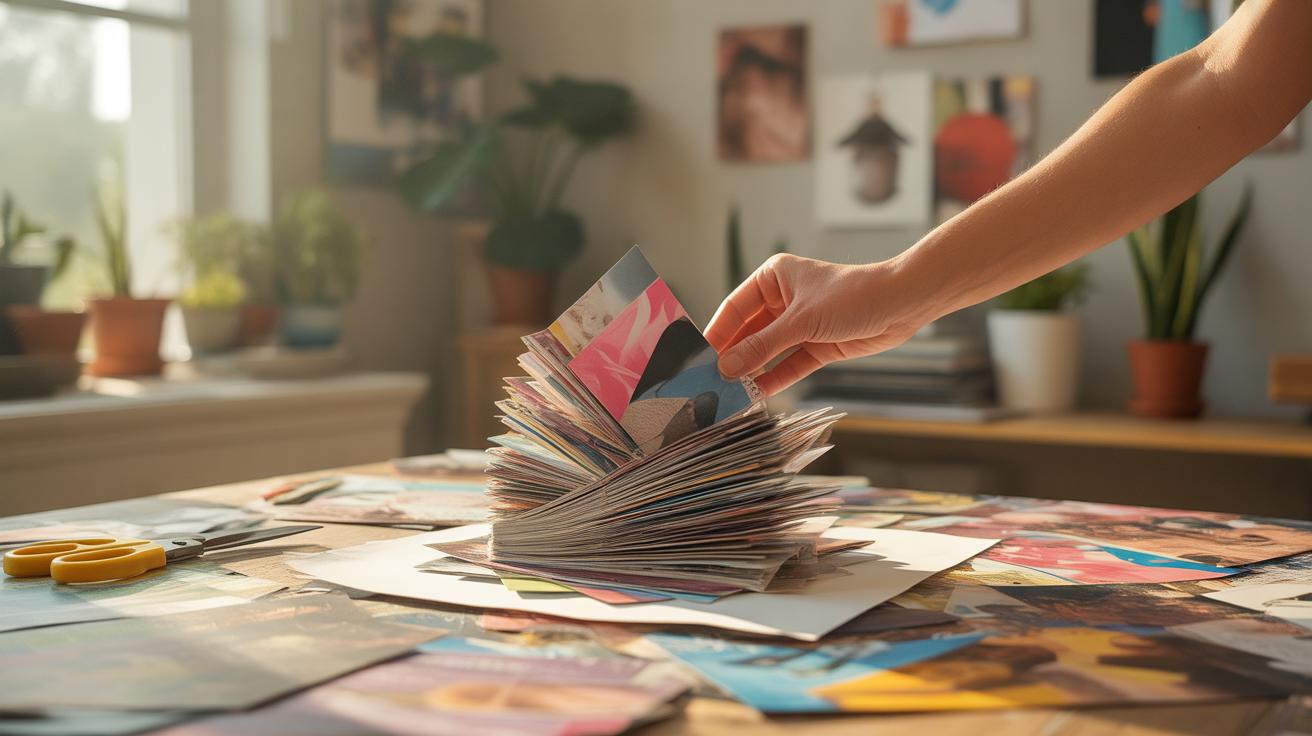
Arranging Your Pieces Creatively
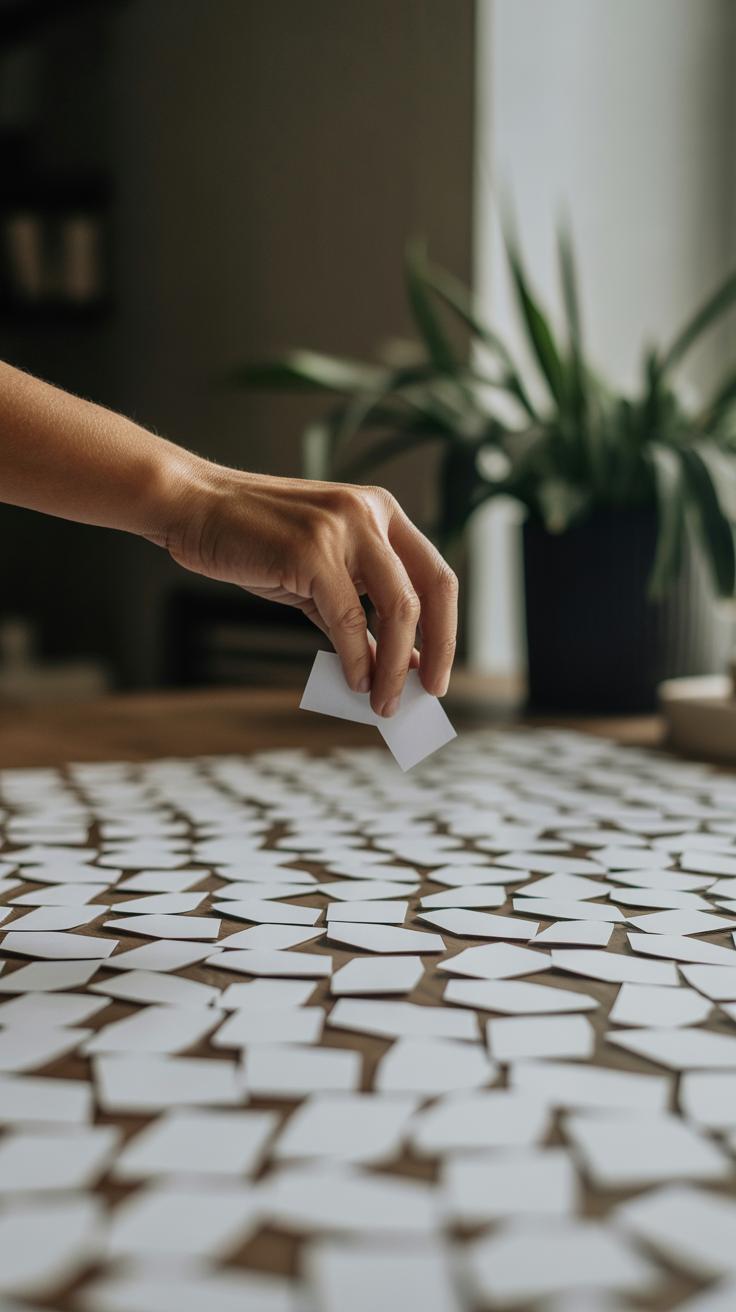
Before you start gluing, take some time to play around with your pieces on the base. Don’t rush—this step is where you figure out how everything fits together. Consider how the shapes interact: do they overlap just enough to keep it interesting, or are they spread too far apart? Sometimes, a little overlap can create a sense of movement or connection.
Balance comes into play here, but it doesn’t mean everything has to be perfectly symmetrical. You might place a large piece on one side and balance it with several smaller pieces on the other. That unevenness can actually make your collage more engaging. Try moving things around—shift pieces slightly up or down, rotate them a bit. It’s surprising how small changes make a big difference in the overall feel.
Think about layering too. Placing some pieces on top of others adds dimension, making the collage less flat. You could layer translucent paper over bold prints to soften certain areas, or tuck smaller elements beneath bigger ones for a peekaboo effect. Don’t be afraid to experiment and remove pieces before anything gets glued down. The goal is to create an arrangement that feels alive and invites closer inspection.
Balancing Colors and Shapes
When you arrange, pay attention to where your colors sit. It’s tempting to group all blues or reds together, but scattering those colors across your base often creates a more balanced look. This doesn’t mean you have to distribute colors evenly like a checkerboard—sometimes an unexpected splash in a corner can pull the eye in a compelling way.
Likewise, consider shapes. Round forms next to sharp angles produce contrast but can also clash if too jarring. Try placing a few shapes of similar size but varying color here and there, so the eye flows rather than stops. If you notice one area feels heavy—maybe too dark or dense—think about spreading out those elements or adding lighter ones nearby. I often find stepping back after arranging helps spot these subtle imbalances better.
Layering Elements
Layering is more than just piling pieces on top of each other. It’s about creating depth, texture, and sometimes surprise. Thin layers, such as tissue paper or delicate magazine pages, can sit beneath sturdier cutouts, adding complexity without bulk. You might also layer patterns to enrich the visual story.
Try overlapping edges just enough to reveal what’s beneath—that hint of what’s hiding can be intriguing. Sometimes a piece partially hidden creates curiosity, inviting viewers to look longer. Also, layering can guide the viewer’s gaze, from foreground to background, making your collage feel less static. While it’s tempting to maximize layering, too many layers can cause confusion or bulk, so trust your eye on when it feels right.
Have you noticed how a simple shift in layering can change the mood of your collage? It’s a small step but often a rewarding one.
Gluing Techniques for Lasting Collages
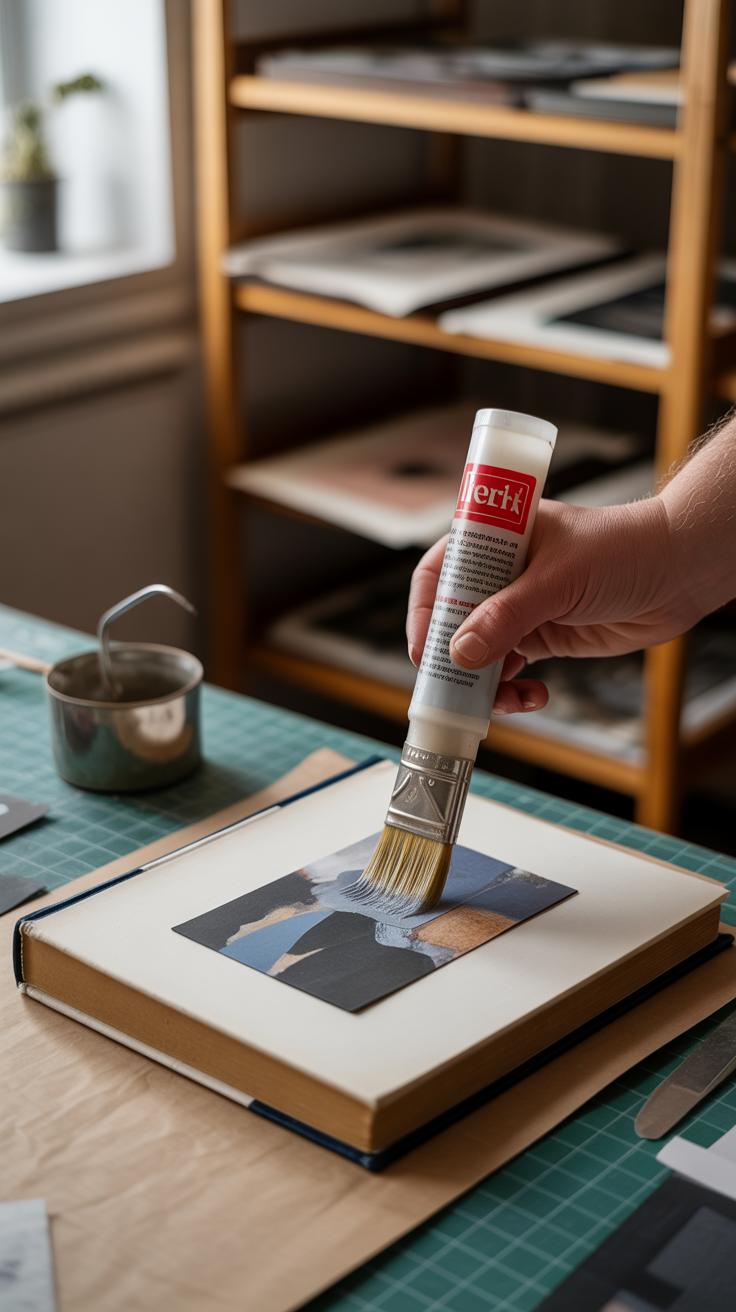
Choosing the right glue can feel a bit tricky, since each type behaves differently and suits various collage materials. For quick fixes or paper scraps, a glue stick usually works fine—it’s less messy and dries fast. But if you want stronger hold, especially on heavier papers or fabrics, liquid glue gives you more grip, though it can sometimes cause bubbling if applied too thickly. Decoupage medium is a great middle ground; it acts like glue and a sealant, making your collage durable and glossy. I’ve found that it takes a bit more patience but pays off well if you’re going for something that lasts or maybe will be handled often.
Applying glue smoothly is where many beginners stumble. If you just slap it on, wrinkles and bubbles pop up, which can be frustrating. One trick is to use a small brush or a foam applicator to spread glue thinly and evenly—think of it as painting the surface. Push the paper down gently from the center outward to avoid trapping air. Sometimes I even place a sheet of wax paper on top and press with a book to flatten everything once glued. It’s a bit meticulous, but this extra care prevents wrinkling and helps your collage stay intact longer.
Adding Paint and Details to Your Collage
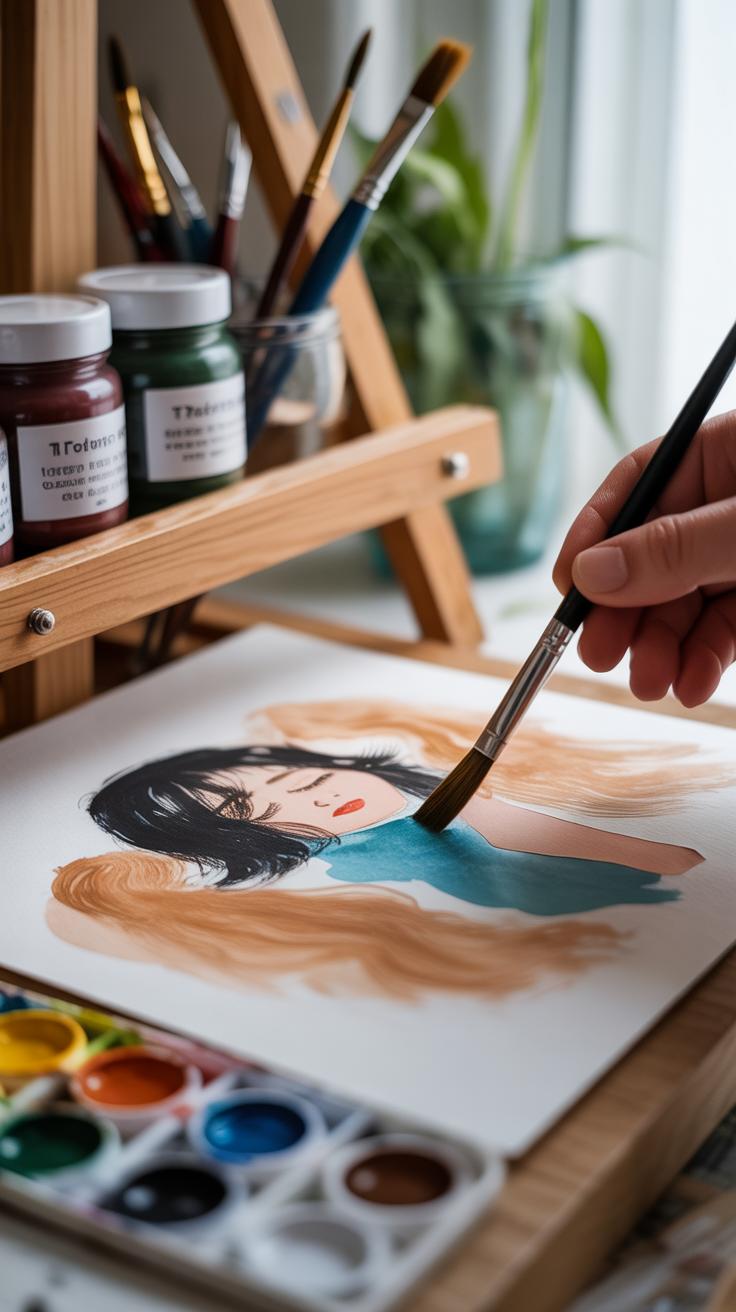
Once your collage pieces are firmly glued down, adding paint can bring new life and depth to your work. You might hesitate, thinking paint will ruin the delicate paper edges, but if you apply it carefully, it can blend beautifully without damage. Try using a dry brush or a stiff bristle brush to softly dab paint on the surface—no dousing here. Thin layers work best; you don’t want to saturate the paper and cause warping.

Another method is to add small, intentional paint marks to highlight certain areas. Maybe a splash of color behind an image or subtle shadows around a cut-out. These touches create texture and can draw attention in ways that glued pieces alone don’t.
Besides paint, simple lines with markers or pens often make a surprising difference. Outline your collage elements lightly or add quick doodles between sections. Sometimes, just a sharp black line around a photo or torn paper shapes can “pop” your entire art piece.
Experiment with different pen widths. I found that mixing thin and thick strokes adds a bit of spontaneity. Don’t worry if lines aren’t perfect; a little unevenness gives character. It’s those imperfections that often make your collage feel more alive and less mechanical.
Drawing over collage also allows you to emphasize details you may have missed during cutting or layering. For instance, tracing textures in fabric or enhancing shadows around faces can create unexpected depth without complicated techniques. Have you tried adding hand-drawn patterns or shading? It might feel a bit odd at first, but it’s worth exploring.
Combining paint and doodling opens plenty of doors to personalize your art—and sometimes, just a few touches can change a basic collage into something quite eye-catching.
Finishing Touches and Protecting Your Work
Using Sealants
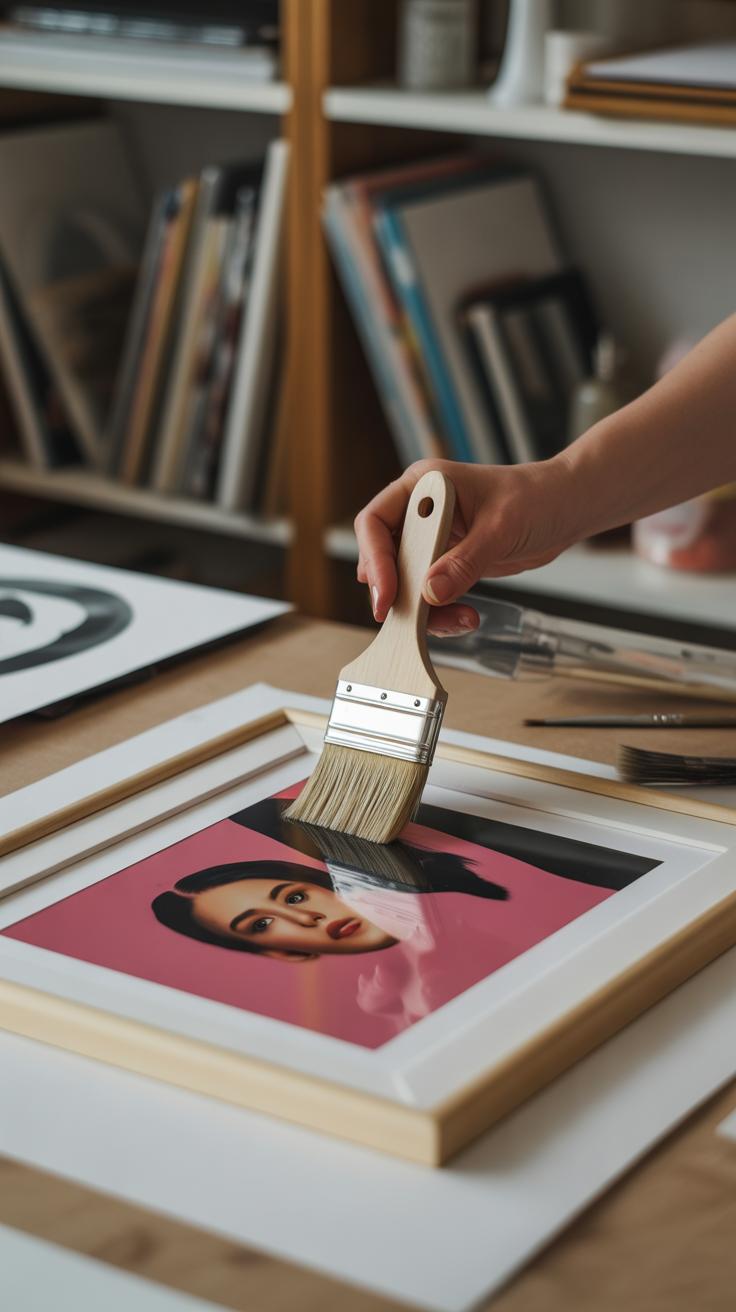
Sealants act like a shield for your collage, helping to protect it from dust, moisture, and fading. Think of them as a thin, clear layer that holds everything together and keeps it looking fresh. You can find spray sealants and brush-on versions, each with slightly different effects. Spray sealants are handy for covering large areas evenly without disturbing delicate pieces. Brush-on sealants give you more control but risk smudging if applied too thickly.
When using a sealant, make sure your collage is completely dry first. Try spraying or brushing in thin, even coats—several light layers usually work better than one heavy one. And yes, working in a well-ventilated space is a smart move, especially with spray types. It might feel tempting to rush, but patience here really pays off.
Framing and Displaying
Displaying your collage properly can extend its life and make it enjoyable to revisit. Frames do more than just look nice—they protect against physical damage and environmental changes. For delicate or layered collages, use a shadow box frame that provides space between the glass and artwork, preventing it from getting crushed. If framing behind glass, consider acid-free backing to stop yellowing over time.
Where you hang your piece matters, too. Try to avoid direct sunlight or humid spots which can cause colors to fade or paper to warp. Sometimes a simple frame with a matte finish can reduce glare and make details pop. And don’t underestimate how often you’ll want to change up your display—collages can be surprisingly versatile when you switch frames or locations every now and then.
Common Mistakes and How to Avoid Them
Typical Beginner Mistakes and How to Fix Them
Many beginners can get caught up in the excitement of collage and make some familiar errors. Over-gluing is one of the most common — slathering glue everywhere can soak your paper and warp it. Try using a glue stick or a thin layer of liquid glue spread with a brush instead. Less is often more here.
Poor arrangement is another trap. It’s tempting to just start sticking without much thought, but that usually leads to a cluttered or awkward composition. Take your time to play with the placement before gluing anything down. Move pieces around, see what balances and what feels off. Your eye will thank you.
Using the wrong materials can also ruin your project. Some papers tear easily, others might not stick well. Experiment with different types, but if something doesn’t work, don’t force it.
Preventing Wrinkles and Bubbles
Wrinkles and bubbles are glue’s way of showing it wasn’t quite right. If glue pools in one spot, the paper won’t settle flat. To avoid this, spread glue evenly and thinly. Apply glue to the back of your pieces instead of the base, especially if you’re layering.
Try pressing your collage under a heavy book or using a brayer gently to smooth surfaces as you go. It’s a small step but makes a big difference if you want a neat result.
Planning Before Gluing
I can’t stress enough how much planning saves headache later. Sketch a rough layout or assemble your cutouts without glue first to see how they interact. You might discover that some pieces overlap too much or that the colors clash unexpectedly.
Imagine the final look several steps ahead. It might feel slow but it prevents those “Oh no, I wish I’d…” moments after everything sticks down. Would your collage benefit from more breathing space? How does the balance feel now? Thinking about these questions before gluing can really pay off.
Inspiring Collage Ideas to Try Yourself
Nature Inspired Collage
Working with nature-themed elements can give your collage a calm, organic feel. Start by collecting images from magazines, books, or prints that show leaves, flowers, animals, or landscapes. You might even include actual textures like dried leaves or small pieces of bark to add a tactile dimension. Mixing these natural visuals with bits of textured paper can bring depth to your work.
Try layering different shades of green and brown—sometimes it’s okay if things overlap awkwardly. There’s a kind of charm in that. Play with arranging these materials so they loosely follow the shapes you see in nature, but don’t feel bound to replicate exact forms. Do you want to create a forest canopy, or maybe just a cluster of wildflowers? The choice is yours, and experimenting with different layouts can spark ideas you didn’t expect.
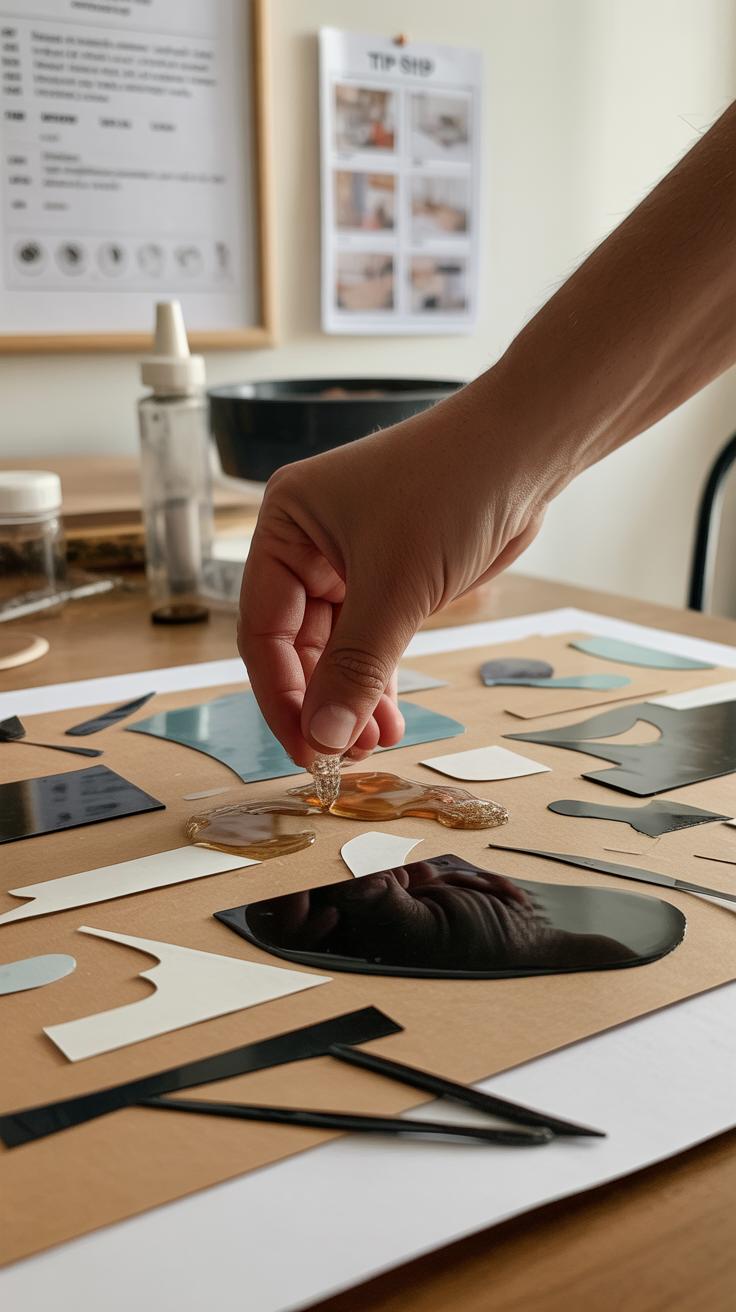
Abstract and Colorful Designs
If you lean toward something less literal, abstract collages invite freedom. Grab colorful paper scraps, magazine cutouts, or even bits of fabric. Focus on shapes—circles, triangles, irregular forms—and clash or coordinate colors. Don’t worry about making “sense”; the point is often to surprise yourself.
Try considering contrast: put a bright red next to a pale blue, or scatter tiny shapes across a large, solid background. What if you limited yourself to only three colors? Or what if you let chaos rule and glued pieces randomly? Many find this approach refreshing because it removes pressure—just play. Some of my best pieces came from what felt like accidents or happy mistakes.
Both nature-inspired and abstract projects have a role in building your skills. You may find yourself drawn to one style, or mixing both over time. Which sounds more appealing today? Perhaps trying both could unlock unexpected ideas.
Conclusions
Collage is a creative and approachable art form that welcomes beginners. You don’t need fancy tools or skills to start making beautiful pieces. Using simple materials and learning some basic techniques opens many doors to self-expression and creativity.
We covered many ways to put together a collage and showed you how to plan, arrange, and finish your work. With practice, your collages will stand out and reflect your own style. So gather your materials, try different ideas, and enjoy the process of turning simple pieces into impressive art.


