Introduction
Collage making is a creative art form where different materials are assembled together to create a new and interesting artwork. You don’t need special or fancy tools to get started. Using things around your home, such as paper, magazines, glue, and scissors, you can begin making your own collage. This art form has been popular for many years and offers a fun way to express your creativity.
In this article, you will learn how to gather simple materials, understand basic techniques, and explore ideas to create collages. We will guide you through easy steps to spark your creativity and help you enjoy making art with items you already have. Let’s dive into the world of collage making and see how simple it can be to start.
Understanding What Collage Making Is
The Art of Combining Different Pieces
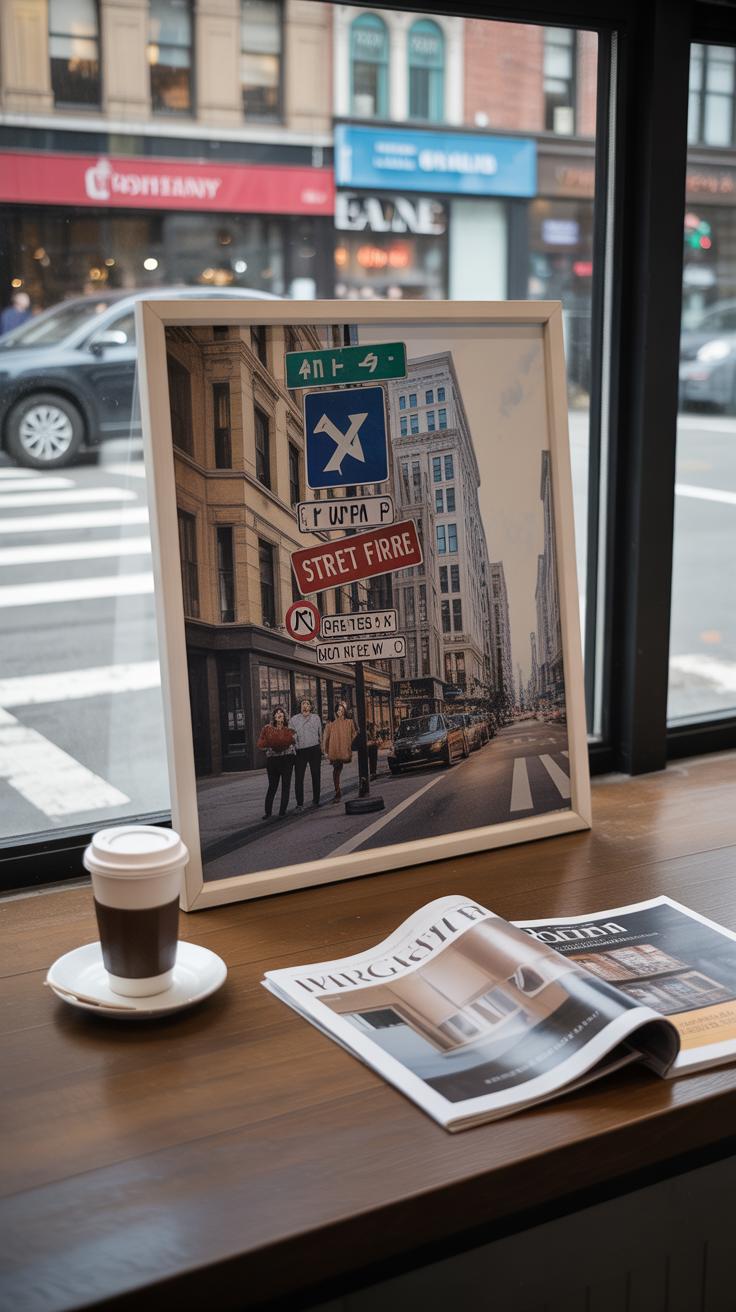
Collage making is simply about putting together different bits and pieces to form a whole image or design. You take scraps of paper, photos, fabric, or even natural materials like leaves and stick them onto a surface, like paper or cardboard. It’s kind of like assembling a puzzle, but you get to decide how the pieces fit and look. What makes collage interesting is how these various elements, which wouldn’t normally belong together, create something new and, sometimes, surprising.

When you think about it, collage is less about perfect matching and more about exploring contrasts or unexpected matches. You could paste a torn magazine page next to a handwritten note or a dried flower next to a ticket stub. The chance to mix textures and images gives collage its charm and endless variety. It’s a creative playground without strict rules.
A Brief History of Collage Art
Though collage might sound modern, it actually started over a century ago. Artists like Pablo Picasso and Georges Braque brought collage into the spotlight around the early 1900s. Before that, the idea of sticking paper cutouts to a canvas wasn’t really “art” in the traditional sense. But these pioneers saw potential in combining everyday materials to question what art could be.
Collage gained popularity within Cubism and later Dada movements, movements that enjoyed shaking up artistic conventions. By mixing newspapers, fabric, and painted elements, artists challenged viewers and redefined creativity. Since then, collage has become a widespread technique embraced by both professional artists and hobbyists. In a way, it invites everyone—yes, even you—to explore art without needing fancy tools or skills.
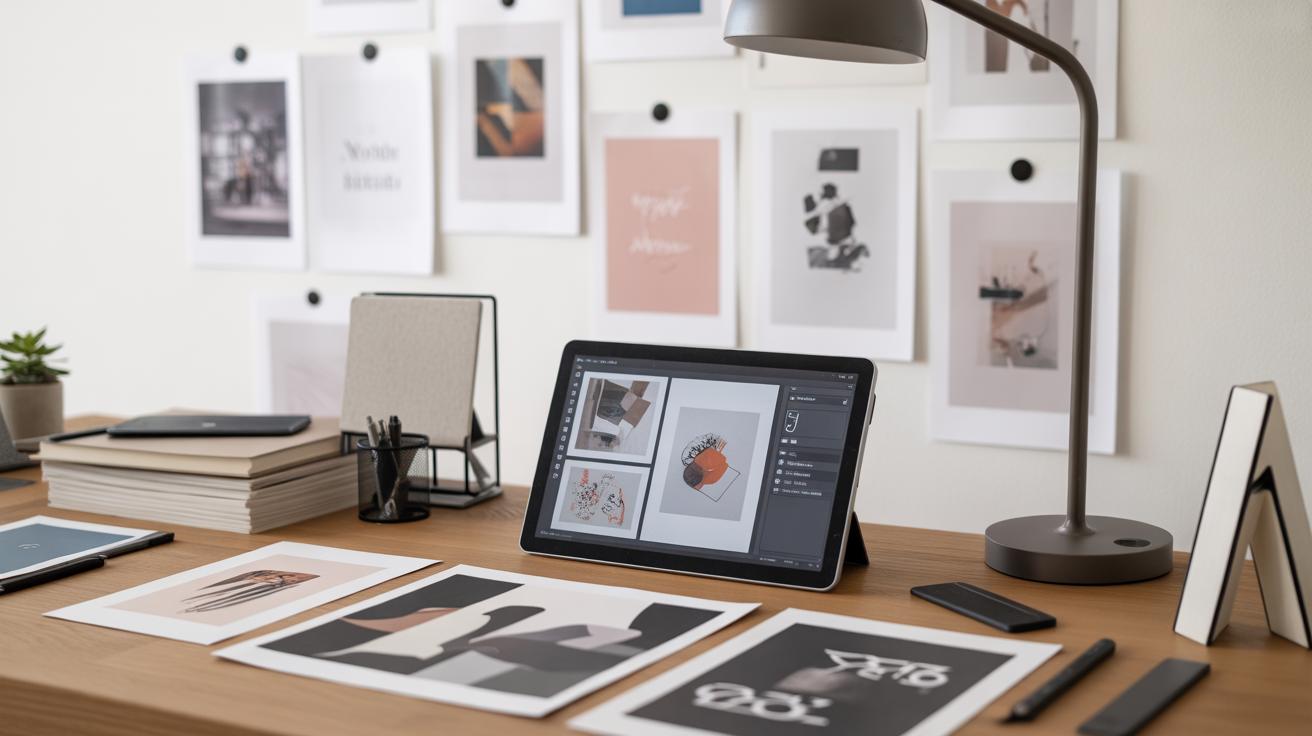
Choosing the Right Materials at Home
Finding Paper and Images Around You
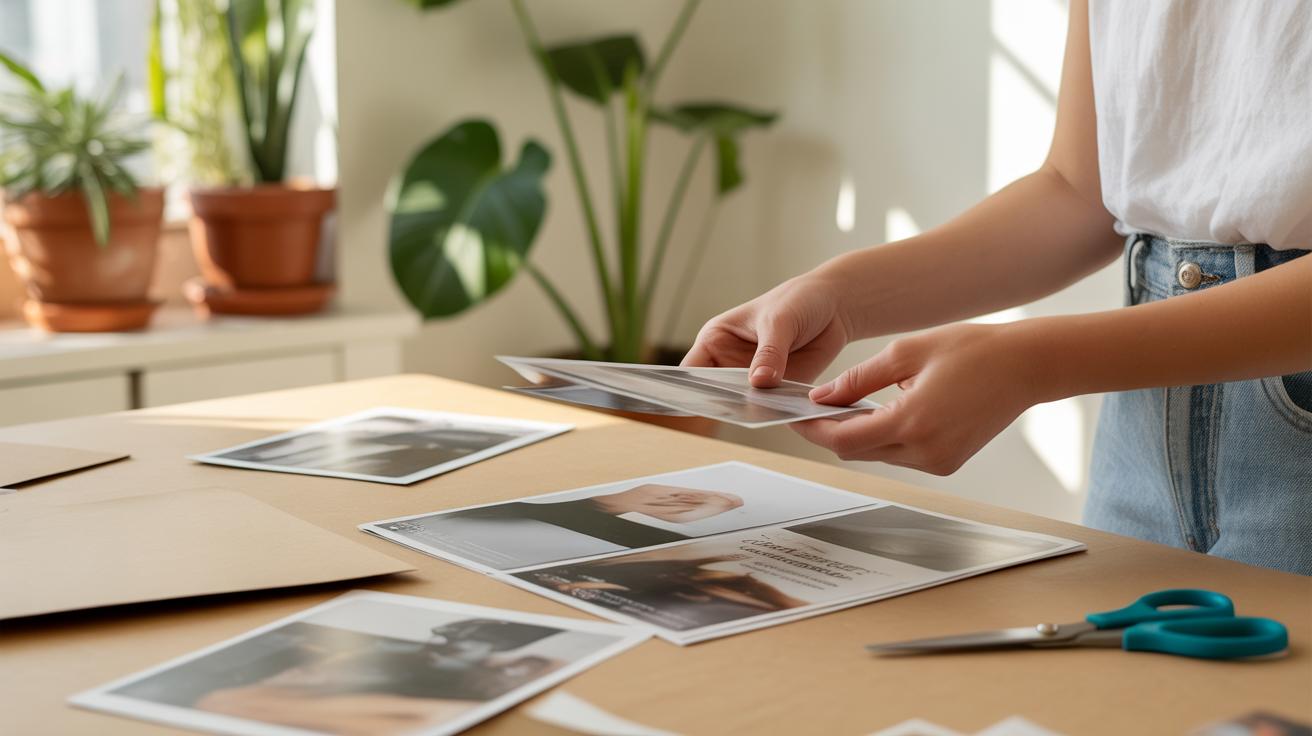
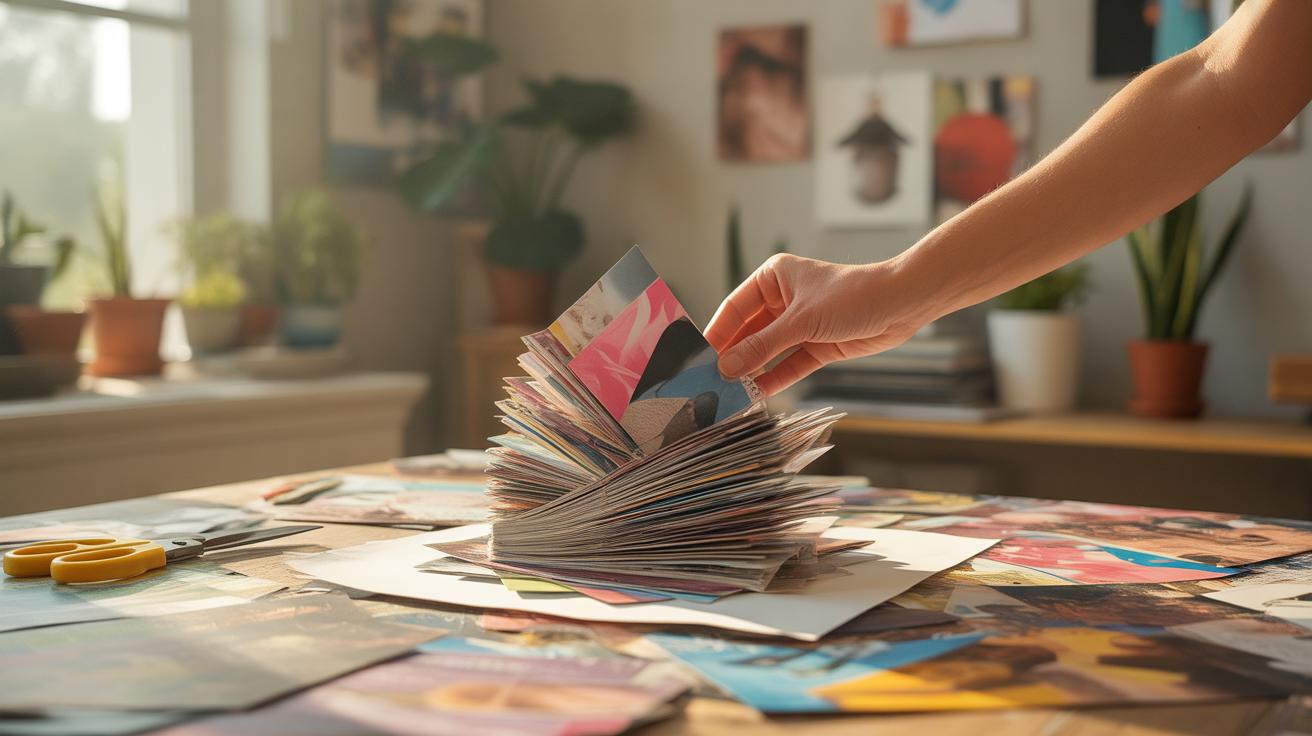
You don’t need to hunt for fancy supplies to get started with collage making. Look around your home—there’s plenty to work with. Newspapers, for instance, offer a mix of text, headlines, and images that can add interesting textures. Magazines often have glossy pages filled with vibrant photos or patterns. Even old catalogs or mailers might have bits worth cutting out.
Colored paper, gift wrap, or scrapbooking paper can bring pops of color. Don’t underestimate the possibilities with scrap paper lying around the house. Sometimes an unexpected texture or shade can become a focal point or a background.
Think about what kinds of images or words catch your attention right now. Are there pages with patterns, faces, or maybe shapes? These little everyday items can be surprisingly rich for collage art. You might find yourself flipping quickly through a magazine, unsure what you want, then suddenly spotting a perfect piece.
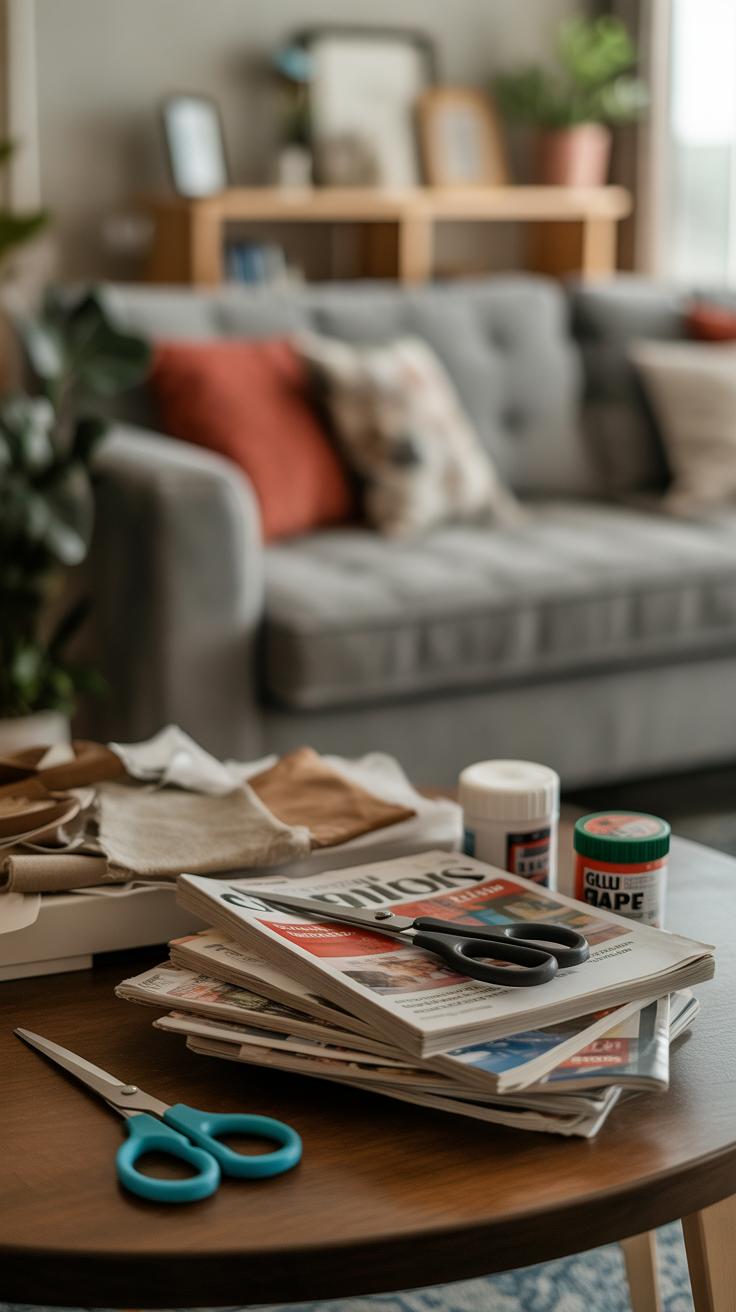
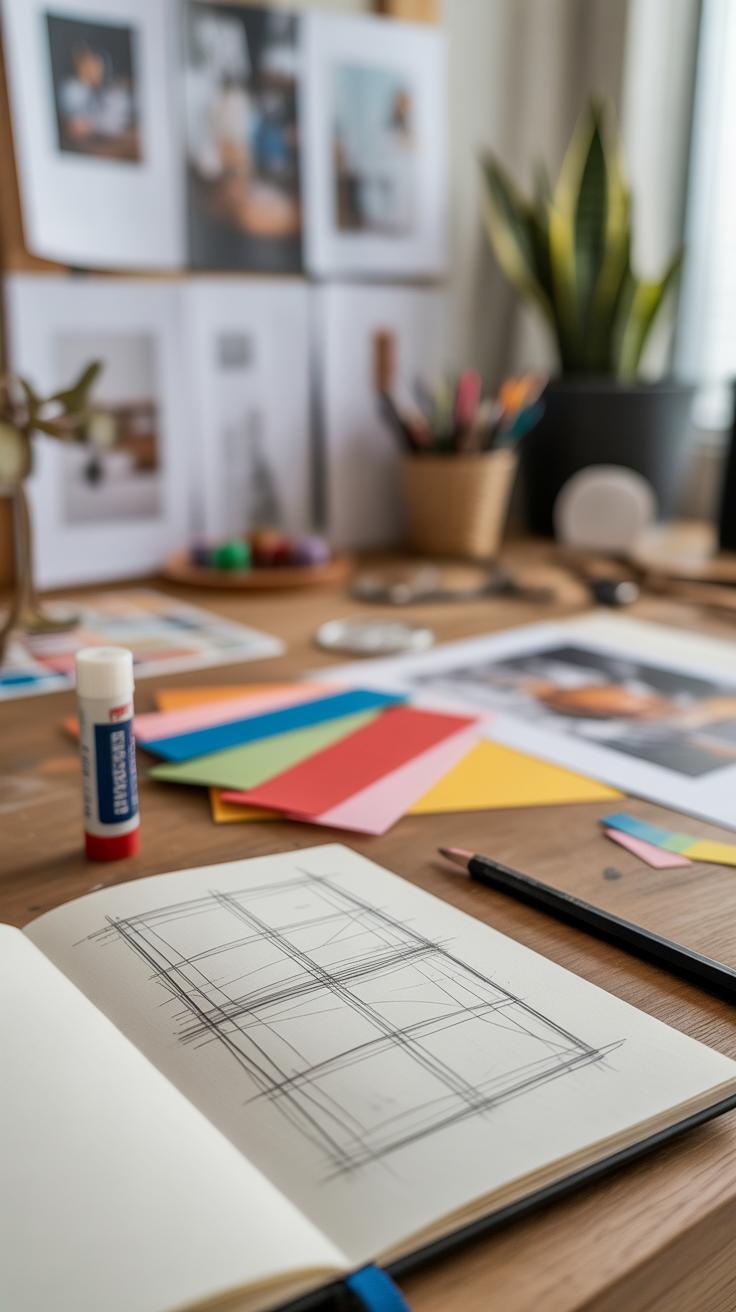
Basic Tools You Already Have
For putting it all together, you probably own all you truly need. Basic scissors are enough—you don’t need anything special. If you have fancy craft scissors, fine; if not, regular ones do the job.
Glue sticks work well since they’re tidy and easy to control, but if you only have a bottle of white glue, that’s fine too; just be careful not to overdo it. Tape can help, especially if you want a quick fix or a transparent look on edges, though most prefer glue for a cleaner finish.
Sometimes, placing pieces before attaching them helps. You can experiment by arranging bits on a surface and moving them around. If you don’t have a cutting mat, use a flat, sturdy surface—like a notebook or a thin cardboard piece. Nothing needs to be perfect for this part. You learn as you go.
Planning Your Collage Design
Choosing a Theme or Idea
Before you start gluing pieces down, take a moment to think about what you want your collage to express. This could be anything from a mood—like calmness or chaos—to a subject that catches your interest, such as nature, memories, or even abstract concepts. Sometimes, a simple feeling you want to capture can guide your choices better than a concrete image. You might find it helps to jot down a few words or sketch a rough idea, or just keep it in your head as you work. If you’re unsure, think about what’s been on your mind lately. Do you want your collage to reflect happiness, confusion, or maybe something more subtle, like nostalgia? Picking a theme doesn’t have to be rigid, though. It can shift as you arrange your pieces, so don’t feel stuck early on.
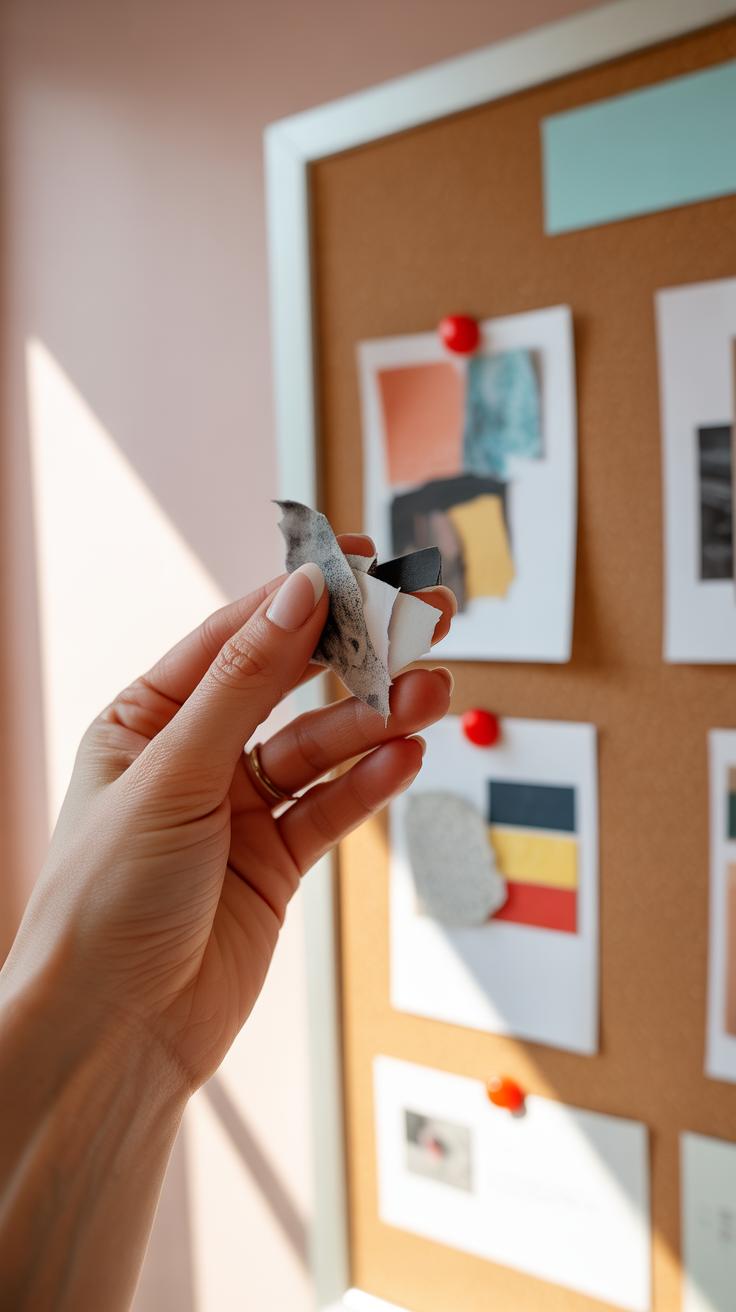
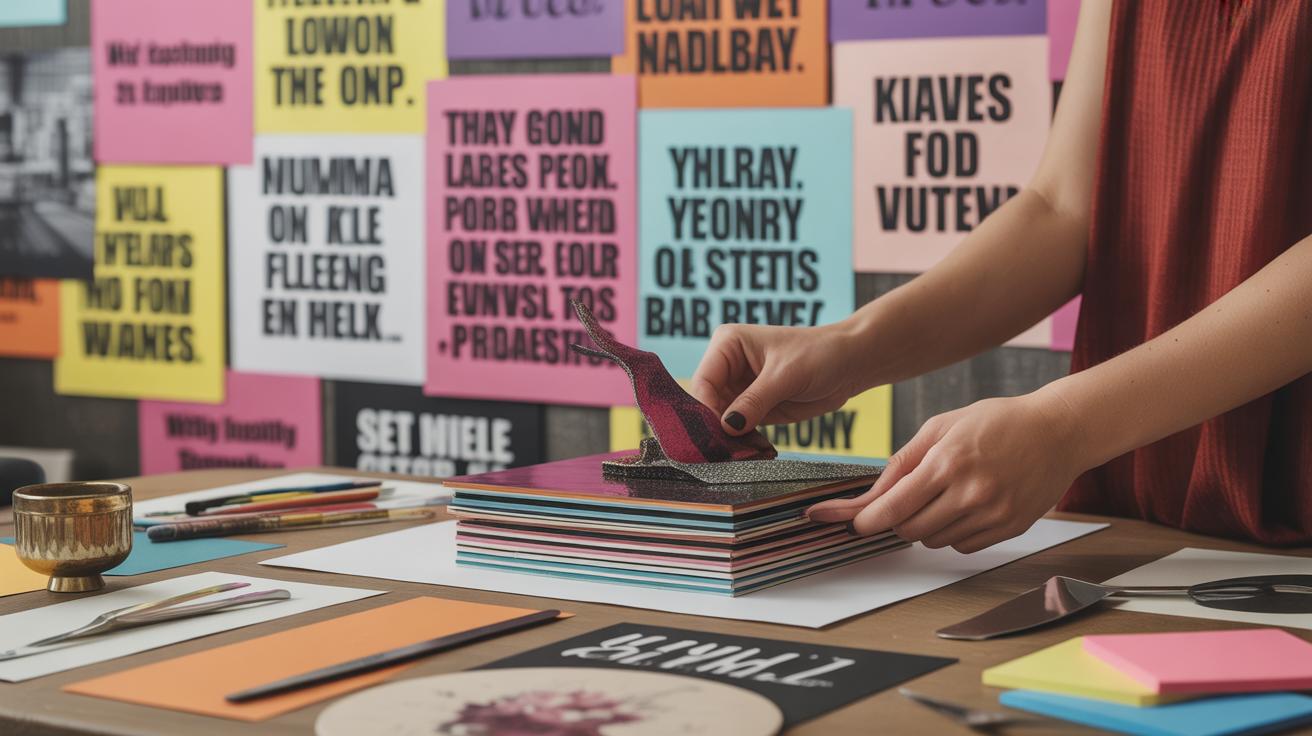
Arranging Your Pieces
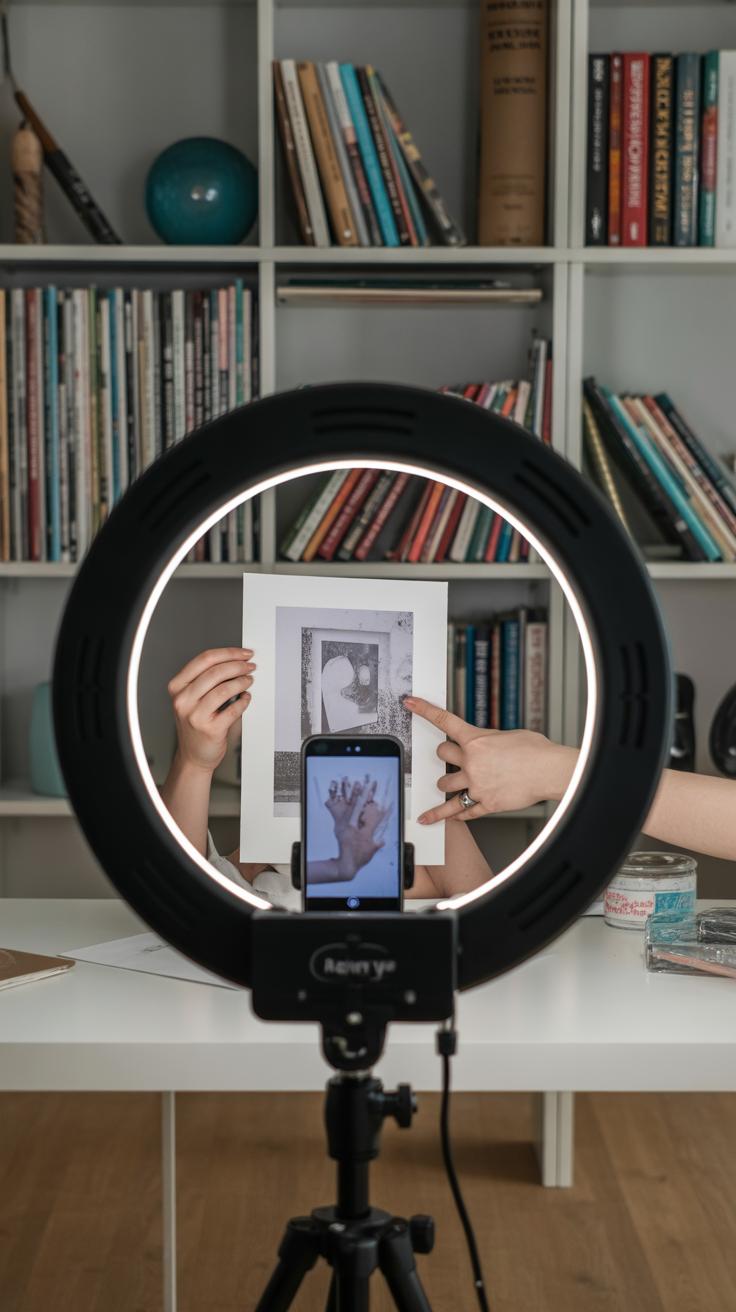
Sorting through your materials is like organizing a visual puzzle. Lay out all your pieces and look at them without sticking anything just yet. Try grouping items by color, texture, or size. You might be surprised how moving a piece slightly changes the overall feel. Don’t be afraid to overlap parts or experiment with different orientations; sometimes a piece that looks off in one spot fits perfectly somewhere else. One trick I find helpful is to take photographs as you go; viewing the layout through your phone screen can reveal new connections or clashes you missed in person. Keep in mind, you can always rearrange before making it permanent. Trust your instinct, but also test what feels balanced, even if that balance isn’t symmetrical or neat.
Starting Your Collage Step by Step
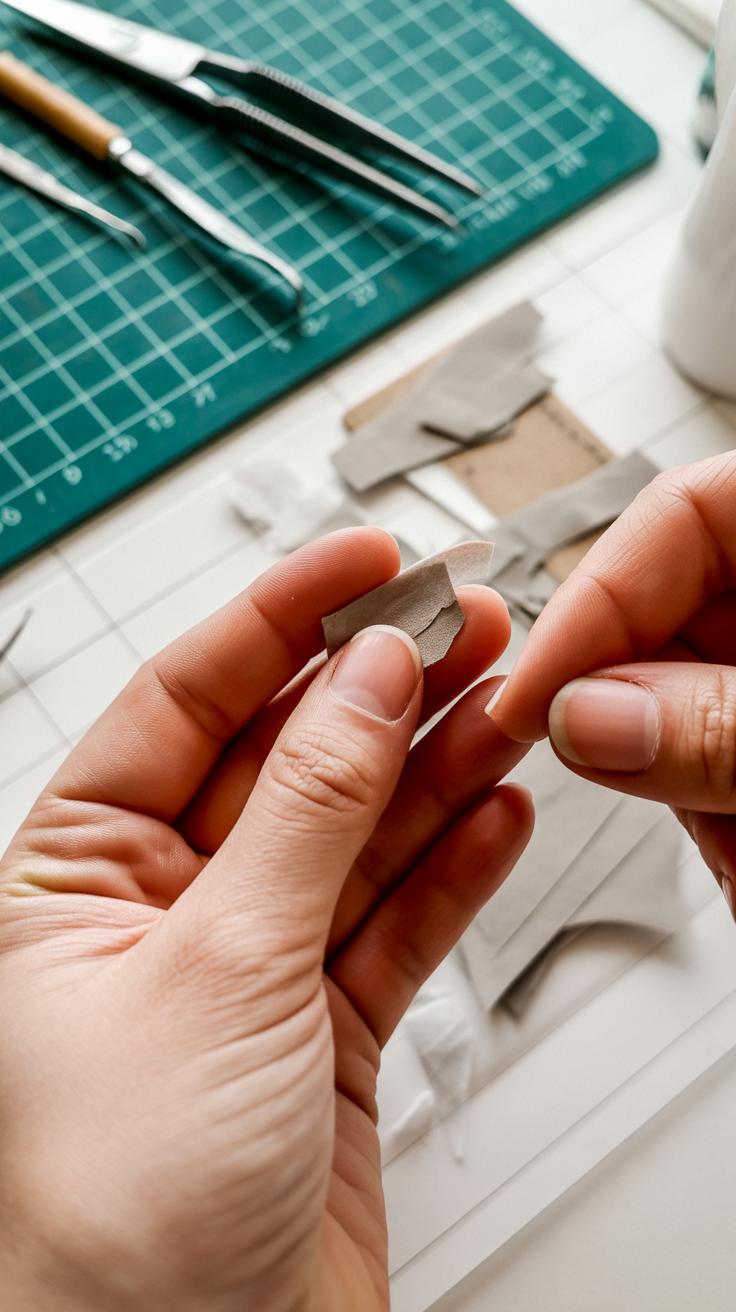
Cutting and Preparing Your Materials
Take your time when cutting out images and papers. You don’t need to rush, even if the pieces seem simple. Use scissors that feel comfortable in your hand—if you don’t have craft scissors, any sharp pair will work fine, just keep them clean. When cutting, try to follow the shapes loosely to avoid overly sharp edges; these can be hard to glue neatly later on.
Consider cutting with small snips instead of big cuts—it gives you more control. If you’re nervous about safety or precision, you could use a craft knife and cutting mat, but really, scissors do the job well for beginners. Keep scraps nearby in case you want to reuse small pieces; sometimes a tiny corner fits perfectly in your design.
It might feel tedious, but prepping the pieces well changes how the collage will come together. Neatly cut edges prevent wrinkling and bubbling when gluing. Also, think about whether you want clean cuts or rough, torn edges—both give different looks, so play around to find what suits your vision.
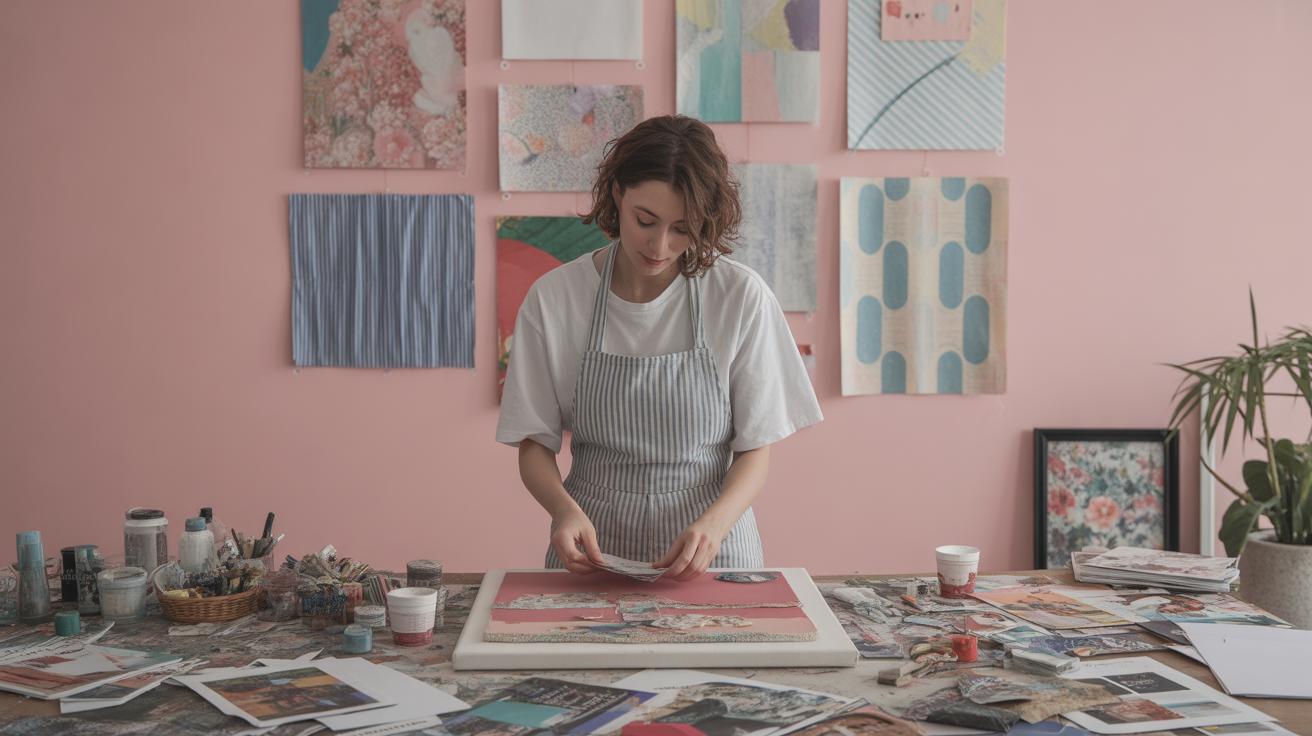
Gluing and Assembling Your Collage
Start by arranging your pieces loosely on your base without glue. Move objects around, seeing how they layer and fit. Once satisfied, it’s time to stick them down.
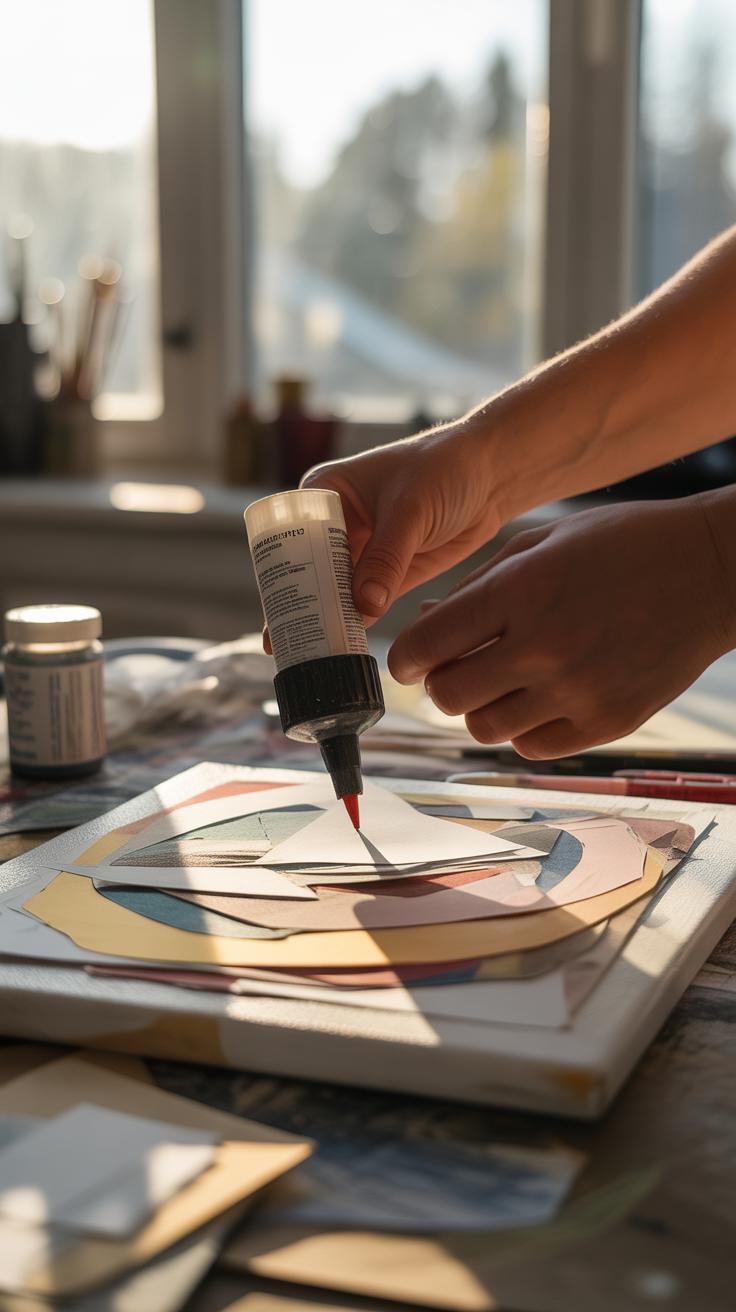
Use glue sparingly. Too much glue can cause wrinkles or make your paper soggy. A thin, even layer is your friend here—either a glue stick or white glue diluted with a little water works well. Apply glue to the backs of pieces, then gently press them onto your base.
If you notice bubbles or wrinkles after placing a piece, don’t panic. Smooth gently from the center outward with your fingers or a clean scrap of paper. Some imperfections add character, but if you want neatness, this helps a lot.
Work from the background to the foreground when layering. Larger pieces go first; smaller ones can overlap later to add depth. Don’t worry if some edges lift slightly at first—they usually settle down as the glue dries.
One thing I find helpful is to let the collage dry under a book or flat surface for a while. It keeps everything pressed nicely without sticking to anything else. Waiting might test your patience, but trust me, it’s worth it.
Adding Texture and Interest
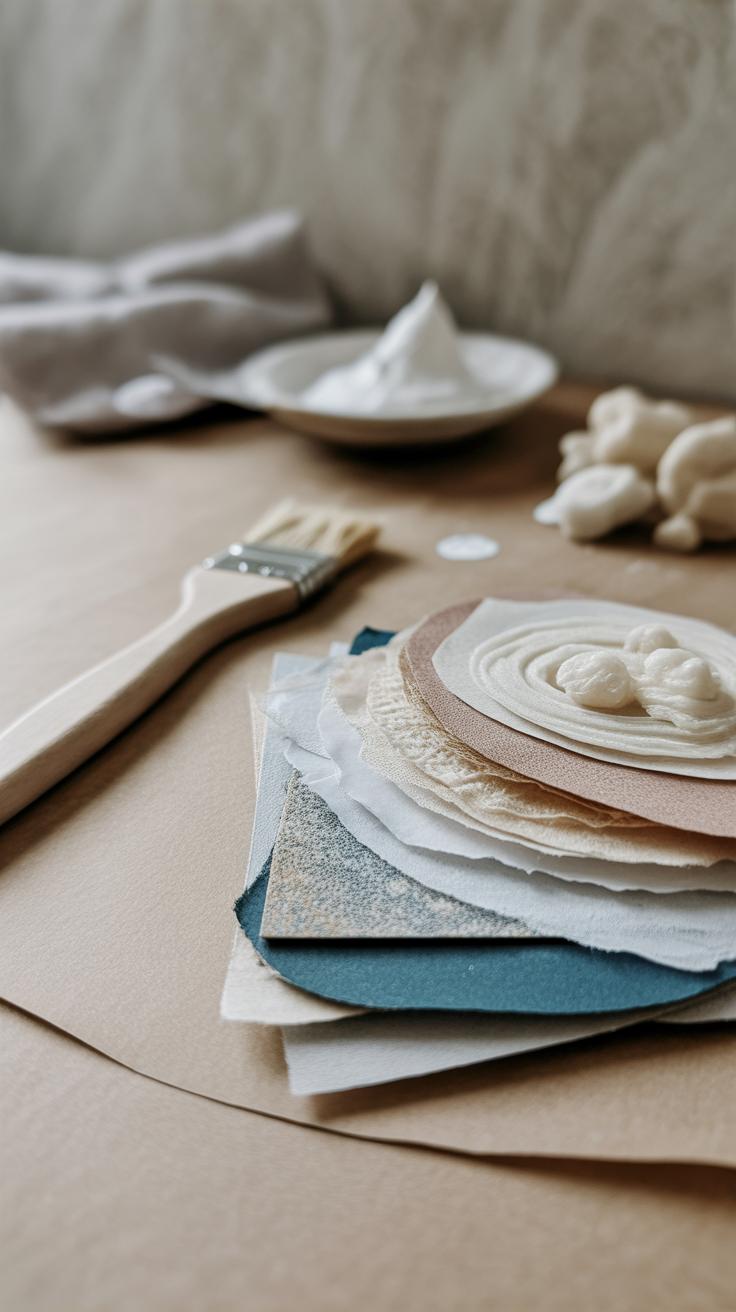
Texture can make your collage stand out by giving it a feeling beyond just what the eye sees. Using different types of paper can change how your work looks and how it almost invites touch. Thin papers like tissue or tracing paper create a delicate, translucent effect that shifts light. Thicker papers, say cardstock or watercolor sheets, add weight and depth. Shiny papers—magazine cutouts or wrapping paper—catch attention with their subtle reflectiveness, while rough papers such as handmade or recycled stock add grit and a certain rawness.
Think about layering these papers to play with opacity and shadows. It’s not just about color but also about how your collage feels when you run your fingers over it. Sometimes I find that mixing smooth and rough papers in one piece makes it more engaging. It’s like the surface tells an extra story.
Beyond paper, don’t hesitate to include small scraps of fabric, ribbons, or even buttons and beads. Fabric can give a soft texture or even a slight bulk that stands out from flat layers. A little ribbon tucked into edges might add a surprising softness or shine. Small objects stick out visually and physically, almost inviting curiosity. What if a piece of lace peeks from behind a photo? Or a thread unwinds just a little? These choices add personality and tension.
Ask yourself: can this collage tell a story not just through images but through how it feels? Maybe textures you choose could reflect the mood or theme you want to capture. Experimenting with materials you already have might reveal unexpected combinations that make your work really yours.
Troubleshooting Common Problems
Dealing with Messy Glue
Glue spills can be frustrating—especially when you don’t have special tools to help control them. One simple way to manage this is to use a small brush or an old, inexpensive paintbrush instead of directly squeezing glue from the bottle. That way, you apply just what you need. Or, if you only have glue sticks, rub them lightly so the glue layer stays thin and less prone to smudging.
Keep a damp cloth or paper towel nearby to wipe any excess glue right away. Glue tends to dry quickly and then becomes harder to clean up. Sometimes I forget this and end up with stubborn, sticky spots on my workspace. Lining your work area with scrap paper can also catch drips before they become a problem.
And if glue does drip where it shouldn’t, don’t panic. You can often rub off excess while it’s still wet with your finger or wipe gently before it dries completely. Still, it’s a bit of trial and error, isn’t it? You learn as you go.
Fixing Placement Mistakes
Putting a piece down in the wrong place is almost inevitable when you’re starting out. But removing glued pieces isn’t always straightforward, especially without special solvents. If the glue is still wet, you might carefully lift the edge with a dull knife or your fingernail and gently peel it off. Sometimes the paper tears—that’s just part of the process, sadly.

If the glue has dried, try softening it by lightly dampening the area with a tiny bit of water on a cotton swab. It won’t always work, but it might loosen the adhesive enough to reposition the piece without ripping it.
And don’t overlook layering. Instead of removing, you can sometimes cover misplaced parts with another element in your collage. I’ve patched sloppy placement this way many times. The trick is to think of mistakes as opportunities rather than wrecks. Still, do you ever feel like you mess up more when you try to fix things? It’s kind of a tricky balance.
Inspiration From Everyday Life
When you start making collages, your daily surroundings can become a surprising source of ideas and materials. Sometimes, the most interesting shapes or textures are right in front of you—on a packet, a torn magazine page, or even a crumpled receipt. It’s easy to overlook these things, but giving yourself permission to collect and experiment with them can spark creativity in unexpected ways.
Think about moments or objects that catch your eye during a normal day. Maybe a pattern on your coffee cup lid or the way a shadow falls across your keyboard. These details can become the foundation of your collage, nothing fancy needed. Don’t rush to overthink it; try grabbing whatever feels visually appealing, even if you’re unsure why.
Collecting Memories and Photos
Personal photos and keepsakes carry a meaning that no random image can match. Using them in your collages creates something deeply yours. Go through old photo albums or digital prints you have lying around—those snapshots from birthdays, vacations, or even everyday moments.
Incorporate ticket stubs, postcards, or notes. They can anchor your piece emotionally without needing complicated tools. You don’t have to create a perfect story; just layering memories helps the collage resonate. Sometimes, the value lies not in flawless composition but in connection.
Finding Color and Shapes in Nature
Stepping outside can give your collage a fresh perspective. Look at leaves, bark, or stones—there’s a variety of colors and textures waiting there. Nature won’t offer perfectly symmetrical shapes, which might actually be a good thing. Those irregular forms can bring energy and authenticity to your work.
Collect small bits like dried flowers or colored petals if you can, or just take photos to use as a reference. Observe how light plays on different surfaces. Even a simple walk to the mailbox might reveal a new favorite shade or pattern. Remember, your surroundings are a toolbox already stocked with materials and inspiration—you just need to look closely.
Sharing and Growing Your Collage Skills
Displaying Your Collage Art
You’ve put time and effort into your collage—why keep it hidden away? Showing your work can be as simple as pinning it to a corkboard or taping it on a fridge door. At home, try grouping a few pieces on a blank wall; it doesn’t have to be perfect or symmetrical. Sometimes, just having your collages where you live means you’ll notice details you might want to change or add later.
When friends come over, don’t hesitate to share your projects. You’d be surprised how much a casual conversation about your collage can spark new ideas or open doors to feedback you didn’t expect. If you’re shy, social media platforms offer a chance to share without face-to-face pressure. Some people find that taking pictures of their collages and posting them online invites encouragement and thoughtful critiques, leading to gradual skill improvement.
Practicing and Trying New Techniques
Collage making isn’t a one-and-done kind of art. You’ll want to keep experimenting — maybe with different papers, textures, or layering styles. I had this phase where I only used magazine clippings, but then I tried scraps of fabric and torn book pages, which changed how I think about composition. Don’t stick rigidly to one style unless you really like it; curiosity helps you grow.
Keep a small stack of “test” pieces just to play with ideas without pressure. What happens if you overlap images differently? What about incorporating handwritten notes or natural elements like leaves? These trials may not turn into finished collages, but they help expand your understanding. Over time, this kind of steady practice sharpens your eye and your hand, even when you’re just messing around.
Have you ever thought about setting small challenges for yourself? Like, “I’ll create a collage from only recycled materials this week” or “I’ll try to tell a story through pictures alone.” These little experiments push your skills and keep the process interesting. Plus, sharing those challenges and your results with others can lead to new connections and fresh insights you might not find alone.
Conclusions
Collage making can be started easily with just simple items like paper, glue, and scissors. It is an enjoyable way to use your imagination and create unique art. By using materials you already have at home, you can start making collages without needing any fancy tools or expensive supplies.
Remember, the key is to experiment and have fun. Try mixing different textures, colors, and images. Every collage you make is your own creation and story. Keep practicing, and you will find joy in turning simple objects into beautiful artworks.


