Introduction
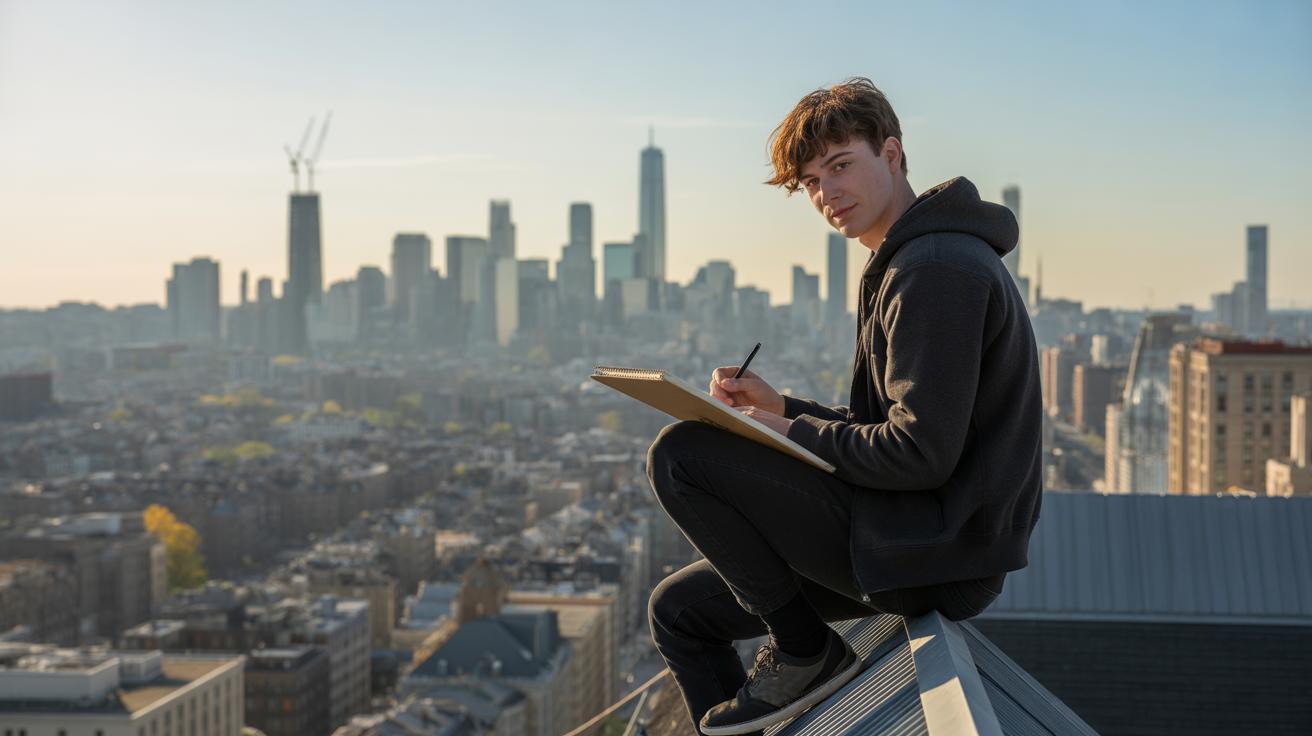
Architecture sketching is a valuable skill for anyone interested in capturing the essence of urban spaces. This practice allows you to observe closely and record the built environment in a personal and expressive way. Mastering architecture sketch techniques can enhance your understanding of city landscapes and improve your artistic abilities.
In this article, you will explore practical methods to sketch architectural elements during urban explorations. From fundamental drawing skills to advanced tips for detailing complex structures, you will learn how to make your sketches informative and engaging. The journey will guide you through easy steps to help you start or advance your sketching practice in urban settings.
Understanding the Foundations of Architecture Sketching

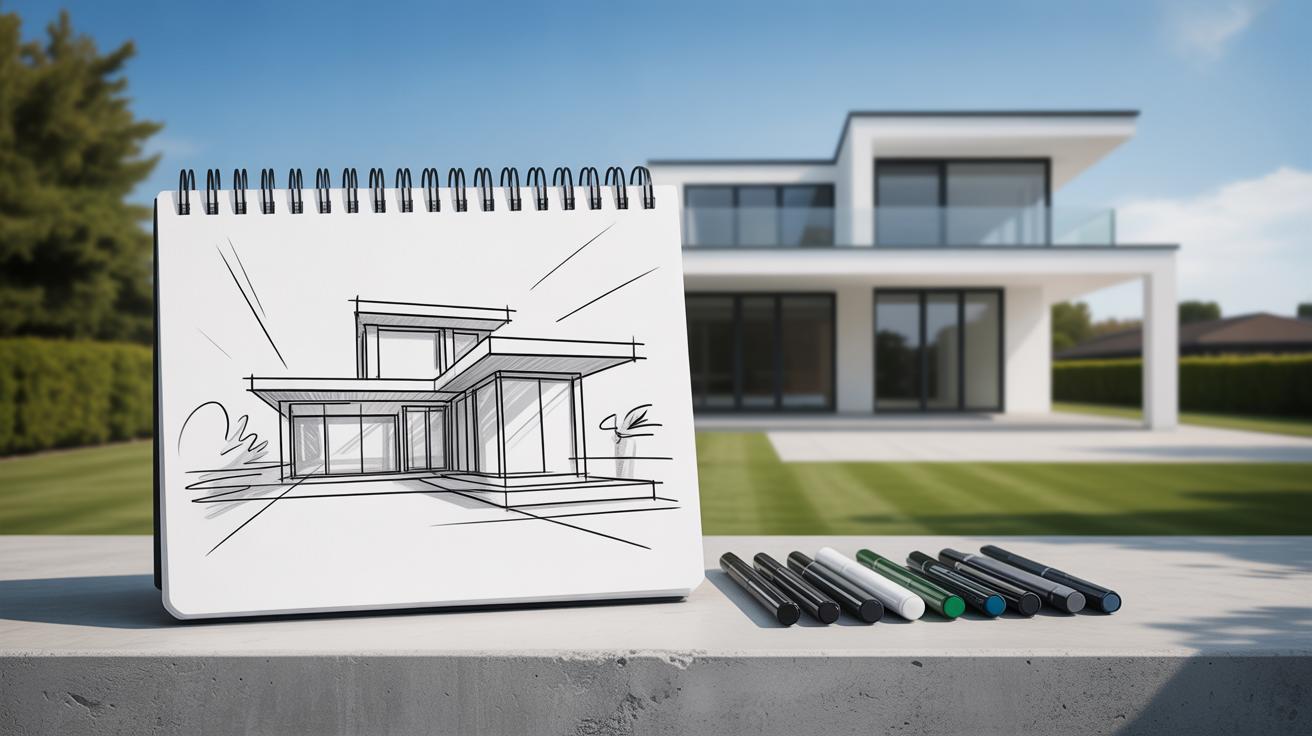
When starting out with architecture sketching, having the right tools makes a noticeable difference. Simple pencils—whether a standard HB or a softer 2B—let you experiment with line weight and texture. Pens, especially fine liners, offer precision and permanence, great for highlighting certain details. Paper choice matters, too. A smoother surface allows clean lines but can feel flat, while textured paper absorbs pencil marks differently, sometimes adding unexpected character. Don’t forget erasers—kneaded ones are subtle and forgiving, allowing you to lift graphite without damaging the paper.

Basic techniques lay the groundwork for your sketches. Line drawing, for example, forces you to observe shapes with clarity. Shading adds volume and depth but doesn’t need to be overdone; even subtle gradations hint at three-dimensional form. Perspective is trickier but essential; understanding one- and two-point perspectives can anchor your sketches in believable space. These basics are less about perfect accuracy and more about developing a visual language. Early on, it’s okay if your sketches look rough. What matters is building the habit and getting comfortable with these foundational tools and techniques.
Essential Sketching Tools and Their Uses
Choosing your sketching materials feels personal, even a bit ritualistic. Mechanical pencils are handy for consistent thin lines—great for intricate architectural details. Fine liners differ in tip thickness and ink darkness; a 0.1 mm line can capture fine window grids, while a 0.5 mm pen is better for bolder outlines. Sketchbooks come in all sizes and weights. A small, portable one might be better for quick urban sketches, helping you move easily from place to place. Large sketchbooks give more room but add bulk, which might slow you down. Paper weight and tooth influence how your pencil strokes behave—experiment to find what suits your style and the conditions you sketch in.
Basic Drawing Techniques for Accurate Sketches
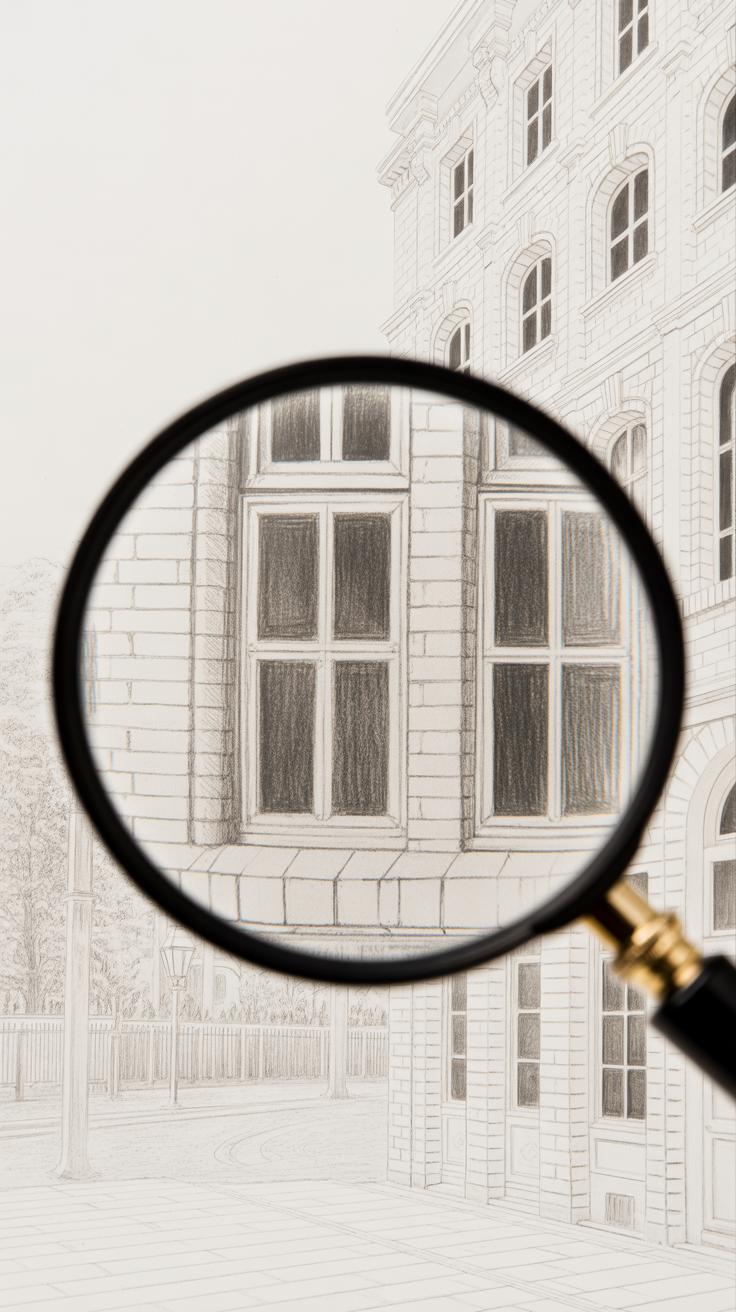
Contour drawing helps you look closely at the edges and shapes of buildings, improving both accuracy and observation. Try focusing on the outline of a structure without lifting your pencil much—that can feel restrictive, but forces keen observation. Shading techniques like hatching and cross-hatching suggest volume and texture, adding a sense of mass to flat drawings. Perspective is tougher; starting with one-point perspective for street facades helps you grasp depth before tackling more complex angles. Practice simple scenes frequently. Even a single building sketched daily can improve your skills fast. Don’t hesitate to revisit the same location to notice subtle changes in light or form over time.
Capturing Urban Architecture Quickly and Effectively
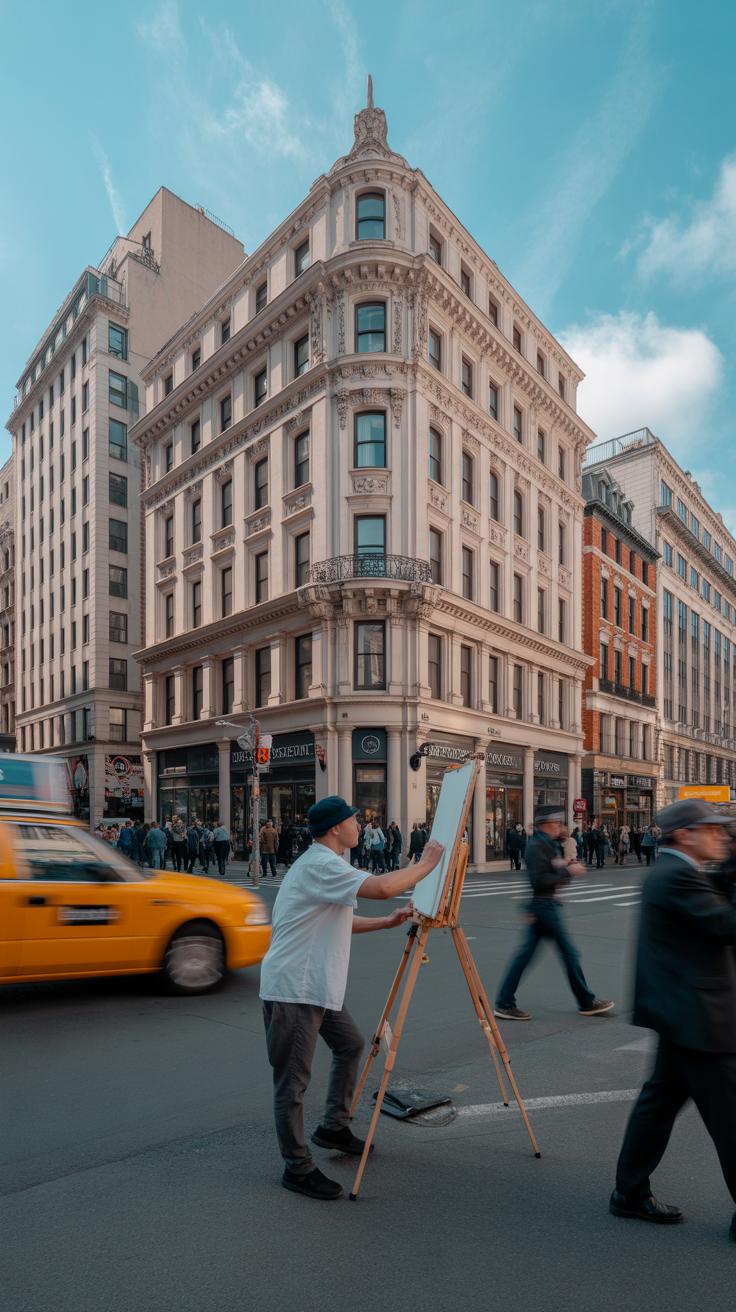
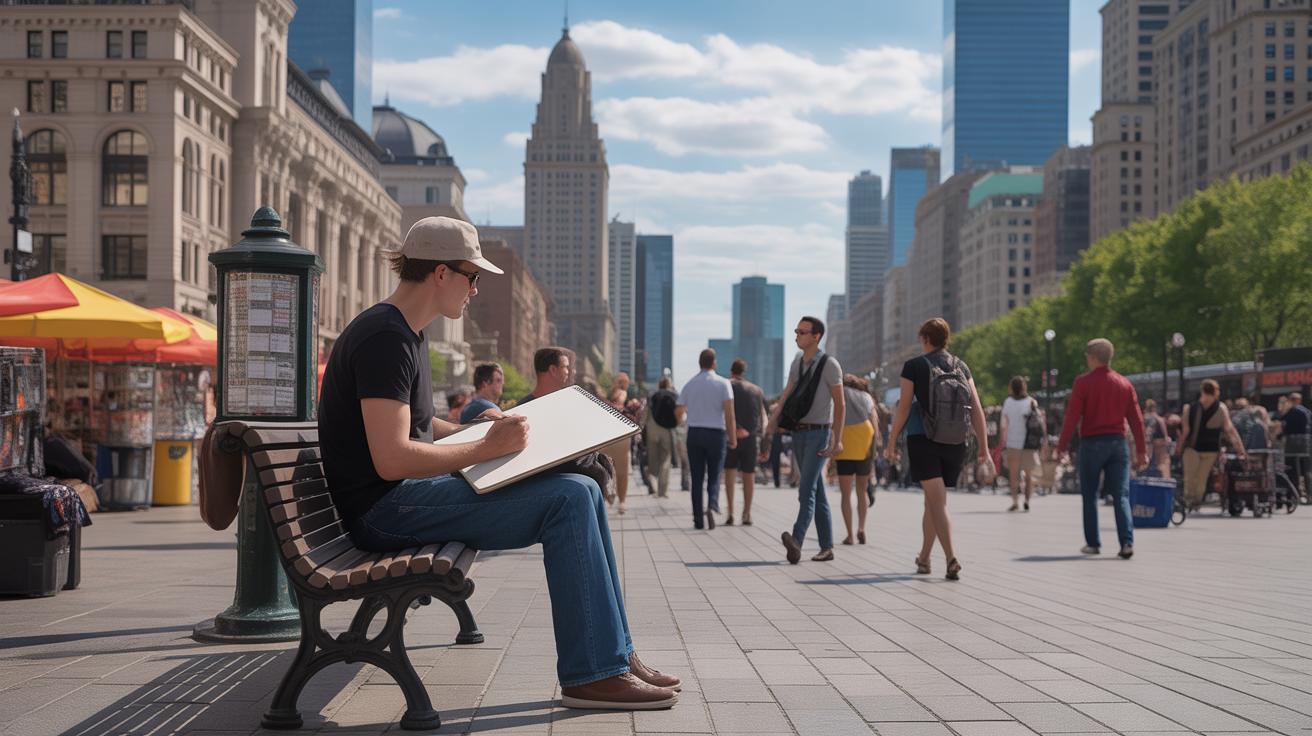
When you’re moving through a city, sketching fast means deciding what really matters in the building before you start. It’s tempting to try and capture everything, but that usually slows you down and makes the sketch cluttered. Instead, focus on the parts that give the building its personality.
Look for features like the shapes of windows, the position of doors, rooflines, and the rhythm or pattern on the facade. These elements tell you a lot about the style and function of a building, and they’re often enough to give a recognizable impression.
Try these approaches to speed up your process:
- Begin with loose gestures—quick lines that convey form without fuss.
- Pick one or two focal points. Maybe the front door or a distinctive window set.
- Skip detailed shading at first. Use shadows only where needed to show depth.
- Don’t stress over perfect proportions—capture relationships instead.
I’ve found that sometimes rushing through the initial lines actually helps me see what’s essential. Later, I can revisit the sketch and add just enough detail to bring it alive without overworking it.
What architectural details catch your eye first when you glance at a building? Focusing on those can speed your sketching while keeping it meaningful.
Mastering Perspective for Realistic Urban Sketches

Getting perspective right in urban sketches can feel daunting at first. But when you start to break down the scenes into simple points, it becomes manageable. Perspective, in the context of cityscapes, is about showing depth—the way streets, buildings, and structures recede realistically on your page. It’s not just a technical rule; it helps your sketches feel alive and believable. The basics rest on one-point, two-point, and three-point perspectives. Each serves a different kind of urban view. One-point perspective places everything around a single vanishing point, often straight ahead. Two-point uses two vanishing points, usually when you’re looking at a corner. Three-point adds a third to catch that sense of looking way up or down, like emphasizing the height of skyscrapers.
One-Point Perspective in City Streets
Imagine standing in the middle of a long, straight street. You see buildings lining both sides, all seemingly converging toward one distant spot on the horizon—that’s your one-point perspective. This method is great for capturing roads and rows of buildings that face you head-on. The key is to pick a horizon line and a single vanishing point on it. Then, guide your lines from the edges of windows, roofs, sidewalks, or streetlights back to that point. It can feel a bit rigid, but this technique really helps when you want to show symmetry or the straightforward stretch of an urban corridor. I remember once sketching a narrow street in an old town; keeping that single vanishing point made the sequence of shopfronts come alive without overcomplicating things.
Using Two-Point Perspective for Building Corners
Two-point perspective is what you reach for when your view includes a building’s corner. Instead of everything heading toward one point, lines head toward two points placed apart on the horizon. This method captures the angular depth of city blocks or corner buildings, adding a natural sense of volume and space. You start by sketching a vertical line for the building’s corner, then angle the building’s sides to vanish into two separate points. It’s less flat, more dynamic. I’ve found this especially helpful when sketching busy intersections—corners suddenly become the focal point, and your drawing leans into the city’s geometry. Although initially tricky, experimenting with two points usually results in sketches that feel more dimensional, as though you’re peering into the scene instead of just seeing a flat image.
Adding Details That Bring Urban Sketches to Life
When you add smaller details to your urban sketches, suddenly the scene feels much more alive. But here’s the tricky part—you don’t want to overdo it and clutter your drawing. So how do you strike the right balance? I’ve found that using simple marks and symbols helps a lot, especially when dealing with textures on buildings.
Textures and Patterns on Building Surfaces
Textures like bricks or window panes don’t require you to draw every single unit. Instead, try grouping marks or making quick repetitive strokes. For bricks, short horizontal and vertical dashes can suggest their shape without being too fussy. Sketch windows with just a few lines to show the pane divisions rather than perfect rectangles. This keeps your sketch loose but still detailed enough to recognize what you’re showing.
Don’t fret about perfect precision here. Decorative elements on facades—think moldings or arches—can be hinted at with curved or jagged lines. The key is to suggest rather than define. When I sketched an old city hall once, just a few zigzags made the carved stone look convincing without slowing me down.
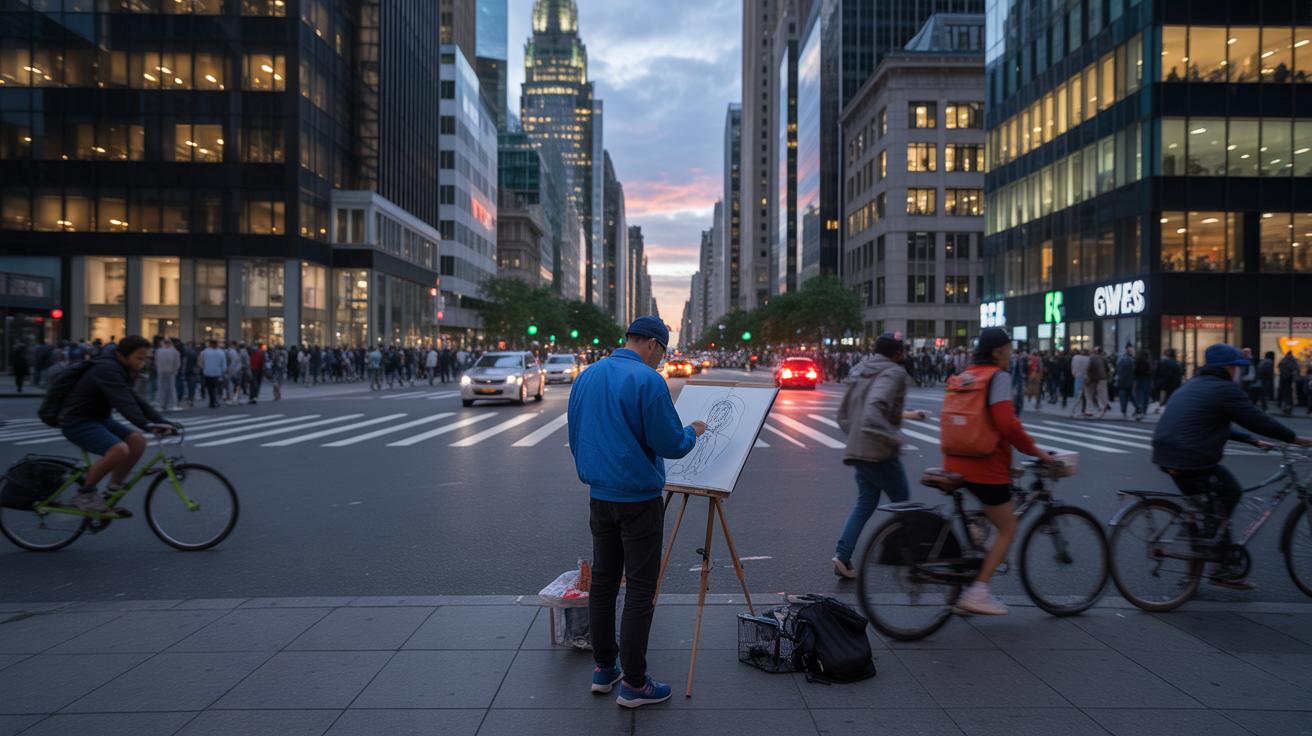
Including People and Street Elements Naturally
People and street objects help set the mood and scale. Sketching full, detailed figures would slow you down and clutter your piece, so stick to simple outlines or silhouettes. A few oval shapes for heads with slender lines for limbs can capture a casual crowd quickly.
Trees, street lamps, benches, or vehicles can follow the same principle: simplify and suggest. For example, sketching a tree might mean a lumpy cloud shape above a thin trunk rather than every leaf. Street lamps can be a quick vertical line topped with an oval or circle. You want these elements to blend naturally with your architecture, not compete with it.
Does filling your sketches with these smaller details make the scene feel too busy to you? Sometimes, less really is more. Try adding just a couple of these elements and see if the urban environment feels real enough. It’s a bit of a personal judgment call, but these details—added lightly—will almost always pull your sketch in front of the blank page.
Using Color and Shading in Urban Sketching
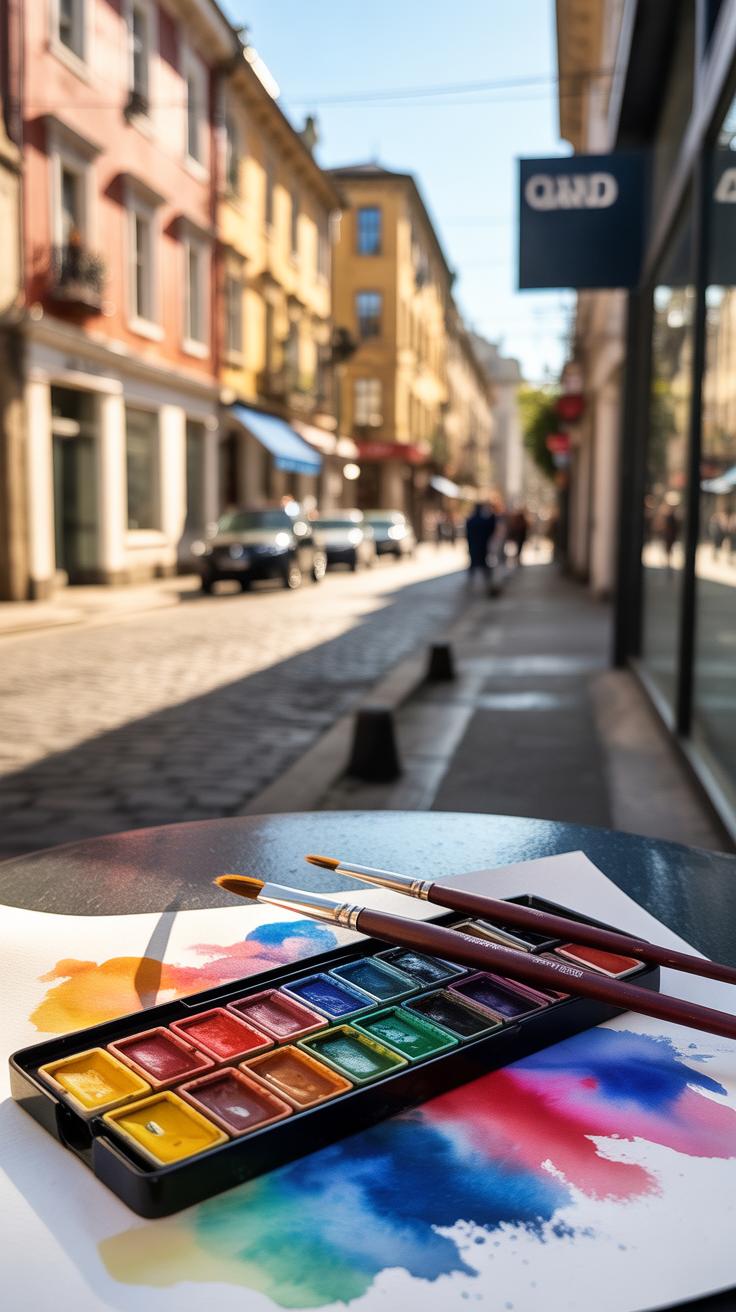
Color and shading can turn a simple urban sketch into something that feels alive, present, and tangible. You want to show how light hits a building’s surface, how shadows play on details, and how forms relate to each other in space. It’s tempting to use lots of colors, but sometimes a limited scheme—maybe just a few earth tones or muted blues—helps keep things clear without overwhelming your sketch.
Outdoors, portability matters. I often carry a small palette of watercolors or a couple of markers—enough to add washes of color or quick shadows without fuss. Watercolors let you blend softly to mimic light fading into shadow, while markers bring sharper contrasts and swift strokes.
Shading strategies depend on what you want to emphasize. Cross-hatching can outline structure and texture, while broad, gentle shading might show a building’s volume or highlight the way light hits a facade. Think about where the sun is and try to capture the shadows it casts; this helps buildings feel set in the city, not just floating on paper.
Tools that work well outdoors usually fit in a small case or pocket. A waterbrush with watercolors? Handy for quick washes and layering. Alcohol-based markers? They dry fast and blend in interesting ways, though they can be a little unpredictable sometimes. Maybe try both and see which feels right for your style.
Do you want your sketch to feel crisp and graphic or soft and atmospheric? Your approach to color and shading will shift with that goal. Sometimes pushing shadows deep creates drama; other times, soft gradients help suggest distance and a hazy day. What mood or moment do you want to catch when you’re out there?
Planning Your Urban Sketching Outings


Selecting Interesting Locations to Sketch
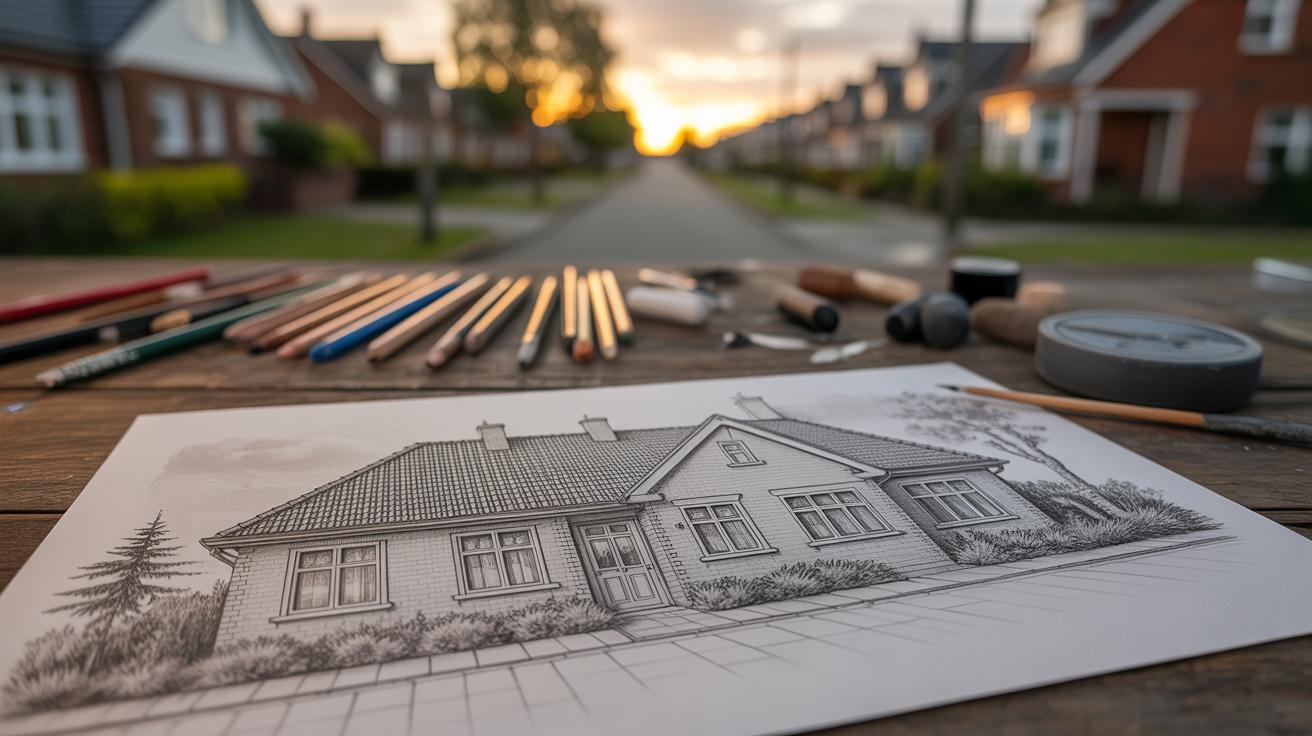
Choosing a spot to sketch is more about what catches your eye than just ticking boxes. Look for places where buildings tell stories through their design—maybe a row of old brick warehouses next to a sleek glass tower. But don’t get too hung up on “perfect” variety. Sometimes a single, well-framed building can spark more creativity than a street crowded with repetitive facades.
Try to find viewpoints that offer something different—a corner where perspectives twist or shadows fall unexpectedly. Parks near city centers, busy intersections, or quiet alleys often surprise you with details you didn’t expect. Sometimes, the best sketches come from spots you stumble upon rather than planned locations.
Packing Efficiently for Sketching on the Go
When it comes to gear, less is more—if you want to keep sketching enjoyable rather than a chore. A sketchbook that fits your style and is easy to carry is a must. Pens or pencils that won’t smudge or need constant sharpening save time, too. Water, because you might get thirsty surprisingly fast. And some sort of seat—could be a folding stool, or even just a small, portable mat to sit on if benches are scarce.
Backpacks with compartments help keep things organized, but if you prefer a shoulder bag or sling, choose something with easy access. Don’t forget a lightweight rain cover or plastic folder to protect your work if the weather changes—city skies can be unpredictable. I often found that carrying less means I sketch more. Too much equipment tends to slow me down.
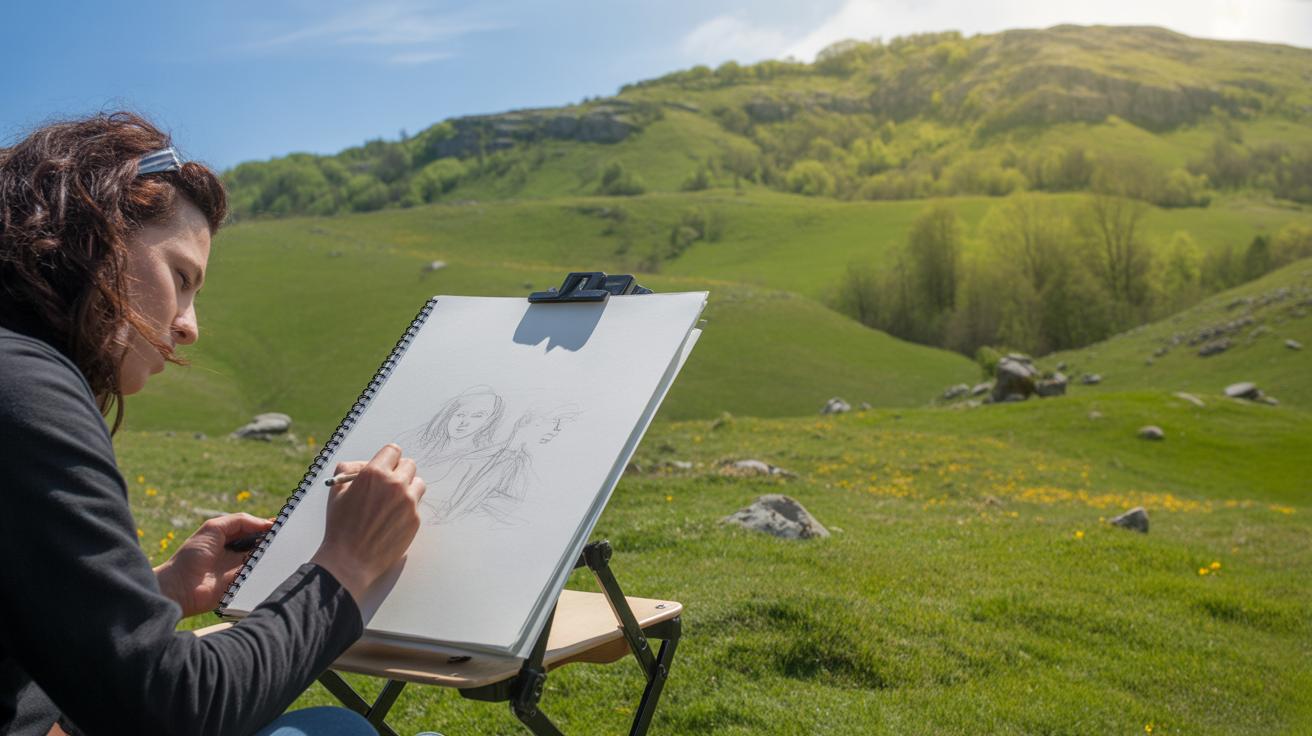
Improving Your Skills Through Consistent Practice
Daily or at least regular sketching practice is key when it comes to capturing urban architecture with confidence. Sketching isn’t a magic trick; it’s more like training a muscle. You might find that some days your lines feel stiff or your eye wanders—don’t let that discourage you. Sketching often helps train you to observe details quickly and translate them onto paper without overthinking. It builds a kind of visual memory that’s hard to achieve otherwise.
Try small, focused exercises. For instance:
- Draw just a window or a door from different buildings around your neighborhood.
- Sketch street corners or lamp posts in under five minutes each to speed up observation.
- Challenge yourself to capture a unique architectural detail daily – a cornice, a balcony railing, or a textured wall.
These little practices might seem repetitive, but they help you notice subtle shapes and proportions you might miss during more comprehensive sketches. Don’t feel pressured to make every sketch perfect—it’s about learning and pace.
Setting goals can anchor your progress. Maybe you aim to finish a sketch every day for a month, or to master a particular type of window frame. Keeping a sketch journal helps; flipping back through earlier pages reveals your growth more clearly than you might expect. Some artists find sharing their work on social media helpful to stay motivated, though for others that can become distracting. It’s really about finding what encourages you to keep picking up your pencil.
What’s one simple architectural feature you can sketch tomorrow? Trying small steps consistently might surprise you. The trick isn’t speed alone—it’s building a habit that lets you capture the city’s unique character over time.
Sharing and Learning From Other Urban Sketchers

Once you’ve made some progress with your sketches, sharing your work can open up a new world of learning and feedback. There are various platforms specifically built for urban sketchers, such as the Urban Sketchers website, where people post daily sketches from cities around the globe. Posting your drawings there might seem intimidating at first, but the community tends to be supportive—many fellow sketchers offer constructive critiques or encouragement that can push your skills forward.
You might also explore forums like WetCanvas or subreddits dedicated to sketching, where conversations about tools, techniques, and styles happen naturally. Sharing work in these spaces exposes you to diverse perspectives, which could challenge or reinforce how you approach capturing architecture. Sometimes, you’ll get suggestions on how to improve perspective or shading that you wouldn’t have noticed alone.
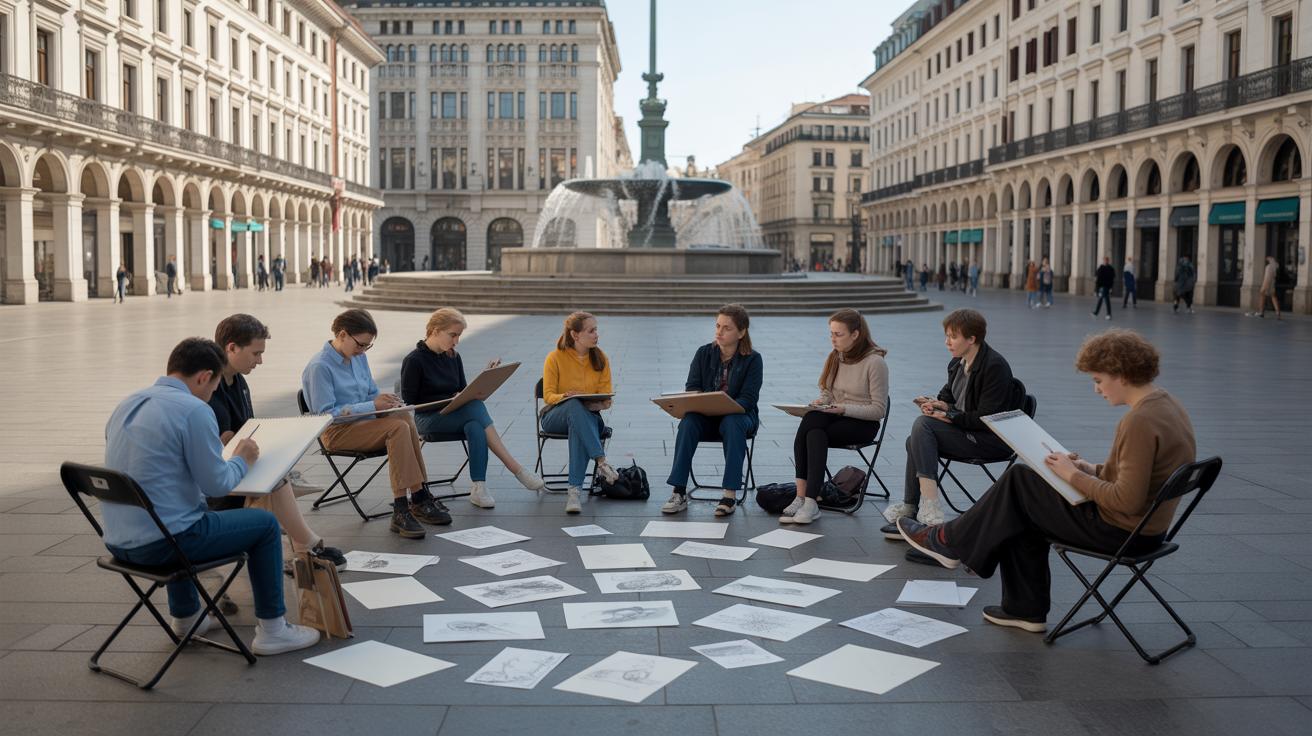
Joining Urban Sketching Groups and Communities
Being part of a sketch group, whether local or online, makes a surprisingly big difference. It’s not just about sharing your work but exchanging ideas, tips, and often meeting in person to sketch together. Local groups usually schedule regular outings—you show up, sketch side by side, and talk shop. This social aspect motivates you to sketch more regularly and notice details you might miss alone.
Online groups have the advantage of connecting you with people from very different cities and architectural styles. You might find a sketch partner halfway across the world. This diversity can broaden your vision of urban architecture and bring new energy to your practice. If you’re unsure about joining, start by lurking and commenting—it helps you get comfortable gradually.
Using Social Media to Showcase Your Work
Social media offers a mixed bag. On one hand, platforms like Instagram or Facebook provide immediate access to a wide audience eager to see your sketches. Posting regularly not only documents your journey but invites feedback and inspiration from others. On the other hand, the sheer volume of posts means your work might get lost or harshly judged.
To navigate this, consider these tips:
- Post clear, well-lit photos of your sketches to attract attention.
- Share short stories or thoughts behind each drawing to engage viewers.
- Use relevant tags or join themed challenges to reach interested sketchers.
- Be cautious with location sharing to protect your privacy—perhaps avoid exact spots.
- Engage gently with commenters; conversations can lead to useful insights.
Through social media, you might notice your style evolving as you see what resonates with others and what doesn’t. But always remember to sketch primarily for yourself, even if sharing brings extra motivation.
Conclusions
Understanding architecture sketch techniques opens new ways to see and appreciate urban spaces. The skills you develop will help you document and express cityscapes creatively and accurately. Each line and shape in your sketches will tell a story about the places you explore.
Keep practicing the methods shared here to refine your skills. As you continue your urban explorations with a sketchbook in hand, you will discover how your ability to notice details and translate them into drawings grows. Embrace the process and enjoy the connection between art and architecture.


