Introduction
Drawing is an intricate skill that can be both rewarding and challenging, especially for beginners. With the right guidance, anyone can learn how to express their creativity through art. This article provides a comprehensive step by step drawing guide that breaks down fundamental techniques and concepts necessary for budding artists. By following this guide, those new to drawing will gain confidence and begin their journey into the world of art.
From understanding basic shapes to the importance of shading, the following chapters will cover everything you need to know to start your drawing practice. Whether you dream of sketching realistic portraits or colorful landscapes, this guide aims to equip you with the fundamental skills to bring your artistic visions to life. Let’s dive into the basics and transform your ideas into captivating drawings.
Understanding Basic Shapes

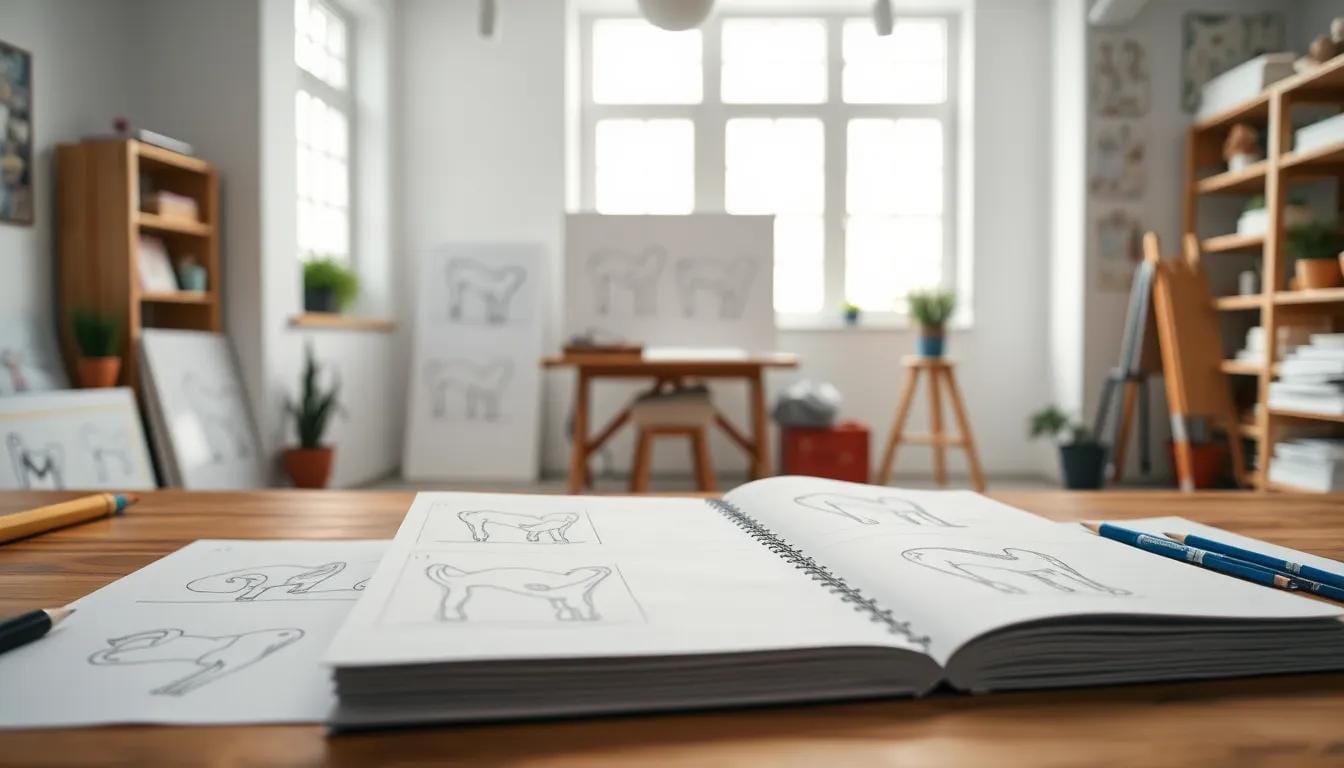
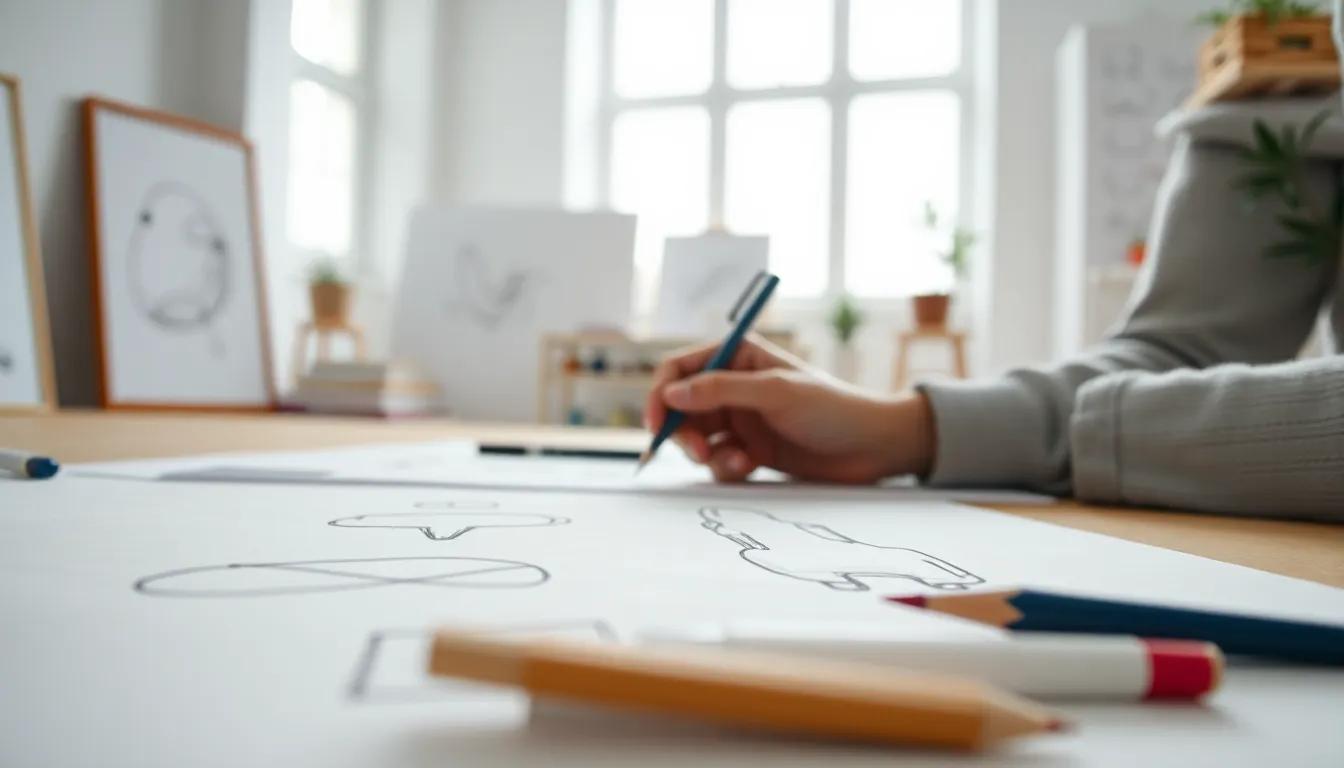
In the world of drawing, basic shapes serve as the building blocks for creating more complex forms. Every figure or object can be broken down into fundamental geometric shapes such as circles, squares, triangles, and rectangles. These shapes are not only foundational to understanding form, but they also simplify the process of drawing, allowing beginners to approach their artwork with confidence.
The importance of basic shapes in drawing cannot be overstated. When an artist understands how to recognize and draw these shapes, they can construct anything from simple objects like apples to more complex figures like human forms or animals. For example, a human figure can be merely a combination of ovals (for the head and body), cylinders (for limbs), and rectangles (for hands and feet). This methodical approach makes it easier to visualize proportions and overall structure.
To practice shape recognition, an effective exercise is to observe everyday objects and mentally break them down into basic shapes. For instance, consider a coffee mug: it consists of a cylinder for the body and a circle for the base. By sketching these basic forms first, you create a solid framework. Afterward, refine the drawing by adding details and textures.
Another useful exercise is contour drawing, where you aim to capture the outline of an object without taking your pencil off the page. Starting with simple objects like fruit or a chair can help sharpen your observation skills. Focus on defining the object using minimal lines, which will enhance your ability to see shapes instead of intricate details. After gaining more confidence, try to progress to more complex subjects.
Beyond recognition, practicing with shapes emphasizes the importance of proportion and alignment. Have a companion exercise where you draw a collection of basic shapes in different sizes and orientations. Pay attention to their harmony and relationship with each other. This will instill a sense of spatial awareness that is vital for drawing accurately.
Grasping the significance of basic shapes is fundamental for any budding artist. Embracing this approach enables greater creativity and expression in your artwork while simplifying the process of drawing more complex objects. As you develop your skills, remember that every great piece of art begins with a simple shape. Keep practicing, and soon these shapes will become second nature as you continue to advance your drawing abilities.
The Importance of Lines Mastering
Understanding Line Types and Their Emotional Impact

Lines are the backbone of drawing, serving not just as the outlining structures but as expressive tools that communicate a range of emotions and textures. Whether they are straight, curved, thick, or thin, each type of line carries its own unique connotations. For instance, horizontal lines often evoke a sense of calm and stability, while vertical lines can suggest strength and height. In contrast, diagonal lines may convey dynamics or tension, as they imply movement and direction. Experimenting with these different line types allows artists to infuse their drawings with emotional depth and meaning.
The weight of a line can also transform its effect. Thick lines can suggest boldness or heaviness, while thinner lines often express delicacy or detail. Artists should take time to observe how they use line weight to affect the overall impact of their work, such as using bolder lines in the foreground and lighter lines to suggest distance.
Techniques for Effective Line Work
To cultivate skillful line work, it’s essential to practice certain techniques that enhance both precision and expressiveness. Here are some methods to consider:
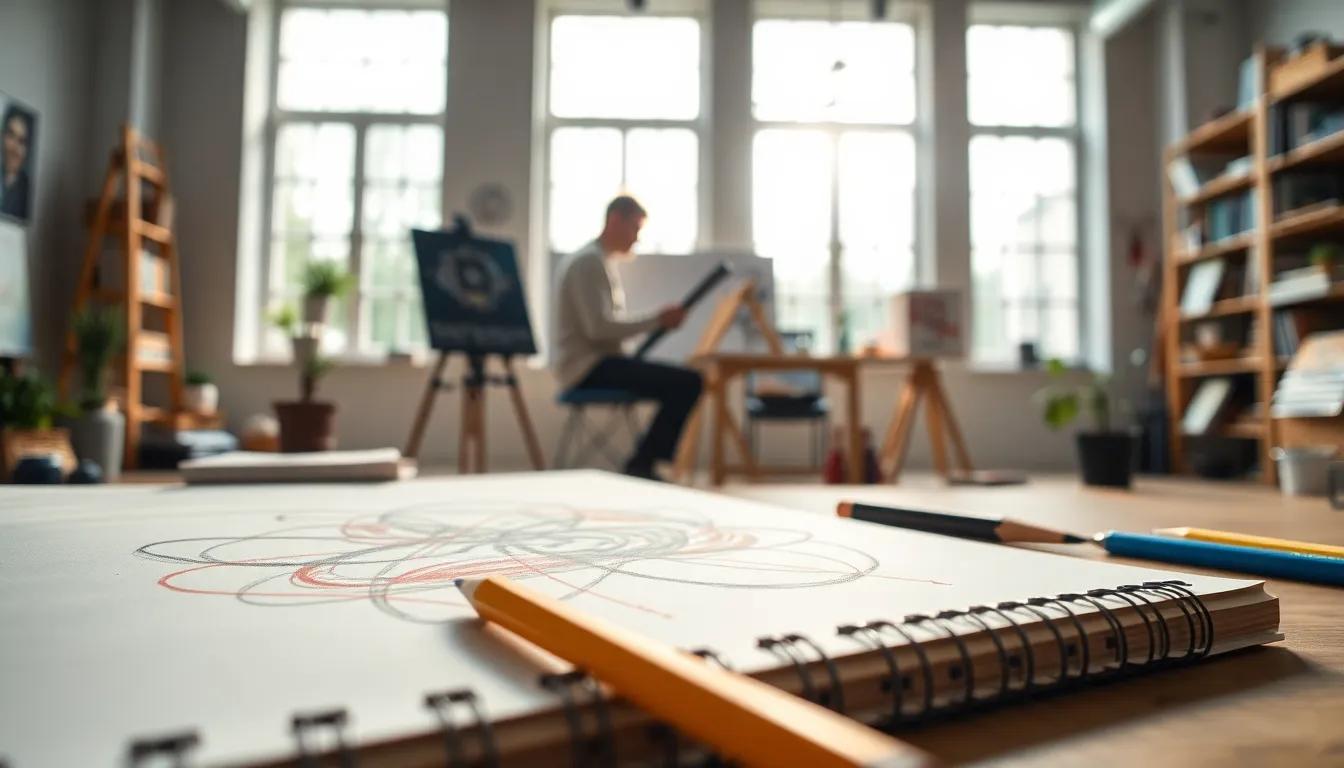
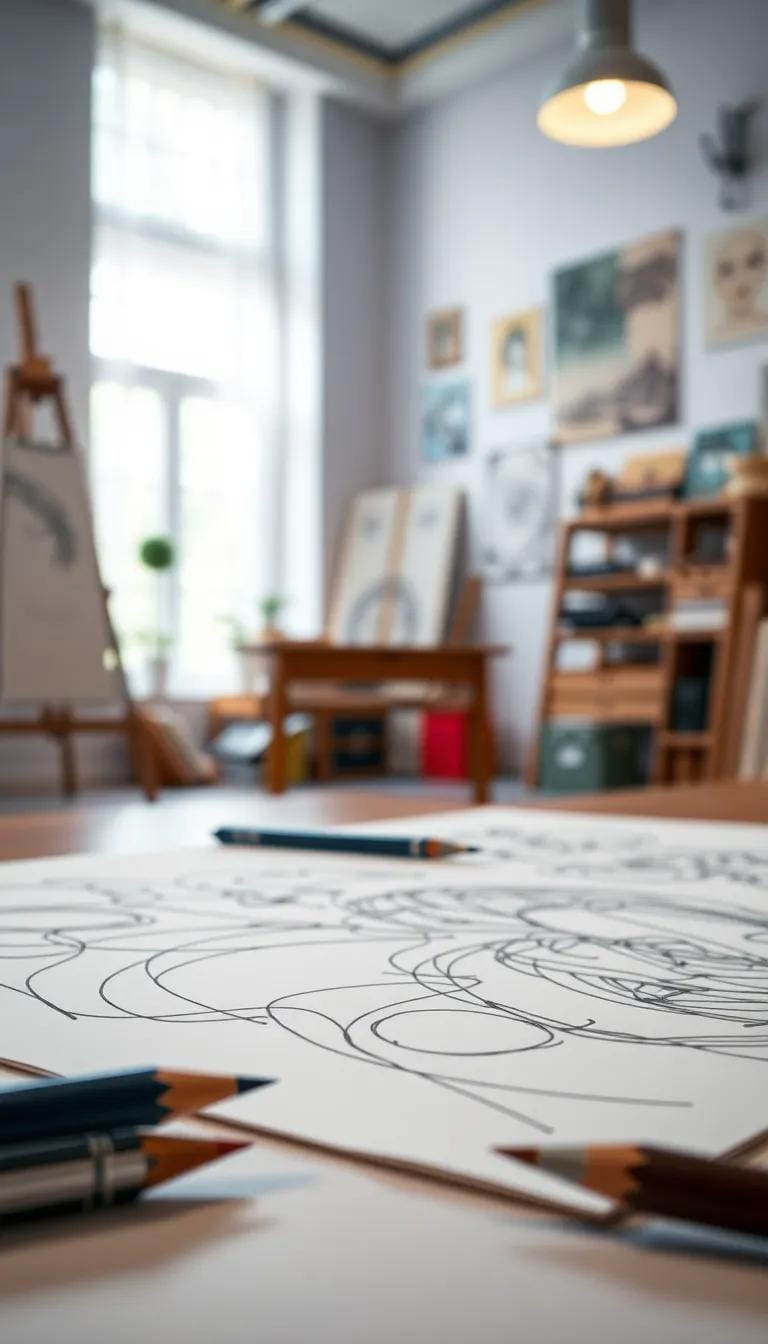
- Gesture Drawing: This technique involves quick sketches that capture the essence of a subject in motion. Focus on drawing lines that portray the movement rather than the details. Doing so enhances your ability to express emotion through fluid lines.
- Contour Drawing: Focus on drawing the outline of subjects without lifting your pencil from the paper. This helps develop hand-eye coordination and encourages a more direct representation of forms.
- Line Variation: Experiment with varying the pressure on your drawing tool to create lines of different weights. Techniques such as varying application can convey depth and dimension, especially when integrated with shading.
Regular practice using these techniques helps solidify your understanding of how lines operate in different contexts. As you transition from basic shapes to complex forms, being adept in line drawing will enrich your artistic toolkit, paving the way for more expressive and dynamic creations. Mastery of line work is fundamental in the journey towards proficient drawing, allowing you to build on the foundations laid by basic shapes while effectively preparing for the depth and dimension introduced by shading techniques.
Shading Techniques for Depth
Understanding the Role of Shading

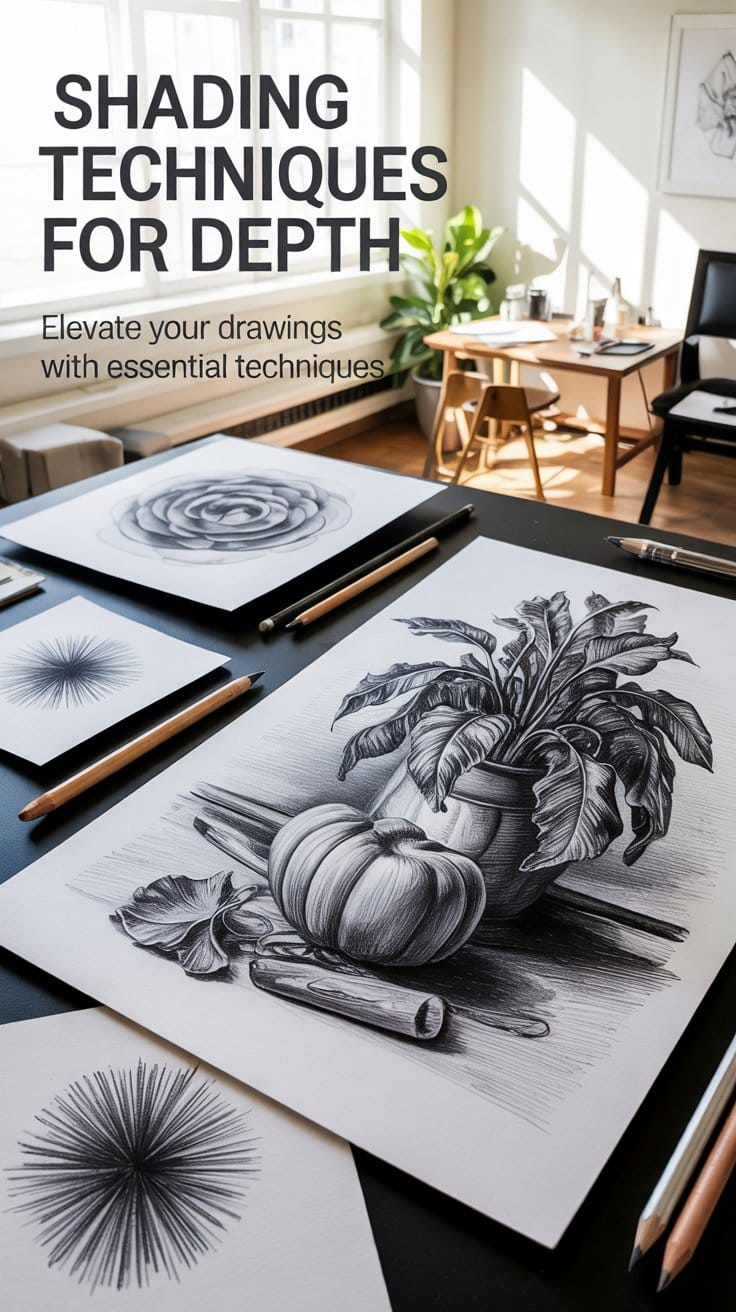
Shading is a fundamental aspect of drawing that significantly contributes to creating depth and dimension. While outlines are crucial for defining forms, shading breathes life into these forms, allowing them to appear three-dimensional. By manipulating light and shadow on your paper, you can imitate the way objects are illuminated in the real world, giving your drawings a greater sense of realism.
Popular Shading Techniques
There are several shading techniques that every beginner should familiarize themselves with. Here are three of the most effective methods:
- Hatching: This technique involves drawing a series of parallel lines close together. The density of the lines determines the intensity of the shadow; closer lines create darker areas, while more spaced-out lines give a lighter effect. Hatching is excellent for creating linear textures and can be adapted for various surfaces.
- Cross-Hatching: Taking hatching a step further, cross-hatching incorporates another layer of parallel lines drawn at an angle to the first set. This technique enhances depth and complexity, as it allows for a richer gradient of shadow. By varying the thickness and spacing of the lines, you can achieve a wide range of tonal effects, making cross-hatching ideal for detailed areas of your drawing.
- Blending: Blending provides a softer transition between light and shadow, creating a more realistic look. Using tools like blending stumps, tissue, or even your fingers, you can smudge pencil strokes to create smooth gradients. This technique is particularly useful for rendering skin tones or fabric textures, where smoothness is preferred over harsh lines.
Combining these techniques can enhance your artwork significantly. For example, you might start with hatching to outline the shadows of an object, use cross-hatching to add more depth, and finish by blending to achieve a smooth transition in lighter areas. Practicing these techniques will build your confidence and improve your ability to depict light and shadow effectively.
Understanding the various shading techniques not only adds dimension to your drawings but also helps to convey mood and atmosphere. In your artistic journey, think of shading as your tool for storytelling, enabling you to express emotions and nuances within your art.
Color Theory and Its Application

Understanding the Color Wheel
The color wheel is a foundational tool that makes the complexities of color more accessible and understandable for artists. It consists of primary, secondary, and tertiary colors arranged in a circular format. The primary colors—red, blue, and yellow—are the building blocks of all other colors. By mixing these primary colors, you can create secondary colors: green, orange, and purple. Further blending these creates tertiary colors, which are nuanced shades like red-orange or blue-green.
By grasping the layout of the color wheel, you can select colors that work harmoniously together. This is vital for creating depth and emotion in your drawings. For instance, warm colors—such as reds and yellows—can evoke feelings of excitement and energy, while cool colors—like blues and greens—tend to convey calmness and serenity.
Complementary Colors and Their Uses
Complementary colors are pairs of colors that, when combined, cancel each other out, resulting in a grayscale color. On the color wheel, these colors are positioned directly opposite one another. Utilizing complementary colors can enhance your artwork significantly. For example, placing a bright orange next to a deep blue can create a striking visual contrast, drawing the viewer’s eye to specific areas of your drawing.
In application, when you are rendering shadows or highlights in your artwork, consider employing complementary colors to create a more vibrant and dynamic effect. This principle can add dimensionality to your work, especially after you’ve mastered shading techniques.
Applying Color Effectively in Your Drawings
Knowing how to use color effectively is key to developing your drawing skills. When selecting colors for your palette, consider the feeling or mood you wish to convey. A harmonious palette will create cohesion, while a more diverse selection can introduce vibrancy and excitement to your piece. Remember that lighting plays an essential role in how colors appear; therefore, consider how the light interacts with your chosen colors.
As you continue to develop your skills, practice mixing colors and observing their interactions in natural settings. Try to depict these in your drawings, using the knowledge gained from the color wheel and complementary palettes to enhance your artistic expression. Building a solid understanding of color theory will ultimately elevate your work and prepare you for more complex topics, such as drawing dynamic perspectives.
Drawing Dynamic Perspectives
Understanding Perspective Drawing Techniques
When it comes to creating realistic compositions, understanding perspective drawing is fundamental. Perspective allows artists to depict three-dimensional space on a two-dimensional surface, adding depth and reality to their work. The two primary techniques of perspective drawing are one-point and two-point perspectives, and each serves a unique purpose in illustrating spatial relationships.
In one-point perspective, all lines converge to a single vanishing point on the horizon line. This technique is particularly effective for compositions that focus on a single view, such as a straight road or railway tracks extending into the distance. To start, establish a horizon line across your drawing area and place the vanishing point centrally. From there, draw lines from the vanishing point toward the edges of your paper to create the illusion of depth. Remember to keep the objects you draw sized appropriately to maintain realistic proportions.
Conversely, two-point perspective introduces two vanishing points, typically situated off-screen on the horizon line. This technique offers more dynamic compositions, ideal for depicting corners of buildings or other structures. Begin by drawing a horizon line and placing two vanishing points at either end. Next, sketch lines from each vanishing point to establish the edges of the object you’re depicting. This method adds complexity and realism to your drawings, enhancing the viewer’s sense of being present in the scene.
The Importance of Perspective in Composition
Incorporating perspective is vital not only for creating realistic images but also for guiding the viewer’s eye. The angles and converging lines lead the observer into the artwork, allowing them to explore the depicted space naturally. Effective use of perspective can create a focal point, drawing attention to specific elements within the composition.
Beyond technical execution, perspective infuses your drawings with emotion—whether it’s the inviting feel of a spacious landscape or the claustrophobic vibe of a tight alleyway. Mastering perspective drawing can elevate your artistic abilities and enable you to communicate narratives more vividly through your work. As you progress in your journey as an artist, embrace these techniques to enhance the realism and emotional impact of your compositions.
Developing Your Own Style


Finding Inspiration in Diversity
As you advance in your journey of drawing, one of the most rewarding experiences is discovering and developing your own style. This process is highly personal and can encourage you to express yourself in ways that resonate with who you are as an artist. Rather than solely imitating the work of others, allow yourself to explore a wide range of influences. Look at various art styles, whether it’s realism, abstract, cartooning, or mixed media, and reflect on what captivates you. Each technique carries with it a unique energy and perspective that can inspire your own artistic voice.
Experimentation is key to unearthing your style. Don’t shy away from trying new techniques, like blending colors or utilizing contrasting shading. You may find that a particular method speaks to you in a compelling way. For instance, if you enjoy smooth movements, try experimenting with ink washes, whereas if bold strokes fascinate you, pencils may be your go-to medium. As you try different methods, keep an open mind – the process can lead to surprising artistic breakthroughs.
Essential to Your Artistry
Your style is more than just a reflection of techniques; it’s a lens through which your experiences, emotions, and thoughts come alive on paper. Art is inherently personal, and as you draw, tapping into your feelings will add layers of depth to your work. Whether you’re capturing a simple scene from your life or conveying complex themes, your emotional state and personal history will guide your artistic choices.
Consider incorporating elements that resonate with you: symbols, colors, and textures that tell your story. This aspect of personal expression can create a profound connection between you, your artwork, and your audience. It invites viewers to not just see but to feel what you have created, enriching their engagement with your art.

As you refine your style, remember that it doesn’t have to be static. Styles can evolve over time, reflecting changes in your thoughts and emotions. Regularly evaluate your work, and be open to shifts and transformations, allowing growth to remain an integral part of your artistic journey.
Developing your own style is an exploration of self-expression. By embracing inspiration from diverse influences and grounding your creation in personal experience, you can cultivate a unique artistic voice that is truly your own.
Conclusions
Mastering the art of drawing is a journey that requires patience, practice, and the right techniques. By following the step by step drawing guide laid out in this article, beginners can gradually refine their skills and develop their unique artistic style. Remember to embrace each challenge as an opportunity to learn and grow in your artistic abilities.
As you continue to practice and seek out inspiration, keep in mind that every artist starts somewhere. The more you draw, the more you will improve. So take your sketchbook, find your pencils, and explore the unlimited possibilities of drawing. With dedication and passion, you can transform your ideas into beautiful works of art.