Introduction
Concept art drawing and simple character poses are two key areas for beginners in art and animation. Concept art drawing involves creating visual designs that represent ideas, characters, or environments primarily for media like video games, films, or animation. It helps build the visual foundation of these creative projects.
On the other hand, simple character poses focus on drawing basic human or character postures to capture motion and expression effectively. Both practices serve distinct purposes but are essential for those starting their artistic journey. This article compares these two areas, explains their importance, and guides you on how to practice each one efficiently.
Concept Art Roles In Media Creation
Concept art plays a foundational role in media like video games, films, and animation. It’s often the first visual step where ideas take shape. Concept artists sketch out characters, environments, props, and even moods that help define the world of the story. Before anything moves into production, these drawings guide everyone’s understanding of what’s possible, and what the final work might feel like.
Visualizing ideas early can save time and confusion later. For instance, a game’s art team will have a rough sense of how characters should look and move. Filmmakers see how a set or costume might appear on camera. Animation studios get a clearer picture of style and tone. This early work isn’t about perfection—it’s about exploration and iteration until something clicks.
Purpose Of Concept Art In Projects
The main purpose of concept art is to communicate ideas quickly and clearly. It gives directors, artists, and clients a visual reference to discuss and refine. When you see a design on paper or screen, it sparks conversations that might be impossible with words alone.

Concept art helps teams keep track of progress, too. As projects evolve, these images show which ideas have been tried and which directions remain open. Sometimes a single concept can unite multiple departments or inspire new approaches elsewhere in the project. For example:
- A character sketch that influences how animators craft movement
- An environment design that sets lighting and mood for the entire scene
- A weapon design that affects gameplay mechanics in a video game
How Concept Art Guides Production
During production, concept art becomes a key point of reference. Teams look back to these drawings to maintain consistency and clarity. They aren’t just suggestions—they act as blueprints that everyone uses.
Take character design: concept art shows costumes, proportions, and expressions that keep sculptors, animators, and modelers aligned. For environments, it helps set architectural style and color schemes. Prop designs ensure objects fit the story world without distracting from it.
Without these references, teams risk creating mixed signals, which can slow down progress or increase costs. I’ve seen projects where concept art saved time by preventing guesswork. But at times, strict adherence to concepts can limit creativity. This balance between guidance and freedom is tricky and depends a lot on the team and project priorities.
Concept Art Drawing


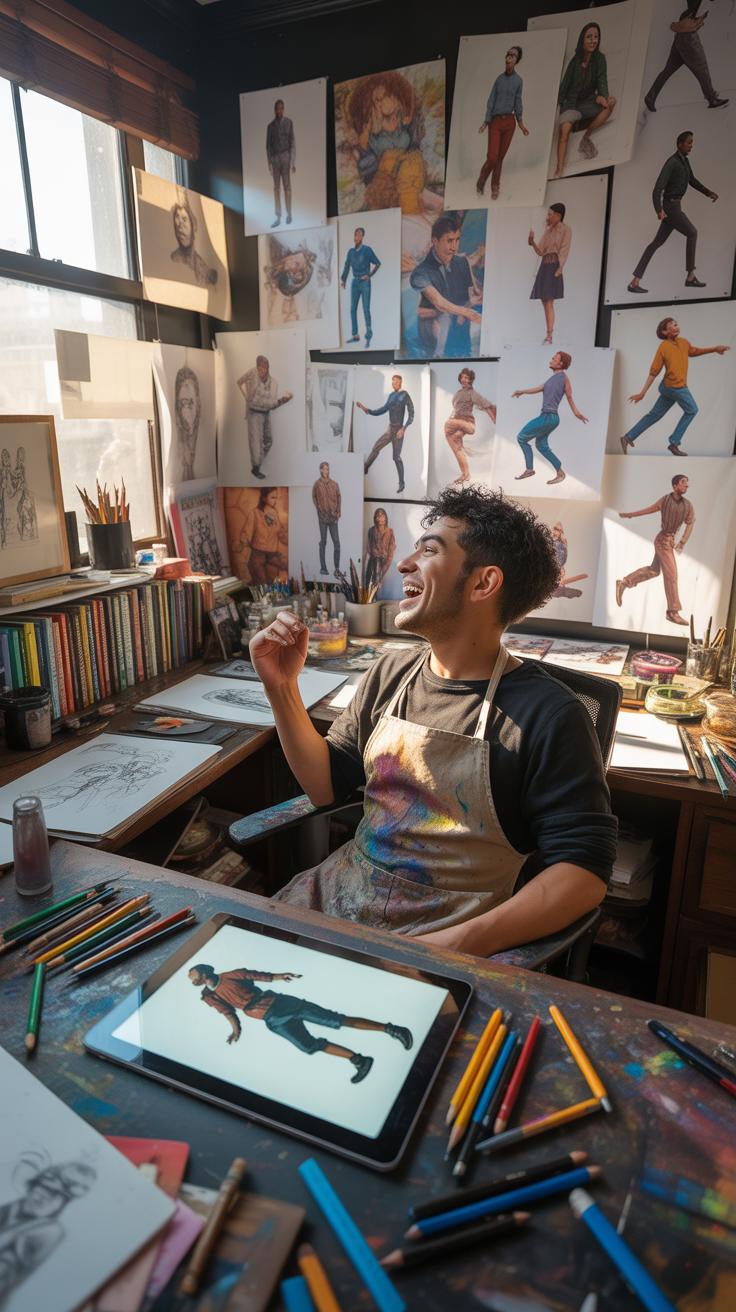
Concept art drawing often feels like a bigger, more complex beast compared to simple character poses. It’s not just about anatomy or capturing movement—it’s about imagining a whole world and defining characters within it. When you work on concept art, you try to visualize ideas that might not even exist yet. This requires a different kind of thinking, one that blends creativity with technical skills.
For beginners, concept art can seem intimidating because it asks for a lot all at once: design, story, mood, and function. But it also offers a broad playground for experimenting. You might find yourself drawing a character’s armor, expressions, or even their environment, all in one piece. This variety can help you explore what interests you most in art, even if you don’t master everything immediately.
Working on concept art improves observation skills because you often need to reference real-world objects or studies. It pushes you to consider light, texture, and perspective more carefully than quick pose sketches might. Yet, this focus can sometimes distract from basics like anatomy if you don’t pay attention. It’s easy to get lost in details and forget why you’re drawing in the first place.
One tricky part is balancing creativity and accuracy. Concept art encourages you to bend rules for the sake of design, but that can clash with learning correct proportions or movement. Some artists struggle with this balance, so it’s not unusual to feel conflicted about whether to prioritize freedom or structure.
Overall, concept art drawing invites beginners to think deeply about character identity and the story behind what they paint or sketch. It might not always build anatomy skills directly, but it adds layers to your artistic thinking, which can strengthen your work in subtle, less obvious ways. Have you ever noticed how a detailed design makes you reconsider how a character should move or pose? That’s one of those connections concept art can spark, even if it doesn’t focus on simple pose anatomy itself.
Steps To Start Concept Art Drawing

When you begin concept art drawing, the first step is to gather your ideas. It’s tempting to jump right into drawing, but taking a moment to brainstorm different concepts can make a big difference. Think about the character or object you want to create and then let your mind wander. Sometimes, doodling a few random shapes or themes can spark something useful.
Once you have some ideas, start rough sketching. Don’t aim for perfection here. Sketch multiple versions, playing with different poses, silhouettes, or features. This stage is all about exploration—try a few extremes, mix things up. I often find that rough sketches look messy at first but can reveal unexpected directions. It’s okay if they’re uneven or awkward; that’s part of the process.
Next comes refining. Pick the rough sketch that feels strongest, even if it’s not perfect. Build on it slowly, adding details like facial expressions, clothing folds, or accessories. With digital tools like Photoshop or Procreate, you can zoom in, erase, and redraw without hassle, which makes tweaks less frustrating. Finishing touches matter here: clean lines, consistent shading, and a good sense of lighting can bring your design to life.
Finally, consider how you present your concept art. A simple background or subtle color wash can help the design pop, but don’t overdo it. Sometimes, less is more. Show your final piece clearly so others can easily see your idea. This step feels satisfying—it’s like sharing a story you’ve shaped bit by bit, from a scattered thought into something tangible.
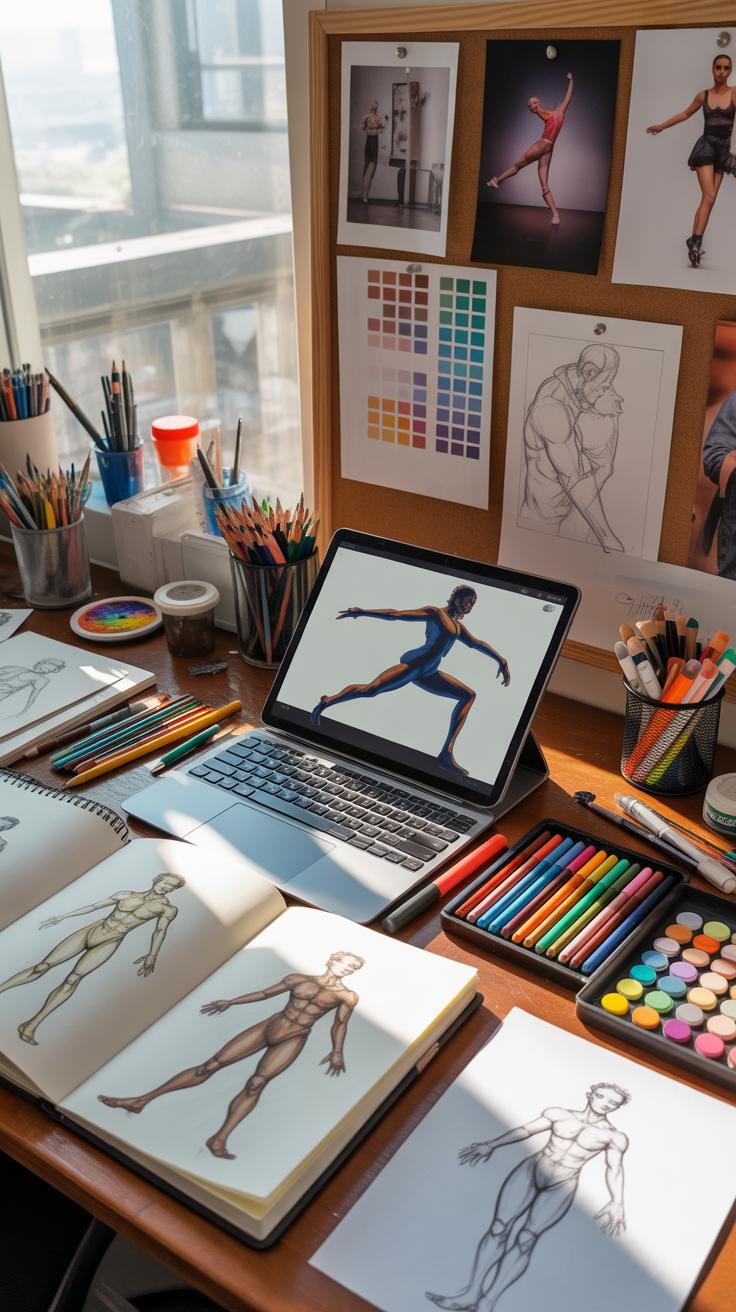
Practice Routine For Character Poses
If you’re starting out with simple character poses, developing a steady practice routine really helps build confidence and muscle memory. It doesn’t have to be complicated — just consistent. I’ve found that breaking your practice into short, focused sessions can make a big difference rather than trying to tackle everything at once.
One useful daily exercise is gesture drawing. Spend about 10 to 15 minutes each day doing quick sketches of figures in motion. Keep your lines loose and fluid, aiming to capture the essence of the pose instead of getting stuck in details. Timing is crucial here — try 30 seconds to 2 minutes per pose. This encourages you to observe movement more than form, which is sort of the hard part but important for natural poses.
Another approach is copying poses from photos or even better, watching people in real life. People move in complex ways, so observing them can train your eye to notice subtle shifts in weight and limb placement. You don’t have to draw perfect anatomy right away—focus on proportions and overall posture first. For this, setting aside a couple of longer sessions weekly to really study and replicate poses helps solidify what you learn during the quick gestures.
And while copying photos is helpful, mixing in live observation can give you unexpected insights. You might see how someone leans slightly forward while standing or how hands rest almost instinctively. These small details add authenticity to your poses. So, maybe carry a sketchbook and sketch during everyday life moments. It’s about building an intuitive sense of movement, which only comes over time with patient looking and drawing.
Comparing Skill Sets Needed Concept Art Drawing


Concept art drawing asks for a different kind of skill set than simple character poses. At its core, it calls for deep creativity. You’re not just copying what you see—you’re inventing entire worlds, creatures, and characters from scratch. That means you need to push your imagination in ways that might feel uncomfortable at times. When I first tried concept art, I found myself stuck because the possibilities were endless and I didn’t know where to start. It’s almost like you need to think beyond what you know.
That said, creativity alone isn’t enough. You still need solid technical skills, though perhaps less rigid than the precise anatomy knowledge demanded for clean character poses. In concept art, anatomy can be flexible, stylized, or exaggerated, depending on the design. But the fundamentals—knowing how bodies move, how light hits surfaces—are still crucial. Without them, even the wildest ideas can look flat or awkward.
Also, concept artists often juggle several software tools. Mastery of programs like Photoshop or Procreate can be a big help, yet the focus leans more toward quick iteration and exploring ideas rather than perfect polish. It’s a messy process. If you thrive in controlled environments, concept art might feel overwhelming.
What surprises me is how much trial and error shapes concept art skills. You might be highly creative but find the technical side tricky; or vice versa. So, how do you balance imagination with skill? And can you really develop both at the same pace? It’s a question every beginner wrestles with when stepping into concept art drawing.
Tools For Concept Art And Poses
Traditional Art Supplies
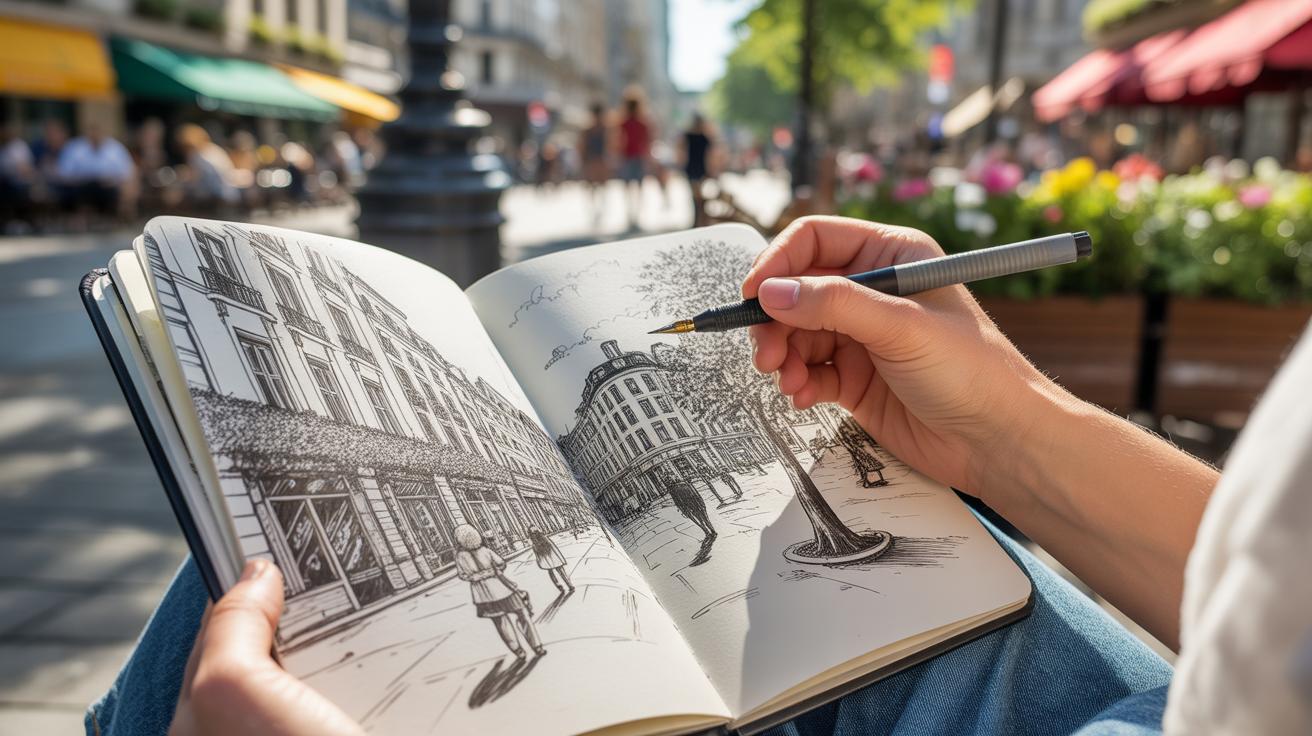
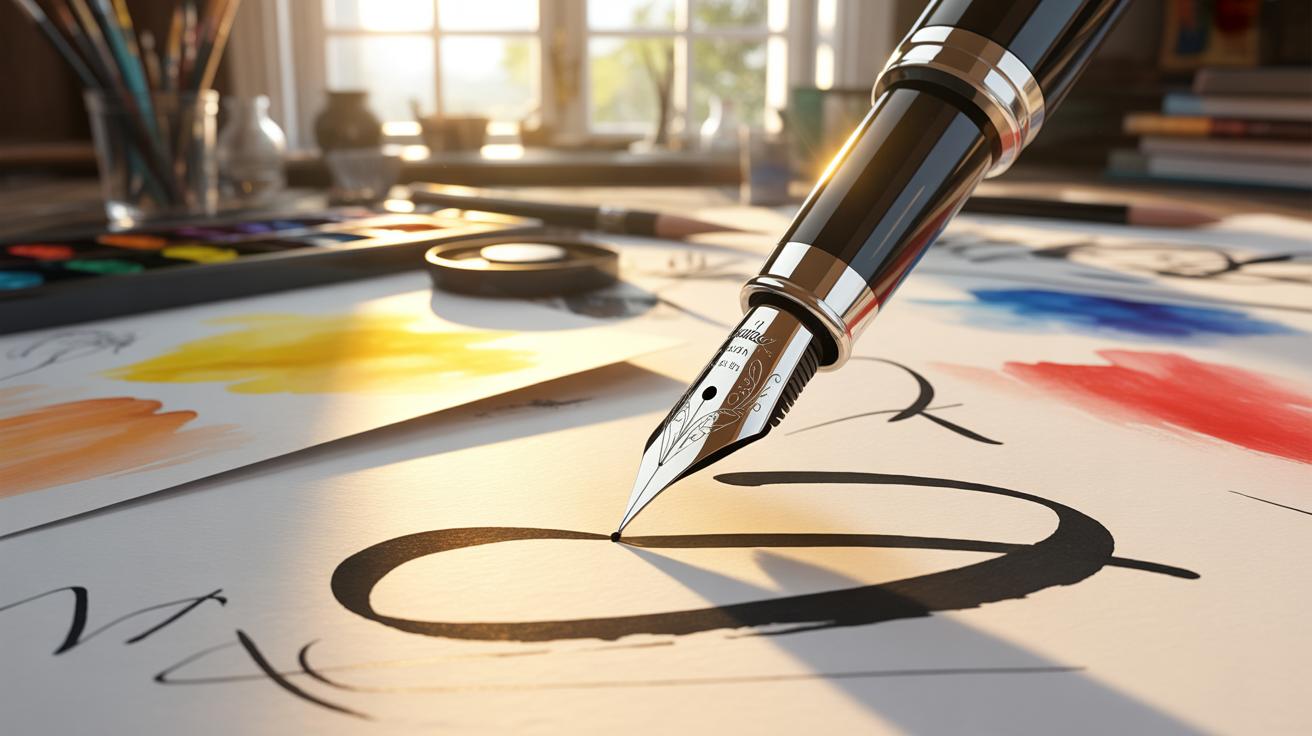
When it comes to concept art drawing, traditional tools still hold a special place for many artists. Simple materials like pencils and paper often form the backbone of early sketches. Many concept artists prefer starting with a soft HB or 2B pencil to explore ideas loosely—there’s something about the tactile feel that digital can’t quite replicate. You might find yourself reaching for a range of graphite pencils, from light to dark, to add depth and contrast quickly. Markers, especially those with different nib sizes, can help refine lines or add bold, graphic elements. Some artists like to mix in colored pencils or watercolors for quick color notes.
Paper choice matters too. Thicker sketchbooks or bristol boards are popular because they can handle erasing and layering without warping. I’ve noticed that even in a digital age, the fundamental process remains the same—you start rough and refine slowly, and traditional tools often encourage that patient build-up.
Digital Software Options
On the digital side, programs like Photoshop and Procreate dominate concept art workflows. Photoshop’s versatility stands out—it lets you experiment endlessly with brushes, layers, and textures. Procreate, favored on the iPad, feels intuitive and portable, great for those spontaneous bursts of creativity. Both allow undoing mistakes instantly, which changes how you approach sketching versus paper. You might spend less time worrying about mistakes and more time exploring shapes and colors.
Besides these, there are other noteworthy options like Clip Studio Paint or Krita, which offer robust brush engines tailored for drawing and painting. The choice often depends on your setup and personal preference. Some artists even blend traditional and digital methods—sketching on paper, then scanning and refining digitally. This mix can give you the best of both worlds. So, what tools work best for you? Maybe try a few, and see which ones fit your style and workflow.
Common Mistakes And How To Avoid Them Concept Art Drawing
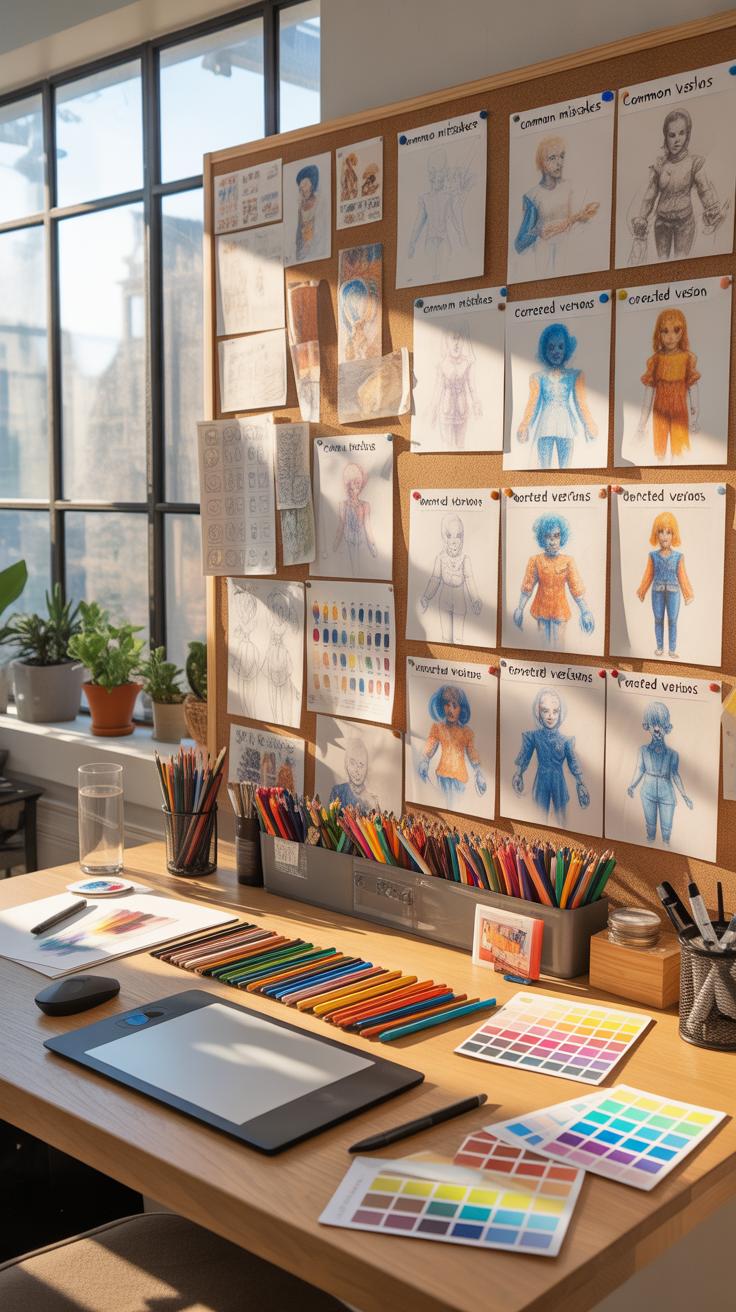
One thing I’ve noticed, especially with beginners diving into concept art drawing, is the urge to jump straight into details. You start shading or texturing before you even know what you want to create. It’s tempting to get caught up in making things look cool immediately, but without a solid foundation, the whole image can feel off or confusing. Sketching rough shapes and exploring simple silhouettes can give you a clearer vision. Without this step, your design might end up inconsistent or flat because you haven’t tested the core idea.
Another tricky part is anatomy—or the lack of attention to it. You might think concept art can bend reality, so why bother with anatomy? Well, even the wildest characters need some believable structure. When anatomy is overlooked, poses feel stiff or impossible, and designs lose weight and balance. For example, a character with limbs that don’t seem connected properly or a torso that looks awkward can pull the viewer out of the story. So, learning basic human and animal anatomy isn’t just for realism; it helps you understand how forms move and interact.
Sometimes I catch myself trying to polish a design before solving these basics, and it rarely works. Instead, a better approach might be:
- Start with very simple sketches or thumbnails to test ideas quickly.
- Spend time studying anatomy references or doing quick figure studies, even if your final style is exaggerated.
- Don’t get frustrated if early drafts look rough—that’s part of building a strong design.
- Ask yourself if your character could physically exist, even if in a stylized way.
How often do you find yourself tweaking details before nailing the structure? Maybe that’s why some pieces feel unsatisfying. Slowing down and focusing on planning and understanding anatomy first might actually speed up your progress and improve your results in the long run.
Case Study Comparing Both Art Types
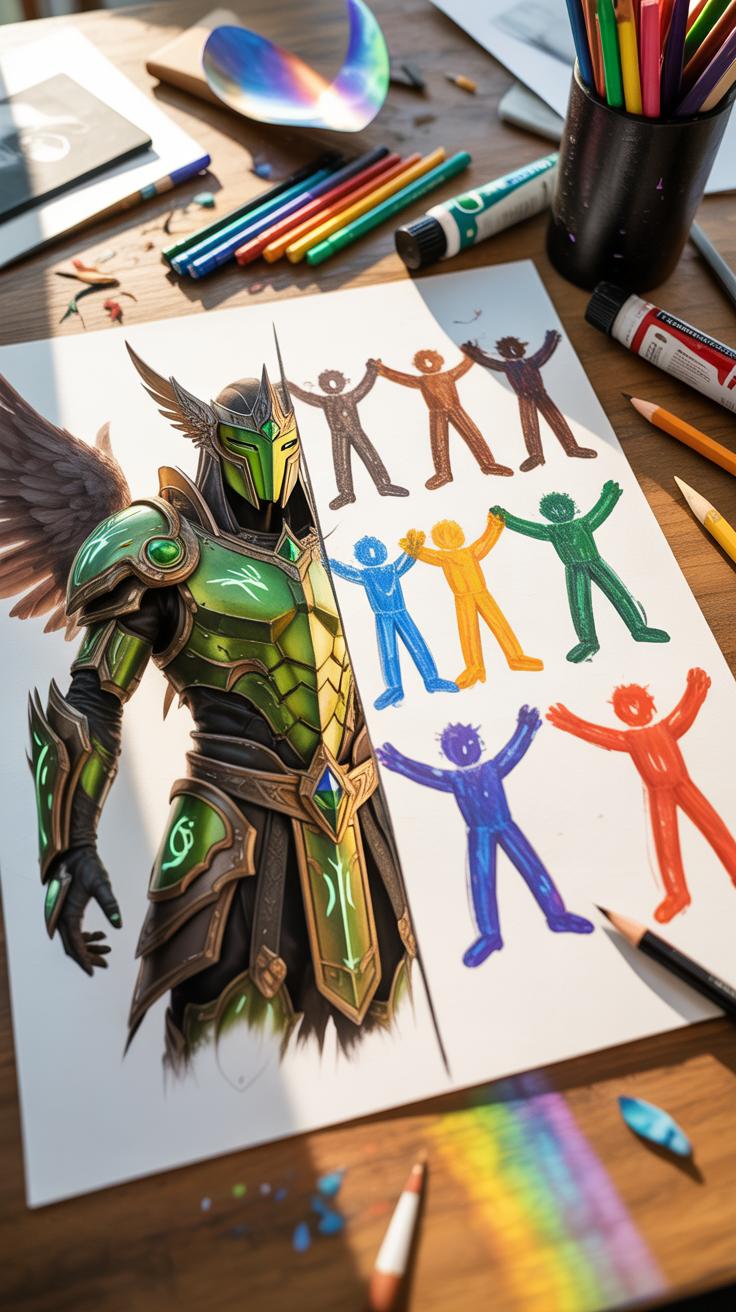
Analyzing The Concept Art Example
The concept art drawing shows an attempt to create a mood and atmosphere beyond the character itself. There’s a clear effort to include background elements, suggesting a scene or story. You can spot the use of shading and texture to give depth, although the values sometimes feel a bit uneven, making some details harder to read. The creativity comes through in how the artist mixes clothing styles and gear, pushing beyond typical costume choices, which is a good sign they’re trying to think beyond the basics.

Still, the lines aren’t always confident and some proportions wobble slightly. The clarity of the character’s form gets lost in areas where crowding or overlapping happens—something common for beginners to wrestle with. Overall, there’s a sense of exploration, but perhaps a bit more focus on simplifying the shapes before detailing could help. It’s interesting to see where they want the piece to go, even if the execution isn’t fully there yet.
Reviewing The Character Pose Sketches
The pose sketches focus heavily on body language, which is refreshing—there’s an obvious attempt to convey movement and personality. Some poses feel natural, others less so, especially when anatomy is involved. The joints occasionally bend awkwardly, and limb lengths don’t always match up. But the expressions, even when roughly done, hint at emotions rather than standing neutral, which shows promise.
What stands out is the looseness of these sketches; they don’t feel constrained by details, and that can be good for beginners learning the basics. Yet, some poses suffer from stiff postures or unclear weight distribution, making the figures look off-balance. It’s a bit like the artist is trying to capture life but hasn’t quite grasped the fundamentals of how the body works yet.
How To Progress Beyond Beginner Level

Once you’ve got the basics of concept art drawing and simple character poses down, the next steps might feel a bit unclear or overwhelming. You’ve practiced, you’ve learned, and now it’s time to move beyond just “getting it right” to creating work that feels more purposeful. Building a portfolio is one way to do this—it forces you to select your best pieces and show some kind of progression or style. It’s less about quantity and more about showing thought and polish.
Think about curating a range of artworks that highlight different skills: some designs that really push character details, others that explore mood or storytelling. This collection will be useful when you seek reviews from peers or professionals, or when you want to apply for jobs or commissions.
Seeking feedback beyond your usual circle matters too. Getting opinions from artists with varied experience can reveal blind spots you didn’t notice. It’s not always comfortable but critical. Sometimes, you might feel stuck in your style or unsure if your work holds up technically—external critique offers guidance and fresh perspectives.
At this stage, trying more complex poses and incorporating digital painting techniques can help. Maybe you start experimenting with lighting or texturing, or work on compositions that tell a clearer story. Digital tools offer options you might not have used before, and mastering these expands your possibilities. Does this mean abandoning your simple sketches? Not really—but evolving them gently to see what else you can do.
Progress isn’t linear; sometimes you’ll revisit basics or struggle with new challenges. The key is to keep refining and pushing the boundaries of what you thought you could do. What parts of your work excite you the most? Focus there, but don’t forget to stretch into areas that might feel uncomfortable at first. That’s often where real growth happens.
Conclusions
Drawing concept art and simple character poses develop different skills but together enrich your artistic ability. Concept art drawing helps you visualize and communicate broad ideas and detailed designs needed for media and storytelling.
Meanwhile, practicing simple character poses improves your understanding of human form and movement, which is crucial for adding life and realism to your creations. By learning both, you build a strong base for art that tells stories and engages viewers.