Introduction
Drawing nature pictures is a great way to capture the beauty around you. By using the right techniques, you can create realistic landscapes that look like real photos. This article will teach you simple steps and tips to help your drawings come alive with details found in nature.
You will learn about the tools and materials needed, how to study nature for drawing, and techniques to add texture and depth. We will also cover ways to practice and improve your skills so your nature pictures look real and impressive.
Essential Drawing Tools for Nature Art
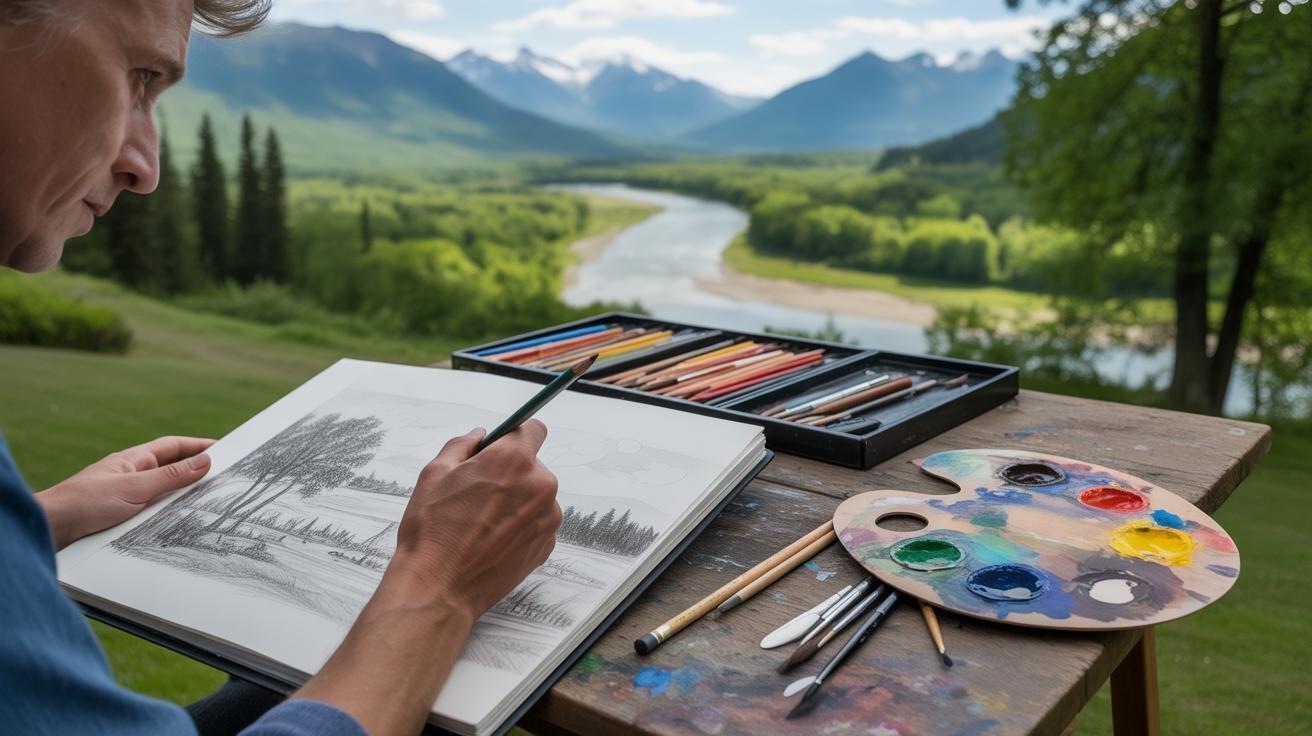
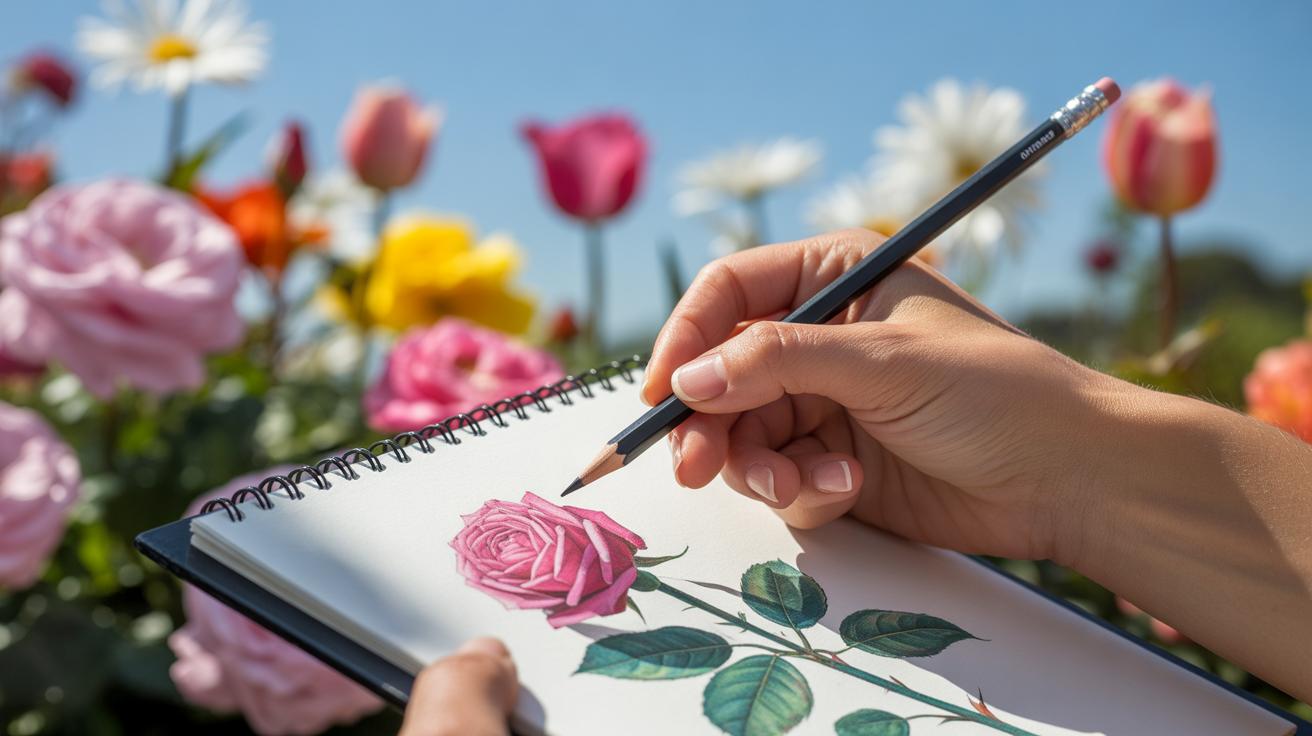
When you start drawing nature pictures, the tools you choose can make a big difference. At the very least, you need a good set of pencils, erasers, and suitable paper. But beyond that, some helpful materials might make the process smoother or even more enjoyable.
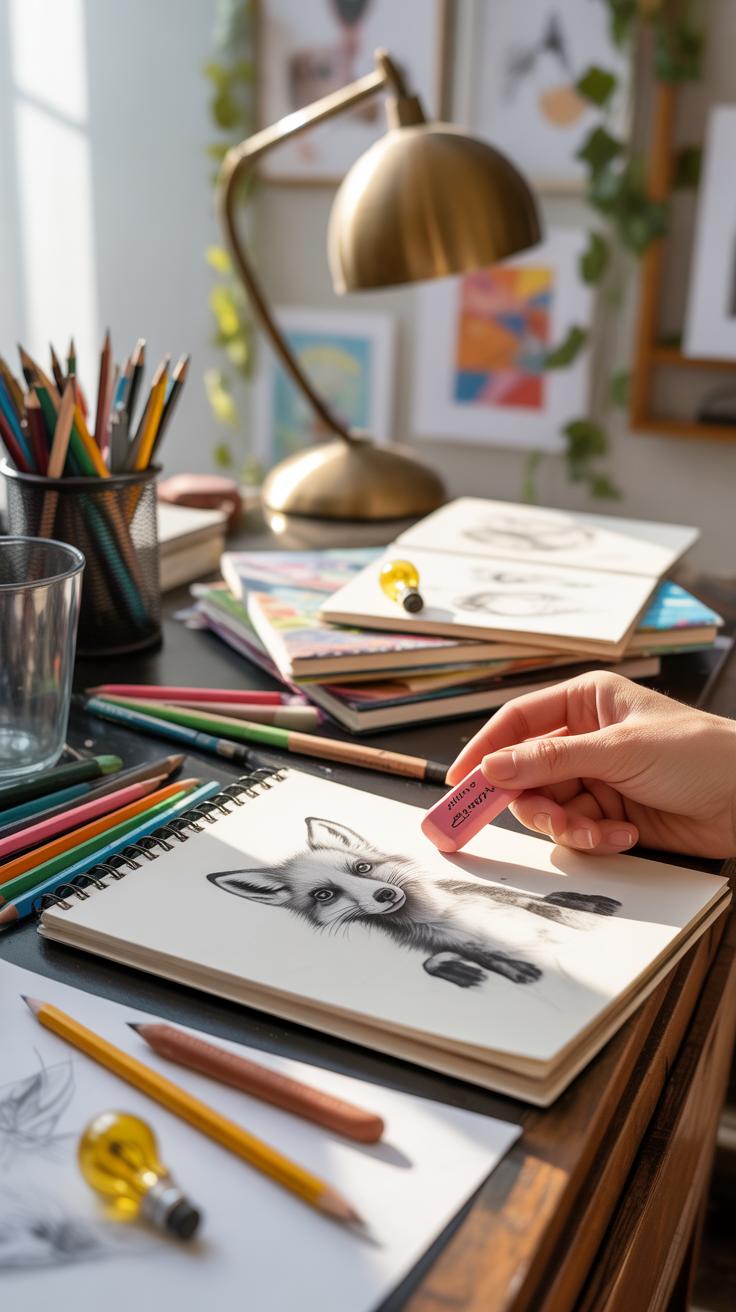
Pencils are obviously central, but you’ll also want a way to erase without damaging your paper. A kneaded eraser, which feels almost like putty, can lift graphite gently and reshape easily—perfect for subtle corrections or creating highlights. A more traditional rubber eraser can handle larger mistakes but sometimes leaves smudges or tears if used roughly.
Paper type is surprisingly important too. Thicker sheets handle layering and repeated erasing better, while thinner paper might buckle or lose texture. You might also want a pencil sharpener, blending stumps for smooth shading, and maybe a fixative spray to preserve your final drawing.
At first, it’s tempting to grab everything at once. But focusing on a few quality basics can actually help you develop your technique more clearly. What tools feel right in your hand? Which ones help you capture the fine, natural details? Exploring these questions is part of the early adventure.
Choosing the Right Pencils for Detail
Pencils aren’t just pencils. Their hardness varies, usually marked from H (hard) to B (soft), and this range impacts how they work on paper. Hard pencils—like 2H or 4H—leave faint, light lines that are great for outlining shapes or drawing thin branches. They don’t smudge as easily, so they hold up well when you want precise, clean lines.
Softer pencils, such as 2B or 6B, produce darker, richer marks. This makes them useful for shading leaves or deep shadows where you want more contrast and texture. But soft pencils smudge much easier and wear down faster, so frequent sharpening might be necessary. They also blend well, which helps if you want softer transitions between light and dark.
Finding the balance matters. I sometimes switch between a hard pencil for sketching the general form, then a softer one to add depth and complexity. It’s almost like two different drawing “voices” working together in one picture. You might prefer a different approach, or end up mixing several grades for varied effects – that’s fine too.
Paper Types That Enhance Your Drawing
Paper texture impacts how your pencils behave. Smooth papers are great for fine details because there’s less tooth to catch the graphite; lines come out cleaner, and erasing is easier. Still, too smooth can feel slippery or boring if you like more texture.
Rough or cold-pressed papers have noticeable grain. This texture can add life to your drawings by creating natural-looking grainy marks, especially useful for capturing bark, grass, or rocky surfaces. But fine details can be trickier—it’s easy to lose control if you’re not careful.
Weight is another factor. Heavier papers, like those over 200 gsm, are sturdier and better for multi-layered work or wet media mixed in. Lighter sheets might warp with heavy shading or erasing but are cheaper to practice on. I tend to keep different papers on hand, switching depending on what feels right for the mood or technique I’m aiming for.
Have you noticed how the paper can almost shape how you draw? Choosing it isn’t only about durability but also about what kind of marks and moods you want to create. Sometimes the paper literally pushes your hand in a certain direction—you might find yourself surprised by what surfaces inspire you most.
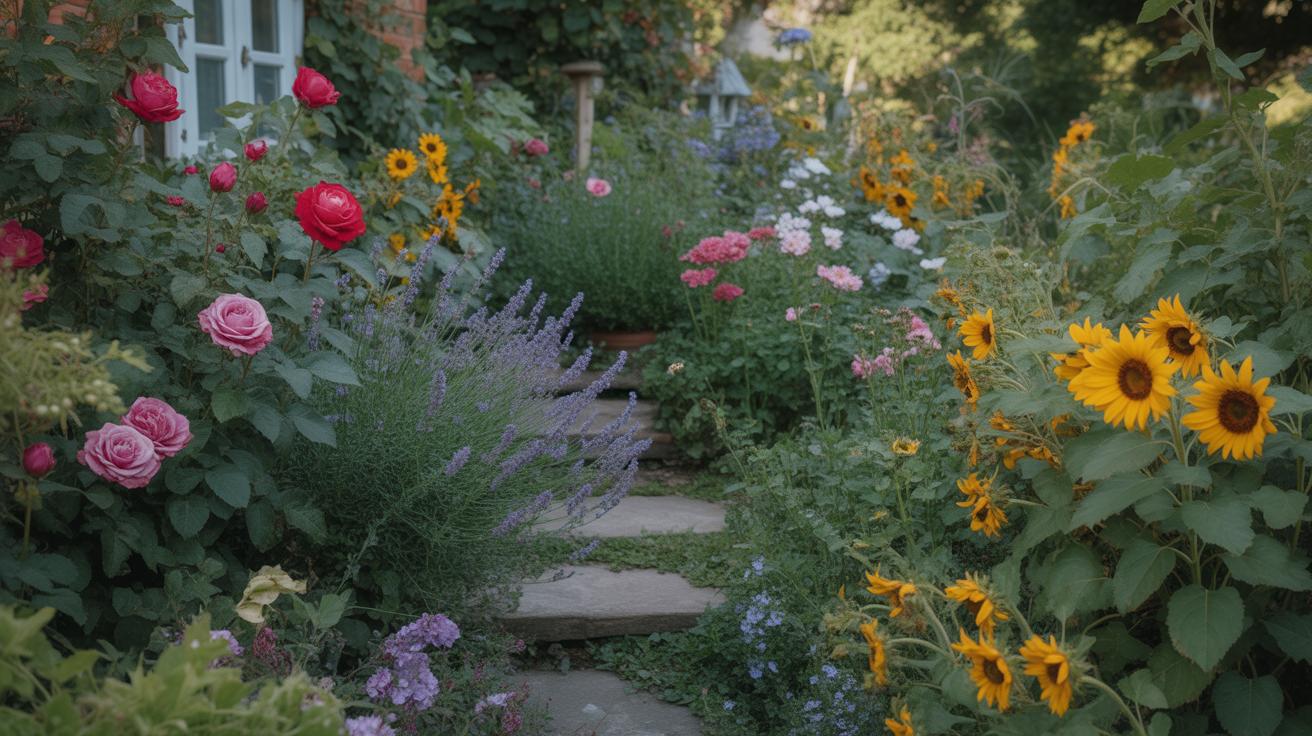
Where to Find Inspiration Outdoors
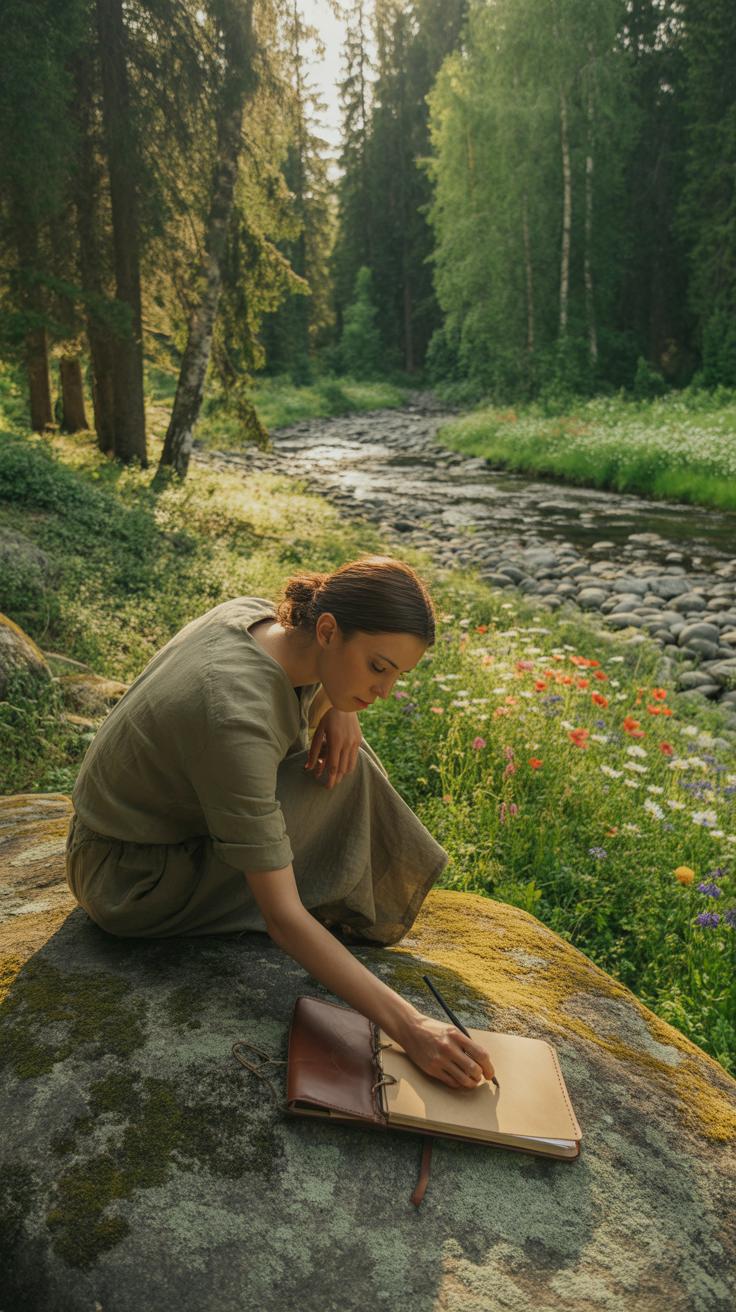
When you step outside to find a scene to draw, it’s easy to get overwhelmed by everything around you. The trick is to narrow your focus without forcing it too much. Sometimes, you might spot a patch of sunlight filtering through leaves, or a lone rock with an unusual shape that catches your eye. Other times, it’s the way water moves—or almost stands still—that draws your attention. Let yourself wander slowly and keep scanning your surroundings, but don’t rush into a decision.
It helps to ask yourself a few questions as you look around:
- What catches my eye without trying too hard?
- Do I notice any patterns or textures that feel interesting?
- Is there a mood here I want to capture—a calm morning, a restless breeze?
Sometimes you’ll be drawn to bold, obvious details. Other moments call for subtle things—the curve of a branch, the way moss clings to bark. Don’t hesitate to change where you’re looking if nothing feels inspiring right away. Inspiration can be fleeting and a bit unpredictable.
Spotting Interesting Natural Details
Pay close attention to the small things. Trees aren’t just trunks and branches. See how the bark changes texture or color? Do you notice knots, cracks, or peeling layers? Rocks aren’t just blobs either—look closer for edges, angles, and how light and shadow play across their surfaces.
Water offers endless variety. Try to observe reflections or ripples without fixating on drawing them immediately. Plants vary widely—not just in shape but in how leaves overlap or how tiny veins create complex patterns. When you slow down enough, nature reveals countless details that invite exploration.
Keep a small sketchbook handy. Jot quick notes or tiny drawings of details you might want to revisit. Sometimes a quick sketch of a single leaf tells you more than a rushed attempt at a whole scene.
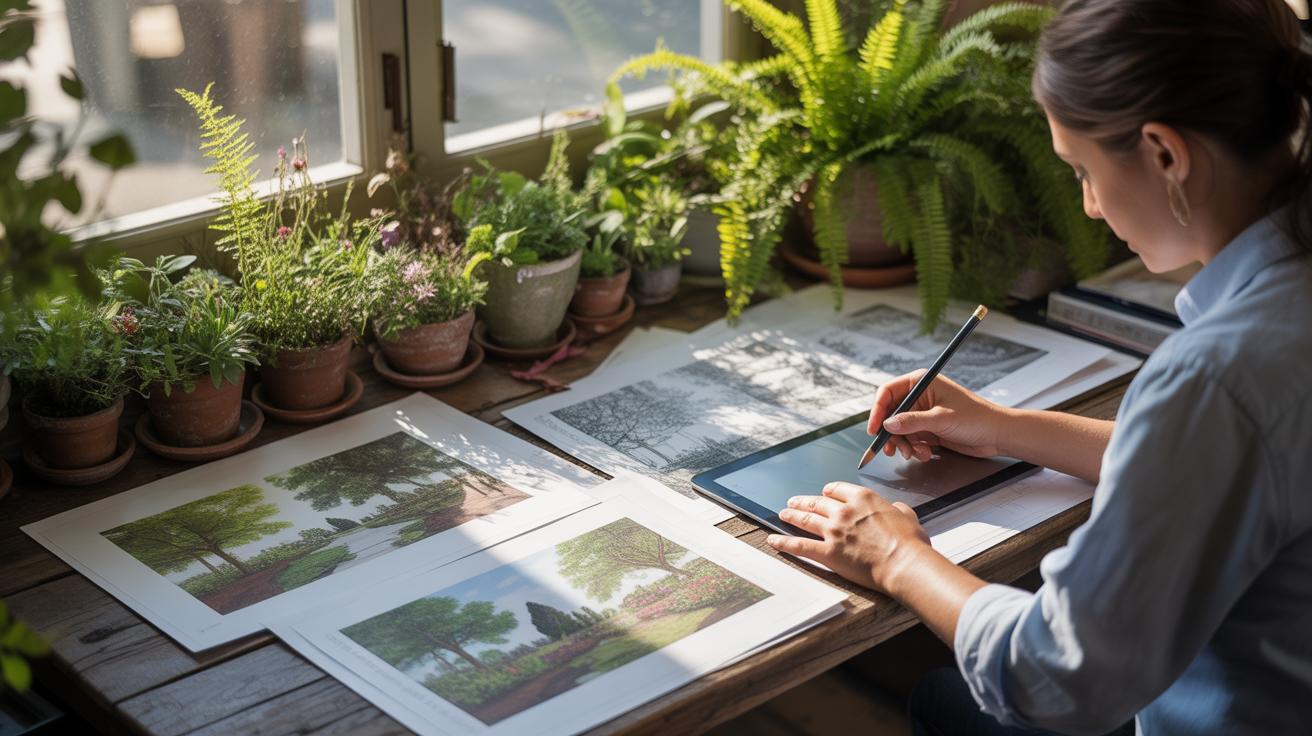
Using Photos for Reference and Practice

Photos can be useful but tricky. You might find it tempting to rely on them too much. Still, they’re a great safety net for moments when weather changes suddenly or when a subject moves out of sight. Try to use photos as support—to study complex parts or practice tricky textures—rather than as the sole basis for your drawing.
When you’re working from photos, pick images that feel authentic. Sometimes staged or overly perfect photos lose the natural randomness present outdoors. Also, be aware that photos flatten depth and simplify colors, so make sure to remind yourself of how the real thing feels and looks in three dimensions.
Occasionally, combine onsite observation and photos. A sketch from life followed by detailed work with a photo to fill in gaps can produce richer, more nuanced results. It’s a bit like layering your understanding, making the drawing feel alive instead of just a copy.
Step by Step Nature Drawing Process
Starting a nature drawing can feel overwhelming if you don’t have a clear plan. You might want to jump right into details, but taking it step by step can make things smoother.
Here’s a checklist to guide your process from the first lines to those final touches:
- Begin by observing your scene closely. What’s the main subject? How do elements relate spatially?
- Sketch simple shapes—circles, rectangles, triangles—to block out trees, rocks, or hills. This helps set the composition early without getting lost in details.
- Lightly outline your main shapes so they can be adjusted easily.
- Refine these basic forms into more accurate outlines, shaping branches, trunks, or leaf clusters.
- Apply shading to suggest volume and depth, keeping the light source consistent throughout.
- Add texture by using varied pencil strokes or patterns—for example, short, sharp lines for bark or soft, layered strokes for foliage.
- Check proportions regularly and tweak where needed before moving on.
- Introduce shadows on the ground and between overlapping objects; these anchor your drawing and make it feel real.
- Finish by enhancing small details like leaf veins, cracks in bark, or tiny pebbles to enrich the scene.
Breaking your drawing down makes it less intimidating and improves accuracy. When I first tried this approach, I was surprised how much easier it became to manage complex scenes, even though sometimes I caught myself overworking textures early on. Do you often find yourself tempted to jump ahead? Try pausing and going back to your basic shapes—they really are the backbone of the drawing.
Laying Out Your Scene with Basic Shapes
Nature may look chaotic at first, but there’s usually an underlying structure. It helps to step back and pretend you’re building a model rather than drawing a forest. Imagine a tree as a giant oval for the canopy and a cylinder for the trunk. Rocks become irregular rectangles or circles. Even shadows can be simplified into elongated ovals or triangles.
This approach is not about exact tracing—it’s more like placing puzzle pieces. Getting these right makes your whole drawing balanced and easier to navigate. When I ignore this step, the drawing tends to feel off, like something is “wrong” but I can’t put my finger on it.
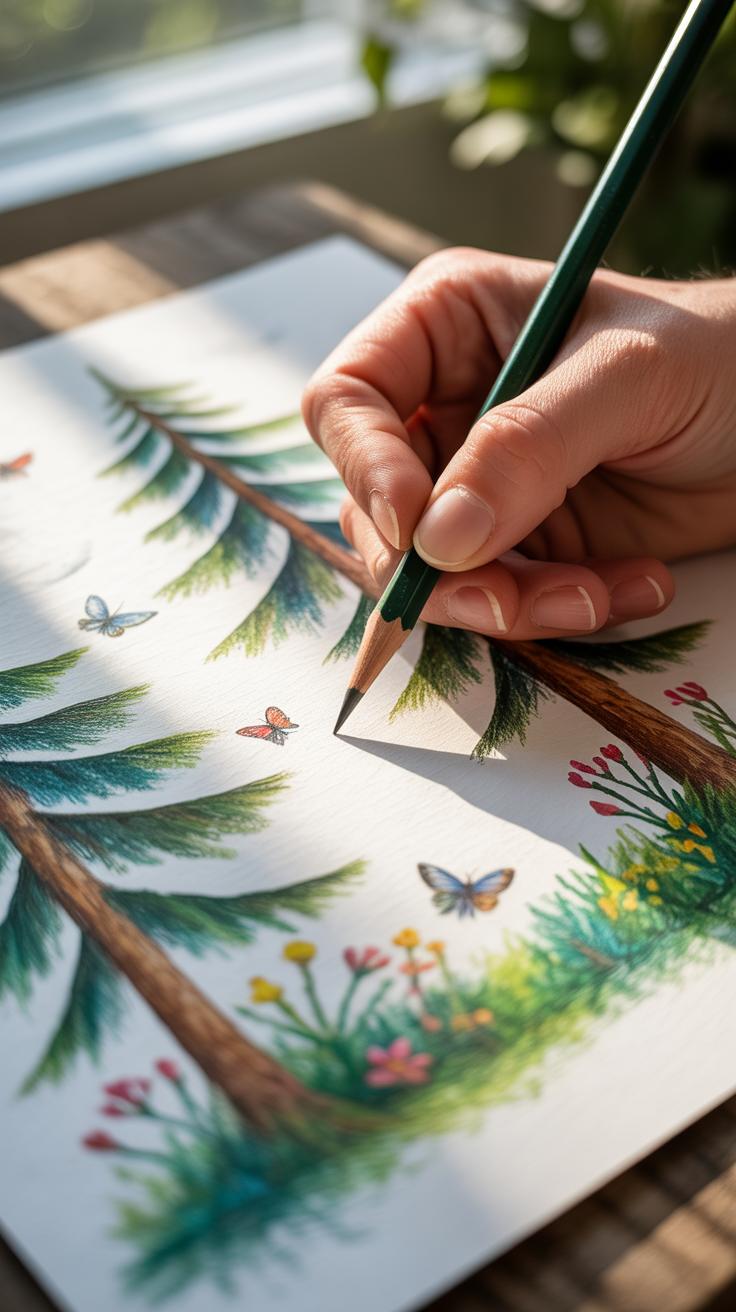
Adding Textures and Shadows
Texture is what sets your nature drawing apart from a flat outline. But adding texture isn’t just about random lines. Try observing the patterns in bark—straight, rough lines versus scaly patches—and mimic those with your pencil. Leaves vary too, from smooth edges to serrated ones, so your strokes should reflect those differences.
Shadows often carry subtle patterns themselves. For instance, dappled light through leaves creates spots and shapes rather than simple dark areas. Use a combination of cross-hatching and stippling to recreate these complexities.
Remember, shadows have soft and hard edges. Play with pressure on your pencil to make some shadows fade gradually and others stand firm. I sometimes find myself unsure whether to push a shadow darker or keep it light, which is part of the process, I think.
Do you notice how certain textures change depending on light angles? Exploring this in your drawing adds a level of realism that’s hard to fake.
Common Mistakes to Avoid When Drawing
Overworking vs Underworking Areas
When you’re drawing nature, one trap is overworking certain parts. Sometimes, you end up chasing details endlessly, pressing harder, layering again and again, hoping for more realism. It can backfire. Too much detail can clutter your picture, making it look busy or unnatural, especially if other sections remain simple. On the other side, underworking areas leaves your drawing feeling flat or incomplete, like you just gave up halfway. Finding balance means knowing where to stop and where to invest time.
Try to decide what should be the focal point and give it more attention. Let some areas stay loose or suggestive. It’s okay if some leaves or branches are less detailed. That contrast can help your eye rest and makes the whole scene more believable. Sometimes less really is more. So, question yourself: are you adding detail because it truly improves the image or just because you want to keep drawing?
Ignoring Light Direction
Light direction is easily overlooked, but it’s crucial to get right if you want something that feels realistic. If you don’t consider where light hits, shadows end up all over the place or missing completely. The result? Weird, lifeless forms. You might draw a tree trunk with shadows going different ways, which confuses the eye. Or leaves that look like they’re flat patches with no volume.
Spend time deciding your light source before shading. Is the sun coming from the side, above, or behind? Stick with it consistently while adding shadows and highlights. It doesn’t have to be perfect, but if you don’t at least try, your nature picture won’t feel three-dimensional. Sometimes, I’ve messed this up myself and suddenly realized the whole piece looked off. Fixing that meant rethinking shadows, which was annoying but necessary. Will your light direction even be obvious? Maybe not, but it still shapes the feel of your drawing.
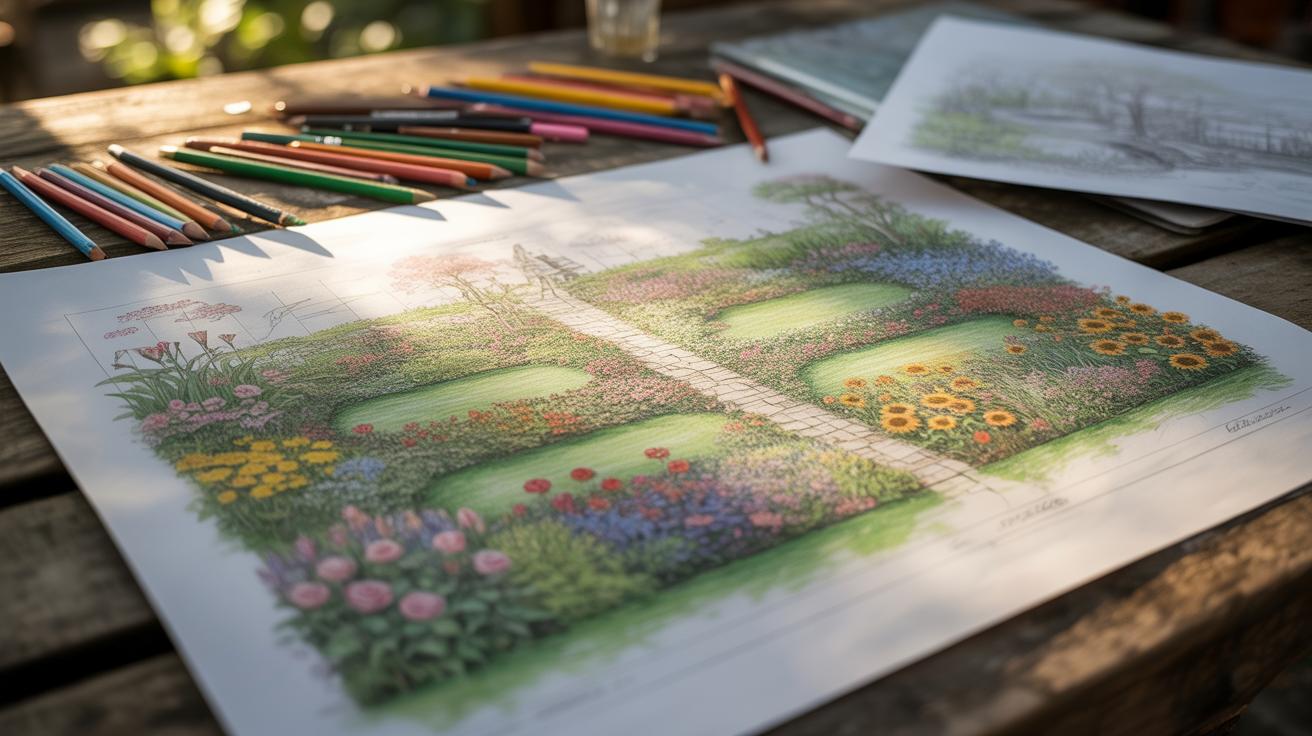
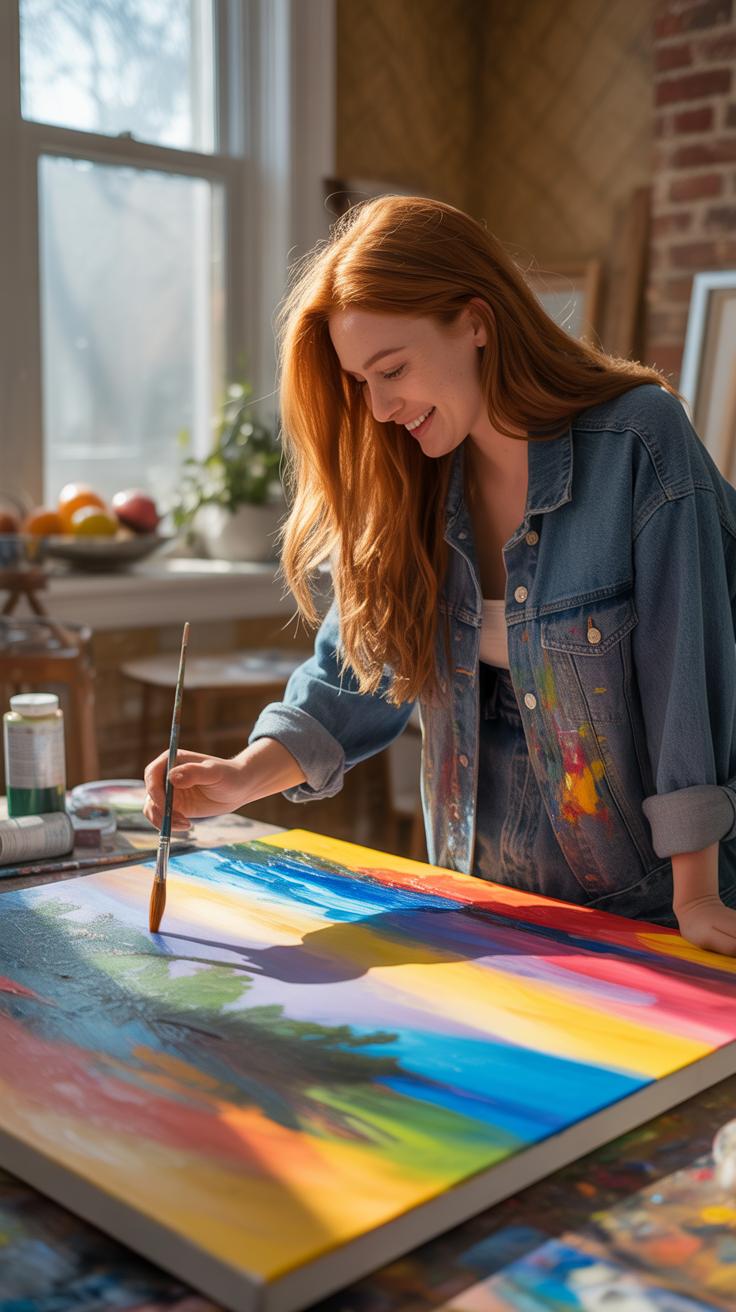
How to Use Colors in Nature Drawing
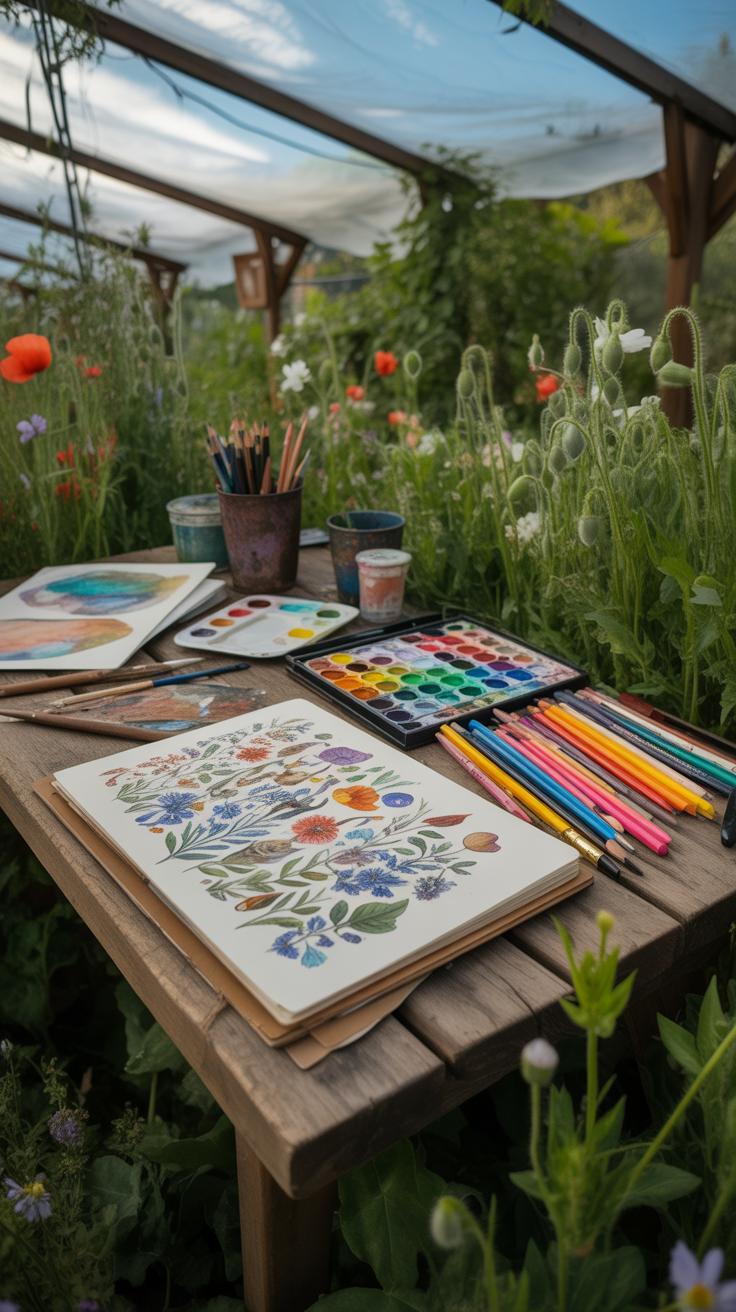
Using color pencils or watercolors can really bring your nature pictures to life, but choosing which to use depends on what effect you want. Color pencils allow for precise details and layering. You can control the pressure and build up deeper colors gradually. In contrast, watercolors give a softer, more fluid feel that can capture the subtle shifts of light and shade in nature.
When picking colors, think about what you see around you. Nature rarely offers pure, bright hues; instead, it presents muted variations—grayed greens, dusky blues, earthy browns. Try selecting shades that feel close to these subtle tones rather than going for the most saturated pigment in your box.
Blending colors softly is key to realism, especially in things like skies, water, or gently rolling hills. With pencils, you can layer light strokes and blend using a colorless blender or even tissue softly rubbed. For watercolors, wet-on-wet techniques help create smooth transitions, though it takes practice not to overdo it. Sometimes, a little imperfection in blending adds texture that feels natural rather than flat.
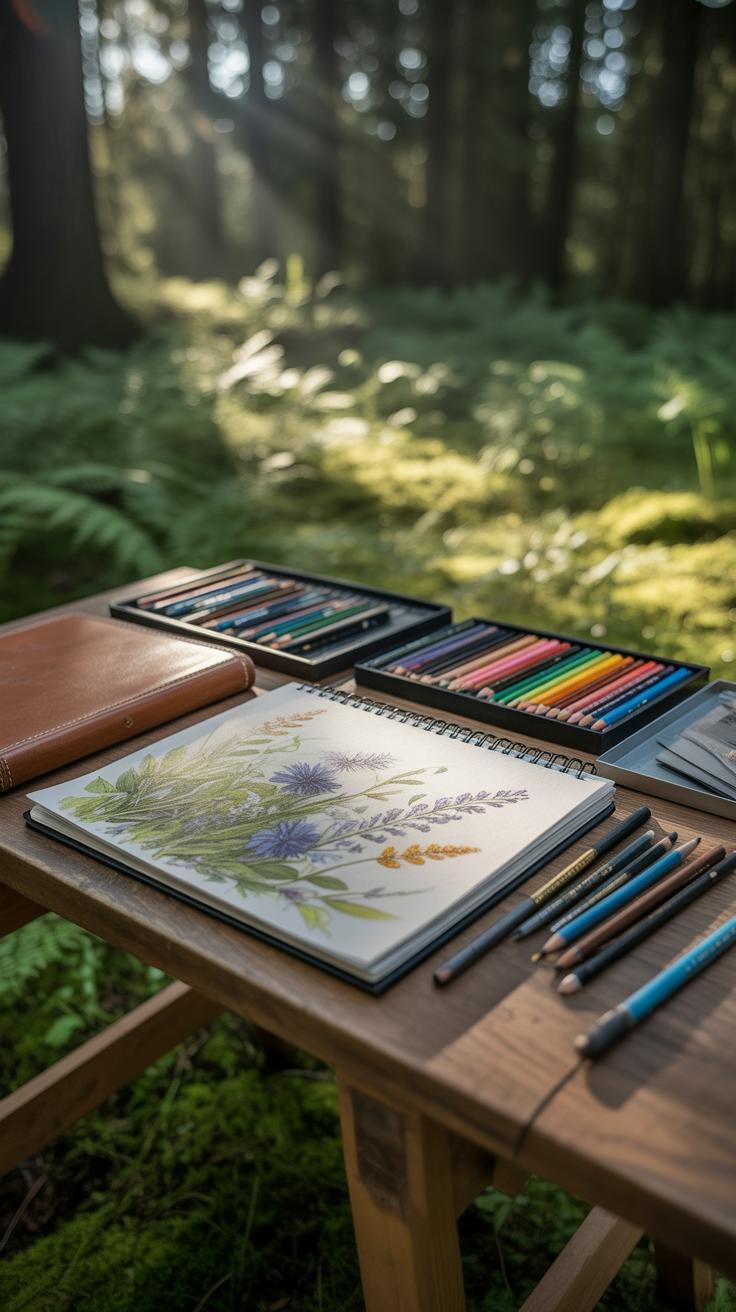
Tools to Help You Draw Outdoors
Selecting Portable and Lightweight Supplies
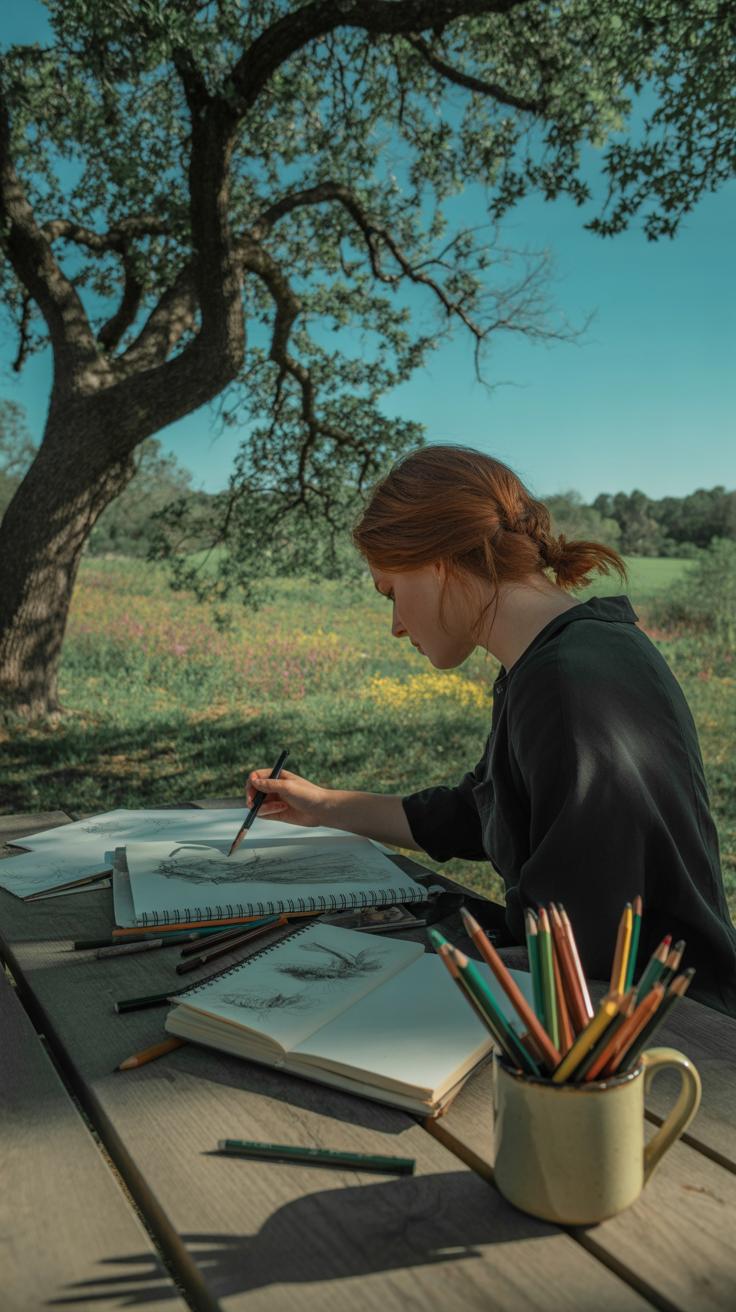
When you’re drawing outside, it’s tempting to bring everything you own, but that usually ends up slowing you down. Instead, try choosing tools that are easy to carry and don’t weigh much. A small sketchbook—say, around 5×7 inches—is usually perfect. It’s big enough for detail but small enough to stash in a backpack.
Pencils or pens that don’t need sharpening are handy. Mechanical pencils or ink pens can save time. You might want to pack a small watercolor set or a few colored pencils if you’re feeling ambitious, but keep those limited; lugging a full paint box is more hassle than it’s worth outside.
Also, a lightweight, foldable stool or seat is great. Sometimes, the ground is damp or uncomfortable, and standing for hours just isn’t an option.
Setting Up a Simple Outdoor Drawing Station
Find a spot that feels comfortable and suits your drawing needs. I tend to look for places with a natural seat, maybe a rock or a bench, and set up nearby. Lay your sketchbook on your lap or a small portable easel, if you brought one.
Organize your tools within easy reach—this way, you won’t waste time digging through your bag. A simple clip or elastic band can hold your paper in place if it’s windy, which it often is outdoors.
Light can change quickly, so if you have a small LED light kit, it can be helpful when the sun dips or if you want to work on details indoors later. Still, I find natural daylight gives the best sense of color and shadow, even if it means sometimes rushing before the light shifts too much.
Practice Ideas for Improving Your Skills
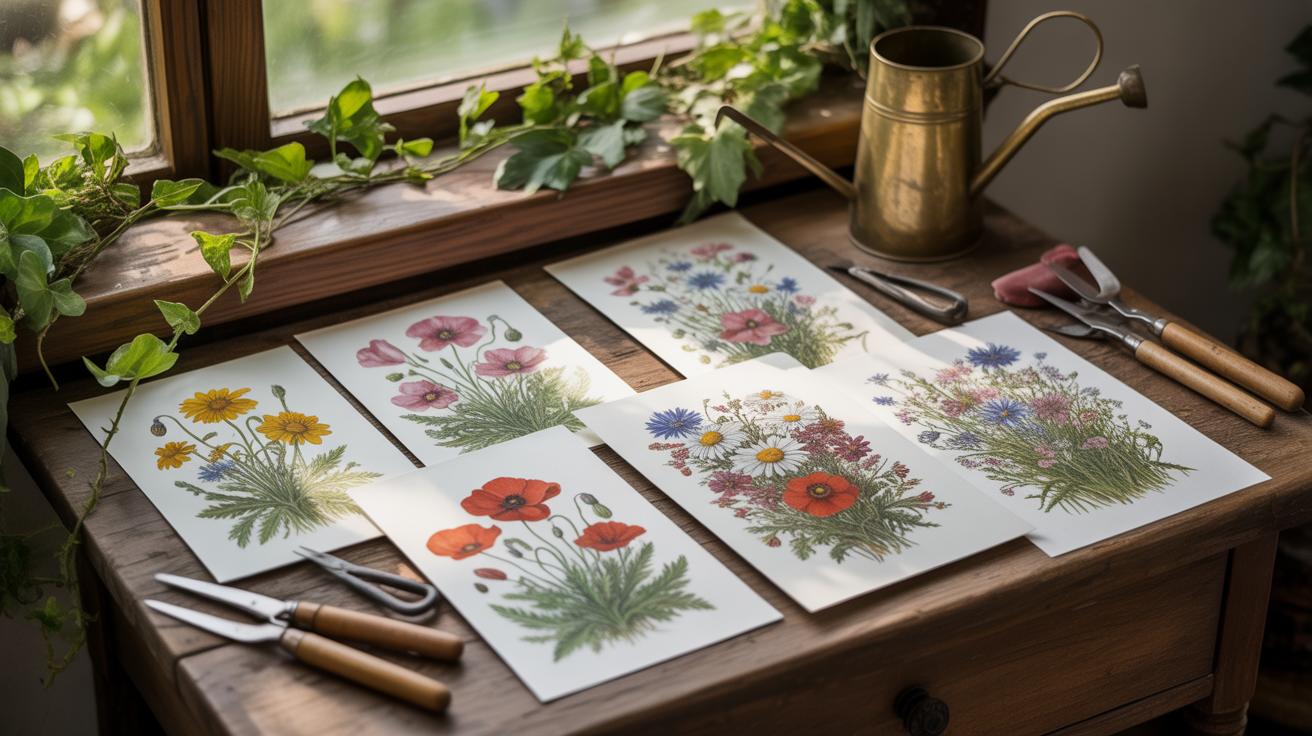
Working on small, natural objects can really sharpen your eye for detail. Try drawing individual leaves, flowers, or even tiny stones you find outside. These subjects might seem simple, but they force you to slow down and notice subtle shapes and textures you might otherwise overlook. When I started focusing on a single leaf, I realized how much I’d been missing—the slight curl of the edges, the veins that don’t quite follow a neat path. It’s tedious at times, sure, but it trains your hands and eyes to work together more precisely.
Timed sketches are surprisingly useful, even if they feel rushed or imperfect. Set a timer for five or ten minutes and capture whatever you see in front of you—a tree, a patch of grass, some clouds. Don’t worry about detail here; instead, focus on catching the quick impressions of light and form. This exercise pushed me to depend less on hesitation and more on observation. It’s not always neat, and your sketches will probably be rough, but they help speed up your process and improve your ability to see the essentials of a scene.
Try mixing these approaches—rapid sketches to loosen up, then slow, focused studies of small objects to tighten your control over details. Over time, you’ll find your drawings become more confident and expressive. Have you noticed how just a few minutes of sketching something quickly changes how you see it afterward? It’s subtle but real, and worth exploring.
Comparing Realistic vs Stylized Nature Art
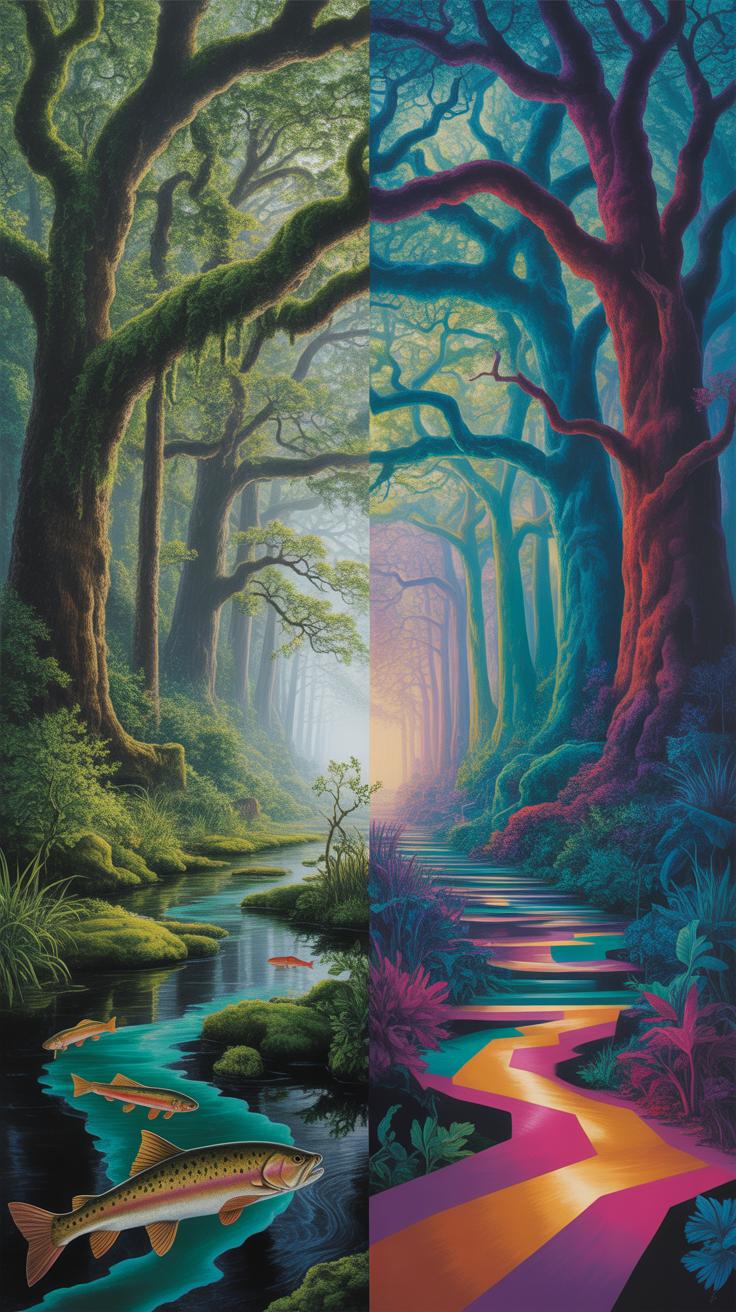
When you look at nature drawings, they usually fall into two broad camps: realistic and stylized. Realistic nature art aims to replicate what you see as closely as possible. The colors match the natural hues, perspectives follow real-world proportions, and every leaf or rock is detailed—sometimes painstakingly so. You might find yourself focusing on tiny textures or subtle shadows that make the scene believable, almost like a photograph.
Stylized nature art takes a different route. It simplifies or exaggerates forms, colors, and shapes to highlight mood, expression, or even just the artist’s unique vision. This approach can strip away the complex visual noise and instead focus attention on key elements. Sometimes, it’s about capturing the feeling of the place rather than its exact look.
So how do you choose? Think about what you want from your art. Are you aiming for accuracy, or do you prefer creative freedom? Realistic drawing demands patience and a close study of your subject. Stylized work might appeal more if you want to experiment, or if the scene is complicated and you want to make it easier for viewers to understand quickly.
One thing I’ve noticed is that sometimes mixing both styles can work well. Maybe you keep the background realistic and let your foreground figures be more playful or abstract. It’s not always a strict either/or question. What matters most is what fits your goals and keeps you engaged.
Conclusions
Drawing realistic landscapes takes practice and the right approach. Using the techniques shared, you can improve your skills and enjoy the process of bringing nature to paper. Remember to observe closely and use various tools to add realistic effects.
Keep drawing often to enhance your skills and develop your unique style. Nature offers endless inspiration, so take your sketchbook outdoors and start creating nature pictures that capture the true spirit of the outdoors.