Introduction
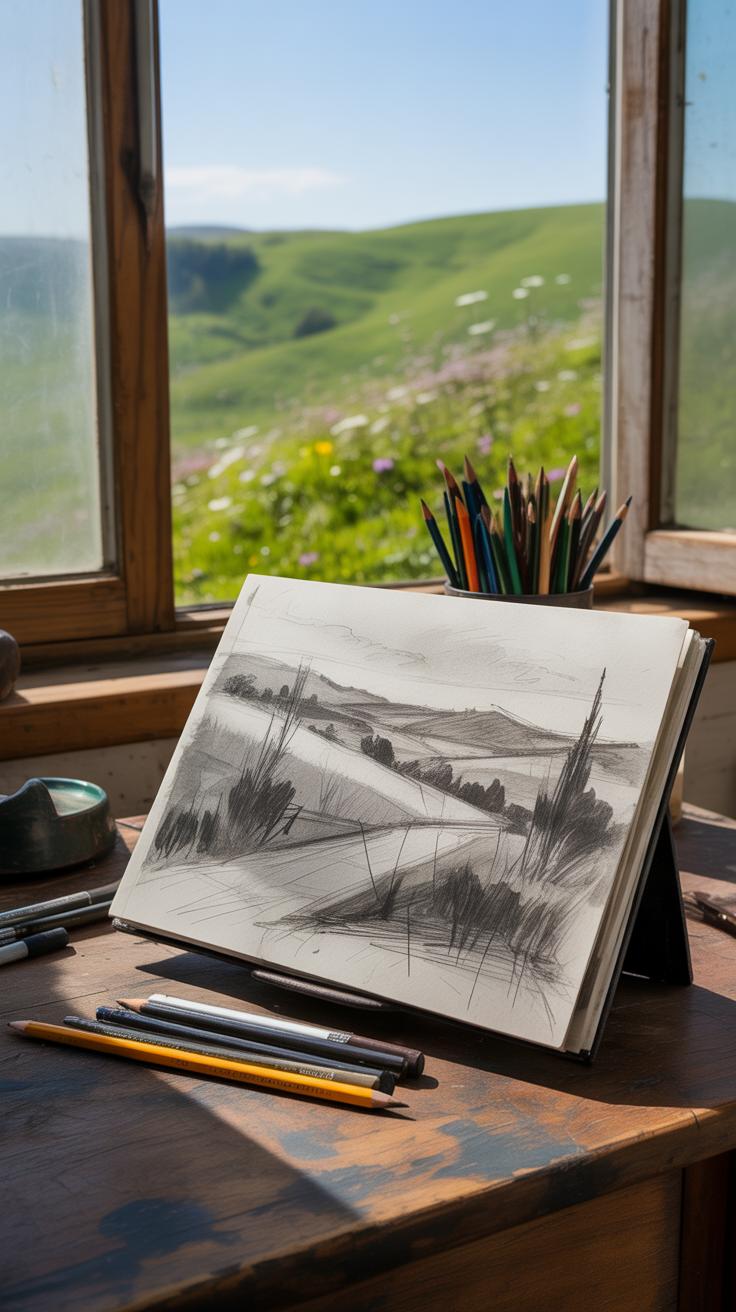
Scenery sketching is a rewarding outdoor art practice, but certain mistakes can spoil your compositions. This article focuses on the common mistakes artists make when sketching nature and landscapes. Addressing these errors helps improve your sketches and makes your outdoor compositions more engaging.
You will learn about key pitfalls in setting up your sketch, handling composition, light, and proportion. Understanding these mistakes lets you capture the beauty of your surroundings more effectively.
Identify Common Scenery Sketch Errors
When you start sketching outdoor scenes, certain errors tend to crop up more often than not. One typical misstep is overloading the page with too many details, which can quickly make the sketch feel cluttered and chaotic. It’s like trying to fit everything you see into one frame without considering what really matters.
Beginners also struggle with scale and proportion. Trees that should be towering might look like bushes, or distant hills might appear oddly large, confusing the viewer’s eye. These mistakes distort the sense of space and depth, making the scene feel flat or unrealistic.
Another common problem is inconsistency in perspective. Objects meant to be aligned might suddenly skew or tilt, breaking the illusion of three-dimensional space. That little slip can pull the viewer out of the moment more than you think.
Spotting these errors early matters because they shape how your sketch communicates mood and place. If you let them go unnoticed, your artwork may lose clarity and impact. And, honestly, fixing each little fault during the sketching process saves a lot of frustration later on.
Weak Sketch Composition Examples
Picture a scenery sketch where the focal point sits awkwardly off to the edge, or worse, is missing altogether. Sometimes beginners cluster all elements in the center, leaving empty, meaningless space around. This imbalance makes the composition feel static or uninspired.
You might see sketches where paths lead nowhere or trees overlap in confusing ways. These issues distract instead of guiding the viewer’s eye through the scene. For example, a winding river that abruptly cuts off or a horizon that looks too high can throw off the entire mood.
Another poorly made choice is overcrowding the foreground with objects, leaving no room for the background to breathe. Without deliberate spacing, the sketch comes across as cramped and confusing. In such cases, the viewer never quite knows where to look first — and that’s a problem.
How Light Mismanagement Hurts Sketches
Getting light right in outdoor sketches is tricky. One frequent slip is applying shadows inconsistently or in the wrong direction. You might see a shadow cast to the left on one tree, then suddenly to the right on the ground nearby. That breaks the natural flow and confuses what time of day it is supposed to be.
Some sketches are flooded with uniform light, making the whole scene appear flat and dull. Without contrast between light and dark areas, shapes lose form and the sketch lacks mood. I’ve often noticed beginners aiming for detail so much that they forget how shadows create space.
On the flip side, overusing dark shadows can swamp parts of the sketch, hiding key details and throwing off the balance. Effective use of light means knowing where to pull back and where to emphasize. When light is mismanaged, your outdoor sketch just doesn’t feel convincing. It’s like the scene never truly came alive.
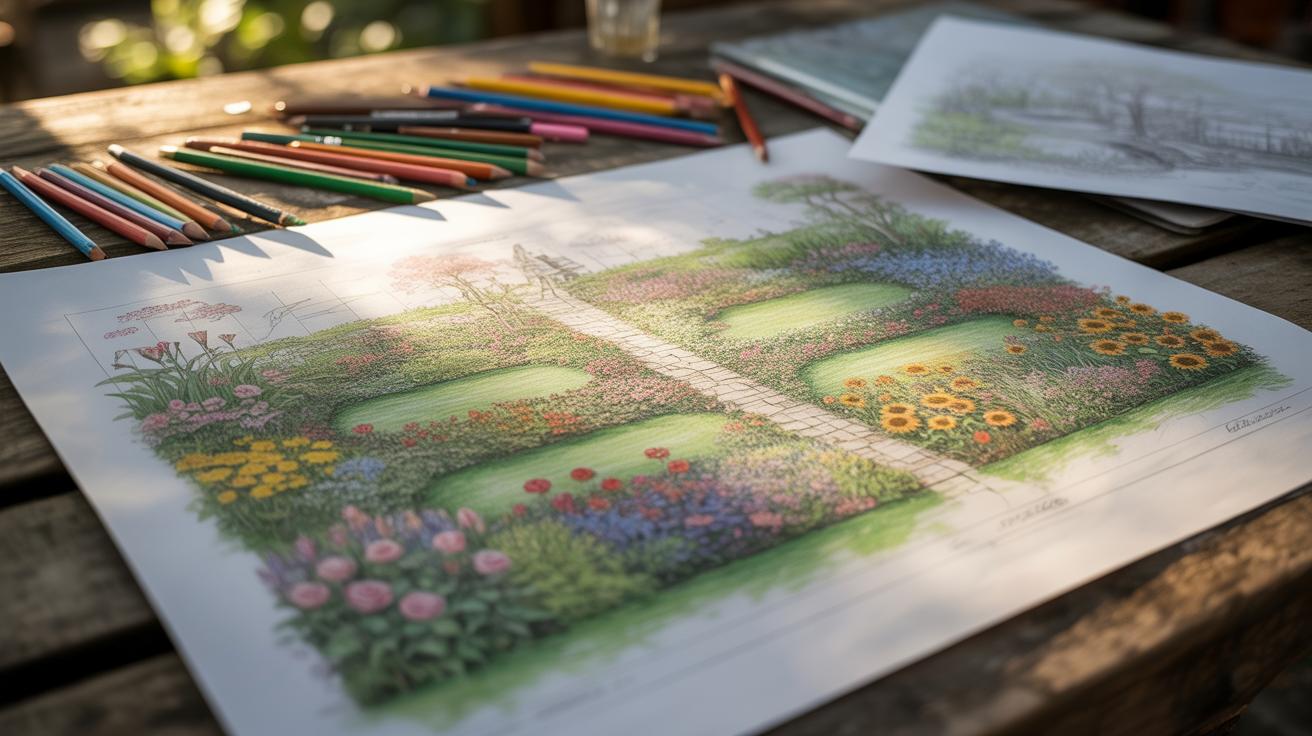
Fixing Composition Issues in Your Sketches

Getting your composition right in a scenery sketch can feel tricky—sometimes you think you have a strong layout, but something still feels off. One practical step is to think about how you arrange your elements in relation to each other. Try moving objects, like trees or rocks, around to create visual weight that balances the sketch without making it too predictable. You don’t want everything clustered in the center or bunched up at one side unless that’s a deliberate choice. Framing certain parts of your scenery, like using overlapping branches or a distant hill as a natural border, can funnel attention toward your main subject.
Don’t hesitate to play with scale and position, even after your first draft. It might seem counterintuitive, but sometimes placing a focal point off-center, rather than dead center, creates more interest. At the same time, be careful not to overdo the chaos; your eye should have a resting place. Think of your sketch as something you can nudge and tweak—each small adjustment opens new possibilities for harmony.
Composition Rules You Should Follow
One of the few composition rules worth keeping close is the rule of thirds. Imagine your paper divided into nine parts by two vertical and two horizontal lines. Positioning important elements near these lines or their intersections generally leads to a more engaging sketch. But honestly, don’t feel locked into this. Sometimes breaking the rule creates tension that works in your favor.
Balance isn’t about perfect symmetry. You can have a large, dark tree on one side balanced by a cluster of smaller elements on the opposite side. The key is to make the visual weight feel intentional. Focal points guide the viewer’s eye, so emphasize a subject by color, detail, or contrast. If your sketch lacks a clear point to focus on, it ends up confusing rather than inviting curiosity.
Step-by-Step Composition Adjustment
When you return to a rough sketch feeling it’s just not right, try this checklist:
- Identify the main subject—ask yourself, what should the viewer notice first?
- Examine how secondary elements interact—are they supporting the focal point, or pulling attention away?
- Check alignment with rule of thirds—do key components sit near those lines or intersections?
- Evaluate balance—does one area feel too heavy or too light? If yes, try shifting or resizing elements.
- Look for natural framing—can you add or emphasize elements that guide the eye inward?
- Step back and view the sketch from a distance—does it feel cohesive or scattered?
This process isn’t foolproof, but it often spotlights problems that aren’t obvious up close. I’ve noticed that fixing one small imbalance shifts the whole composition, making the scene come alive. And that change usually sparks new ideas for the next sketch.
Avoid Light and Shadow Mistakes


Light and shadow shape the entire atmosphere of your outdoor sketch. If you get them wrong, your scene can end up looking flat or, worse, confusing. One common slip is inconsistent lighting—where the shadows fall in one direction on some elements but not on others. It throws everything off balance. Then there’s the trap of overflat shading, where shadows lose their depth and start to look like patches of dull gray rather than meaningful volume.
Natural light changes constantly outdoors—it depends on the time of day, weather, and even the season. Morning light tends to stretch shadows long and soft, while noon light squeezes shadows tight and harsh. This shift alters how objects appear: a tree’s branches might look delicate in soft light but stark and jagged when the sun is high.
When adding shadows, try to observe their actual shapes and edges closely. Shadows aren’t just dark blobs; they vary in intensity and sometimes soften at the edges. Avoid making shadows uniformly dark or placing them where the light source wouldn’t reach. I remember once sketching a sunset scene with shadows cast backward—it ruined the whole composition. Try to keep the shadow shapes consistent with the angle of light. And don’t be afraid to leave some areas lighter, as shadows can be less intense in places, especially outdoors with reflected light.
Mastering Scale and Proportion


Scale and proportion shape how your scenery sketch feels to the viewer. Getting them wrong makes even a detailed drawing look off, almost jarring. Think about a tree that’s taller than a mountain or a tiny figure that suddenly looks huge next to a boulder. These errors create confusion and break the sense of reality you want to build. You might catch yourself focusing so much on details that the relative sizes slip past you. It happens. But sketches of outdoor scenes depend heavily on the relationship between objects to feel authentic.
Common mistakes include:
- Drawing objects out of proportion – like animals that appear bigger than they should be compared to nearby plants.
- Ignoring perspective, so things that should shrink with distance stay the same size.
- Overlooking human figures or buildings as reference points for scale, which leads to ambiguous sizing.
To fix this, try simple measuring tools. Use your pencil at arm’s length to compare heights and widths directly from the scene. Mark the proportions lightly on your sketch before starting details. Also, analyzing negative space between elements can reveal if sizes feel balanced. Sometimes stepping back from your work and squinting helps reveal any mis-sized parts.
Remember, getting scale right isn’t only about accuracy – it’s about how believable your scene becomes. When viewers immediately sense something’s off, they disconnect. So, maybe pay a little more attention next time you sketch, and see how much more natural your outdoor compositions can feel.
Use Effective Line and Detail Techniques

In scenery sketches, the quality of your lines can make or break the whole image. Sharp, confident lines often add depth and structure, while lighter, softer lines hint at distance or less important features. But it’s not always obvious where to push or pull on these qualities—and that’s where many stumble.
One common mistake is overworking the sketch. You might think adding details here and there makes the scene richer, but too many lines clutter the view. The overall composition ends up confusing rather than compelling. It’s tempting to fill every space, especially when you’re excited about a spot, but restraint can be more powerful.
On the flip side, under-detailing leaves your sketch flat and lifeless. Imagine a tree drawn as one vague shape. It lacks character and can’t carry the viewer’s attention. Finding the middle ground is tricky but essential.
Try focusing your effort on key features like a textured tree bark or the edge of a rocky cliff. Draw those with heavier, intentional lines. Then step back and let surrounding areas fade with lighter strokes or fewer marks. This contrast creates hierarchy and guides the eye naturally.
Ask yourself: which parts tell the story? Which deserve detail, and which can stay suggestive? Choosing selectively not only improves clarity but helps maintain your own energy as you sketch outdoors. Over-detailing almost always saps energy and slows progress.

Sometimes I catch myself adding way too many twigs or leaves, thinking “this will look better,” only to realize it’s the smoother, simpler tree trunks that give the scene strength. It’s a balance you feel out better with time.
Choosing Good Sketching Tools

You might underestimate how much your choice of pencils, paper, and erasers affects your scenery sketches. It’s easy to think any pencil will do or that your notebook is fine, but these decisions quickly show in the final result. For example, using a very soft pencil can smudge easily, blurring your lines and making details hard to distinguish—something that frustrates me often when sketching delicate branches or subtle shadows outdoors.
Paper matters more than people realize. Thin or glossy paper can’t hold graphite well and may wrinkle if exposed to humidity. I once tried a cheap pad on a damp morning, and my whole sketch got ruined by smears and warping. Choosing the wrong paper interrupts your flow because you’re constantly worrying about how fragile the surface is rather than focusing on your drawing.
And then erasers. A harsh eraser might tear your paper instead of gently lifting unwanted marks. Some kneaded erasers work nicely, though they can get dirty quickly. I sometimes find myself fumbling to erase tiny spots because I picked the wrong type, losing precious time and patience while outdoors.
Best Materials for Outdoor Sketching

You want gear that’s quick to use, flexible, and forgiving:
- Pencils: A range from HB to 4B covers softer and harder marks well. Mechanical pencils can be good for details but can’t replace the expressiveness of traditional wood pencils.
- Paper: Medium-weight sketchbooks (around 100-150 gsm) strike a balance between durability and portability. Textured paper adds character but may limit fine lines.
- Erasers: Kneaded erasers are versatile; vinyl ones are better for stubborn marks.
- Additional: A small sharpener, a clipboard for stability, and perhaps a portable stool can all help your sketching session.
Tool Mistakes That Hurt Your Sketch
Choosing the wrong tools can lower the quality without you realizing it immediately. For instance, using a pencil that’s too soft might make shading easier but smudges every time you move your hand. Poor paper absorbs too much graphite or moisture and leaves your lines dull or blotched. I remember wasting a whole afternoon on glossy paper, and my shading looked patchy—definitely not the effect I wanted.
Sometimes people bring a full kit and get overwhelmed, mixing too many pencils or erasers, which can slow progress outdoors. Other times, they rely on one tool alone, like only an HB pencil, limiting contrast and detail. It’s a balancing act, but if your tools don’t feel right, the sketch will suffer in clarity and expression. What do you usually carry when you sketch outside? Does it support quick, confident moves or slow, hesitant strokes?
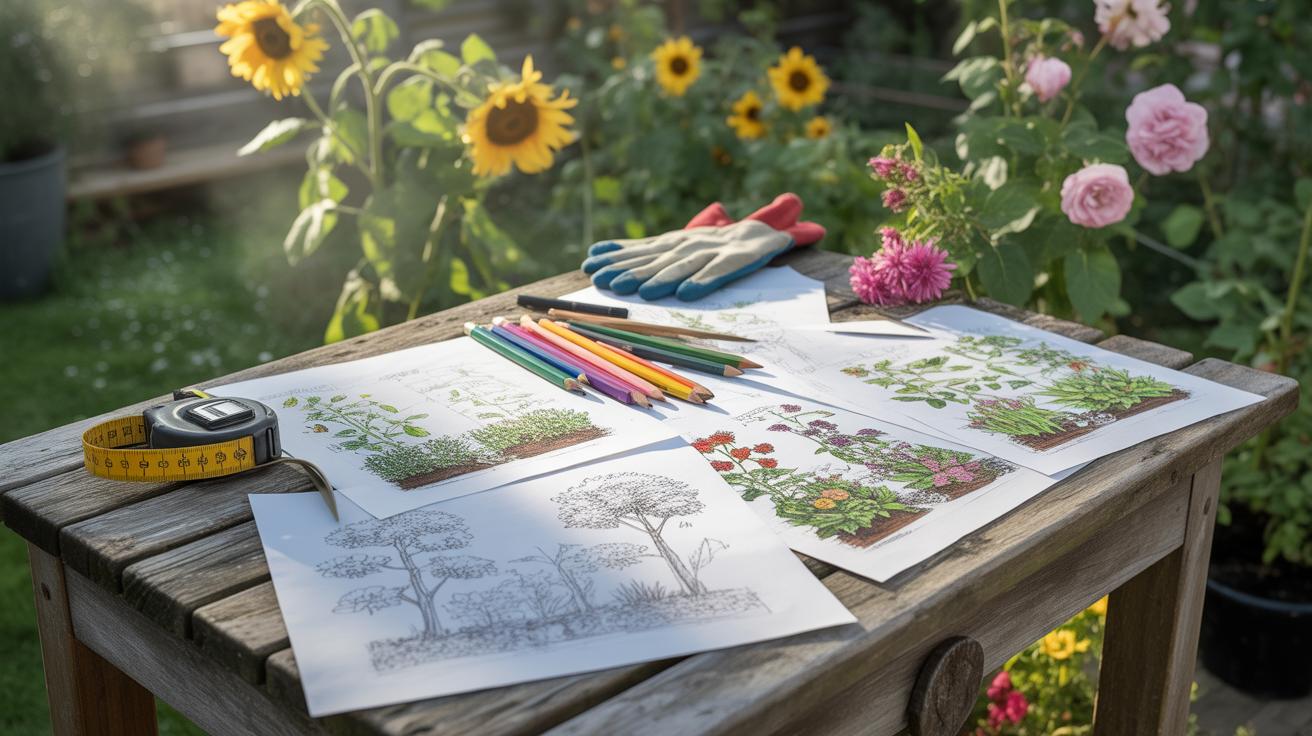
Sketching Outdoors Efficiently
Time often slips away faster than you expect when sketching outdoors. You might think you have plenty of time to capture the scene, but the light will shift, or clouds might block the sun suddenly. Planning your session around roughly two-hour blocks can help. It’s enough to get a solid base down without rushing too much or getting overwhelmed.
Setting up your sketch spot matters more than you might guess. Find a comfortable position—standing or sitting—that lets you focus without feeling cramped. Keep your materials close but avoid clutter. I usually arrange pencils, erasers, and a small water brush within reach. It sounds simple, but fumbling for tools wastes time and distracts you.
Changing light is probably the trickiest part. If the sun shifts, shadows stretch or disappear, colors dull or pop unexpectedly. Instead of trying to capture every change precisely, lock in the main forms and values early on. You can adjust details later or lean into the new lighting if it feels right. Sometimes the unexpected changes add interesting challenges and push your creativity, even if that feels frustrating at first.
Outdoor Sketch Session Checklist
Here’s a quick rundown I find handy before heading out:
- Choose your location and check weather conditions.
- Pack a sketchbook, pencils (varied hardness), eraser, and sharpener.
- Bring a lightweight stool or cushion if you plan to sit.
- Carry a small water container if you use watercolor or water brushes.
- Have a protective cover for your materials (a folder or bag).
- Wear comfortable clothing, considering possible temperature changes.
- Set an approximate sketch duration to keep focused.
This checklist isn’t flawless for everyone, but it covers essential basics that I sometimes forget—like the eraser or a seat—and those are the moments you realize you should’ve double-checked your gear.
Adjusting Sketches to Light Changes
When the light shifts, it forces you to decide quickly what to prioritize. Do you chase the lighting that appeared just minutes ago or adapt to the new scene? Often, sticking with general shapes and key contrasts rather than exact details helps.
If clouds roll in and dull the colors, emphasize tonal differences instead of hues. When sunlight returns, you can add sharper shadows and richer values. I find layering works well—sketch lightly to catch shapes, then build up stronger lines or shading as the scene stabilizes.
Sometimes the weather flips entirely, and you must pack up or switch spots. It feels like failure, but it’s part of the outdoor sketching experience. Learning to be flexible and patient might be the biggest skill you develop. You might decide to focus more on memory or quick studies rather than perfect accuracy when conditions are uncooperative.
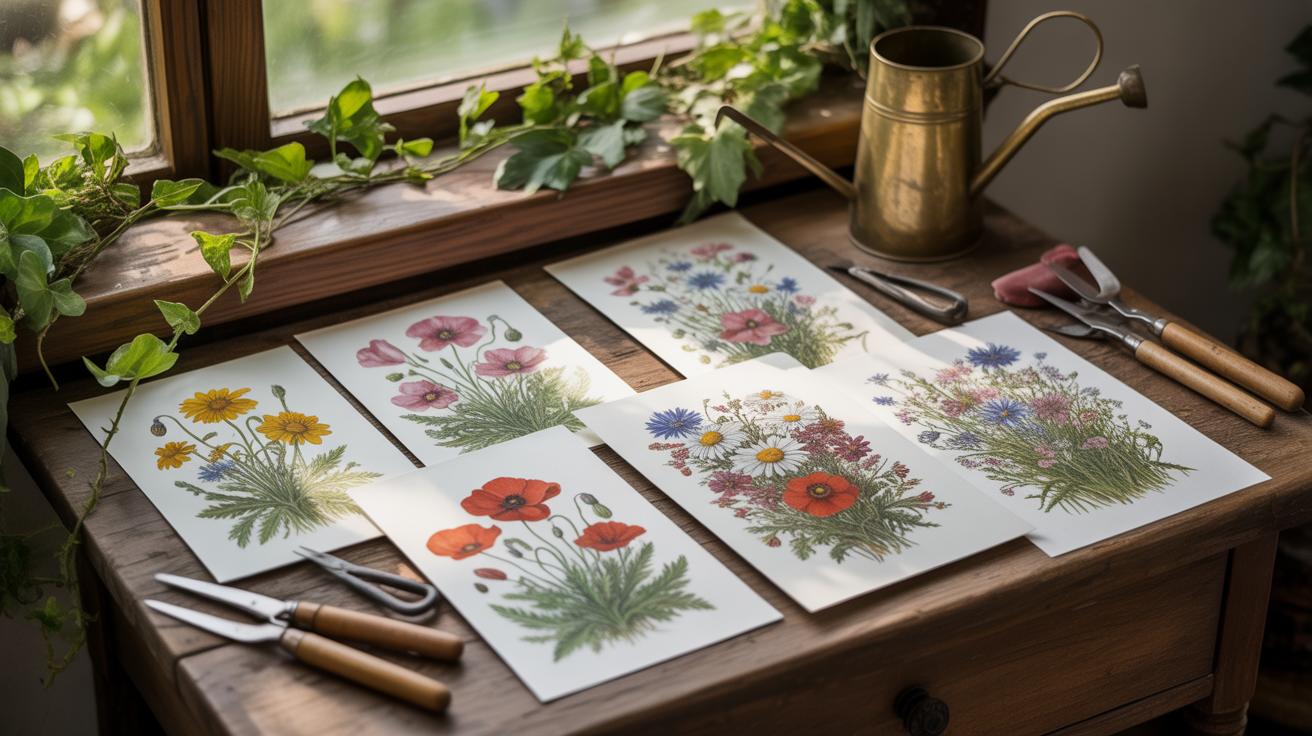
Learn from Examples and Practice Regularly

Studying good scenery sketches can be surprisingly eye-opening. When you look at a well-done sketch, you might notice clarity in shape, balanced composition, or an economy of lines that you hadn’t considered before. On the other hand, examining sketches that fall short reveals common pitfalls—like cluttered backgrounds or awkward perspectives—that can quietly undermine your work. Comparing them side by side helps you see what to aim for and what to avoid. Don’t just glance, though; look closely and ask yourself why a particular sketch succeeds or fails.
Practice plays a crucial role here. Sketching outdoors regularly, even when you don’t feel inspired, builds muscle memory for capturing what really matters in a scene. But practice alone isn’t enough. You’ll want to critique your own sketches, or better yet, get feedback from others. This cycle of making, reviewing, and adjusting helps prevent you from sinking into repeated mistakes. It’s slow, sometimes frustrating, but that’s how your sketches start to improve and feel less like guesswork.
Building a routine can make all the difference. Setting aside just 15 minutes a day for quick scenery sketches, followed by a brief review of your work, can steadily sharpen your skills. Try to challenge yourself occasionally—maybe focus on different elements like foreground details one day, or skies the next. Over time, you’ll notice patterns in your errors and strengths. And that awareness? It’s a huge step toward more confident, controlled outdoor compositions.
Conclusions
Correcting scenery sketch mistakes greatly improves your outdoor compositions. Paying attention to structure, light, and detail avoids common pitfalls that weaken sketches. Practice and awareness sharpen your skills.
Applying these insights will make your sketches clearer and more lively. You will better express the outdoor scenes you want to share with others.