Introduction
Macramé is a craft that uses knotting techniques to create beautiful textiles and decorations. If you are a beginner, this Macrame Tutorial Beginner Friendly Guide To First Wall Hanging will help you understand the basics. You will learn about the materials, tools, and simple knots that lay the foundation for your first project. Macramé is easy to learn and a great way to create personalized art for your home.
This guide will walk you through the steps to make your first wall hanging. We will start with the essential knots and move on to designing a simple but beautiful piece. With clear instructions and helpful tips, you can start your macramé journey today and enjoy crafting your unique wall decor.
Understanding Macram and Its History
Macramé is a crafting technique that involves knotting cords or strings to create patterns and designs. Unlike weaving or knitting, macramé doesn’t rely on stitching threads but on tying knots. It’s a form of textile art that may seem simple at first glance, yet it offers endless possibilities in texture and style.
The roots of macramé trace back centuries. While some people link its origins to ancient Arabic weavers, who apparently used the knots to finish fabric edges neatly, others suggest it appeared in various cultures independently. Sailors, for instance, used macramé knots to decorate items and pass time during long voyages.
Over time, macramé evolved beyond practical use and became decorative. Today, you’ll find macramé in wall hangings, jewelry, plant hangers, and more. It’s fascinating how a craft that once served mainly functional purposes transformed into a creative expression and home decor staple. There’s something oddly calming about the repetitive knotting, don’t you think?
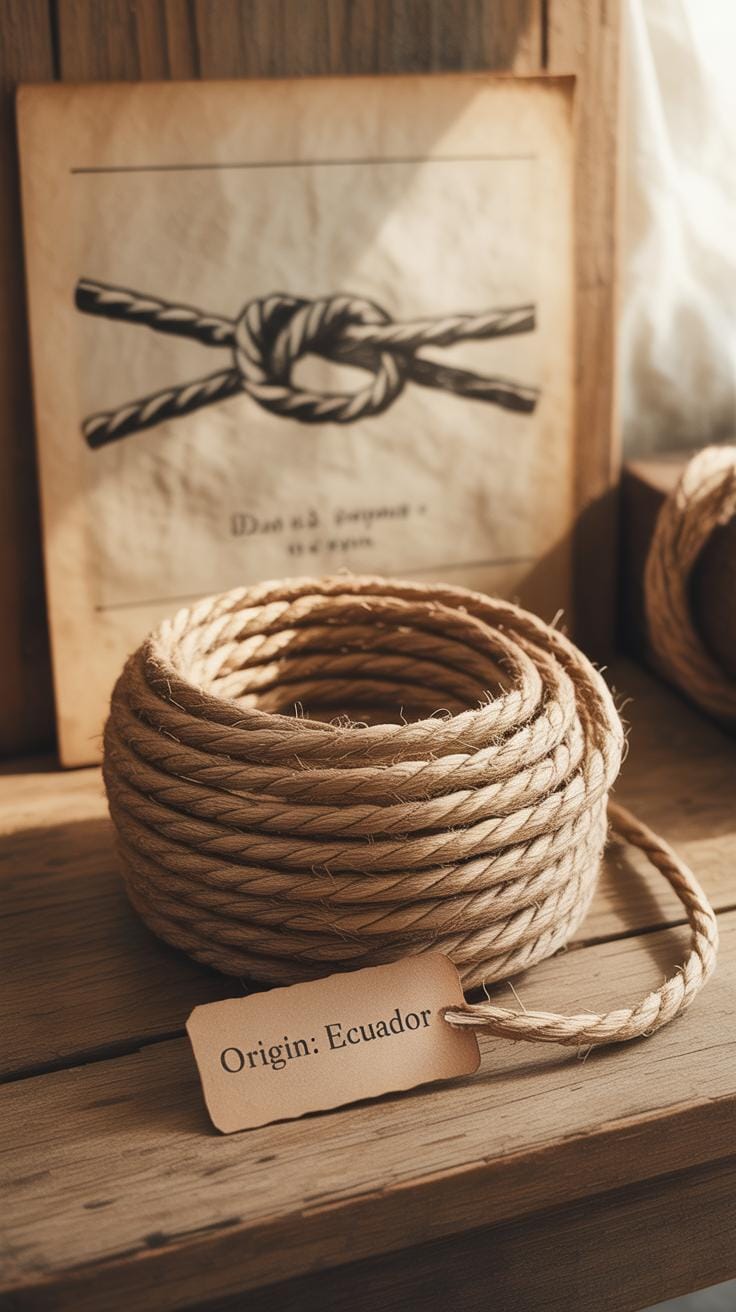
Origins of Macramé
Macramé probably began as a fringe technique on fabric edges around the 13th century, attributed mainly to Arab weavers. They tied knots to secure loose threads after weaving, possibly inventing several fundamental knots still used today. By the 17th century, the craft spread across Europe, especially through the influence of Venetian traders.
Later, sailors embraced macramé for its portability and practicality. On ships, they made nets, belts, and decorative items, sometimes trading them in port cities. This aspect gave macramé a bit of a nomadic character, shifting from culture to culture, refining the styles and techniques.
Macramé enjoyed a big surge in popularity during the 1970s, tied to the broader trend of handmade, bohemian decor. Since then, it has had ups and downs in popularity but never completely vanished. In recent years, it’s experienced a bit of a renaissance. Which makes me wonder—does macramé’s appeal lie in nostalgia, or something deeper about crafting with your hands?
Uses of Macramé Today
Your first macramé wall hanging is just one of many uses for this craft. Recently, macramé has become a favorite in home decor. It brings a natural, handcrafted feel to spaces often dominated by sleek or mass-produced items.
Common uses today include:
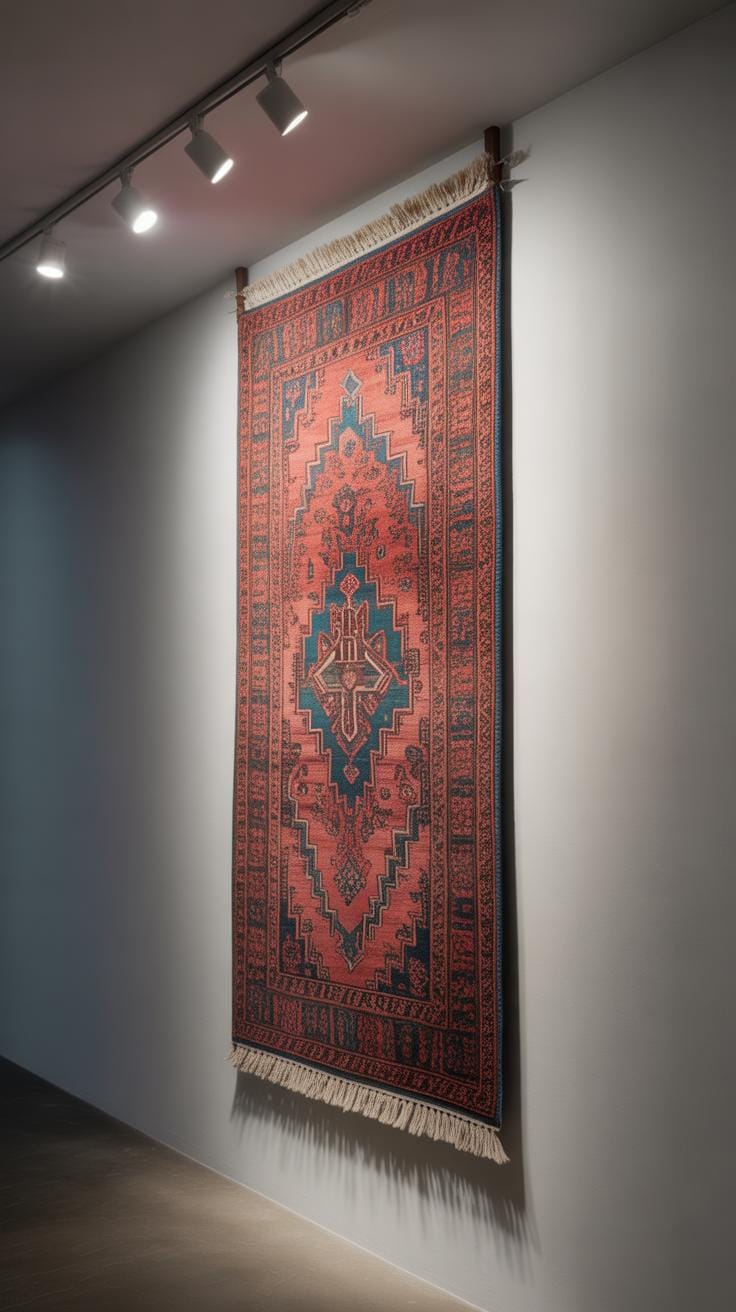
- Wall hangings – these vary from small, simple pieces to large, intricate designs.
- Jewelry – bracelets, necklaces, and even earrings use fine cords knotted creatively.
- Plant hangers – perfect for adding greenery with style.
- Decorative household items – such as curtains, pillow covers, or lampshades.
Despite the modern appeal, macramé is still a craft accessible to everyone. You don’t need fancy tools or expensive supplies, just patience and some cord. And while it’s often decorative, some people find it meditative and grounding. Maybe that’s why it’s sticking around, in both big design studios and quiet living rooms.
Materials and Tools You Need to Start Macram
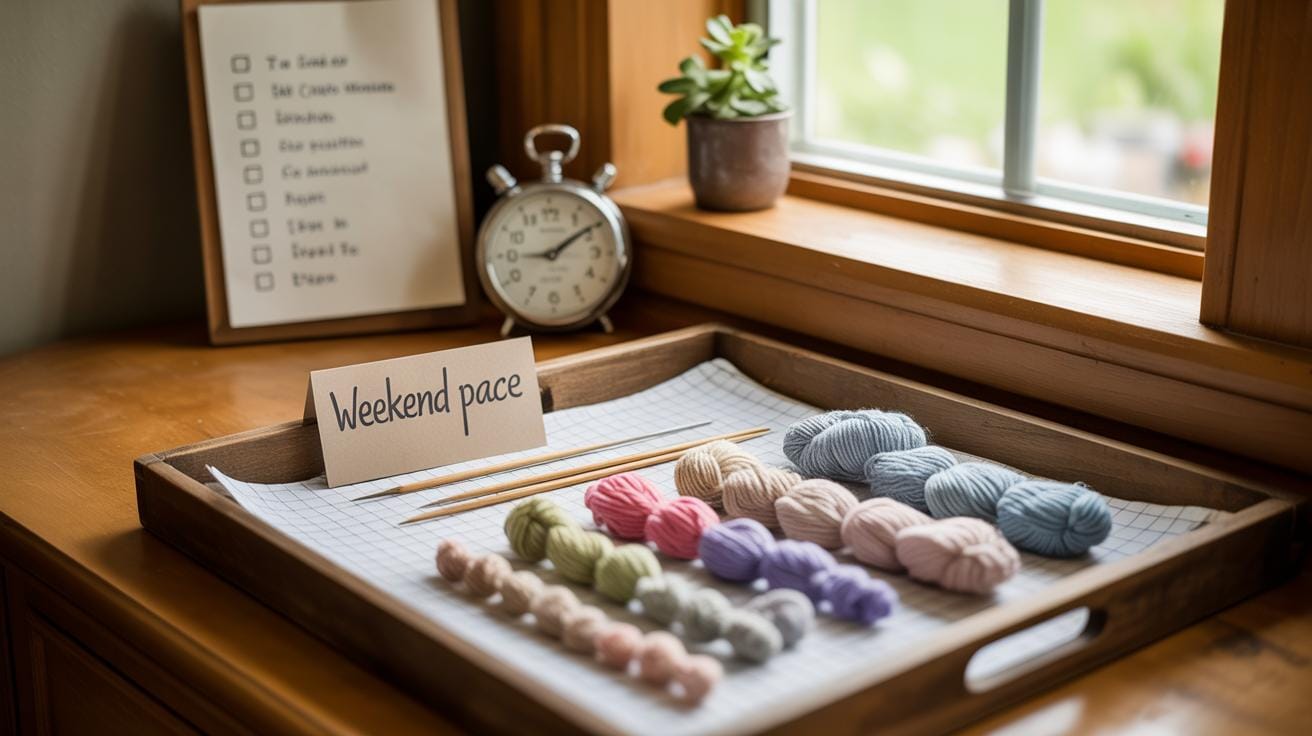
When you’re just starting with macramé, having the right materials and tools makes a big difference. You don’t need much, but picking the essentials helps avoid frustration later. It’s easy to get overwhelmed by fancy supplies, but for your first wall hanging, keep things simple.
Choosing the Right Cord
There are lots of cords, and the choice might seem confusing. Cotton cord is probably the most popular for beginners—it’s soft, easy to knot, and tends to hold shape nicely. Jute and hemp offer a rougher, more natural look, but they can be a bit stiff or scratchy, maybe not the most forgiving if you’re still mastering knots.
You might notice cotton varies too—some cords are braided, others twisted, and the thickness can range from thin to chunky. For a beginner, a medium thickness (around 3-5 mm) gives enough substance to see what you’re doing without becoming unwieldy. I found that too thin cords require more patience, while super thick ones quickly use up lots of material and space.
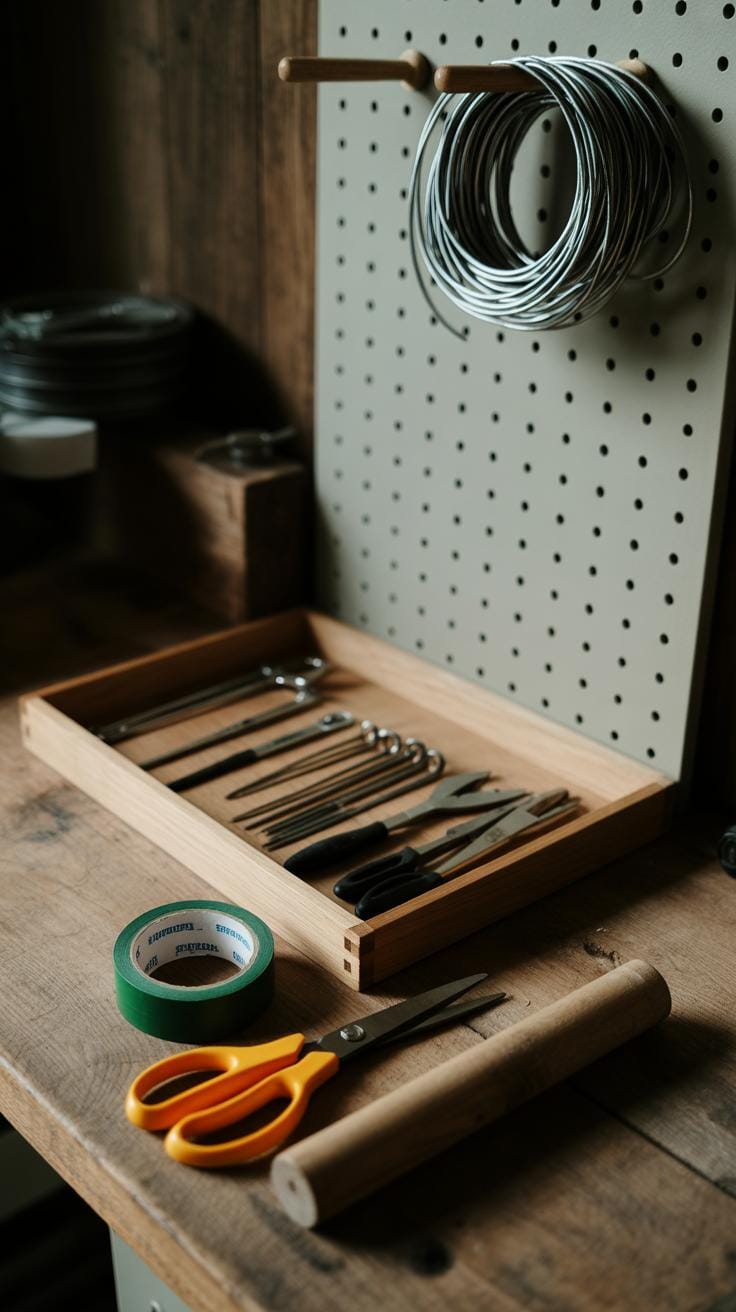
Basic Tools for Macramé
Besides cord, you need a few basic tools that you probably already have around. Sharp scissors are a must; trimming frayed ends neatly makes your projects look cleaner. Measuring tape helps with cutting cords to the right length—don’t guess, because running out halfway through is frustrating.
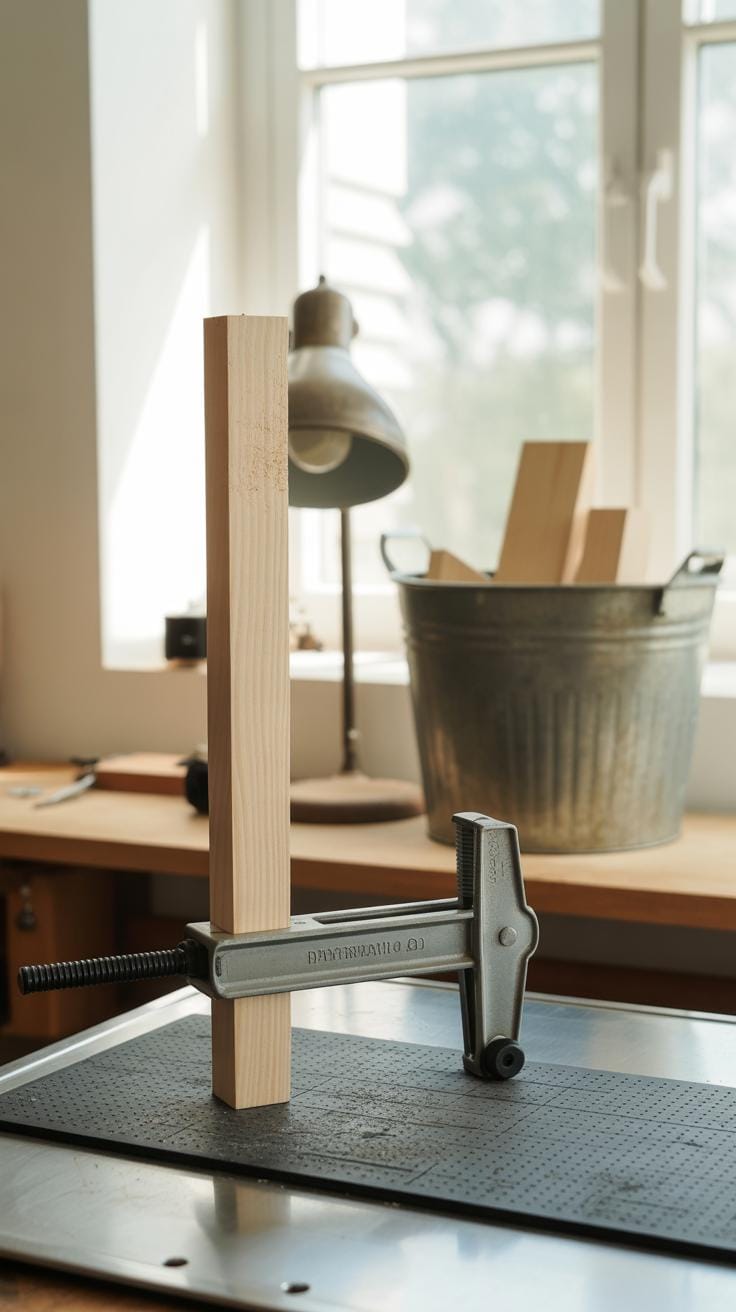
You’ll also want a stable surface or a board to attach your work to. A corkboard or even a clipboard works to keep cords steady while you knot. Some use a simple tape method on a table, but having your project secured saves a lot of hassle. I once tried to hold everything by hand and honestly, that was a mess.
Overall, gathering just these few things lets you jump right in without too much prep or expense. It’s better to start with the basics and upgrade from there, rather than buy tons of fancy tools that might never get used.
Setting Up Your Workspace for Macram
Finding the Right Place
Picking a spot for macramé might seem easy at first, but it can make a big difference in how you enjoy the process. You want somewhere quiet, ideally, so you can focus without distractions. Sometimes, though, you might find that a little background noise isn’t so bad—it actually helps you relax. Lighting matters a lot. Natural light is great, but if that’s limited, make sure you have a good lamp that won’t cast harsh shadows over your work. Eye strain creeps up quickly when you’re knotting, so don’t overlook this.
Space is also a factor. You don’t need much room, but you do want enough to spread your cords and tools out without feeling cramped. Maybe near a window, or a cozy corner, whichever feels most inviting to you.
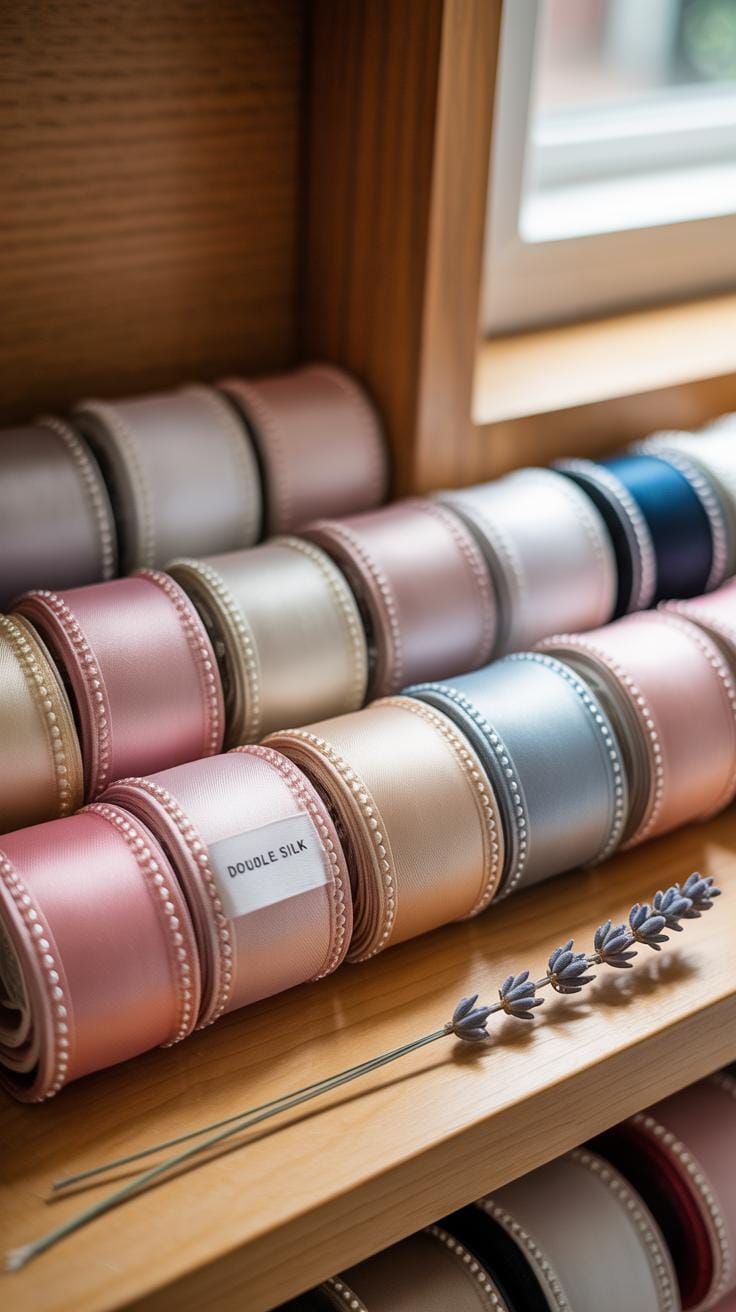
Organizing Your Materials
Once you’ve found your spot, organizing your cords, scissors, and other tools will save frustration later. I usually keep cords wrapped neatly and sorted by length or color—makes it easier to grab and go. Small containers or drawer organizers can help keep smaller items like beads or pins from rolling away. You might want a board or a clipboard to clip your pattern on, so it’s easy to glance at without interrupting your flow.
Sometimes you’ll find yourself juggling several projects or patterns. Keeping your instructions in one place helps so you’re not hunting for notes. A simple folder or binder works, or even a dedicated notebook. You may discover that having a tidy setup helps you stay motivated, even on days when you’re not feeling very crafty.
Learning Basic Macram Knots
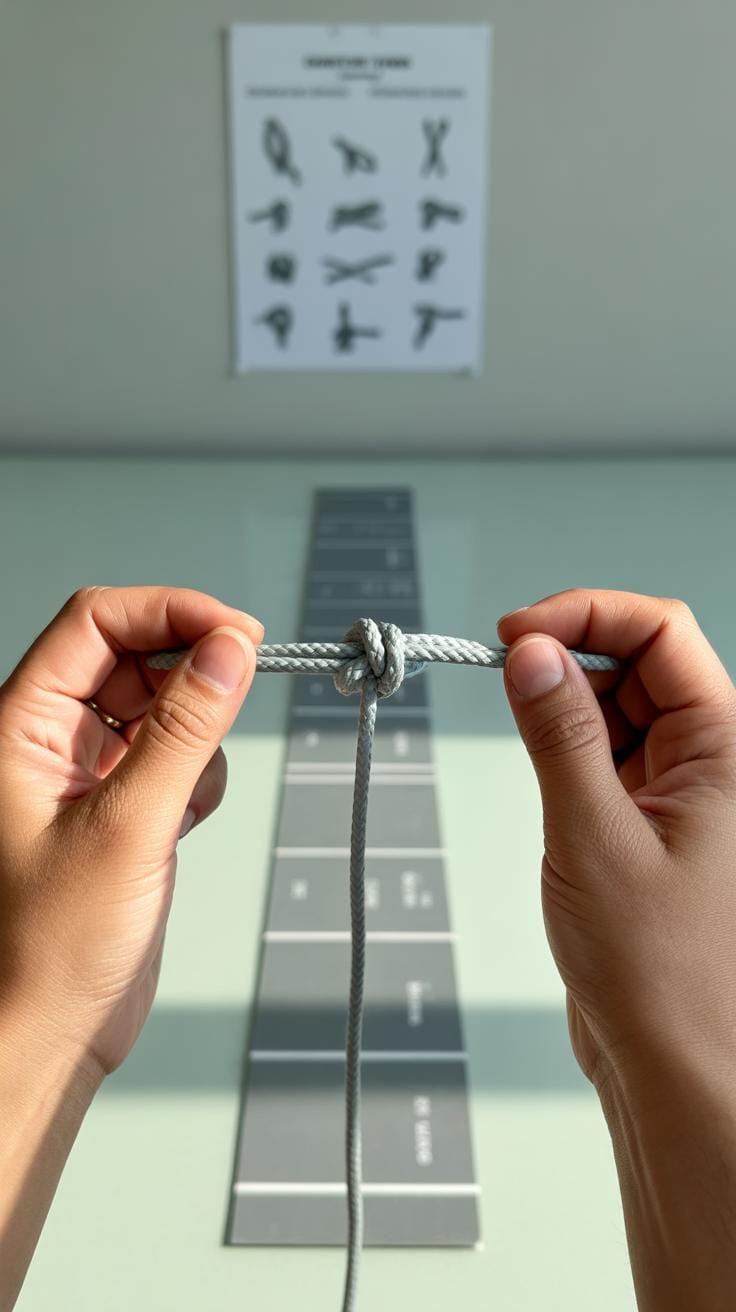
Getting comfortable with a few essential knots is key before you move on to creating your first wall hanging. Two knots that often pop up in projects are the square knot and the half hitch knot. They’re not complicated, but they do take a bit of practice to feel natural under your fingers.
Square Knot
The square knot is a foundational knot in macramé. Think of it as a way to tie two ropes together so they sit flat and sturdy. To make one, you’ll need four cords: two in the middle, which stay still, and one on each side, which do the tying.
Here’s how you tie it:
- Start with the left cord and cross it over the two middle cords, forming an “L” shape.
- Take the right cord, place it over the tail of the left cord, then behind the middle cords, and finally up inside the loop created by the left cord.
- Pull both side cords tight, sliding the knot up.
- Now reverse the process: take the right cord, cross it over the middle cords to the left.
- Pass the left cord over the right cord, behind the middle cords, and up through the loop on the right.
- Tighten again, and you’ll see the classic square knot shape.
The process might feel odd at first—where to place each cord and when to pull—but keep going. Once you’ve tied a few, your fingers will start remembering the steps on their own.
Half Hitch Knot
The half hitch is a bit simpler but versatile. It’s basically looping one cord around another to create a continuous line or wave pattern. You won’t use four cords here; instead, one cord will anchor while another wraps around it.
To tie a half hitch:
- Hold your anchor cord tight and horizontally.
- Take the working cord and loop it over the anchor cord from left to right.
- Then, bring the working cord underneath the anchor cord and pass it through the loop you just made.
- Pull the working cord tight. That’s it—one half hitch.
- You can repeat this knot in a row to create a spiral or diagonal pattern.
Half hitches often appear in pairs to keep patterns balanced. Sometimes, they take a bit of fiddling to get tension right—not too loose, not too tight. But they add a lot to your design with just a few simple moves.
If you’re wondering which knot to start with, maybe try the square knot first, then use half hitches to add texture. You’ll find both knots forming the base of many projects as you go on.
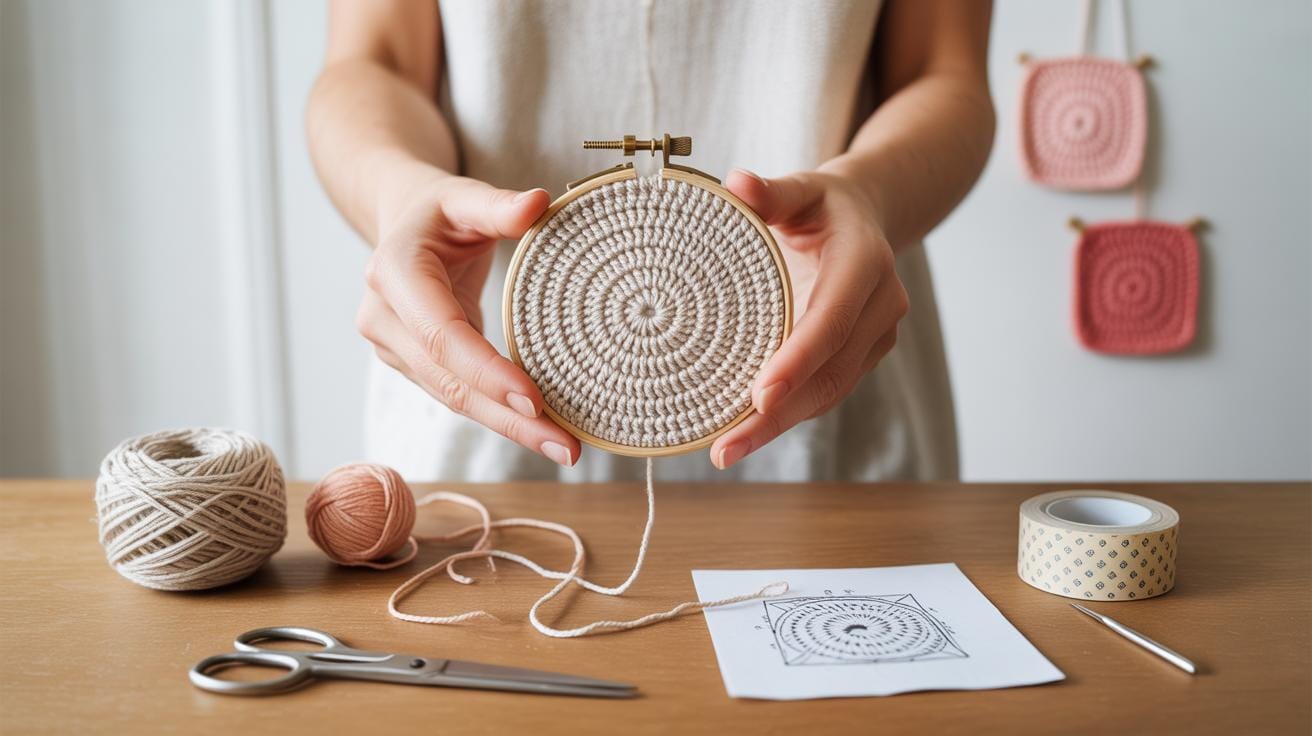
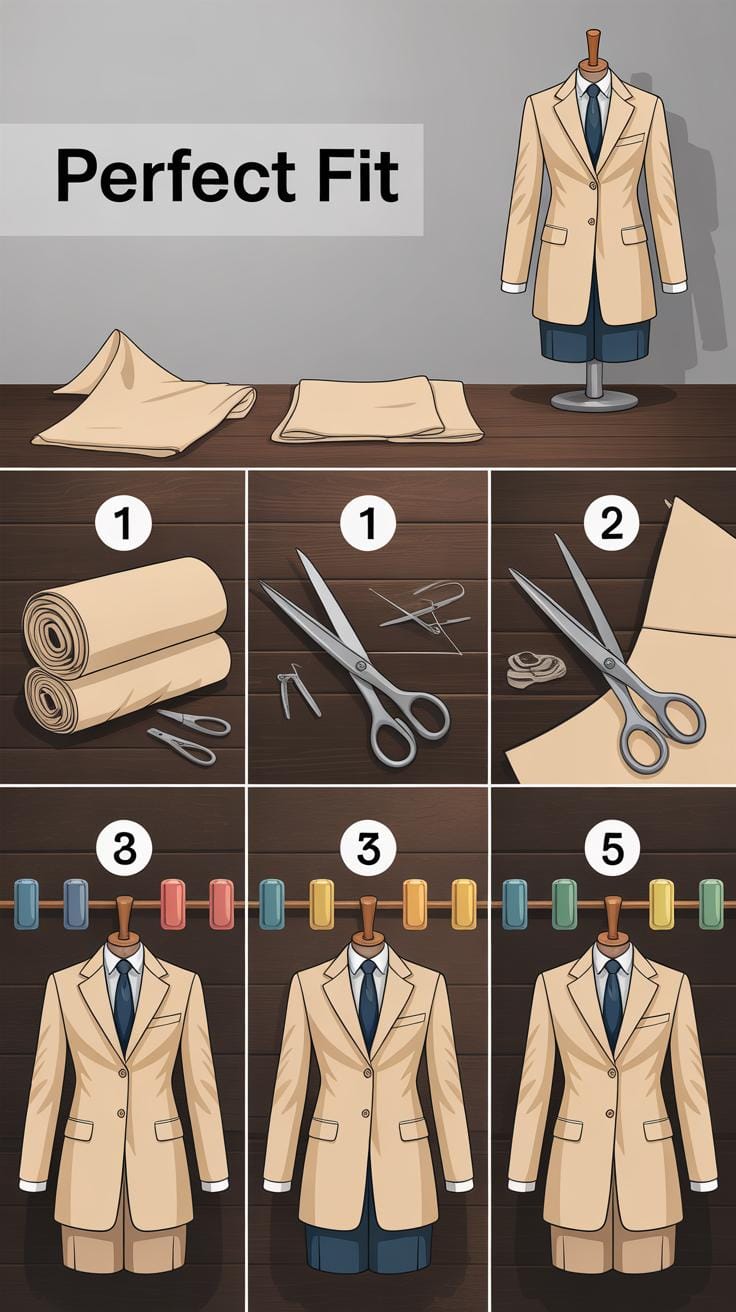
Planning Your First Wall Hanging Design
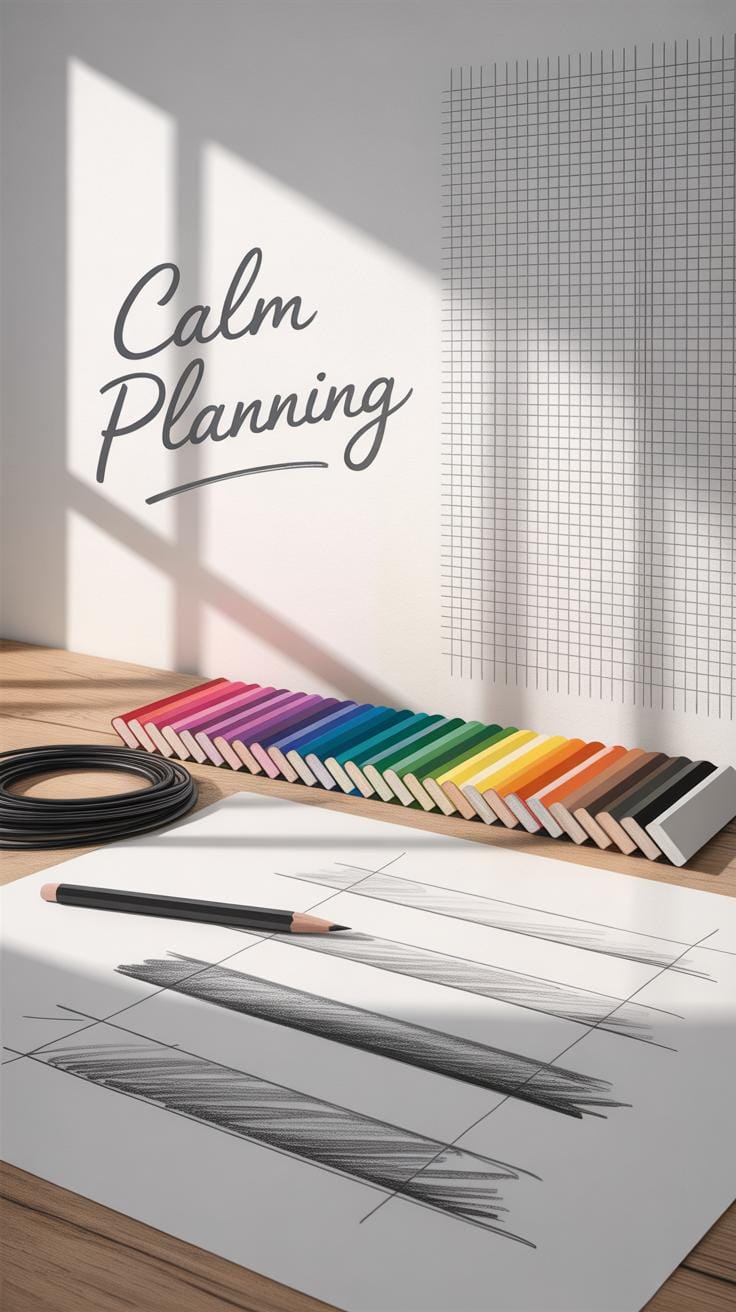
Before diving into your first macramé project, take a moment to think about the design you want to create. Keeping it simple usually works best when you’re just starting out. You don’t need something intricate to make a nice wall hanging. Maybe a few rows of square knots or a basic fringe pattern will be enough to give you that satisfying sense of accomplishment.
When it comes to choosing a pattern, pick one that sticks to the basic knots you learned earlier, like the square knot or half hitch. Avoid complicated patterns that mix many knot types. Look for tutorials or pattern charts that clearly show the knot sequences step-by-step. If you come across something that looks too busy or hard to follow, it’s probably better to save it for later.
Measuring and preparing your cords is crucial. A good rule of thumb is to cut cords around four times the length you want your finished piece to be. That might feel like a lot, and sometimes you’ll have some excess, but it’s better to have extra than to run out halfway through. Lay your cords out straight, and use a tape measure or ruler to get consistent lengths. It’s tempting to eyeball it, but uneven cords can make tying knots tricky.
Planning this way reduces frustration and helps you focus on mastering knotting, not fixing measurement errors. You might even find yourself playing with designs before cutting, just to get a feel for what you want. Don’t stress about perfection. Your first wall hanging doesn’t need to be flawless—it just needs to be yours.
StepbyStep Guide to Making Your First Wall Hanging
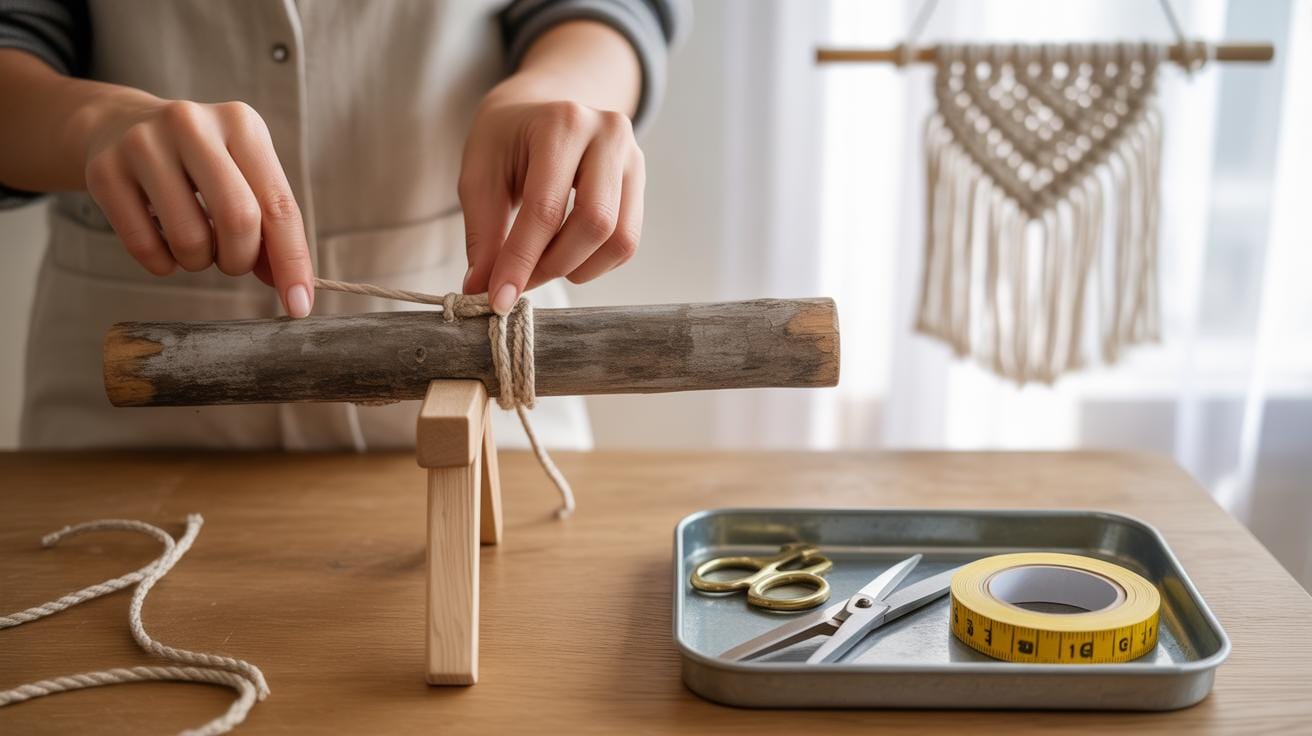
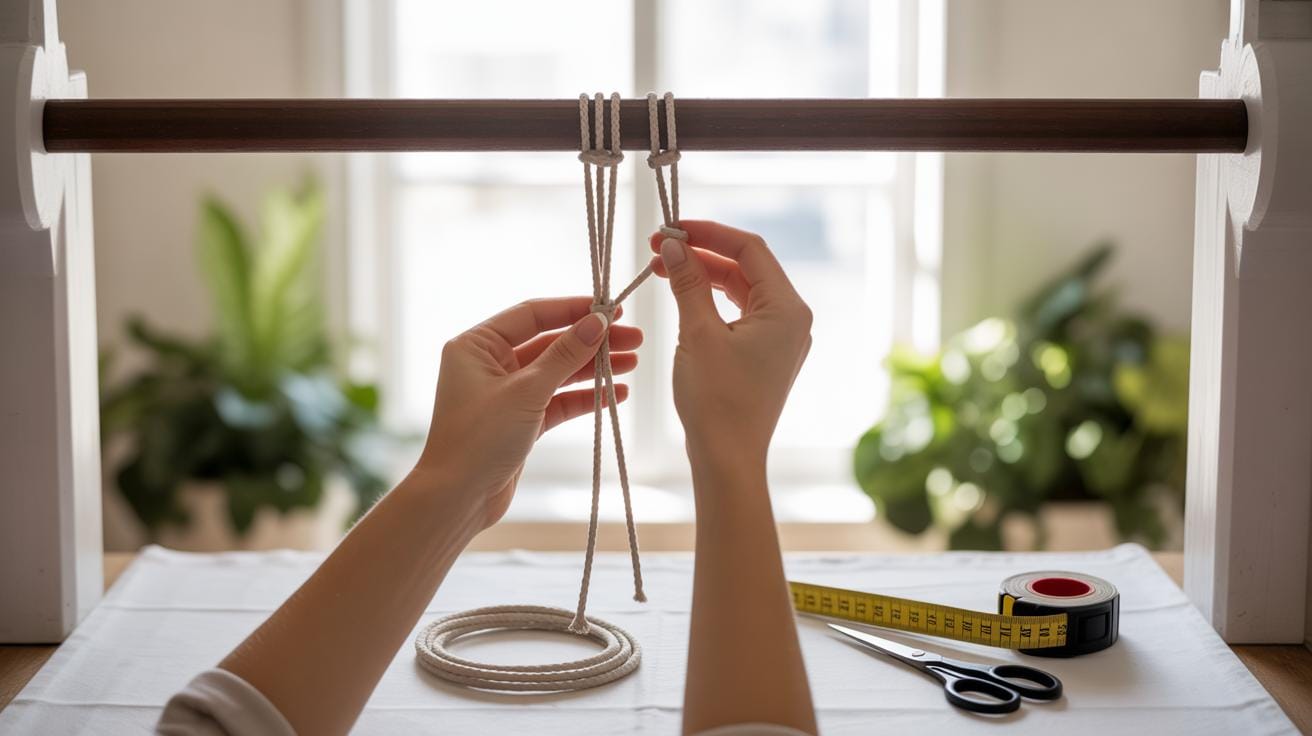
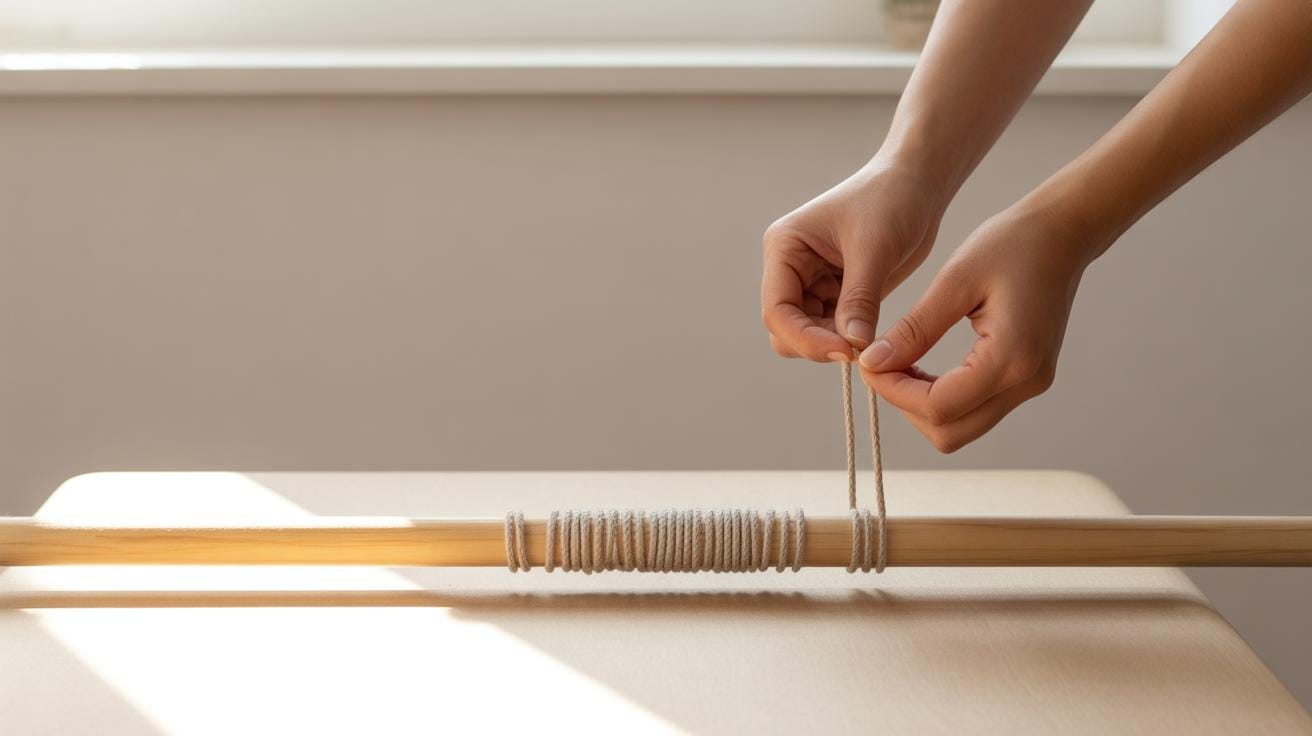
Starting with the Base Knots
Begin by cutting your cords to length—give yourself plenty of extra, because macramé can surprise you with how much you use. Then, fold each cord in half to create a loop at the top and secure it to your dowel or branch using a lark’s head knot. It might sound a bit overwhelming at first, but once you get the hang of this simple knot, the rest feels easier.
Make sure each knot feels tight and secure. Loose knots at the base can make your wall hanging sag or fall apart as you work. Don’t rush this step; it’s the foundation. You might find it helpful to space your cords evenly and adjust as you go—sometimes symmetry looks better if it’s a bit imperfect.
Building the Pattern
With the base knots in place, start your first row using square knots. Take four cords at a time: two in the middle stay steady, while the two outer cords weave around them to create the knot. Repeat this across your working cords to form one complete row. Don’t worry if your tension isn’t perfect right away—your knots will even out as you continue.
Next, move on to alternating rows. Skip the first two cords and knot the next four, then come back and tie the knots you skipped on the following row. This creates a diamond or net-like pattern depending on your design. If you planned concentric rows in your earlier design step, just follow the pattern step-by-step. Counting cords and knots might feel tedious, but it helps keep consistency.
Pause often, look at your work, and ask yourself: does the pattern feel balanced? If not, don’t hesitate to undo a few knots and try again. It’s part of the process—macramé isn’t always neat the first time around.
Adding Personal Touches to Your Macram
You might find that your first macramé wall hanging is a great starting point, but it can feel a bit plain at times. Adding beads or decorations can give your piece that extra personality. Beads don’t have to be fancy or expensive; wooden, glass, or even metal beads work just fine. You can slide them onto your cords before tying knots or thread them through loops carefully to avoid slipping. Remember, safety means securing beads well so they don’t fall off later—tying a small knot below the bead usually does the trick.
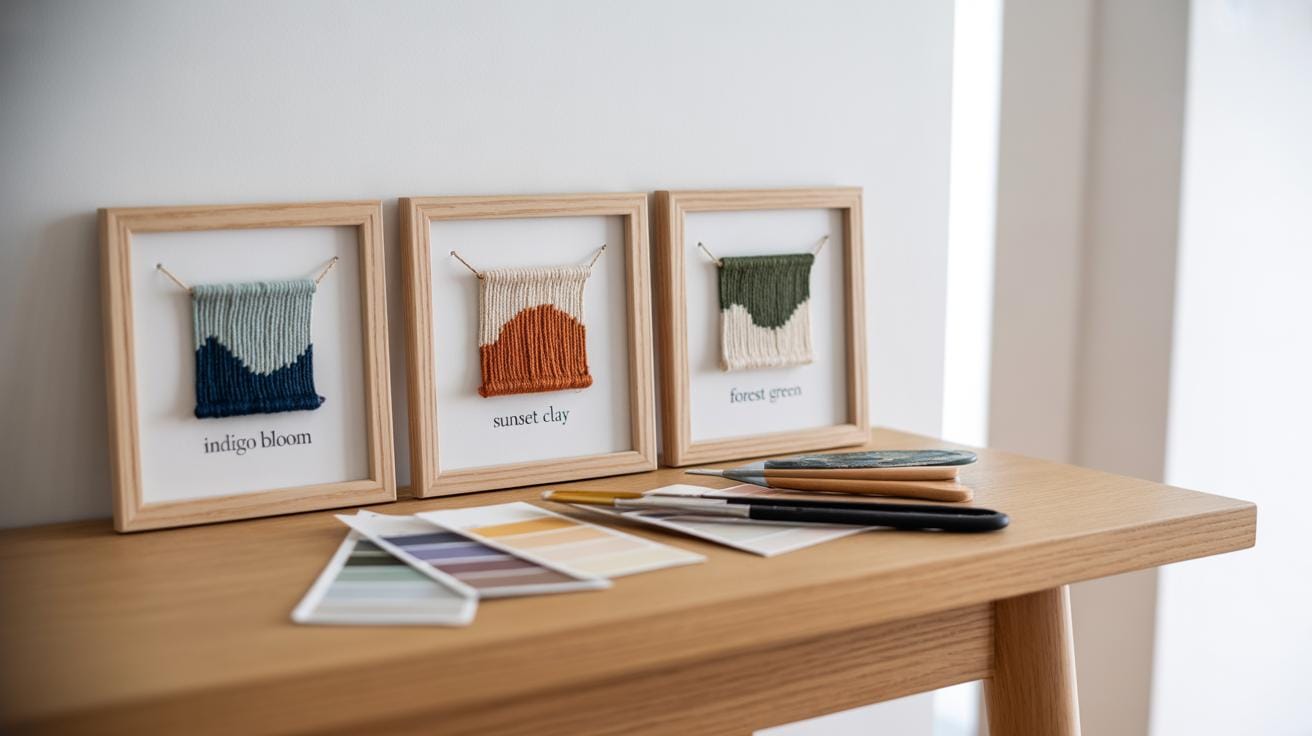
Colors and materials open up a whole new world for customization. Mixing cotton cords with jute or silk cord can create interesting textures. Maybe you like the calm feel of neutral tones or want to experiment with bold colors for contrast. Sometimes, blending two or three different shades on a single hanging surprises you with how unique it looks. Just try different pairs and see which vibe you enjoy most.
- Thread beads before or after knotting, securing with a knot to keep them in place.
- Combine cords of varying thickness or texture for depth.
- Try mixing muted and bright colors to create subtle or striking effects.
- Consider natural materials like wooden beads alongside synthetic cords for balance.
- Use small decorative charms or feathers if you want a more eclectic look.
Thinking about how you want your wall hanging to express your taste can make the process more engaging. Do you want it to blend into your room or stand out as a statement? These questions might shift your choices or even inspire unexpected combinations. Your wall hanging is your space to try things; don’t hesitate to play around a little.
Finishing and Hanging Your Wall Art
Securing and Trimming
Once you’ve completed the knots on your wall hanging, take a moment to double-check each one. Give them a good tug to make sure they’re tight; loose knots can cause the whole piece to sag or unravel over time. It’s easy to miss a slightly loose knot, especially after focusing so long on creating the pattern. Sometimes, I find going back over the knots with my fingers helps me spot spots that need a little extra tightening.
After securing all knots, it’s time to trim the loose ends. Use sharp scissors for a clean cut—dull ones will leave frayed edges that look messy. You could simply cut straight across, but sometimes shaping the ends (think angled cuts or gentle curves) adds a subtle finish that feels more intentional. There’s really no right or wrong here; it depends on your taste, and if you want a natural, rough look or something neater. Just be careful not to cut too close to the knots, or they might slip.
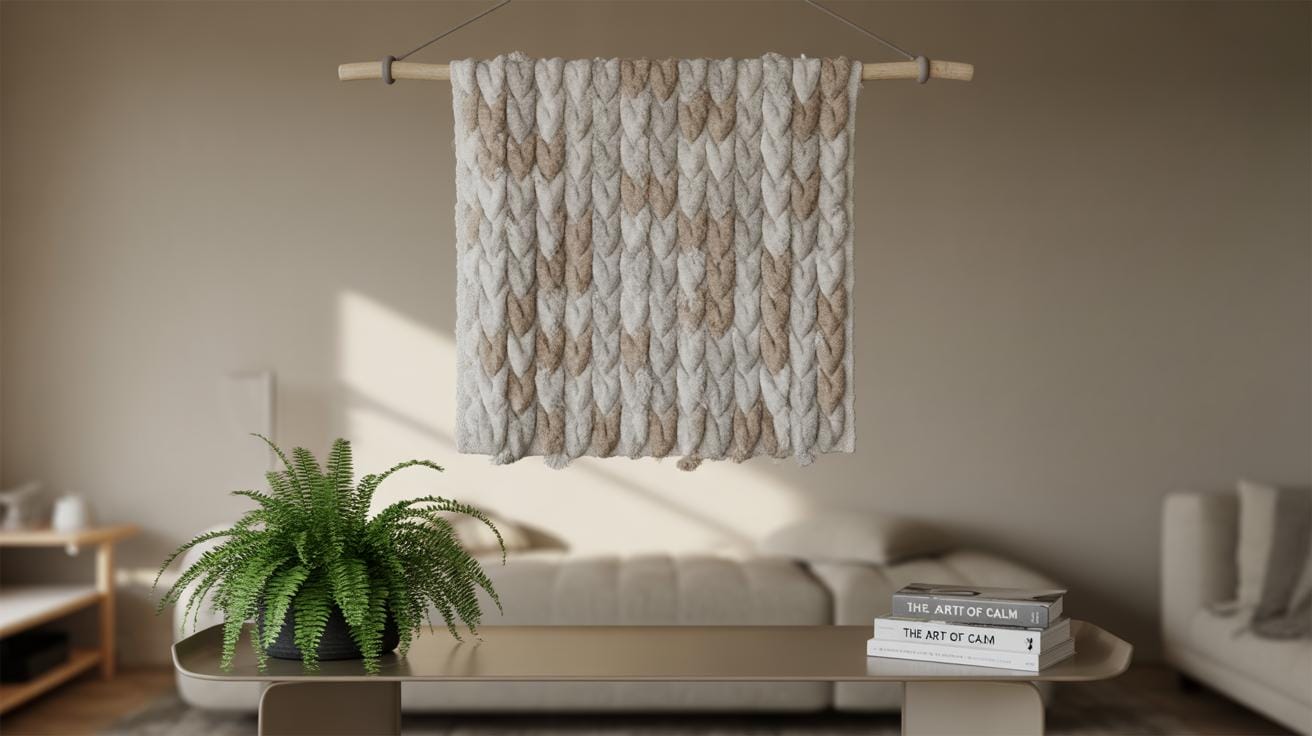
Mounting Your Wall Hanging
When it comes to hanging your piece, you want it secure but also easy to adjust. A wooden dowel or a sturdy branch works well as a base—make sure it’s strong enough to hold the weight of your macramé. If your wall hanging hangs from a ring or loop, attach it firmly without squeezing the cords too tightly.
For the actual wall, consider a simple hook or nail. If you prefer something less visible, small adhesive hooks can work on smooth surfaces, though their grip varies. Hanging the piece on a textured surface like plaster can be tricky; I’ve found small picture hooks with nails are more reliable there.
Check the alignment once hung. Sometimes the hanging shifts slightly under its own weight, so you might want to adjust the cords or the dowel position to keep it level. If you plan to swap wall art often, think about using easy-release hangers to avoid constant nailing.
Troubleshooting Common Beginner Issues
Loose or Uneven Knots
One of the first things you might notice while working on your macramé is that some knots feel too loose, while others are uncomfortably tight. This inconsistency can throw off your entire pattern or make the final piece look uneven. It’s tricky at first; knot tension often varies simply because you’re still getting a feel for the cord and your own hand movements.
To fix this, try tightening each knot gradually rather than pulling hard right away. If you realize a knot is too loose, you can undo it carefully and try again, aiming for a firm but not stiff hold. Sometimes, it helps to pause and adjust several knots in a section at once, balancing tension across the cords. Also, watch how your fingers grip the cords—sometimes small changes in hand positioning make a big difference.
Remember, it’s okay if your knots aren’t perfectly even at first. What matters most is learning to recognize unevenness and developing a steady rhythm. Trust me, after a bit of practice, your hands will start remembering the right pressure automatically.
Cord Tangling and Twisting
Macramé cords have a curious way of twisting and tangling when you’re not looking. It’s almost frustrating how even a small shift can send strands looping around each other. This can slow you down and lead to mistakes if you try to knot while the cords are all mixed up.
Keeping cords organized is essential. A few tricks can help:
- Lay out your cords straight and separated before starting each new section.
- Use clips or small weights at the ends to prevent them from flipping around.
- Stop regularly to smooth or untwist the cords—don’t wait until you have a huge knot to sort out.
If cords do twist, gently unwind them rather than yanking hard. Sometimes, rotating the whole piece or switching your working hand reduces tension that causes twisting. It might feel tedious, but taking these small steps saves you from bigger frustrations down the line. Have you ever stopped to untangle only to find that it really speeds up your progress? That’s because you’re working with the material, not against it.
Next Steps in Your Macram Journey
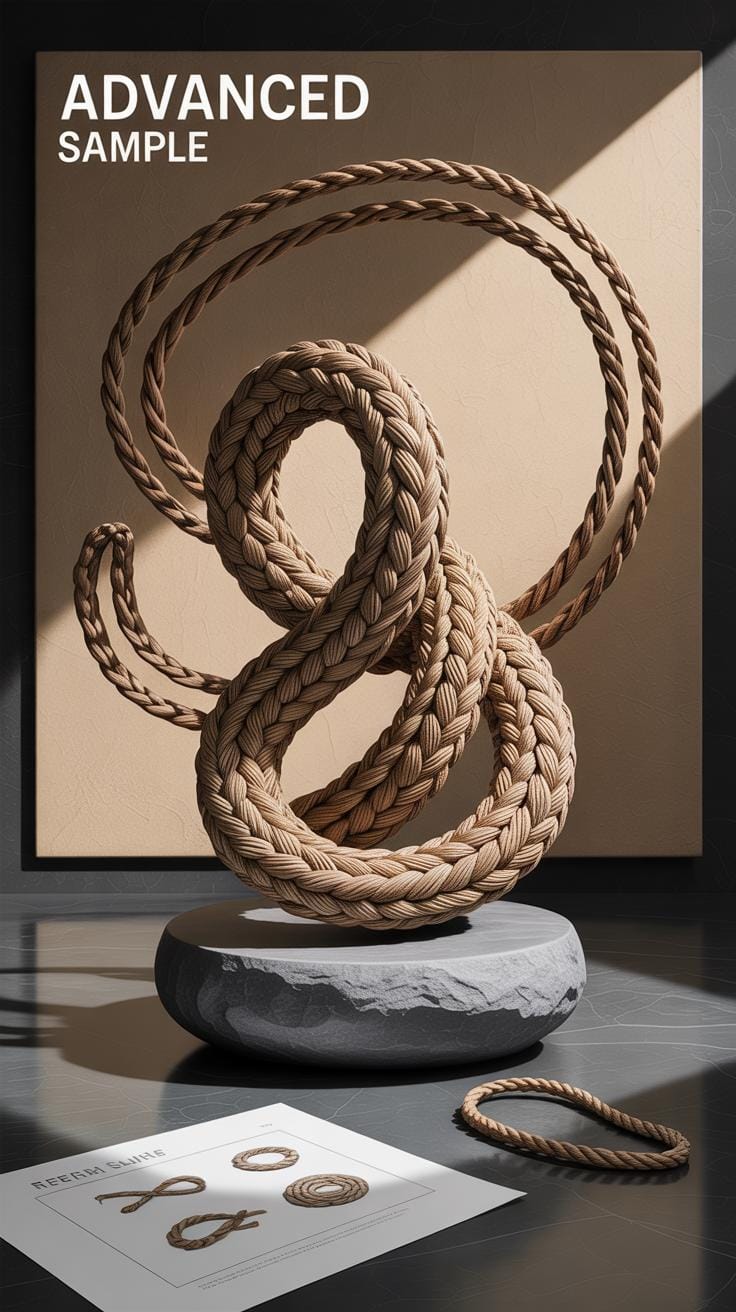
Now that you’ve completed your first wall hanging, you might wonder what’s next. It’s easy to feel a bit stuck after finishing something simple. You’ve learned the basics, but the real fun begins when you try new knots and patterns. Don’t hesitate to explore techniques that look a bit tricky at first. For example, picking up the half hitch or double half hitch knots can open up more design possibilities.
Trying out these more advanced knots will challenge your skills just enough to keep it interesting without overwhelming you. You could practice by adding subtle patterns or alternating knot styles in your next piece. It’s a way to grow without feeling pressure.
Besides making more wall hangings, why not shift focus to something different like plant hangers or even macramé jewelry? These projects use many of the same knots but on a smaller scale or with a slightly different structure. Making a simple plant hanger can teach you how to manage weight and form, while bracelets and necklaces sharpen your attention to detail.
What project sounds tempting to you? Sometimes, just deciding on the next step can keep your momentum going. Remember, it’s okay to try something, put it down, and come back later. Learning macramé isn’t a race, and each new project adds a little extra skill and confidence.
Conclusions
Starting with macramé is accessible and enjoyable when you use the right materials and practice the basic knots. Your first wall hanging project builds confidence and gives you a clear understanding of how patterns and designs come together. Each knot you learn adds to your skills and creativity. Remember, patience and consistency help you improve.
Continue experimenting with different cords, knots, and patterns to create more complex designs. Macramé offers many ways to express yourself and decorate your space. Keep practicing and enjoy each step of your craft journey. Your next projects will be easier and more rewarding as you build skills from this beginner-friendly guide.


