Introduction
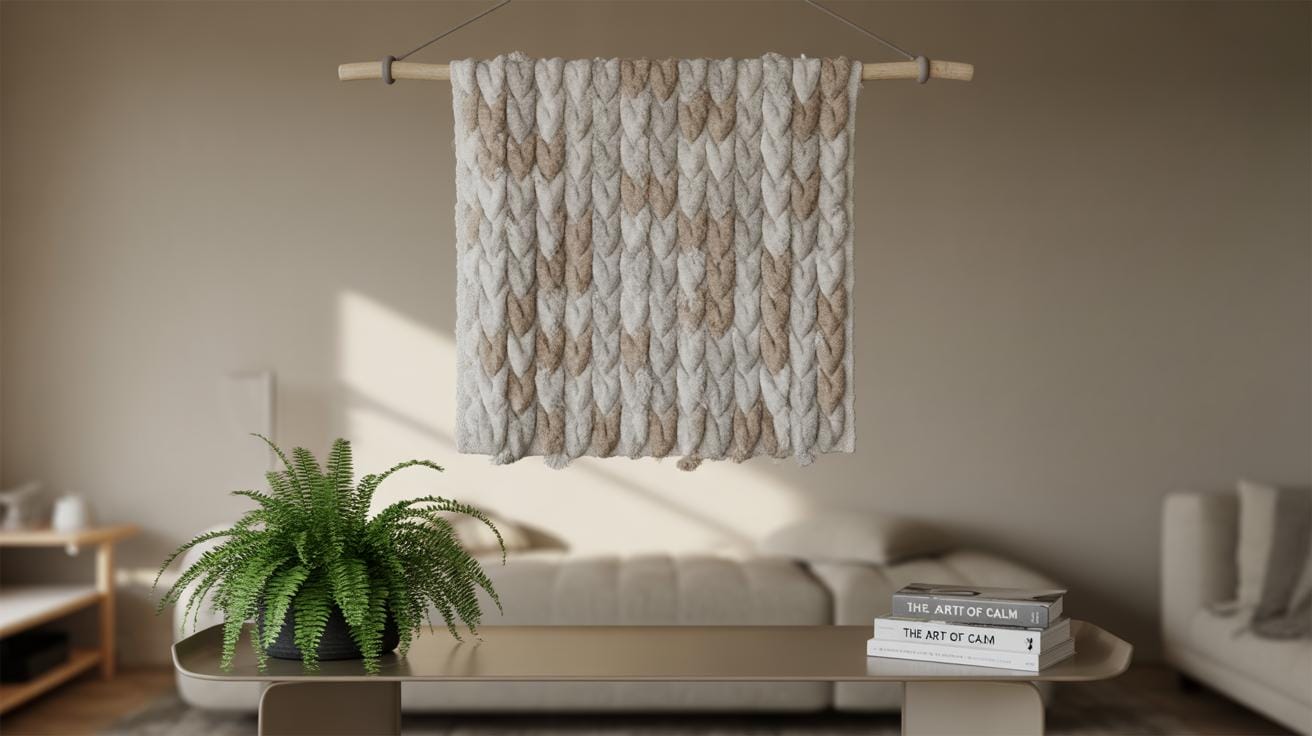
Macrame curtains offer a unique and attractive way to decorate doorways and windows. They bring a handmade charm that can fit many styles, from boho to modern. This tutorial will guide you through the process of creating your own macrame curtain that suits your living space.
You will learn about the materials you’ll need, the essential knots used in macrame, and the step-by-step instructions to craft a curtain perfect for your doorways or windows. Whether you are a beginner or have experience, this guide will help you make a beautiful and practical decoration.
Understanding Macrame And Its Uses In Curtains
What Is Macrame
Macrame is a textile craft created by knotting cords or strings, without weaving or knitting. You build patterns with knots—simple ones like square knots, or more complex combinations. It’s a slow, deliberate process that results in decorative yet functional fabric. The appeal of macrame lies partly in this hands-on aspect; the knots give a tactile, almost sculptural quality that you don’t get from regular cloth.
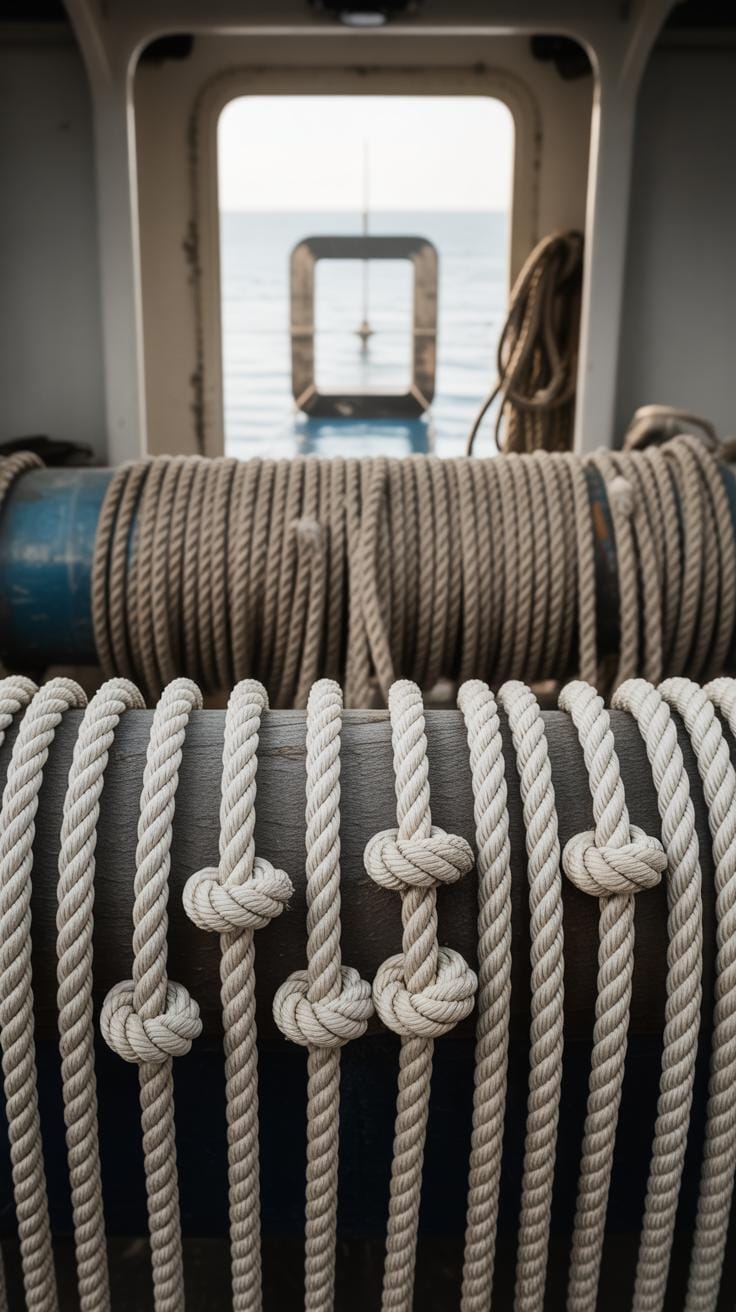
The craft dates back centuries, with roots in various cultures—from Arabian weavers who used knotting techniques to sailors who passed time making decorative knots on ships. Its enduring popularity comes from being adaptable and relatively straightforward, which might explain why it keeps popping up in different forms throughout history.
There’s something about the repetitive knotting that feels both meditative and creative, which could be why people still enjoy it. It’s a bit like slow stitching or the kind of craft that invites you to pause and focus.
Macrame In Home Decoration
When it comes to home decor, macrame is surprisingly versatile. You see it as wall hangings, plant holders, table runners, and yes—curtains. The net-like structure made from knots lets light filter through while adding texture and interest. Curtains made from macrame work well to soften doorways or windows without fully blocking views or airflow.
Because macrame curtains have open spaces between knots, they’re not just decorative but practical for areas where you want light and some privacy. They create a kind of separation that’s less rigid than a solid fabric curtain. I’ve noticed rooms feel airier but still a bit cozy with macrame curtains—like they strike a balance you don’t always find elsewhere.
Plus, macrame can easily be customized. You can make the pattern tighter or looser, thicker or thinner, matching your taste and the function you need. This flexibility makes it appealing for different spaces and purposes, whether it’s a breezy kitchen window or a dividing curtain in a room.
Choosing Materials For Your Macrame Curtain
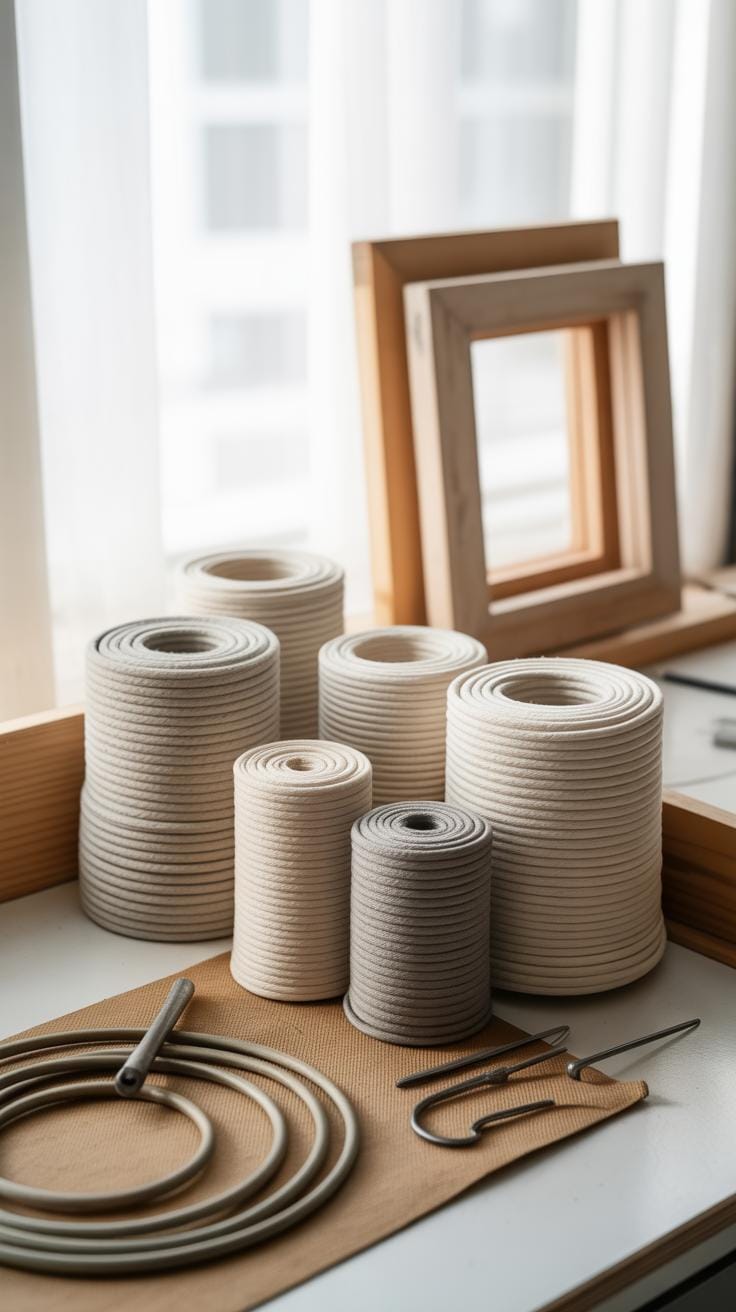
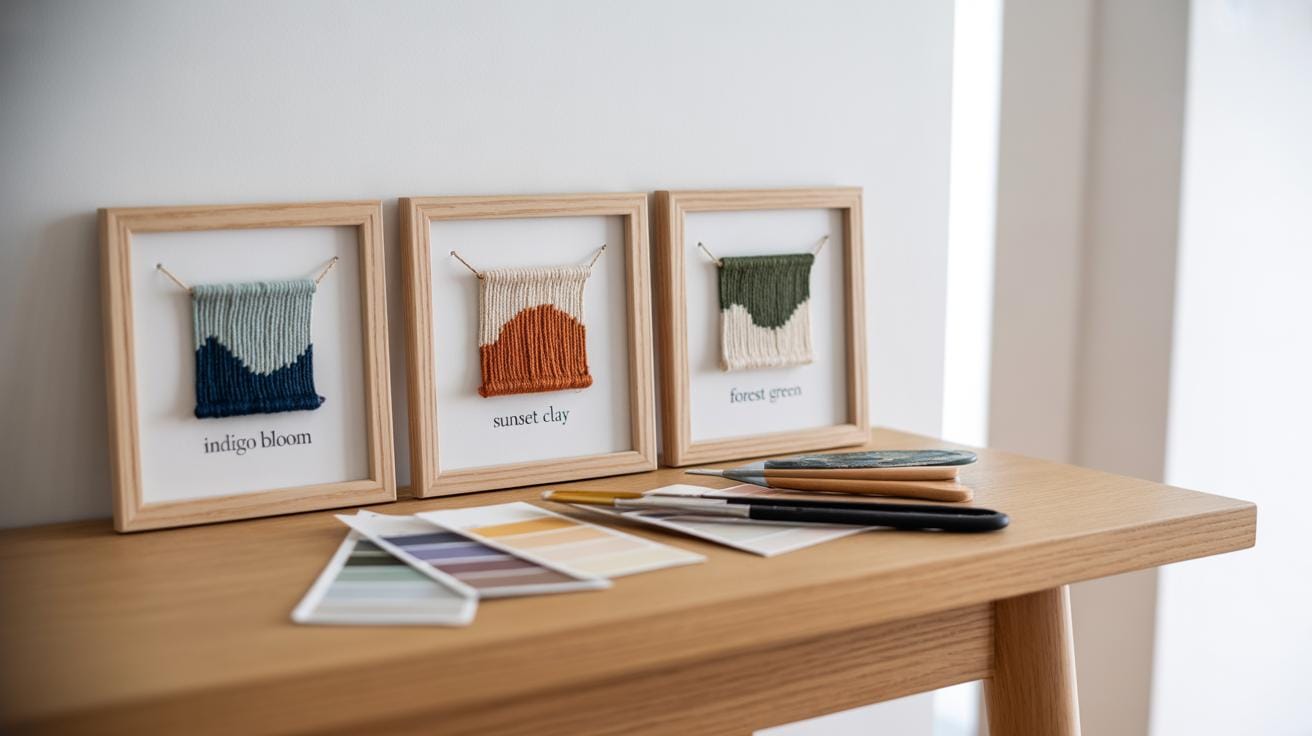
Picking the right cord for your macrame curtain can feel a bit overwhelming at first, especially with so many options available. Cotton is usually the go-to choice. It’s soft, easy to work with, and has a natural look that fits almost any décor. Plus, it holds knots well, which makes your curtain sturdy. But, cotton can sometimes stretch or lose shape if it gets wet or exposed to lots of humidity.
Then there’s hemp. It’s rougher and a bit stiffer than cotton. I think hemp gives a more rustic vibe, which some people love for doorways or farmhouse windows. On the downside, it’s not as flexible, so knotting might feel harder if you’re a beginner.
Jute might surprise you. It’s very affordable and has a natural texture that works well for casual, earthy styles. But don’t expect it to last forever; exposure to sunlight or moisture can weaken it pretty quickly.
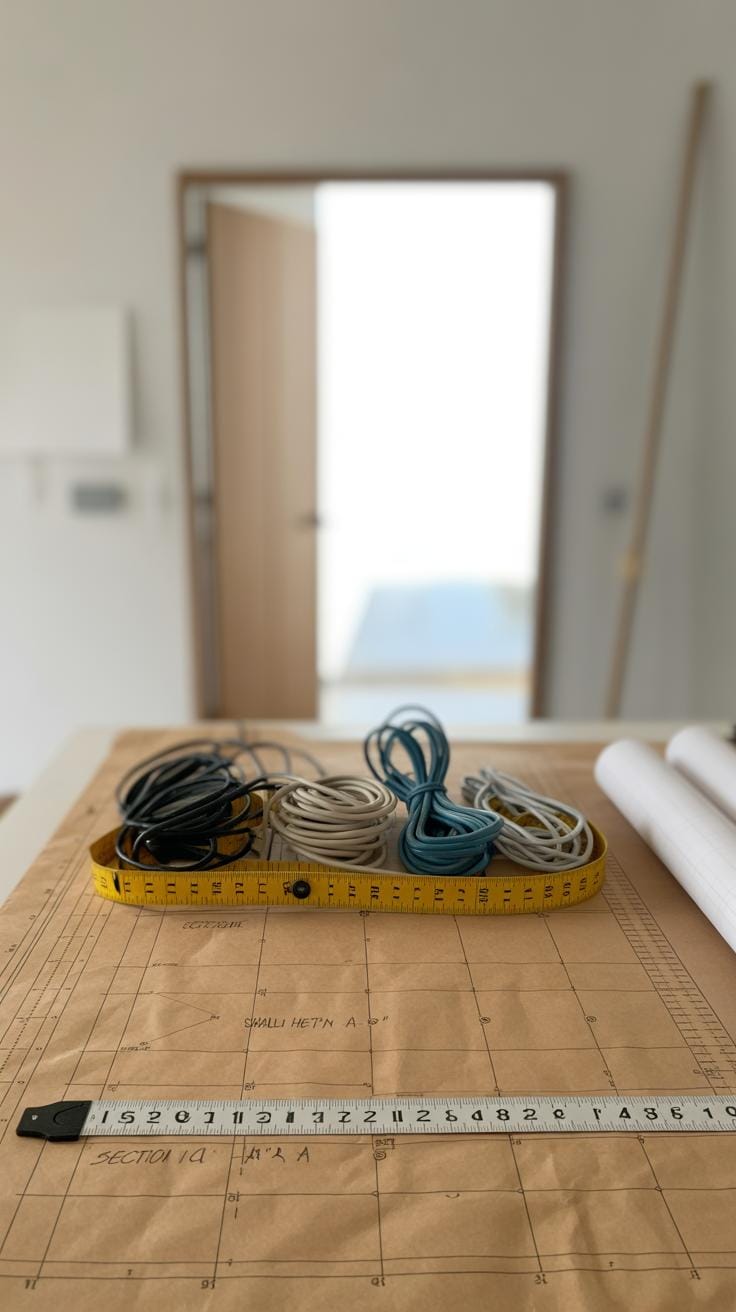
Other than cords, you’ll want some basic tools to get started. A good pair of sharp scissors is necessary for clean cuts. A measuring tape helps with precision—too short or too long cords mess everything up. Metal rings or wooden dowels act as anchors for your curtain, providing structure. Pins or clips can hold cords in place as you work, which saves patience—or maybe just nerves.
Thinking about how durable your curtain should be might help you decide between these materials. Do you want something that feels soft, or do you prefer a tough, rigid look? It’s tricky, but experimenting is part of the fun anyway.
Basic Knots Used In Macrame Curtains
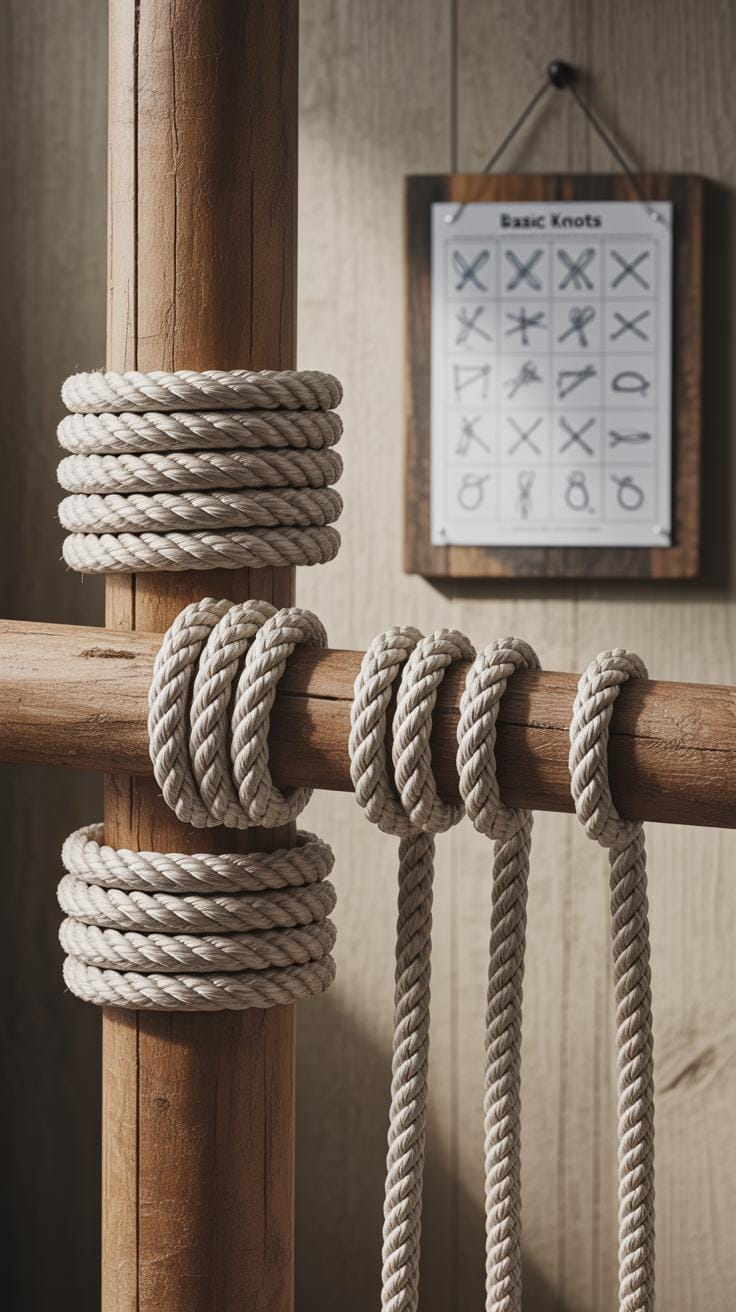
When it comes to crafting macrame curtains, a few knots form the foundation of most designs. You’ll find yourself relying on these knots over and over again—so getting comfortable with them early helps. Two of the most common and useful knots are the square knot and the half hitch knot.
Square Knot
The square knot is, I think, the backbone of many macrame projects. To tie it, you start with four cords: two center cords that stay mostly stationary, and two working cords that wrap around those centers. You cross the left working cord over the two center cords, then the right working cord goes over the left, under the centers, and through the loop the left cord made. Do the reverse to complete the knot. It may sound complicated at first, but practice makes this knot almost automatic.
Why does this knot matter? Because it creates a flat, sturdy pattern that holds well but still allows some flexibility. In curtains, that flatness helps the design lie nicely against the window or doorway. Plus, square knots stack well, so you can make long panels without bulk. I’ve found myself using endless rows of these knots—even when I want some texture, they create a solid, reliable base.
Half Hitch Knot
The half hitch knot is trickier but also more versatile when you want to build patterns. It involves looping one cord around a base cord and pulling it tight, creating a smooth, looping effect. You might use single or double half hitch knots, depending on how dense or detailed you want the pattern.
While square knots build the main structure, half hitch knots let you add curves, spirals, or diagonal lines. They’re perfect for shaping the curtain’s flow or adding decorative edges. When I first started experimenting, I underestimated how much these knots could change the entire look just by shifting their direction or tension.
Both knots require patience but mastering them opens up most macrame curtain possibilities. What patterns do you imagine making once you’ve got these down?
Measuring And Planning Your Curtain
Before jumping into knotting, you’ll need to measure your doorway or window carefully. It sounds simple, but it’s easy to rush this part and end up with a curtain that’s too short or too wide—trust me, I’ve been there. Grab a tape measure and keep it steady. Start by measuring the width from one side of the frame to the other where you want the curtain to hang. Then, measure the height from the top to where you want the curtain to end. Remember, curtains usually look better if they extend beyond the frame by a few inches on each side. This extra width can make the curtain feel less cramped and allow some natural movement.
Think about how much space your knots and fringes will take up too. Sometimes, a pattern that looks great on paper might need a bit more length or width when tied in real life.
Taking Accurate Measurements
Here’s a quick way to do it step-by-step:
- Use a metal tape measure for accuracy.
- Measure the width of the opening twice—top and bottom—to spot any differences.
- Note the tallest point for height, especially if the surface isn’t level.
- Add extra inches to width and length for draping and fringe.
- Record all numbers carefully—double-check if unsure.
Oftentimes, adding 3 to 6 inches around the frame works well, but it depends on how dense or loose you want the knots to be.
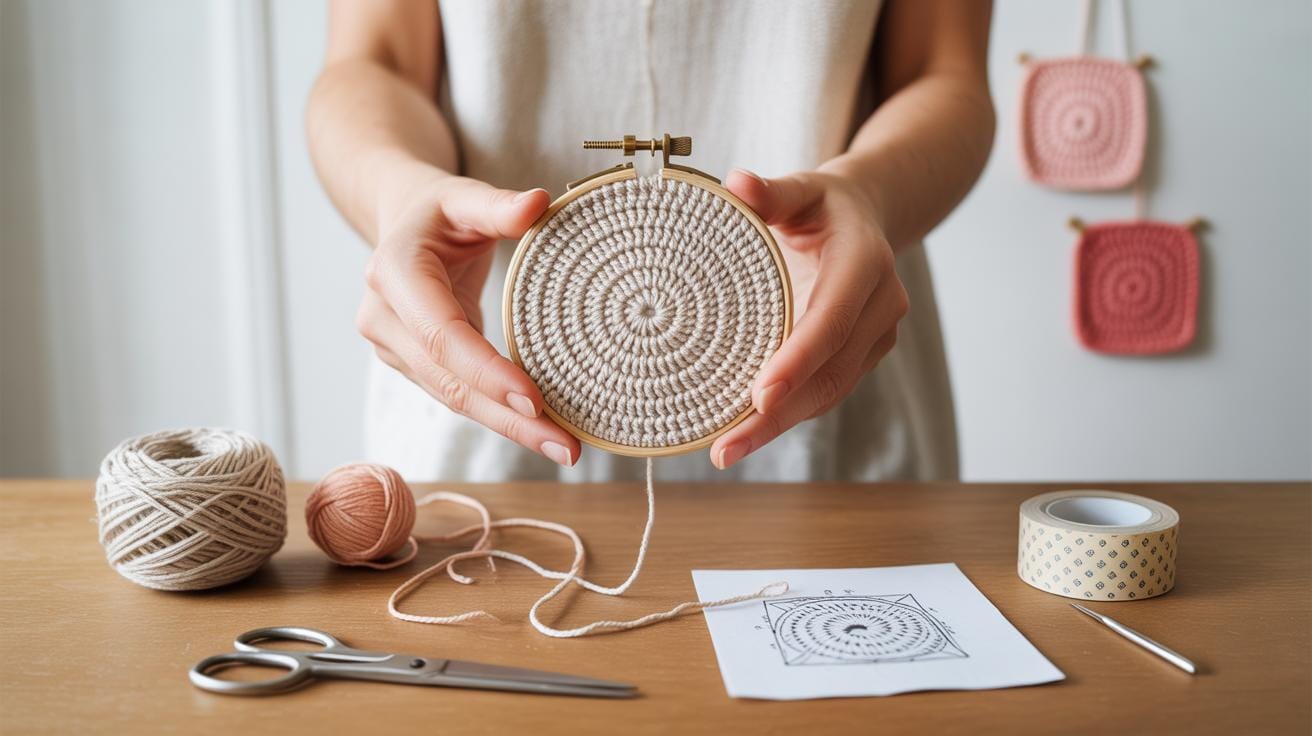
Drawing Your Design
Once measurements are set, take a moment to sketch your design. Don’t worry about being an artist—stick figures work fine here. Just outline the curtain’s shape with your exact dimensions. Next, pick a basic knot pattern or mix a few you like. Try to visualize how the knots will flow from top to bottom. You might find it helpful to draw rows and columns indicating where clusters of knots or spaces will go. It doesn’t have to be perfect; a rough sketch can save you from surprises later.
Also, consider the style you want: Should the curtain be dense and private, or airy and open? Big geometric patterns need more space, while simple rows can fill smaller gaps well.
Sometimes, it’s easier to experiment a bit with samples or test strips based on your sketch before committing fully. After all, planning feels a bit like guessing, but it’s better than dealing with a curtain that barely fits or overwhelms your space.
Preparing Your Workspace And Materials
Organizing Materials
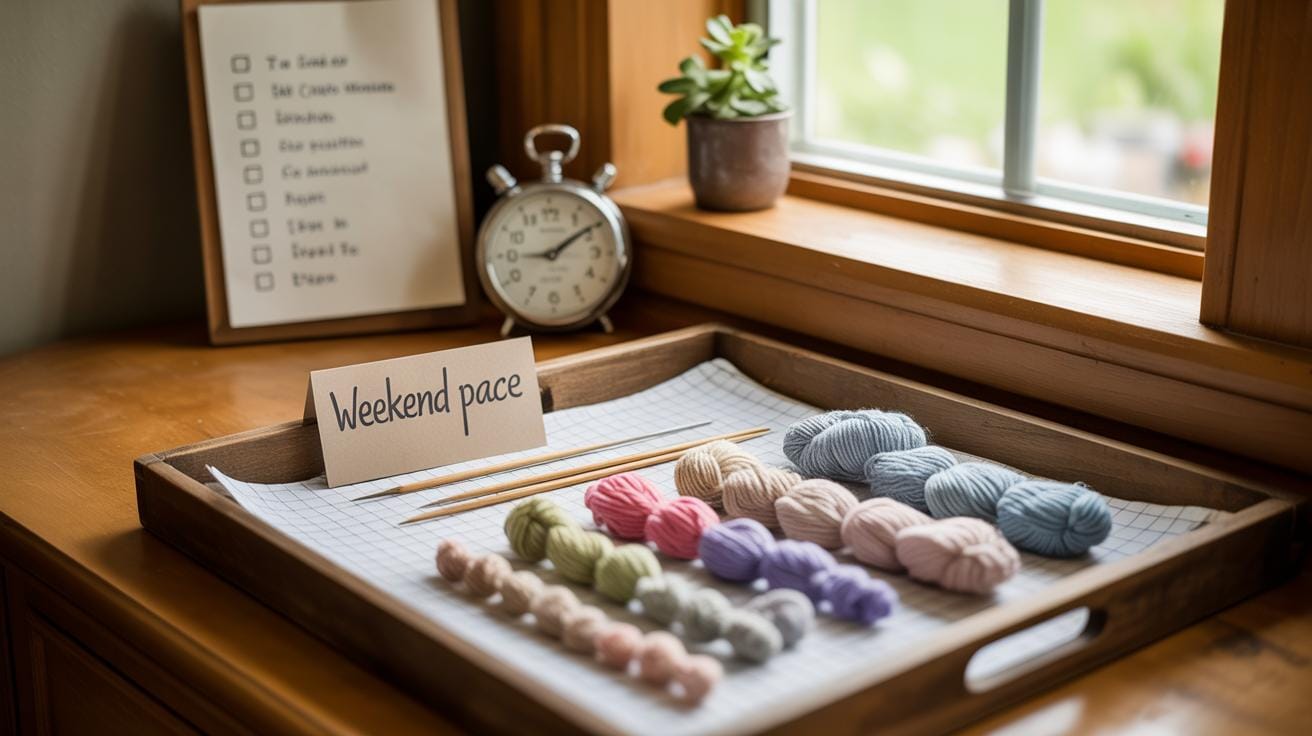
Before you dive into knotting, it helps to lay out all your cords by length and color. Grouping them in bundles makes grabbing what you need quicker. I found that tying small scraps of contrasting yarn around each bundle to label lengths saved me from constant measuring mid-project—that step might seem extra, but it really cut down interruptions.
Tools like scissors, tape measures, and combs deserve a dedicated spot close by. I like using a shallow tray to keep these handy but stopped cords from tangling. It feels less chaotic when everything has its place. Plus, untangling knots before you begin is easier than mid-knot frustration.
Setting Up Workspace
Choosing the right place to work matters more than I expected. A sturdy chair and a table at a comfortable height make long sessions less tiring. If your project is bigger—like a doorway curtain—you might want space to step back and see your progress.
Good lighting, natural if possible, helps with spotting uneven knots or missed loops. Sometimes I’ve rushed under dim lights and had to redo sections. Not fun. Also, consider where you’ll hang the curtain while knotting. Creating a makeshift rod or using a tension rod between two chairs can work well if a permanent spot isn’t ready.
There’s something about having a slightly minimalist workspace. Clutter only distracts or tangles with your cords. But maybe I’m a bit picky. What about you? Do you like everything out or prefer a sparse area? Try different setups—you might be surprised what helps your focus.
Starting Your Macrame Curtain
Attaching Cords To Rod
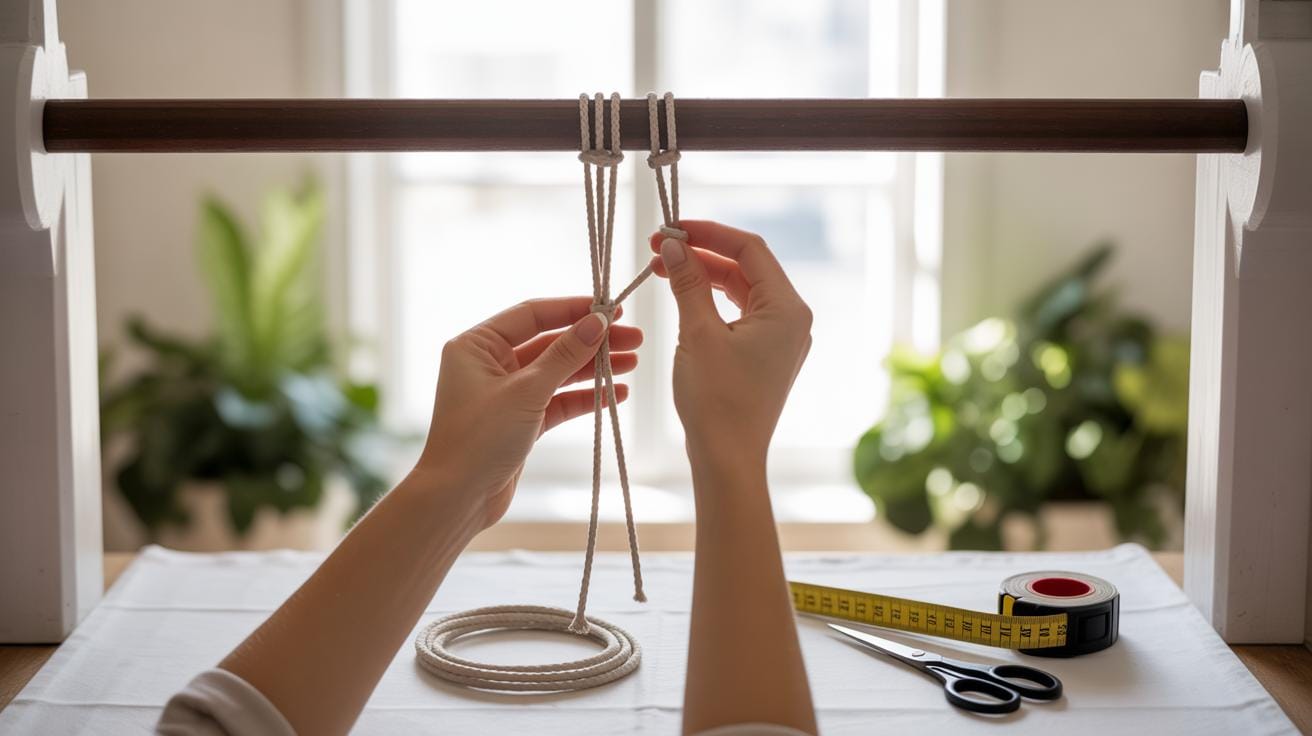
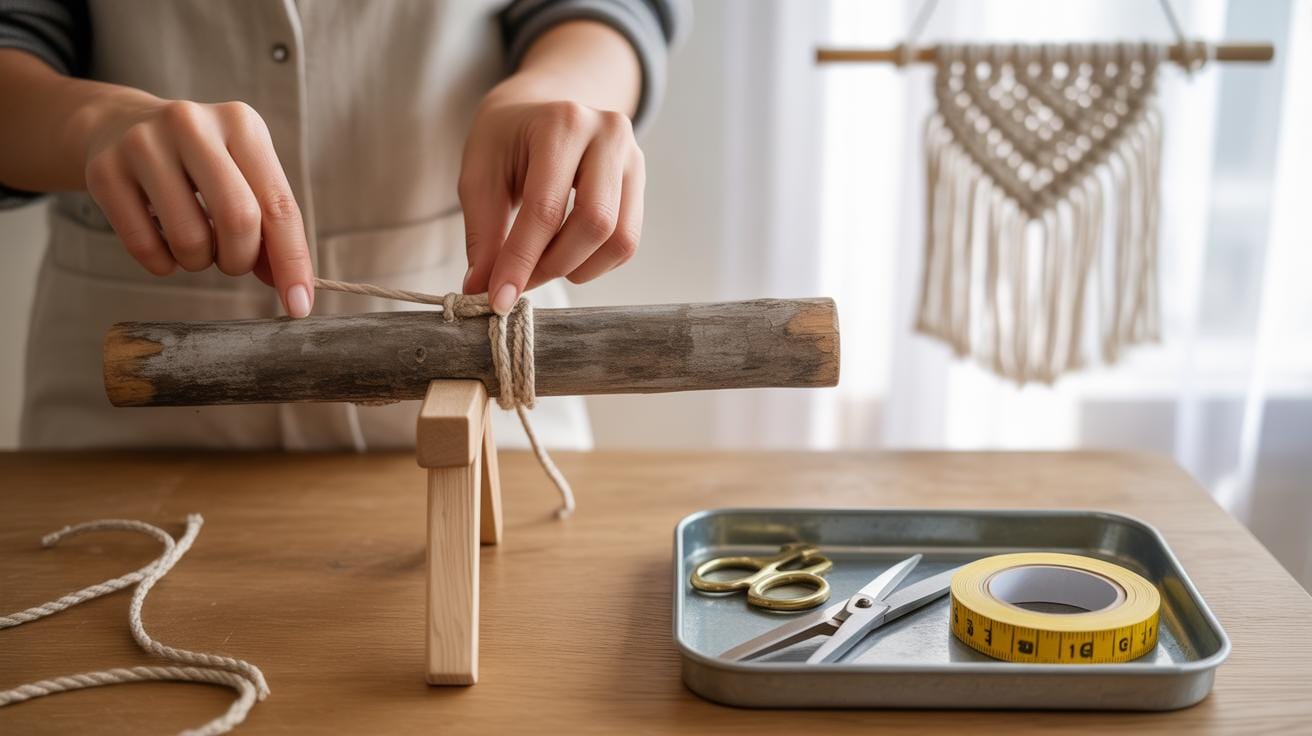
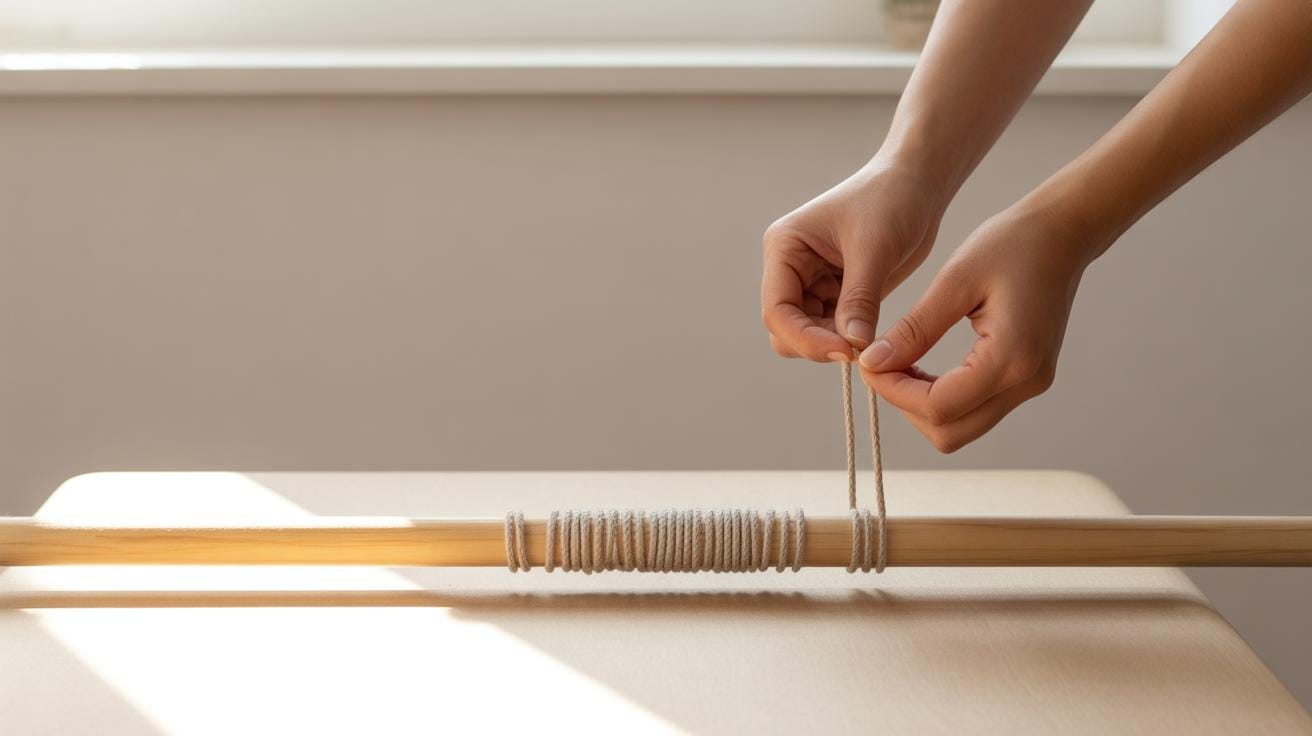
Once you have your curtain rod or dowel ready, the first step is to get those cords firmly attached. I usually lay the rod flat on a table or hang it between two supports, so it doesn’t move around too much—that makes the next steps easier. You want the cords spaced evenly along the rod to avoid awkward gaps or crowded spots.
The most common method is the lark’s head knot. Fold a cord in half, place the loop under the rod, then pull the ends through the loop over the rod, tightening it. It sounds straightforward, but don’t rush it—you’ll be looking at this row the whole time, so each knot should feel secure and neat.
If you’re working with thicker cords or a heavy rod, consider doubling up the strands for extra stability. Sometimes I find that anchoring with a bit of tape before knotting helps keep the cords from sliding, but that’s probably a personal quirk. Give yourself space to adjust the tension, as uneven knots will throw off your pattern later.
Making The First Row Of Knots
Starting the first row of knots after attaching cords can feel a bit daunting. You’re essentially setting the foundation, so it matters. Begin by choosing the knot that will form the basis of your curtain. The square knot is a classic starter; it’s simple but sturdy.

To do this, take four cords at a time. You’ll work with the two outer cords wrapping around the two center cords, alternating direction to form the knot. Keep tension consistent—too tight and the row will scrunch; too loose and it won’t hold shape. I sometimes find myself adjusting a knot a few times because I’m just not happy with the way it looks.
Remember, this first row sets up your tension and structure, so it’s worth giving a little extra attention. It may take a few tries to get comfortable, especially if you’re new to knotting. Don’t hesitate to pause and fix details now rather than later.
Creating Patterns With Knots
Repeating Knots For Patterns
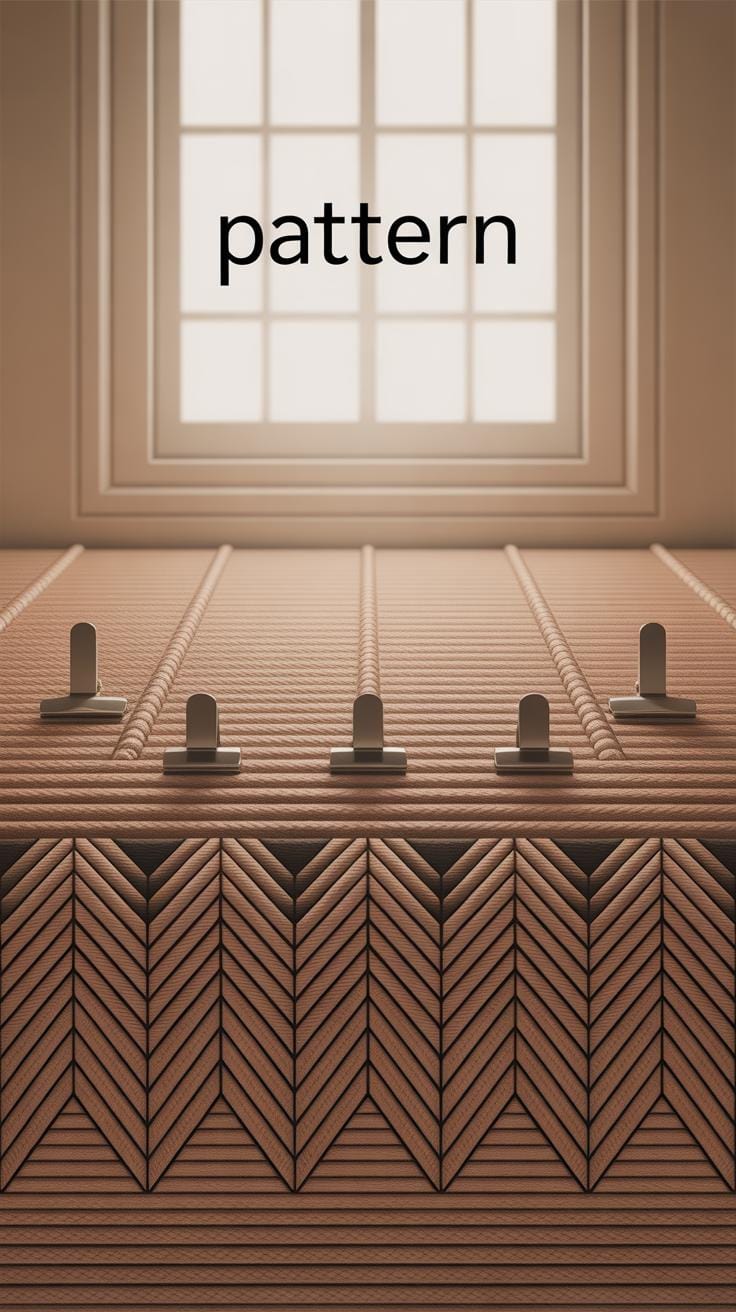
Using repeated knots is a straightforward way to establish a pattern that feels consistent and deliberate. When you choose a specific knot—like the square knot or half hitch—and tie it over and over, it forms a rhythm across your curtain. This repetition can create stripes, grids, or even waves depending on how you space and angle each knot.
For example, a row of alternating square knots, followed by a few rows of simple double half hitches, can establish a predictable and calming visual flow. You might find yourself getting into a sort of meditative rhythm, tying the same knot again and again. At times it feels a bit monotonous, but you start to appreciate how that repetition builds structure—almost like the curtain gains a personality of its own.
Sometimes, repeating knots can make the design feel too predictable. Do you ever wonder if sticking to one knot becomes dull? That’s a fair thought, and it’s why mixing knots is often where things get more interesting.
Mixing Knots For Unique Designs
Mixing different types of knots in your curtain adds texture and intrigue. You might combine lark’s head knots with square knots, or throw in some alternating half hitch knots to break up the pattern. This combination creates visual contrast and keeps you engaged during the process, too.
When you mix knots, the curtain almost feels like it’s woven with different voices speaking at once. Each knot has its own tension and look, so when placed together, they add depth. You could start simple—perhaps a few rows of double half hitch knots followed by a panel of alternating square knots—and then repeat this mix throughout your piece. It’s not about strict uniformity anymore, but about crafting a dynamic texture that catches the eye.
The trick is knowing when to switch knots so the pattern doesn’t feel chaotic. Adding variety is great until it becomes visually confusing. Experiment, but maybe keep a theme, like varying only the knot types, not the spacing or direction too much. Have you tried blending knots yet? It opens up so many possibilities for your curtain’s design.
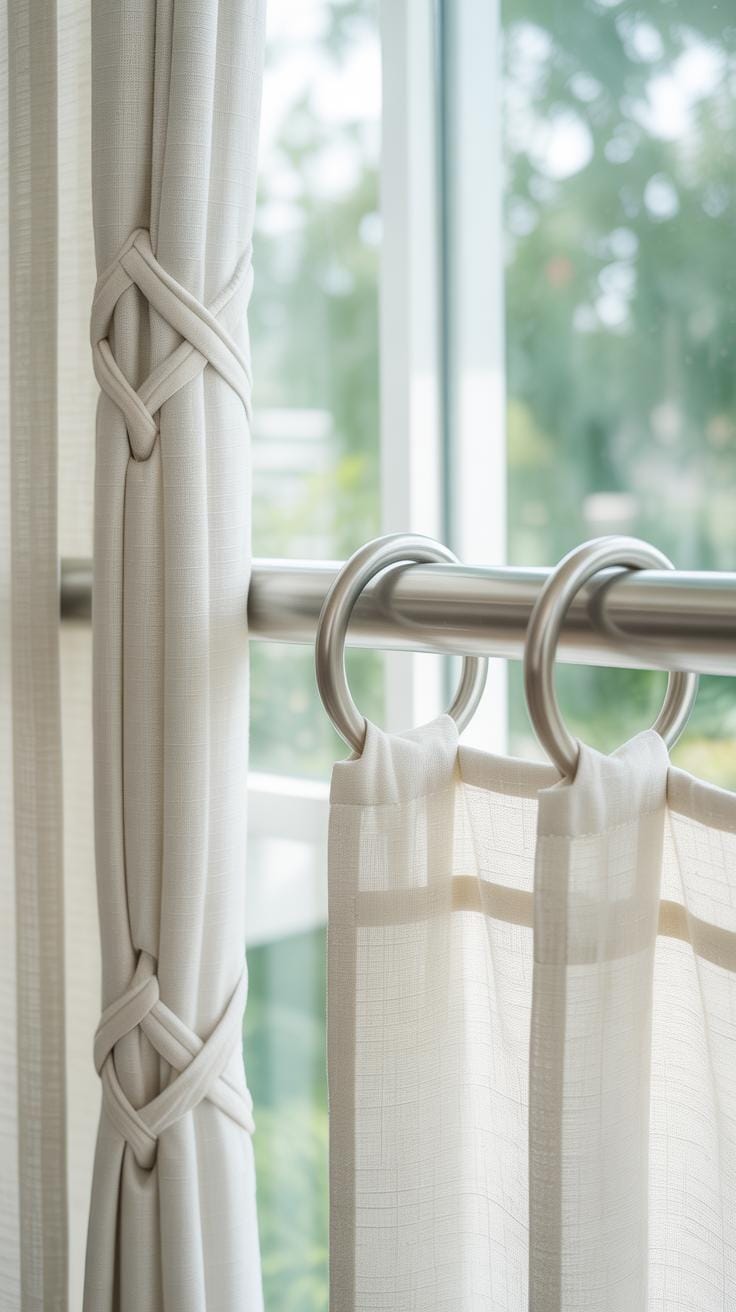
Adding Finishing Touches To Your Curtain
Once you’ve knotted your curtain’s main body, the edges can feel a bit bare, even unfinished. That’s where fringe edges come in—they add a casual, flowing look that softly frames your piece without demanding too much attention. Creating fringes is simple: cut extra lengths of cord, fold them in half, then loop and knot along the bottom row of your curtain. This method not only adds texture but also creates movement when the curtain sways. If you like something neater, you can trim the fringes unevenly for a more organic feel—it’s up to your taste.
Beads and other decorations bring a whole new dimension to your curtain. Don’t be shy about threading wooden beads or even tiny shells onto individual strands. You can space them out evenly or cluster beads around your favorite knots for a subtle highlight. Personally, I find small metal beads create a nice contrast against natural fibers, but be mindful of weight—too many can pull your curtain down or shift the pattern.
Think of embellishments like punctuation marks in your design; they pause the look and draw your eye. But overdoing decorations can clutter the simplicity macrame is known for, so keep balance in mind. What types of beads or decorations might fit your space? Sometimes guessing and adjusting as you go leads to the best final look.
Installing Your Macrame Curtain

Choosing The Right Mounting Hardware
You’ll want hardware that matches the weight and style of your curtain. For lightweight macrame curtains, tension rods work fine, especially for windows where drilling isn’t an option. They’re quick to install but can slip if bumped, so keep that in mind.
For heavier curtains or doorways, sturdy curtain rods with brackets offer better support. I’ve found metal rods less likely to bend, but wooden ones bring a warmer look if you’re going for a rustic feel. Hooks can also work if you don’t want to use a rod — just make sure they can hold the weight and remain stable over time.
Think about the space too: narrow windows might need smaller rods, while wide doorways require longer ones with additional supports. Sometimes, a double bracket setup helps if your curtain is really wide or thick. Have you considered what looks better—hidden hardware or visible pieces? That choice might affect the entire room’s aesthetic.
Hanging The Curtain Securely
Once you pick your hardware, installation’s next. Start with measuring carefully—double-check that your rod or hooks are level before securing them. An uneven curtain just feels off, no matter how beautiful the macrame is. I usually use a small spirit level and mark spots lightly with pencil to avoid mistakes.
When threading your curtain onto the rod, take your time. Spread the macrame evenly to avoid bunching. For ones with loops or sleeves, ensure they fit snugly but not tightly—too tight can cause tension and distort the knots.
To keep the curtain in place, consider attaching small clear rubber stoppers or felt pads near the rod edges to prevent sliding, especially if the curtain hangs in a breezy spot. For doorways, adding subtle weights at the bottom corners might help maintain shape and reduce movement.
Have you thought about how you want the curtain to fall? Some prefer it slightly loose for a relaxed look, while others like it taut and structured. Either way, take time to adjust and readjust before finalizing. The way it hangs really affects the room’s vibe—maybe more than the design itself.
Maintaining Your Macrame Curtain
Cleaning Macrame Curtains
Keeping your macrame curtain clean doesn’t have to be difficult. Often, a gentle dusting or light shake outside is enough to keep dust and dirt at bay. For deeper cleaning, hand washing with mild soap in lukewarm water works best. Machine washing can be risky—it might loosen knots or distort the fibers.
Try soaking it briefly, then gently pressing out excess water without wringing. Lay it flat or hang it to dry, but avoid direct sunlight for long, as it can fade the fibers. You might hesitate to wash your curtain too often, but it’s better than letting dirt build up. Spot cleaning small stains quickly is also a good habit.
Preventing And Fixing Knot Issues
Knots in macrame can loosen or tangle over time, especially near doorways where movement happens. If you notice knots starting to slip, tightening them early helps avoid bigger problems later. Using fingers or a small crochet hook to gently tease out tangles works well.
Sometimes, knots get stubborn, and you might have to carefully undo and re-tie them. It’s a bit fiddly but doable, even if you’re not an expert. I’ve found that avoiding excessive pulling when handling the curtain reduces knot problems. When storing your curtain—say, for a season—fold it loosely rather than stuffing it away. This helps keep knots neat and stops fibers from getting creased or tangled.
Conclusions
Macrame curtains can transform your home by adding texture and personal style. The knots and techniques you learned here are easy to master with practice, making the project suitable for anyone willing to try. You now have the tools to create a curtain that fits your needs and enhances your space.
Try experimenting with different patterns and materials to make your macrame curtain truly one of a kind. With patience and creativity, your curtain will not only serve as a functional piece but also as a conversation starter. Begin your craft today and enjoy the satisfaction of handmade beauty.


