Introduction
Macrame is a craft that uses knotting techniques to create decorative textiles. Macrame wall art has become a popular way to add a hand-crafted touch to home decor. Making your own macrame wall art is a fun and rewarding way to personalize your living space.
This article guides you through different macrame wall art designs you can try at home. We will explore the basics, materials needed, and step-by-step instructions to help you get started. You will find inspiration to create beautiful and simple designs that fit your style.
Understanding Macrame And Its History
What Is Macrame
Macrame is a crafting technique centered around knotting cords to create patterns and textures. Unlike weaving or knitting, it doesn’t rely on needles or hooks. Instead, it’s all about tying different types of knots—like the square knot, half hitch, and lark’s head—to build shapes and designs.
You might imagine it as a simple practice, but there’s quite a bit of skill in arranging knots neatly and evenly. The knots themselves can form dense or lacy patterns. And that’s what makes macrame versatile; you can create anything from dense hanging plant holders to airy wall hangings.
Macrame wall art is particularly popular because it adds a tactile, handcrafted touch to any room. It uses flat or slightly textured cords to fill a wall space with geometric or flowing designs. The density of knots, their arrangement, and the length of hanging cords all influence the final look. It feels personal and unique—something not so easily found in store-bought pieces.
Macrame Through History
The roots of macrame stretch back centuries, though the exact origin is a bit hazy. Some historians trace it to Arab weavers in the 13th century who knotted excess threads at the edges of woven fabrics. From there, it drifted to Europe, especially via sailors who used knotting skills to mend nets and pass time at sea.
Macrame’s journey is kind of like a slow migration. It traveled across continents, adapting to local styles and materials while maintaining those core knotting techniques. In Victorian England, it became a fashionable pastime, especially for household textiles. Then it quietly faded from mainstream craft, only to see a big comeback in the 1970s.
That revival wasn’t just nostalgia. It matched a desire for handmade, natural items in home décor. Today’s macrame artists often blend traditional knots with fresh, modern design. So you might wonder—does macrame ever really leave us, or just change form while waiting in the wings?
Gathering Materials For Macrame Wall Art
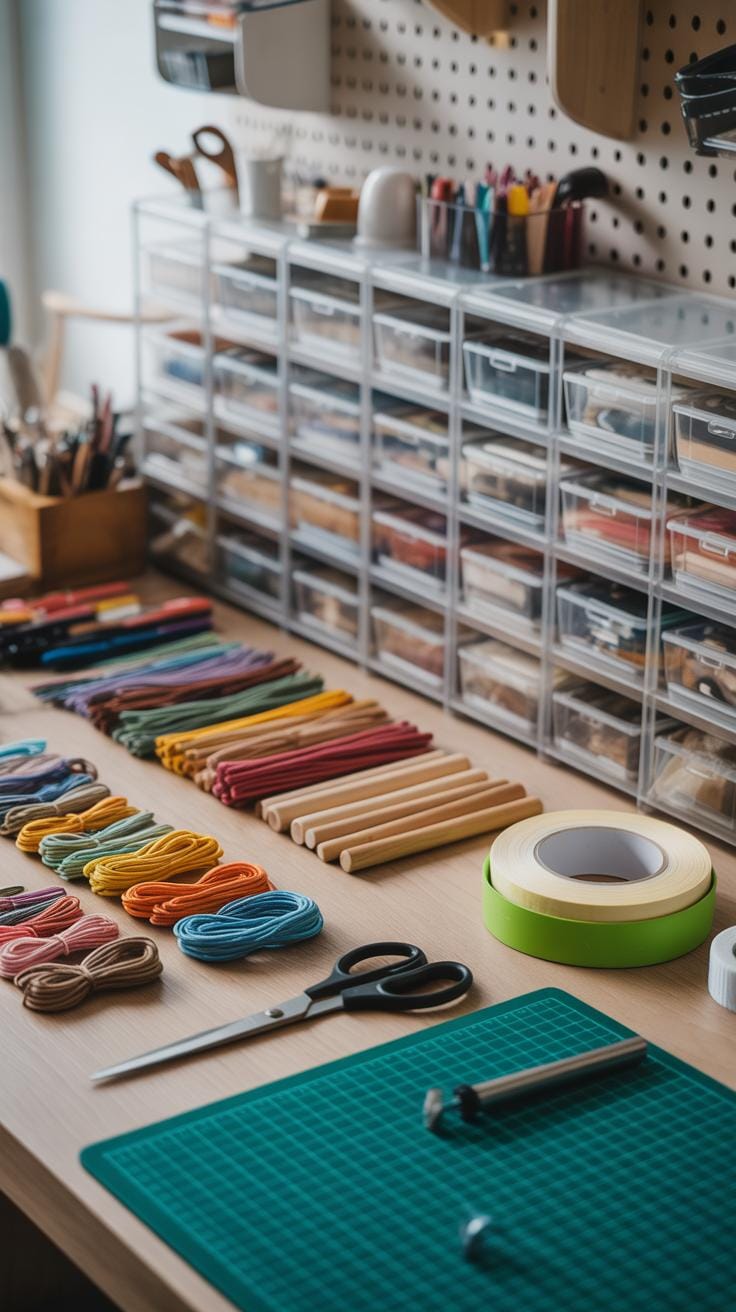
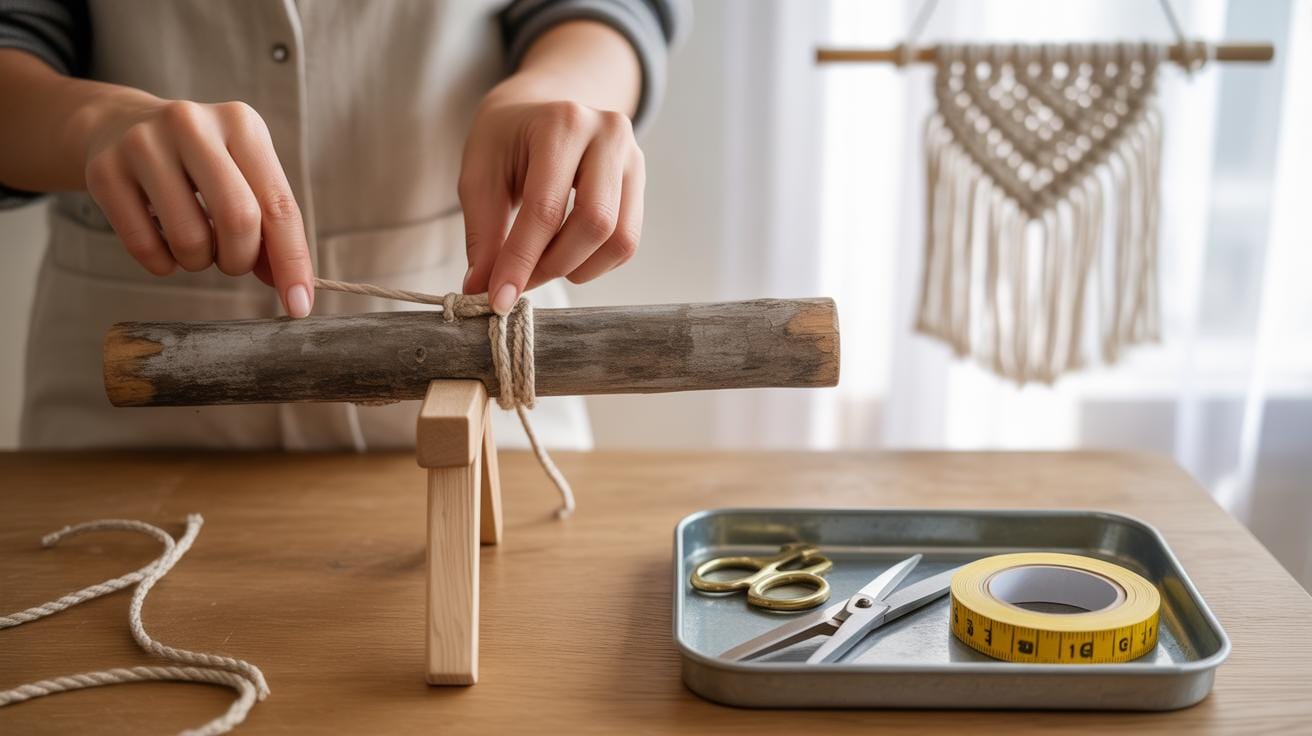
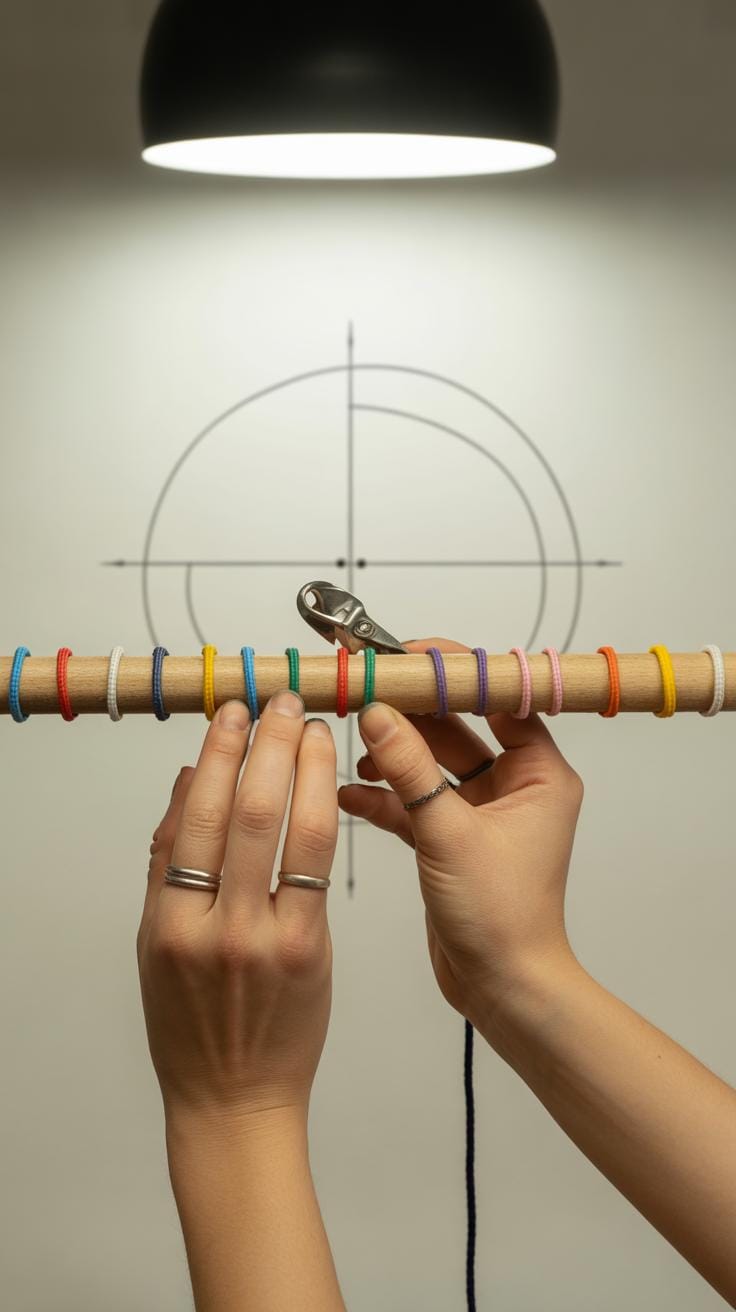
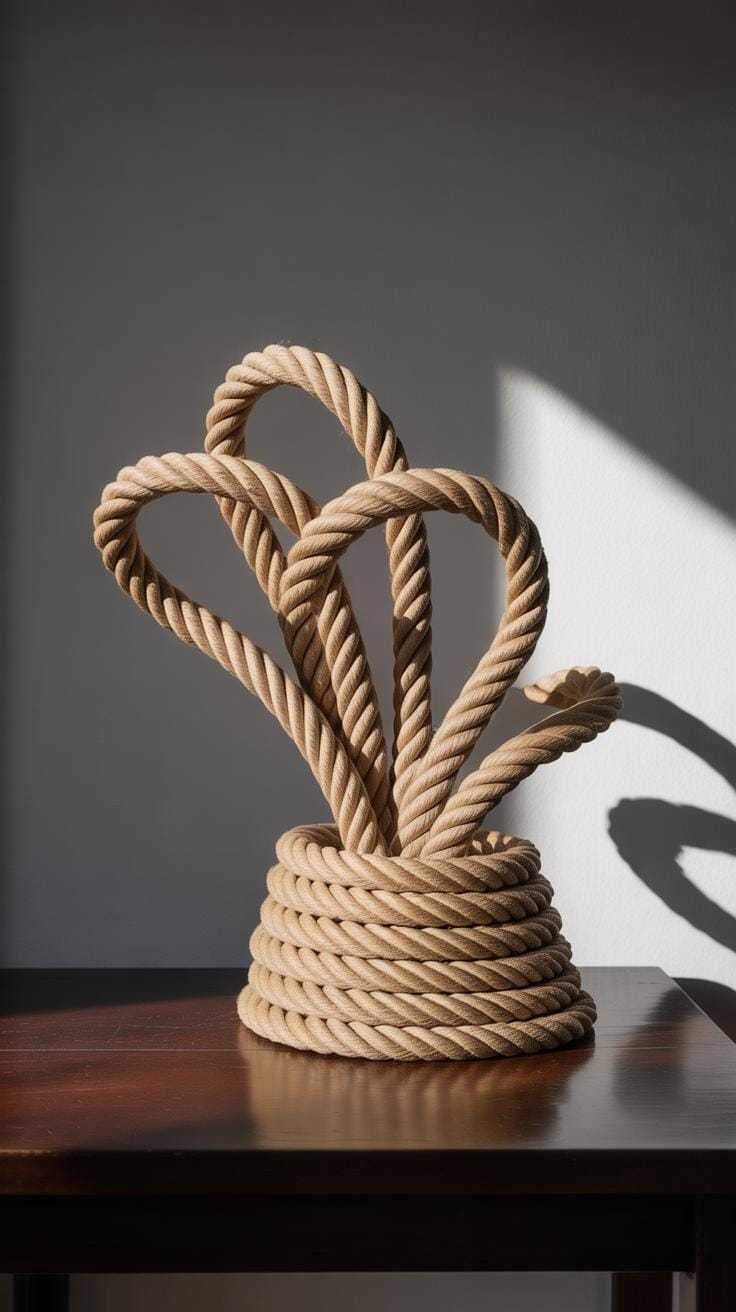
Before starting your macrame project, you’ll need to gather some basic materials. The type of cord you pick influences not only the look but how easy or tricky the knots feel. Cotton cords are popular—it’s soft, easy to handle, and makes clean, defined knots. Jute is rougher, with a rustic vibe, but can be a bit tricky if you want neat finishes; it tends to fray more. Hemp sits somewhere in between, offering strength without being too stiff, though it may feel a bit coarse at first touch.
Choosing the right cord often depends on the style you want—or maybe just what you have access to. Sometimes I’ve switched between cords mid-project because I wasn’t quite happy with the feel or tension, which can be frustrating but also teaches you a lot. Thickness varies, too, so think about whether your design needs delicate lines or bold ropes.
Besides cords, tools play a crucial role. Scissors with sharp blades are a must; dull ones don’t cut cleanly, and that’s annoying when you’re aiming for neat edges. A measuring tape helps keep your cords consistent in length, which affects how balanced your wall art looks. Some people use a macrame board or even a corkboard with pins to hold cords in place while working—this keeps hands free when tying complex knots.
- Sharp scissors – for clean cuts
- Measuring tape – ensuring consistent cord lengths
- Macrame or corkboard – to hold cords steady
- T-pins or clips – to secure materials on your working surface
- Comb or brush – sometimes useful for fluffing or straightening cords in certain designs
Gathering materials may feel a bit tedious, but having the right ones makes all the difference. Do you tend to experiment more with different cords, or stick to just one favorite? I often find myself switching cords mid-project, partly because I get a bit impatient if the material doesn’t “feel right.”
Basic Macrame Knots To Learn
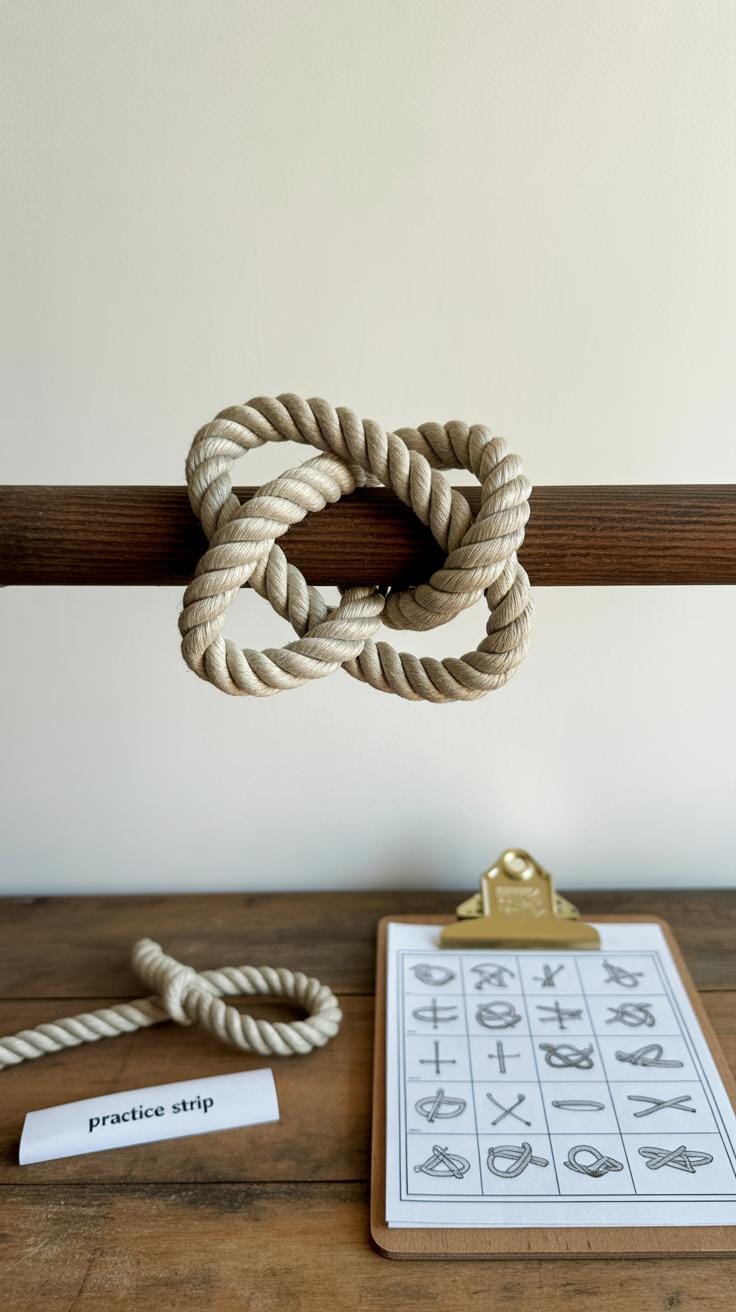
Square Knot
The square knot is probably the most common knot you’ll use in macrame wall art. It’s simple but can create a firm, flat pattern that holds well over time. To tie one, start with four cords—two in the middle acting as fillers, and one working cord on each side.
First, take the left working cord and cross it over the two middle filler cords, then bring the right cord over the left, behind the filler cords, and through the loop created on the left side. Pull tight but don’t overdo it. Then reverse the process: right cord crosses over the fillers, left cord goes behind and through the loop on the right. This forms one full square knot.
You see this knot in many projects because it adds strength and looks neat. It’s often repeated in rows or combined with others to build texture and dimension. If you’ve tried macrame before, you’ve likely come across this knot, whether you realized it or not.
Half Hitch Knot
The half hitch knot might seem less straightforward at first, but it’s essential for creating detailed patterns in your piece. Essentially, you wrap a working cord around a stationary cord to make a loop. Pull the working cord through that loop, then tighten.
When you do multiple half hitch knots side by side or in series, you can make diagonal lines, curves, or even wave-like patterns. This knot shapes the flow of your wall art, giving it movement and subtle design changes.
Some people think half hitch knots are tricky, but with practice, they become almost automatic. Using this knot lets you break the uniformity you get with square knots and helps personalize your design with more variety.
Starting Your First Macrame Wall Hanging
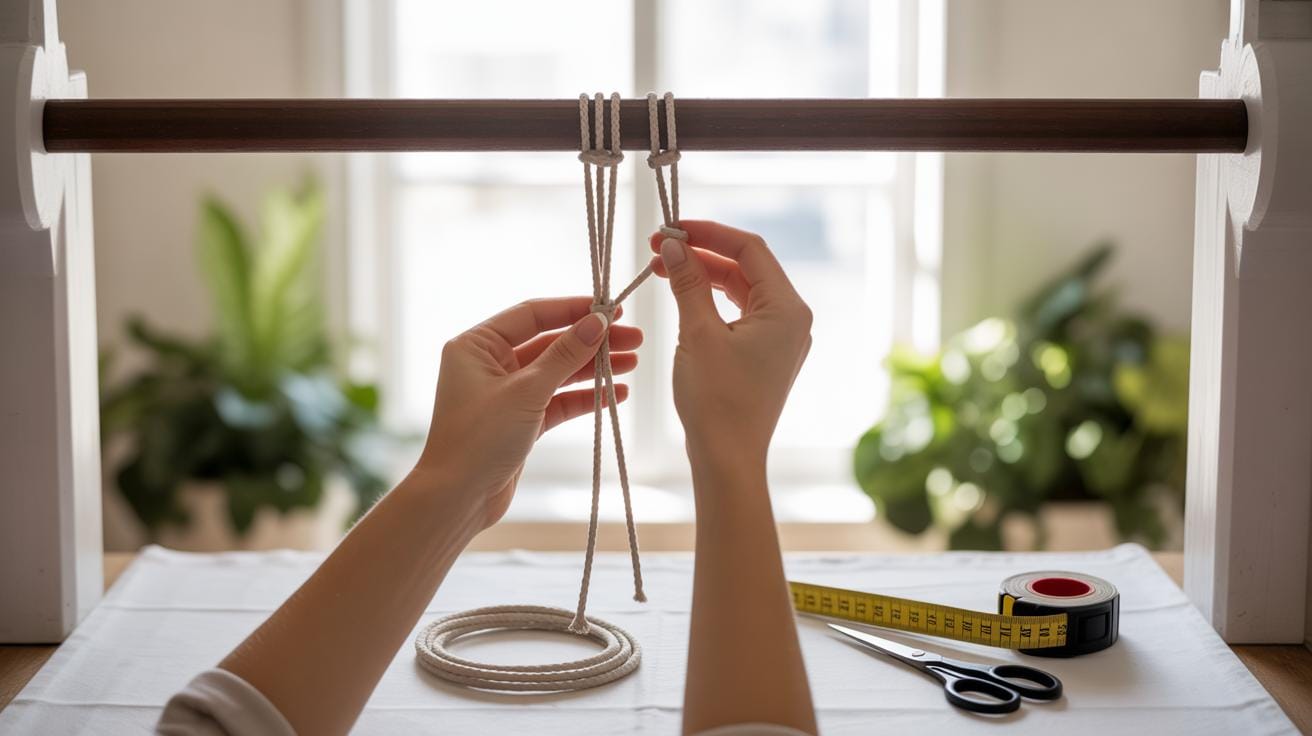
Measuring And Cutting Cord
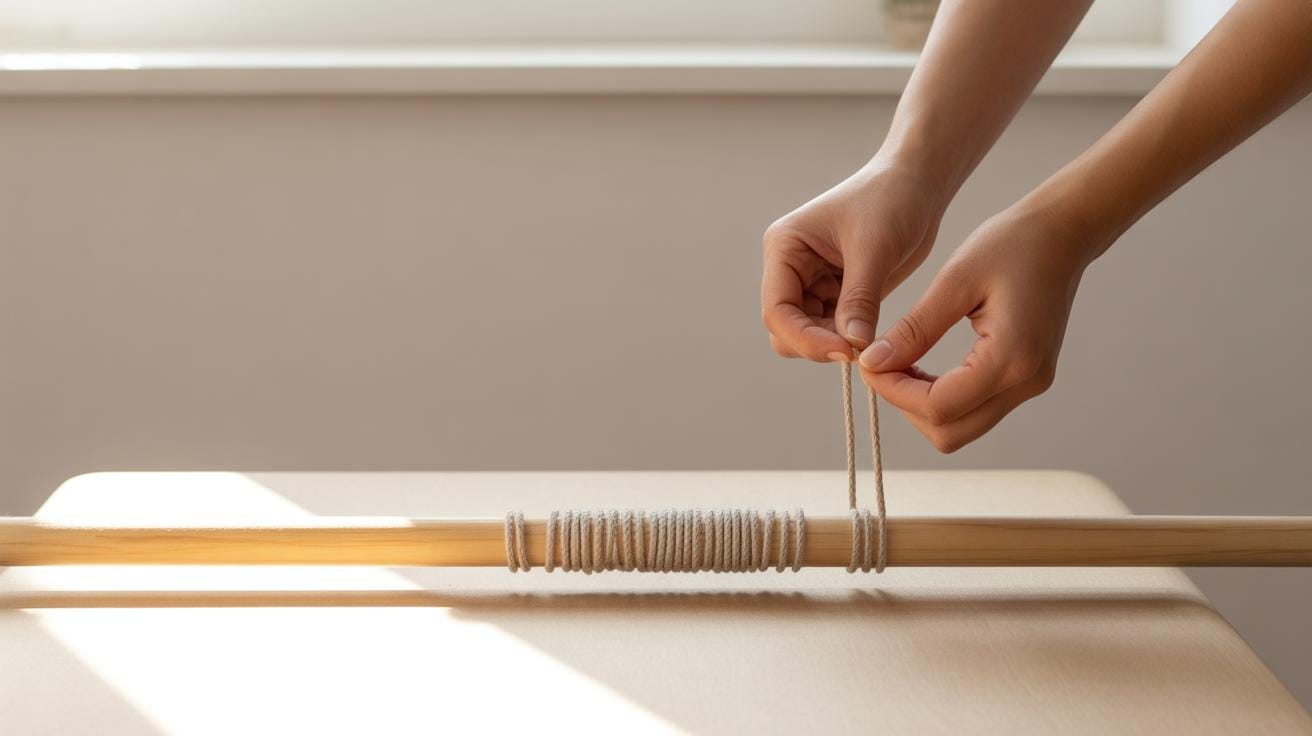
Before you begin knotting, getting the right cord length is crucial. I usually suggest planning for at least four times the desired finished length of your wall hanging. Why so much? Because knots consume cord, and you might want extra to adjust or fix mistakes. It can feel wasteful, but it’s less frustrating than running out halfway through.
For example, if your final piece should be 20 inches long, cut cords about 80 inches each. Always round up a little—sometimes you’ll find yourself needing more than expected, especially if you like fuller designs. And remember, different knots use different amounts of cord, so this multiplier isn’t one-size-fits-all but a helpful starting point.
Setting Up Your Workspace
Find a comfortable spot with good lighting, ideally a table or a surface where you can pin or clip your project. You’ll want something at chest or eye-level if possible, so you’re not straining your neck or shoulders. A corkboard, clipboard, or even a simple dowel rod clamped to a surface works well as a base for fastening your cords.
Arrange your materials within arm’s reach. That means your cords, scissors, tape measure, and any beads or embellishments you want nearby. Nothing kills the flow more than constant searching for tools. I usually keep a small container or tray for scraps and knots—I tend to make a few too many as I get started.
Take a moment to think about comfort, too. Sitting on a hard surface for hours might not be ideal. Adjust your chair or add cushions if needed. You’ll likely spend more time here than you expect, so a little set-up effort now can save aches later. And don’t forget, sometimes the messier the space, the better the creativity. So don’t stress if it looks a bit chaotic.
Simple Macrame Wall Art Patterns
If you’re just getting comfortable with macrame, starting with simple patterns feels less overwhelming. These basic designs let you focus on mastering knots without getting lost in complexity. Two beginner-friendly patterns to try are the basic fringe and the diagonal clove hitch. Both are straightforward but can create lovely effects on your wall.
Basic Fringe Pattern
The fringe pattern is as straightforward as it sounds. You simply cut several equal-length cords, secure them to your dowel or ring, and then trim the bottoms to create an even or slightly tapered fringe. This pattern is a good warm-up—no knots, just cutting and combing.
Here’s a quick way to make it:
- Cut cords twice the desired fringe length.
- Attach cords folded in half onto the dowel using a lark’s head knot.
- Once all cords are attached, comb out the ends if you want a fuller look.
- Trim the ends so they fall at your preferred length or angle.
The simplicity here is nice. You might think it’s too plain, but even just a fringe can add texture and interest. Plus, playing with trimming angles changes the vibe a lot.
Diagonal Clove Hitch Pattern
The diagonal clove hitch is a bit more involved but still beginner-friendly. It uses the clove hitch knot repeated diagonally across cords. You start by anchoring your working cord on a base cord, then make a series of half knots moving diagonally.
Try this:
- Set up your vertical base cords on a dowel.
- Use a separate working cord to tie clove hitch knots diagonally across the base cords, moving from one side to the other.
- Keep the tension consistent to create neat diagonal lines.
- Repeat the pattern as much as you want to build your design.
This pattern can fill space quickly and puts your knot skills into practice. At first, you might find your lines a bit uneven, but that’s okay. The slight imperfections give charm. Plus, the diagonal clove hitch creates a subtle chevron or wave effect, which looks quite nice on the wall.
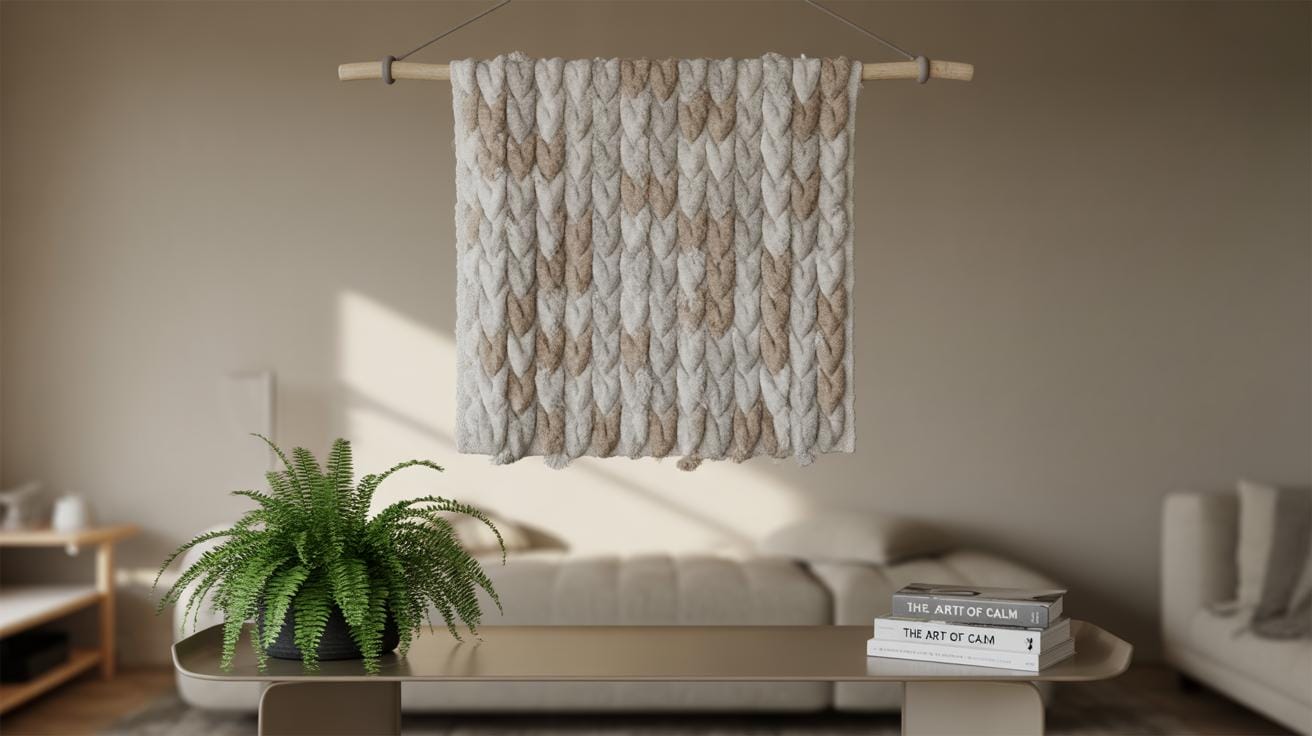
Adding Color And Texture To Your Macrame
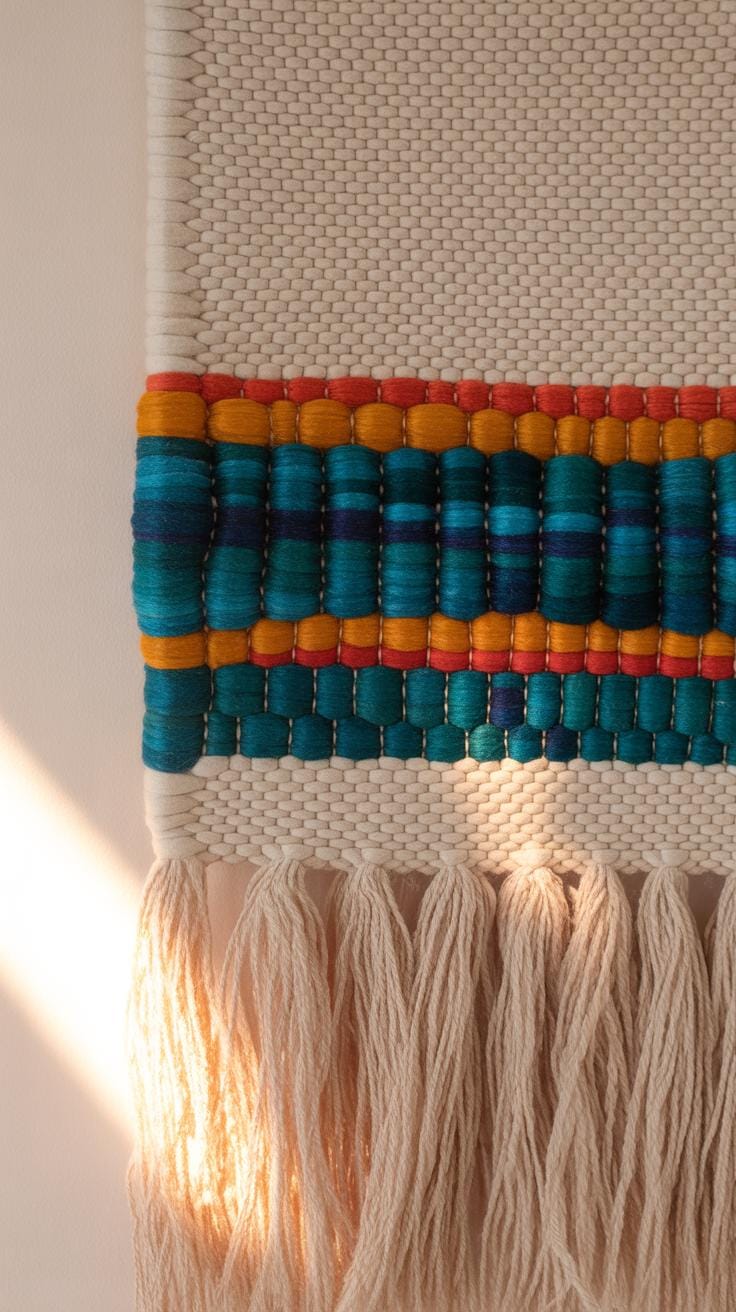
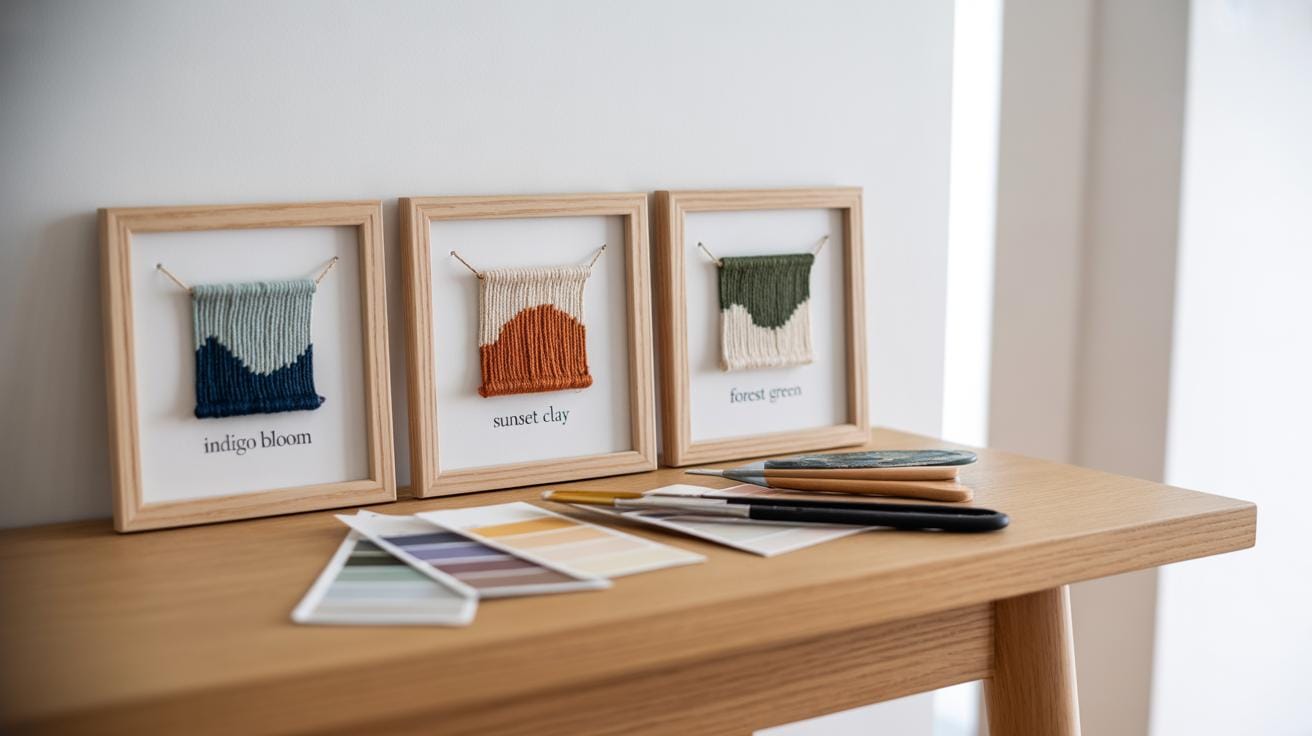
Using color in macrame can change the whole feel of your piece. When picking colored cords, try combining shades that contrast but don’t clash. For example, soft pastels mixed with deep earth tones can add subtle interest without shouting for attention. Sometimes, sticking to a limited palette—two or three colors—works better than a rainbow of hues. It keeps the design from becoming too busy, but if you like bold, go ahead and experiment with unexpected mixes.
Texture plays a huge role too. Think about mixing cord thicknesses or materials. Combining smooth cotton with rougher jute can create surprising tactile layers that draw you in. You might find that even slight variations in the cord’s finish or twist can catch the light differently, changing the perception of depth.
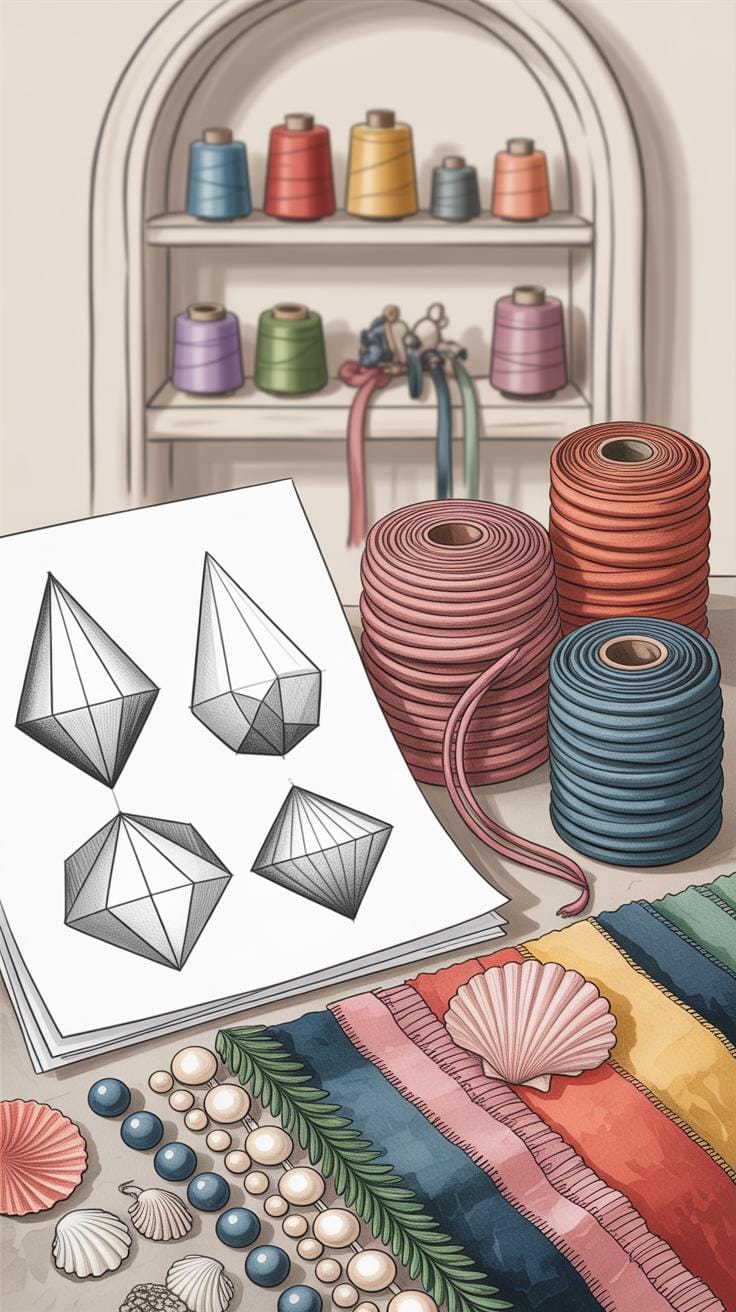
Adding beads, feathers, or other objects offers another layer of interest. Wooden beads bring warmth and a natural vibe, while metal ones add a bit of edge or shine. Feathers introduce softness and movement but be careful where you position them—they can become delicate focal points if placed well.
Here are a few tips for incorporating these extras:
- Slip beads onto cords before knotting or thread them through loops for stability.
- Use feathers sparingly to avoid overpowering the knots but enough to add charm.
- Try mixing bead sizes to create rhythm along a strand.
- Think about color coordination between beads, feathers, and cords—sometimes matching tones works, other times contrasting is better.
I once tried adding turquoise beads and soft ivory feathers to a neutral-toned piece, and it brought just the right balance between simple and interesting. It’s all about finding what feels right for your space and your style. What color or texture will you try next?
Advanced Macrame Techniques
Once you’ve gotten comfortable with the basics, it’s tempting to push deeper into knot complexity and technique combinations. Complex knots like the double half hitch, Josephine knot, and the trinity knot open up new possibilities—each creates unique textures and visual effects that basic knots can’t achieve. Pairing these with layering techniques or using varied cord thickness adds even more depth.
Take Cavandoli macrame, for instance. Its main feature is the use of tightly packed, geometric patterns made by knotting only the double half hitch. This method relies on creating flat, tapestry-like pieces rather than the usual dangling fringe style many associate with macrame. It demands patience and precision, but the results are quite striking. If you love patterns and a more graphic approach, Cavandoli can become a fascinating project.
Balancing a design isn’t as straightforward as mirroring everything on each side. Sometimes, a little asymmetry can make the piece more interesting and dynamic. One side may have denser knots, the other lighter spacing. Or the pattern may shift halfway through, which can add surprise without losing cohesion. Think about where your viewer’s eye will settle, and how weight or sparseness affects that gaze.
Can you feel when a design is “off” even without measuring? That instinct counts a lot. Play with odd numbers of cords or uneven repeats. It feels less predictable but can be visually satisfying. Creating balance is as much about breaking rules as following them.
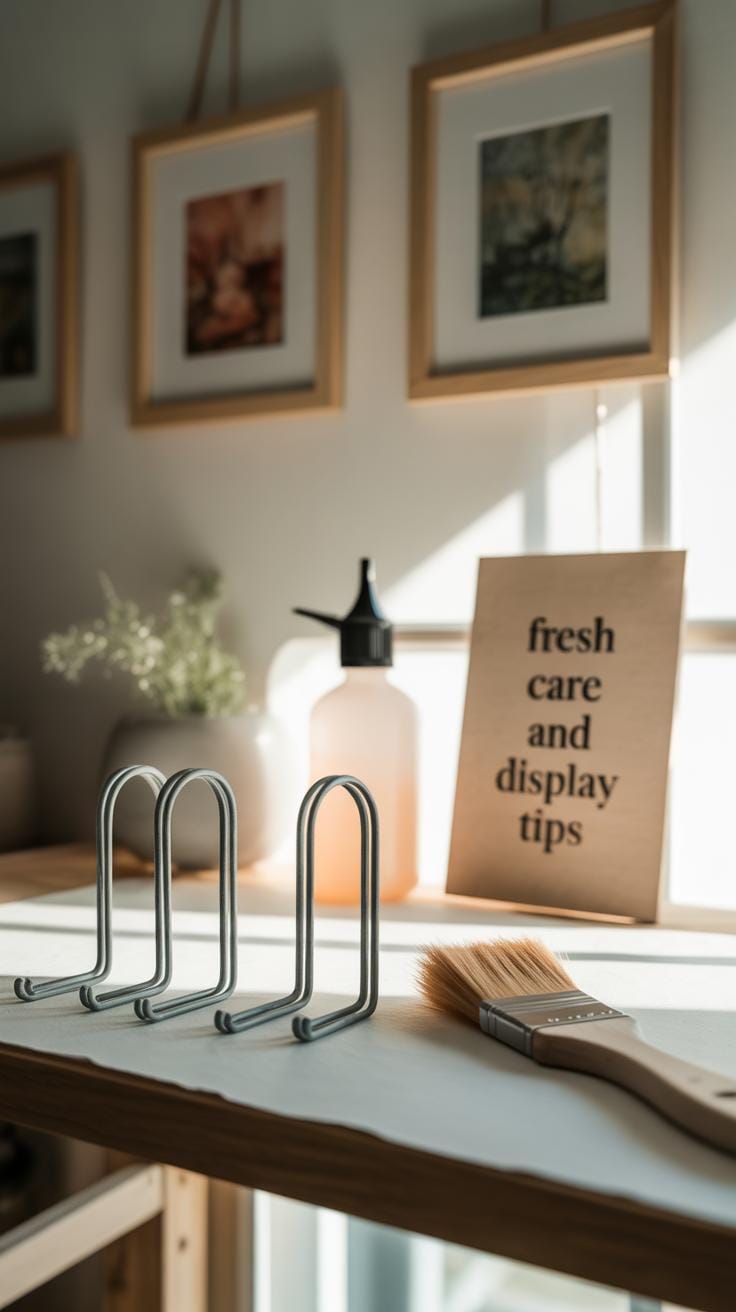
Displaying And Caring For Your Macrame Wall Art
Hanging Your Wall Art
Finding the right spot to hang your macrame piece can feel like a small challenge. You want it to look good but also stay safe and intact. One simple approach is to use a sturdy wooden dowel or branch as the base—this naturally supports the knots and structure. Then, hang it on a well-anchored hook or nail, something that can hold weight without slipping.
Depending on the size and weight, you might choose command strips for lighter pieces or screw-in hooks for heavier ones. Sometimes, I’ve found that using two hooks spaced apart helps the piece hang evenly and avoid unwanted stretching or sagging. Experiment a bit—try hanging your piece at eye level or above a sofa, and see how it changes the room’s feel.
Think about lighting too. A spot near natural light makes the fibers and knots stand out, but too much direct sunlight might fade the colors over time. It’s a balance that’s a bit personal.
Cleaning And Maintenance Tips
Macrame isn’t exactly high maintenance, but it does ask for some care to keep its look fresh. Dust can settle, especially if you live in a dry or dusty place. A gentle shake every now and then can clear loose dirt. Using a soft brush, like a clean paintbrush, to lightly sweep the knots works well for a more detailed refresh.
If your piece gets smudged or grimy, spot-cleaning is usually best. Dab gently with a cloth dampened in mild soap and cold water. Avoid over-wetting the fibers, since that risks changing the knot shapes or making the threads fray a bit.
Hanging your macrame away from kitchens or damp areas helps too. Moisture can encourage mildew or distort the natural fibers, which nobody wants. And if your work has fringe or tassels, occasionally combing them with a wide-tooth comb keeps them from tangling.
Over time, you might notice some loose ends or slight wear. Don’t be too quick to trim or fix something right away—sometimes, a bit of imperfection adds character. But if needed, a careful trim with scissors and a touch of fabric glue can do the job.
Inspiring Ideas To Customize Your Macrame Wall Art
When it comes to making your macrame wall art truly yours, the possibilities are broader than you might expect. Think beyond basic knots and patterns—how about weaving in different textures, weights, or even unexpected colors? For example, adding colored threads or beads here and there can completely shift the mood of a piece.
You could also play with scale. Larger knots juxtaposed with finer, delicate details create depth and catch the eye differently. Don’t shy away from irregular shapes or asymmetry, either; they often feel more personal and less “crafted by the book.”
Mixing Macrame With Other Materials
Integrating other materials into macrame pieces is something I find really interesting. Wood is a natural companion for macrame—it adds warmth and structure. Imagine your macrame hanging from a reclaimed driftwood branch rather than a plain dowel. Or consider framing a macrame panel with a thin metal square to introduce some contrast between soft and hard textures.
Fabric strips can also be braided or knotted alongside or within the cotton cords. Even combining metallic chains with softer ropes can create a dynamic interplay that feels a bit industrial, yet still cozy.
Personal Touches And Themes
Reflecting your own style can come through subtle choices—a certain color palette, for instance, that matches a room or your mood. Choosing earth tones versus bright pops of color profoundly changes how the art reads. Shape-wise, you might gravitate towards geometric patterns if you prefer a modern look, or flowy, organic designs for a more relaxed vibe.
Adding found objects like feathers, shells, or small charms can also narrate a story about you or your space. I once saw a macrame piece with tiny pressed flowers woven in, and it felt like a little secret garden on the wall. What elements speak to you? Personal touches don’t need to be perfect; sometimes, the imperfections tell the best stories.
Conclusions
Macrame wall art is a creative way to bring texture and charm to your home. By learning the basic knots and patterns, you can make unique pieces tailored to your decor. The process is enjoyable and allows your creativity to shine.
Trying macrame projects at home can be relaxing and fulfilling. With practice, you will improve your skills and craft even more intricate designs. Start with simple projects and watch your confidence grow as you decorate your space with handmade art.


