Introduction
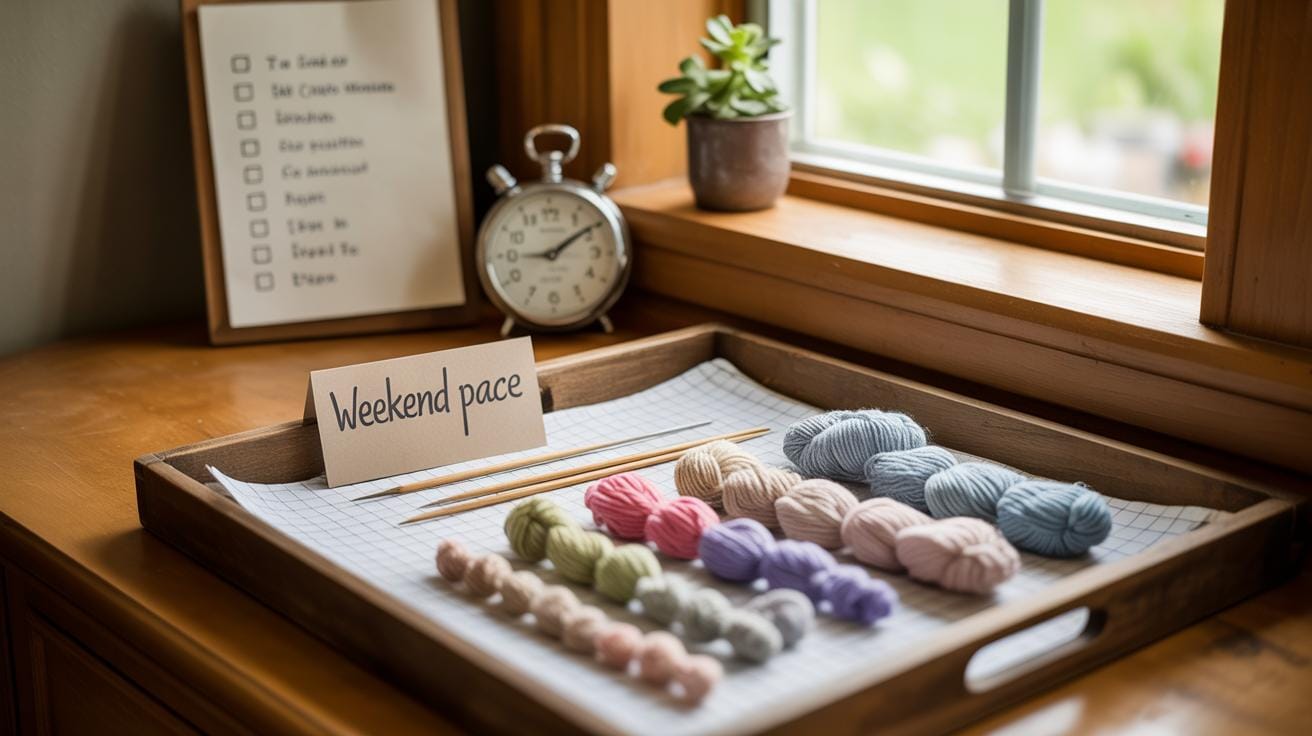
Macrame wall hanging diy projects are a great way to add a handmade touch to your home and spend a productive weekend. Macrame is an art of knotting cords or strings to create beautiful items without sewing or weaving. It has a long history and is enjoying new popularity as a modern craft for decorators and hobbyists alike.
If you want to create your own macrame wall hanging, this article will guide you through the simple steps, show you what materials you need, explain common knots, and share tips for making your project look professional. Whether you are a beginner or looking for new ideas, this guide is designed for you.
Understanding Macrame And Its History
What is Macrame
Macrame is a form of textile art created by knotting cords or strings together. Unlike weaving or knitting, which involve interlacing threads, macrame works purely through a series of knots to build patterns and shapes. That basic difference might seem small, but it changes everything—from the tools you need to how the project develops.
The main knots you’ll encounter in macrame include the square knot, half hitch, and lark’s head knot. These simple knots, when repeated and combined, create intricate designs. People use macrame to make all sorts of things: wall hangings, plant holders, jewelry, even furniture accents.
What’s interesting is how accessible macrame feels. No loom, no needles—just string and your hands. This hands-on aspect is likely why it’s stayed popular for home decorations and crafts. You can literally see your work grow as you tie, which makes it pretty satisfying.
A Brief History of Macrame
Macrame’s origins trace back centuries, with some evidence pointing toward ancient Arab weavers who knotted finishing touches on textiles. Sailors later adopted the craft, knotting ropes on ships during long voyages. They crafted useful items like hammocks, belts, and nets—practical and decorative at the same time.
The craft almost faded at points but saw a revival in the 1970s, mixing in well with the bohemian style that was popular then. Lately, macrame has made another comeback, fitting nicely into modern decor trends with its natural, handcrafted look.
Thinking about this history, it’s easy to imagine why macrame appeals broadly. It connects to practical skills, but it’s open enough to allow creative expression. Isn’t that part of why you might want to try it yourself?
Choosing The Right Materials
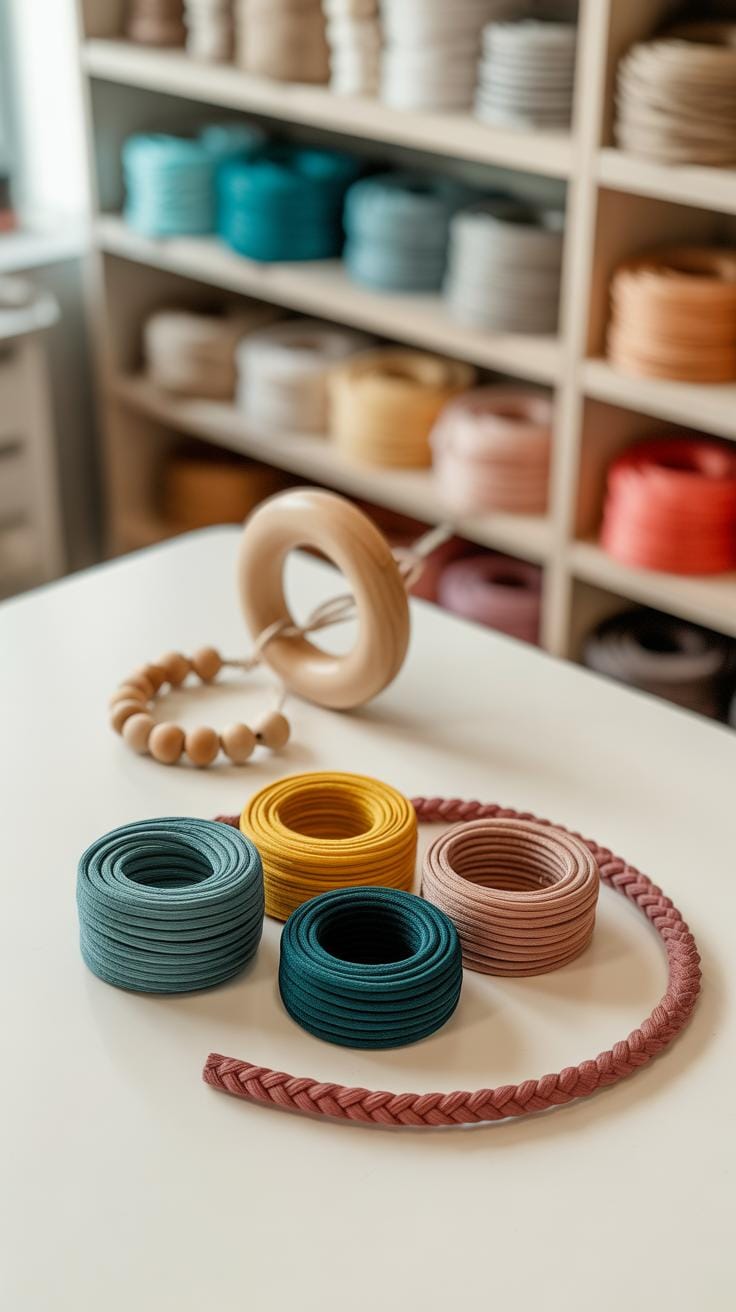
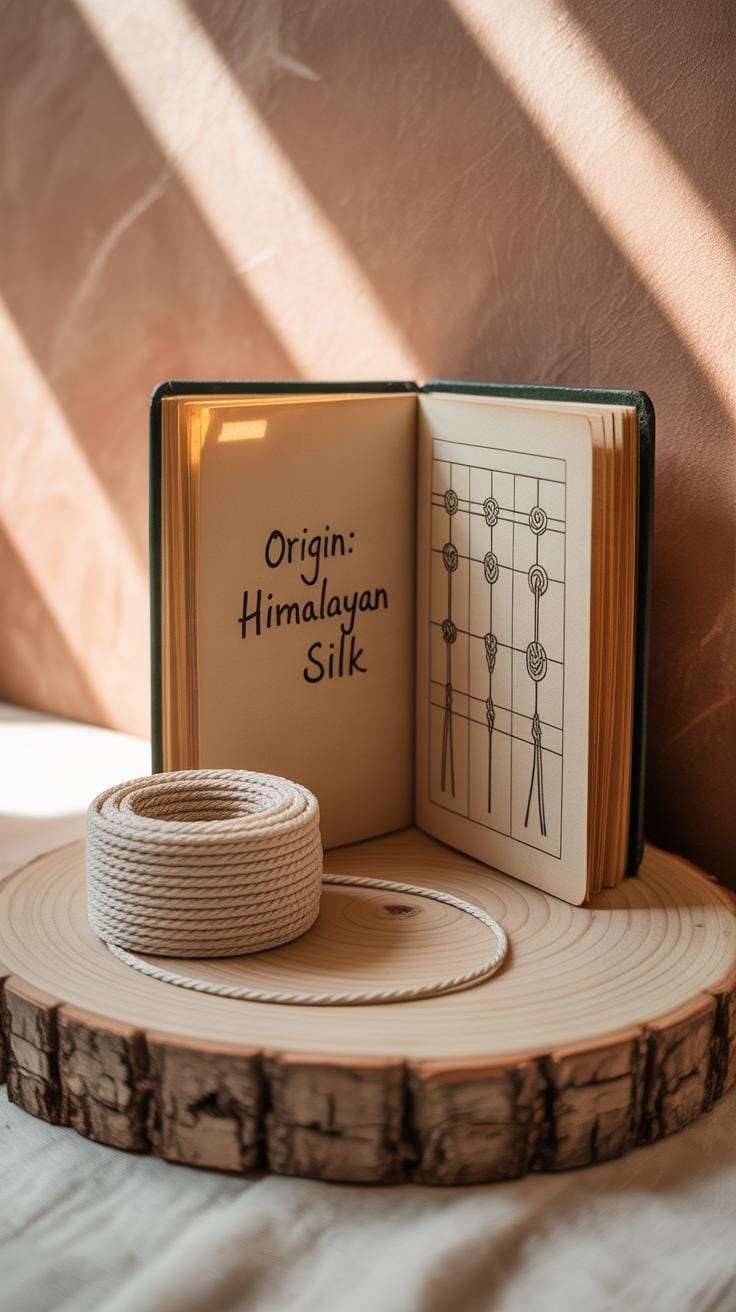
Picking the right cords can feel a bit tricky at first, maybe more than you expect. Cotton cord is often the easiest choice for beginners. It’s soft, easy to knot, and holds shape well. Plus, it comes in a bunch of colors. I’ve found that cotton gives your wall hanging a clean, smooth look, but sometimes it can be a little too slick, especially if it’s a synthetic blend.
Hemp and jute have a rougher texture and a more natural look, which can give your project a rustic vibe. Their fibers are sturdier but might be a bit harder to work with if you’re just starting out. And they tend to be less flexible, which might affect the drape of your design.
Synthetic cords, like nylon or polyester, can be strong and durable, but they sometimes feel less natural and might not hold knots as tightly. They can add a bit of shine or color variety, though, so maybe keep some around for details or contrast in your piece.
When planning your project, think about how much cord you’ll need. For a typical wall hanging, you might want to start with lengths that are about four times the finished length of each part. It sounds like a lot, but trust me, running out mid-knot is frustrating.
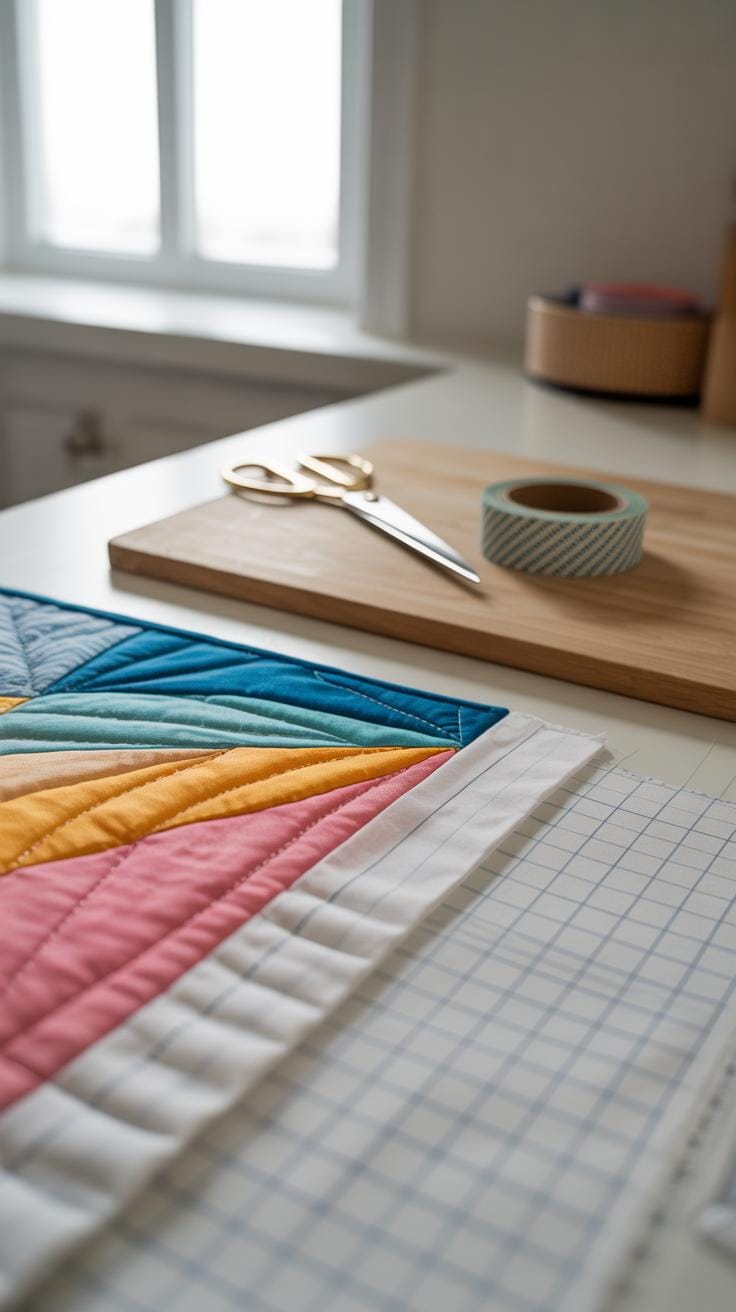
You’ll need some basic tools too:
- A sharp pair of scissors for clean cuts;
- Measuring tape to keep your lengths consistent;
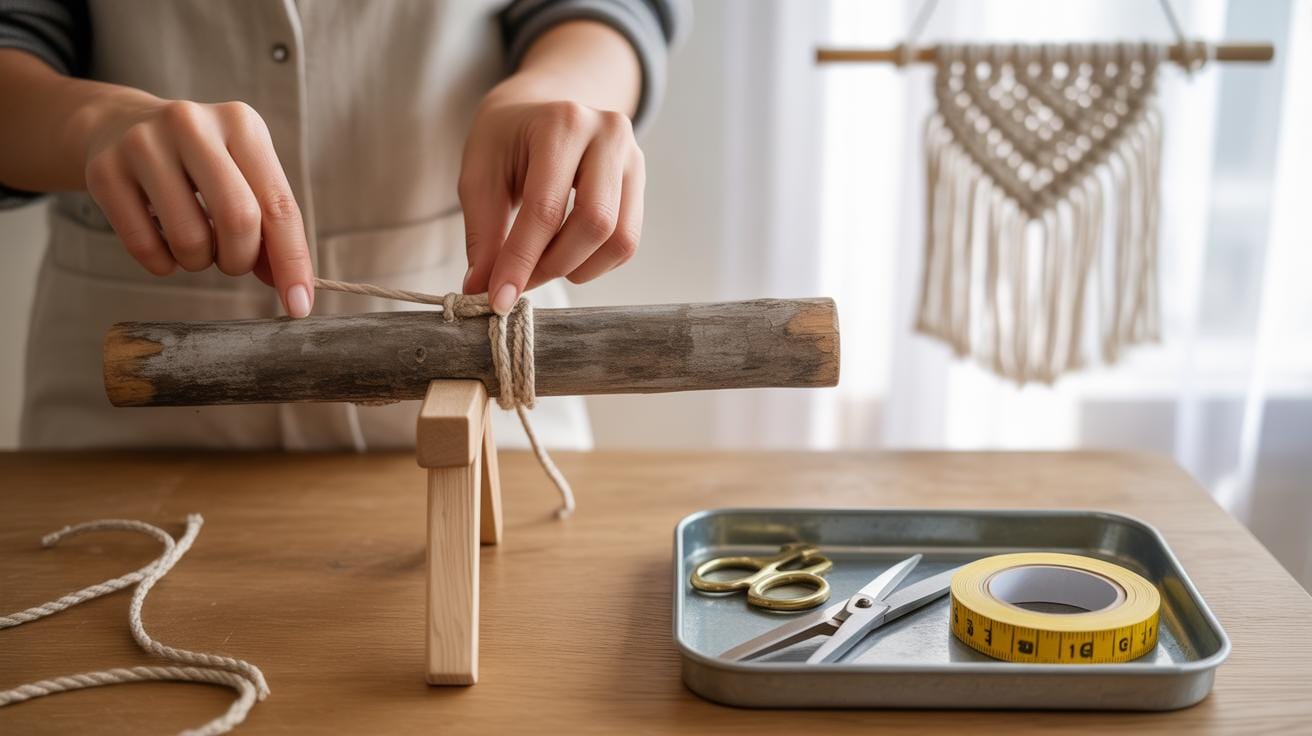
- A dowel or metal ring to anchor your cords — this sets the foundation of your design;
- Optional beads or decorative elements if you want to add texture or color contrast.
Beads can be fun, but remember they need cords thick enough to hold them, or you’ll spend ages threading. Do you want your wall hanging minimal or more intricate? That’ll guide your material choice some more. Picking materials is part guesswork, part discovery — and a little trial and error never hurts.
Learning The Basic Knots

When starting with macrame, getting comfortable with a few basic knots can make all the difference. The three foundational knots you’ll encounter most often are the square knot, the lark’s head knot, and the half hitch. Each one has its role, and knowing when and how to use them feels almost like learning a new language—only with your hands. You might find yourself fumbling at first, but don’t worry, that’s just part of the process.
How to Tie A Square Knot
The square knot is probably the most common knot in macrame. It creates a strong and flat pattern that works well for many designs.
Here’s a simple way to tie it:
- Start with four cords—two in the center (these stay still) and one on either side (these move).
- Take the left working cord and cross it over the two center cords, forming an L shape.
- Bring the right working cord over the left cord, then under the center cords, and finally through the loop created by the left cord.
- Tighten by pulling both working cords evenly.
- Repeat the same steps, but start from the right side this time, crossing it over and making the opposite loop.
For beginners, keeping the tension even can be tricky. Try to keep your fingers close to the knot as you tighten. It helps keep the knot neat. Don’t rush it. It feels slow, maybe awkward, but that’s okay.
Using Lark’s Head And Half Hitch Knots
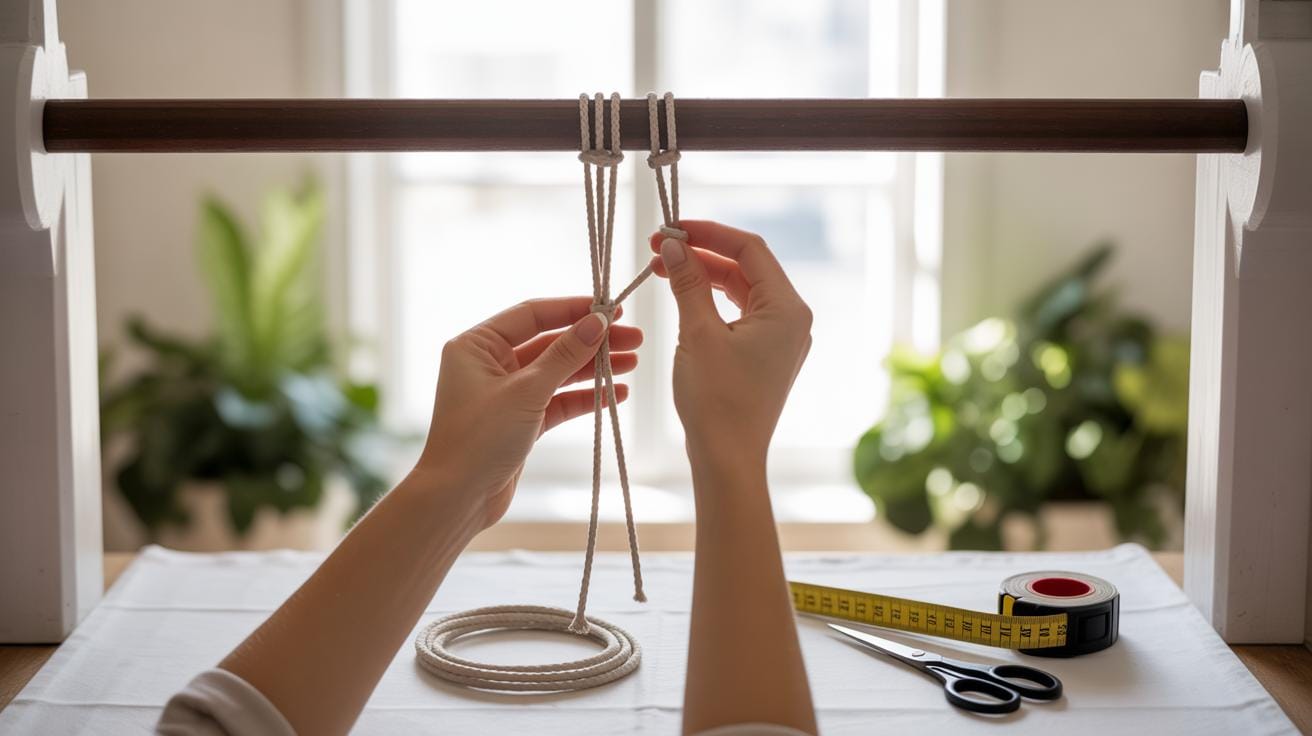
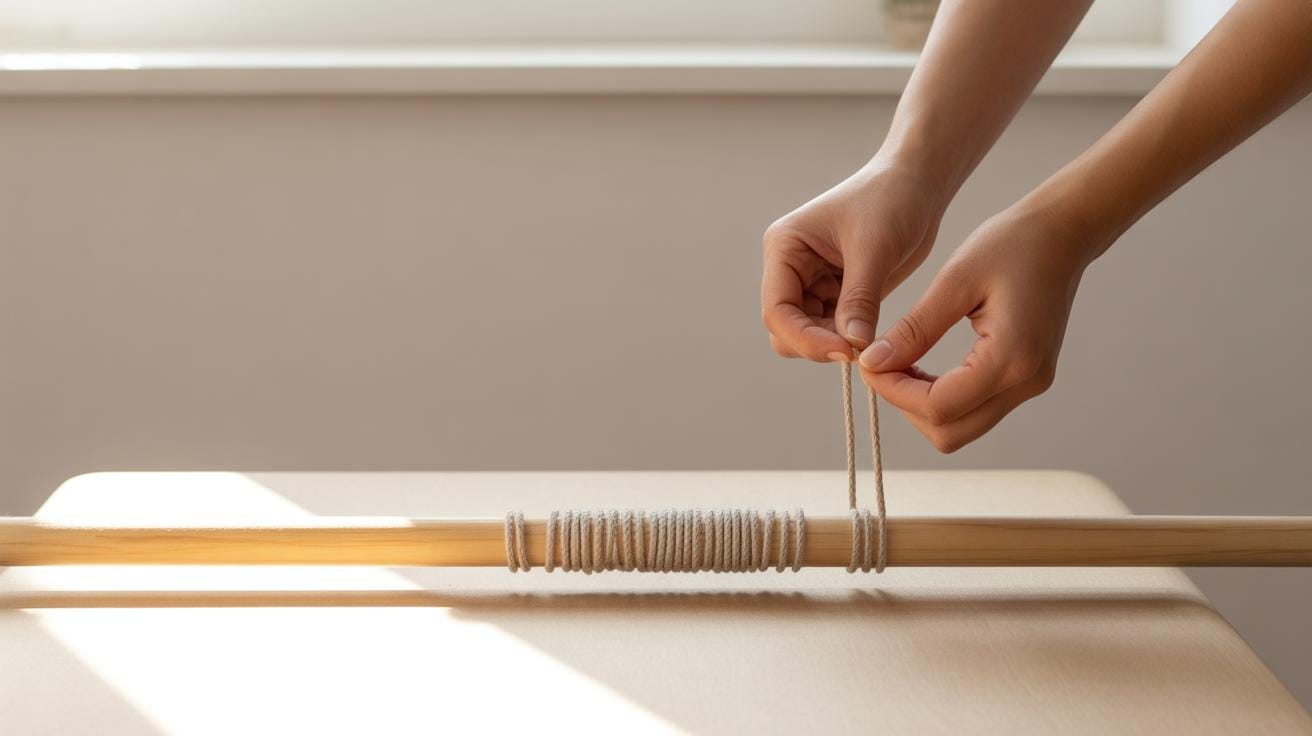
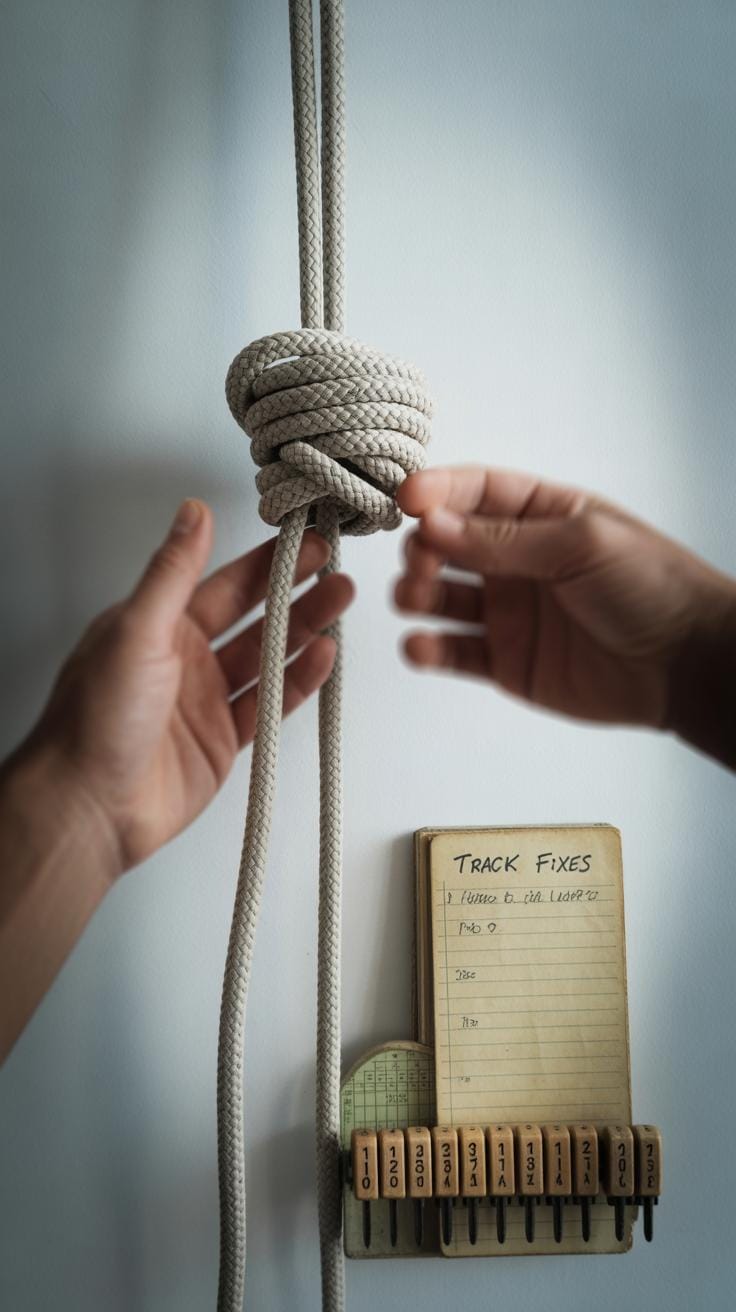
The lark’s head knot is one of the easiest to learn. You use it mainly to attach cords to a dowel or ring at the top of your project. To tie it, fold your cord in half, place the loop over your base, then pull the loose ends through the loop and tighten. Simple, right? It’s the go-to starter knot for hanging cords.
Half hitch knots, on the other hand, are super versatile. They help create curves or diagonal lines in the design. To tie one, wrap a cord around a base cord (or another cord), then pull it through the loop you made before tightening. You can tie one half hitch or stack them side by side for different effects—like alternating left and right, or making a spiral.
Typically, you’ll use lark’s head knots at the top to secure cords, while half hitch knots build the structure and detail below. Experiment with them early—notice how your pieces start to take actual shape. It’s pretty satisfying.
Setting Up Your Workspace
Finding a spot to make your macrame wall hanging can feel a bit tricky at first. You want enough light to see your knots clearly but not so much glare that it strains your eyes. Natural light is usually best—near a window works well—but if that’s not possible, a bright desk lamp or an adjustable floor lamp can help. Something with a warm tone often feels easier on the eyes than stark white bulbs.
Seating matters too. You’ll be sitting or standing for a while, so choose a chair that won’t leave you stiff or uncomfortable. I’ve learned the hard way that sitting too low or slouching near the project makes the whole crafting session tiring. If you prefer standing, a small easel or wall hook at eye level can help keep your work at the right height.
Keeping your supplies organized can be a bit of a challenge as you work. I like to have a small basket or tray nearby for scissors, measuring tape, and spare cords. Hanging cords on hooks or wrapping them neatly around cardboard pieces prevents tangles—you’ll thank yourself later. Sometimes, I keep tools in easy reach on my left if I’m right-handed; positioning does make a difference, even if it sounds minor.
Think about the space you have and what feels natural for you. Would a little music in the background help, or would total quiet be better? This setup isn’t one-size-fits-all, so experiment a little before settling in. What matters most is that your spot invites you to keep going.
Starting Your First Macrame Wall Hanging Project
Planning Your Design and Size
Before you grab your cords, take a moment to think about what you want your wall hanging to look like and where it will go. Picking the right size can feel tricky—too big and it might overwhelm your space; too small, and it could get lost on the wall. I recommend measuring the spot first, maybe with a piece of string or paper, just to get a feel.
As for design, keep it simple for your first try. Choose something with straightforward knots and shapes. Do you prefer something long and narrow or wider and compact? Sketching your idea can help, even if it’s rough. Jot down how many cords you might need based on the width—you’ll want to leave some extra length for knotting and fringe.
Don’t stress over perfection here. It’s okay if your plan shifts once you start working. What feels right in your mind might look different hanging on the wall. Planning is your guide, not a rulebook.
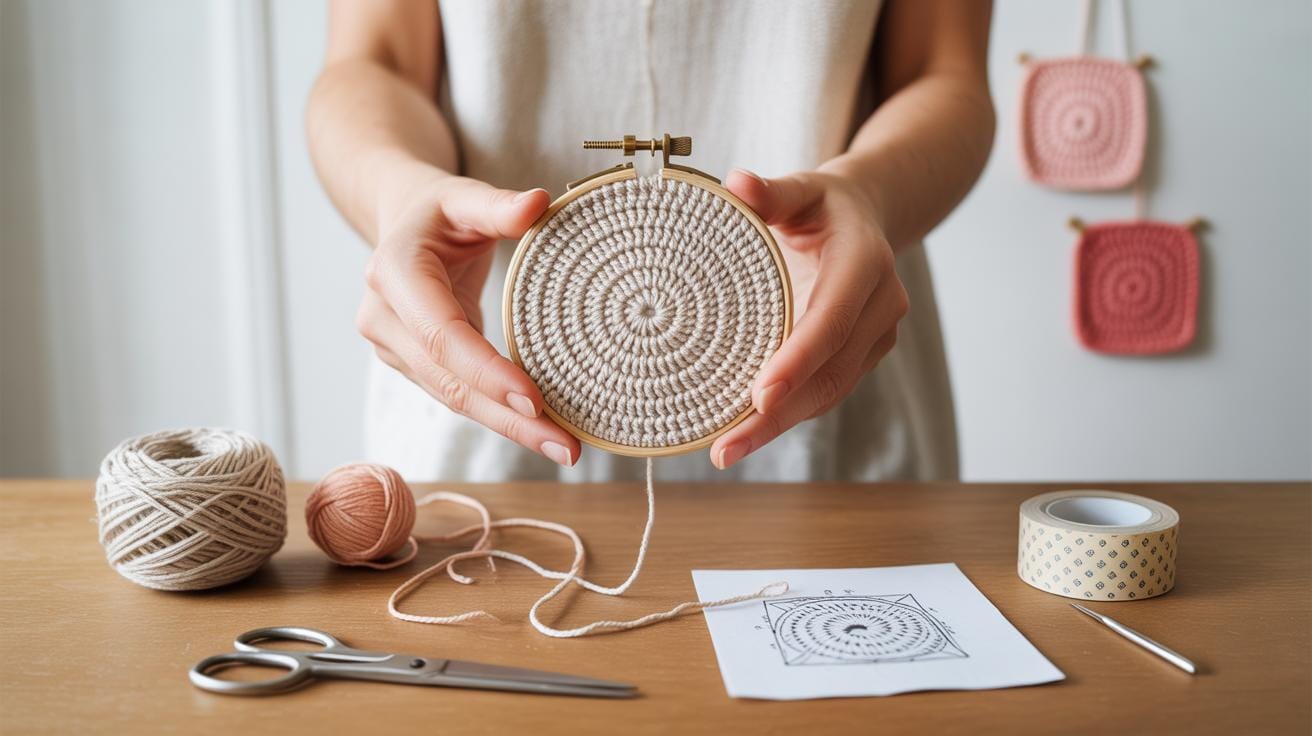
Beginning the Knotting
Once you have your cords cut—remember, better a little too long than too short—attach them to your base, usually a wooden dowel or branch. The most common method is the lark’s head knot, which is simple but sturdy. Fold the cord in half, loop it over the dowel, then pull the ends through the loop.
You’ll notice the cords hang evenly after attaching them, ready for your first knots. It’s the moment the project really starts to take shape. Begin with the square knot, a good all-around knot that forms a stable foundation. Don’t rush; take your time to get a feel for each knot’s tension and placement.
At this early stage, things might look a bit chaotic. That’s normal. Your wall hanging’s personality slowly emerges as you continue knotting. Pause if you need—mistakes at this point are easy to fix. Just enjoy the rhythm and the sense of crafting something by hand.
Adding Patterns and Shapes
Once you’ve got the basics down, playing with knot combinations opens a lot of doors. Square knots and half hitch knots are your trusty companions here. You can create simple repeating patterns by alternating these, which keeps things interesting without getting too tangled. For example, try several rows of square knots, then switch to a diagonal half hitch sequence. It breaks the monotony and adds subtle rhythm to your piece.
It’s funny, sometimes these basic patterns surprise me. What seems simple often looks a little more complex when finished. Don’t rush—take your time to see how each knot builds on the last. You might find you prefer a small cluster of half hitch knots for a delicate swirl, or a bold band of square knots for structure.
Texture plays a big role, too. Fringe is easy to add and instantly livens up your wall hanging. Cutting cords to uneven lengths or teasing them out makes a difference—there’s no need for everything to be perfectly uniform. You can also shape your design by varying knot placement. Triangles or diamonds can emerge by carefully spacing knots and adjusting cord tension. Believe me, making a diamond shape takes patience, but the look is worth it.
If you ever get stuck, ask yourself: would a tighter knot here change the shape? Could a looser one add texture? Sometimes, what feels like an awkward placement becomes a neat highlight once you step back. Play around—patterns and shapes are where your personal style will sneak in.
Finishing Your Macrame Wall Hanging
Trimming and Securing the Ends
When your knots are set and your pattern looks good, it’s time to focus on finishing touches—especially trimming. Try to cut the cords evenly, but don’t obsess over perfect straight lines. Slight variations can add a bit of character, make the piece feel more natural. Use sharp scissors to avoid frayed ends. If you want a neat edge, trimming slowly and in small snips usually works better than one quick slice.
Securing your knots is crucial to stop everything unraveling later on. Some people like to add a dab of clear glue or fabric stiffener right at the knots—this does make them more secure, but be careful not to use too much, or the cord will stiffen oddly. A little friction and tight knotting usually hold well if done right. I often double-check by gently pulling on cords after finishing to see if anything slips.
Tips for Hanging and Displaying
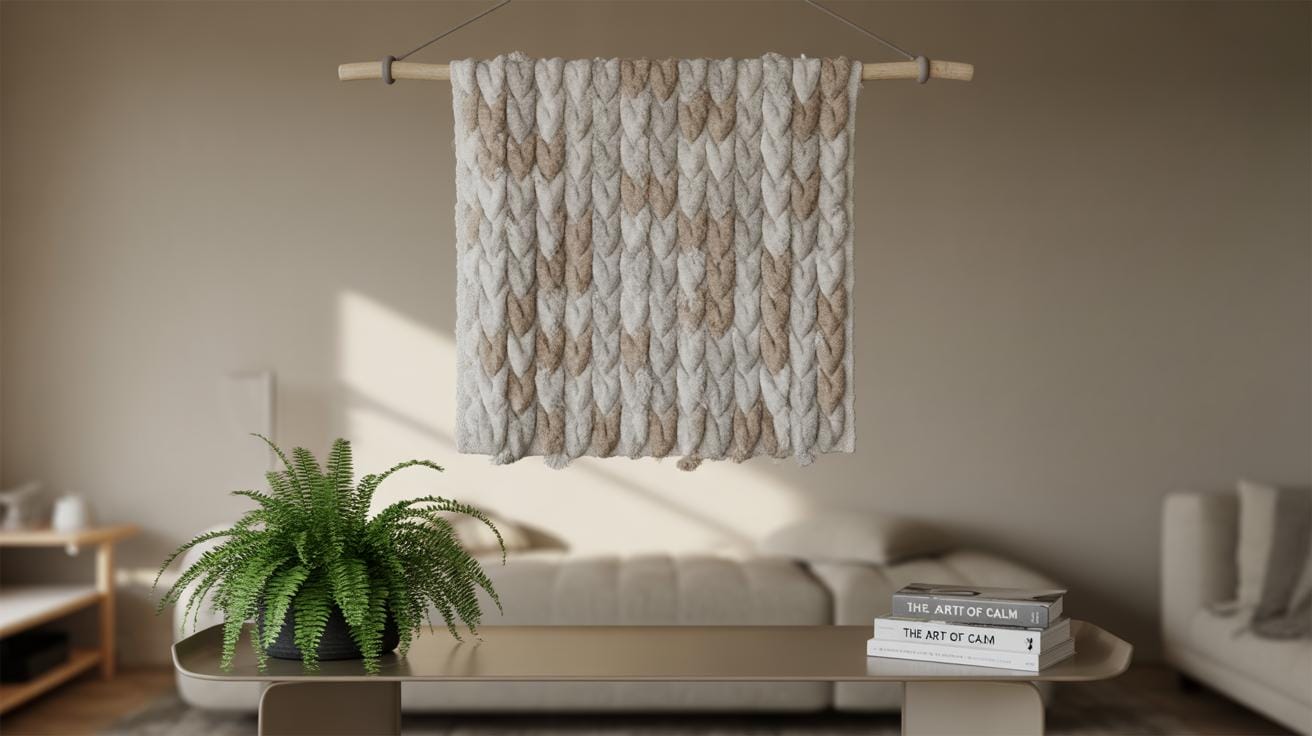
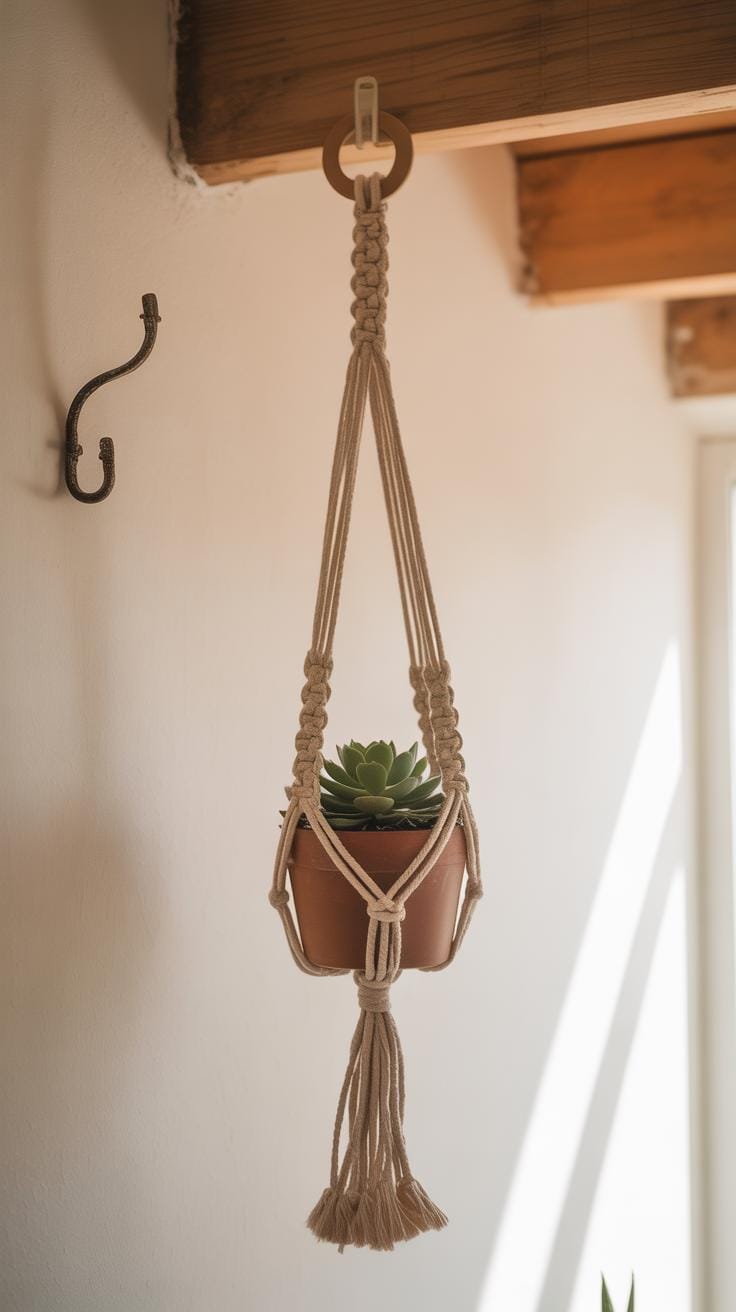
Choosing how to hang your wall hanging can change its whole vibe. The classic way is on a wooden dowel or a natural branch, which feels simple and fits many decors. Make sure the hanging hardware—whether it’s a hook, nail, or picture hanger—is sturdy enough for the weight.
Place your piece where it can catch some natural light without direct sun, as strong sunlight can dull colors and weaken the fibers over time. If you want to avoid dust buildup, consider gentle vacuuming with a brush attachment or occasional light shaking outside.
Think about the wall space too. Hanging your macrame slightly away from furniture or other wall art can give it room to stand out. Have you tried layering it with plants nearby? It’s a simple way to bring texture and life to the display.
Troubleshooting and Tips for Improvement
When you’re starting out with macrame, uneven knots can sneak in more often than you’d like. It’s a bit frustrating, but don’t rush to undo everything right away. Sometimes, gently tightening or loosening the knots after finishing can help even things out. If cords get tangled, try working from one side at a time and keep your workspace clear. Having a small clip or clothespin handy to hold cords apart can save a lot of headaches.
One trick I found useful is to work in sections instead of trying to finish large portions at once. It lets you spot mistakes early before they multiply. And don’t stress perfection—you can trim or tidy up loose ends at the end, so the whole piece looks neater.
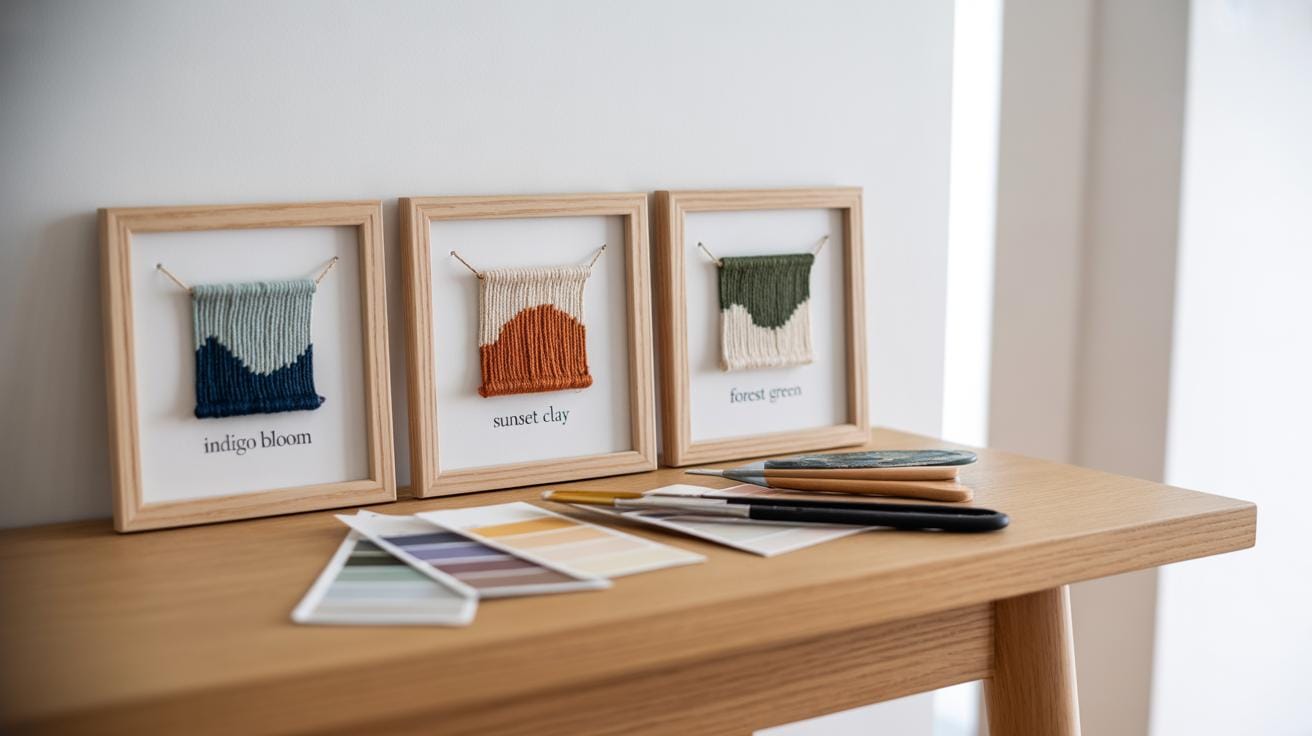
If you want to grow your skills beyond simple fringes and square knots, try mixing knot types. Learning half hitches or Josephine knots adds texture and interest. Adding color by combining different cord shades is also fun—at first, pick colors you like, but maybe experiment with contrasts to see what surprises you.
Why stop at wall hangings? Try making plant hangers, keychains, or even coasters with your new skills. Those smaller projects can teach new techniques without feeling overwhelming. What’s one new knot or idea you’ve wanted to try? Maybe your next weekend project is just the right time.
Conclusions
Making a macrame wall hanging is an enjoyable way to bring creativity into your living space. You can personalize your piece by choosing your favorite colors and patterns. By learning a few basic knots and practicing patience, you can craft a stunning wall decoration that fits your style.
Your macrame wall hanging diy project can also be a relaxing and rewarding experience. It connects you with a craft that has ancient roots and modern appeal. Once you start, you might find yourself looking forward to creating more projects and sharing your handmade art with others.


