Fun and Easy Collage Projects to Start
Collage art projects let you express yourself in a very fun and easy way. By putting together different pieces like paper, photos, and fabric, you create new and exciting artwork. This art form has a rich history and has been used by many famous artists to tell stories or share emotions.
This article explores simple collage projects you can start today. You will learn what materials to gather, how to combine different elements, and how to use collage to show your ideas and feelings. Whether you are young or just new to art, collage can be a great way to enjoy creativity and make something unique.
Gathering Your Materials And Tools
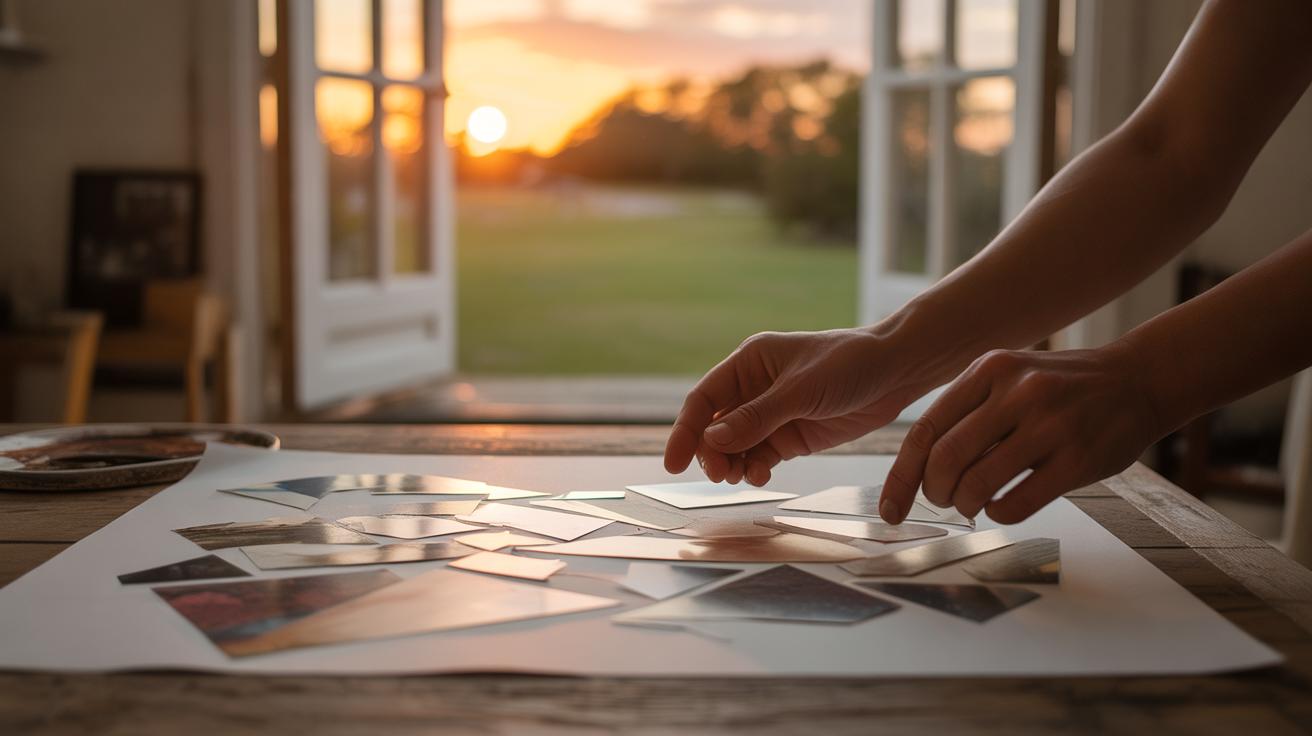
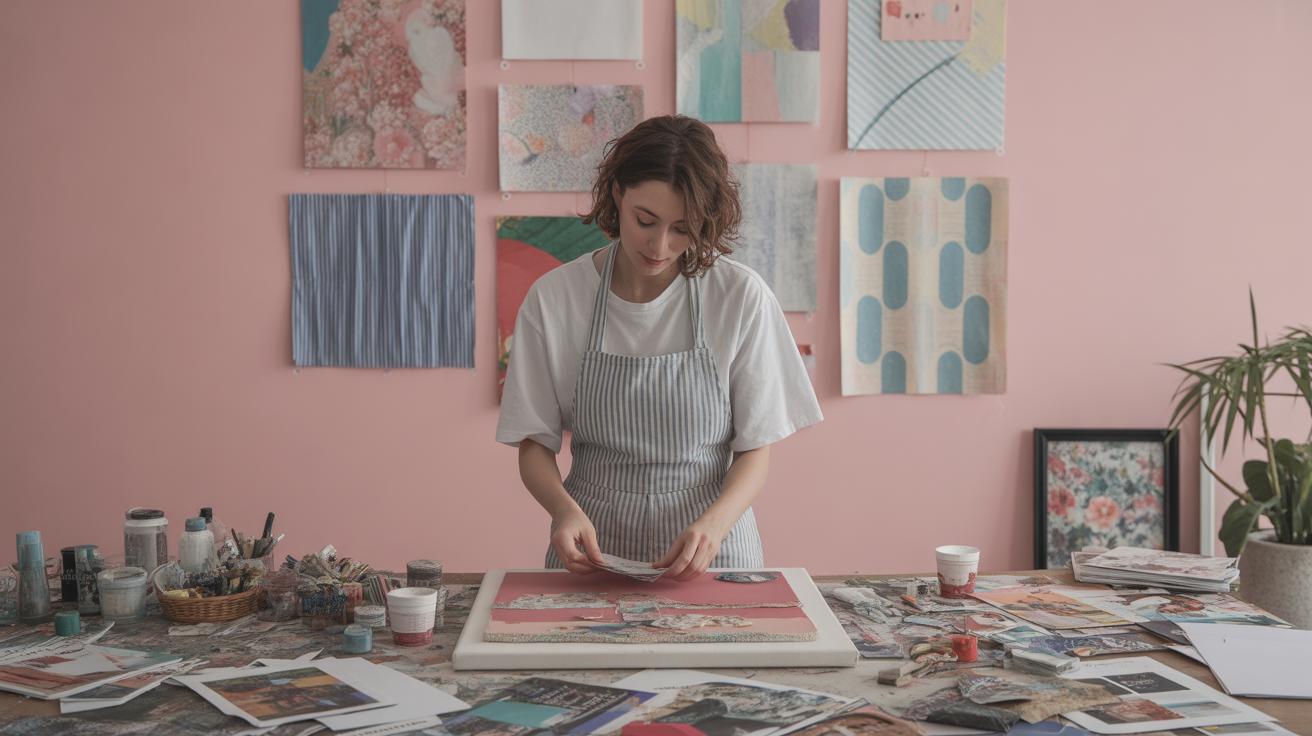
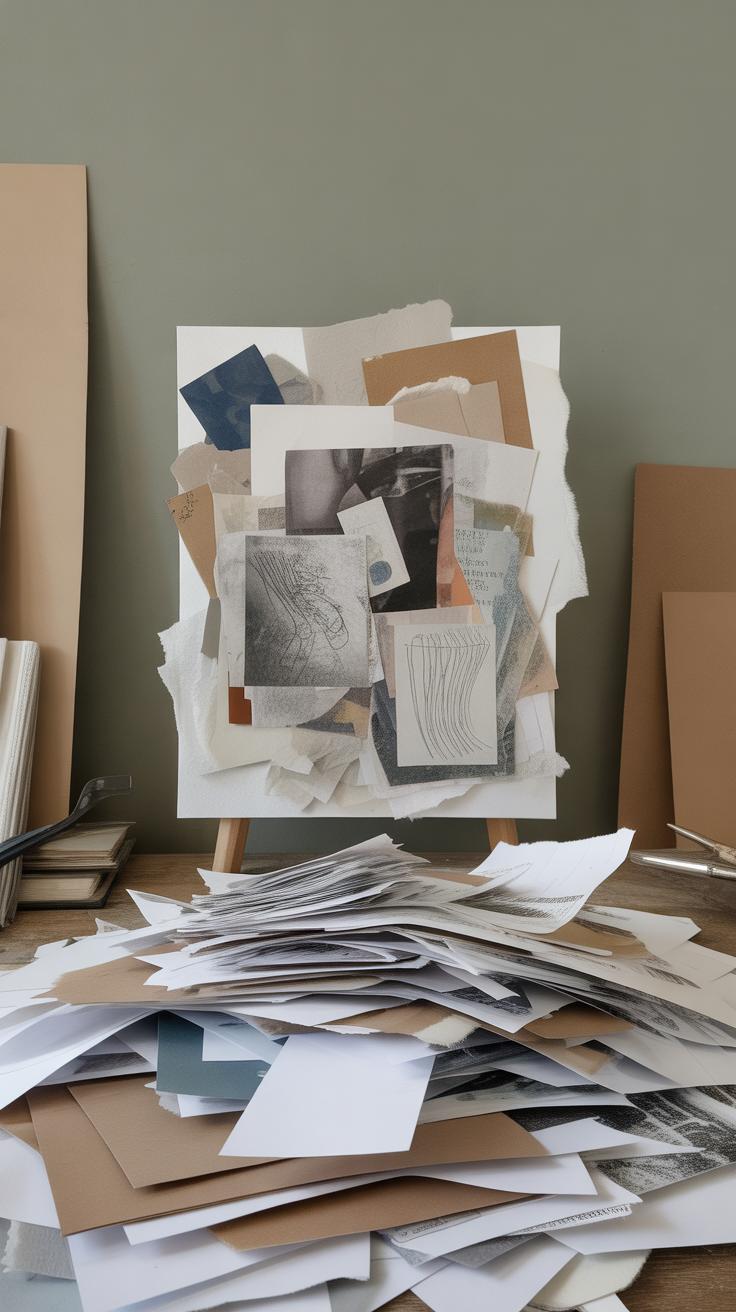
When you’re ready to start a collage project, the first step is collecting what you need. Don’t worry about buying pricey supplies right away. Most materials are pretty easy to find, even around your home.
Basic tools include: scissors for cutting, glue or a glue stick for sticking pieces down, and a surface like paper or cardboard to build your collage on. You might be surprised how everyday items work perfectly.
Look for scraps of paper—old magazines, flyers, or even wrapping paper. Photographs or printed images can add interest, but you could also use bits of fabric for texture. Sometimes even natural materials like leaves or small twigs make a nice touch.

Oh, and don’t forget something to protect your workspace. Glue can be messy, so a newspaper or an old cloth helps.
Finding what you need is often a little adventure, and maybe you’ll stumble on unexpected items that inspire your creativity. What kind of textures or colors catch your eye when you gather supplies? That moment can set the whole tone of your project.
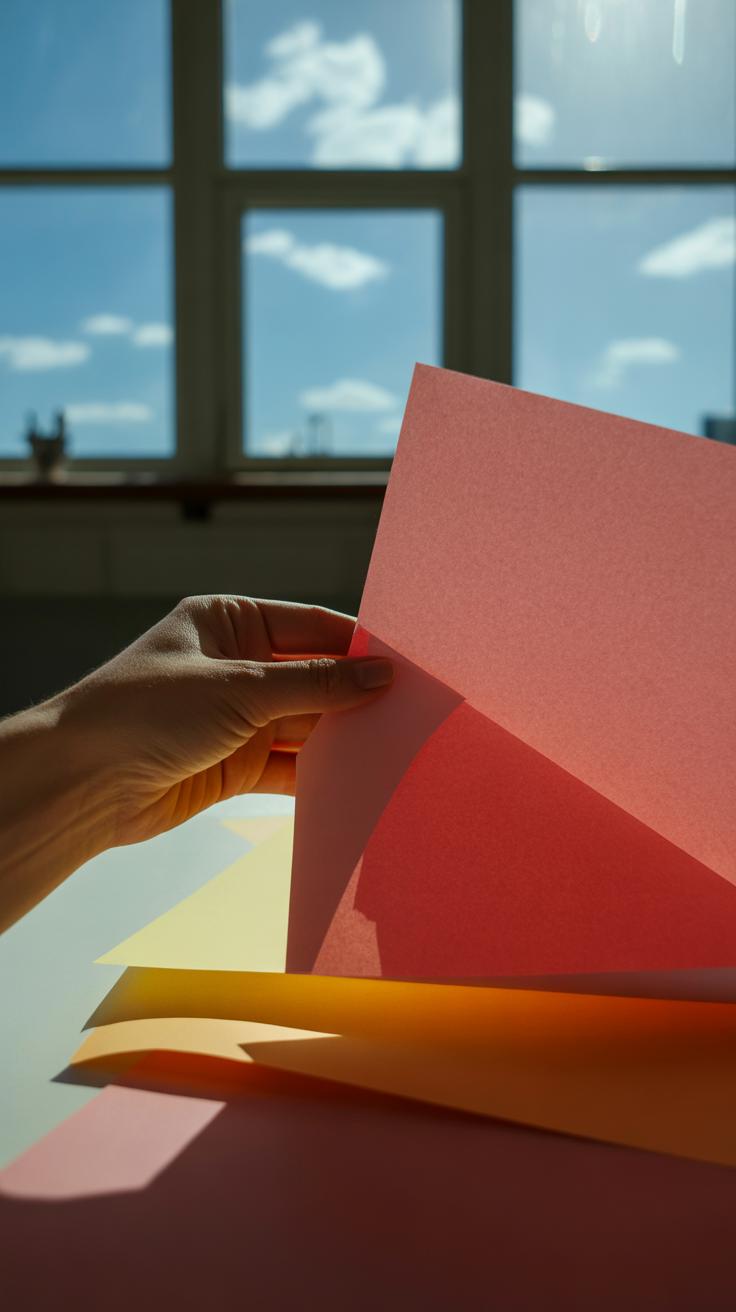
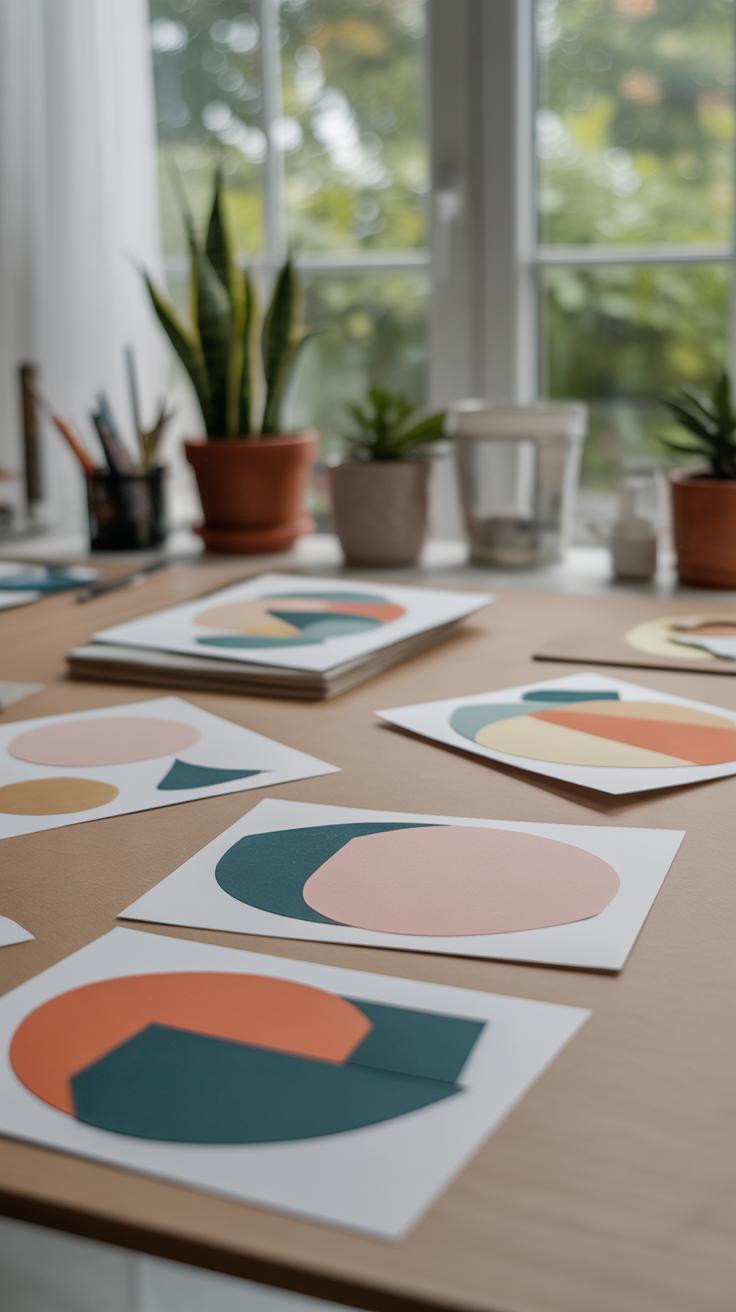
Choosing Paper Types And Textures
When it comes to picking paper for your collage, you don’t need anything fancy, really. Ordinary printer paper works well enough, especially when you’re just starting out. But there’s something about mixing textures that adds interest—think glossy magazine pages alongside rougher scrapbook paper. You might try newspaper for a delicate, fragile feel, or even cardboard for sturdiness. Each kind of paper brings its own personality to the piece, sometimes in ways you wouldn’t expect.
Texture can change the mood of your work. Smooth surfaces highlight crisp details, but rough textures catch light—or shadows—in unexpected ways. I once layered tissue paper over cardstock, and the contrast made the whole thing pop, even though both were simple materials. It’s a subtle effect but worth experimenting with. Don’t be afraid to touch, fold, or crumple papers before you glue them down. That tactile quality can make a difference.
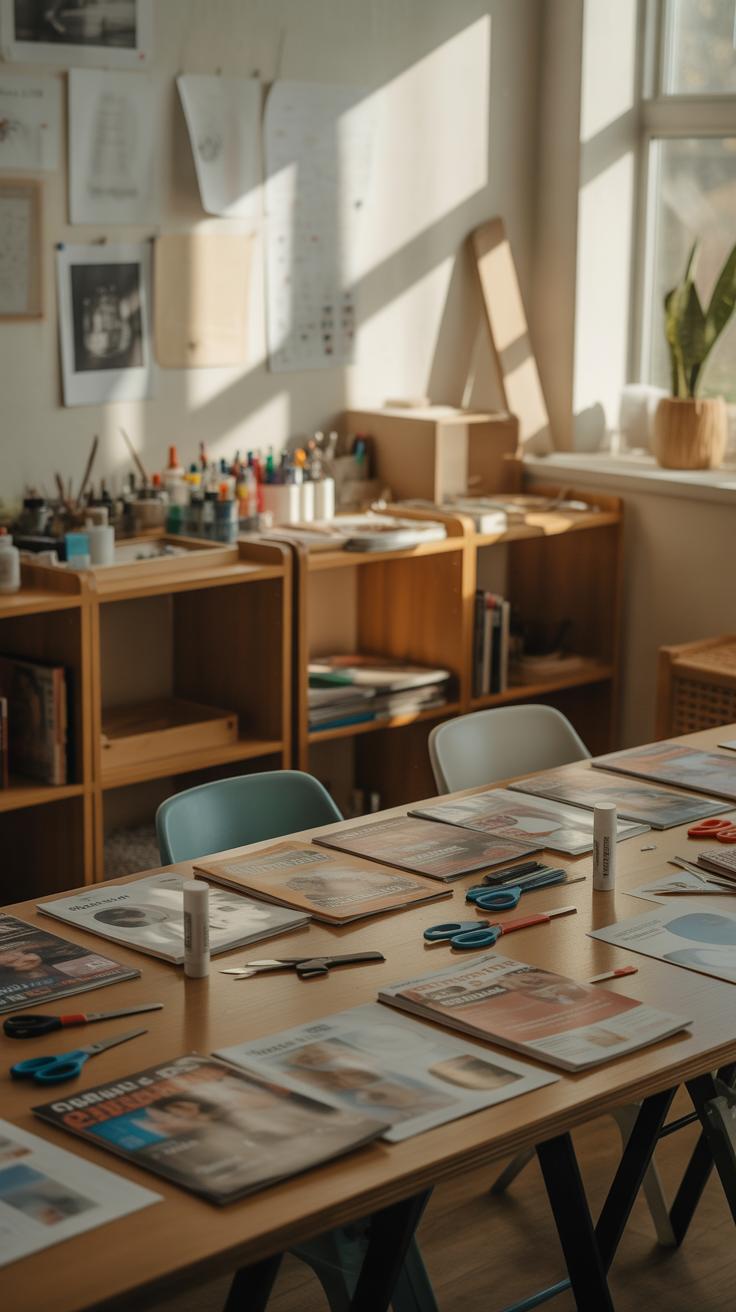
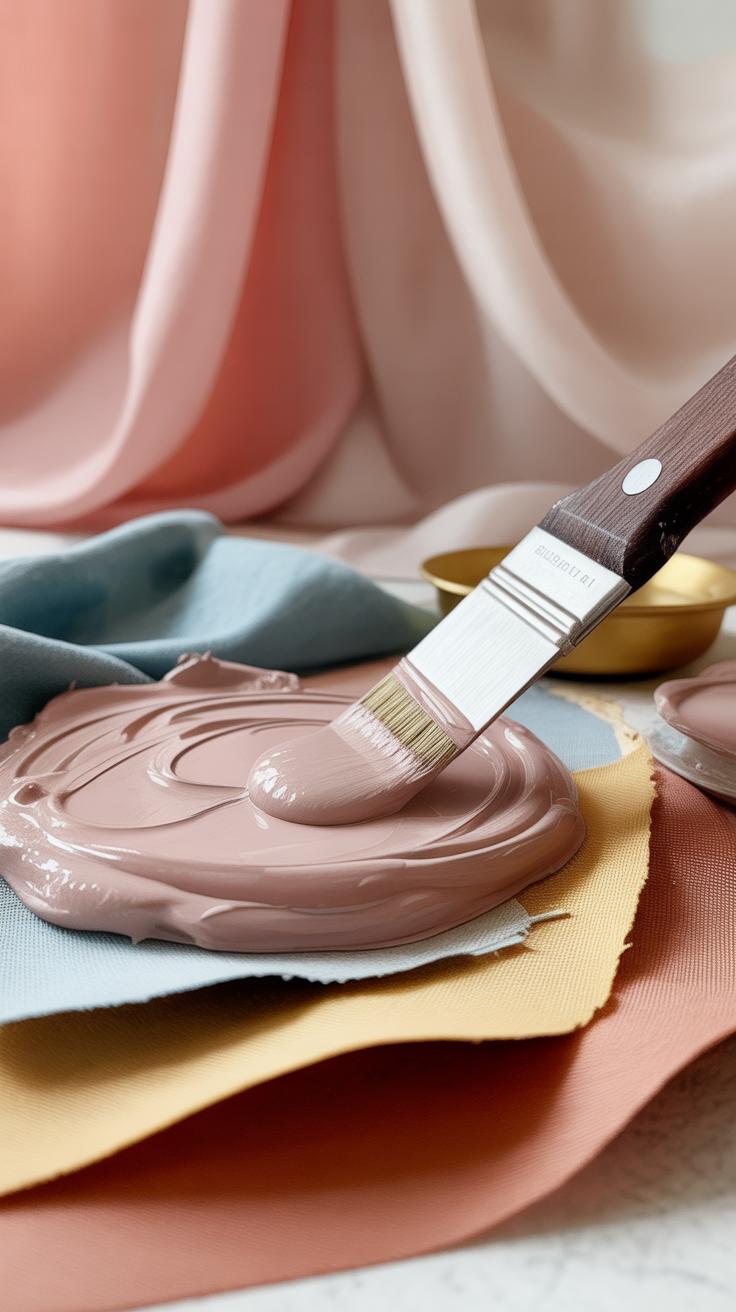
Other Useful Supplies For Collage Projects
Aside from paper, you’ll want to gather basic tools: scissors cutting cleanly, glue that won’t wrinkle your paper, and maybe a craft knife for precise shapes. I find blunt scissors fine for most tasks, but for more detailed cuts, sharper ones or an exacto knife come in handy. Just go slow. Safety first, especially if you’re not used to these tools.
Look around your home for extra supplies too. Old magazines, greeting cards, fabric scraps—even ticket stubs or receipts—can all become parts of your collage. It’s surprising how these bits add texture and meaning, sometimes more than you’d expect. And glue sticks often feel less messy than liquid glue, though both have their place. A cutting mat might sound fancy, but a thick piece of cardboard works well as a base to protect your surfaces when using knives.
In the end, gathering your materials is less about having perfect tools and more about finding what you enjoy working with. What papers or objects do you gravitate toward? You might start with whatever’s on hand and let your collection grow naturally.
Basic Techniques To Start Collage Art
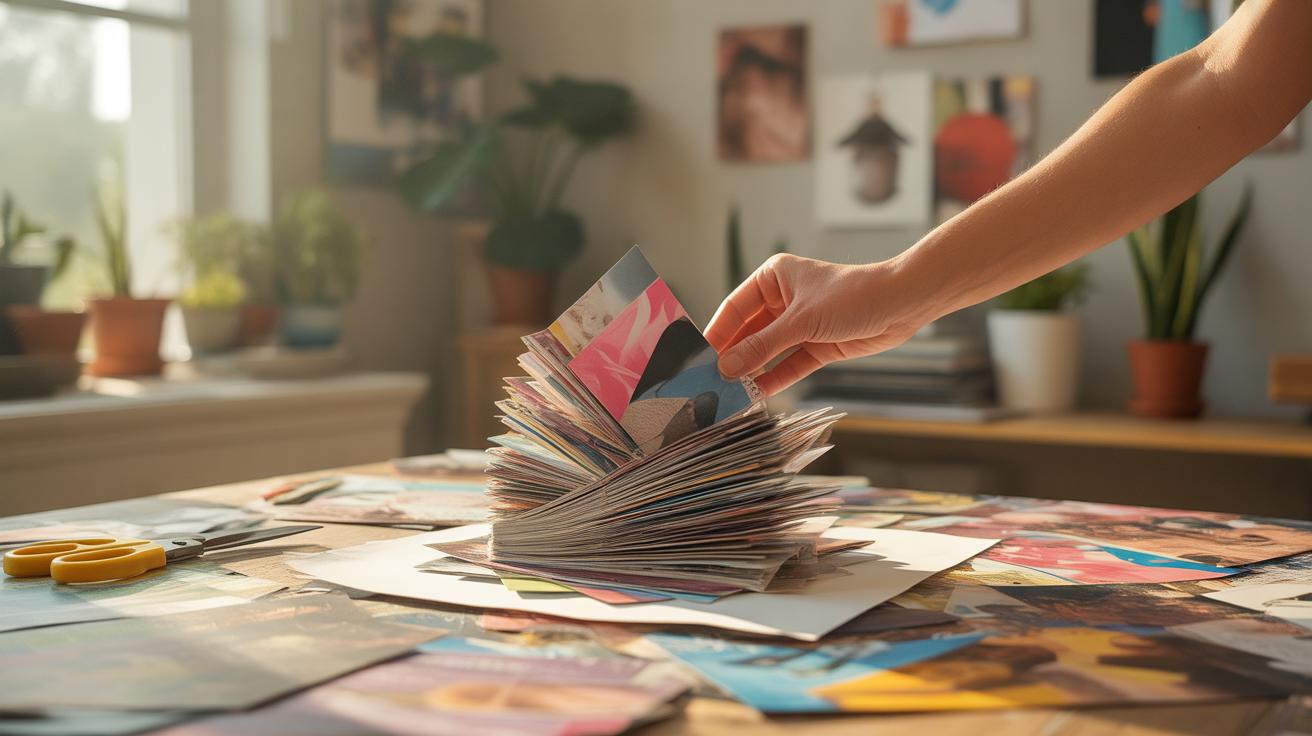
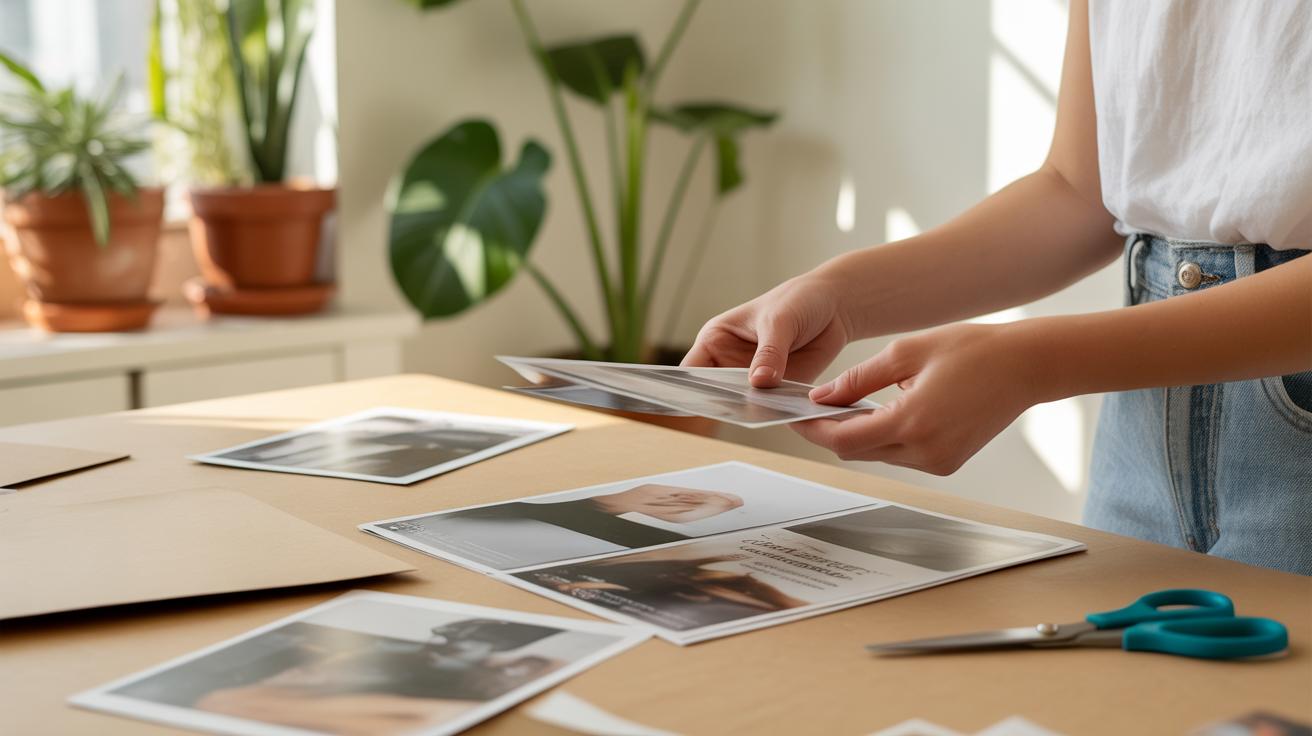
Getting started with collage art begins with some simple but essential techniques. First, cutting your pieces well is key. I find that using scissors for larger shapes and a craft knife for details gives you good control. Don’t worry about perfect edges right away—sometimes uneven cuts add character. Try experimenting with both straight and curved cuts to see what suits your vision.
Before you glue anything down, play around with arranging your pieces. Lay them out loosely on your base. Move them around, overlap, shift—this helps find balance. Ask yourself: does this feel right? Or too crowded? Sometimes stepping away for a moment or taking a photo helps rethink placement.
When it’s time to glue, less can be more. I prefer using a glue stick or a thin layer of liquid glue applied with a brush. Spread it evenly so your paper won’t wrinkle or bubble. Apply glue mostly on the back center of each piece, then press firmly but gently. Using a clean tool, like a spoon or a burnishing bone, can help smooth the surfaces without damage. Patience here pays off; pressing pieces well helps your collage stay flat and intact over time.
Simple Collage Projects For Beginners
If you’re just starting out with collage art, the key is to keep things simple and enjoyable. One way to dive in is by making collages from magazine clippings. You can find bright colors, interesting patterns, even little snippets of words or phrases. Cutting out images that catch your eye and arranging them into a scene or abstract pattern lets you play around without pressure. Don’t worry too much about perfect placement. Sometimes the best collages come from unexpected combinations—like a cat next to a sunset or a torn piece of text that feels oddly fitting. I remember once making a collage that was mostly bits of sky and cityscape—it felt like a daydream captured on paper.
Another easy project is nature-inspired collages. You can collect leaves, flower petals, or even bits of bark and texture during a walk. These natural elements add a tactile quality to your work that’s different from magazine pieces. Try layering dried leaves or pressing petals before attaching them. It’s almost like letting nature participate in your art. Sometimes, I like using these materials because they remind me of the place I found them, adding a kind of memory to the piece. If you don’t have access to fresh materials, you could scan or photocopy textures and incorporate those images instead.
Both of these projects offer ways to experiment without feeling overwhelmed. What colors do you find yourself gravitating toward? Do certain textures invite you to touch or move them around before gluing? Take your time exploring, and you might find your own little surprise, right in the balance of chaos and order on your paper.
Exploring Expression Through Collage
Collage offers a way to express feelings and ideas that can feel more immediate than writing or speaking. When you piece together bits of images, words, and materials, you’re not just decorating a surface—you’re sharing a part of yourself. Sometimes the choices you make—what to include or leave out—reflect moods you might not even fully understand yet. It’s a kind of conversation with your own mind. You might start with playful scraps and suddenly catch a sense of sadness or hope growing in the arrangement.
Unlike more traditional art forms, collage thrives on chance and surprise. You can layer unrelated images and suddenly discover new meanings. This unpredictability lets you break out of expected patterns, unlocking feelings you didn’t plan to show but wanted to anyway. Collage can hold many contradictions, just like we do. And maybe that’s why it resonates—it makes space for the messy, incomplete parts of human expression.
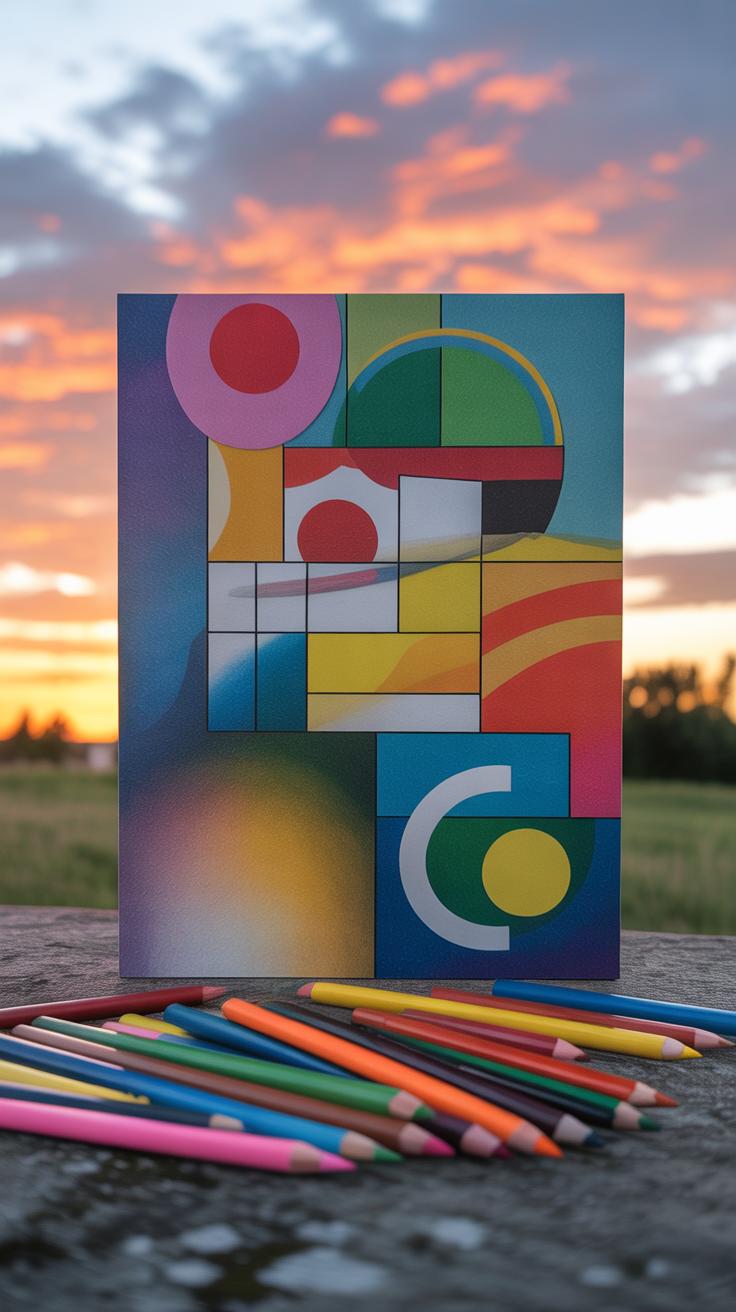
Using Color And Shape To Show Emotions
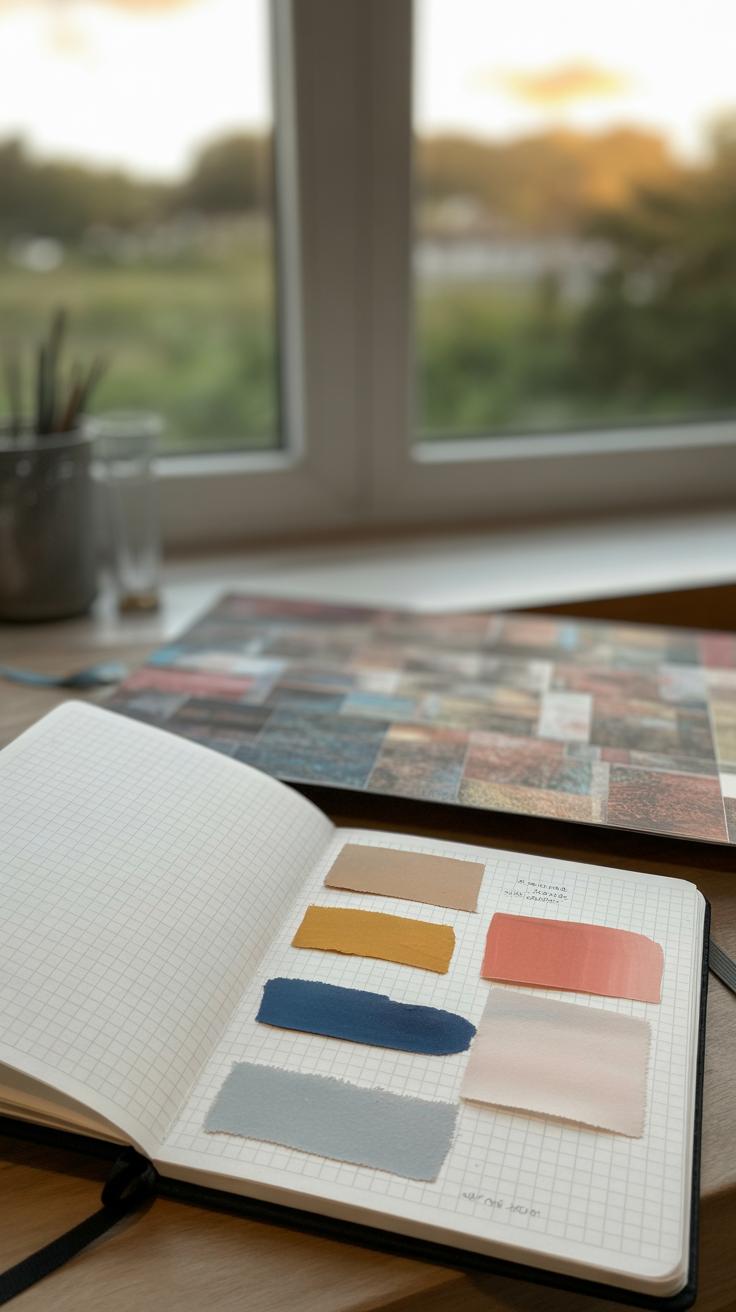
Colors speak louder than words sometimes, and in collage, their power feels immediate. Think about how reds can inject energy or even anger, while blues might cool a piece down or evoke sadness. Shapes, too, carry weight: sharp, jagged edges can suggest tension or disruption, while soft curves might bring comfort or calm. But it doesn’t always work the same for everyone—feelings about colors and shapes can shift based on your personal experience.
Experiment with contrasts to make emotions pop. Placing a bright yellow circle next to a dark square might create a push-pull feeling, like excitement mixed with hesitation. Oddly enough, simplicity can sometimes express emotion more clearly than complex designs. It’s about what feels right for your mood—try to listen rather than force a look.
Telling Stories With Your Collage
Collage is like telling a story without writing sentences in order. By arranging pictures and text, you create a narrative that isn’t always obvious at first glance. Think about what message or feeling you want to share. It could be as direct as a theme of family, or something more abstract like the feeling of change. The order and proximity of items matter: placing a photo of an open door beside a photo of a busy street might suggest adventure or escape.
Text components add another layer of meaning. Snippets of words can anchor the mood or challenge the viewer’s interpretation. Don’t worry if the story doesn’t come out clearly at the start. Sometimes it grows as you add and subtract elements. You might find your collage shifts from personal reflection to something others can connect with, too. So ask yourself—what story is waiting to be told in your current arrangement?
Adding Texture And Dimension To Your Collage
When you want your collage to catch the eye in a different way, adding texture and layers can make a big difference. It’s not just about slapping pieces of paper on a board. Think of your collage as a kind of quiet sculpture rather than just a picture. You can build it up so that some sections physically come forward. This layering helps create a sense of depth—something flat just can’t give you.
Layering To Create Depth
Start by thinking about which parts you want to emphasize. Place those elements on top, maybe even slightly raised with tiny bits of cardboard or foam behind them. It does something subtle—makes your collage feel alive, like parts are closer or farther away. Don’t worry if it’s a bit uneven; uneven layers often look more interesting.
Try layering different paper types—some glossy, some matte—or even torn versus cut edges. That contrast can draw attention in unexpected spots. Sometimes I find myself layering and peeling back layers, almost like editing a story. What stays on top? What can hide beneath? These choices shape how the collage feels.
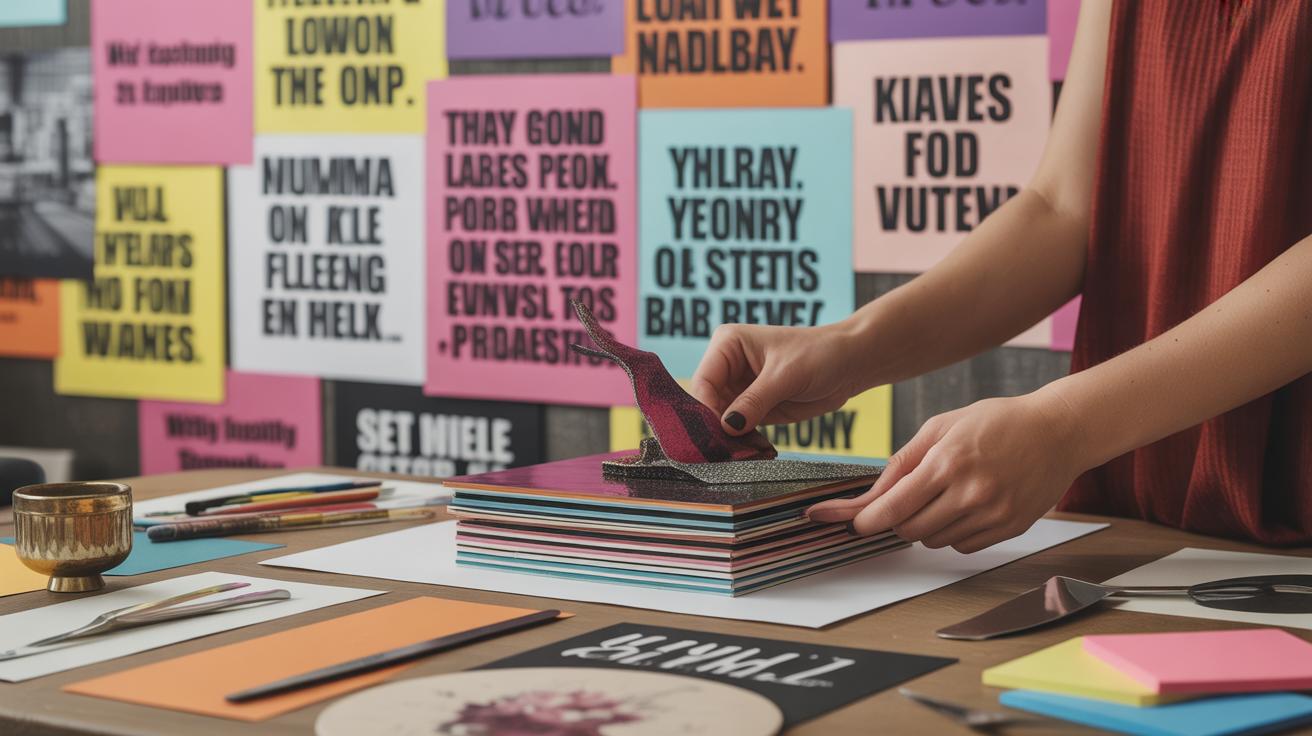
Using Fabric And Found Objects
Fabric pieces add a softness that paper can’t. Maybe some small scraps from old clothes or textured textiles you have lying around. Buttons, small keys, bits of ribbon—calling these “found objects” is fancy, but really they’re just ordinary things with new life here.
Glue these to your base carefully. They bring an element that’s tactile. You’ll notice how even a tiny button can catch light differently or give a surprising pop in the design. Sometimes, I’m not sure if something like a bead fits, but placing it anyway can open new directions in the piece. It’s a bit like letting the collage surprise you, rather than controlling every move.
Have you tried layering fabric scraps underneath paper or weaving threads through your collage? Even small stitches can add unexpected texture. They break the usual flow and make your work feel less predictable—and perhaps a bit more alive.
Creating Collage Art With Different Themes
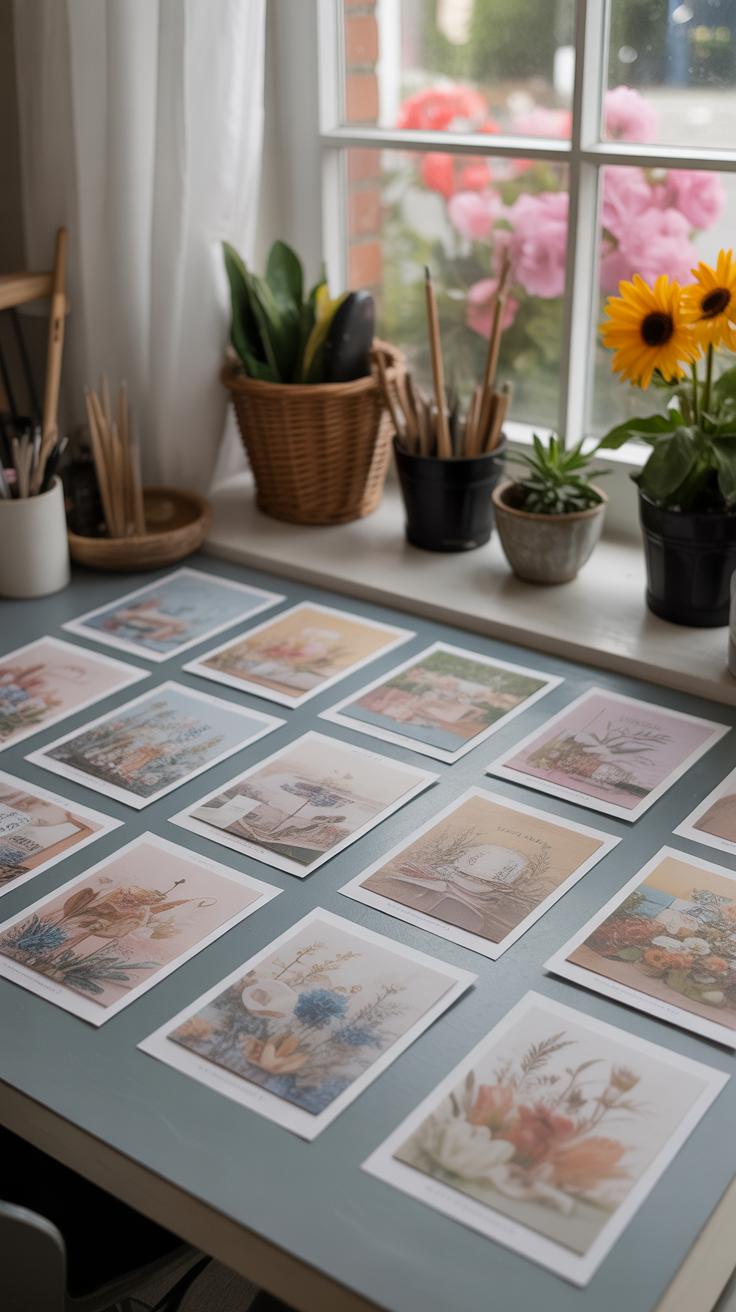
Choosing a theme can make starting a collage project feel less overwhelming. When you have a clear subject, the pieces seem to come together naturally. You might want to explore seasonal ideas—think about gathering colorful autumn leaves, frosted twigs, or scraps of holiday wrapping paper. These can give your collage a recognizable feel, almost like capturing a moment in time without words. For example, using orange and brown paper bits and leaf shapes can evoke fall even before you attach anything. It’s a simple way to channel a specific mood.
Personal interests are another rich source. Using old concert tickets, photos from trips, or pages from a favorite book pulls your memories into the mix. You might start hesitating, wondering if mixing such personal items feels odd—but it rarely is. These collages often carry a depth that generic images don’t have.
Here are a few theme ideas to think about:
- Seasonal vibes like spring flowers or winter snowflakes
- Holiday motifs including Halloween pumpkins or Christmas ornaments
- Hobbies like music, sports, or cooking
- Travel memories with souvenirs, maps, and postcards
- Emotions or moods, expressed through color and texture
Have you tried reflecting on what draws your eye in magazines or old books? Those interests could guide your next piece. Often, just picking a broad theme makes everything fall more naturally into place—sometimes the hardest part is simply deciding where to begin.
Common Mistakes And How To Avoid Them
Preventing Wrinkled Or Loose Pieces
One common hiccup beginners face is dealing with wrinkles or pieces that just don’t stick properly. You might think any glue will do, but that often leads to trouble. Using the right adhesive—like a glue stick or a decoupage medium—can make a big difference. Spread it evenly, but not too thickly. Too much glue can soak the paper, causing it to wrinkle or bubble, which isn’t very satisfying after careful cutting.
Also, give your collage enough drying time. Rushing to move or add layers can lift pieces right off. I’ve found placing a clean, flat weight on top during drying helps keep things smooth and secure. Paper clips or heavy books work well here. Try to avoid moving your project mid-dry, as that sometimes results in pieces shifting or curling without you realizing until it’s too late.
Balancing Colors And Shapes
It’s easy to get carried away with a flood of colors and shapes, but too much in one area can make your collage look chaotic. On the flip side, too much empty space might feel unfinished or plain. Finding the sweet spot is quite personal, but some tips might help.
- Mix busy elements with simpler ones to give the eye places to rest.
- Distribute colors evenly, but don’t force symmetry. Sometimes a bit of imbalance adds interest.
- Think about focal points—what do you want viewers to notice first? Structure your shapes and colors around that.
When I first started, I’d often cluster bright colors too close together, and the effect was more clutter than charm. Over time, I learned to step back, squint a bit, and mentally “edit” areas that felt overcrowded or too dull. Balance doesn’t mean flawless arrangement—sometimes a bit of disorder can feel just right.
Displaying And Preserving Your Collage Art
Framing And Mounting Your Collage
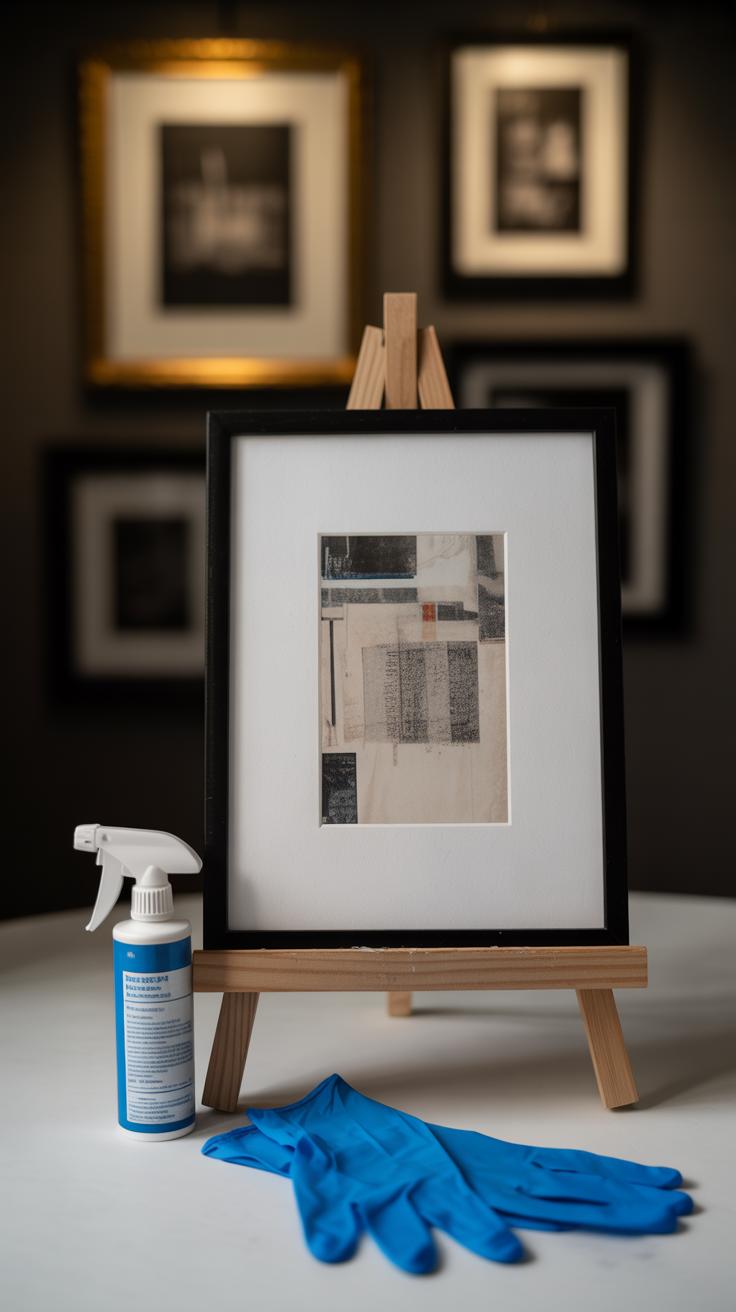
When it comes to showing off your collage, framing can really make a difference. You don’t need anything fancy to start. Even a simple, ready-made frame with a mat board can give your artwork a clean, polished look. Mount your collage on a sturdy backing like foam board or thick cardboard before framing—that way, it won’t sag or warp over time. You might try using acid-free materials; they help prevent discoloration, but if you don’t have those on hand, just make sure the surface is dry and flat.

Sometimes, mounting without glass works better, especially if your collage includes textures or layers that might press down too much under glass. But if you use glass, opt for UV-protective ones when possible—it’s a small effort that can protect your art for years.
Protecting Your Art From Dust And Sunlight
Dust is an unexpected enemy. Even if your piece is framed, tiny particles can sneak in and settle, dulling colors or sticking to glue. You might want to dust the frame regularly, but be gentle—using a soft cloth or a small brush is best. Placement matters, too. Avoid hanging your collage in direct sunlight or near heat sources. I once noticed my favorite piece faded a bit after a few months in a sunny spot, which was disappointing. The colors don’t just fade; the paper can become brittle over time.
If you’re worried about dust or light but don’t have glass, consider displaying your collage in a shadow box or using acrylic covers. These protect while still showcasing your work. To sum up, even little steps like where you hang or how you cover your art can extend its life surprisingly well. Do you think your collage deserves that kind of care? I believe it does.
Next Steps To Improve Your Collage Skills
Once you’ve started creating and even preserved your pieces, the next step is to keep building your skills. It’s easy to feel stuck at times, especially when you’re unsure if your work is “good enough.” But honestly, the more you practice, the more you’ll surprise yourself. Don’t rush to perfect every detail—sometimes, letting go and experimenting leads to the most interesting results.
Try mixing different techniques. Tear papers, layer textures, use unexpected materials. With each attempt, you’ll find new ways to express yourself. If you’re wondering how to push further, think about combining traditional collage with digital tools.
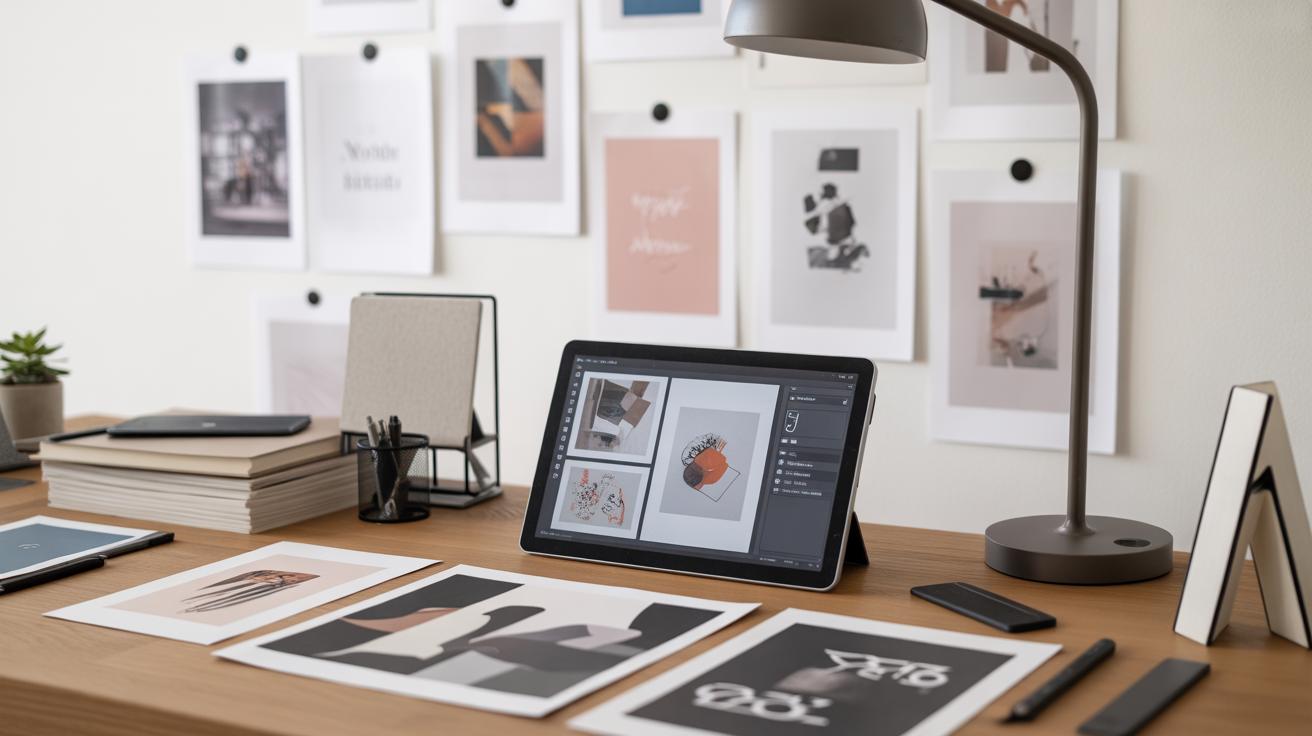
Experimenting With Digital Collage
Digital collage can open doors you might not have considered before. Apps like Procreate, Adobe Fresco, or even simpler ones like Canva let you cut, paste, and rearrange images without any mess. You can scan bits of your physical collages and then tweak them digitally, blending old and new methods. It’s a bit of a learning curve, but once you get past that, you might find it refreshes your creative process.
Plus, digital tools let you undo mistakes easily—which sometimes encourages more risk-taking. You might hesitate to glue down an unconventional piece on paper but feel braver clicking and moving pixels. Why not give it a try? Maybe you’ll discover a style that feels uniquely yours.
Joining A Collage Art Community
Art can feel isolating without feedback or shared enthusiasm. That’s why finding a community—online or in person—matters more than you might think. Groups on social media, local art classes, or even informal meet-ups offer spaces to exchange ideas and motivate one another.
You’ll realize that everyone struggles with doubts or creative blocks. Sharing your work and hearing others’ thoughts helps keep your passion alive. Plus, seeing diverse approaches might inspire you to try something different, or return to a project with fresh eyes. Trying this might feel a bit intimidating at first, but most communities are welcoming and supportive—there’s always room for your unique voice.
Conclusions
Collage art projects invite you to use your imagination and try different things. By mixing materials and textures, you create artwork that is both personal and meaningful. You do not need to be an expert or use expensive tools to start. Just a few simple supplies and ideas can lead to wonderful pieces of art.
Keep experimenting with shapes, colors, and layers. Every collage you create will teach you something new. This hands-on art form can be a relaxing and rewarding way to express yourself. Give collage a chance, and you will find many ways to have fun and share your unique vision with others.


