Combining Collage and Mixed Media
Collage art and mixed media art both bring together different materials to create new and interesting visuals. When you combine these two techniques, your art can gain depth, texture, and a unique style that captures attention. Understanding each method helps you see the possibilities for blending them effectively.
This article explores creative ways to mix collage art with mixed media. You will learn what materials to use, how to get started, and ways to make your projects stand out. You will also find inspiration through practical tips and ideas to boost your creativity. Let’s discover how to make art more impactful by combining these exciting styles.
What Is Collage Art
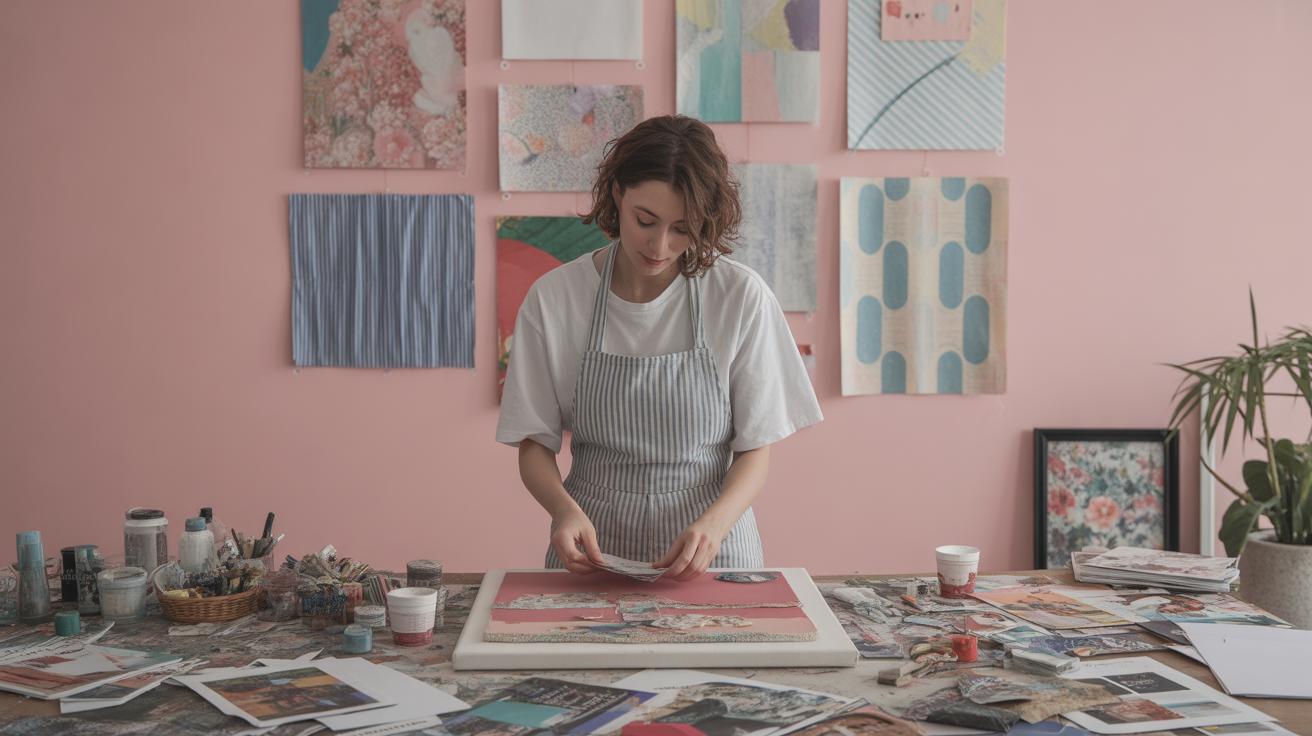
Collage art is a way of creating images by sticking different materials onto a surface. You gather pieces of paper, photos, fabric, maybe even bits of newspaper, and arrange them together to make something new. It’s like putting a puzzle together, but the pieces come from all over and don’t always match perfectly. That’s part of the charm—it feels spontaneous and unpredictable.
The term ‘collage’ comes from the French word for “to glue,” which points right to the technique’s heart. People have been using collage-like methods for centuries, though the modern idea of collage started in the early 20th century. Artists broke away from traditional painting and drawing by adding real materials onto their canvases.

At its core, collage involves simple steps: cutting materials, arranging them, then gluing them down. You might layer pieces on top of each other to create depth or texture. Common materials include magazines, fabric scraps, photographs, textured paper, even small objects. The possibilities are wide open.
Why does collage art matter? Well, it gives you freedom to combine old and new, make contrasts, even tell a story through carefully chosen fragments. It lets you play with texture and form in everyday materials, making the ordinary suddenly interesting. For a beginner, collage is approachable and flexible, letting you experiment without the pressure of perfect drawing skills.
History of Collage Art
Collage has roots going back much further than most people realize—think of ancient mosaics or religious icons made with pieces of glass and stone. But the style we know today really began around 1912. That’s when artists like Pablo Picasso and Georges Braque started attaching newspaper and other items onto their paintings.
This practice challenged traditional ideas about art because it introduced “real” objects into the art space. It was disruptive in a good way. Later, artists like Hannah Höch took collage into political and social commentary. Then, in the mid-20th century, American artists such as Robert Rauschenberg and Romare Bearden expanded collage with photos, paint, and found objects.
In essence, collage evolved from a simple technique to a powerful mode of expression. It’s both personal and universal, documented by many voices along the way.
Materials and Techniques
Materials you often see in collage include:
- Paper: magazine cutouts, newspaper clippings, colored paper
- Photos: personal snapshots or printed images
- Fabric: scraps, ribbons, lace
- Natural items: leaves, pressed flowers
- Small objects: buttons, ticket stubs, receipts
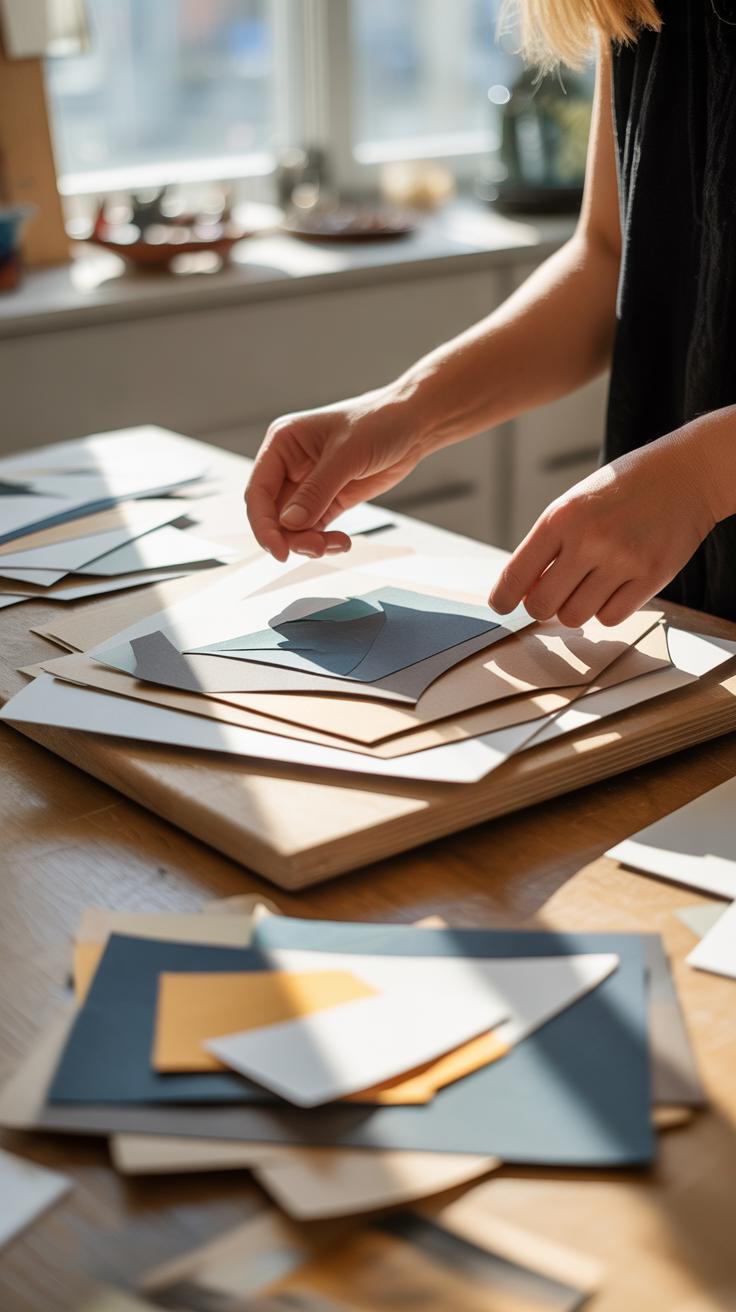
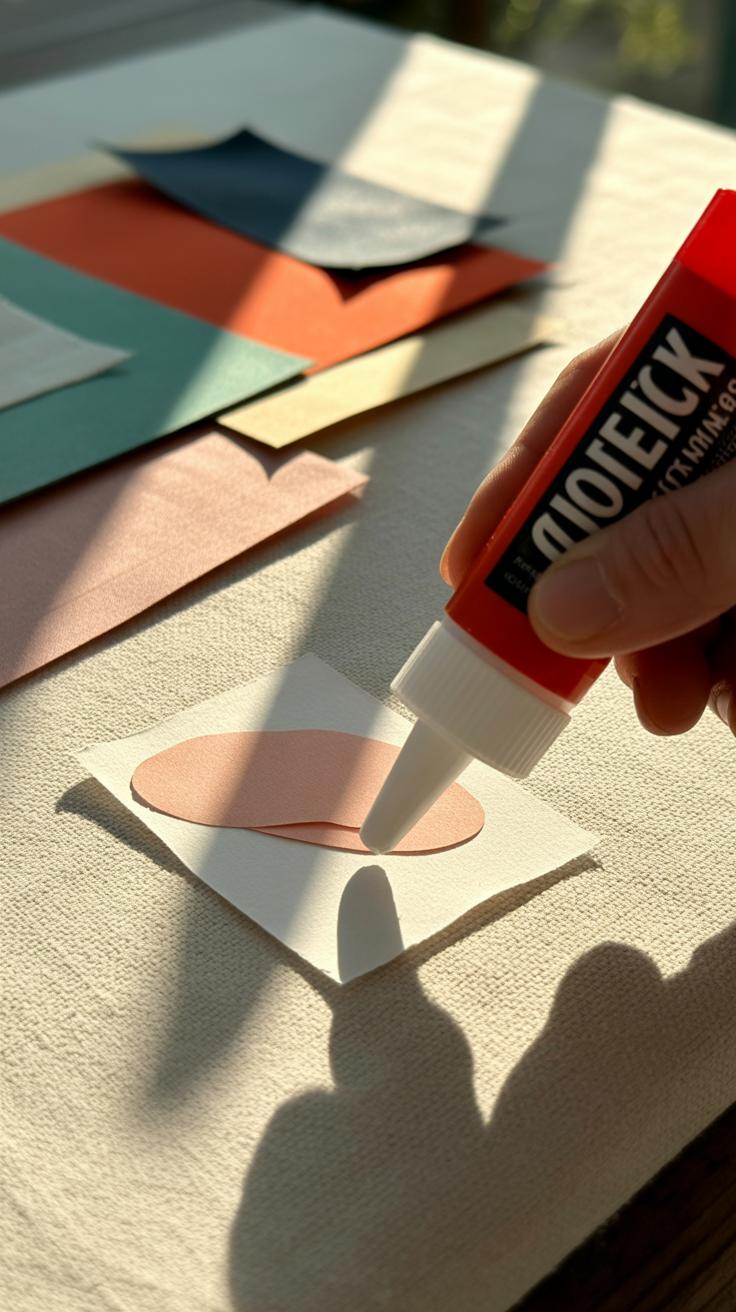
Techniques tend to be straightforward but can vary with artistic choices. You start by selecting and cutting your pieces—sometimes neatly, sometimes roughly. Then you arrange them on your base, moving pieces around until the composition feels right. Next comes gluing. The glue should hold firm but not warp your materials.
Layering is key. Overlapping pieces adds depth and complexity. Some artists paint over their collage to unify the work or add details. It’s rarely a rigid process; rather, it’s fluid and adaptive.
Have you ever tried gluing down a tiny, thin paper only to see it wrinkle? It’s frustrating but a good lesson. Certain papers and adhesives work better together. This kind of trial and error is part of learning collage, making it accessible yet richly rewarding.
Understanding Mixed Media Art
Mixed media art is a broad, flexible approach where artists combine different materials and techniques within a single piece. It’s not just about layering—like collage does—but often about merging textures, substances, and even dimensions. While collage primarily involves paper and images glued onto surfaces, mixed media might bring in paint, fabric, metal, or even digital prints alongside paper elements.
For instance, you might see a mixed media painting that includes acrylic paint, newspaper clippings, thread, and found objects embedded on canvas. Or an artwork combining ink drawings with photographic transfers and textured paste. The choices of materials are almost endless: paints, inks, textiles, wood, metal, clay, and more all can join forces in mixed media art.
Types of Mixed Media
Mixed media splits into various categories, each with its own quirks. Here are some you might find intriguing:
- Assemblage: This involves three-dimensional objects arranged or glued together. Think of small sculptures built from bits of scrap metal, wood, and everyday objects. Joseph Cornell’s shadow boxes are classic examples—miniature worlds crafted from collected items.
- Found Objects: Art made by incorporating objects not traditionally used in art, like bottle caps, buttons, or old toys. Louise Nevelson’s monochromatic wooden assemblages fit here—she transformed discarded pieces into intricate compositions.
- Altered Books: Artists take existing books and manipulate them—cutting pages, painting over text, or adding sculptural elements. It’s a way to reuse printed material as a canvas, creating something between sculpture and collage.
- Wet and Dry Media Combinations: Here, artists combine wet mediums like watercolor, acrylic, or ink with dry materials such as pencil, charcoal, or pastel. This kind of layering adds complexity and depth that a single medium alone might not achieve.
Popular Mixed Media Artists
Several artists come to mind when talking about mixed media. Robert Rauschenberg blurred painting and sculpture by combining paint with everyday objects, creating “Combines.” His work challenges where one medium ends and another begins.
Then there’s Anselm Kiefer, known for incorporating straw, sand, and lead into his paintings. His pieces feel raw, almost visceral, partly because of how diverse materials interact on the surface.
Judy Pfaff takes mixed media to an almost installation level, using wires, paper, and light to build chaotic, immersive environments. Each artist shows different ways to bring materials together—sometimes to contrast, sometimes to narrate—making us think about what materials can mean beyond their usual role.
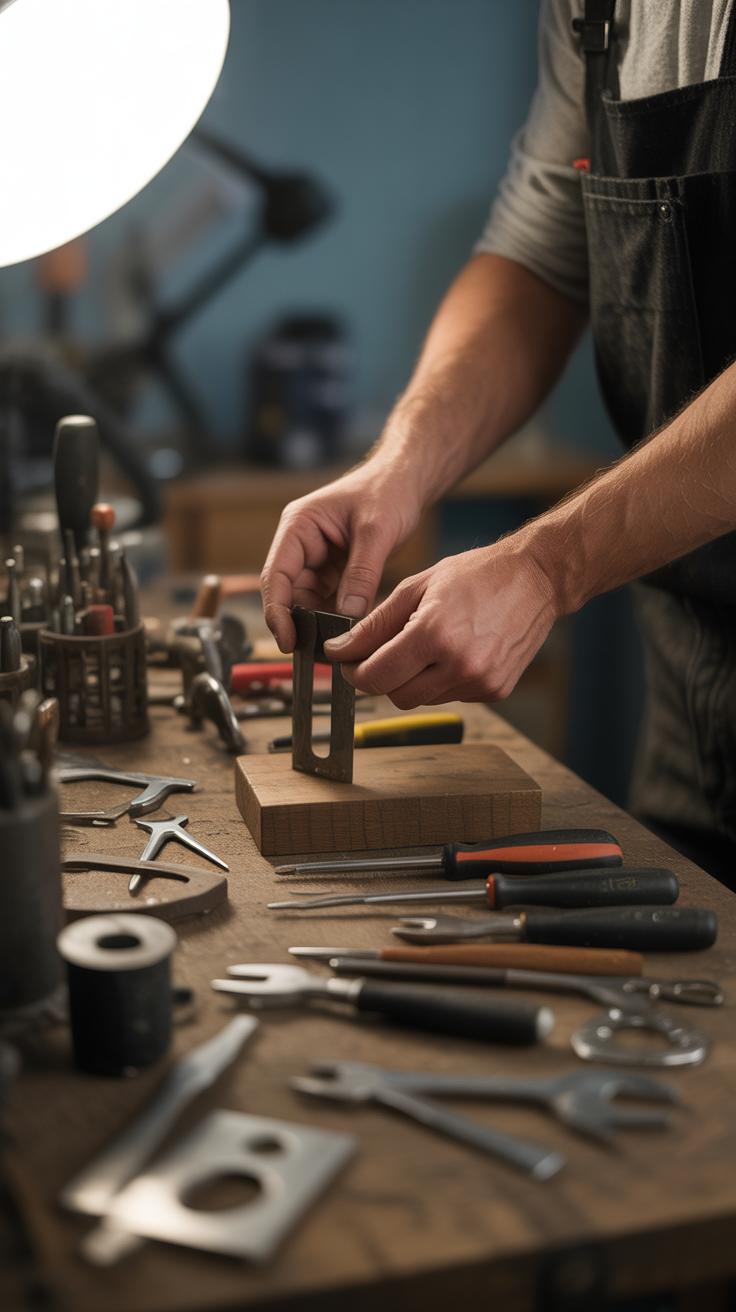
Tools and Materials You Need
Basic Supplies
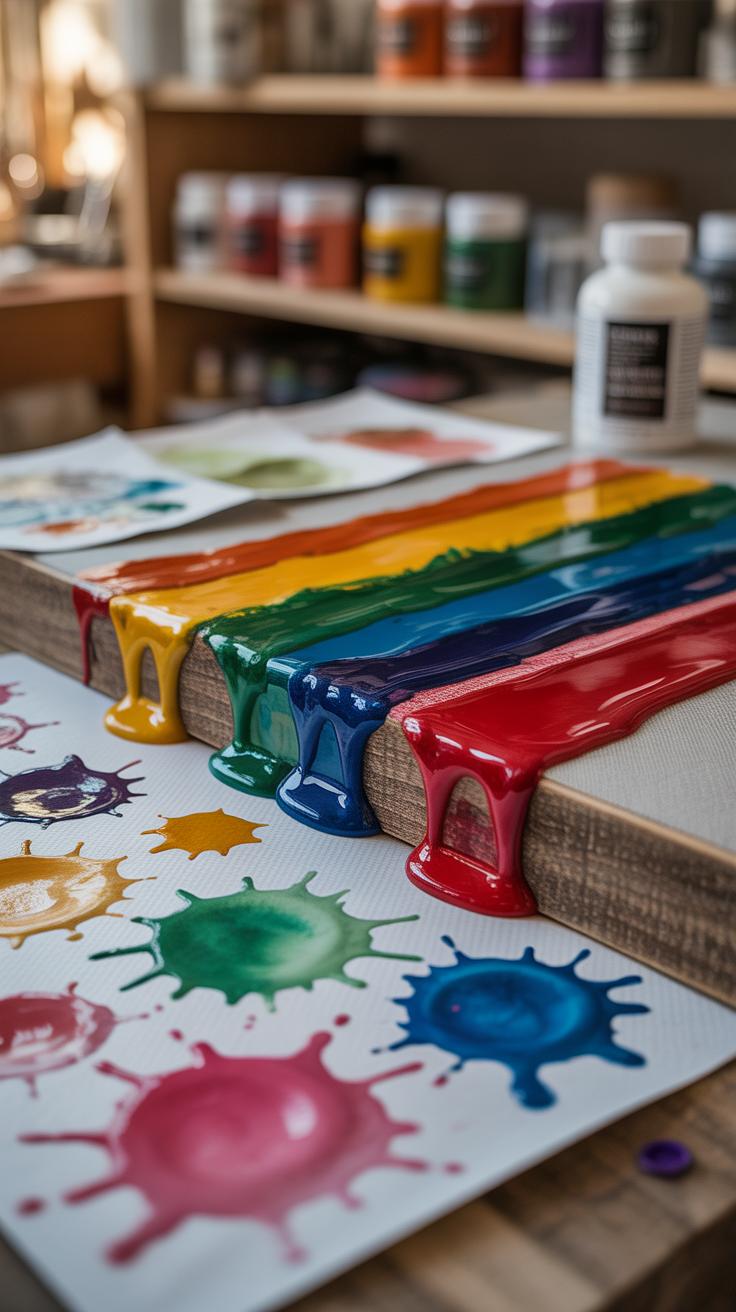
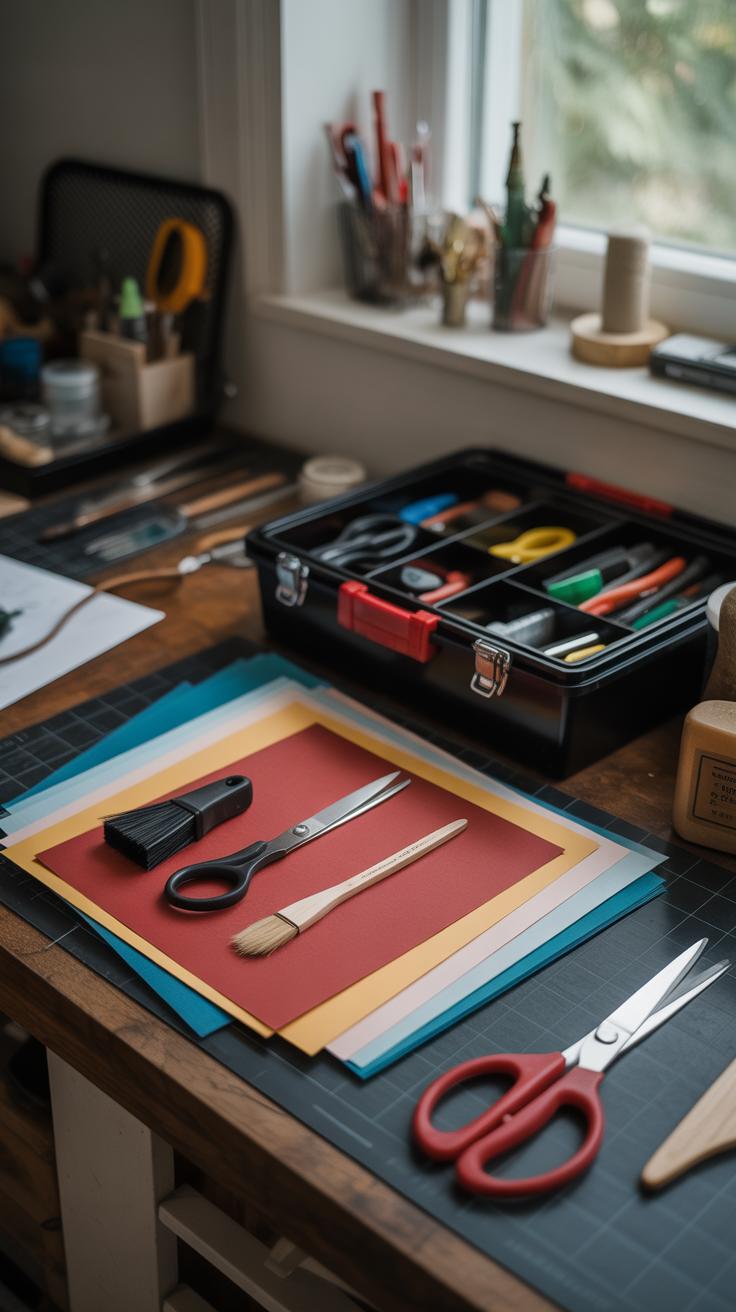
When combining collage and mixed media, you’ll definitely need some basic tools that form the foundation of your process. Adhesives like glue sticks, matte medium, or gel medium work differently, so testing them on your materials first might save you some trouble. Scissors are obvious—but a craft knife can give you precision that scissors just can’t match, especially for tiny shapes.
Paints and brushes bring color and texture, and they come in many types—acrylics are reliable for quick drying, but watercolors add a softness you might want. You’ll find that using different papers itself changes the feel: newspaper, magazines, watercolor paper. Each kind carries a different weight and absorbency, influencing how glue sticks or paint sets.
Advanced Materials
Things get more interesting with fabric scraps, lace, or burlap. They add real texture and can contrast paper’s flatness. Found objects—a key charm of mixed media—like tiny metal pieces, buttons, or old keys, can surprise both you and your audience. Ink pens or stamps help with adding detail or patterns; fine liners produce crisp lines while ink pads spread irregular shapes.
Texture tools like palette knives, sponges, or even bubble wrap change the surface unexpectedly. Using texture paste or modeling gel also helps build dimension. The trick is knowing when a piece needs that extra touch, and when it might get too busy. Safe handling of sharp items or solvents is crucial—keeping blades sharp but careful and using non-toxic adhesives around closed spaces is something I’ve learned the hard way!
Planning Your Artwork Design
Choosing a Theme
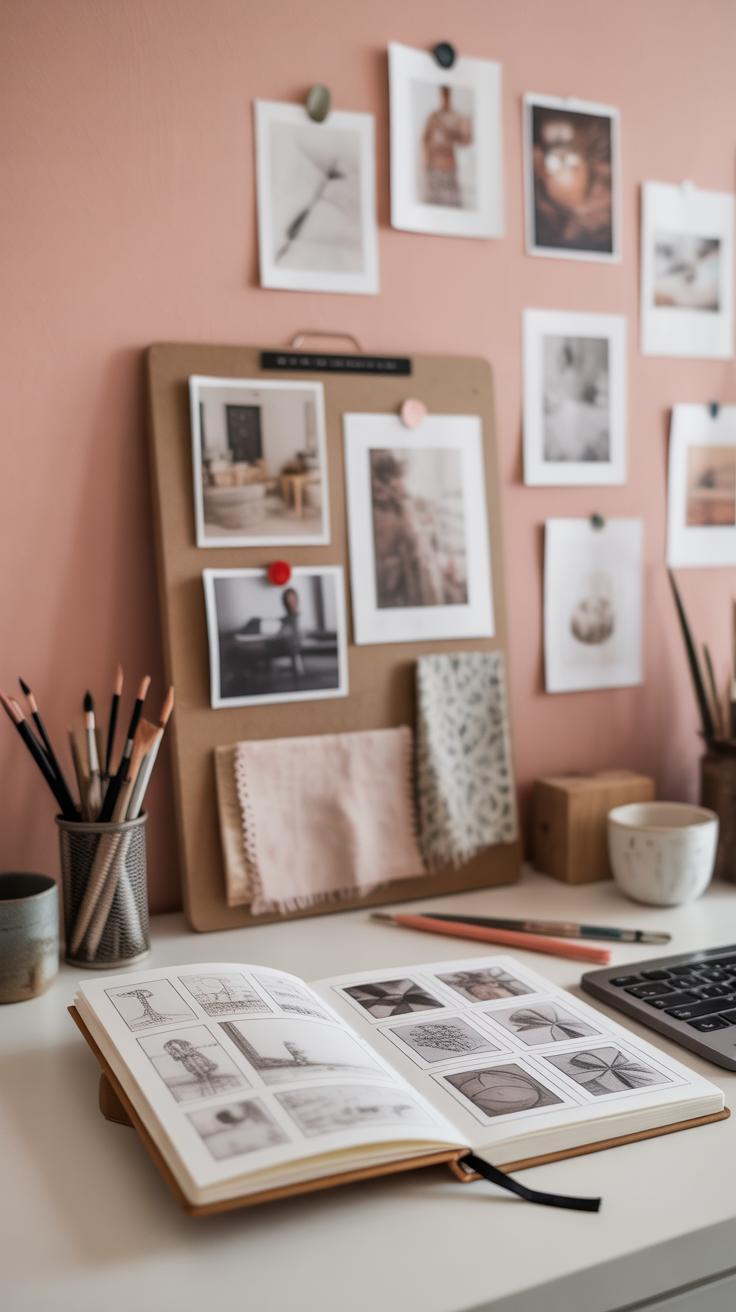
Picking a theme can seem tricky. You want something meaningful, but not so narrow that it traps your creativity. Sometimes, I find it helps to start with a feeling or an idea—something you want to explore. It might be a memory, a social issue, or even just a color mood. Look around for inspiration: magazines, nature, old photos, or conversations you remember. Trends might catch your eye, but try to focus on what holds your attention longer than a moment.
Ask yourself: what story do you want to tell? Or maybe, what question do you want your artwork to ask? The clearer your theme, the easier to choose elements that make sense together, though occasionally, randomness or chaos can deepen the message too.
Organizing Materials
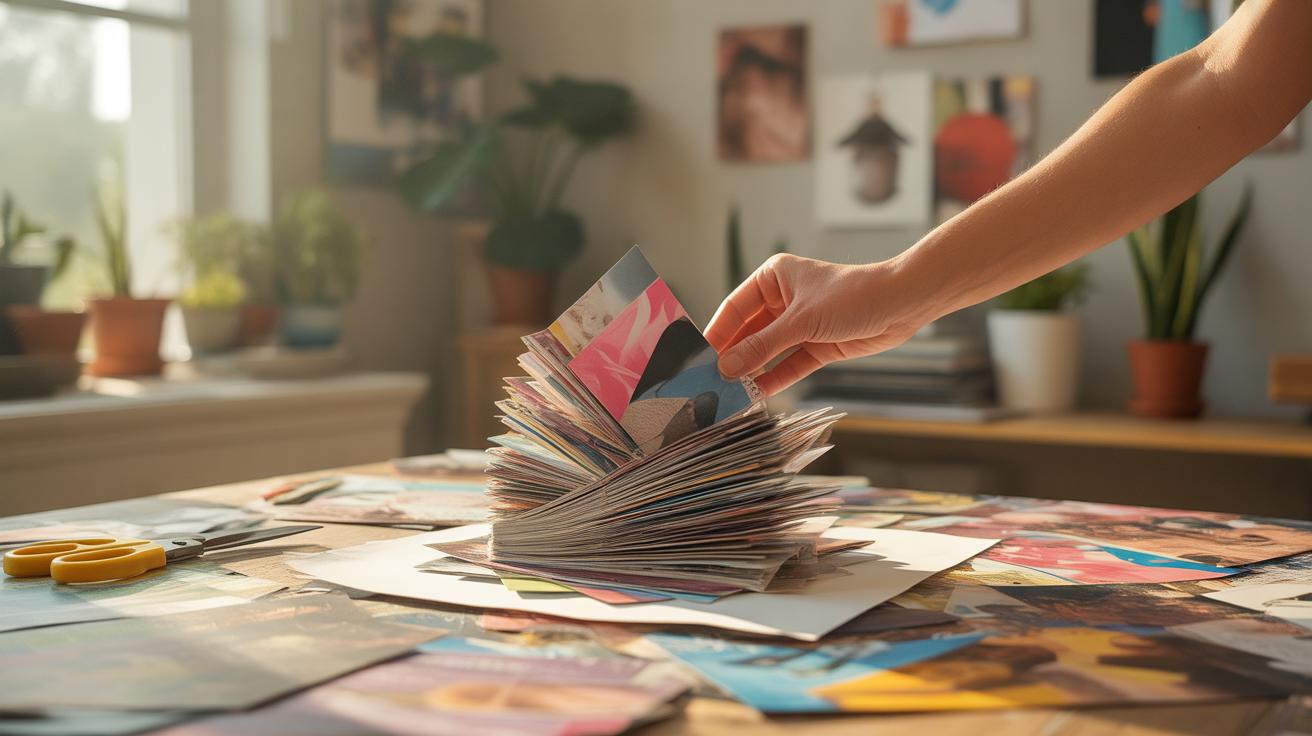
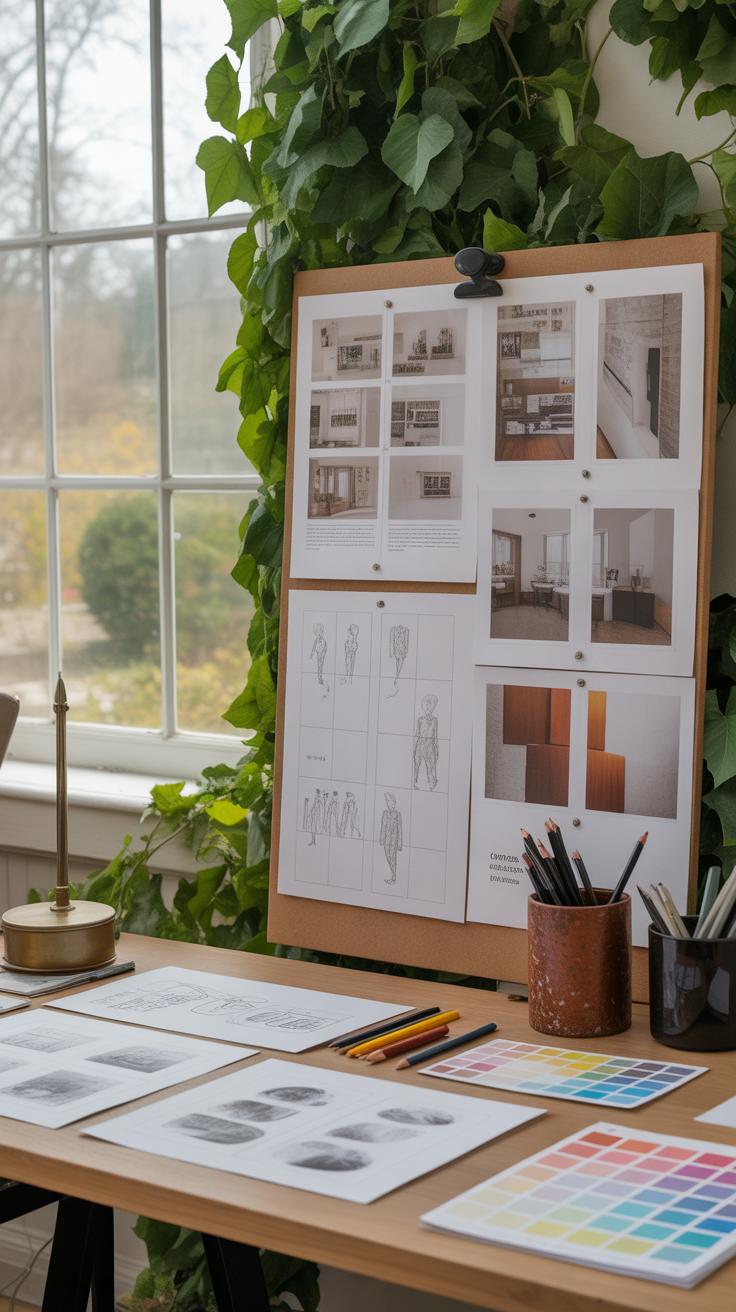
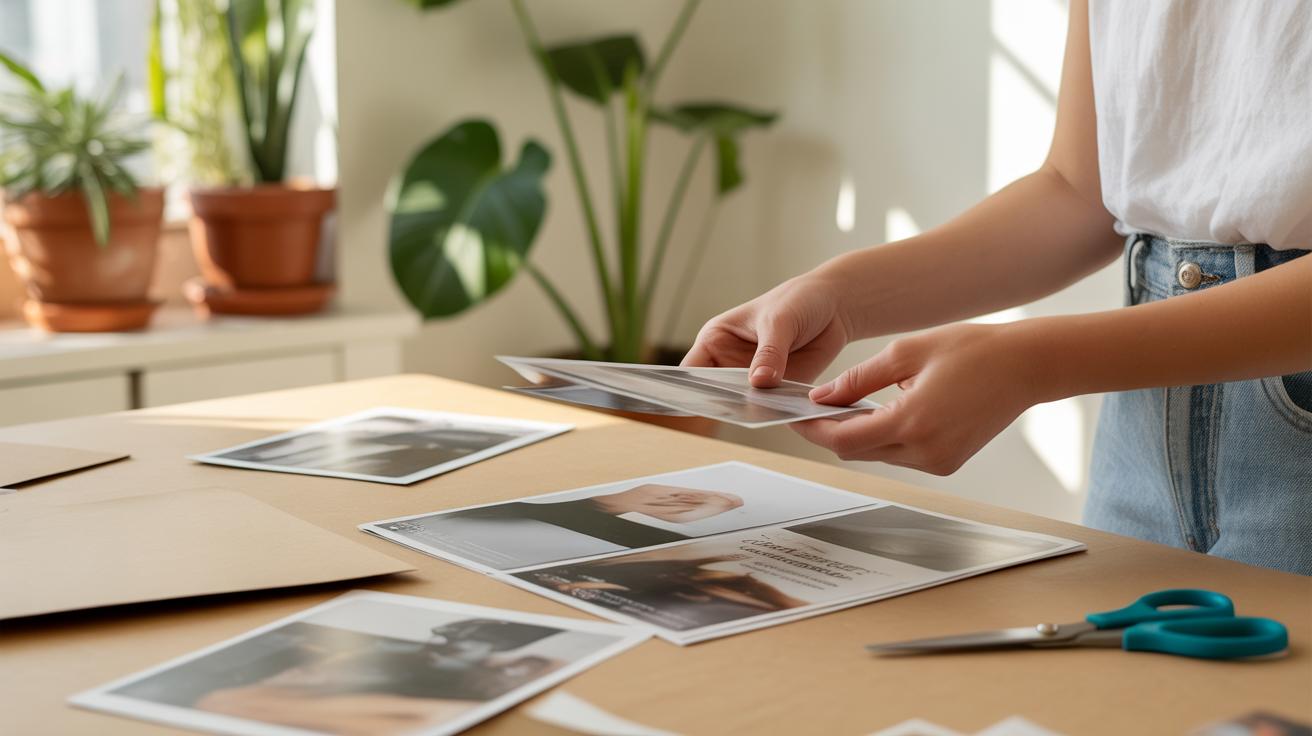
Gathering materials isn’t just about piling up scraps and paints. It’s about curating. Think about sorting by color first—it can help create harmony or contrast later. Textures matter more than you might expect; rough versus smooth surfaces tell different stories on the same canvas. Group materials by theme or origin too, like vintage papers separate from modern prints. This small effort saves frustration down the line.
Personally, I spread everything out on a big table, letting pieces talk to each other visually. You might want to keep adhesives, scissors, and brushes handy nearby. Preparing materials ahead—even trimming or folding—can keep your flow when you begin. Planning this way feels less like work and more like setting a stage for your creativity.
Basic Techniques To Combine Collage And Mixed Media
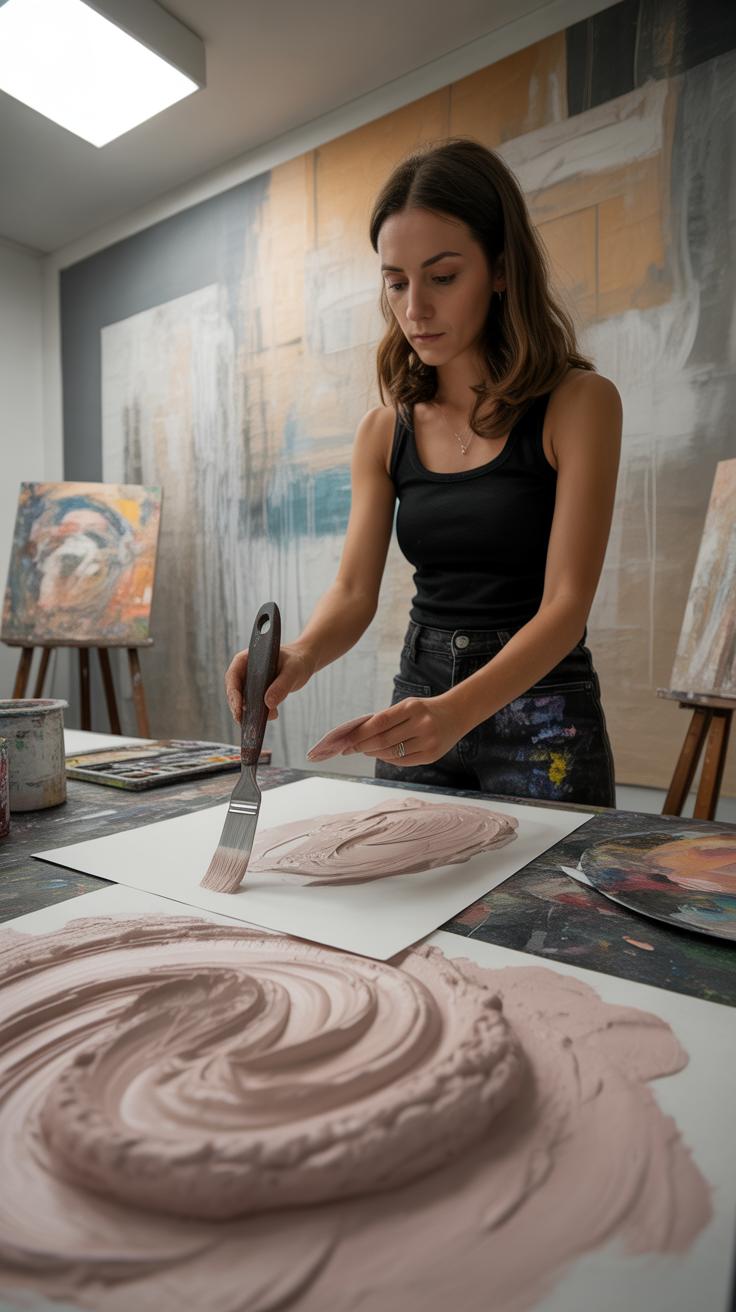
Starting with layering collage elements can feel a bit tricky, but it’s really about experimenting with depth and space. Begin by selecting your papers or found objects and arrange them loosely on your surface. Don’t stick things down immediately—move pieces around to find a balance that pleases your eye. You want to create a sense of depth by placing some elements on top of others, maybe some are fully visible while others peek out from underneath. Think about contrast too: a bold pattern under a more subtle texture can add interest. Sometimes too much symmetry makes the piece flat, so don’t hesitate to leave a kind of unfinished or unexpected gap here and there.
Once you’re happy with placement, glue each layer carefully. I’ve found using a glue stick or matte medium lets you reposition slightly before it dries, which helps if your initial plan doesn’t feel quite right. Let each layer set before adding the next if you want to avoid wrinkling or buckling paper.
For adding paint and texture, start simple. Apply a thin wash of acrylic paint or watercolor over parts of your collage to unify the colors or highlight certain areas. You can use a dry brush to lightly drag paint over rough surfaces or a sponge for mottled effects. Experiment with texture gels or modeling paste to build raised areas. These materials give your piece more physicality—touch it, and it speaks differently.
Applying texture mediums with a palette knife instead of a brush often creates more natural, irregular edges that suit collage’s randomness. After applying paints or mediums, patience is key; give each layer time to dry properly. Wet paint over paper can cause buckling or bleeding, which sometimes works well, but often it’s better controlled.
Have you tried mixing collage with homemade paper or fabric scraps? Layering those with paint can make your artwork feel tactile in a way that flat paper can’t. It’s okay if things feel messy or unpredictable—that’s often where the magic happens.
Advanced Techniques For A Stronger Impact
When you move beyond basic layering, collage combined with mixed media can surprise you. One way to add interest is by introducing three-dimensional objects. Think about buttons, bits of fabric, or found items like small metal pieces or broken jewelry. These elements create depth that draws the eye in more than flat paper ever could. I’ve tried sewing fabric scraps onto a canvas, and it made the work feel more tactile—almost alive, even if it was subtle.
You don’t need to cover the entire piece. Sometimes just a few 3D additions—maybe a cluster of beads or layered thread—can change how the whole artwork feels. The challenge is to balance these objects without them overwhelming the visual flow. Ask yourself: does this object enhance the story my collage tells, or is it just decoration?
Another approach is altering the surface before you start layering your collage pieces. Painting or sanding the base can add texture or a distressed look, which plays into the mood of your piece. I’ve often painted a rough wash then sanded parts to reveal layers underneath, creating unexpected shadows or marks that feel spontaneous.
Layering materials before gluing collage elements also changes how everything interacts. You could spread gesso unevenly, embed bits of paper or fabric, or even glue and peel off transparent tape for interesting surface effects. These alterations mean your collage isn’t just sitting on a flat plane—it’s part of a world you’ve made beneath and around it.
Trying experimental materials may feel uncertain at first. What happens when you add sand or coffee grounds to your paint, or when you glue dried leaves? Sometimes the results surprise you, for better or worse. So test, play, and let the work evolve. After all, these risks sometimes lead to the strongest impact.
Tips For Color And Composition
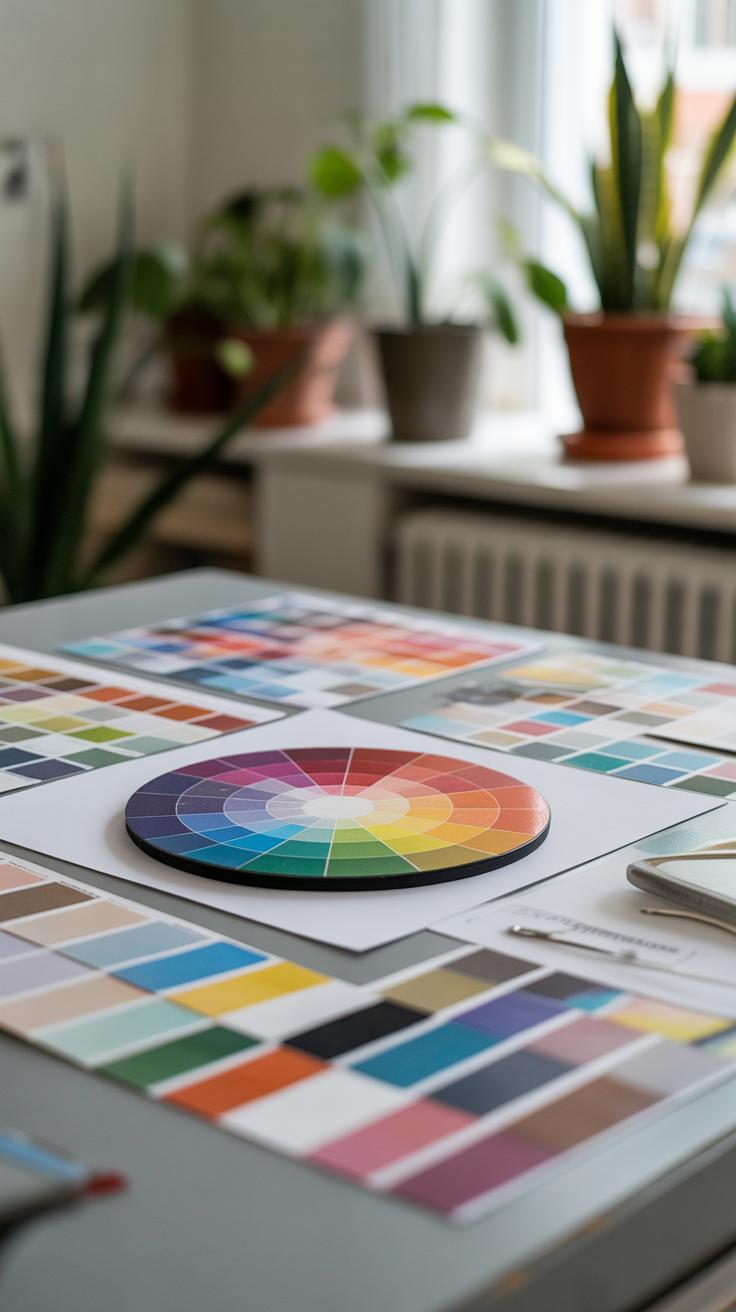
When working with collage and mixed media, choosing colors and arranging elements goes beyond simple preference. You might find yourself drawn to certain hues or combinations, but thinking a bit about color theory and composition can sharpen your choices.
Start with basic color selection. Colors divide into warm tones like reds and oranges, and cool tones like blues and greens. Using both can create contrast, but too much might feel chaotic. Sometimes sticking to a color family, say mostly cool colors, lends more harmony, though breaking that with a pop of warm color can pull focus. You don’t always have to chase perfect harmony; unexpected clashes can surprise in a good way.
Try grouping colors in these ways:
- Use analogous colors (neighbors on the color wheel) for a calm, cohesive feel.
- Contrast complementary colors (opposites like blue and orange) to energize your piece.
- Play with muted tones to let textures and shapes take the lead instead of bold colors.
Now, for composition — where you place your cutouts, paint, or fabrics matters a lot. Balance is key but remember, balance doesn’t mean symmetrical or equal. You might put a heavier, dark patch on one side and balance it with several small, lighter shapes on the other. Think about where you want the viewer’s eye to land first, your focal point.
Leave some negative space – areas with little or no collage or media. It gives breathing room and stops the piece from feeling overwhelmed. Don’t cram everything in the center; sometimes edges or corners create unexpected interest. I once arranged scraps loosely at first and then stepped back to see what naturally caught my eye. That helped me decide where to add emphasis.
Ask yourself: Which colors draw me in? How does this arrangement feel — balanced or busy? Experiment quietly. Your choices don’t have to be “right” to have impact.
Inspiring Ideas To Get You Started
Sometimes, getting started feels like the hardest part. If you want to dive into collage and mixed media, think about themes that really resonate with you. Nature is always a reliable choice—you might gather leaves, sketches, fabric scraps in earthy tones, and layer them with watercolor washes or acrylics. Try this:
- Pick a natural element like trees or skies.
- Collect materials: old book pages, dried flowers, textured paper.
- Start with a paint base, then layer your collage pieces, adding details with ink or charcoal.
Memories make rich themes too. Maybe use old photos combined with ticket stubs or letters, then paint over parts to blur edges—good for evoking emotion. What parts of your past might you want to explore visually?
Mixing unexpected materials can really catch your eye. Fabric patches glued onto painted backgrounds, or snippets of metal foil combined with magazine clippings, create strong contrasts. Also, try sewing or stitching onto the surface—that adds texture you can almost feel.
One project I loved involved layering torn maps with painted patterns, then stitching over the borders. It felt like telling a story in fragments. Don’t hesitate to experiment—sometimes unplanned combos spark new directions.
Common Challenges And How To Fix Them
Fixing Adhesion Issues
One of the most frustrating problems when mixing collage with other media is getting materials to stick properly. Papers or fabrics peeling off after hours of work can feel like a punch to the gut. But the fix isn’t always complicated. Sometimes, the glue you use doesn’t match the materials, or it’s applied unevenly. Trying to rush drying might also backfire.
For better adhesion, use a glue designed for mixed surfaces—think gel mediums or archival PVA. Spread it thinly but cover the entire underside of your piece. Press firmly and give it space to dry, not just on the surface but along edges. You might also consider light sanding on slick papers or plastics before gluing to help the glue grab on.
I once struggled with this using magazine pages on wood panels; switching to a matte gel medium helped tremendously. A little patience during that drying window pays off more than you’d expect.
Managing Color Conflicts
Color clashes can quietly undermine your artwork’s impact. Sometimes bright collage elements fight with painted backgrounds, or layered colors just look off. Fixing this isn’t always about starting over. You can soften clashes by layering translucent washes of paint to unify the palette or selectively repaint problem areas with neutral tones.
Think about introducing grays, off-whites, or muted browns between conflicting colors to calm down the visual noise. Sometimes, just a bit of glazing can help these hues blend better. Yet, be careful not to overwork it. You want to keep the energy alive, not mute everything completely.
One painter-friend of mine swears by using tissue paper in a neutral shade over parts of collaged images to gently tone down colors without losing detail. It feels like a little trick, but it works in a pinch. Asking yourself which colors distract versus contribute might offer clarity before tweaking.
Displaying And Caring For Your Art
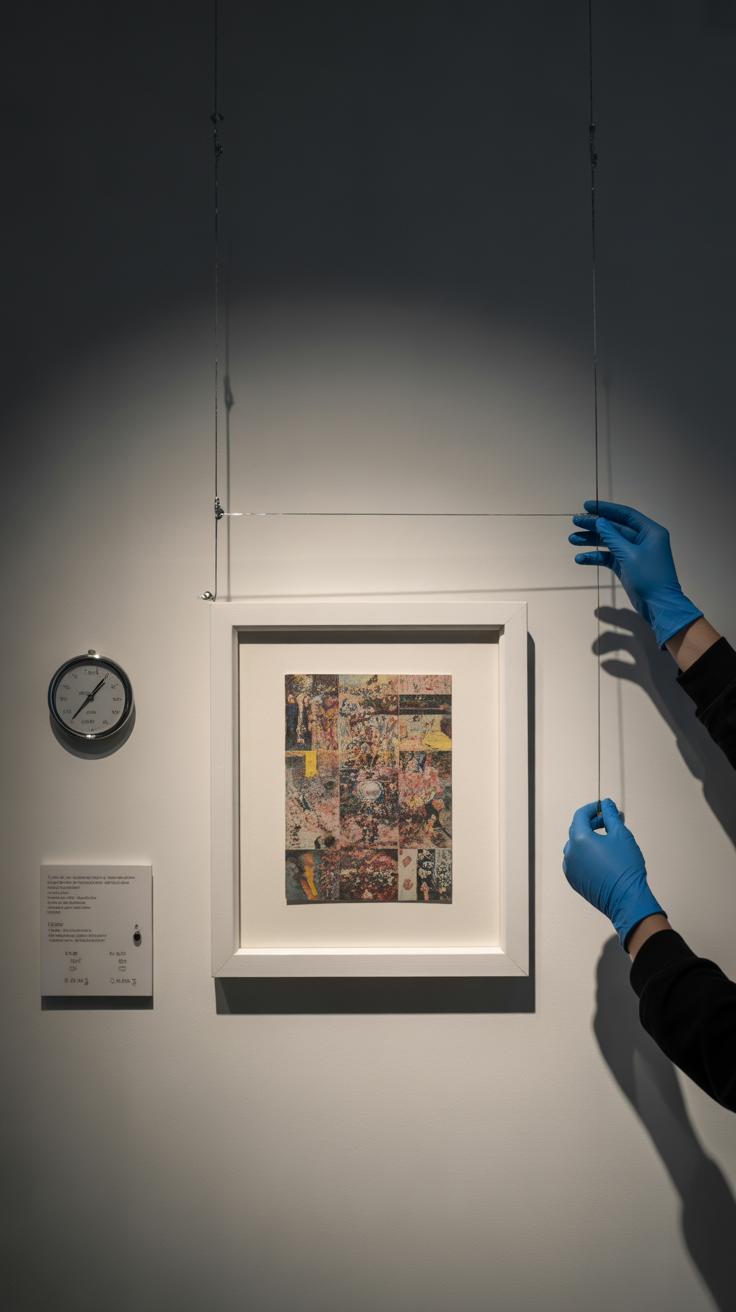
Best Ways To Frame
Framing collage and mixed media pieces isn’t just about looking good—it’s about protecting fragile layers and textures. Often, shadow boxes work well because they give space around the artwork, preventing delicate elements from getting squished. You might try deep frames or those with spacers to keep distance between glass and the art’s surface. Glass itself can be tricky; while it protects against dust and damage, it may compress or dull textures if placed too close. Some artists prefer acrylic glazing—it’s lighter and less reflective, though it can scratch easier.
Personally, I’ve seen framed collages that used a floating mount. It lets edges peek out and adds dimension, which is something flat frames lack. The choice depends on your piece’s weight and texture, but don’t just rush to standard frames without considering these details.
Maintaining Your Artwork
Keeping your collage or mixed media work in good shape often means controlling the environment. Avoid hanging pieces where sunlight hits directly—it can fade papers and fragile pigments quicker than you think. Moisture’s another enemy; mixed media often includes glue or fabrics that warp or mold when damp. Even in dry settings, dust accumulates. Using a soft brush or microfiber cloth to gently dust, preferably without applying pressure, is usually safe.
From what I’ve noticed, some collectors swear by occasional professional cleaning for really delicate works, but that might be impractical for most. Just remember—don’t try to clean sticky or peeling areas yourself. Sometimes, letting a professional handle repairs is wiser, even if it feels like an admission of failure. In the end, good framing and thoughtful placement usually save the art more than any aggressive cleaning attempt ever could.
Conclusions
Combining collage art and mixed media offers a wide range of creative opportunities. You can work with various materials and techniques to express your ideas in new ways. This blend adds texture, color, and layers, making your artwork richer and more interesting.
As you try different methods, you will find what works best for your style. Keep experimenting with materials and ideas to find unique ways to tell your story through art. The more you explore, the stronger your artistic voice will grow.


