Bringing the Outdoors In With Nature Art
Nature art painting captures the beauty of the outdoors using a combination of artistic techniques and materials. Bringing outdoors in through art lets you connect with nature even when inside your home or studio. This article explores how mixed media tools can enhance your nature-inspired paintings.
You will learn about the various tools and techniques that artists use to create stunning nature art paintings. We will also discuss how you can blend different materials for unique effects and deeper connections with the natural world around you.
Understanding Nature Art Painting
What is Nature Art Painting
Nature art painting is simply the act of creating images inspired by the outdoors. It captures things like plants, animals, landscapes, even the way natural light falls across a scene. You might think it’s just about reproducing what you see, but it’s a bit more than that. It often reflects an artist’s personal connection to the environment or a moment they found meaningful. Whether it’s a close-up of a leaf or a wide view of a forest, nature art painting brings pieces of the outside world inside your space.
Why Artists Choose Nature as Subject
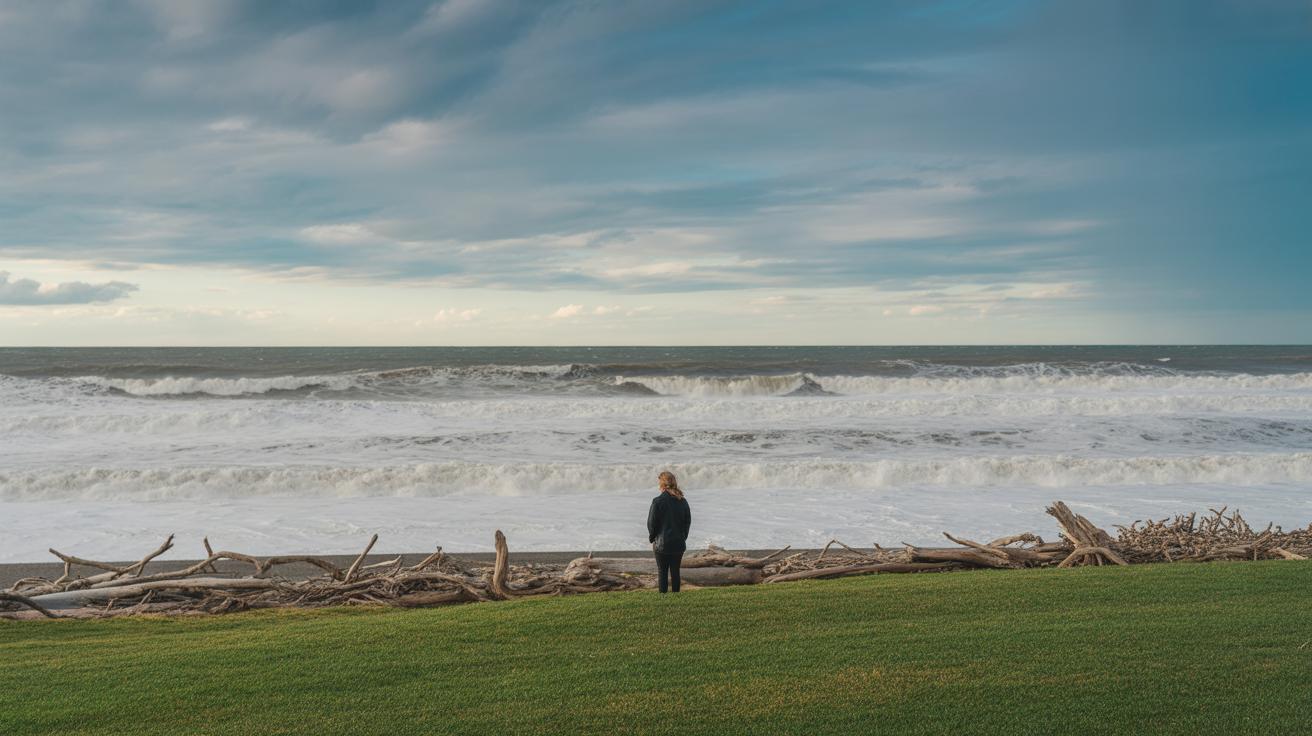
Why do so many artists find themselves drawn to nature? Well, the reasons seem to vary a bit. For some, it’s a source of endless inspiration—the shapes, colors, and forms constantly shift with the seasons or weather. For others, painting nature offers a kind of calm. Sitting quietly to study a flower or bird can feel like a brief escape from the bustle of everyday life. And then there’s the sense of appreciation—by painting nature, artists often express respect for the natural world, reminding themselves and viewers to pay attention to what’s around us. It’s curious how a simple tree or stream can stir up such deep feelings, isn’t it?
Materials Used in Mixed Media Nature Art Painting
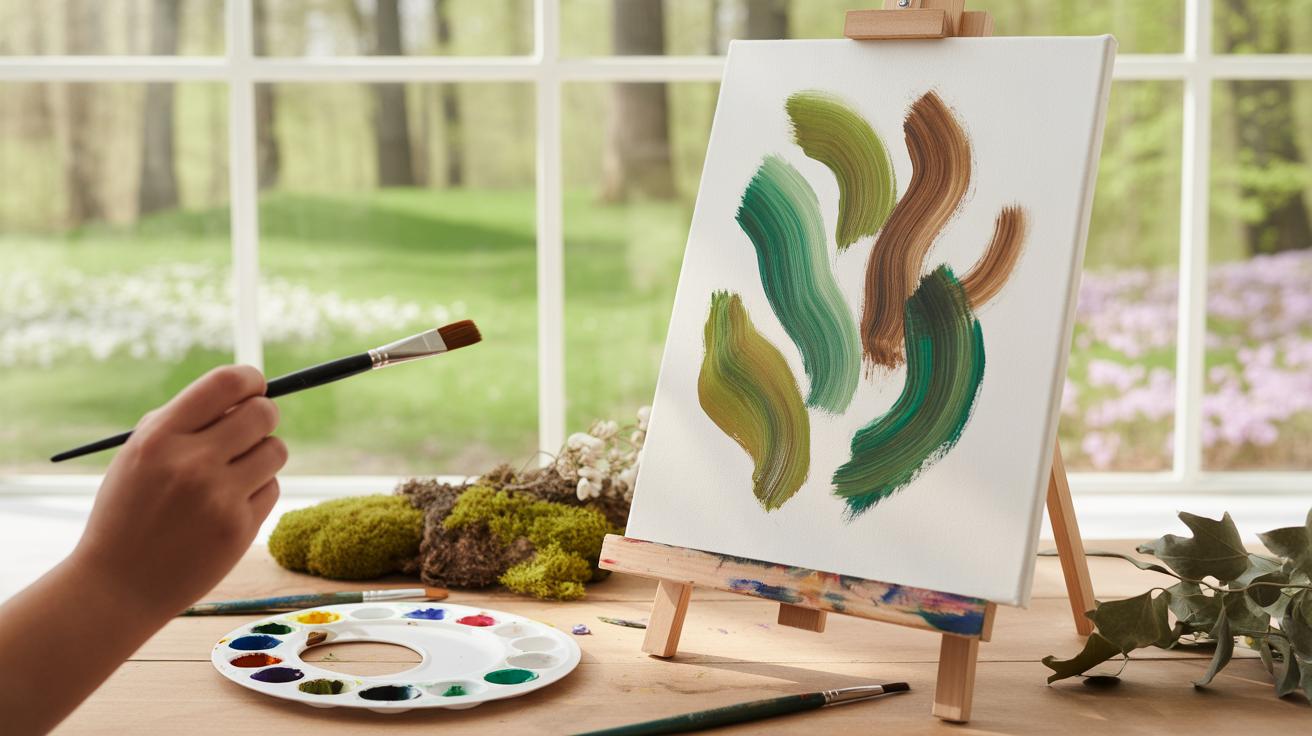
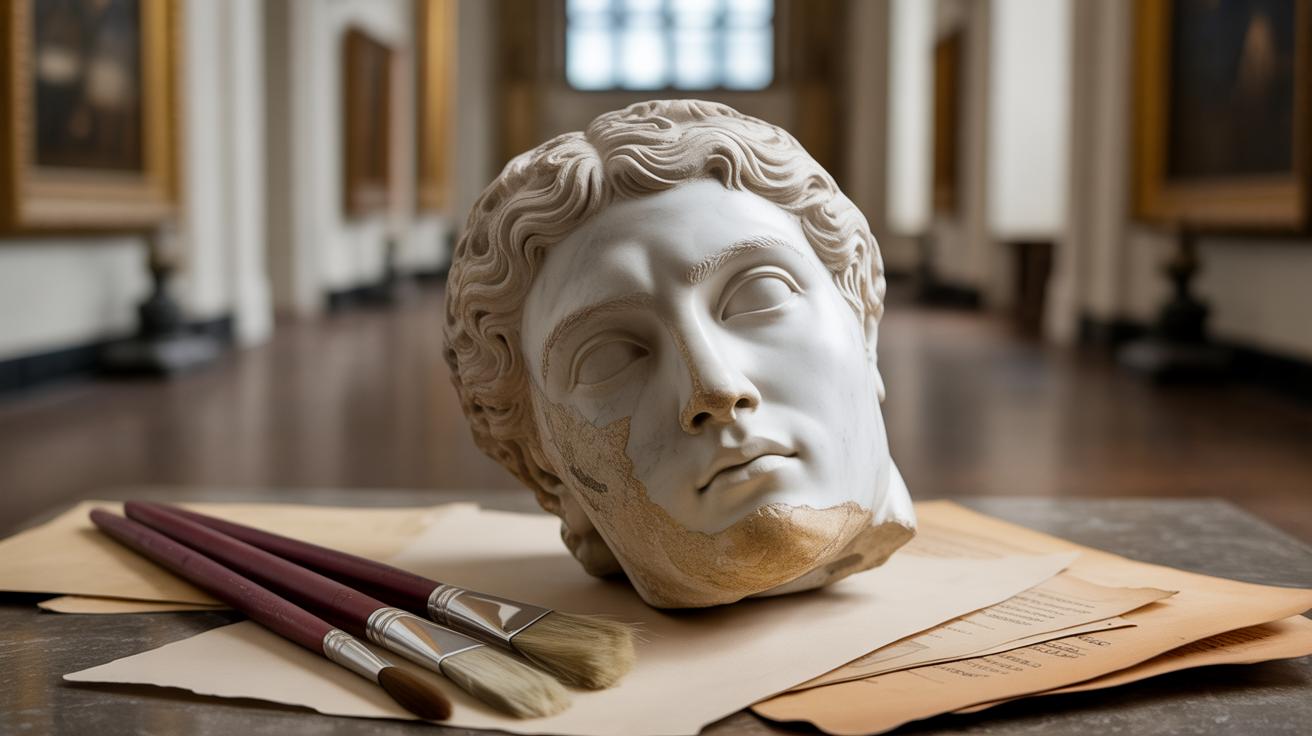
When working with mixed media in nature art painting, the materials you choose can shape the entire experience and outcome. You might start with natural elements—things like leaves, twigs, and sand. These give your work an organic texture and feel that synthetic materials rarely match. Handmade paper is another favorite; it carries subtle fibers and textures that emphasize the natural theme without much effort. Sometimes, artists mix in natural pigments extracted from plants or earth, which feels more connected to the environment you’re portraying.
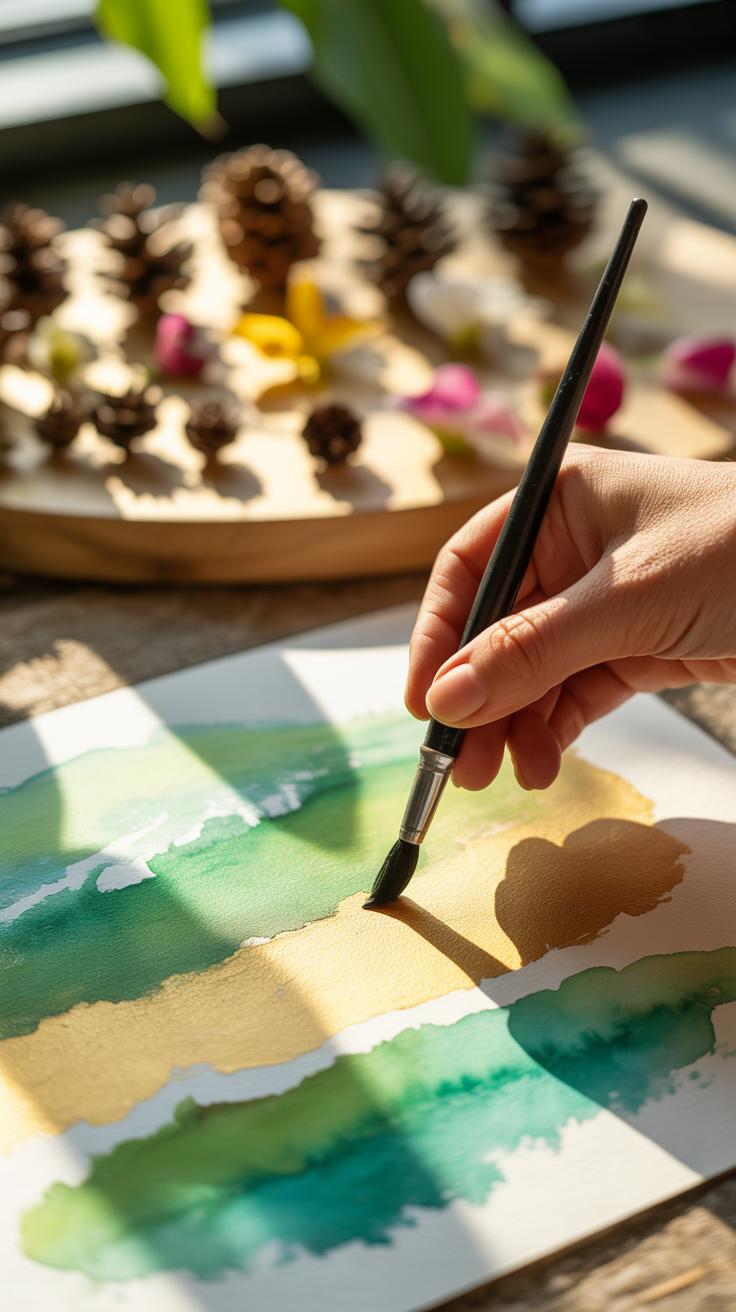
On the other hand, modern art supplies offer flexibility. Acrylic paints let you build thick layers or thin washes. Watercolors provide a softness and transparency useful for light effects. I find inks and texture gels useful for adding depth and tactile interest. They let you experiment—making you question what’s part of the painting and what’s “real” material stuck onto the canvas. Pastels work well for finer details or highlights, often blending with paint in unexpected ways.
Collage materials, like bits of paper or fabric, open up possibilities too. You can include pieces of bark, dried flowers, or even pressed grasses. These sometimes weigh down the surface but also add a tangible sense of place. Using both traditional and modern supplies may feel a bit chaotic at first, but that’s part of the creative journey. Sometimes you wonder if you’re overdoing it, but that’s where the magic can happen, layering nature—both real and painted—into one artwork.
Techniques for Mixing Media in Nature Art

Mixing media in nature art is less about strict rules and more about experimentation. To start layering paints and materials, begin with thin washes or light acrylic layers. This gives a base without overwhelming the canvas. Then, slowly add texture by incorporating small natural items—like bits of leaves or bark—pressing them gently into wet paint so they adhere naturally. Building up these layers over time creates depth, but rushing can muddle the effect. I’ve learned that patience here really pays off; sometimes I’ve tried to add too much too fast, and the result felt cluttered.
Blending different paints—watercolors with acrylics, for example—works best when you let each dry properly before moving on. Blending wet into wet might produce muddy colors, oddly enough. Think of the process like cooking in stages rather than dumping everything in one pot.
Texture plays a big role too. You can raise surfaces with sand mixed into paint or add fabric scraps for 3D effects. Glue or clear acrylic mediums help hold these securely. I recall experimenting with coarse sand, which gave the work a rough feel that actually made me think differently about the subject—almost tactile in a way you can feel with your eyes. Securing these textures well avoids flaking but sometimes the adhesives change the paint’s finish, so test before committing.
Some quick tips:
- Start with thin, semi-transparent layers for control.
- Add natural elements while paint or medium is tacky, not wet.
- Let layers dry fully before blending or adding new textures.
- Use gel mediums or clear glue sparingly to secure 3D items.
- Experiment with mixed sand, fabric, or paper to create interesting surfaces.
Have you tried combining textures that seem opposing? Like smooth watercolor with rough sand? It can create tension in the piece that’s surprisingly engaging. Don’t worry about perfect uniformity—sometimes the unexpected textures tell the strongest story in your nature art.
Incorporating Natural Elements into Your Artwork Guide on Choosing and Preparing Natural Objects for Art

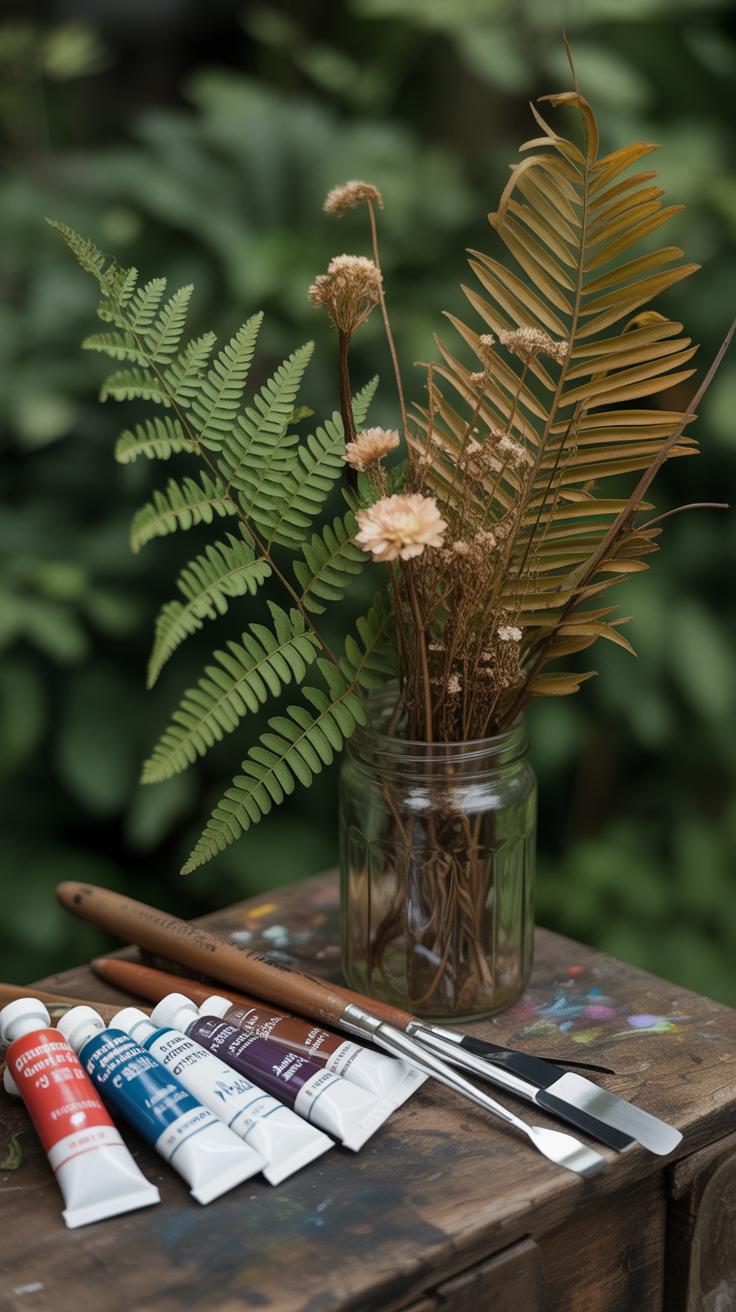
When selecting natural objects for your mixed media art, the choice can feel both freeing and overwhelming. Leaves, flowers, small twigs, or even seeds—each offers unique texture and shape, but not all are suitable. I tend to pick items that have interesting lines or patterns, like fern leaves or eucalyptus, because they add subtle detail without overpowering the piece. Think about size, too; too large, and your object might distract rather than complement. Smaller, delicate petals or tiny pinecones often work better.
Once you’ve picked your items, preparation matters. Pressing leaves and flowers between heavy books for a week or so dries them flat, preserving shape and color somewhat. Drying in silica gel is faster and keeps colors brighter, but that requires a bit more setup. Sealing the dried pieces with a clear fixative or thin layer of acrylic medium helps prevent crumbling or discoloration over time.
Placement is another puzzle. Do you let the objects overlap paint or sit aside it? Experimenting can reveal where natural textures best enhance your work—sometimes isolated leaves create focal points, while scattered petals add subtle texture across a background. Think of them not just as decoration, but as active parts of your composition.
Color Choices in Nature Painting
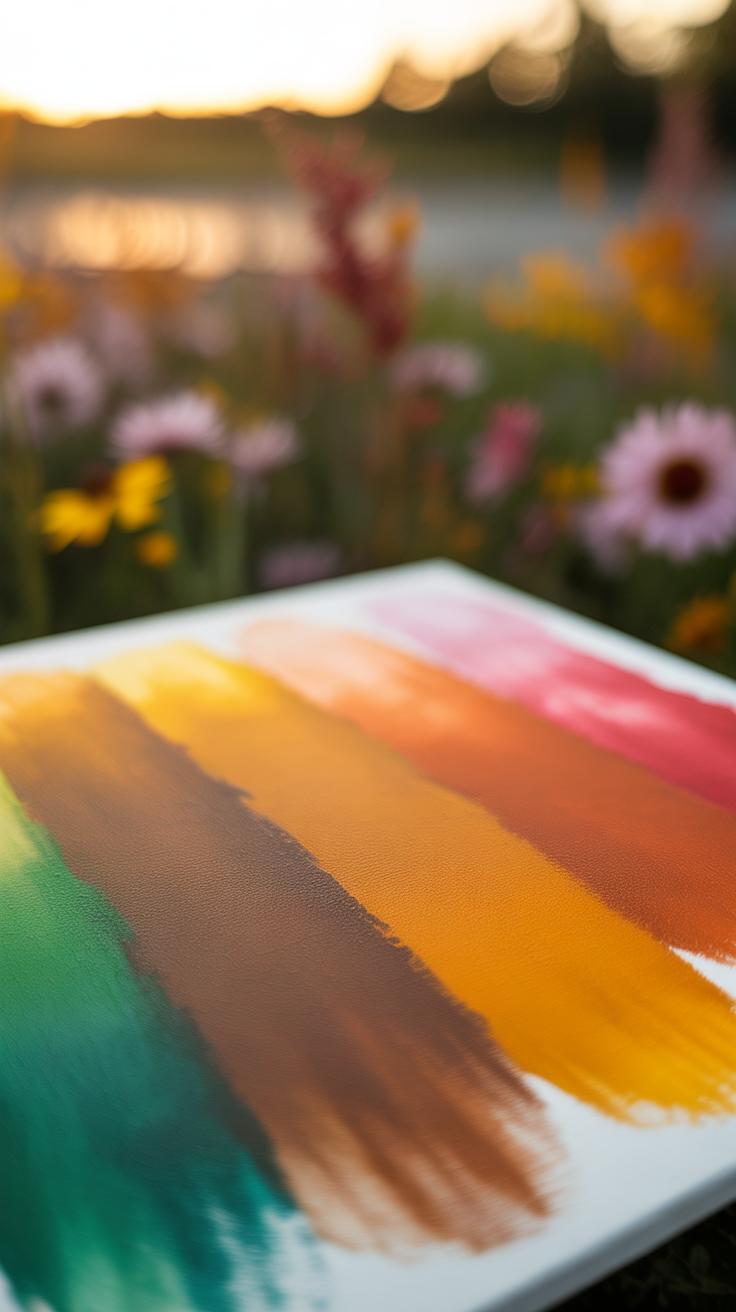
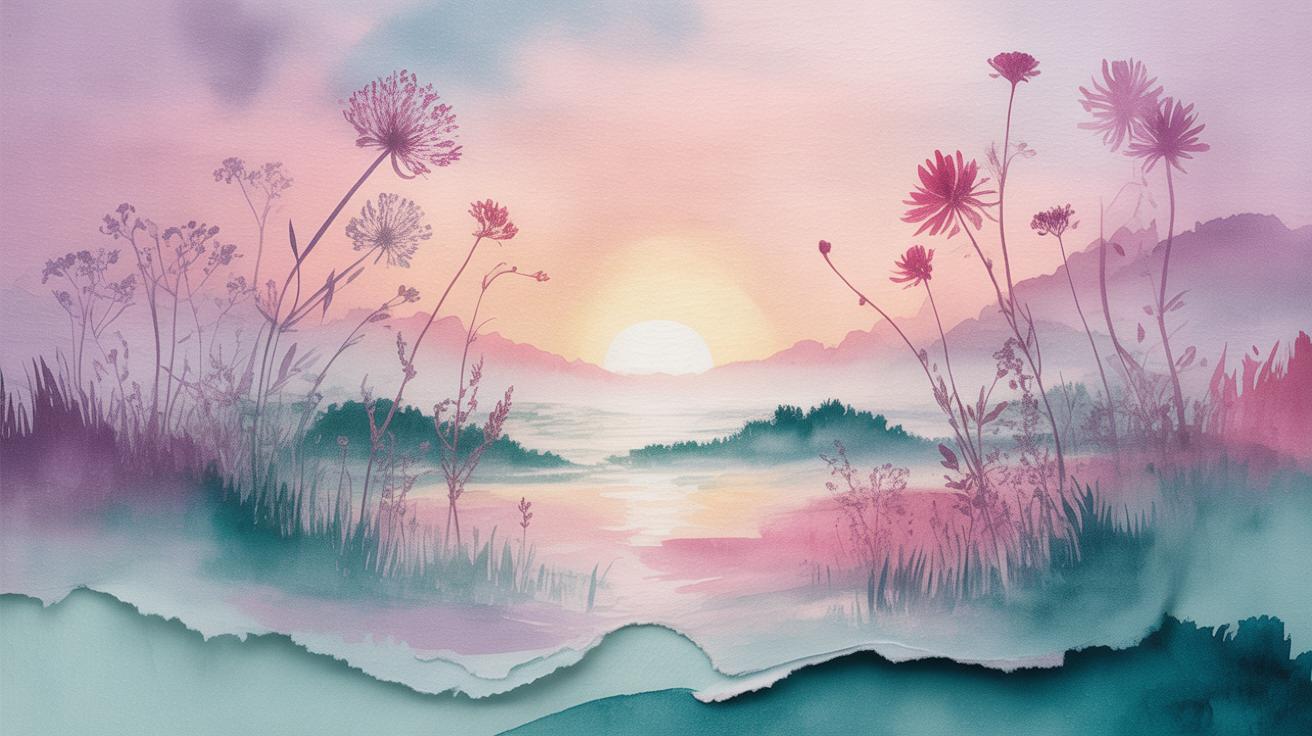
Picking colors in nature painting can feel like walking a tightrope between accuracy and creativity. You might want your forest scene to look true to life or maybe to carry a mood that feels a bit more… personal. The choice between warm and cool tones plays a big part here. Warm colors—reds, yellows, oranges—can make foliage seem sunlit or autumnal. Cool tones—blues, greens, purples—tend to suggest shade, water, or early morning light. Balancing these can add subtle tension or calm to your painting, but sometimes leaning too far one way can feel a bit off, so watch that.
When aiming for realistic palettes, think carefully about what you see. Forests often hold a range of greens, but not just flat ones. Add in hints of brown, ochre, or even a touch of blue to mimic shadow. Water might reflect sky blues and grays, but sometimes carries a greenish tint, depending on what’s in it. The sky? Blues change throughout the day, turning from pale to deep, sometimes even a little mauve near sunset. Observing these nuances helps you avoid flatness.
On the other hand, using color imaginatively invites you to break away from what is expected. You might paint a tree with unexpected purples to highlight its silhouette or splash pinks across a stream to express joy or surprise. These choices bring emotion into your work, even if they feel less ‘real’. Wondering how far you can push color before losing “nature” altogether? That’s the question that keeps many artists exploring. Try mixing colors intuitively—listen to what the scene makes you feel, not just see.
Planning Your Nature Art Composition
When you start planning your nature art painting, one key thing to keep in mind is balance—though not the kind that makes everything perfectly equal. It’s more about creating harmony between different parts of your artwork so the eye moves smoothly across the canvas. I find sketching helps a lot here. Quick thumbnails or rough sketches can show how elements might fit together without spending too much time on details early on.
Try to think about where you want the viewer’s attention to land first. That’s your focal point. It could be a bright flower, a textured tree branch, or a single bird. Making one element stand out guides the eye, and everything around it supports that focus. It doesn’t mean everything else fades away, just that your focal point feels deliberate and strong.
Visual flow is the invisible path your eyes follow while taking in the whole picture. Sometimes a curve in a river or a line of leaves can gently lead the viewer from one area to another. You might want to experiment with arranging your sketches to see which paths feel natural or maybe a bit unexpected.
Don’t hesitate to play with imbalance, too. A bit of tension between elements can make a piece more intriguing. If everything were perfectly balanced, perhaps it would feel static or less alive. Planning doesn’t have to be rigid — it can be flexible, even a little messy — as long as you have a sense of where things are heading.
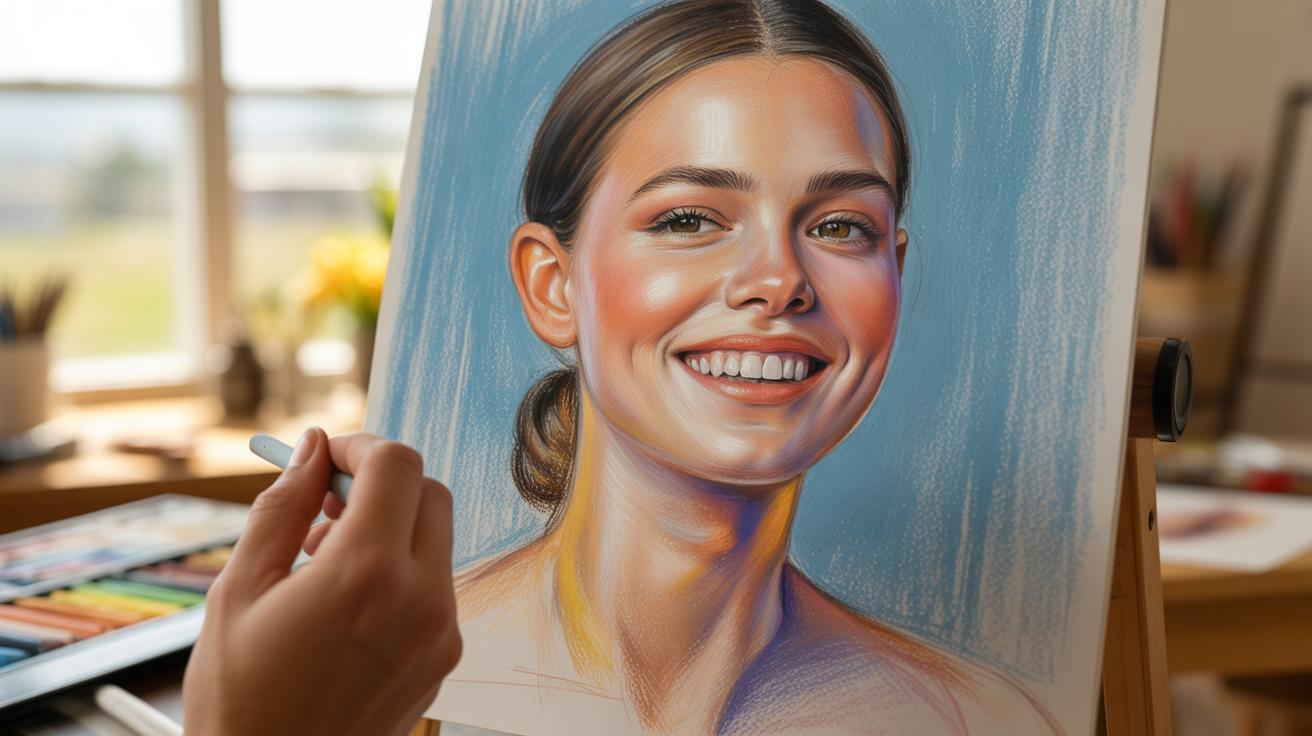
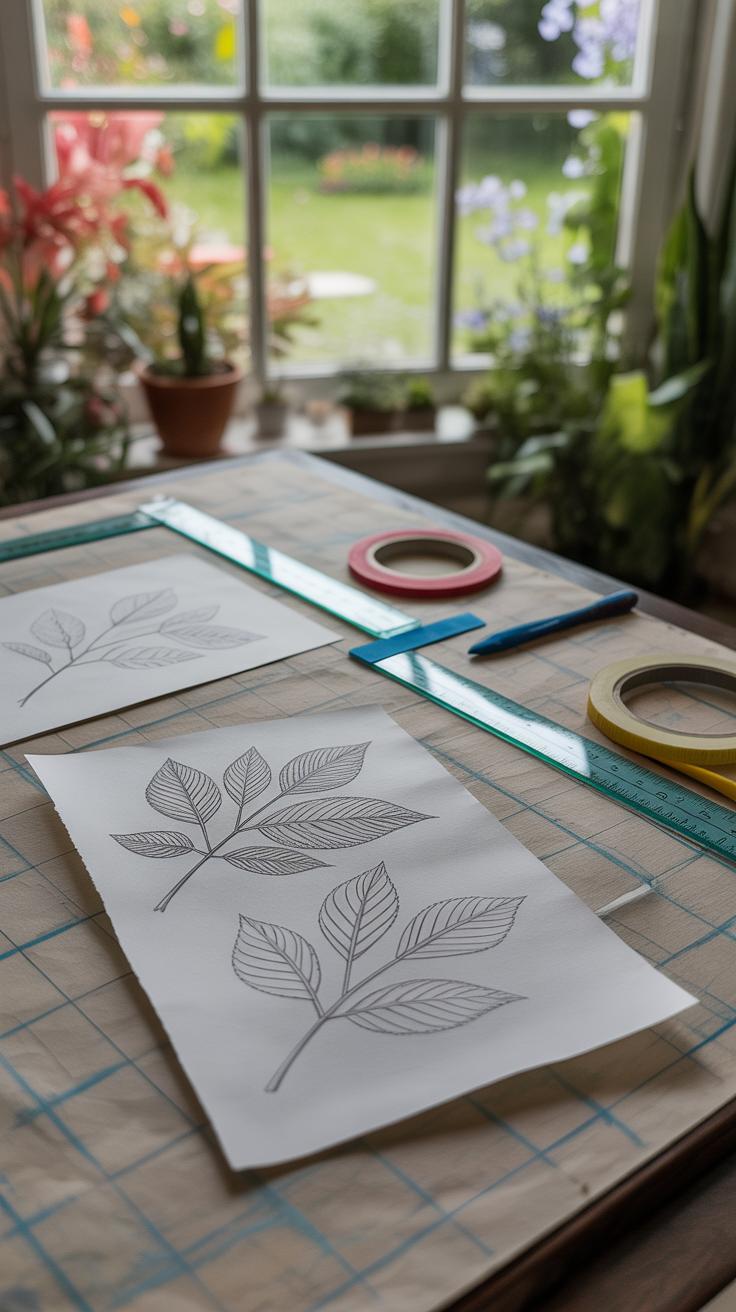
Sketching Your Ideas
Before diving into paint or mixed media, try making simple sketches or thumbnails. These small drawings aren’t about perfection; they’re about exploration. Put down shapes and ideas swiftly. What works? What feels off? Move elements around on your paper until something clicks.
Sketching helps avoid surprises later. When you’ve tried different compositions ahead of time, you might find a stronger arrangement or discover new details worth emphasizing. Sometimes just doodling with a pencil or charcoal sparks ideas you hadn’t thought of.
Creating Focal Points
Your painting needs a focal point—the thing that captures attention first and holds it. Without one, a piece can feel aimless or confusing. Focal points can be created in many ways: by contrast in color, a splash of brighter light, sharper detail, or even by isolating an object.
Think about how your focal point interacts with other elements. Does it dominate naturally, or do you need to push it forward by simplifying the background or darkening surrounding areas? The goal is to create a clear visual hierarchy, so the viewer’s eye isn’t wandering aimlessly but is invited to explore the painting in a deliberate manner.
Tips for Working with Mixed Media Safely

Setting Up a Safe Workspace
Creating a safe and organized space is more than just neatness—it’s about preventing accidents and protecting both your work and environment. Lay down a plastic sheet or old newspapers before you start. This simple step can stop paint spills from damaging your table or floor, and it’s easier to clean up afterward. Try to keep paints, adhesives, and other liquids grouped away from your main work area to avoid knocking them over. Opening windows or working near a vent helps with ventilation, especially if you’re using glue or paints with strong fumes.
Think about how you arrange your tools, too. Keeping brushes and knives in jars or containers limits clutter and accidental punctures. Maybe set out paper towels or a rag nearby. You’ll thank yourself when spills or drips happen—they always seem to.
Caring for Tools and Materials
Cleaning your brushes right after use prevents paint from hardening and ruining bristles. Sometimes scrubbing gently works better than soaking, but it depends on the type of paint. Water-based paints wash off easily, but solvent-based ones need a proper cleaner. Store paints and adhesives tightly closed in a cool, dry place; exposure to air can thicken or dry them out unexpectedly.
When disposing of waste, try not to toss paint or solvents down the drain. These can harm the environment. Instead, use designated disposal containers or let liquids evaporate safely outdoors. It may feel tedious, but thoughtful disposal keeps your studio—and the world—a better place for making art. What little change might you make today in how you handle materials?
Displaying and Preserving Your Nature Art

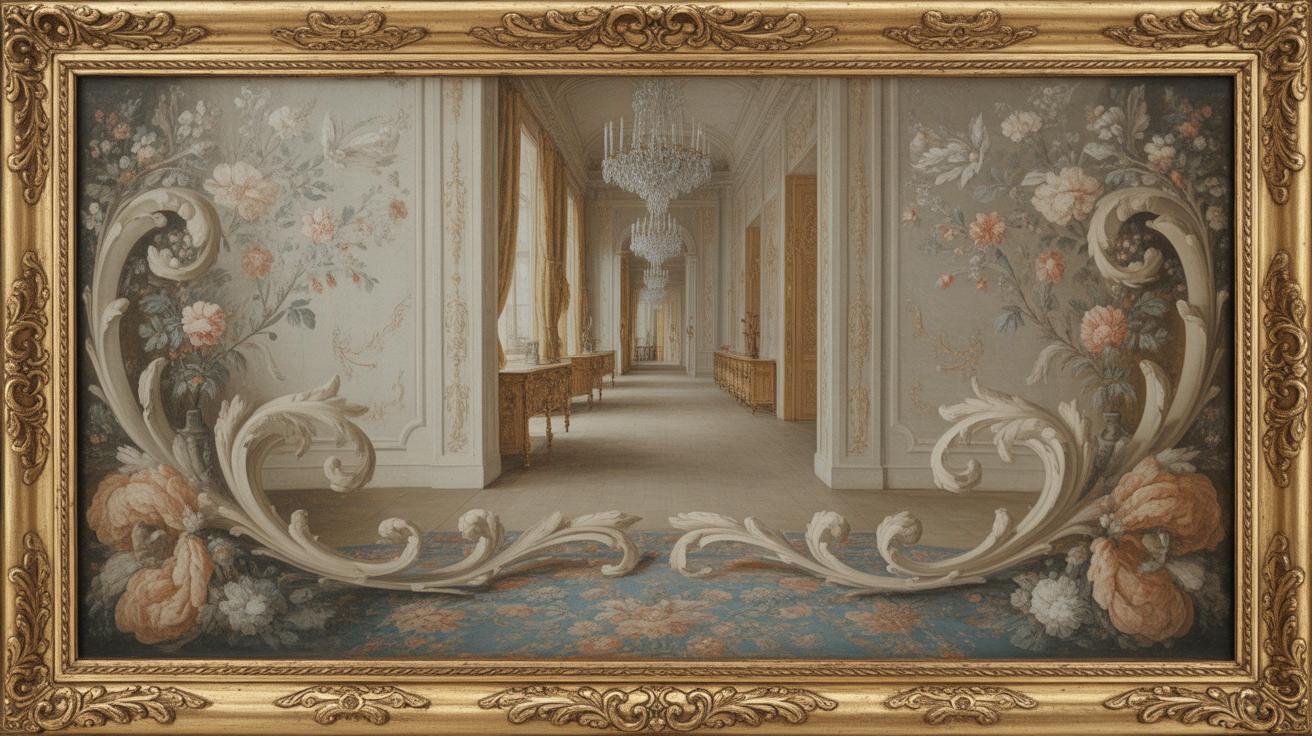
When it comes to showing off your mixed media nature paintings, the choice of frame can really shape how your work speaks to viewers—sometimes subtly, sometimes not so subtly. Frames with a bit of depth, such as shadow boxes, work well because they give room for textured elements that often appear in mixed media. Thin, simple frames can also suit if you want the focus to stay on the piece itself without distraction. You might want to try floating your art within the frame, letting the edges breathe, lending a touch of lightness that contrasts with the physical weight of the materials you’ve layered.
Think about where you’ll hang your art, too. Placement isn’t just about aesthetics—it can affect the piece’s longevity. Avoid spots with direct sunlight or areas where humidity fluctuates wildly, like near windows or bathrooms. For smaller works, shelves or ledges make for flexible display spaces, while larger pieces might need a more permanent home on a well-supported wall hook or rail.
Protecting your paintings goes beyond just avoiding sunlight. Dust can settle into the substrates, dulling colors or sticking to glue, and humidity can warp paper or cause glue to lose adhesion. Using UV-protective glass or acrylic can reduce sun damage, but watch out for glare—it can be a bit distracting. You can experiment with options such as museum glass or non-reflective acrylic, which might keep reflections at bay while guarding against UV rays.
It’s tempting to skip sealing or varnishing, thinking your work stands well on its own, but a protective coat geared towards mixed media can safeguard fragile layers. Just test first—some varnishes might alter colors or textures unexpectedly. Keeping your artwork away from heating vents and air conditioners—and occasionally checking for dust buildup—can prolong its life, even if you’re unsure about every preservation trick.
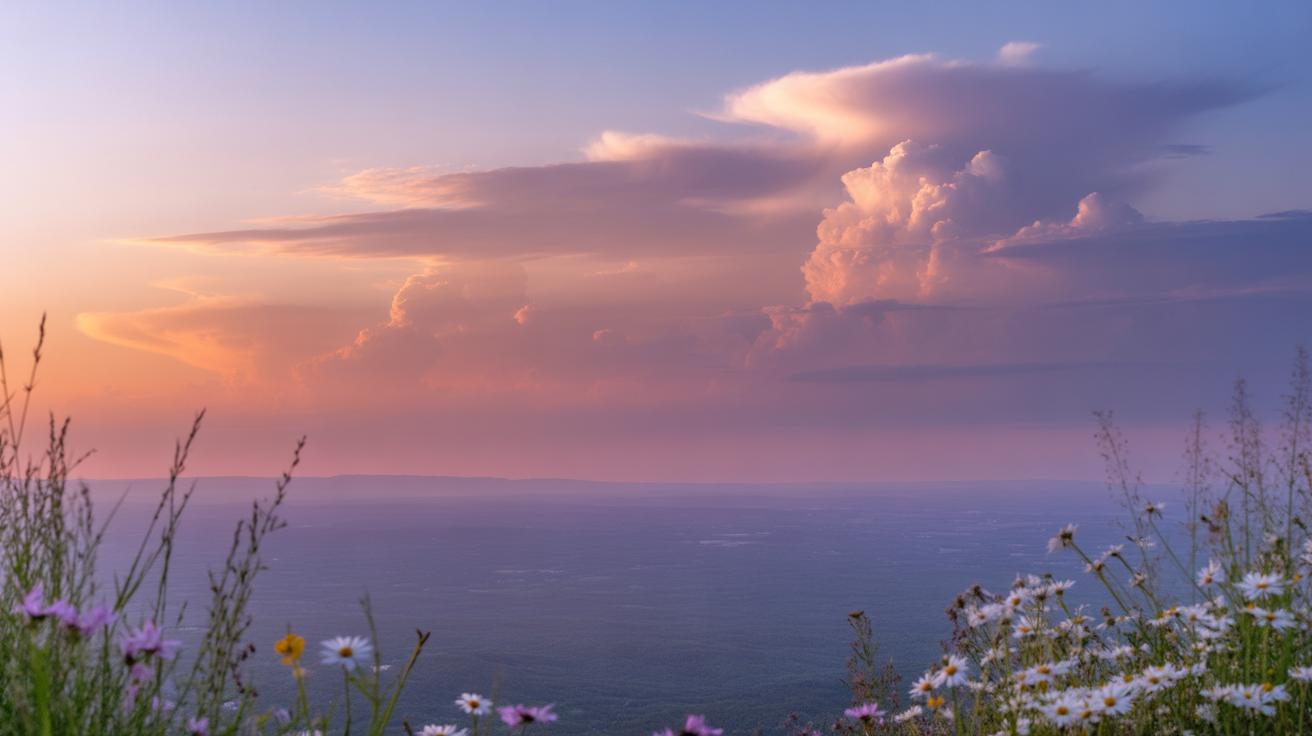
Finding Inspiration from Nature Daily

Spending time outside each day, even just for a few minutes, can change how you see the world. Try taking routine walks with the simple goal of observing. What catches your eye? Is it the way sunlight hits a leaf or the subtle curve of a branch? These small details might seem unimportant, but they hold keys to unique patterns and shapes.
Make it a habit to notice things you’d usually overlook. The blend of colors in a fading flower, the roughness of bark, or the randomness of fallen twigs can all stir ideas for your next piece. Sometimes, you’ll find inspiration in the unexpected—like a cracked shell or a swirl of moss—that doesn’t immediately scream “art.”
Observing Nature Closely
Try to slow down and really look. Observe the lines, textures, and contrasts. Think about how light creates shadows or how water changes the surface of a rock. Over time, this sharper attention sharpens your eye, making your art more detailed and genuine.
You might feel frustrated at first. Everything can look ordinary. But push through that. Keep walking, looking, and letting your mind wander. Simple daily hikes or moments sitting by a window can reveal fresh points of view.
Recording Your Observations
Bringing a journal or camera can be a game-changer. Quick sketches capture fleeting moments—like the flutter of a bird’s wing or the shape of a mushroom. Photos help you remember colors and settings that you can’t easily describe later. Both are useful tools.
Don’t worry about your drawings being perfect, or your photos flawless. The purpose is to collect raw material. Later, you can piece these bits together or reinterpret them in your art. Experiment with what’s comfortable for you—some days it’s easier to sketch, on others, pictures might be quicker.
What small detail have you noticed recently that stood out? Could you follow it to inspire a new painting? Observing and recording isn’t just a preparatory step—it’s part of the creative rhythm of nature art painting.
Conclusions
Nature art painting with mixed media tools offers many ways to bring the outdoors into your living space. You can create textured and layered artworks that reflect your personal experience with nature. By experimenting with different materials, your creativity will grow.
Keep exploring nature and new art tools to develop your style. The world outside has endless inspiration waiting for you to translate it into your paintings. Embrace your creativity and let your art celebrate the beauty that surrounds us every day.


