Introduction
Watercolor painting is a unique art form where pigments mix with water to create varied shades and textures. You might have seen stunning paintings with gentle washes of color, smooth blends, and transparent layers. These effects come from specific techniques designed to control the paint and water on the paper. Learning these fundamental watercolor techniques can help you turn your ideas into beautiful artwork. This article will introduce you to essential methods, from basic brushwork to layering and blending. You will understand how to work with watercolors efficiently to express your creativity on paper.
By grasping the fundamental watercolor techniques, you gain more control over the medium. Each method teaches you how to handle paint, water, and paper to achieve different effects. Are you curious about how to create smooth gradients or sharp lines? Do you want to know how to build color intensity or preserve white spaces? With practice and guidance, you will develop your skills and confidence. This article will guide you step-by-step through the processes, giving practical advice and tips to help your watercolor paintings grow stronger and more vibrant.
Understanding Watercolor Materials and Tools
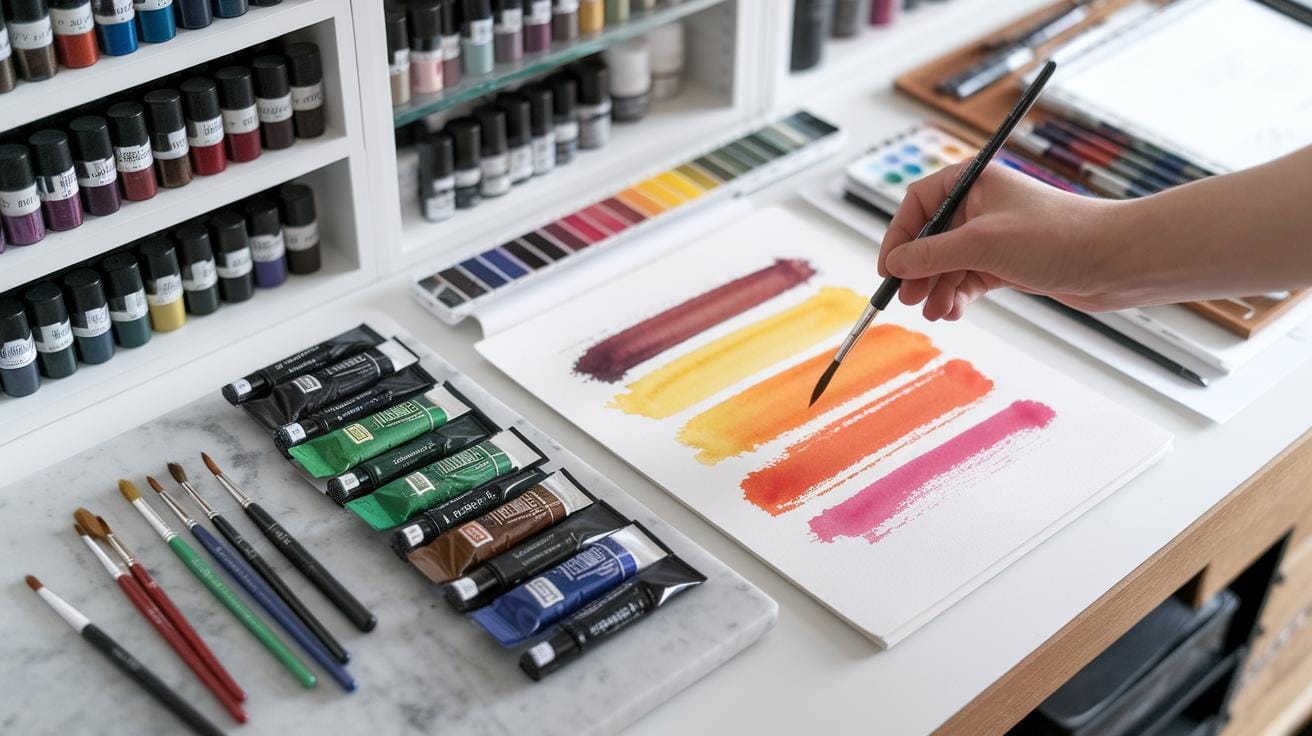
Watercolor painting needs the right materials to bring your ideas to life. Choosing quality supplies can make a big difference in your results. Watercolor paints come in various forms, each affecting how you work and what effects you can achieve. Paint brushes vary by shape and size, impacting the strokes and details you can create. Paper plays a special role because its texture and weight affect how the paint behaves on the surface.
Paper weight tells you how thick it is. Heavier paper holds more water and paint without buckling. Texture also matters: a rougher surface can add visual interest, while smooth paper lets colors blend easily. Must you use expensive materials? Not always. Start with student-grade supplies to practice but try professional ones once you want brighter, longer-lasting colors. Quality pigments mean richer hues, and better brushes hold water and paint longer, making your strokes smoother. Which qualities do you value most in your tools?
Types of Watercolor Paints and Their Properties
Watercolor paints come mainly in tubes, pans, and liquid bottles. Tube paints hold thick, concentrated color. They let you mix more intense shades. Pans are dry cakes of paint. They offer less pigment concentration but are easy to carry and use. Liquid watercolors have a ready-to-use flow, perfect for bold washes or details.

Choosing your paint type depends on your style and needs. Tube paints suit those who want deep, vibrant colors. Pans fit painters who travel or like convenience. Liquid paints work well for quick work or graphic effects. Paint quality shapes how long your artwork lasts and how it looks when dry. Higher pigment concentration delivers clearer, more vibrant colors that don’t fade easily. Do you want colors that stay bright decades later, or are you seeking affordable options for practice?
Choosing the Right Brushes and Paper for Your Project
Brushes come in many shapes, such as round, flat, and detail brushes. Round brushes are versatile for washes and lines. Flat brushes cover larger areas and create sharp edges. Detail brushes help with fine lines and small spots. The size you pick affects control and coverage. A small round brush works well for tiny details, while a large flat brush helps with backgrounds.
Paper type shapes your technique too. Cold press paper has a slightly rough texture that adds character. Hot press paper is smooth, great for precise, detailed work. Rough paper has a strong texture that can create grainy effects. Beginners might find cold press paper forgiving and easy to control. Experts often select paper depending on the mood they want to set. Have you tried different papers to see how they change the way your paint looks?
Preparing to Paint Set Up for Success
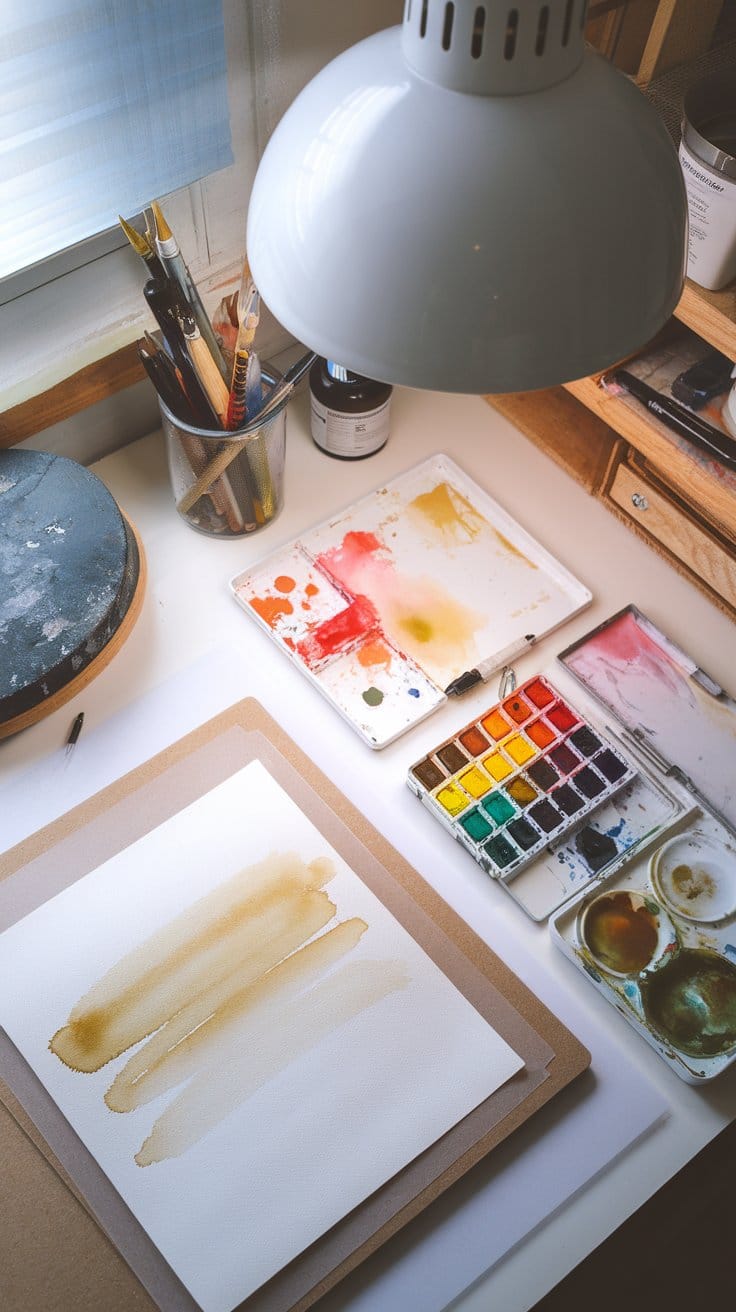
Your workspace plays a big role in how well you paint. Start by clearing a flat surface that can get wet without damage. Choose a comfortable chair and good light—natural sunlight works best for seeing true colors. Next, gather your materials so they are easy to reach but not cluttered.

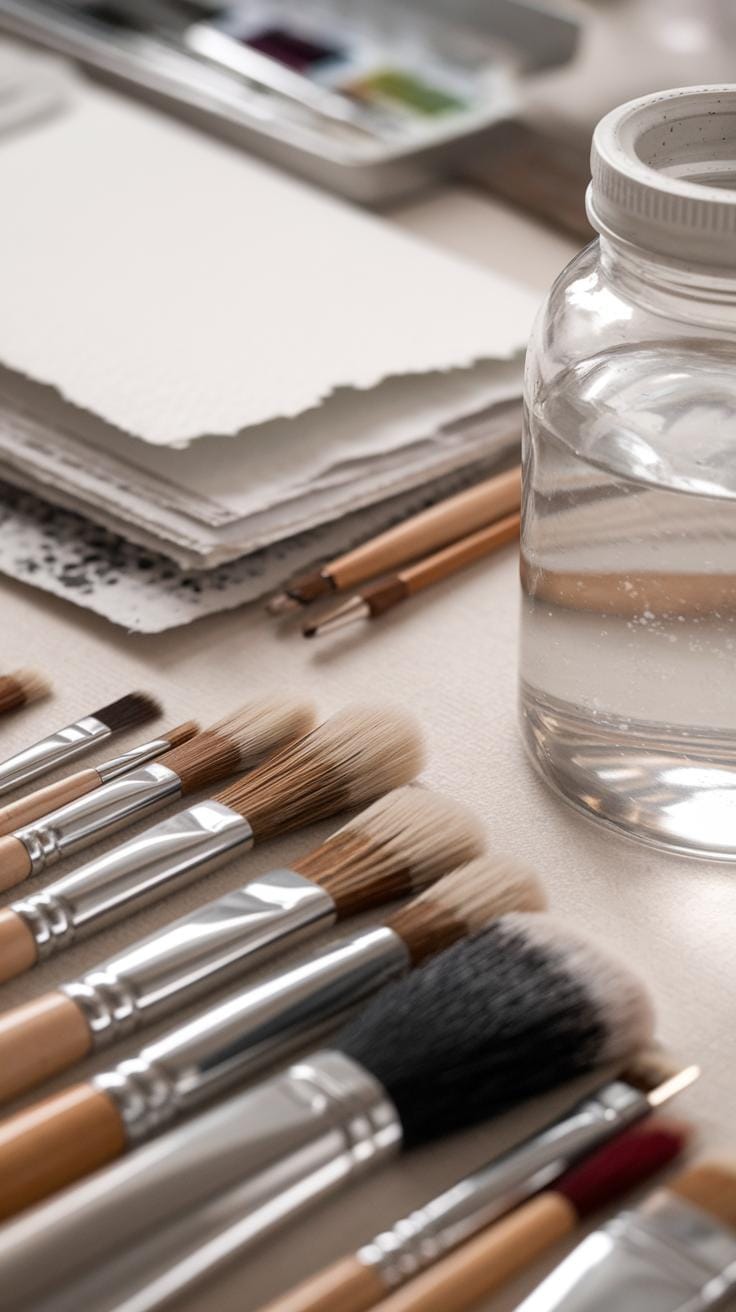
Stretching your watercolor paper is a smart step to keep it from warping. Prepare your brushes by sorting them by size and type. Arrange your palette with the colors you plan to use. Have two water containers ready—one for clean water and one for rinsing brushes. Keep paper towels on hand to blot excess water or clean up spills.
Keeping your area clean helps you focus. When everything is organized, you spend less time searching and more time painting. How might a tidy workspace change the way you paint? Turning preparation into a routine sets you up for smoother, more enjoyable sessions.
How to Stretch Watercolor Paper to Prevent Warping
Start by soaking your watercolor paper in clean water for about five minutes. This makes the fibers relax and easier to stretch. Lift the paper from the water and place it on a flat board. Use watercolor tape or masking tape to secure all edges firmly.
Let the paper dry completely. As it dries, it tightens and becomes flat. Stretching stops the paper from buckling when wet paint touches it. Without stretching, you might see ripples or waves that make painting difficult.
Try this yourself. Notice how much smoother your painting surface feels. Does the paint flow more evenly? This simple step can improve your painting by giving you a steady surface to work on. It also prevents uneven drying and color pooling, helping your work look sharper.
Organizing Your Palette and Workspace Efficiently

Place your primary colors—red, blue, and yellow—in separate wells on your palette. This setup makes it easy to mix a wide range of colors. Mix colors in a clean area of the palette to avoid muddy results. Use small mixing spaces to blend just enough paint.
Set your brushes in order from largest to smallest near your painting hand. Keep two jars of water close—one for rinsing, one for clean water to adjust paint consistency. Place paper towels nearby for quick blotting and cleaning without interrupting your flow.
Think about how your setup feels. Does everything sit within easy reach? When you are comfortable, your focus stays on painting instead of searching for supplies. How could improving your space make your painting sessions more productive?
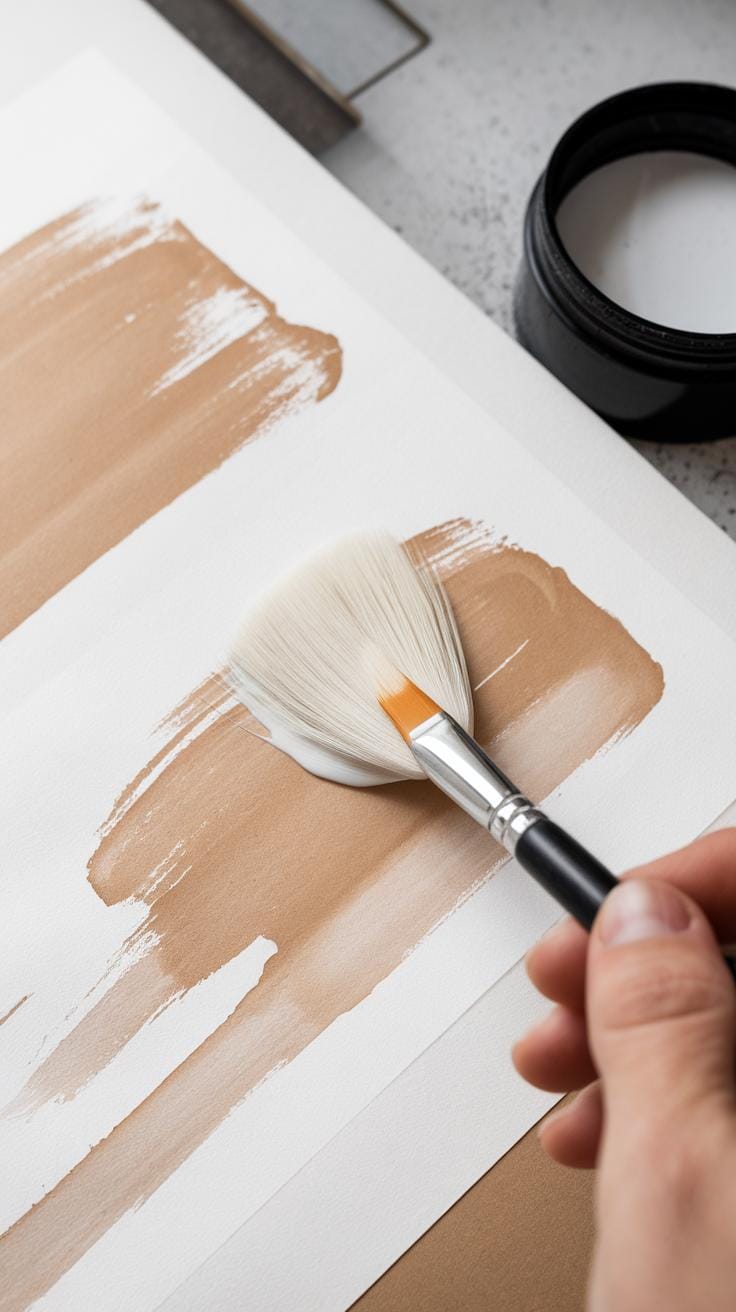
Basic Brush Strokes and Application Techniques
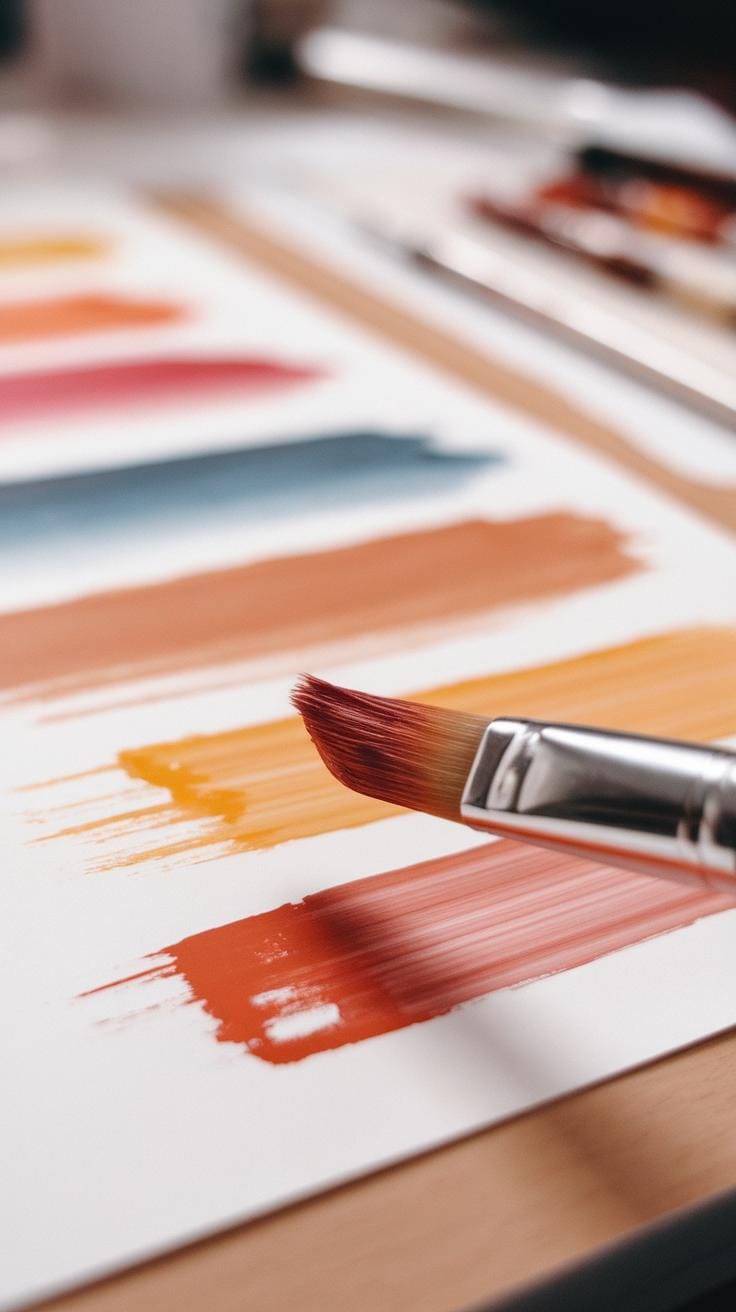
Brush strokes form the backbone of watercolor painting. You start with simple marks such as washes, lines, and dots. These strokes build up your artwork step by step.
Controlling pressure on the brush changes the stroke thickness. Press gently for thin lines, and press harder for wider strokes. Adjust the angle by tilting the brush to create different shapes and effects.

The amount of water on the brush also influences the paint flow. A wet brush delivers soft, flowing strokes, while a drier brush produces finer, more textured marks. Practice switching between these to find your range.
Try making several lines with varying pressures and water loads. How does each stroke feel? Can you keep a steady hand to create consistent marks? These exercises help you gain control over your brush, essential before moving to complex techniques.
Creating Smooth Washes and Gradients
Smooth washes offer a clean, even layer of color. You achieve these by using wet-on-wet or wet-on-dry techniques. Wet-on-wet means wetting the paper first, then applying pigment. This allows colors to blend softly.
Wet-on-dry involves painting pigment on dry paper, which produces sharper edges and more control. To make gradients, load your brush with paint and move it steadily in one direction. Gradually reduce pigment or replace with plain water as you go.
Keep your brush strokes continuous and avoid pressing too hard, which can cause streaks. Try practicing soft transitions from dark to light using the side of your brush. Look closely—can you spot where colors blend smoothly? Working on this skill adds realism to your work.
Using Dry Brush for Texture and Details
Dry brush technique uses little water on the brush, creating rough, scratchy textures. This method lets you add details like wood grain, hair, or rocky surfaces. The uneven paint deposit simulates these textures well.

When you want sharper edges and fine lines, dry brush is your tool. Load your brush with paint, then dab most water on a paper towel before touching the paper. Stroke lightly to lay paint unevenly.
Consider painting tree bark or animal fur. Dry brush creates a lifelike effect by leaving gaps in the paint that hint at texture. Have you tried this technique? Experiment with how many strokes you can fit before the brush runs dry—it teaches you control and patience in detailing.
Color Mixing and Creating Harmonious Palettes
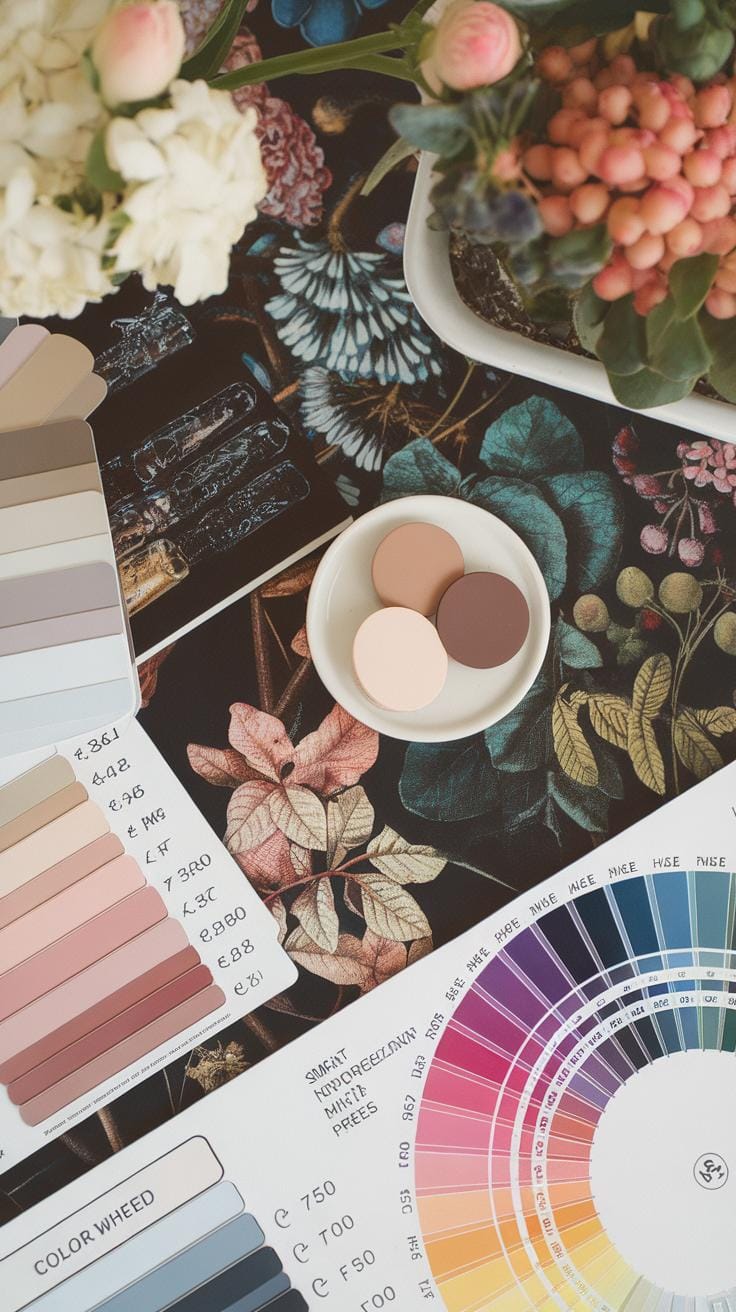
Watercolor paint behaves differently from other mediums when it comes to color mixing. Primary colors—red, blue, and yellow—form the base. Mixing two creates secondary colors: orange, green, and purple. Blending those with a primary color results in tertiary hues, such as blue-green or red-orange. The transparency of watercolor lets you layer colors rather than mixing them into one blob, which helps keep colors bright.
Choosing a limited palette of three to five colors can bring harmony to your work. It limits chaos and encourages intentional mixing. Using complementary colors, such as blue and orange, in careful amounts creates contrast without overwhelming the eye. Think about the mood you want. Warm palettes with reds and yellows can feel energetic. Cool palettes with blues and greens tend to calm. How do your color choices affect your viewer’s experience?
How to Mix Colors to Avoid Muddy Results
Mixing colors cleanly starts with small amounts on your palette. Use tiny drops to test before adding more. Avoid mixing all colors directly on the palette; layer transparent washes on paper to create depth and keep pigments clear. Paint a small patch on scrap paper to see how colors behave when dry. If they look dull or muddy, try adjusting the ratio of colors or add cleaner water before combining.

The key is patience. Let layers dry between mixes to preserve brightness. Ask yourself: Did this mix keep its clarity or did it get dull? Learning this takes practice but improves your painting noticeably. What colors do you find tricky to mix?
Building a Palette for Consistent Color Themes
Selecting a color scheme upfront guides your painting’s mood and balance. Warm palettes use reds, oranges, and yellows to suggest light and warmth. Cool palettes rely on blues, greens, and purples to evoke calm or shadow. Neutral palettes combine soft grays, browns, and muted tones to create subtle backgrounds or quiet scenes.
Pick colors that support the feeling you want. Limit your choices—too many colors can confuse the eye. For example, a beach scene might use a warm palette for sunlight and a few cool blues for water. Think how your palette makes you feel. Does it support your subject? Test your palette on scrap paper before starting.
Layering and Glazing Methods
Watercolor gains depth and richness by applying multiple layers of paint, known as layering and glazing. Each layer must dry completely before adding the next. Wet paint on wet paint causes colors to muddy and lose clarity. You can build gradual color intensity by applying thin, transparent washes over dried sections. This approach lets the underlying layers show through and creates a glowing effect in your painting.
Glazing allows you to adjust tones and add subtle color shifts without brushing away what’s already there. Let your patience guide you rather than rushing between layers. Observe how the paint transforms with each new transparent wash. Have you noticed how layering transforms a flat color into something vibrant and alive? Planning your sequence carefully helps you achieve impressive results.
Applying Thin Transparent Layers for Depth

Glazing means adding thin, transparent layers of watercolor over dry paint. Use very diluted paint to keep each layer light and clear. This method builds complex colors by mixing visually rather than physically mixing the paint. Take your time and wait until each layer is bone-dry to avoid disturbing the work underneath.
Try applying a soft blue wash on a dry yellow area to see how glazing creates green tones that seem to glow from inside. Each layer adds richness without overwhelming the paper or previous colors. How often do you pause to let paint dry fully before continuing? That patience is the key to mastering glazing techniques.
Avoiding Lifting and Overworking Your Painting
Lifting happens when wet paint mixes with layers below or when you brush over dried paint too aggressively. Repeated scrubbing can damage the paper surface and make colors appear dull or patchy. Plan your layers to avoid going back over areas too often. Use gentle strokes and avoid blending colors heavily once the paint is dry.
Keep edges crisp by letting each layer dry first. If you want soft blends, do them early when paint is still wet. Ask yourself: is this layer complete, or do I risk lifting previous work by touching it too soon? Respecting the paint’s drying cycle preserves the integrity of your work and keeps each layer vibrant.
Controlling Water and Drying Times
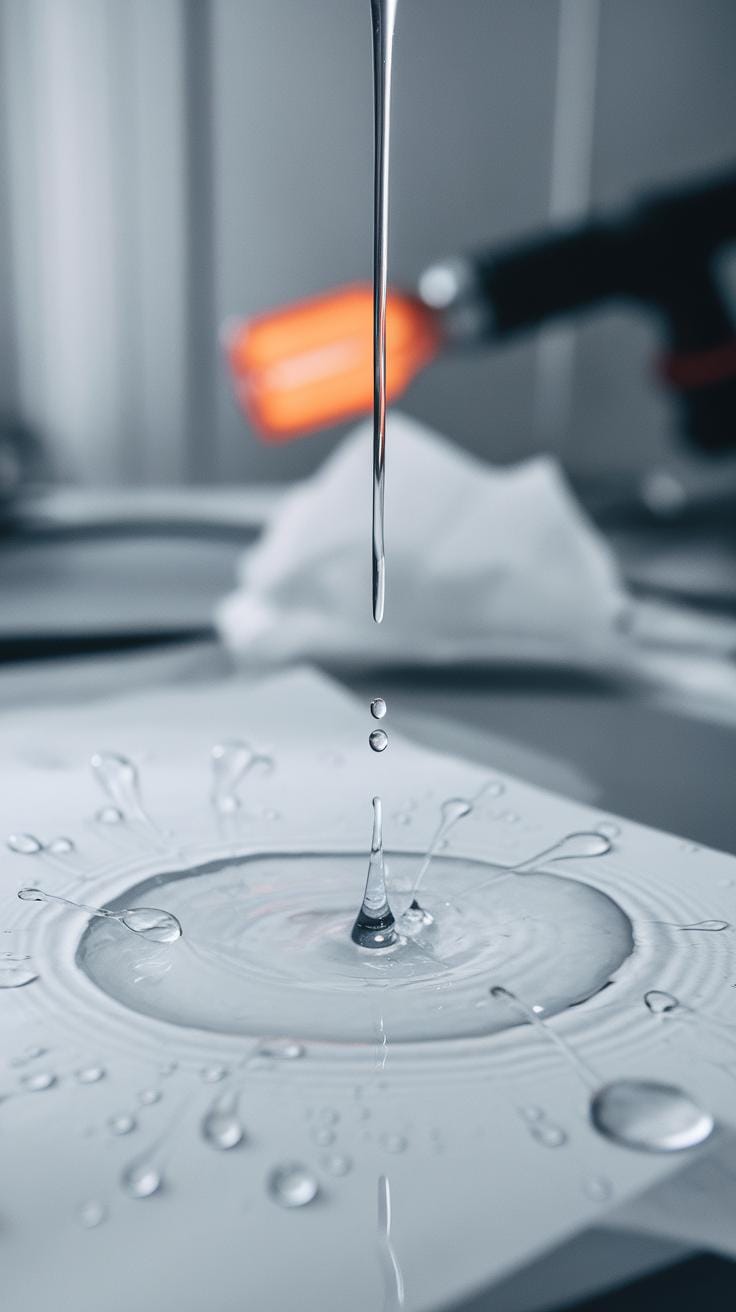

Water plays a key role in watercolor painting. The amount of water you mix with your paint changes how it spreads and looks on paper. More water creates soft, transparent washes that flow easily, while less water results in stronger, more vivid colors with sharper edges.
Learning to control water helps you manage how paint behaves. For example, if you want smooth color blends, use more water. For defined shapes, use less water. Knowing when to stop adding water or paint is important too.
Drying time affects what you can do next with your painting. While wet paint blends naturally, dry paint allows layering without mixing colors. You can control drying by waiting, or by using tools and techniques to speed up or slow down the process. Managing drying helps you decide when to blend or when to add new layers for depth and texture.
Using Wet-on-Wet and Wet-on-Dry Approaches
Wet-on-wet means painting onto wet paper or wet paint. This technique makes colors flow and blend smoothly. Use it when you want soft backgrounds, skies, or gentle transitions. The paint spreads easily and edges become blurry, creating a dreamy effect.
Wet-on-dry means painting onto dry paper or dry layers of paint. It keeps lines crisp and colors more distinct. Use this for details, sharp edges, or when layering colors on top of each other. The colors don’t mix as much, offering more control and clear shapes.
Choosing between these two methods depends on the effect you want. Do you want soft fades or clear lines? Trying both in your work lets you see how water changes the feel and look of your painting.
Techniques to Speed Up or Slow Down Drying
Drying speed depends on temperature, humidity, and paper type. Hot, dry air speeds drying, while cool, humid air slows it down. Using a fan can dry paint faster, which helps when layering multiple washes quickly. On the other hand, a spray bottle or humidifier adds moisture to slow drying, allowing more time for blending.
Thick paper usually holds water longer than thin paper, giving you more time to work. If you want more control, try painting indoors where temperature and airflow are steady. Controlling drying times gives you more freedom to decide when to add details, layer colors, or create smooth blends.
Preserving Whites and Highlights
Keeping white areas in your watercolor painting is key to preserving highlights and adding depth. White in watercolor isn’t painted but left as the paper showing through.
One way to protect whites is by using masking fluid. It acts like a barrier on the paper, preventing paint from covering those spots. You can apply it with a small brush or a cotton swab before you start painting.
Brush control also helps. Paint carefully around the whites, using a fine brush to avoid spillover. Practice steady hands and slow movements.
Think about which parts of your painting need to stay white. Are you capturing light reflecting off water or the shine on a leaf? Leaving these areas blank preserves the sparkle and contrast.
How will you use masking or brush control in your next work? Try these tactics to keep your whites fresh and sharp. They will make your watercolor art stand out.
Using Masking Fluid and Tape for Clean Edges
Masking fluid creates reliable edges by blocking paint. Apply it on areas meant to stay white, such as highlights or fine details.
Use an old brush or a tool for applying. New brushes can get ruined by masking fluid.
After the paint dries, gently rub the masking fluid off with your fingers or a soft eraser. Avoid peeling it forcefully to prevent tearing your paper.
Masking tape helps achieve sharp lines, especially on edges or geometric shapes. Stick it firmly and paint over. Remove tape only when the paint is dry.
Do you plan to use masking in tight spaces or broad areas? Knowing when and where to apply masking fluid or tape keeps your whites crisp and clean.
Planning Your Composition to Save Whites
Look at your subject and ask which parts will catch the most light. Decide early which areas remain white before painting.
Begin your painting with a light pencil sketch marking where to leave whites. These blank spaces will act as natural highlights.
Work in layers, starting with light washes and avoiding those white spots. Planning saves time and prevents corrections later.
Imagine painting a flower with sunlight hitting petals. Leaving white paper under those spots creates a glowing effect without extra work.
Can you foresee your whites ahead of time? Mapping them out lets you build the painting smoothly while protecting key highlights.
Adding Texture and Special Effects
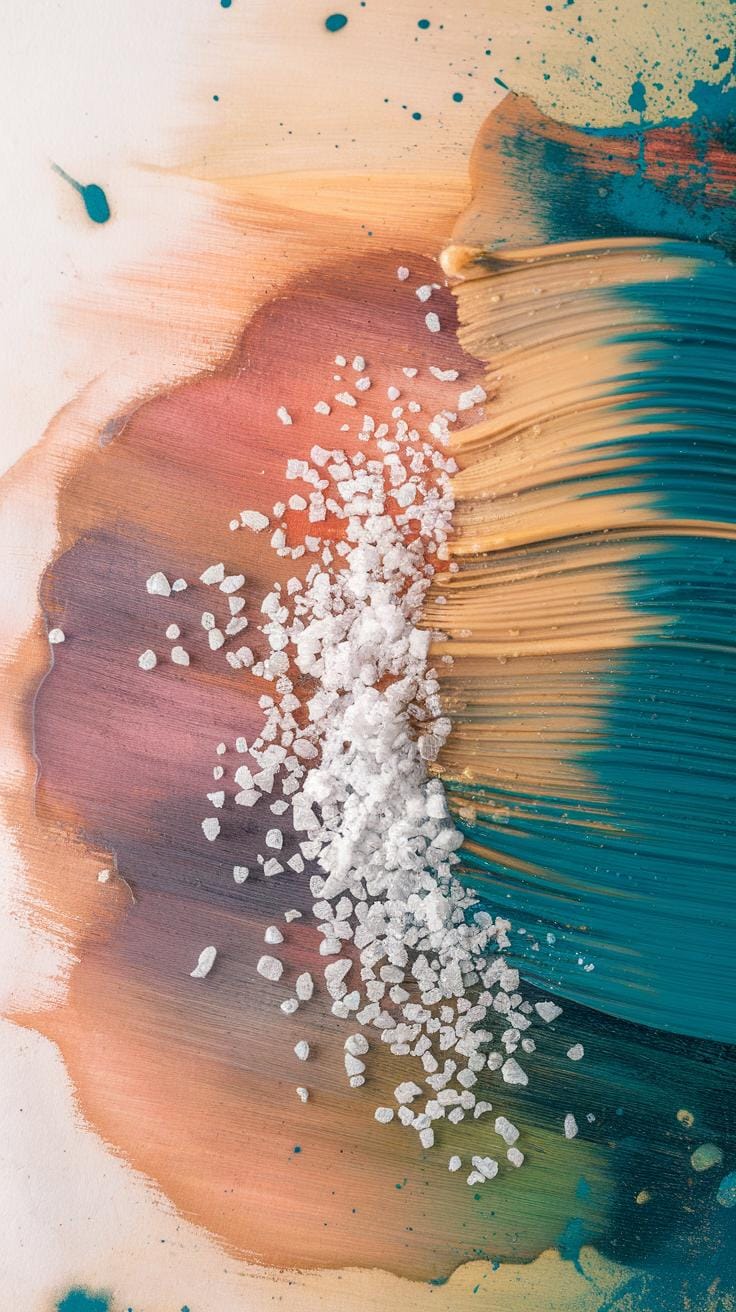
Using texture in watercolor painting transforms flat washes into vibrant, eye-catching areas. Salt sprinkling, spattering, lifting, and scratching introduce variety that can enrich your work.
Salt reacts with wet paint by absorbing pigment and water, resulting in speckled patterns. This effect mimics natural textures like sand or rough surfaces. Spattering creates random dots and spots that bring energy to skies, foliage, or abstract parts.
Lifting paint removes some color, exposing lighter layers beneath to create highlights or soft textures. Scratching adds fine lines or subtle shapes that break smooth areas. These approaches help you control focus and add complexity without repainting.
Have you tried combining these methods? Experimenting encourages new effects and personal style. Thoughtfully applied texture makes your painting more than color on paper—it adds story and depth.
Creating Texture with Salt and Spattering
Start by applying a wet wash of color where you want texture. While the paint is still damp, sprinkle table salt or coarse salt crystals over the surface. The salt draws moisture and pigment away, leaving small lighter spots when dry.
Test different salt sizes and amounts to find the pattern you prefer. Fine salt creates delicate dots, while larger crystals form bolder texture. After the paint dries, gently brush off the salt particles.
For spattering, load a stiff brush or toothbrush with diluted paint. Flick the bristles toward your paper using your finger to create tiny droplets. Vary paint thickness and brush type to control dot size and density.
Spattering adds spontaneous marks that suggest texture like rain, dust, or distant foliage. Together, salt and spattering give your painting dynamic surfaces and vivid detail.
Lifting and Scratching to Reveal Underlayers
Lifting means removing wet or dry paint using a damp brush, sponge, or paper towel. To highlight areas, gently rub the tool over the paint while it is still wet or after it dries. This pulls color away and reveals the lighter paper underneath.
This method works well for soft textures like clouds, water reflections, or worn surfaces. Practice lifting small areas to avoid harsh edges and control your painting’s light balance.
Scratching involves using a sharp tool such as a palette knife, needle, or toothpick to scrape the dry painted surface gently. This technique adds thin lines or textures like grass blades, hair strands, or rough bark.
Be careful not to damage your paper. Scratching gives structure and pattern contrast with minimal paint application. When combined with lifting, you unlock many possibilities to enrich your watercolor compositions.
Common Mistakes and How to Fix Them
Watercolor painting often trips up even skilled artists. A common problem is muddy colors. This happens when too many hues mix together and lose their brightness. You can prevent this by limiting the number of colors in one area. Test color blends separately before committing to your paper. If muddy spots appear, try lifting the paint with a clean, damp brush immediately. Alternatively, once dry, cover the area with a light, transparent wash of a fresh color to restore clarity.
Overworking your painting wears down the paper and muddies the colors. Stop once your paint feels settled. Allow areas to dry fully before adding details to avoid lifting or smudging paint below. Paper buckling occurs when water saturates the sheet unevenly. Stretch your paper by soaking and taping it flat before painting. Use heavier watercolor paper to resist warping. If small tears appear, gently glue the back with acid-free adhesive and let dry under weight. You can hide repairs by painting over them once the glue sets.
How to Correct Muddy Colors and Overlapping
Muddy colors start when pigments overload your brush or wet paper. To prevent this, keep your palette organized with fewer colors mixed at a time. Plan your layers so colors dry between applications. If you notice muddiness, dampen a clean brush and gently blot the area to lift some paint. Avoid scrubbing, which can damage paper fibers.
If lifting does not work, wait for the paint to dry. Then, apply a fresh, transparent glaze over the muddy spot to refresh the color. Using light, delicate washes avoids overpowering the original painting. A clean white gouache or opaque paint also works to cover problem spots, but use this sparingly to keep watercolor’s natural glow.
Preventing and Dealing with Paper Buckling and Tears
Paper buckling happens when wet paint sinks and dries unevenly. Stretch your paper before use by soaking it in water and taping it flat across a board. This keeps the surface tight while you paint. Heavyweight paper (140 lb or higher) will resist buckling better than thinner sheets.
Handle your paper gently with clean hands to avoid weak spots that can tear. If a tear appears, apply a thin layer of acid-free glue to the back. Place the paper between two smooth boards with weight on top to dry flat. Once dry, you can mask the repaired spot by adding details or gentle washes.
Taking these steps will help you maintain strong, smooth paper. Your painting will stay vibrant without paper damage distracting from your effort.
Conclusions
Mastering fundamental techniques in watercolor painting opens many doors for artistic growth. You learn how to mix paint and water for varying color intensity and how to achieve textures by changing brush strokes and paper wetness. Your paintings can show light, shadow, and depth by layering colors skillfully. Understanding these methods lets you solve common challenges and add personal touches to your work. Think about which techniques you find most interesting and practice them often to build muscle memory and confidence.
As you gain experience, keep experimenting and combining techniques to find your style. Watercolor is versatile and forgiving, offering endless possibilities to enrich your art. Remember that every artist starts with basics and improves with effort. Use these fundamental watercolor techniques as a foundation and step towards more complex projects. Your creative journey will be rewarding as you see your progress and the unique pieces you create. Are you ready to pick up your brush and explore watercolor painting with new skills today?