Introduction
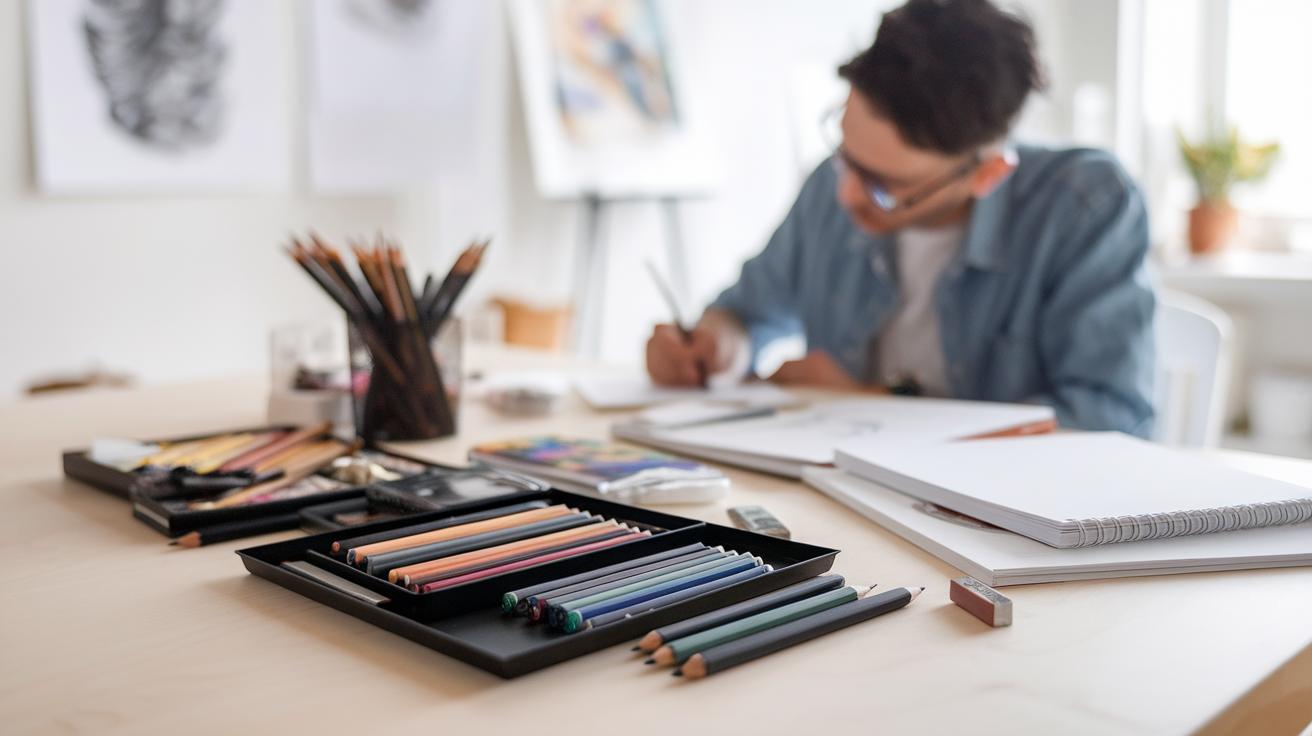
Markers have transformed the world of art and creativity, offering artists and hobbyists versatile tools that bring their imagination to life. With various types of markers like permanent, highlighters, and whiteboard markers, each provides unique capabilities that cater to different artistic needs. Markers are simple to use, making them accessible for everyone, from beginners to seasoned artists. They allow for vibrant colors and detailed lines, opening up countless opportunities for creative expression.
This article dives deep into the fascinating world of marker drawing. We will explore various techniques, types of markers, and their individual applications. From basic skills to advanced artistry, our goal is to help you elevate your artistic flair with markers. By the end, you will not only appreciate the beauty of marker drawing but also gain practical tips to enhance your art style.
Understanding Markers Types and Their Uses in Drawing
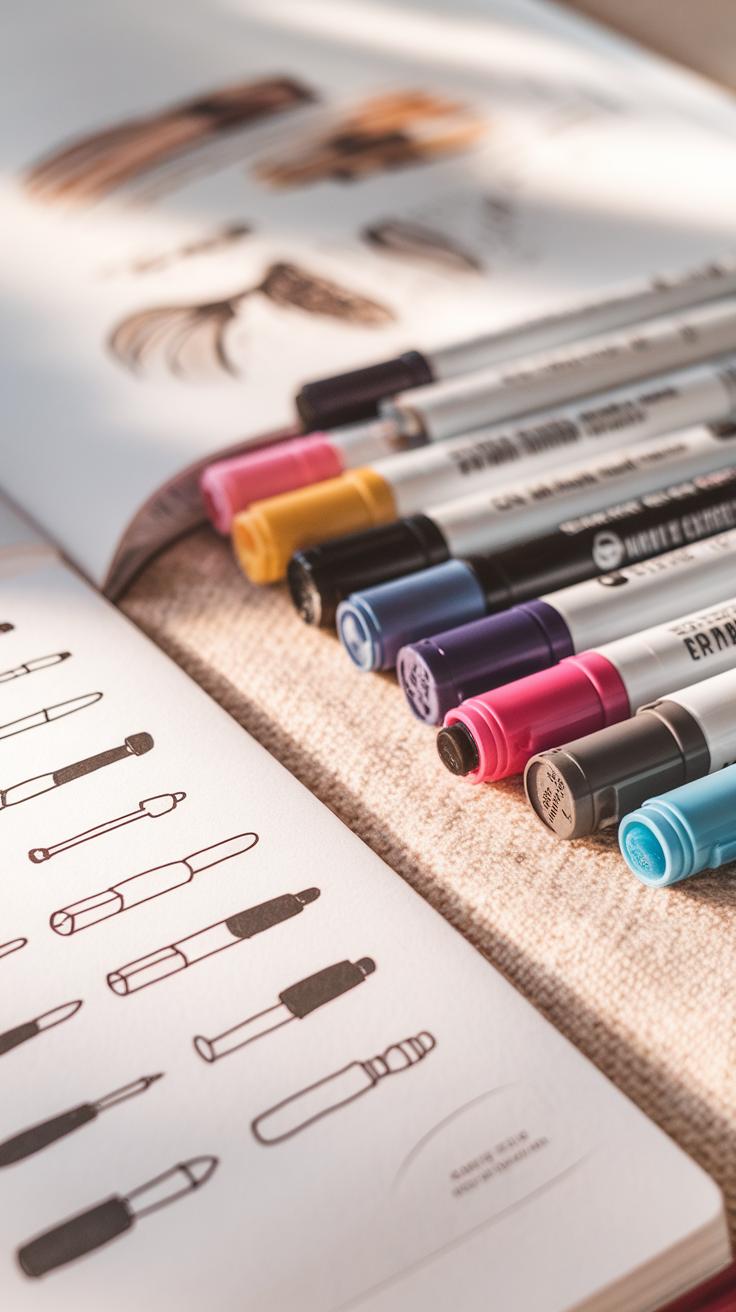
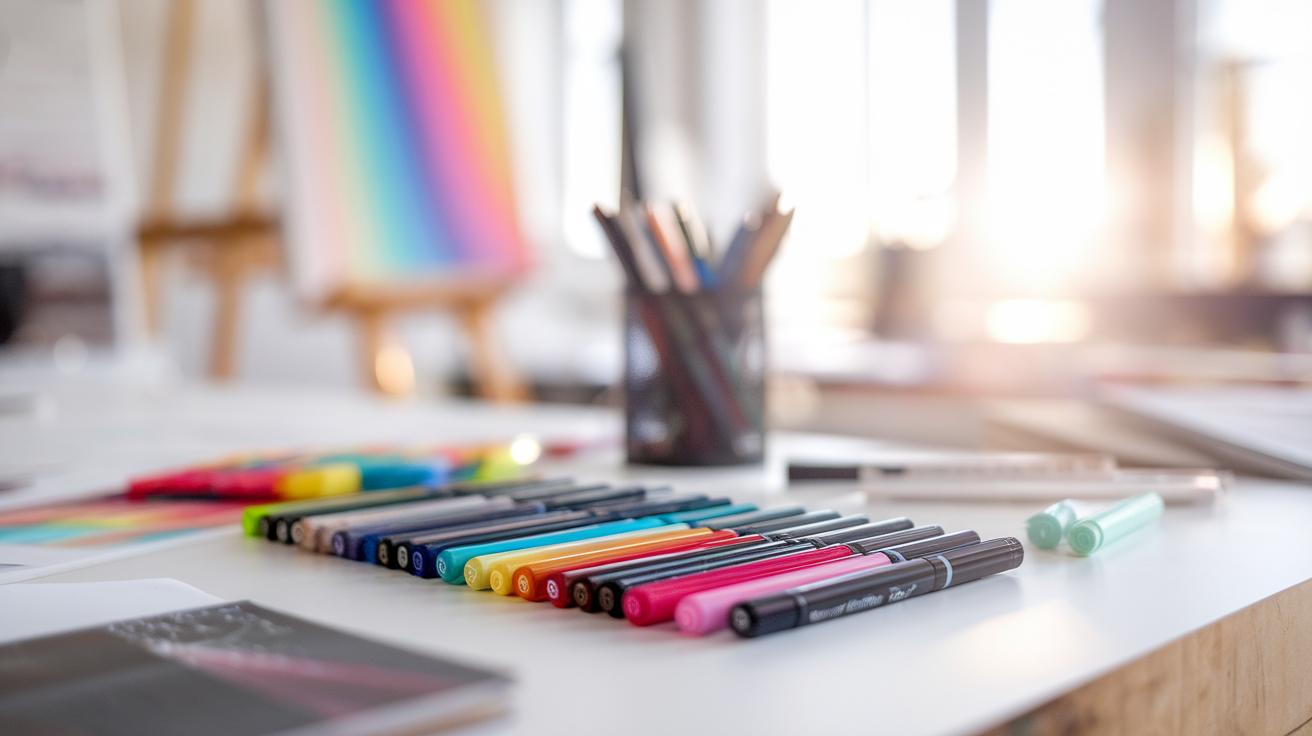
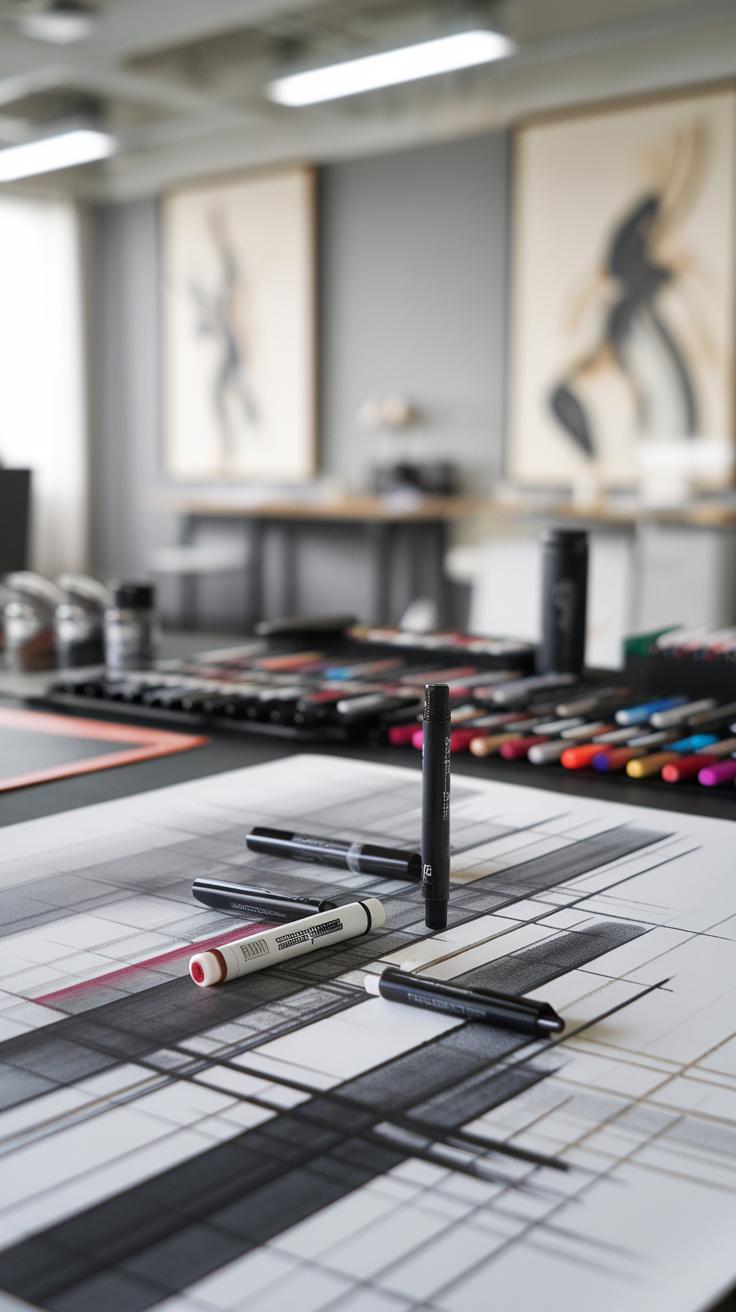
Markers come in various types, each serving a unique purpose in artwork. Permanent markers contain ink that dries quickly and resists water and fading. Artists use them for bold outlines and detailed work. Highlighters, typically used for marking text, also play a role in art. Their bright colors can create eye-catching elements or backgrounds. Water-based markers offer versatility with easy blending and vibrant colors, making them that perfect choice for smooth transitions in artwork.
Alcohol-based markers, another popular option, produce rich color saturation. They work well for layering and blending techniques. Artists often choose these markers for illustrations, designs, and mixed media projects. Each type has distinct qualities that help artists express their creativity. Understanding these differences enables you to select the right markers for your projects, enhancing your artistic flair through marker drawing.
Essential Techniques for Marker Drawing
Basic Marker Art Techniques
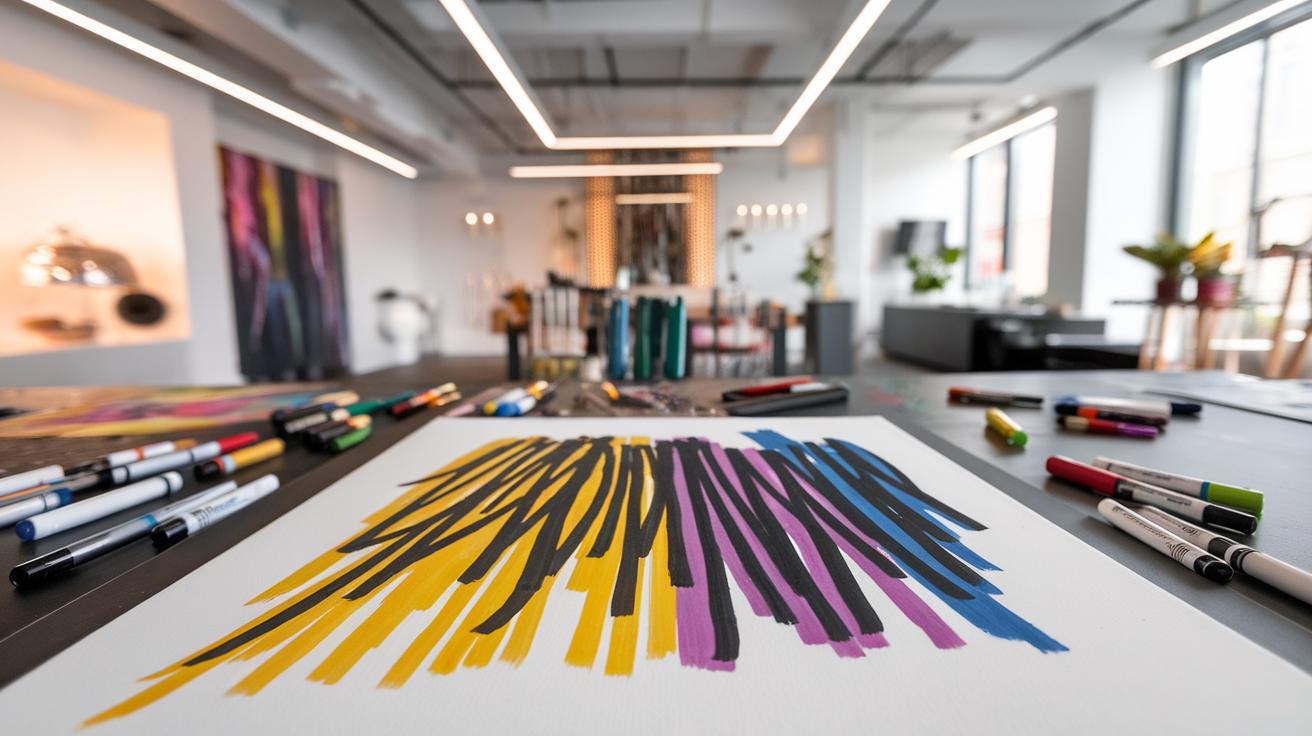
Marker drawing requires a few key techniques to enhance your artwork, making it stand out. Start with coloring. Use your markers to create vibrant blocks of color. Choose bold shades for areas that need to pop and softer tones for backgrounds. Practice layering colors, which means applying one color on top of another. This method allows you to build depth in your drawings.
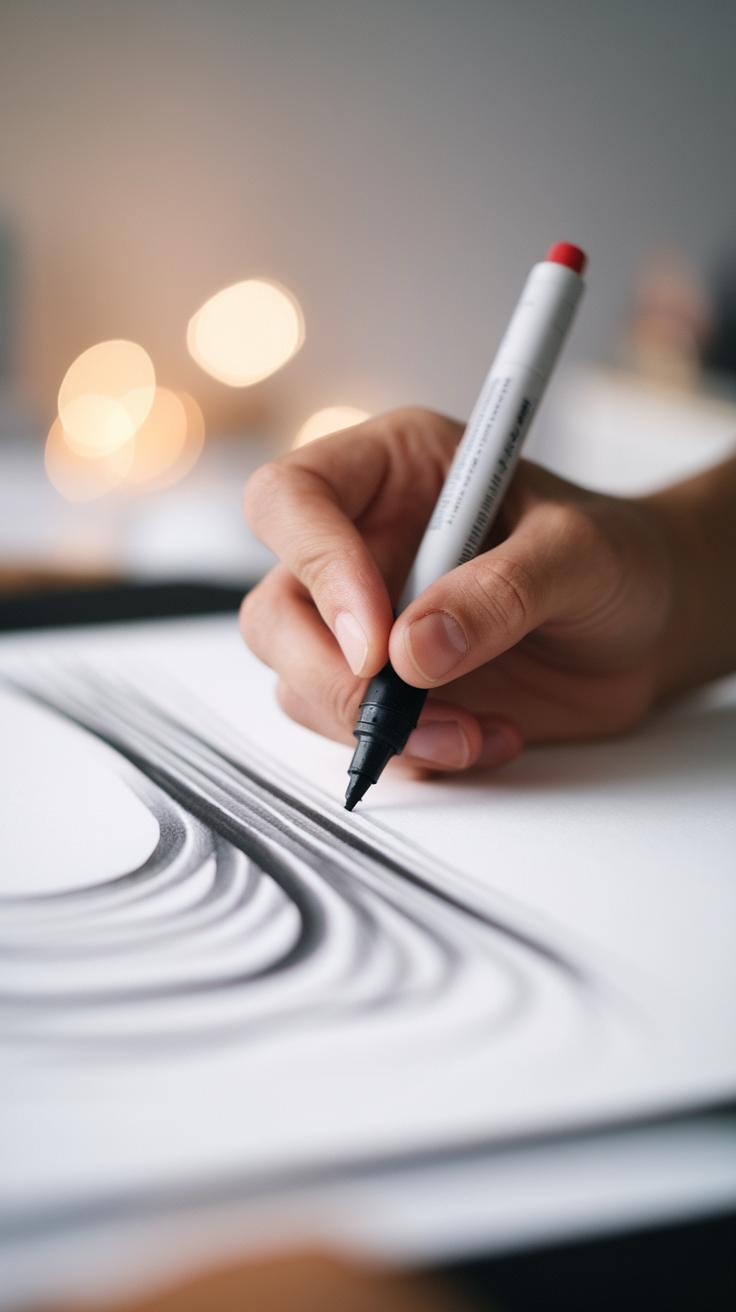
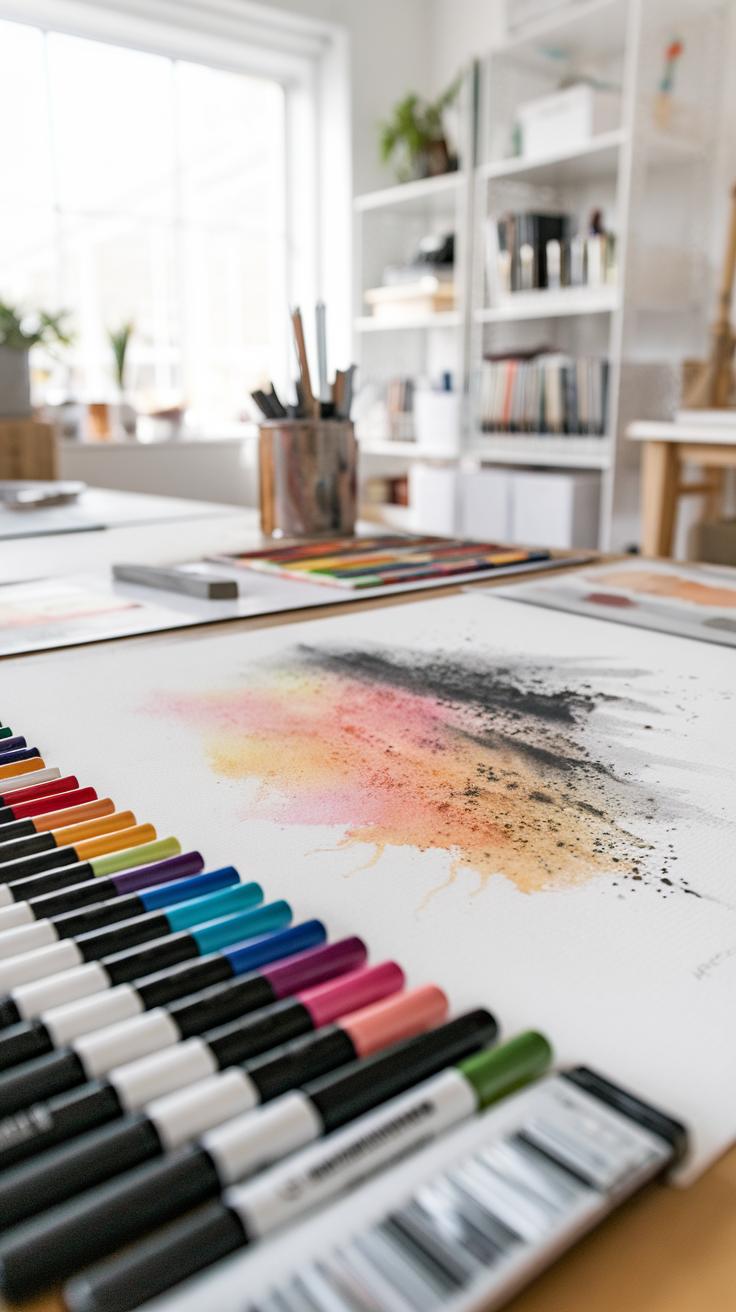
Blending markers can create smooth transitions. Use a lighter color to blend into a darker one, making the edges soft and seamless. You can achieve this by working quickly, as some markers dry fast. Lastly, explore shading techniques. Add shadows by choosing a darker color and applying it to one side of your objects. This technique adds realism and dimension, bringing your marker art to life.
Choosing the Right Paper for Marker Drawing

Explore Paper Types and Considerations
Choosing the right paper significantly impacts the quality of your marker artwork. Artists often prefer smooth, heavyweight paper that prevents bleed-through and allows colors to shine. Look for paper labeled as “marker paper” or “bristol board.” These materials feature a special coating that keeps ink on the surface, producing vibrant colors.
It’s important to consider texture as well. Rough textures may not blend colors smoothly, while smooth surfaces allow for even application. Testing different papers before committing to a specific one helps you understand how various surfaces interact with your markers. Some may work better for layering, while others excel in delivering bold strokes. Ultimately, selecting the right paper enhances your artistic expression and ensures your creativity flows without interruption.
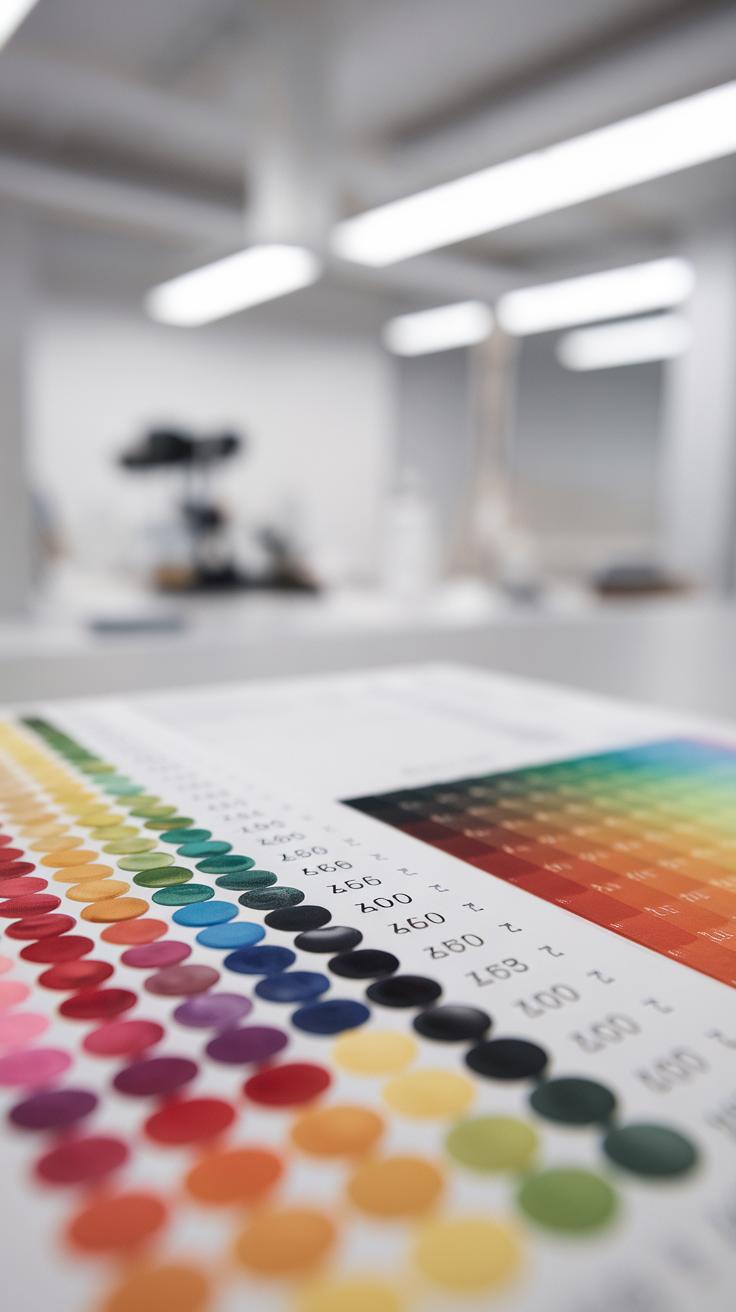
Understanding Marker Inks The Science Behind Color Saturation and Durability
Ink Composition in Various Markers
Different markers contain unique ink formulas that influence their performance. Water-based inks offer bright colors and easy blending, which makes them popular for creating colorful illustrations. The pigments in these inks contribute to color saturation, allowing artists to achieve vivid results. However, water-based markers may fade faster when exposed to light. On the other hand, alcohol-based markers possess strong pigments that provide intense color and excellent durability. These markers resist fading and blend effortlessly, making them a favorite among professional artists. Oil-based inks, while less common, offer high opacity and durability but can take longer to dry.
Effects on Color Saturation and Durability
The choice of ink directly affects not just how vibrant your artwork appears, but also its longevity. Alcohol-based markers hold their colors longer, while water-based options might need protection against fading. Artists must consider these factors when selecting their tools. For example, if you want a long-lasting piece, alcohol-based markers offer an advantage. Embracing the unique properties of each ink type allows artists to enhance their creations while ensuring the artwork remains stunning over time. Understanding these differences helps artists make informed decisions, leading to better artistic outcomes.
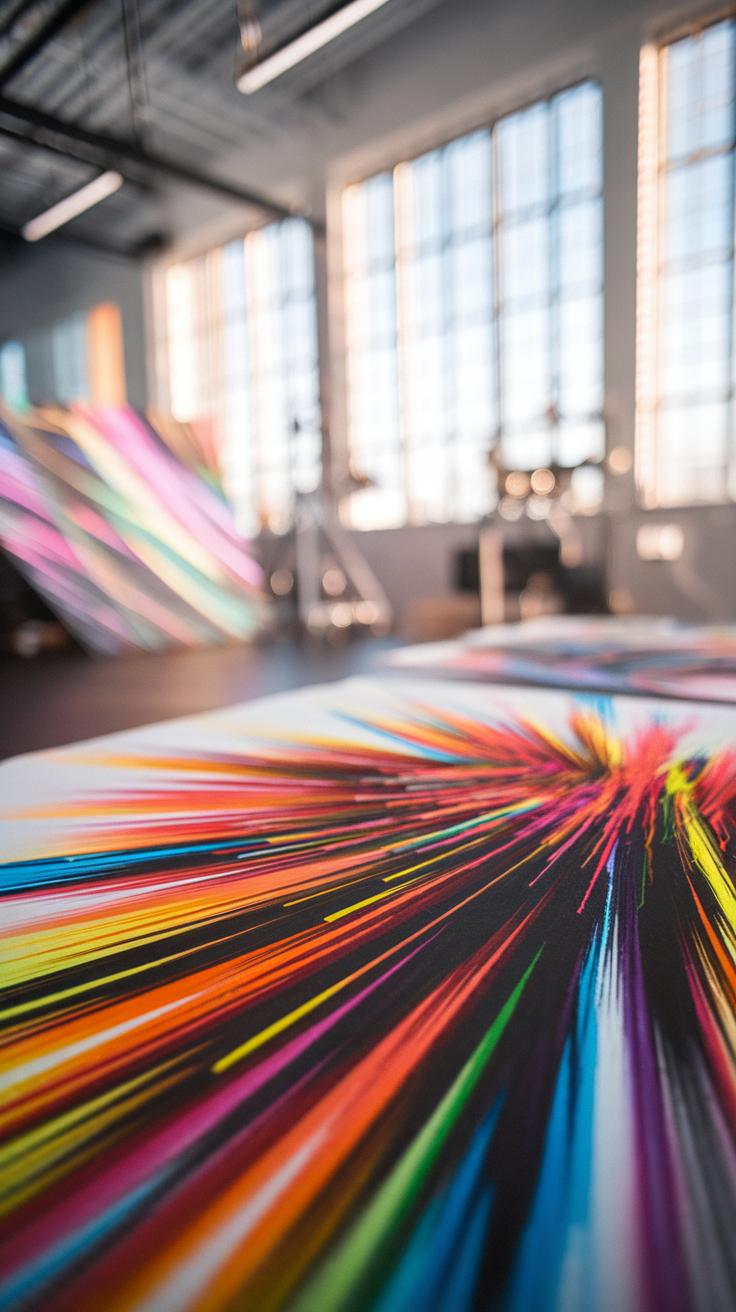
Creating Vibrant Artwork Techniques for Bright Marker Art
Techniques for Using Markers
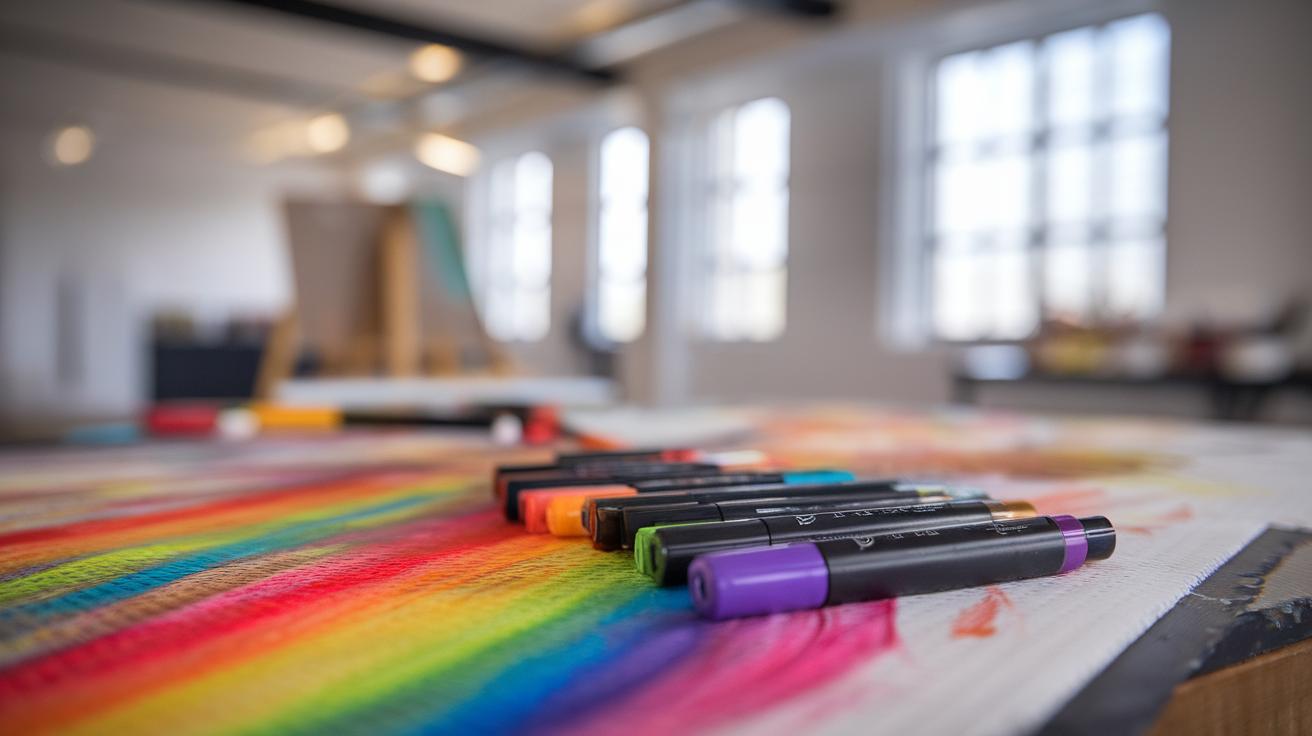
Markers allow artists to create bold and colorful artwork. Start by selecting high-quality markers that feature bright ink and excellent saturation. To achieve vibrant colors, use a sketchbook designed for markers. This choice prevents bleeding through the pages while ensuring colors remain crisp.
Layering techniques can significantly enhance color vibrancy. Apply one color and let it dry before adding another on top. This method allows colors to blend smoothly or create dimension without muddiness. For striking contrasts, use complementary colors; they make each other pop.
Another effective technique involves blending. Use a colorless blender marker or simply mix colors on the paper while they remain wet. This practice creates soft transitions and dynamic highlights. Experiment with these techniques to transform ordinary drawings into eye-catching masterpieces filled with life and energy.
Exploring Advanced Techniques Take Your Marker Art to New Heights
Mastering Stippling, Cross-Hatching, and Pointillism
Advanced marker techniques such as stippling, cross-hatching, and pointillism can enhance your artwork and add depth and texture. Stippling involves creating images using a series of small dots. By varying the density of the dots, you can achieve darker or lighter shades, giving a three-dimensional effect. Cross-hatching requires drawing intersecting lines to create shadows and depth. The direction and spacing of the lines control the intensity and texture, allowing you to add intricate details to your drawings. Pointillism, similar to stippling, focuses on using colored dots to build images. This technique works well with vibrant markers, blending colors visually rather than physically. Mastering these skills will help you create captivating pieces that stand out and showcase your artistic flair.
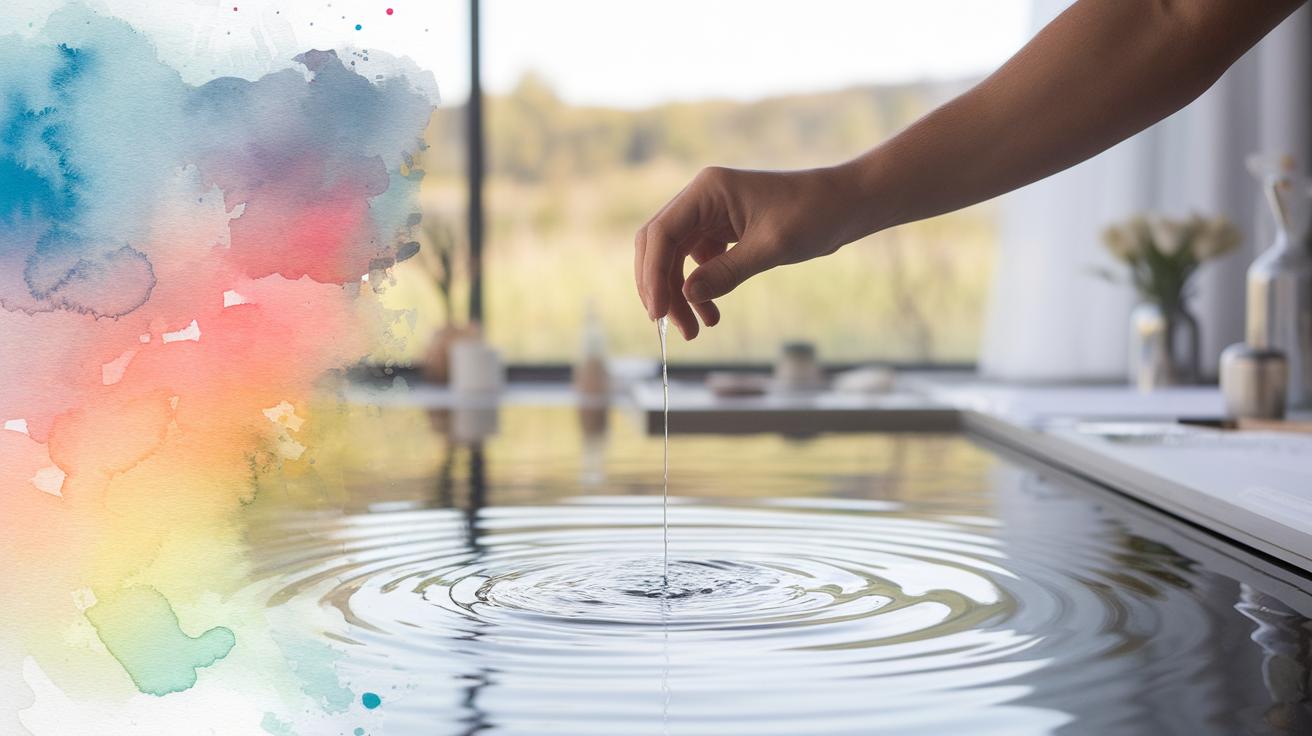
Incorporating Mixed Media Uniting Markers with Other Media
Blend Marker Art with Watercolor and Ink Techniques
Combining markers with other media like watercolor and ink produces exciting artwork. Start by using markers to outline your drawings. Their bright colors create a strong base. Once you complete the outline, apply watercolor washes over the marker lines. The markers retain their vibrancy, while the watercolor adds rich textures and softer colors, creating depth. Make sure the markers you choose are water-resistant to avoid unwanted bleeding.
Ink also pairs splendidly with markers. Use ink pens to add fine details or textures after using markers. For example, draw intricate patterns or shadows with ink to elevate your artwork. Markers provide bold colors, while ink adds precision and elegance. When you experiment with these combinations, you will develop a unique style that showcases your creativity and artistic flair.
Practical Tips for Beginners Essential Marker Techniques

Getting Started with Marker Drawing
Markers offer a fun and vibrant way to express your creativity. Beginners should first choose quality markers. Look for alcohol-based markers known for their blendability and rich colors. Start with a basic set to explore different shades and styles. Use thick paper designed for markers to prevent bleeding and smudging. Hold the marker at a slight angle for smoother lines. Begin with simple shapes and gradually progress to more complex designs.
Building Your Skills
Practice blending colors by layering them on top of each other. Experiment with various techniques like cross-hatching, stippling, or dotting to add texture and depth to your artwork. Take your time and do not rush through the process; patience allows for better results. Lastly, observe the work of other artists for inspiration. Study their techniques and adapt them to your style to develop your artistic flair.
Marker Art Challenges Overcoming Common Hurdles in Marker Drawing

Identifying Common Challenges in Marker Art
Artists often face several challenges when working with markers. One significant issue lies in the ink bleeding or feathering on paper. This problem occurs when the paper absorbs too much ink, causing lines to blur. Selecting the right paper can solve this. Utilize smoother, heavier stock designed for markers to keep your lines sharp.
Finding Solutions to Common Problems
Another challenge involves color layering. Markers can dry quickly, making it difficult to blend colors seamlessly. To counter this, artists can use a lighter touch when applying ink. This technique allows more time to blend colors before they dry. Overcoming inconsistency in color saturation requires practice and patience. Experimenting with different brands or types of markers can help familiarise artists with various pigmentation levels, enabling more control over the desired effects.
Inspiration from Marker Artists Showcase Notable Marker Artists and Their Impact on the Art Community
Marker artists have transformed the way many perceive and approach art. Artists like K according to K, known for vibrant urban landscapes, draw attention with their dynamic color choices. Their pieces often tell vivid stories, inspiring others to explore the world of markers.
Another influential figure, Aimee Garcia, uses markers to create intricate mandala designs. Her work encourages fellow artists to embrace precision and patience while delivering beautiful details. Garcia’s workshops have sparked interest in marker art, allowing students to find joy in bold colors and fluid lines.
Then there’s Darius Smith, a self-taught artist who incorporates markers into mixed media. He believes markers allow for unique textures and visual depth, showing that anyone can find their style. These artists highlight the power markers hold in capturing creativity, inspiring countless individuals to unleash their inner artist.
Conclusions
Marker drawing offers a fantastic medium for artists of all skill levels. The variety in markers allows for an array of techniques and styles, each enriching the artistic process. By understanding the different types of markers and their uses, you can enhance your creativity and express your artistic vision more effectively.
Markers are not just tools for writing; they are gateways to artistic exploration and innovation. Embrace this versatile medium, experiment with techniques, and let your creativity shine as you master the art of marker drawing.


