Introduction
Witch drawing is a captivating art that lets you explore fantasy and magic with your markers. Whether you’re a beginner or have some experience, using markers to bring witches to life involves special techniques. This article shares essential tips to help you create successful witch drawings that stand out. You will learn how to use your markers effectively and how to bring creativity into your art.
From understanding basic drawing steps to exploring unique ideas for your witch characters, this guide covers it all. You will learn about materials, shading, colors, and how to keep your lines clean and sharp. These tips will help you grow your skills and enjoy the process of witch drawing with markers more and more.
Understanding Your Marker Tools
Types of Markers and Their Features
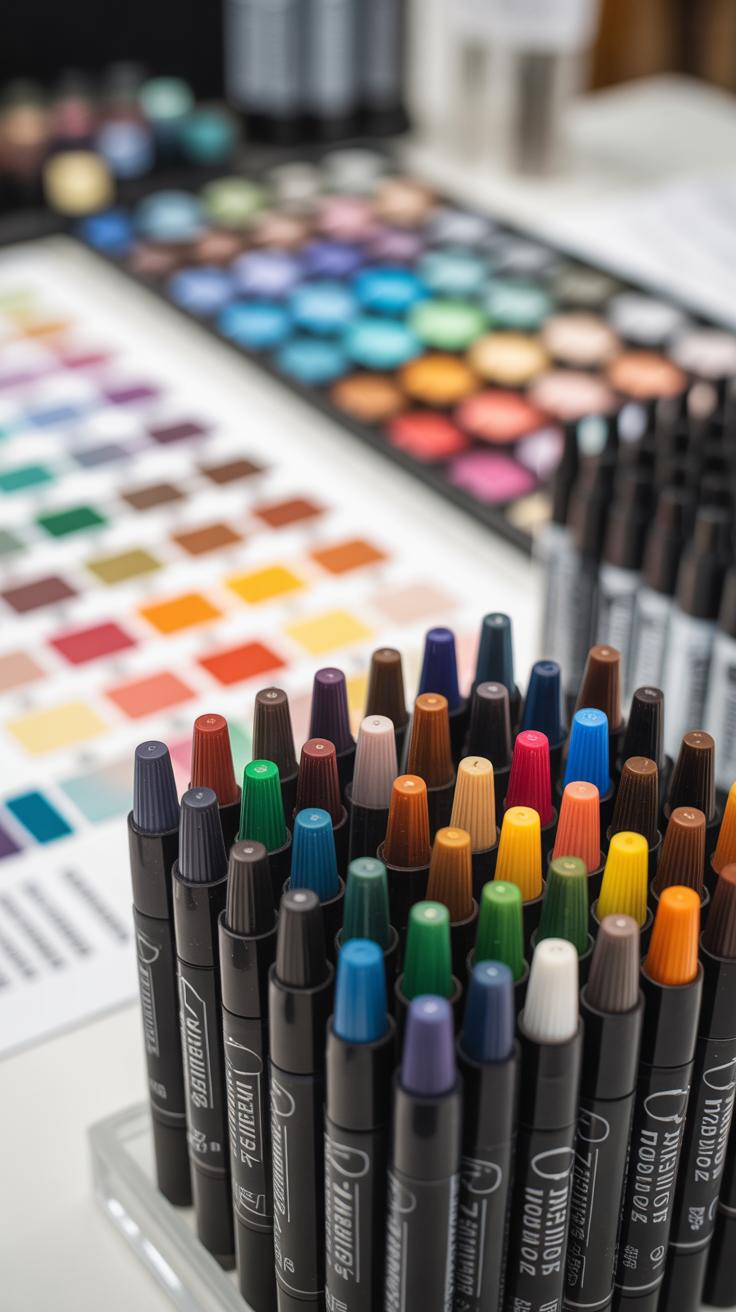
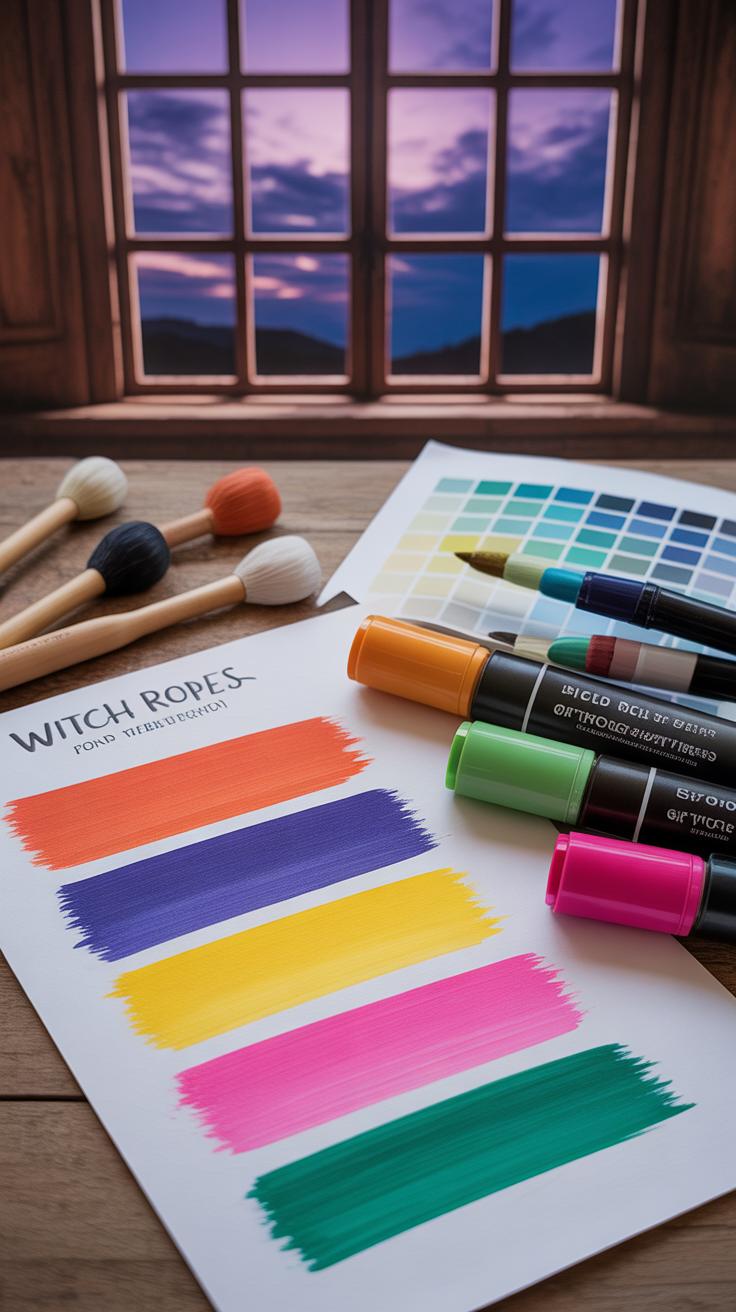
When drawing witches with markers, two main types come up: alcohol-based and water-based. Alcohol markers tend to blend smoothly and dry quickly, which helps with layering shadows on robes or adding a subtle glow to mystical elements. But they can bleed through thin paper and might feel less forgiving if you make a mistake. Water-based markers are gentler—they don’t soak through as easily and offer a more controlled application. Yet, they dry slower and sometimes look lighter or uneven, especially when layering dark clothes or dense hair strands in your witch drawings.
Each type has its quirks. Sometimes, I prefer alcohol markers for deeper colors, but when I want a softer, sketch-like effect for delicate highlights or ethereal glows, water-based markers win out. Think about what part of your witch drawing demands: bold contrasts or gentle shading.
Choosing the Right Markers for Your Art
Picking your markers depends on what you want to express. Look beyond just color range—though that’s important—to the kind of tips available. Brush tips can mimic hair strokes or fabric folds, while chisel tips work for filling large areas like cloaks or wide hats. Those who enjoy fine details should seek fine or bullet tips. Blending ability is key—alcohol markers blend better with lighter tones or similar colors, so if your witch’s outfit has subtle gradients, they’re likely better.
But if you’re still unsure, it may help to test a few brands and see how they respond to your style. I sometimes switch between marker types even in one piece, depending on the effect I want. Does your witch drawing benefit from sharp contrasts or soft, layered colors? That answer usually points toward the right tools.
Sketching Your Witch Outline
Starting with Light Pencil Lines
Before reaching for your markers, sketching lightly with a pencil is absolutely key. When you keep your pencil lines soft and simple, you allow yourself room to experiment without committing too early. Marker colors can be unforgiving, so a faint outline helps avoid unwanted marks or areas that might be difficult to fix later on.
Try to resist the urge to press hard; delicate strokes offer flexibility—you can erase or adjust with ease if something feels off. This stage isn’t about perfection. Think of it as laying down a flexible road map rather than a final blueprint. If you go too dark or detailed, it might show through your markers and disrupt your final piece.
Planning Your Witch’s Design
When planning your witch’s pose and look, take a moment to imagine who this character is. Will she be floating mysteriously or standing strong, broom in hand? Her posture can say a lot, so pick one that reflects her mood or story.
Sorting out her clothing and distinctive features early helps too. Maybe she wears a tattered cloak, or a wide-brimmed hat tilted just so. What about accessories—does she carry a familiar or a magical item? These details make your witch stand out, giving personality beyond the usual stereotypes.
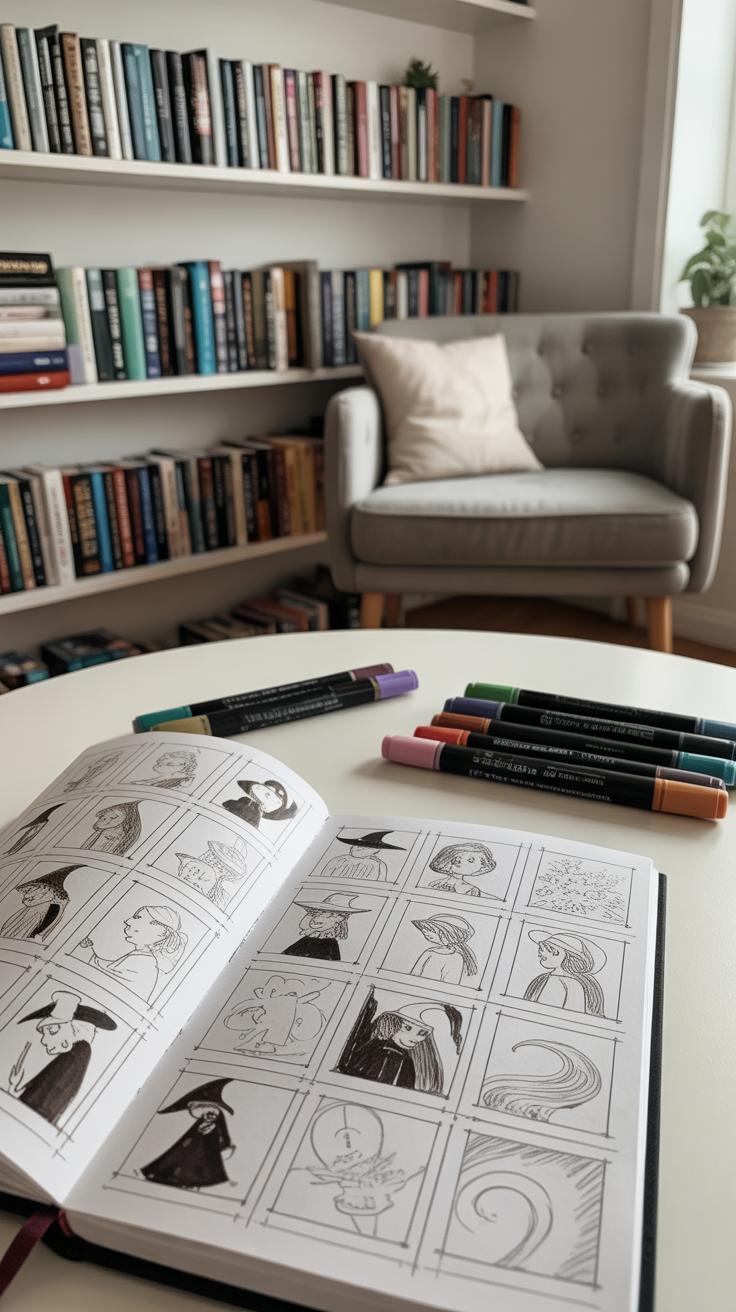
Maybe sketch a few quick thumbnails first, trying different angles or expressions. What feels more interesting? Something playful or dark? This planning phase isn’t about final details but establishing the foundation you’ll build on with your markers. The more thought you put in here, the smoother your coloring and detailing will go later.
Basic Marker Coloring Techniques
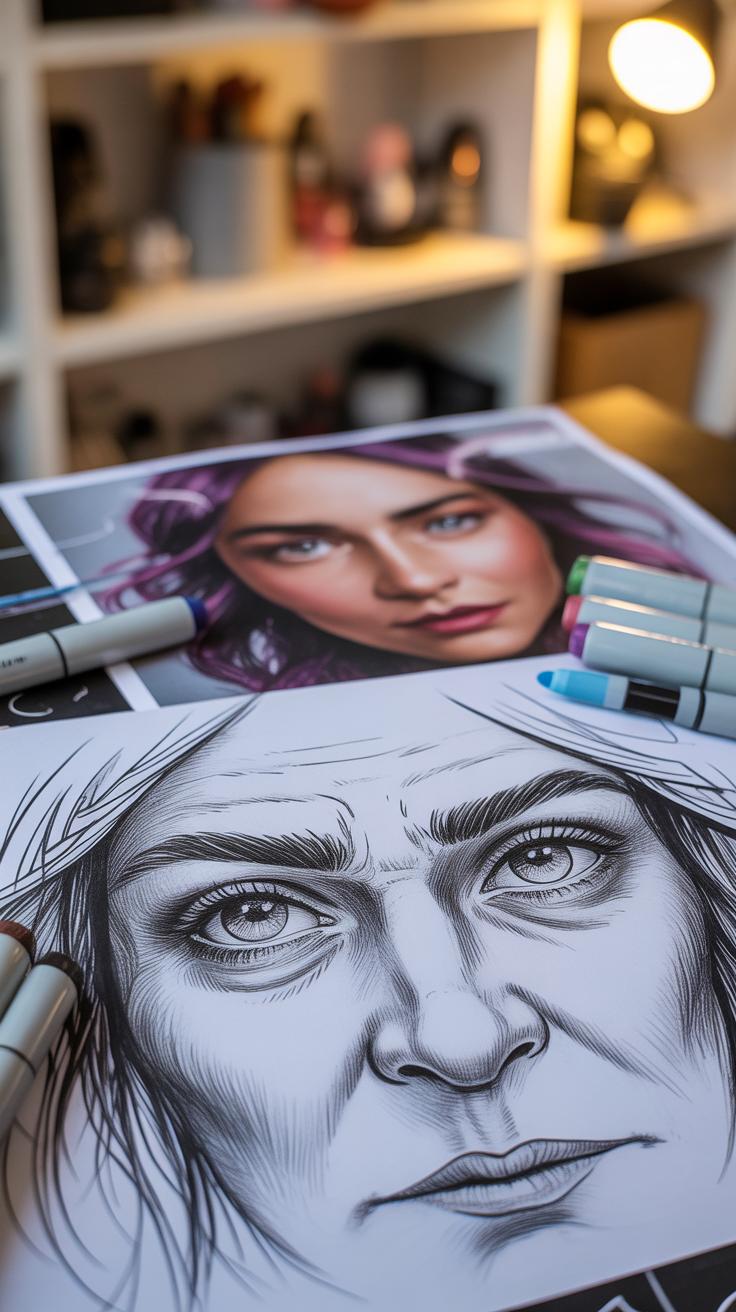
When you begin coloring your witch drawing with markers, getting an even, smooth finish is your first goal. It’s easy to get streaky patches if you don’t handle your markers carefully — I’ve been there more times than I’d like to admit. To avoid this, try using broad marker tips for the bigger areas like the witch’s flowing cape or her tall hat. Moving your hand slowly and steadily can help; erratic strokes tend to show harsh lines. You might want to work in a single direction or use tiny, circular motions. Both work, but consistency is key.
For filling large zones smoothly, don’t rush. Layer one thin coat and wait a little before applying the second. This method helps avoid blotches and uneven spots. It’s tempting to press hard, but gentler strokes make better results. If you notice slight streaks, a very light second layer can break those up, so don’t be afraid to build the color gradually.
Switching over to fine tips is where your drawing really comes alive. Thin lines bring out the witch’s facial features, the folds in her clothes, or the delicate lace on her sleeves. I find that toggling between broad and fine tips keeps the drawing balanced and detailed without overwhelming the page. For instance, add small shapes like stars on her hat or tiny buttons on her cloak — these little details catch the eye.
Remember, marker tips wear down over time, so using a fresh tip for details can make a noticeable difference in sharpness. Have you tried layering colors with fine liners over markers? It can add texture without damaging the base coloring. Experiment with this to find your own style.
Adding Shadows and Highlights
When you’re drawing a witch with markers, adding shadows and highlights really brings the image alive. It’s not just about making the colors darker or lighter; it’s about creating a sense of form and space. Shadows usually gather where light struggles to reach—so, think beneath wide-brimmed hats, the folds and creases of robes, and right under the chin. These areas tend to pull the drawing inward, making it feel more three-dimensional.
For shadows, try layering a slightly darker shade onto the base color. But don’t overdo it—sometimes a subtle touch is enough. You can also use the tip of your marker to carefully deepen specific spots, like where the fabric bends or where hair overlaps the face. It’s a delicate balance; too much shadow makes the drawing heavy, too little feels flat.

Highlights are equally important. Using lighter colors within the same family as your base tone helps suggest where light hits directly—on the top edges of hats, the highest points of cheeks, or wrinkle peaks on garments. A white gel pen can add tiny bright touches that mimic reflected light or glints in the eyes. Even small highlights can change the whole mood of your witch, making her look more vivid and lifelike.
Sometimes, I find myself unsure exactly how much highlight to add. Should it be bold or faint? Often, a little experimentation uncovers what works best. Ask yourself where your light source is coming from and imagine how it would bounce around the different surfaces of the drawing. Playing around with shadows and highlights not only builds form but also gives your witch character. It’s a bit like sculpting, but with color.
Blending Colors Smoothly
Blending marker colors takes practice, but it can completely change the way your witch drawing feels. The key is to avoid harsh lines between colors unless you want a very distinct edge. When you want smooth transitions, try layering your colors gradually. Start with a light shade and then add darker tones on top while the ink is still wet to help them merge. Or, if the ink has dried, gently overlay lighter shades to soften the edges. It might take some experimenting to find the sweet spot where the ink layers without becoming patchy.
Using a blending marker can help here. These markers are usually colorless or pale and designed to push pigment around on the paper. I remember the first time I used one—my colors merged more naturally, but only when I moved quickly. Letting the ink dry first often made the blending marker less effective. Sometimes, pressing harder or going over the same area multiple times can build a richer tone, but then you risk saturating the paper.
Layering colors doesn’t just blend shades; it builds depth. If you’re shading a witch’s cloak or hat, start with a base color then add deeper hues to create shadows. You can add mid-tones to smooth out the shift from light to dark. This layering gives a three-dimensional feel to flat paper, subtle but powerful. Try layering purples over blues, or reds over browns, and see how the colors interact. But remember, less can be more—sometimes just two or three layers create enough richness without overcomplicating things.
Have you noticed how some colors mix better than others? That’s part of the fun and frustration. It might make you question whether blending markers are always necessary or if layering alone is enough depending on your style. It’s worth testing different blends to find what works best for your witch drawings and your personal approach.
Drawing Witch Facial Features
Expressive Witch Eyes and Mouth
The eyes often reveal the soul, or in this case, the spirit of your witch. When drawing witch eyes, think about the emotion you want to convey. Mysterious eyes might be half-lidded with heavy shadows beneath, maybe even a glint that hints at hidden knowledge. For kindness, soften the curves of the eyelids and add a subtle sparkle, like a quiet warmth behind them. Mischief calls for sharper angles, raised brows, and eyes that seem on the verge of a sly smile.
The mouth plays a vital role, too. A faint smirk can instantly shift a witch’s vibe from sinister to playful. A slightly upturned corner suggests charm, while lips pressed firmly together might hint at secrecy or focus. Don’t be afraid to experiment with subtle asymmetry—perfect symmetry can feel a bit static or unnatural, especially for characters meant to have personality.
Adding Unique Facial Details
Small details make your witch memorable. Freckles scattered across the nose or cheeks can soften her look, making her more approachable or hinting at a connection to nature. Scars tell stories, though—maybe from a magical duel or a protective spell gone wrong. They add history, depth, and invite viewers to imagine what happened.
Magical markings open a world of possibilities. A faint crescent moon tattoo near the temple, glowing runes tracing the cheekbone, or star-shaped birthmarks can all deepen her magic’s presence. These details don’t have to be symmetrical or neat; irregular shapes or slightly faded spots add realism. Think of them less as decorations and more as hints of her life and power.
Have you noticed how subtle changes in these features shift the whole mood? Sometimes, just raising one eyebrow or adding a tiny sparkle in the eye can bring your witch from flat to fascinating. When in doubt, try layering a few expressions and details before settling on the final look.
Designing Witch Outfits and Accessories
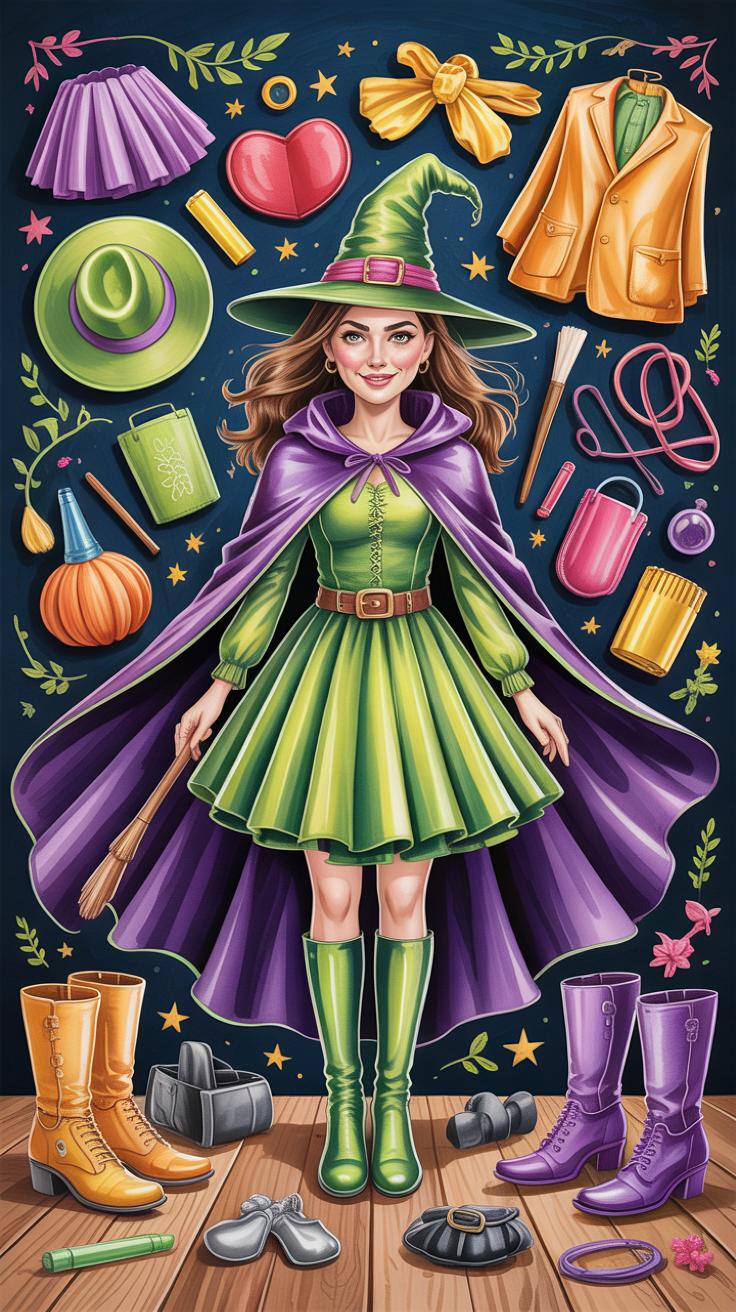
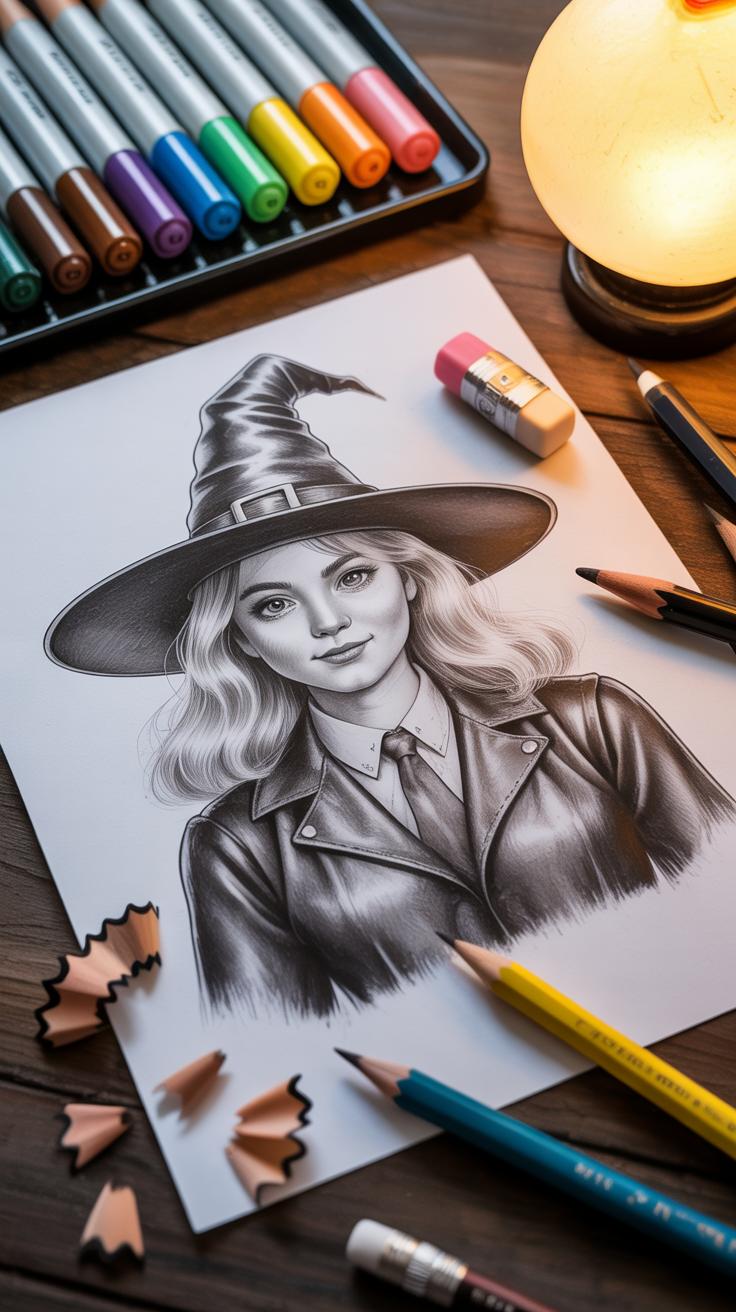
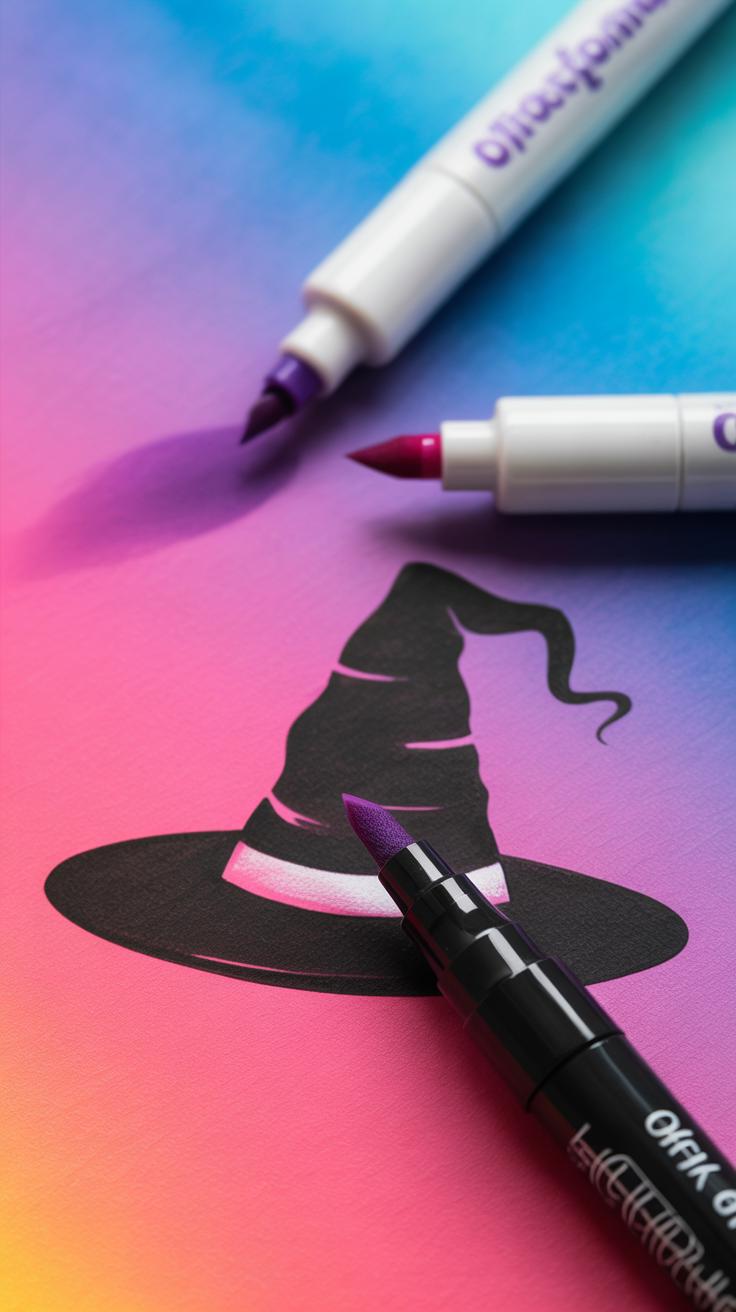
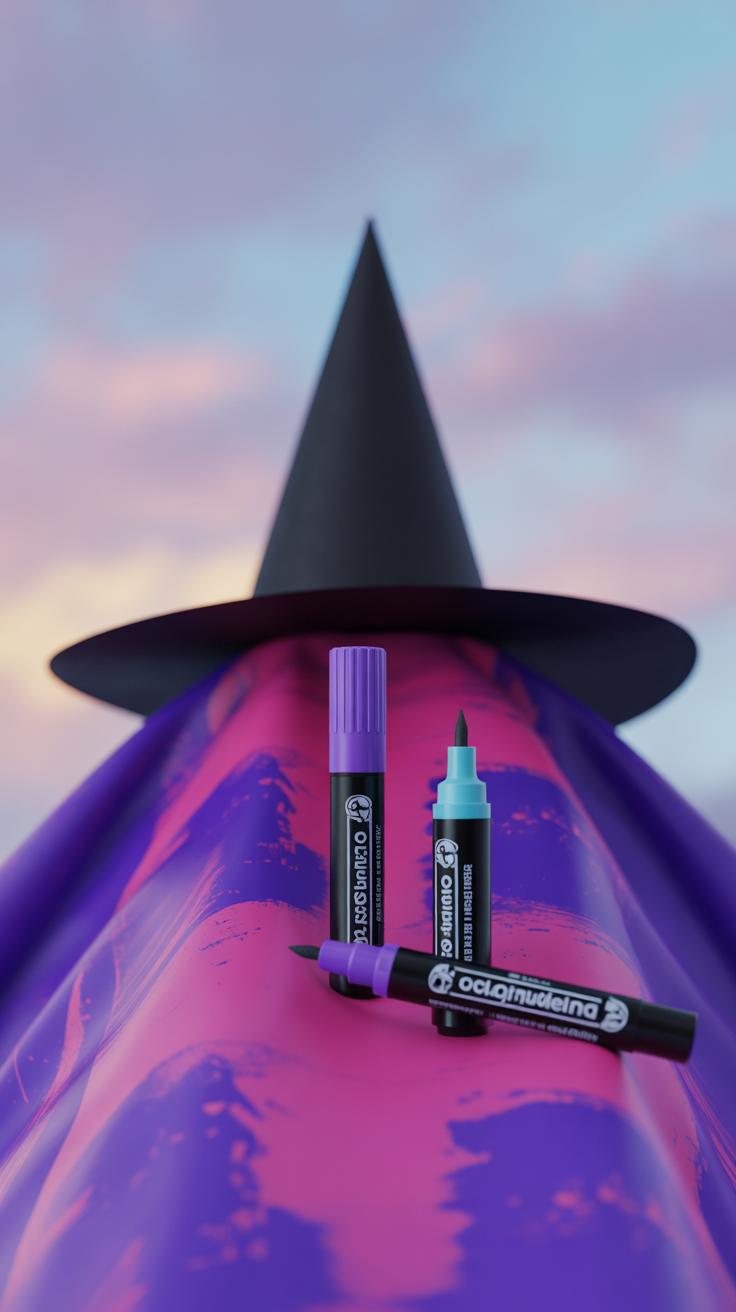
When drawing a witch, the outfit can say a lot about her character, mood, or story. You might lean on traditional pieces like long flowing robes, pointed hats, or layered skirts. These staples already carry a strong witchy vibe. But mixing in modern touches—like leather jackets, boots, or cropped tops—can create a fresher, unexpected look. You can play with textures and patterns too, maybe adding stars, moons, or subtle stripes to break up solid colors. I find it helpful to think about the setting or era your witch belongs to when deciding what she wears.
Accessories often tell stories on their own. A crooked hat might hint at years of wear and mischief, while a sleek wand suggests precision and control. Wands can vary widely—some plain sticks, some ornate with gems or carved symbols. Don’t hesitate to experiment with unusual shapes or unexpected materials.

Small magical props enrich your scene. Bottles filled with glowing potion, worn spell books with torn pages, or curious talismans dangling from a belt catch the eye. These details add layers of personality and hint at the witch’s powers or experiences without needing words. Have you noticed how a tiny vial can make a whole drawing feel more alive?
Ultimately, these elements come together to create a visual story. Your choices about clothing, hats, wands, and magical items invite viewers to imagine the witch’s world beyond the page. So, consider what you want to say before choosing every piece.
Finishing Touches and Clean Lines
Once your witch drawing is complete with markers, the final steps really shape the overall impression. First, you want to gently erase any pencil marks left from your initial sketch. But you’ll need to wait until the marker ink is fully dry—otherwise, everything just smudges and blurs. I’ve often rushed this part and ended up wiping off some of the color or creating faint gray streaks. So, patience here pays off.
When erasing, use a soft, clean eraser and apply light pressure. A harder or dirty eraser can leave crumbs or indentations that distract from the smooth marker work. Sometimes, you may not get all the pencil lines out entirely—that’s okay; subtle remnants don’t ruin the drawing but give it some life, perhaps.
After erasing, it helps to sharpen key lines by retracing them using fine tip markers. This step brings the design into focus and adds contrast. If your drawing has details like a witch’s pointed hat or delicate wand, re-outlining those areas makes them pop and appear crisp. But don’t overdo it—too many thick outlines can flatten the drawing’s depth.
One trick I found useful is starting with lighter marker colors and finishing with a fine black or dark gray line. This layering controls the drawing’s punch without overshadowing softer marker shading. The choice of fine liners versus brush tips depends on your style—experiment to see what suits your work best.
Finding Inspiration and Practicing Regularly
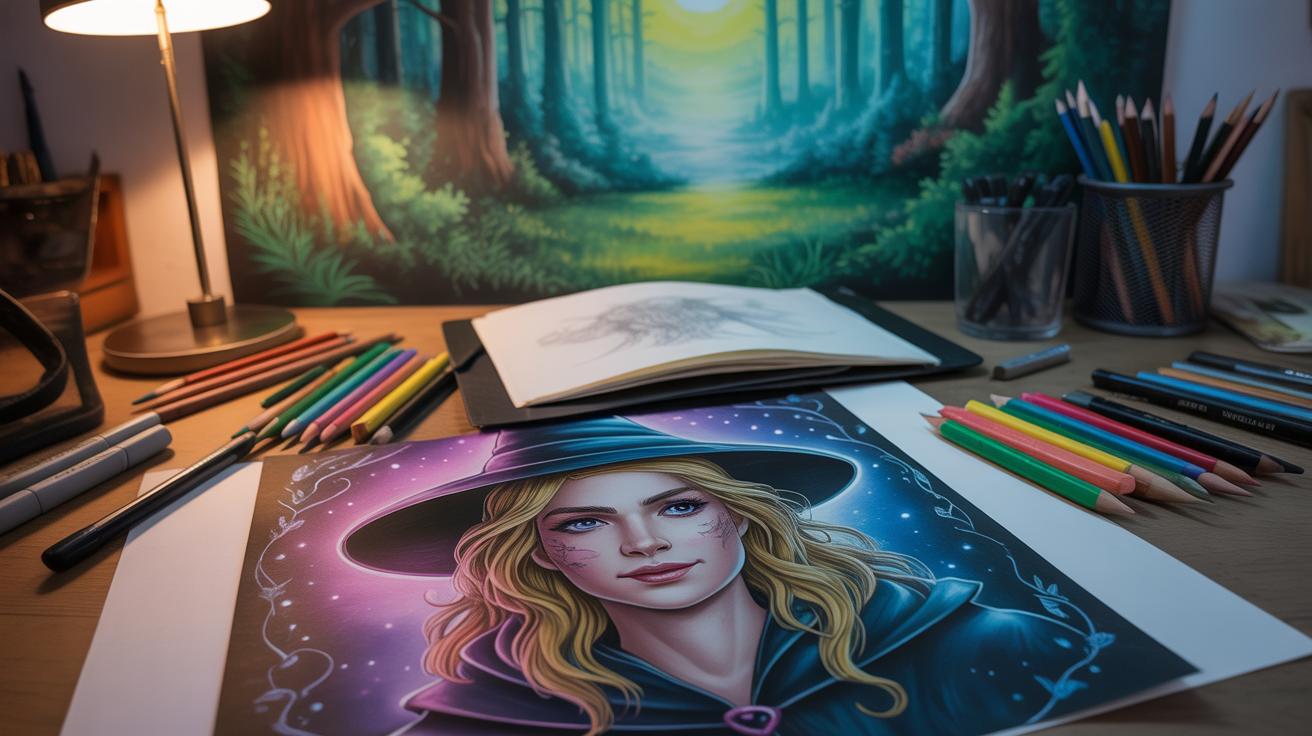
Sources of Inspiration for Witch Art
You might find inspiration in unexpected places when working on witch drawings. Books remain a solid resource—old fairy tales or folklore collections often present witches in various forms, giving you fresh ideas for poses, costumes, or settings. Sometimes, movies or TV shows with witch characters offer visual cues that are worth exploring, even if you don’t want to copy them directly.
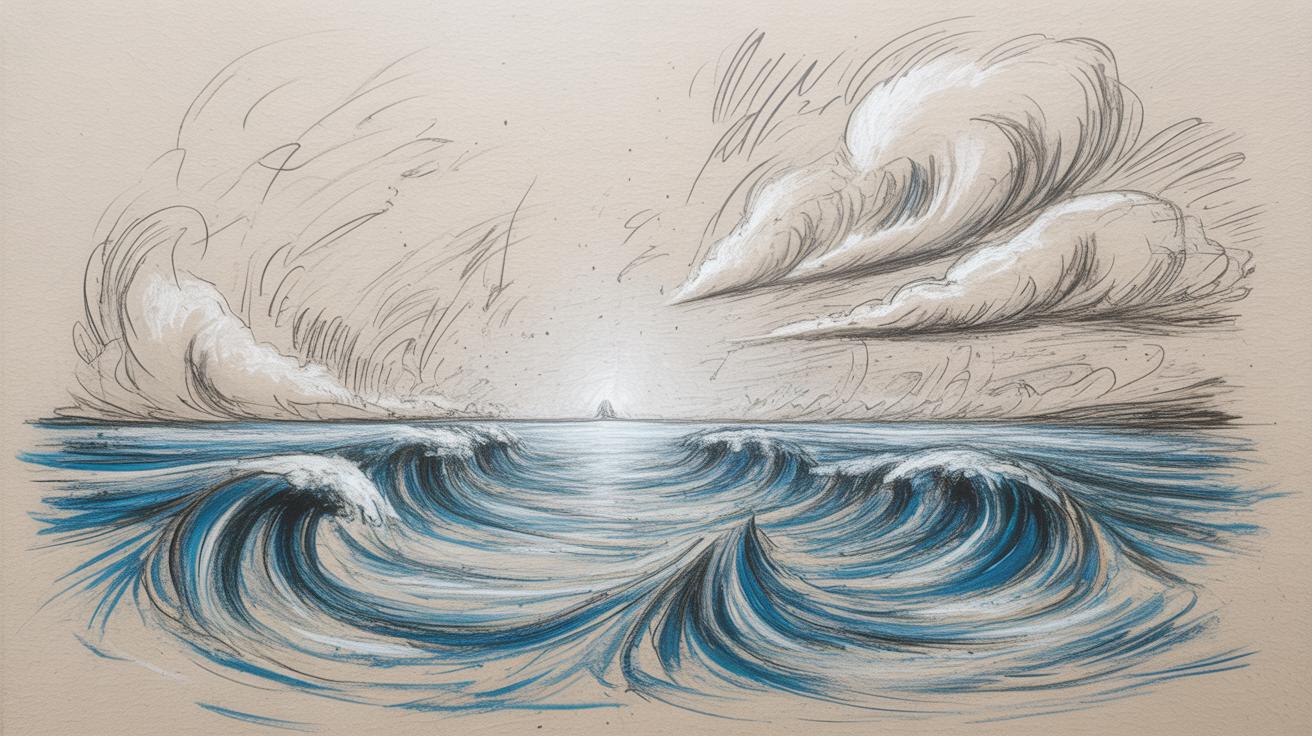
Nature can be surprisingly inspiring too. Think about the natural elements witches are often connected with—twisted trees, blooming herbs, or misty landscapes. Observing plants, textures, and shadows outside might spark unique approaches to your marker art, especially when capturing subtle details.
Art communities online or galleries sometimes showcase interpretations of witches that challenge or expand your perspective. Don’t hesitate to browse different styles and time periods. You may find yourself drawn to something you wouldn’t have considered otherwise.
Building Skills Through Practice
Practice isn’t always fun, but it’s necessary. Drawing regularly—even if it’s just quick sketches—helps you discover new ways of handling your markers. Maybe experiment with layering colors or blending, trying techniques you aren’t comfortable with yet. It’s okay when results look rough; mistakes often reveal what you need to focus on next.
Try not to get stuck in a routine. Push yourself to explore different ideas or compositions. Some days you’ll nail the witch’s expression; on others, the pose might feel off. Reflect on what went wrong or right, and keep at it. It’s a process that gradually builds your confidence and skill.
Ask yourself: What part of witch drawing challenges me the most right now? Practicing with purpose makes improvement less random—and maybe a bit more rewarding, even on frustrating days.
Conclusions
Creating witch drawings with markers can be fun and rewarding when you know the right techniques. You have discovered how to pick the best markers, plan your drawing, and use shadows and colors for depth. These steps improve your art and bring your witch characters to life on paper.
Keep practicing these tips and letting your imagination guide you. With focused effort and creativity, your witch drawings will become more detailed and unique. Remember, every artist grows with time, and your marker art will shine brighter with each new drawing.


