Introduction
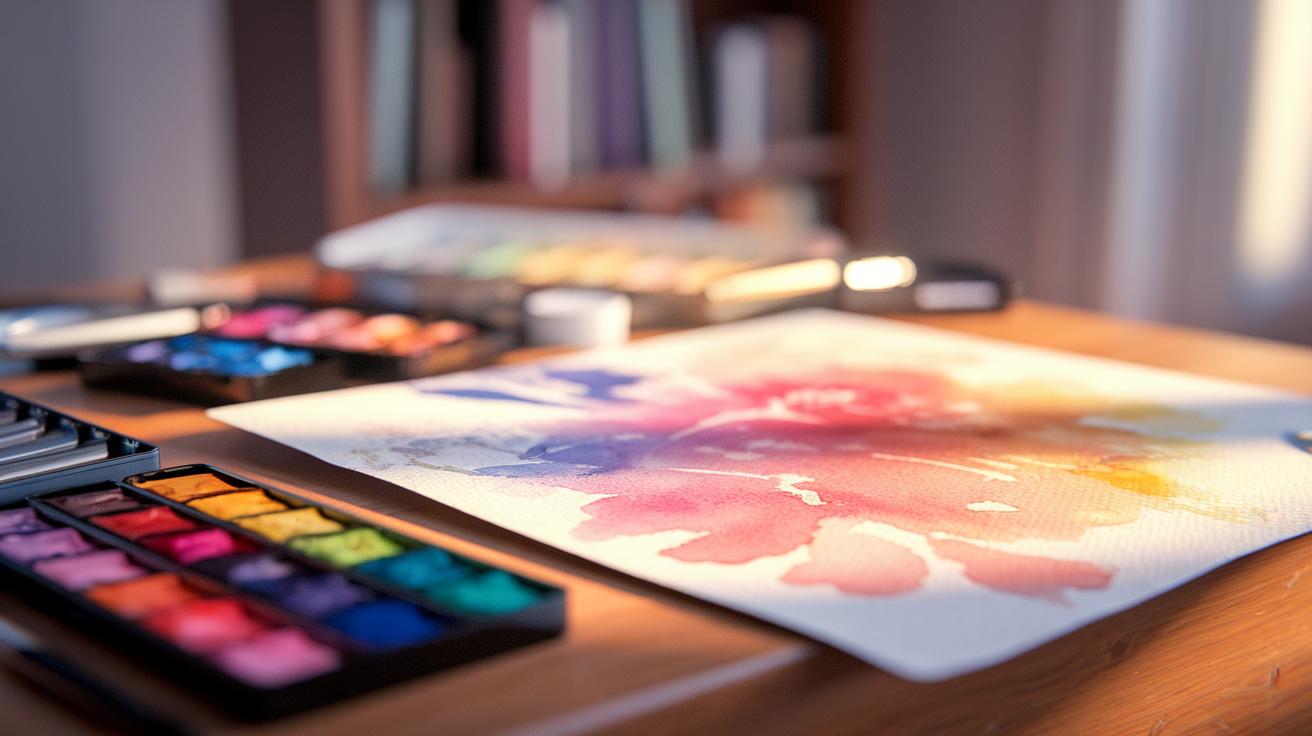
Watercolour art has a long and rich history that spans centuries and cultures. This painting method uses pigments suspended in a water-based solution to create vibrant, transparent artworks. You will find that watercolour painting often emphasizes the unique qualities of pigments and water, which work together to produce delicate, luminous effects. Understanding the origins and nature of watercolour will enrich your appreciation and technique, whether you are a beginner or an experienced artist.
Classic watercolour techniques have shaped the way artists approach this medium. These traditional methods include layering, wet-on-wet, dry brush, glazing, and lifting, among others. They help artists control color intensity, texture, and form. Learning these techniques offers practical skills for improving your paintings and making your watercolour work more expressive and effective. This article guides you through these classic methods and provides actionable insights for your artistic journey.
The History and Origins of Watercolour
Watercolour painting traces its roots back tens of thousands of years. Early humans applied natural pigments mixed with water to cave walls during the Paleolithic period. These simple water-based colors allowed for quick application and layering, making them a basic but effective tool. Across ancient cultures, watercolour-like methods appeared in different forms. Egyptian scribes used water-based inks for hieroglyphic manuscripts. In Asia, delicate brushwork with watercolors emerged in calligraphy and scroll paintings. These early examples show how water-based pigments helped people communicate and document their world.
The development of watercolour was often linked to practical needs. You can ask yourself how these early artists managed challenges like limited materials and fragile surfaces. Their solutions laid groundwork for techniques that artists still use today. Recognizing these origins helps you appreciate how watercolour grew from simple beginnings to a respected medium with unique qualities.
Ancient Beginnings and Early Uses
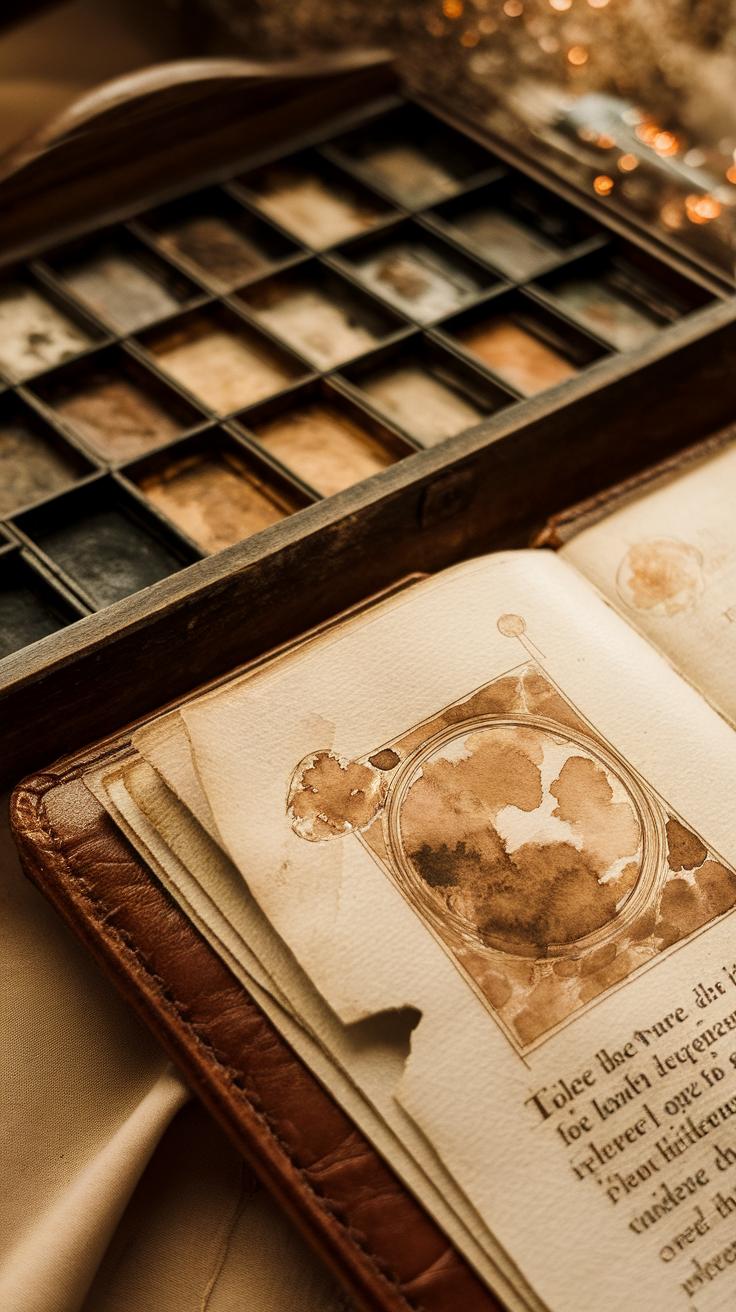
Watercolour painting began as people applied colored minerals and plant extracts mixed with water. In many ancient cultures, this method served painting manuscripts and decorating pottery. Manuscript illustrations from the Middle Ages show how water-based paints added color to texts. These images often had religious or scientific significance. The medium’s transparency gave pictures a light, lifelike quality.

In places like China and India, water-based paints were crucial for traditional art forms and storytelling. Their use required careful layering and a steady hand, skills you can develop with practice. Understanding these cultural traditions encourages you to respect watercolour’s versatility and subtlety. You start seeing watercolour not only as a tool for art but a link to history and culture.
Watercolour in Renaissance and Beyond
During the Renaissance, watercolour shifted from practical use to fine art. Albrecht Dürer, a key figure, used watercolour to study nature with precision. His detailed wildlife and botanical sketches showed how watercolour could capture texture and light. These works influenced many artists to pursue watercolour seriously.
The rise of botanical and wildlife illustration in this period brought scientific observation and art together. Watercolour’s ability to render delicate details made it ideal for plants and animals studies. Western artists began to appreciate watercolour’s unique qualities, giving it respect as a standalone medium. Thinking about this shift helps you understand why classic watercolour techniques focus on layering, transparency, and precision.
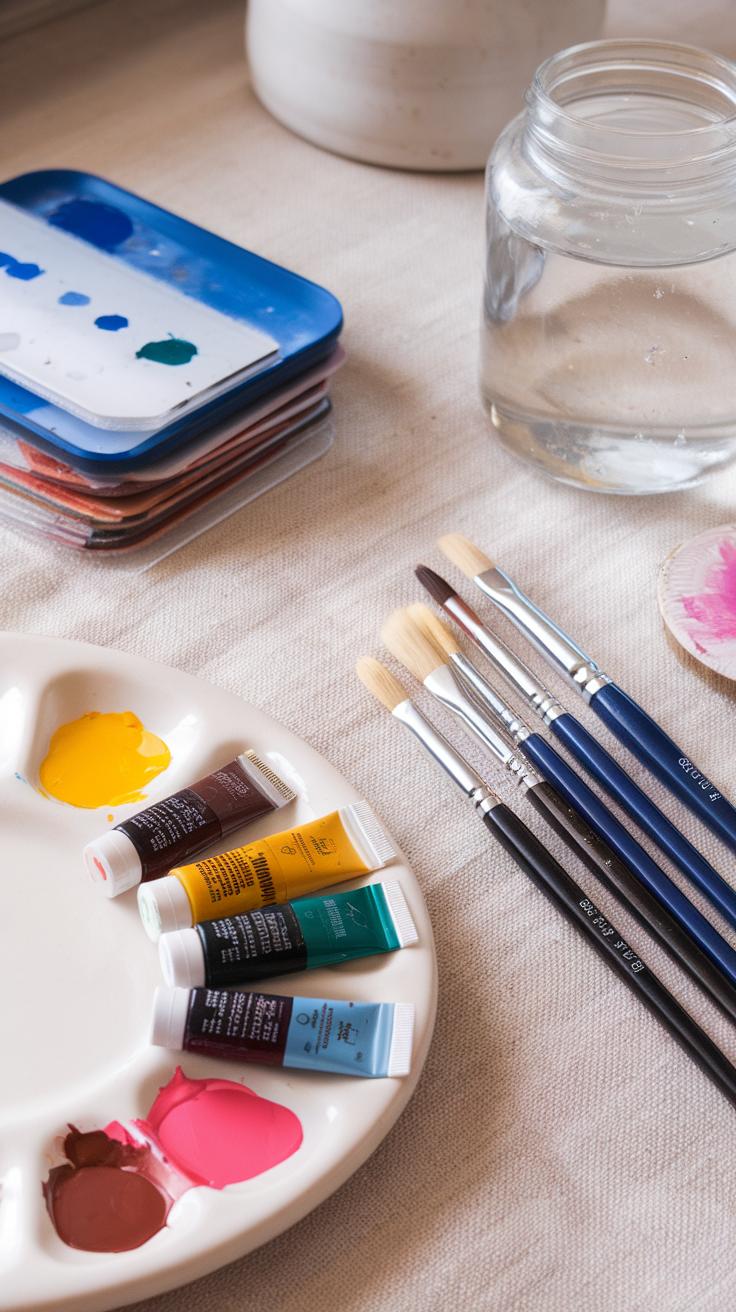
The Essential Materials for Watercolour Painting
You must choose the right materials to improve your watercolour painting. Paper plays a major role. High-quality paper absorbs water and pigment well, giving you better control over your washes and details. Cold-pressed cotton paper is a favorite among many artists because it balances texture and smoothness. Its toothy surface holds pigment evenly, allowing for richer color gradients.

Pigments also affect your final artwork. Watercolour pigments come from natural minerals or synthetic dyes. The pigment’s composition impacts color intensity and how it reacts with water. For example, some pigments are more transparent while others provide stronger, opaque coverage. Understanding these differences helps you mix the colors you want.
Brushes complete the toolkit. Look for brushes that match your skill level and budget. Good brushes hold enough water and release pigment smoothly. Using the right materials boosts your confidence and lets you focus on technique rather than struggling with supplies. What results could you create with better paper or pigments today?
Choosing the Right Paper
Watercolour paper is not just a surface; it shapes your paint’s behavior. Paper weight measures thickness, often from 90 to 300 pounds. Heavier paper absorbs water without buckling, allowing for wet techniques without warping. Texture varies too, from smooth hot-pressed to rough cold-pressed.
Cold-pressed paper displays subtle texture that grabs pigment, offering balance between detail and texture. Hot-pressed paper is very smooth, ideal for fine lines but less absorbent. Rough paper has pronounced texture that adds character but demands more skill to control washes.
Think about the water absorption of each type. Some papers soak water quickly, spreading pigment fast. Others hold water longer, giving you time to blend. You must experiment to find what suits your style and project. Which textures have you tried, and how did they affect your results?
Pigments and Brushes Explained

Watercolours use pigments mixed with a water-based binder, which lets you dilute colors with water. Pigments vary widely in color strength, lightfastness, and transparency. Some pigments stay bright for years, while others may fade faster under light exposure. Checking pigment labels helps you select durable colors.
Brushes come in synthetic and natural types. Synthetic brushes use man-made fibers and are often less costly. They work well for beginners and hold up under heavy use. Natural brushes, such as sable, hold more water and deliver softer strokes, making them preferred by experienced painters.
Brush shape matters too. Round brushes allow fine details and broad strokes. Flat brushes cover large areas and create crisp edges. Choosing the right brush can change how you apply paint and the effects you achieve. What brush types feel comfortable to your hand?
Understanding Transparency and Light in Watercolour
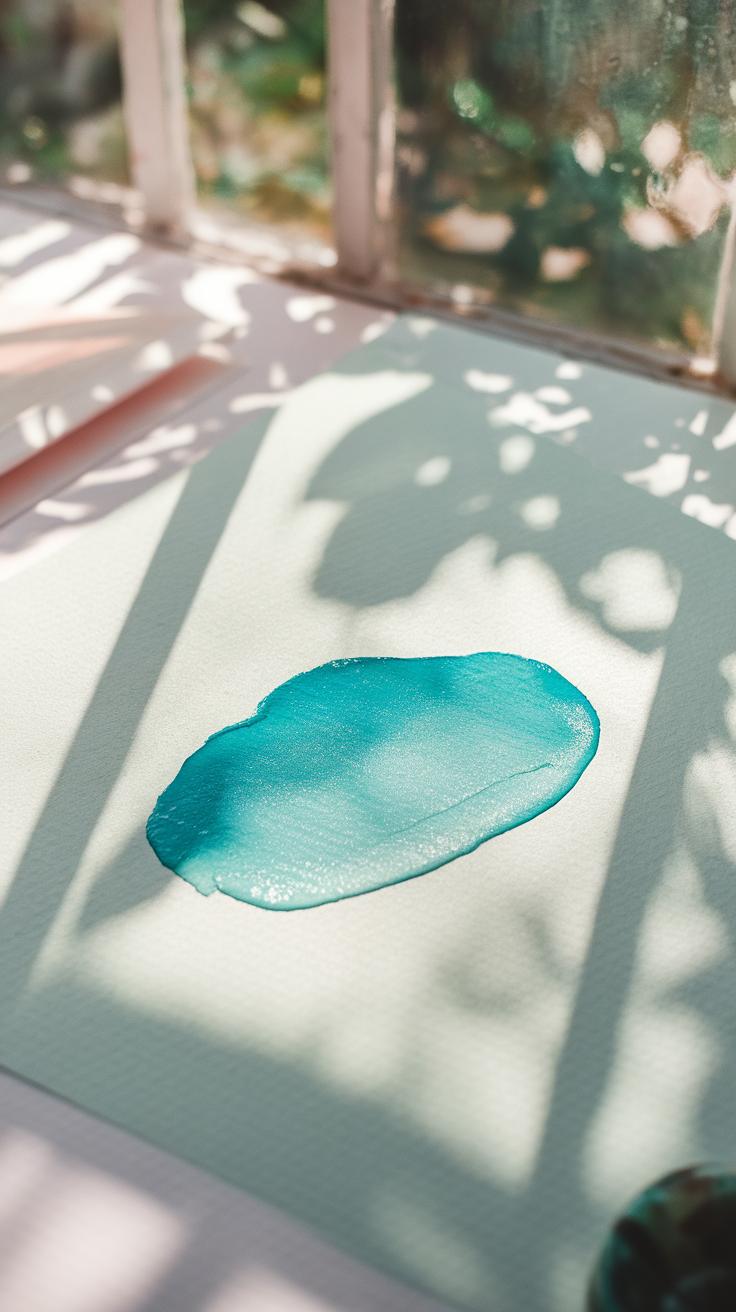
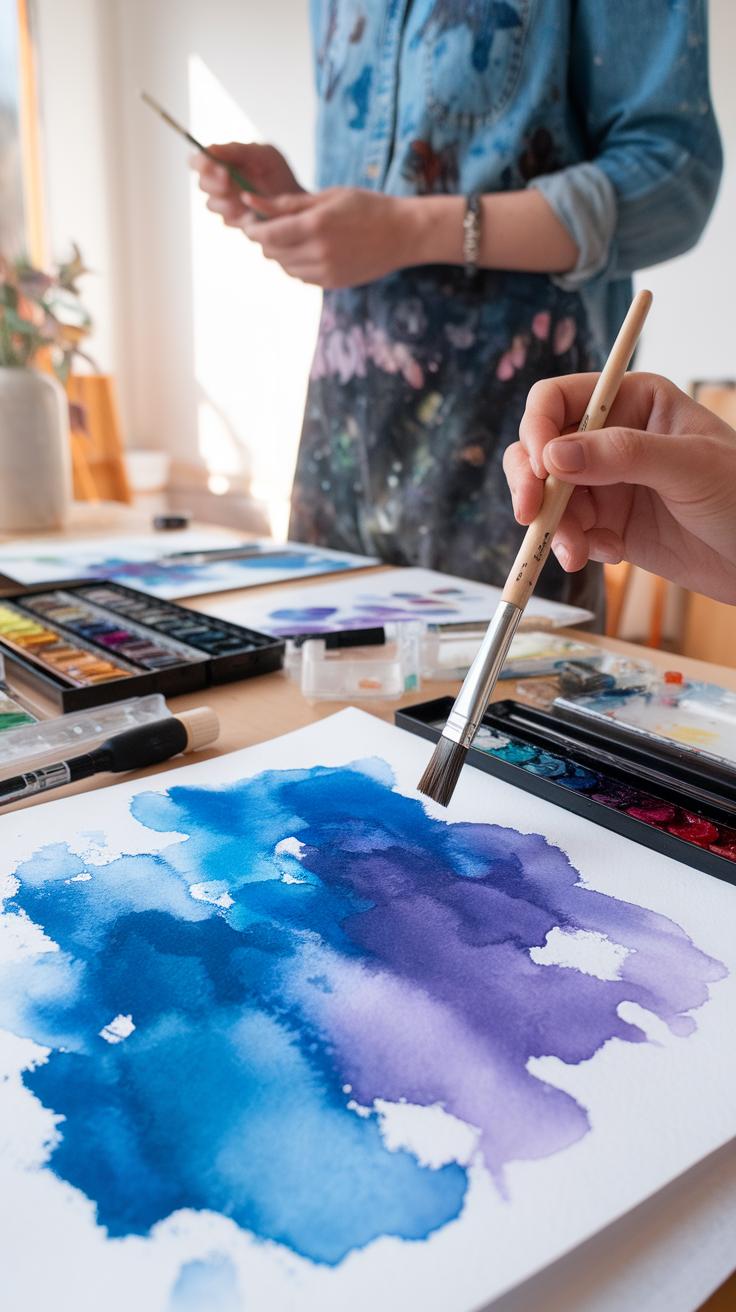
Watercolour paints stand out because of their unique transparency. When you mix pigment with water, the paint thins and spreads, creating delicate washes that let the paper’s brightness shine through. This transparency is key to watercolour’s glowing effect and helps artists suggest light on their paintings.
Controlling the amount of water influences how transparent or opaque your paint looks. More water means lighter, more transparent washes. Less water makes colors richer and less see-through. You can layer these washes, allowing light to pass through multiple thin layers. This stacking of transparent colors builds depth and luminosity while keeping the painting bright and alive.

How do you decide when to add more water or more pigment? Experiment by adjusting water ratios. Notice how a gentle wash creates airy scenes, while dense strokes add weight. Using transparency thoughtfully allows you to guide the viewer’s eye and create contrast in your work.
How Transparency Works
Water dilutes pigments and pulls color particles apart, which produces those clear, transparent washes. When you apply a single gentle wash, light hits the paper under your pigment, reflects back, and that creates glow. Each new layer you add over the last slightly changes the color and adds richness while still letting light through.
Finding the right balance between water and pigment is key. Too much water makes colors barely visible and weak; too little can block the light and look flat. Try mixing a small amount of pigment with plenty of water for backgrounds, then build up pigment strength for focal points. Layering transparent glazes will keep your work vibrant and dynamic.
Playing with Light and Shadow
Light and shadow create volume and form in your watercolour paintings. By leaving areas of the paper white or nearly white, you indicate where light hits your subject. Darker colors painted nearby suggest shadow, making shapes appear round and three-dimensional.
The chiaroscuro technique uses strong contrasts between light and dark to model forms, even in watercolour. You can create this effect by first painting light, transparent washes and then adding darker tones carefully to show shadow and deepen depth. This contrast helps your subject stand out while giving your scene a natural sense of space.

How can you use shadows to enhance your work? Observe real life or photos and notice how shadows fall differently depending on the light source. Practicing this awareness will improve your ability to paint shapes that feel solid and convincing. Consider shadow shapes your tool for sculpting light.
Classic Watercolour Techniques You Need to Know
Core Techniques and Their Effects
Wet-on-wet means applying wet paint onto wet paper. This creates soft edges where colors flow and blend naturally. You can use it to paint skies or blurry backgrounds. To practice, wet your paper evenly, then drop in color and watch it spread. Try controlling the flow by adjusting water amount and tilt. Wet-on-dry requires applying wet paint on dry paper. This gives sharper edges and clearer detail, perfect for defined shapes. Experiment by painting shapes or objects with crisp outlines. Dry brush involves using a brush with little paint and no water, making rough, textured strokes. This technique adds texture for things like fur or tree bark. Start practicing with a dry brush on dry paper and vary pressure to see different effects.
Advanced Methods for Depth
Glazing means layering transparent washes over dry paint. Each layer changes the tone and adds richness without covering what’s below. Allow each layer to dry before adding another. Try deepening shadows by glazing darker colors. Lifting removes paint from paper. Use a damp brush or tissue to lift wet or dry paint, correcting mistakes or adding highlights. Test lifting on scraps to see how much paint you can remove without damaging the paper. Layering builds colors and depth through multiple paint applications. Combine wet and dry layers for complexity. Paint light colors first, then add darker layers after drying. Ask yourself: how can layering help my work achieve more realistic shading or color variation?
Preparing Your Workspace for Watercolour Painting
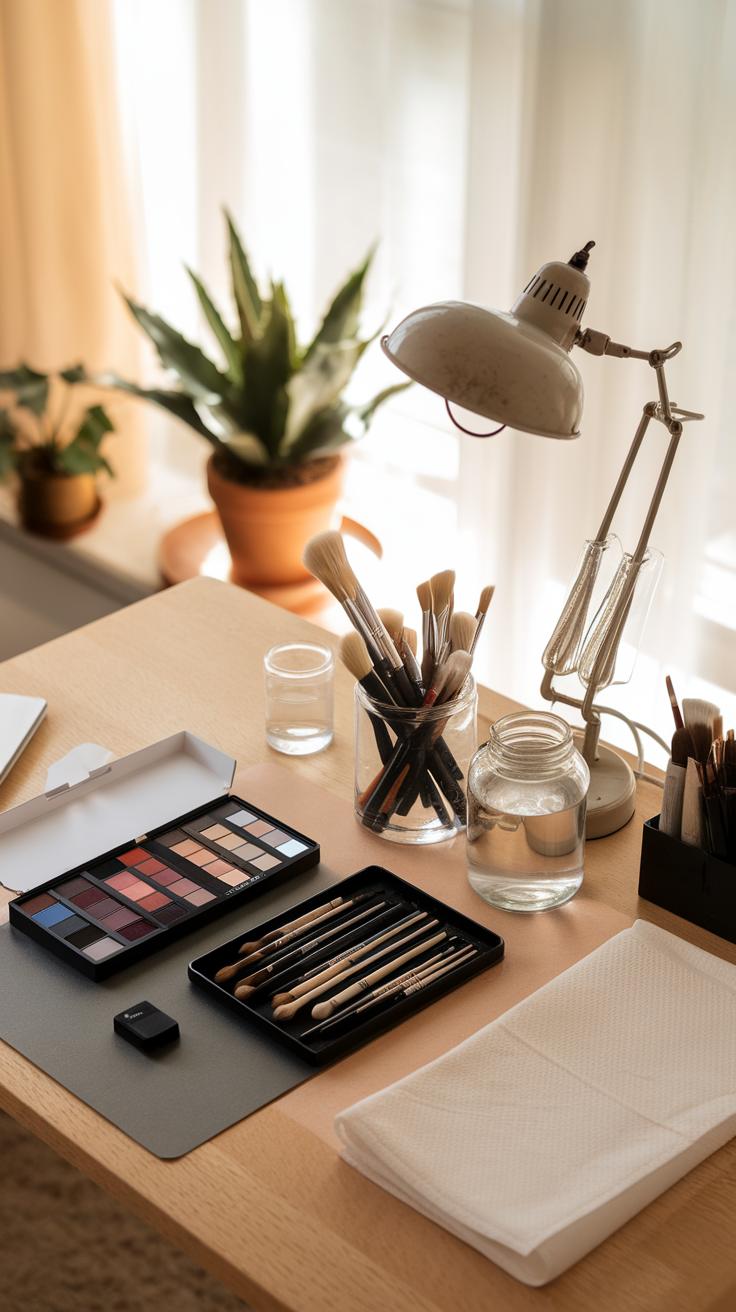

Setting up your workspace carefully helps keep your focus on painting. Choose a flat surface where you can spread out your paper and palette comfortably. Protect the area with a waterproof mat or old newspapers to catch spills. Keeping your space clutter-free avoids accidental damage to your artwork.
Light plays a big role in seeing true colors and details. Position your workspace near a window with natural daylight or use a bright LED lamp that mimics daylight. Make sure the light falls evenly on your paper without casting shadows from your hand or tools.
Arrange your brushes, paints, water jars, and paper towels within easy reach. Use containers or trays to keep brushes organized by size and shape. This will save you time when switching brushes for different techniques. Rinsing your brush often helps avoid muddy colors and keeps bristles in shape.
To protect your paper during painting, tape it down to a board. This keeps it flat and prevents warping as the paper dries. Change your water regularly to keep colors fresh and clean. What small changes can you make in your setup to improve your painting flow?
Setting Up Your Painting Area
Place your watercolor materials where you don’t have to stretch or move too much. A tidy workspace with a palette beside your dominant hand speeds up mixing colors. Use a sturdy easel or table surface that supports your paper safely.

Lighting choice depends on when and where you paint. If natural light is limited, pick a daylight bulb with at least 5000 Kelvins. Avoid yellow or warm bulbs that distort hues. A desk lamp with adjustable arms helps you angle light exactly where it is needed, especially when working on fine details.
Organize your tools so that frequently used items are closest. Store less used supplies behind or beneath your work area. Do you notice how easy access to materials changes your painting experience?
Maintaining Your Tools
Clean your brushes immediately after use by swishing them in water and gently wiping with a cloth. Avoid soaking brushes for long periods, which can loosen bristles and ruin the shape. For stubborn paint, use mild soap designed for brushes.
Store brushes horizontally or upright with bristles pointing up to maintain their shape. Avoid placing them bristle-down in cups, as this causes damage. Regularly check for stray hairs or split tips and trim carefully if needed.
Handle watercolor paper with clean, dry hands. Keep sheets flat and press them under heavy books if curled. If you use blocks, peel sheets carefully to avoid tearing. How might treating your tools with care affect the quality of your painting over time?
Applying Classic Techniques to Create Different Effects

Mastering classic watercolor techniques gives you a strong base, but mixing and adjusting these methods unlocks endless possibilities. When you combine layering with wet-on-wet and dry brush, you create unique textures and moods within your work. Experiment with soft gradients by gradually shifting pigment on damp paper, then contrast by adding crisp strokes on dry sections to capture details.
Try different brushes like round, flat, and fan brushes to vary stroke shapes and line thickness. Thicker paper with a rough surface holds more pigment and water, enhancing texture, while smooth paper favors clean color transitions. Imagine painting a landscape where gentle washes build distant hills, and dry brushwork defines the trees’ bark.
How can you use layering to express rain or sunlight? What textures can you invent by mixing a wet wash with an overlay of dry stippling? Keep experimenting; your next discovery could redefine your watercolour style.
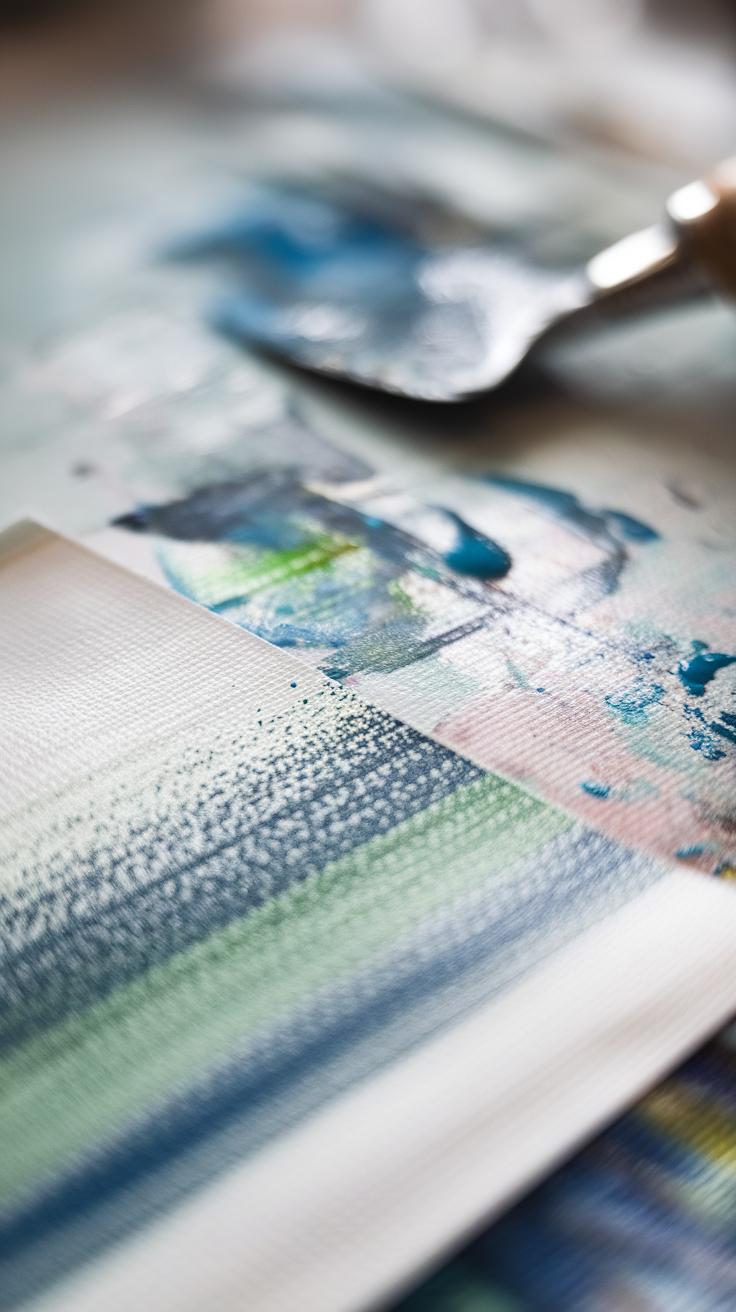
Combining Techniques for Texture
Blending wet and dry techniques creates natural textures that mimic the real world in your paintings. Applying a wet wash as a base layer lets colors blend softly, perfect for skies or calm water. After drying, use a dry brush to add texture such as leaves, branches, or ripples on water.
Look at a tree’s foliage. Wet-on-wet forms the leafy mass, while dry brush adds sharp twigs. For water, blend a gradient wash, then use dry strokes to paint reflections or waves. Using this mix gives your work depth and realism.
Ask yourself what textures you want to show. Can you make rocks feel rough or clouds appear fluffy by mixing these methods? Combining wet and dry lets you control softness and detail in one painting.
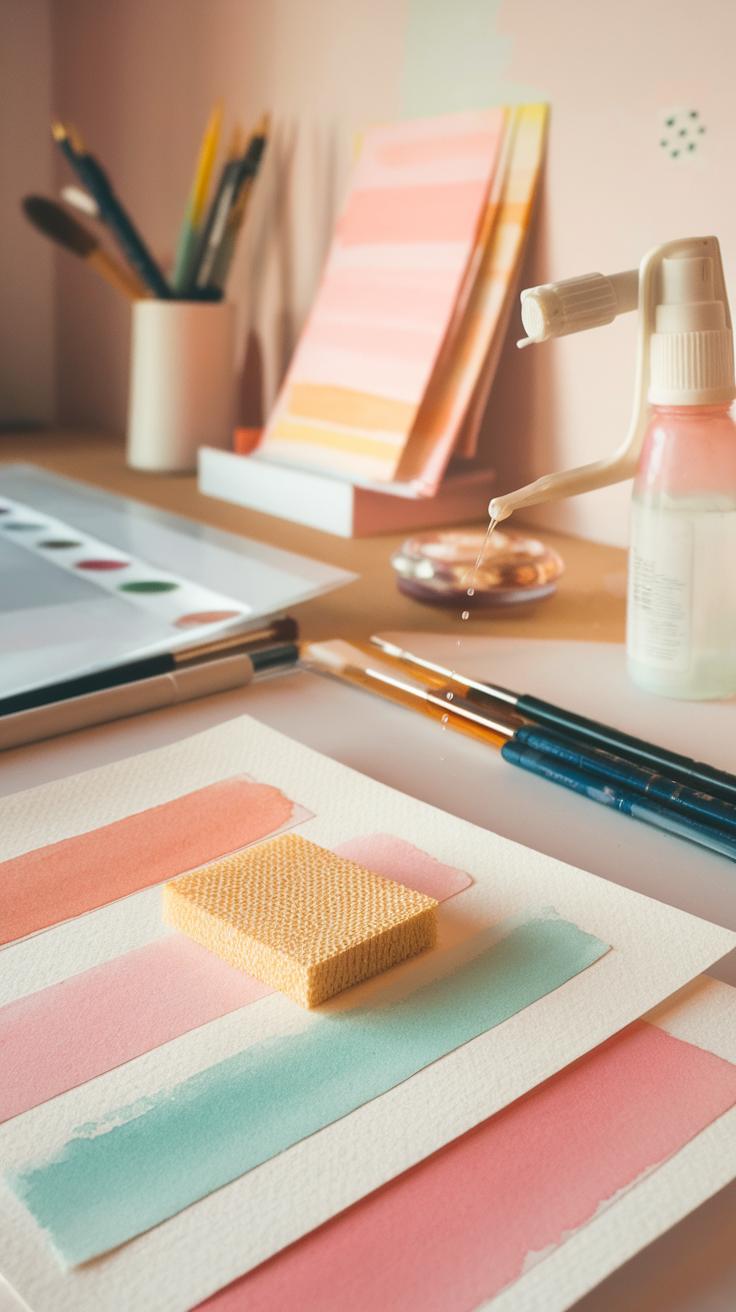
Using Gradients and Layers
Building smooth gradients begins with controlling water and pigment ratios. Start with a pale wash and add more pigment as you move across the paper. This gradual shift creates seamless color transitions needed for skies or shadows.
Layering washes after one dries deepens color and adds dimension. Instead of one flat tone, multiple layers offer subtle variations that bring mood to your work. For example, paint a sunset by layering warm tones from light orange to deep red.
Test layering thin glazes over dry washes to produce glowing effects. Can you capture morning mist by applying gentle gradients and soft layers? Gradients and layering help you develop richness and mood in every painting.
Troubleshooting Common Challenges in Watercolour
Watercolour painting often brings challenges that can interrupt your creative flow. Unwanted blooms, paper buckling, dull colors, and streaks are problems many artists face. Understanding these issues helps you stay in control of your work.
Blooms happen when wet paint meets a wet area, causing pigments to spread unevenly. Paper buckling occurs due to excess moisture causing the fibers to warp. Colors lose their intensity if too much water dilutes the pigment or if layers mix too early. Streaks form with uneven brush strokes or inconsistent paint loading.
Patience plays a key role in solving these problems. Watch how the paint behaves on your paper and adjust your technique slowly. Ask yourself: Have I loaded my brush evenly? Is the paper dry enough? Learning to observe these details improves your results with each attempt.
Fixing Bloom and Paper Issues
Paint blooms start when excess water meets drying paint, pushing pigment outward. Control moisture by applying paint on properly dried paper and limiting added water. High-quality, heavier paper absorbs water well, reducing unwanted spreads.
Paper buckling appears when moisture causes the sheet to warp. You can prevent this by stretching your paper. Tape your paper edges onto a firm board while wet, then let it dry to create a tight surface. This keeps paper flat and ready for painting.
If buckling still happens, you can lightly press your paper under a heavy book after drying. These small steps help maintain the smooth surface needed for accurate brushwork and clean washes.
Improving Color and Brush Control
Maintaining pigment intensity requires balancing paint and water. Load your brush with enough pigment, not just water. If your color dulls, add fresh pigment or reduce water amounts. Do test strokes to find the right mixture before applying.
Streaks appear when brush strokes are uneven or the brush runs low on paint. Keep your brush consistently loaded and move it steadily. Practice soft, even pressure to avoid harsh edges.
Experiment with different brushes to see which give smooth strokes suited to your style. Could adjusting your water and pigment ratio improve your color vibrancy? Observing these details sharpens your brush control and overall paint application.
Continuing Your Growth as a Watercolour Artist
Developing your watercolour skills takes patience and steady effort. Focus on practicing classic techniques like wet-on-wet glazing, lifting, and dry brush regularly. These methods build a solid foundation you can rely on as you try more complex projects. Set clear goals for your practice sessions, such as mastering a specific effect or completing a small painting each week. Reflect on what worked and what didn’t in every piece you create.
Look at masterworks from artists like J.M.W. Turner or John Singer Sargent to understand how they used watercolour thoughtfully. Try copying parts of their paintings to gain hands-on insight into brushwork and color mixing. Moving beyond repetition, allow yourself to explore new styles too. Experimentation often reveals fresh approaches that improve your skills in unexpected ways.
Ask yourself: What challenges did I face today? How can I approach them differently next time? Your growth happens through these reflections combined with focused practice.
Practicing and Learning
Create a routine that encourages painting regularly, even if only for short periods. Consistency helps you build muscle memory and deepen your understanding of materials. Try different techniques and subjects to avoid falling into a creative rut. Occasionally replicate master paintings to study their technique closely. This exercise improves your eye and hand coordination. Keep a journal or portfolio to track your progress, noting which methods feel natural and which need more work.
Consider your painting time a chance to learn instead of only produce. How did layering transparent washes affect your color intensity? What adjustments will improve your edges or textures? These questions guide your journey and highlight areas to practice more in the future.
Finding Community and Inspiration
Connecting with other artists offers fresh perspectives and motivation. Joining local art groups or online forums gives you a place to share work, receive feedback, and observe others’ techniques. Workshops allow you to ask questions and try new methods under guidance. Interacting with artists working in other mediums, like acrylic or pastel, sparks fresh ideas you can incorporate into your watercolour practice.
Inspiration often comes from unexpected sources. Look at photography, nature, or design for color and composition ideas. How can you represent texture from another art form in your watercolour? Join conversations and show curiosity. Your community can push you to take risks and refine your style over time.
Conclusions
Mastering classic watercolour techniques enables you to create compositions with depth, texture, and clarity. By applying these traditional methods thoughtfully, you gain control over your materials and can better express your artistic vision. Practice with patience and observe the effects of different approaches closely. Each brushstroke and wash gives you feedback that advances your skills. Remember, your creativity grows as you work with these foundational techniques.
Keep exploring and experimenting with watercolour art while respecting its history and core methods. Your unique style will develop as you blend tradition with innovation. Watercolour offers endless opportunities to refine your skills and expand your expressive capabilities. How will you use these classic techniques to bring your artistic ideas to life? The journey of learning and exploration awaits your next brushstroke.


