Introduction
Watercolor painting is an art form that uses pigments suspended in a water-based solution. This technique has a long history, reaching far back to ancient civilizations. Today, it remains popular because of how unique and beautiful the results can be. You do not need to be a professional artist to start learning watercolor painting. With the right tutorials and guidance, you can begin creating your own watercolor artwork. This article offers a detailed guide to help beginners and experienced painters improve their watercolor skills effectively.
There are many different techniques and tools in watercolor painting, making it an exciting medium to explore. Understanding the basic materials, such as watercolor paper and paints, is the first step. You will also learn methods to control color, brush strokes, and layering for different effects. This article provides practical advice, easy-to-follow tutorials, and expert tips to help you develop your own style. Are you ready to start your watercolor painting journey and create captivating art?
Understanding Watercolor Basics
Mastering watercolor starts with knowing your materials and how they interact. Watercolor paints come mainly in tubes and pans. Tubes hold wet paint that you squeeze out, offering strong pigment concentration. Pans are dry cakes of paint that activate with water, making them convenient and travel-friendly.

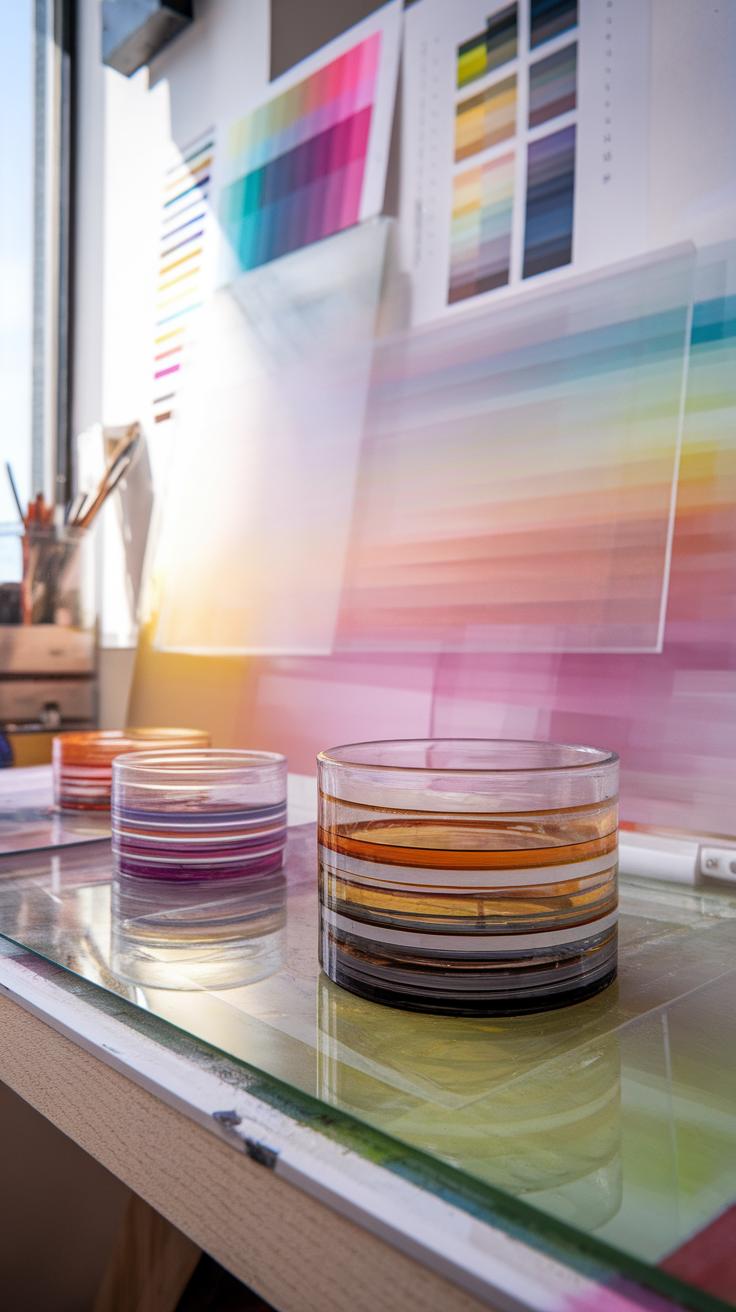
Paper plays a major role in how your painting turns out. Cold-pressed paper has a slightly textured surface, good for most techniques. Hot-pressed paper is smooth, ideal for fine detail. Rough paper has strong texture, which creates interesting effects with pigments.
Brushes differ in shape and size, affecting your strokes. Round brushes offer control for lines and details. Flat brushes cover larger areas with broad strokes. When choosing brushes, think about the style you want—delicate or bold—and pick the right ones to match.
Watercolors are transparent because the paint’s pigment mixes with water and binder ingredients like gum arabic. This transparency lets you layer colors, creating depth and richness. The pigment concentration controls how vivid or light your colors appear. Knowing these traits helps you plan your painting and avoid unwanted muddiness or fading.
Essential Materials for Watercolor Painting
Watercolor paints come in two main forms: tubes and pans. Tubes offer deep, concentrated pigment and let you mix large amounts of paint. Pans dry out but reactivate easily with water. Your choice depends on how and where you plan to paint.
Paper types differ in texture and weight. Cold-pressed paper is most common because it holds details and works with many styles. Hot-pressed paper feels smooth, helping you paint fine lines, but it absorbs water less quickly. Rough paper enhances texture but demands careful control of water and pigment.

Brushes come in shapes like round, flat, or mop. Round brushes let you paint both sharp lines and wide strokes. Flat brushes spread color widely and create edges. Mop brushes hold much water and soften blends. When picking brushes, consider what effect you want and your level of control.
Key Characteristics of Watercolor Paint
Watercolor paint contains pigment, water, and a binder like gum arabic. When you add water, the paint becomes more transparent, allowing light to pass through layers. Pigment concentration affects how intense your colors look once dry.
The transparency of watercolor makes layering possible. You can apply thin washes to build up color gradually without blocking light. This technique creates depth and glowing effects. If pigments are too weak or too thick, your painting may appear either faded or patchy.
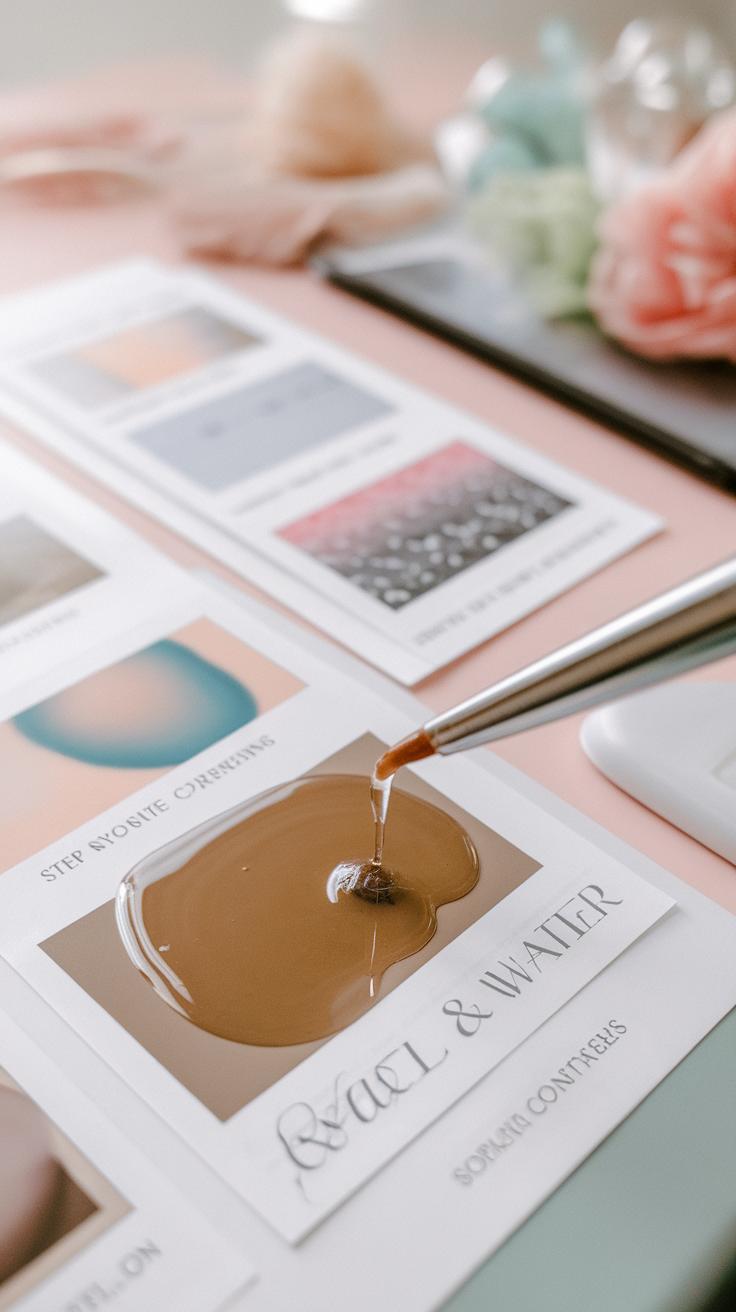
Mixing colors directly on paper or on a palette produces different results. Wet-on-wet blends colors softly, while wet-on-dry keeps edges sharper. Understanding how paint behaves helps you choose when to layer, mix, or leave paper white to enhance your composition.
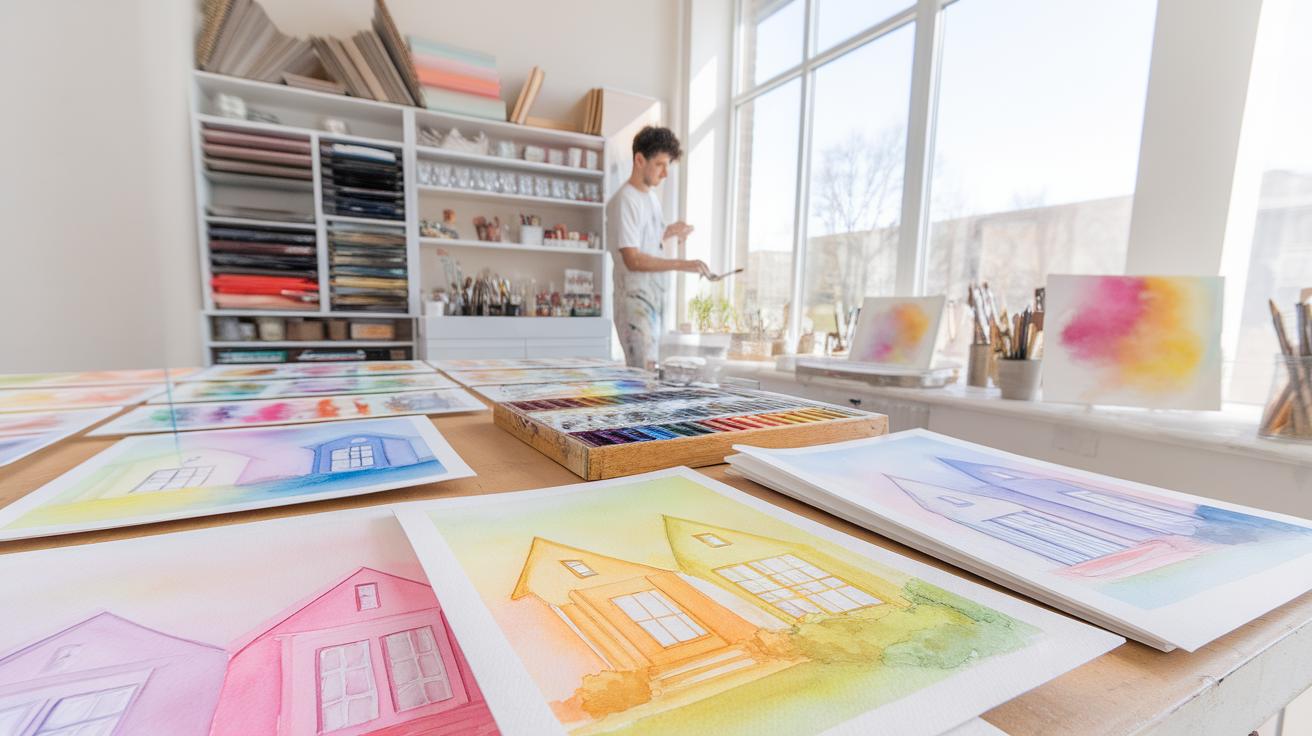
Preparing Your Workspace and Tools
Begin by choosing a spot where you feel comfortable and can focus without distraction. Natural light works best because it shows true colors, so try to set up near a window if possible. Position your table or easel so that shadows don’t fall on your work. Organize your materials before you start to prevent interruptions during your painting session. Arrange your brushes, paints, water containers, and paper towels within easy reach. Protect your table with a plastic sheet, newspaper, or a dedicated art mat to catch spills and splashes. Keeping your workspace clean and clutter-free helps you work more efficiently. Have everything set up so you spend less time searching and more time creating. Think about how your workspace can stay tidy throughout your project, not just at the start.
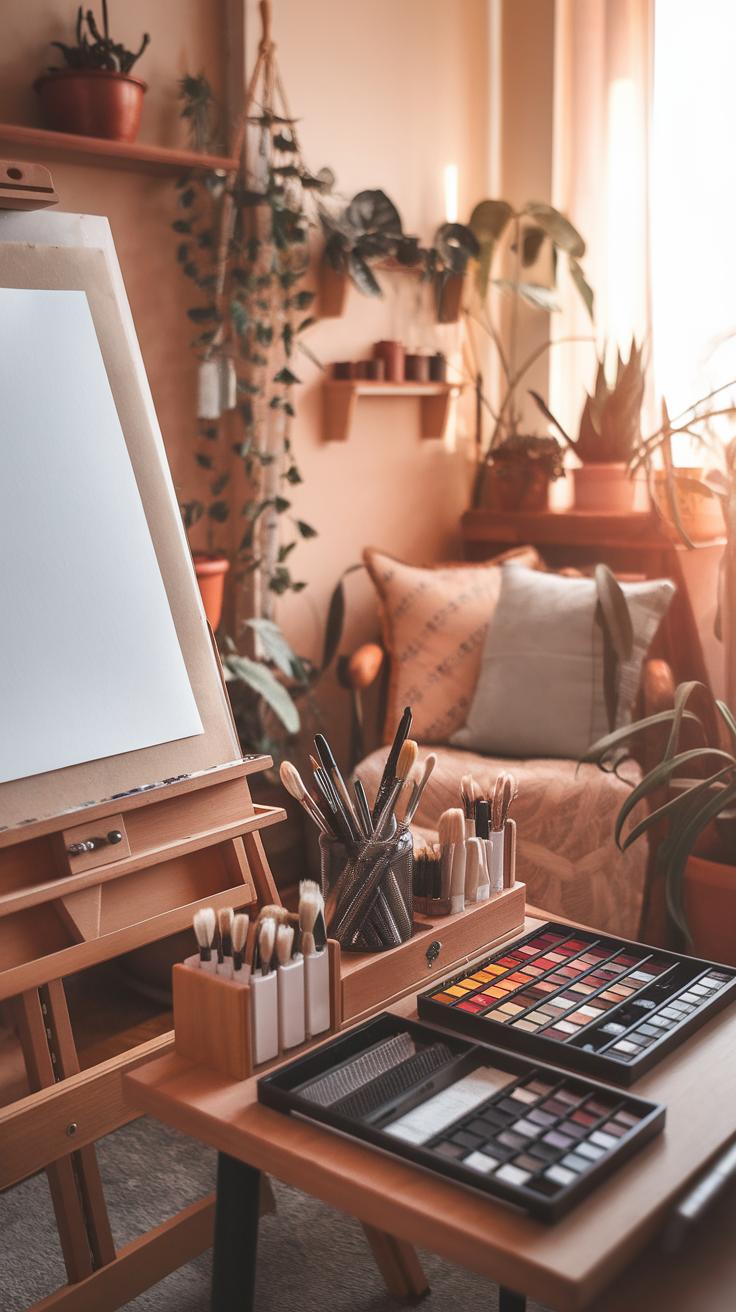
Creating an Ideal Painting Area

Good lighting helps you see colors and details clearly. Set your workspace near a large window or use a daylight lamp if natural light isn’t available. A sturdy, flat table works well, but an adjustable easel gives you more control over your angle. Lay out all your materials before painting to avoid breaking your concentration. Wipe down surfaces to remove dust or debris that might affect your paper. Arrange your light source to avoid casting shadows on your work. Small things like a comfortable chair or having a towel nearby for spills can make a difference. How does your current workspace support or hinder your focus? Adjust it to create a space where you want to spend time painting.
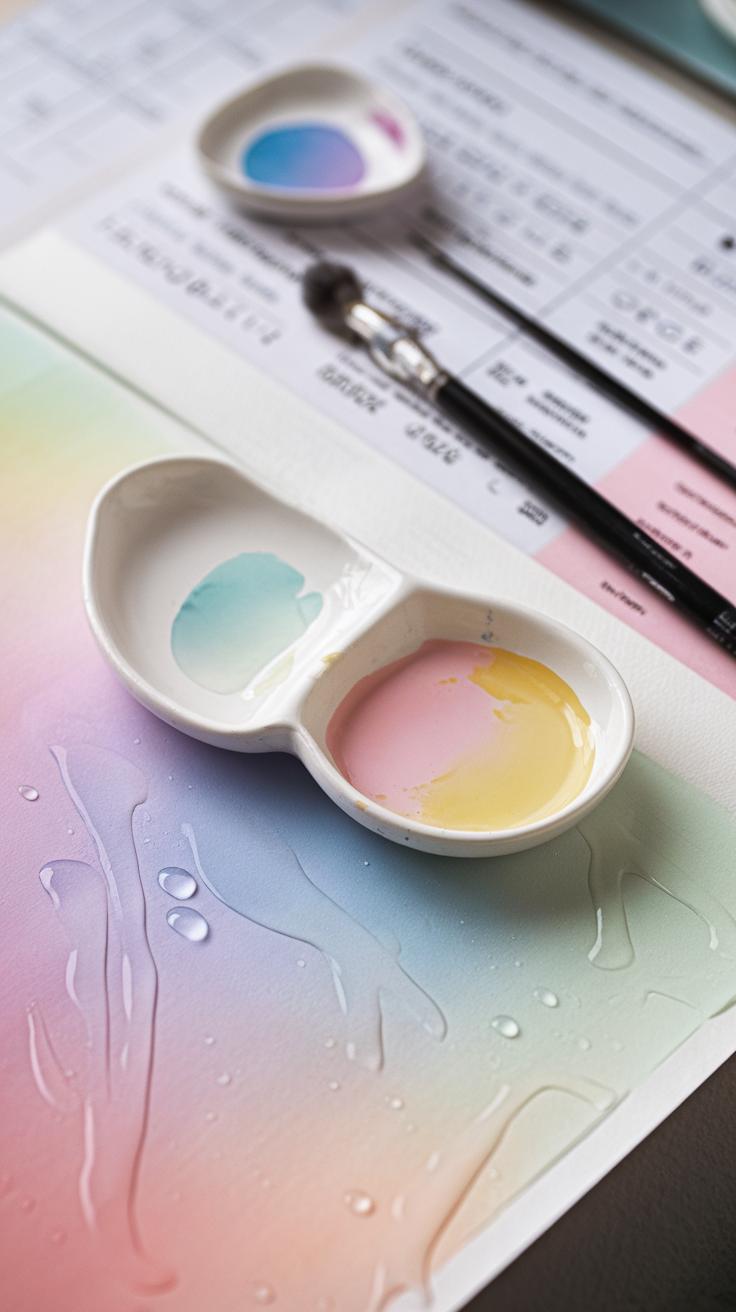
Organizing Your Watercolor Supplies
Keep your brushes upright in a jar or holder to protect their shape. Place paints nearby in order of color or frequency of use for quick selection. Use a palette with mixing wells to make blending colors easier and keep your paints clean. Have at least two water containers: one for rinsing brushes and one with clean water for mixing paint. Keep paper towels or a clean rag close by to blot brushes or fix mistakes fast. When supplies are organized, your hands can move smoothly from one tool to another without breaking your painting flow. Could rearranging your tools improve how you work? Try different layouts to find what feels most natural for you.
Basic Watercolor Techniques You Should Know
Watercolor painting depends on a few key techniques that you can practice to improve your skills. The wet-on-wet method involves applying paint onto wet paper, which allows colors to blend and spread softly. You can create smooth skies or gentle backgrounds using this technique. The wet-on-dry method means painting on dry paper, which gives you sharp, defined edges. This works well for adding details and shapes that need to stand out.
Gradients let you move from one color or value to another smoothly. Practicing gradient washes helps you control water and pigment flow across the paper. The dry brush technique uses a brush with little water to add rough textures or fine lines, useful for fur or tree bark effects. Finally, lifting color means removing paint from the paper after it dries, which helps create highlights or correct mistakes.

You should try each technique on a scrap piece of paper. Ask yourself: How does the paint move? How does the paper react? These observations will improve your control and confidence step by step.
Applying Wet-on-Wet and Wet-on-Dry Methods
Paint spreads differently on wet and dry paper. When you apply paint on wet paper (wet-on-wet), colors flow and merge freely. This method creates soft edges and is perfect for natural effects like clouds or water reflections. You must work quickly before the paper dries, or the paint won’t blend well.
Painting on dry paper (wet-on-dry) gives clear, sharp lines. You control where the paint goes, making it ideal for creating details like branches, leaves, or buildings. You can layer wet-on-dry colors on top of dry layers for more depth without losing precision.
Try painting a simple circle with both methods. Notice how edges differ. Ask yourself: Which look fits the mood of your painting? Practicing both will prepare you to choose the best method for your next project.
Creating Gradients and Using Dry Brush
Gradients help you transition smoothly from dark to light or between colors. Start by applying a strong color at the top of your paper. Then, rinse your brush and pull the paint down slowly while fading the color. This gradual wash creates depth in skies, water, or backgrounds.

The dry brush technique uses a brush with very little paint and water. Drag it lightly over rough paper to get broken, textured marks. You can use this for grass, tree bark, or even hair details where you want roughness or sharp strokes.
Try making a gradient from blue to white, then add dry brush details on top. How does the texture change your painting’s feel? Experiment often to find the right balance between smooth and textured areas in your work.
Mastering Color Mixing and Layering
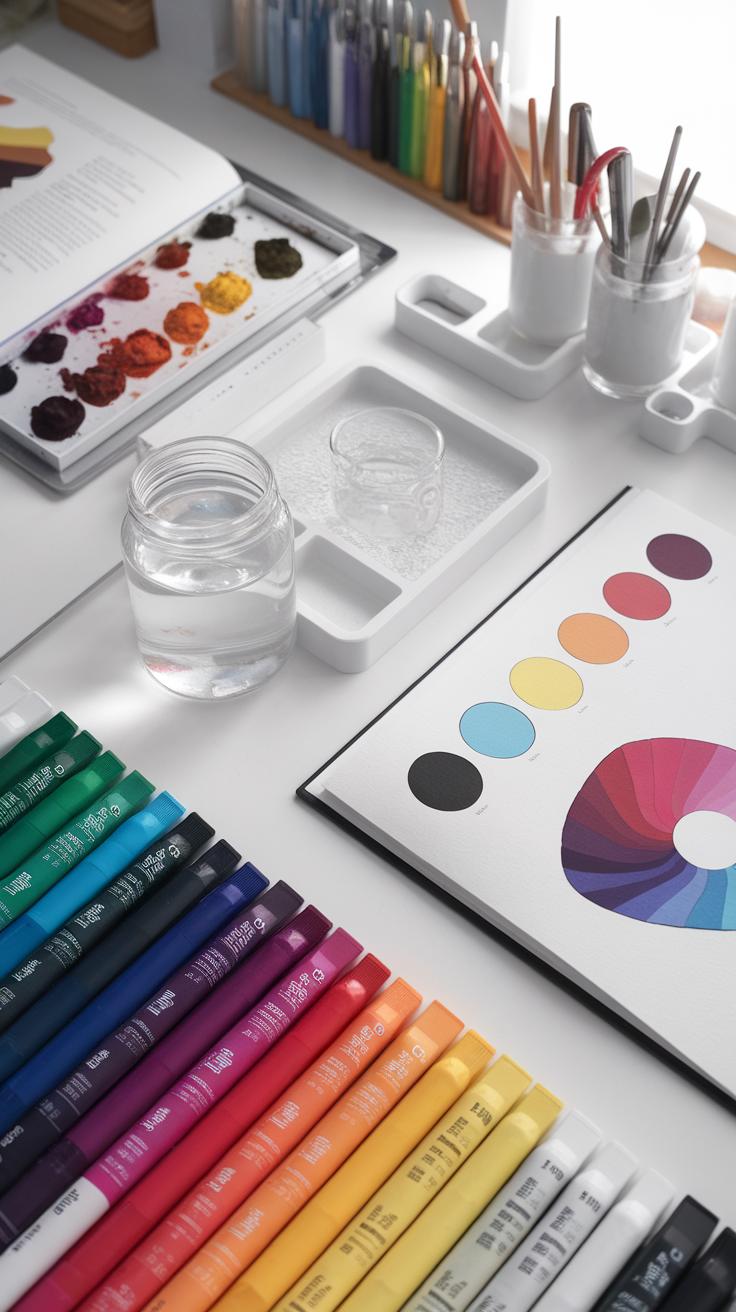
Techniques for Mixing Clean Colors
Understanding the color wheel is your first step to mixing clean colors. Primary colors are red, blue, and yellow. Mixing two primaries makes secondary colors: green, orange, and purple. Mixing a primary with a secondary creates tertiary colors like blue-green or red-orange.
Try mixing two colors on your palette rather than mixing all three to avoid muddy results. For example, mix blue and yellow for a bright green instead of adding red into the mix. Keep mixtures light and add water gradually to control the tone.
Overmixing leads to dull or muddy colors. Instead, add colors slowly and test them on scrap paper. Ask yourself: Are my colors still vibrant? If not, start fresh. Clean mixing helps your paintings stay fresh and lively.
Building Depth with Layering

Layering creates depth by adding transparent washes one on top of another. Apply a light wash first and let it dry completely before adding another layer. This keeps colors bright and prevents unwanted blending.
Use layering to shape shadows and highlights. For shadows, add cool or darker colors in thin layers. For highlights, leave areas untouched or use light washes to preserve brightness. Details come last with small, controlled brush strokes.
Waiting between layers is key. Each dry layer acts like a new base, letting you build richness without losing clarity. How do your layers look? If colors mix too much or get dull, slow down and dry between steps. Your page will thank you with vibrant, deep tones.
Drawing Foundations and Sketching
Your drawing skills lay the groundwork for every watercolor painting. Sketching helps you plan your image before paint touches the paper, which saves time and prevents mistakes. A light sketch gives you a guide to follow without overpowering your washes or details later.

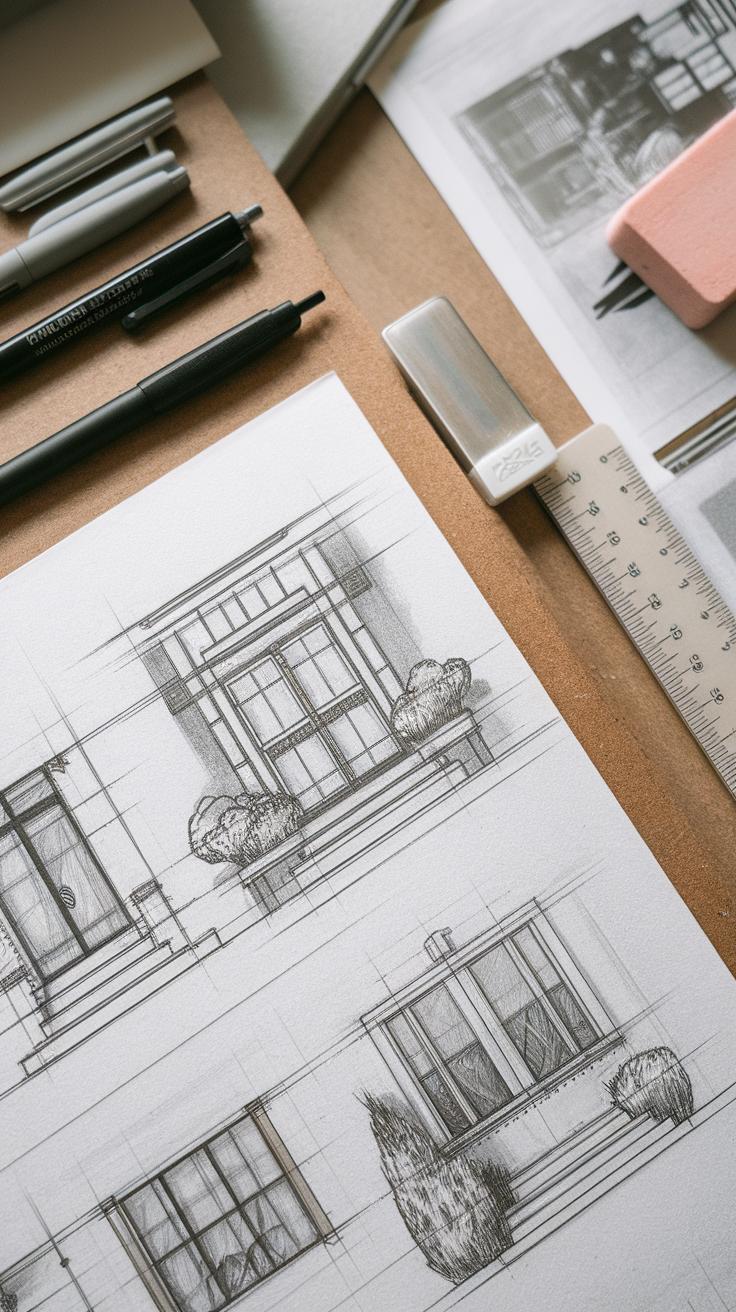
When you draw on watercolor paper, use a hard pencil like an H or 2H. These pencils leave faint lines that won’t soak into or damage the paper. Avoid pressing too hard, as deep impressions can create uneven surfaces that affect your paint’s flow.
Simple compositions start with basic shapes like circles, squares, and triangles. These shapes help position elements and maintain proportion. Ask yourself where the main subjects should sit. Does your layout feel balanced? Sketching these shapes first allows you to adjust spacing easily.
Focus on keeping proportions correct by comparing relative sizes. For example, if painting a flower, sketch the petals and center separately. This breaks complex forms into manageable parts. Your preparation creates a solid base for confident painting as you add color and layers.
Sketching Lightly on Watercolor Paper
Use pencils with hard leads such as H or 2H to keep your lines faint. Hard pencils produce light marks that won’t show through wet paint or tear the textured surface of watercolor paper.
Sketch gently, applying little pressure. Heavy lines can indent the paper and make paint pool unevenly, causing blotches or unwanted textures. You want your sketch to guide your brush, not compete with the paint’s transparency.

Keep your sketches minimal. Don’t fill the page with dark outlines. Instead, capture just enough detail to map where objects will sit and their rough shape. This approach lets the watercolor paint shine while giving you a reliable framework.
If you need to erase, do so carefully once the paint is dry. Erasing wet or damp areas may damage the paper. Try light touch and avoid overworking the surface to keep it smooth and ready for paint.
Planning Composition and Proportions
Start by breaking your subject into simple geometric shapes. A tree can begin as a triangle for the canopy and a rectangle for the trunk. These shapes help you see the overall structure and assist with correct placement.
Balance your composition by distributing elements evenly across the page. Think about where the viewer’s eye should go and place your key objects there. Avoid crowding one side or leaving too much empty space on the other.
Use the “rule of thirds” by dividing your paper into three equal sections horizontally and vertically. Place important features along these lines or at their intersections to create interest and harmony.
Pay attention to size relationships. Compare the width and height of objects and their distance from each other. Lightly measure with your pencil or visualize the space between shapes to keep everything proportional.
Taking time to plan ensures your painting feels balanced and focused before you start applying color, making your final work clearer and more enjoyable to create.
Advanced Techniques for Adding Details and Texture
Using Masking and Texture Effects
Masking fluid helps you protect areas of your painting that you want to keep white or untouched by paint. Apply it with an old brush before starting your washes. Once dry, paint over it freely. After the paint dries, remove the masking fluid to reveal sharp, clean spaces. This adds strong contrasts and defined shapes in your work.
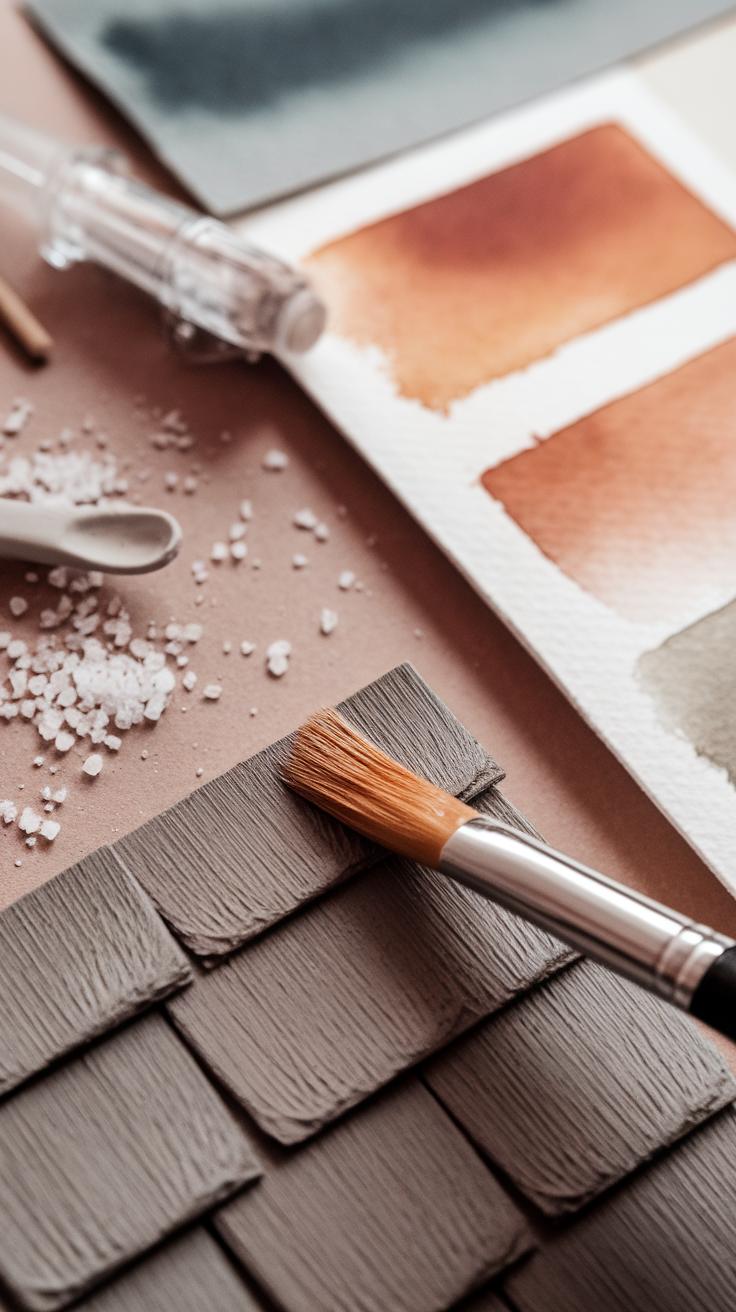
Salt creates interesting textures by soaking up wet paint. Sprinkle salt on damp areas, and it will absorb pigment, creating small, natural patterns. When dry, gently brush off the salt to see the effect. Experiment with different salt sizes for varied textures.
Sponges can add texture too. Try dabbing a sponge lightly on wet paint for leafy or rough surfaces. These methods let you control where paint stays and where textures form, adding depth and interest. Have you tried masking to keep highlights or salt for creating unexpected effects in your paintings?
Creating Details with Different Brushes
Each brush type offers unique ways to add details and texture. Use a liner brush for fine lines like hair, branches, or intricate patterns. Its thin, long bristles give you control for tiny strokes that build detail.
Round brushes work well for both broad strokes and smaller shapes. They hold a good amount of water and pigment, ideal for petals, leaves, or soft edges in your painting. You can create thick to thin lines with just one brush.
Fan brushes spread paint in thin, textured strokes perfect for grasses, fur, or clouds. Lightly flicking a fan brush can simulate natural textures quickly.
Choosing the right brush depends on the effect you want to create. Try switching brushes mid-painting to add layers of detail and texture. What brush will you grab next time to improve your painting’s finer points?
Common Mistakes and How to Fix Them
Many beginners struggle with muddy colors in their watercolor paintings. This usually results from mixing too many pigments or reactivating dried paint with too much water. To keep colors fresh, try cleaning your brush before picking a new color and work in stages, letting layers dry before adding more. Controlling water is key. Too much water can cause colors to spread uncontrollably and blur details.
Overworking the paper is another common issue. Constant brushing damages the paper surface, causing rough patches or holes. Use gentle strokes and avoid scrubbing. If the paper looks tired, stop and let it rest. Paint on higher-quality, thicker watercolor paper to handle reworks better.
Uncontrolled water flow can ruin your composition. Try tilting your paper slightly or use a dry brush to manage water direction. Think about how water moves on paper before starting. These small habits help keep your painting clean and sharp.
Avoiding Color Mud and Paper Damage
Keep your pigments vibrant by rinsing your brush thoroughly between colors. Mixing fresh paint rather than reusing old puddles prevents dull, muddy results. Use less water if your colors bleed or lose brightness.
Protect your paper by working with moderate moisture. Too much water weakens the paper, leading to wrinkles or holes when it dries. Press a clean tissue on your painting if it becomes too wet. It will soak up excess water without disturbing your colors.
Choose cold-pressed or hot-pressed watercolor paper with the right weight for your techniques. Thicker paper resists damage and holds colors better. Try testing small areas before applying broad washes to display how your paper reacts.
Correcting Unwanted Paint Effects
Lifting color is a helpful trick once paint dries. Use a damp, clean brush or a soft cloth to gently blot or lift unwanted spots. Repeat carefully to avoid damaging the paper.
If lifting doesn’t work, consider starting fresh spots. Mask new layers over mistakes or scrape dead paint off lightly with a sharp knife when completely dry. Painting a nearby area first reduces color spots from leftover pigments.
When mistakes happen, don’t rush to fix them. Ask yourself how the effect changes your painting. Sometimes, blending or adding layers over errors can create unexpected textures or depth. Use each chance to experiment and learn.
Building Your Watercolor Painting Collection
Finding and Choosing Quality Tutorials
Look for watercolor tutorials from skilled artists who share clear, step-by-step instructions. Websites like YouTube, specialized art platforms, and art blogs often offer video lessons and written guides. Art supply stores and libraries carry books written by professional watercolorists. Before starting a tutorial, check if the difficulty matches your skill level. Beginners should focus on basics like color mixing and brush control, while more experienced painters can try advanced techniques like glazing or wet-on-wet effects.
Evaluate if the tutorial explains concepts clearly and provides examples or demonstrations. Reviews and viewer comments can help you decide. Try watching or reading a sample before committing time or money. What topics do you want to improve? Pick tutorials that address those areas. This approach keeps practice focused and productive, helping you avoid frustration.
Setting Projects and Tracking Progress
Choose themes or subjects that interest you, such as plants, landscapes, or portraits. Projects with a clear focus help you practice specific skills regularly. Set realistic goals, like completing one painting every week or mastering a new technique monthly. Keep a journal or digital folder to save your work and note what you learned from each piece.
Tracking progress shows your growth over time and highlights areas needing improvement. Review your older paintings after a few weeks or months. What changed? What details improved? Mark your milestones to stay motivated. If a project feels too big, break it into smaller steps. Can you add texture today and adjust colors tomorrow? Consistent, goal-oriented practice grows both your skills and your collection of paintings.
Conclusions
Mastering watercolor painting is about practice and understanding the core aspects of the medium. From selecting the right materials to applying various techniques, your skills will grow with each painting. The tutorials and tips shared here guide you in improving control over water, color, and brushwork. This guidance allows you to express your creativity clearly and confidently. You have the tools to build each skill step by step.
Expanding your collection of tutorial resources will keep your skills fresh and challenging. Painting with watercolors can be both relaxing and rewarding. By continuing to practice and learn from expert advice, you can advance from simple projects to complex masterpieces. What will your next watercolor painting look like? Start exploring the techniques, and enjoy seeing your artwork flourish.


