Introduction
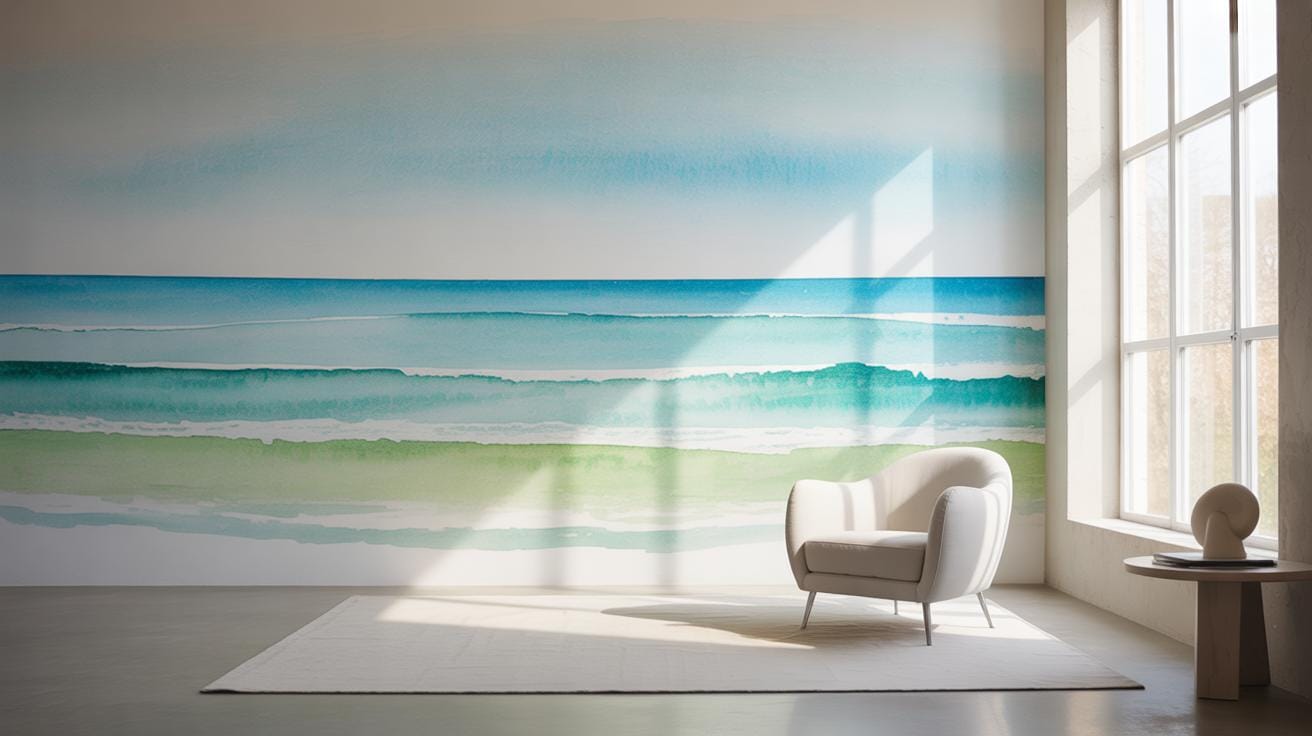
Watercolor ocean murals bring a sense of peace and the beauty of coastal life into your space. Using delicate brush strokes and soft color blending, these murals create a calm and inviting environment. Whether you want a full wall mural or a smaller accent piece, watercolor art can transform your room with soothing shades of blue and green.
In this article, you will find ideas and tips for creating watercolor ocean murals that evoke serene coastal vibes. We will explore color choices, painting techniques, design ideas, and practical advice for both beginners and more experienced artists. Let’s dive in and explore how you can bring the ocean’s peacefulness into your home with watercolor murals.
Understanding Watercolor Basics for Ocean Murals

Essential Watercolor Supplies for Ocean Scenes
Starting with your materials can make a big difference when painting ocean murals. First off, you’ll want a good set of watercolor paints. Tubes often offer richer colors and better control over saturation compared to pans—but if you’re just experimenting, pans are perfectly fine.
Brushes matter too. Round brushes in sizes 6 to 12 are versatile for broad strokes and subtle details alike. A flat brush can help with washes—you know, those large, smooth backgrounds that set the ocean’s mood. Don’t forget a good sponge or paper towel for blotting excess water; they come in handy more often than you’d expect.
Paper type is crucial. Go for 140 lb (300 gsm) cold-pressed paper. It absorbs water well yet keeps some texture to hint at waves or spray without too much fuss. Using a heavier paper means your mural won’t buckle and wrinkle every time you add wet layers, which can get frustrating fast.
Simple Techniques for Water and Color Blending
When it comes to painting ocean scenes, blending is your friend. Wet-on-wet technique, where you apply paint onto wet paper, lets colors merge naturally, mimicking the fluidity of water. It can feel unpredictable at times—but that’s part of the charm.
Starting with a flat wash—painting a large area with uniform color—sets the ocean’s base. Try layering soft gradients by gradually diluting your paint from deep blues into lighter greens, capturing shallow waters or the sky meeting the sea.
Another approach is drying between layers. This gives you more control and lets you add details like ripples or foam without muddying colors. Experiment with lifting paint too—dabbing a damp brush or tissue to lighten areas creates highlights that suggest sunlight on waves.
Practice these gently. Don’t rush blending; sometimes waiting for the paper to be just the right dampness makes all the difference between a muddy mess and a peaceful swell.
Choosing Ocean Colors for a Serene Mural
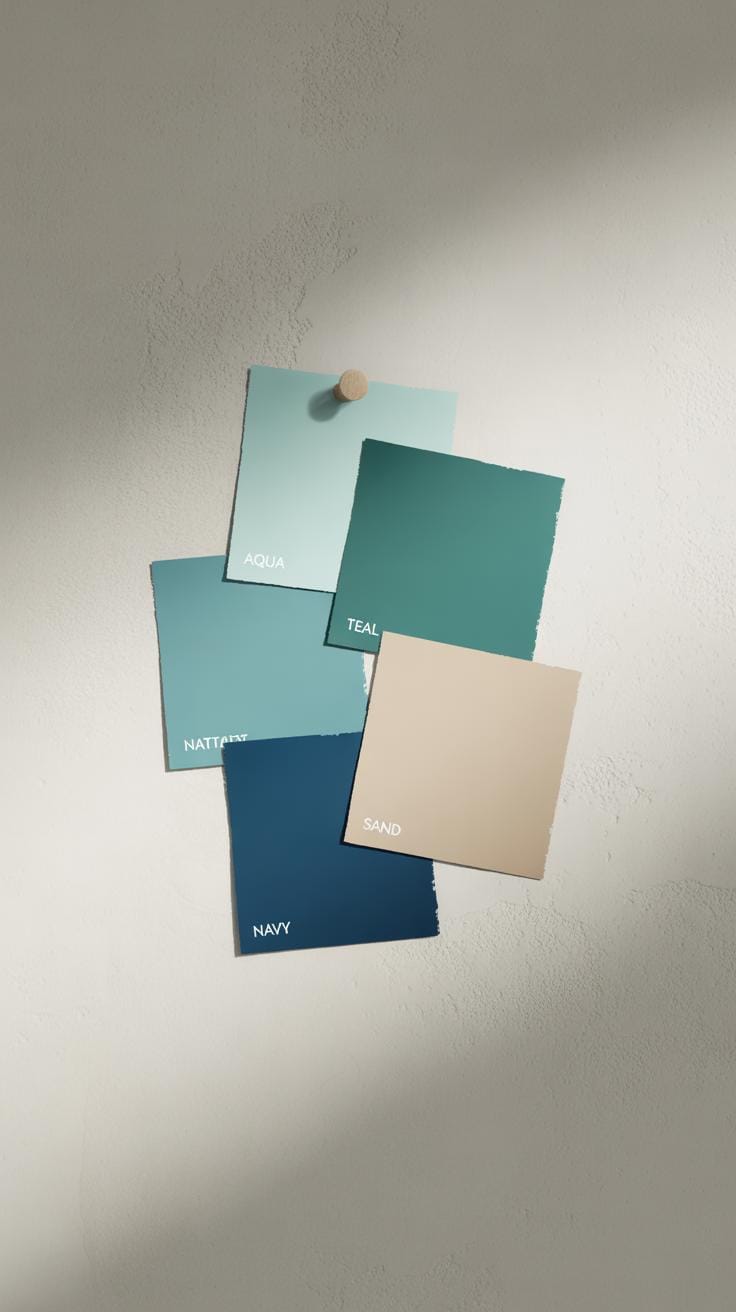
Picking the right colors for your ocean-themed watercolor mural can be surprisingly tricky. You want calmness but also depth, a balance that invites quiet reflection without feeling dull. Blues and greens naturally come to mind, but which shades exactly? Think of the cool, softened blues you see on a still morning—cerulean, powder blue, sometimes with a touch of turquoise. These tones can evoke peace, like a gentle tide moving slowly.
Greens in your palette might lean toward muted seafoam or sage, rather than bright or neon shades. Such subtleness helps suggest the stillness of coastal waters without overwhelming the viewer. You might feel tempted to add darker blues like navy for contrast, but don’t push the drama too far if serenity is your goal; too much intensity can disrupt tranquility.
Neutrals become surprisingly important here. Whites aren’t just for waves—they brighten the scene and let softer colors breathe. Sandy beiges echo shorelines and add warmth without stealing focus. Soft grays can behave like a mist hovering over water, lending a meditative layer that balances the cooler hues. These neutrals ground the mural, preventing colors from feeling isolated or flat.
When I paint, I sometimes wonder if subtle shifts from blue to green reflect more of what I feel than what I see. Does calmness come from color, or how the colors interact? Maybe both. Your choices can tune a space to inspire either quiet thought or gentle energy, so don’t hesitate to experiment with mixing these shades gradually before starting your final mural.
Capturing Ocean Movement and Texture in Watercolor

When painting ocean murals with watercolor, the way you handle your brush can really shape how alive the water feels. Think about waves—not just their curve, but their energy. Using curved, sweeping brush strokes can suggest the rolling motion of waves, while shorter, broken strokes might mimic choppy water or ripples. Sometimes, a gentle flick of the wrist creates the cresting of small waves in a way that feels natural, almost breathing with the scene.
Layering plays a crucial role in adding depth to your ocean. Starting with light washes and building up darker tones allows you to suggest shadows beneath waves or deeper water. Between these layers, waiting for the paint to dry creates more controlled shapes. However, I often leave some areas wet to let colors bleed softly, reflecting the ocean’s fluid nature.
Dry brush techniques can add interesting texture that resembles sea foam or sand disturbed by water. Gently dragging a dry brush with minimal paint across the paper leaves behind uneven strokes. These can imitate the gritty, foamy surfaces along the shoreline or the subtle sparkle of wet sand. It might feel a bit random at first, but that roughness often makes the mural feel more real.
Does your brush stroke follow the tension of the water, or does it resist it? Sometimes working with the unpredictability of water and paint creates effects you’d never planned but can’t resist keeping. Isn’t that part of the charm in painting oceans? The balance between control and chance.
Design Ideas for Your Watercolor Ocean Mural

Abstract Ocean Art for Modern Spaces
Exploring abstract designs can bring a fresh, modern touch to your ocean mural. Rather than painting defined waves or shorelines, you might focus on fluid shapes and shifting colors that hint at water’s movement. Think of soft, overlapping washes of blues and greens—sometimes with unexpected touches of lavender or sandy beige—that flow into one another without strict outlines. This creates a calm, open feel that invites viewers to interpret and imagine. In a minimalist room, such abstract art can serve as a quiet but powerful statement.
Color blending plays a crucial role here. Wet-on-wet techniques allow pigments to bleed and merge, mimicking the unpredictable patterns of the sea. The brushstrokes or droplets might look random but still evoke the ocean’s essence. It’s worth wondering how much detail you want to lose in favor of mood. Have you thought about letting the mural breathe with spacious areas of pale colors, interrupted by denser bursts of waves or spray?
Realistic Coastal Scenes and Wildlife
If you prefer more representational work, painting detailed coastal scenes offers another rewarding route. Picture capturing the curl of a wave, the texture of wet sand, or even the patterns on a seashell. These details draw viewers into a specific moment by the sea, making the mural almost a window to a favorite beach. Including marine life—perhaps a cluster of starfish, a soaring gull, or underwater creatures—adds an extra layer of story and depth.
Working realistically requires patience, though. You might spend hours layering translucent glazes to get the light right on water or the shadow beneath a rock. Still, the result is often worth it if you love fine details. Have you considered mixing close-up studies of shells or driftwood with distant horizons? Combining these perspectives can keep the mural interesting without overwhelming the space.
Ultimately, whether you lean toward abstraction or realism, what matters most is what feels right for your space and mood. Sometimes, merging both approaches creates the most surprising and personal murals.
Planning Your Mural Space and Layout

Finding the Perfect Wall for Your Mural
Choosing where to paint your watercolor ocean mural can feel a bit overwhelming. It’s not just about picking any empty wall—think about the atmosphere you want to create. Spaces where you unwind, like a bedroom or living room corner, often work well. But don’t shy away from hallways or even bathroom walls. Light plays a huge role here; a spot with natural daylight can really enhance the subtle gradients of watercolor, but too much direct sun might fade your work over time.
Consider the wall’s size and texture too. Smooth, large walls give your ocean scene room to breathe. A small or awkward space is trickier, but it can offer intimacy if that’s what you’re aiming for. Also, look at the wall’s surroundings: Will furniture block part of the mural? Is the wall close to moisture or heat sources? These factors might influence your choice more than you expect.
Sketching and Mapping Your Design
Once you’ve settled on your spot, it’s handy to sketch your design to scale right on paper or digitally. This doesn’t have to be detailed—a rough outline is enough to figure out where the waves and horizons will fall and how the colors might flow. I often find that sketching on tracing paper over a printed photo of the wall helps spot proportion issues upfront.
You could also use simple grid techniques to transfer your sketch to the wall. Drawing faint pencil grids on the wall and your paper makes it easier to move parts of the design without losing perspective. Stencils or masking tape can guide edges if you want crisp borders for elements like rocks or distant boats. Even a light chalk outline works for marking broad shapes quickly. This stage feels like solving a puzzle; it’s about balancing freedom and control, and that’s where the mural starts to take concrete shape.
StepbyStep Guide to Painting Your Ocean Mural
Preparing Walls and Work Area
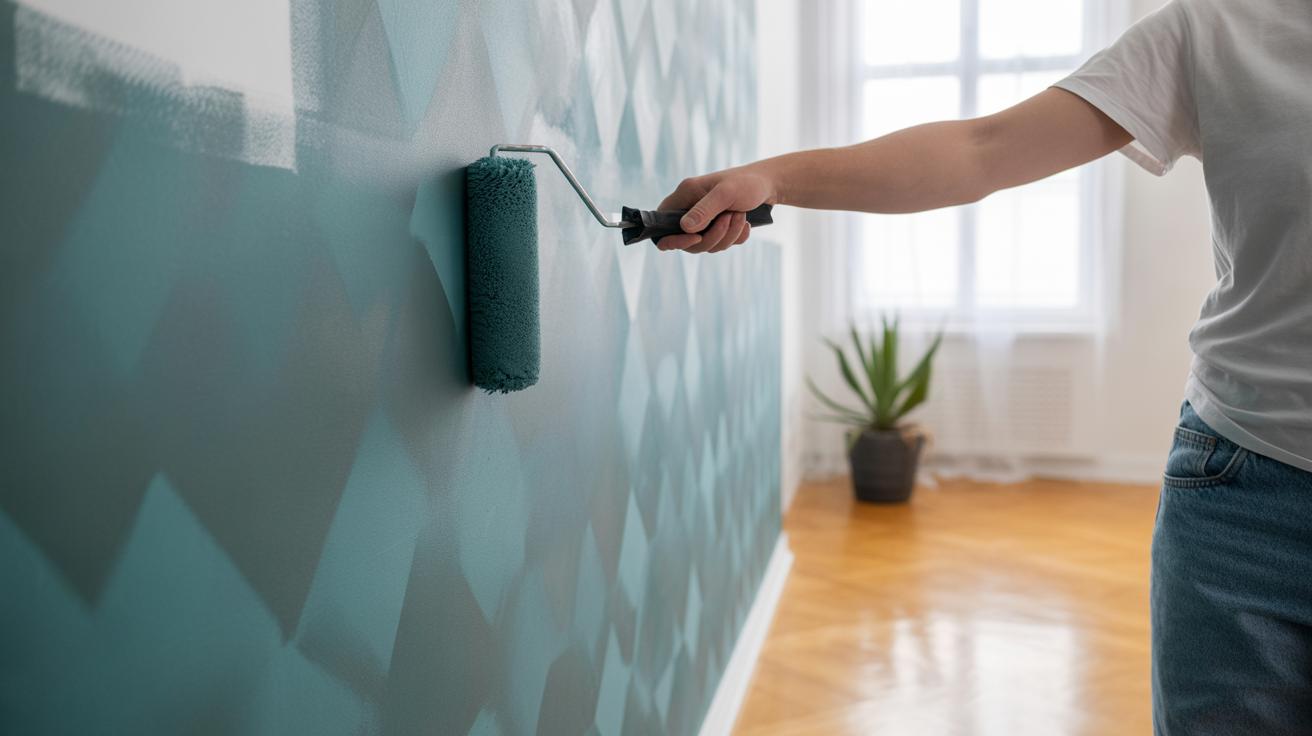
Start by making sure the wall surface is smooth and clean. If there are any bumps or imperfections, sanding them down will help your paint go on evenly. A lightly primed or matte-finished wall works best because watercolor tends to pool on slick surfaces.
Clear your workspace around the mural area, giving yourself plenty of room to move and step back for perspective. Lay down drop cloths—watercolor can drip unexpectedly, and a little mess is almost guaranteed. Setting up good lighting now will save you headaches later, so try to have a steady, natural light source or a consistent artificial one.
Gather your paints, brushes in various sizes, water containers, and some testing paper to experiment before painting on the wall. You’ll want everything close at hand because once you start layering, you’ll want to work fluidly without interruptions.
Applying Layers and Final Details
Begin with light washes to set your ocean’s base tones. Watercolor works by building from light to dark, so resist the urge to go intense right away. Think of it like laying a transparent veil over the wall.
Let each layer dry before adding the next. This drying time is crucial—it prevents colors from muddying and allows for adding depth. You might find you’ll need several rounds of layering to get the kind of depth and movement an ocean scene demands.
When you start to see the ocean’s shapes emerge, switch to smaller brushes for details like foam crests, ripples, or reflections. These fine touches give your mural life but don’t overwork this part. Sometimes less is more, especially with watercolor’s subtle qualities.
Don’t hesitate to step back frequently to see how the mural reads from a distance. It’s easy to get lost in the details and forget how it all works as a whole. Also, if you feel a section is too flat, adding a tiny bit of texture with a dry brush can help. It’s a little trial and error, really—each wall and paint batch behaves slightly differently.
Incorporating Natural Light and Room Colors
Using Sunlight to Highlight Your Mural
Natural light can change everything about how your watercolor ocean mural looks. Morning sun tends to cast a cooler, sharper glow, making blues and greens appear crisper. By afternoon, the light softens and warms, which can bring out hidden subtle hues you might not notice in artificial lighting. You might find your mural almost breathing with life as the day passes.
Think about the orientation of your room. A south-facing window will flood your mural with light for most of the day, but east or west-facing windows offer a brief, intense burst that can shift mood dramatically. Shadows also interact with watercolor’s translucent nature, sometimes deepening contrasts, other times washing colors slightly. This variability can make the space feel more dynamic—or in some cases, a little unpredictable.
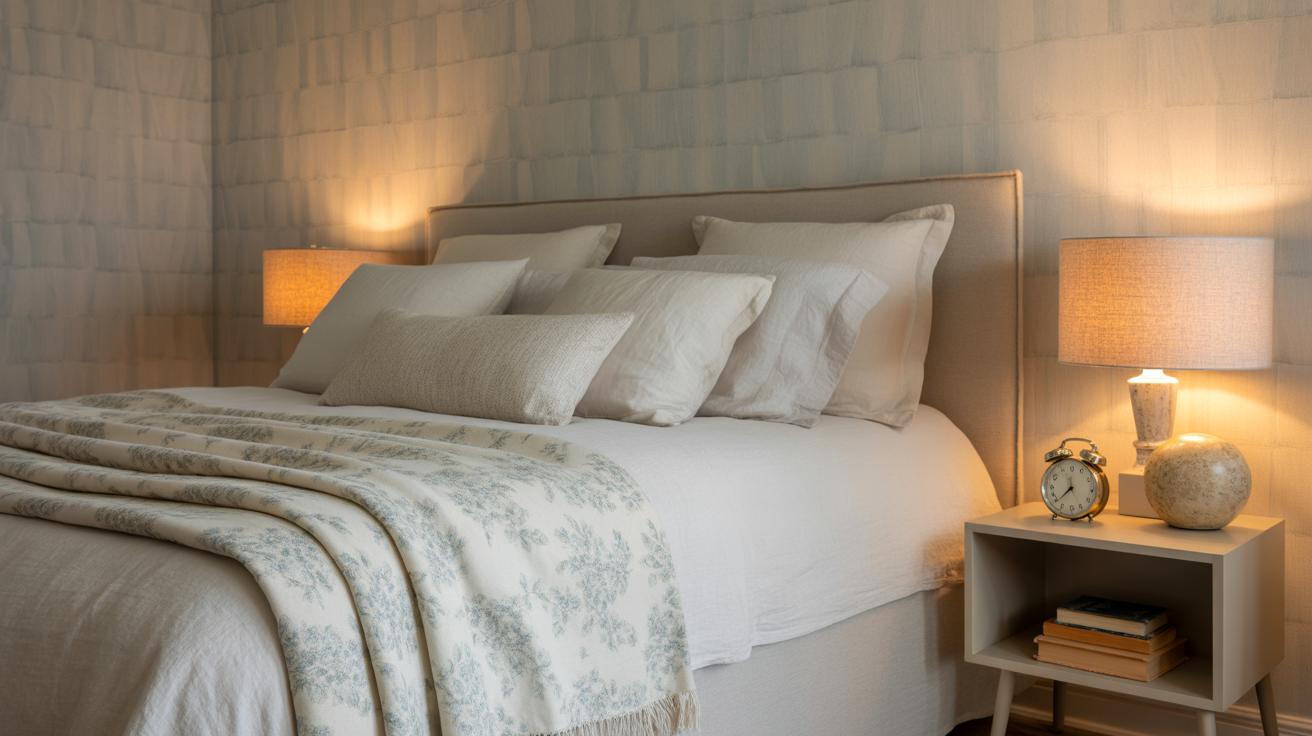
Matching Mural Colors with Room Decor
When choosing where to place your mural or how to decorate the room around it, keep the existing colors in mind. It doesn’t mean you have to copy every shade, but coordinating tones can pull everything together naturally. For example:
- Pick out soft blues or sandy neutrals from the mural and use those shades in cushions or rugs.
- If your mural contains hints of seafoam or coral, small accents like vases or throws can echo those touches without overwhelming the room.
- Think about your wall color too. A pale, muted shade will let your mural stand out, while a deeper or contrasting tone might compete with or dull the colors.
Sometimes it’s tempting to make the mural the sole focus, but blending elements thoughtfully can create calm balance. You might even discover that a certain textile’s pattern or texture changes how you perceive the watercolor artwork altogether.
Maintaining and Protecting Your Watercolor Mural

Keeping a watercolor ocean mural looking fresh over time can be a bit tricky. Watercolors are delicate by nature, so you’ll want to treat your mural gently to avoid any fading or smudging. For cleaning, avoid harsh scrubbing or using water directly on the surface. Instead, try soft, dry dusting with a microfiber cloth or a very lightly dampened cloth—just enough to lift dust without saturating the paint.
If you notice spots or marks, test any cleaning approach on a small, hidden area first. Sometimes a soft brush can do wonders without risking damage.
Protective coatings can be helpful but require care. Choosing a clear, matte varnish made especially for watercolor can lock the painting in place and shield it from moisture or UV damage. Spray varnishes tend to minimize brush strokes and keep the surface even. Yet, applying a coating might alter the soft textures you love, so consider the finish carefully before sealing.
Think about room conditions too—high humidity or direct sunlight can wear down watercolor more quickly, even with coatings. Wouldn’t it be neat to see your mural stay vibrant for years, while barely needing more than a gentle wipe every so often? That’s the goal, at least.
Finding Inspiration for Your Ocean Mural
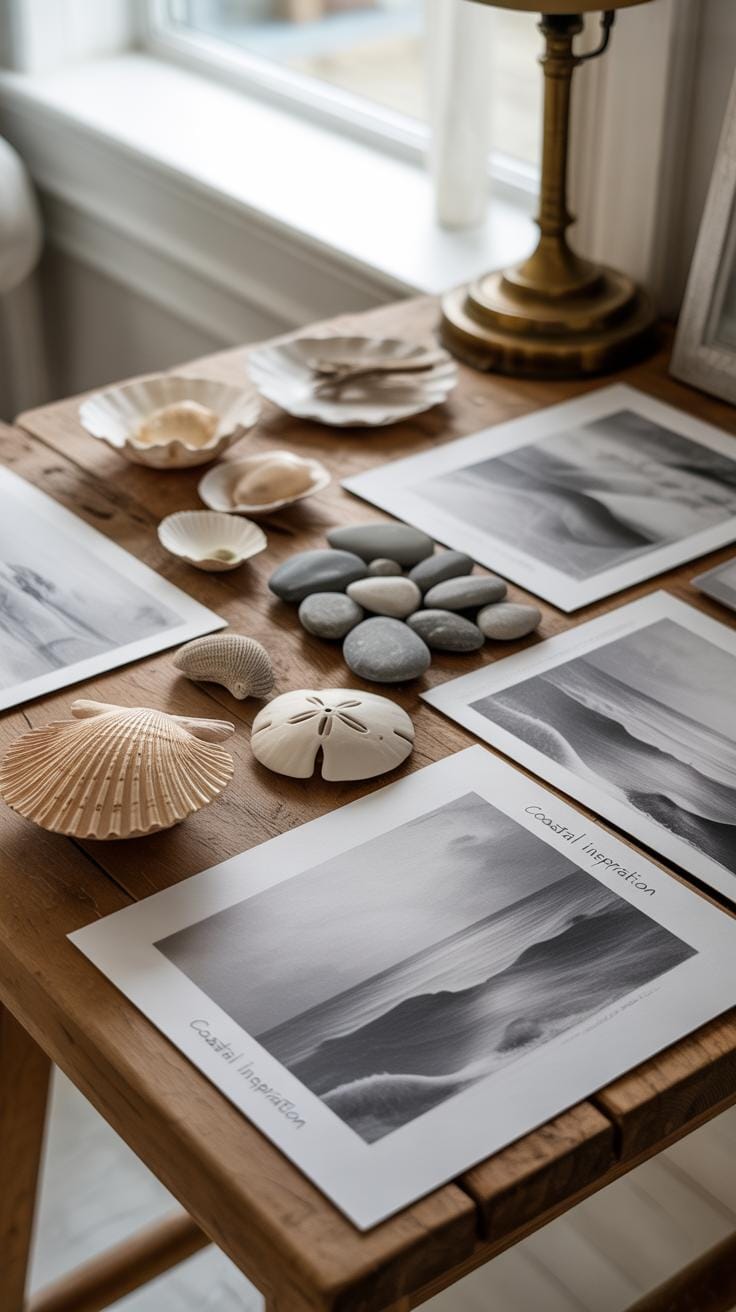
Sometimes the best ideas come from simply looking. Observing the ocean in person or through photography can gently nudge your creativity in directions you might not expect. Watching waves break, noticing how the light hits different shades of blue and green, or even studying the patterns left by tide pools can reveal subtle details worth capturing. If you can, try spending time near the coast—or sift through collections of ocean photography. Photos freeze moments that might otherwise slip away, giving you a palette of real colors and moods to work from.
At the same time, exploring what others have done with coastal art can be surprisingly helpful. Murals and paintings by other artists show a variety of approaches—from abstract swirls of water to detailed seascapes. You may find styles or themes that resonate, maybe even challenge, your own vision. It’s not about copying but about noticing what feels right for your space and mood. Sometimes an unexpected brushstroke or color combo in another’s work sparks a whole new idea.
Ask yourself: What part of the ocean draws me most? The restless waves, the calm horizon, the play of shadows under water? Mixing direct observation with studied art creates a foundation that’s both personal and rich. It’s a kind of dialogue—with nature, with artists, with yourself—that guides your mural’s story.
Expanding Your Watercolor Ocean Theme
Once your watercolor ocean mural sets the tone, it’s tempting to let the walls do all the work. But what if you could weave that same ocean feeling through every corner of your room? It’s not about matching every detail perfectly—sometimes a hint here or a whisper there is enough to suggest the sea without being overpowering.
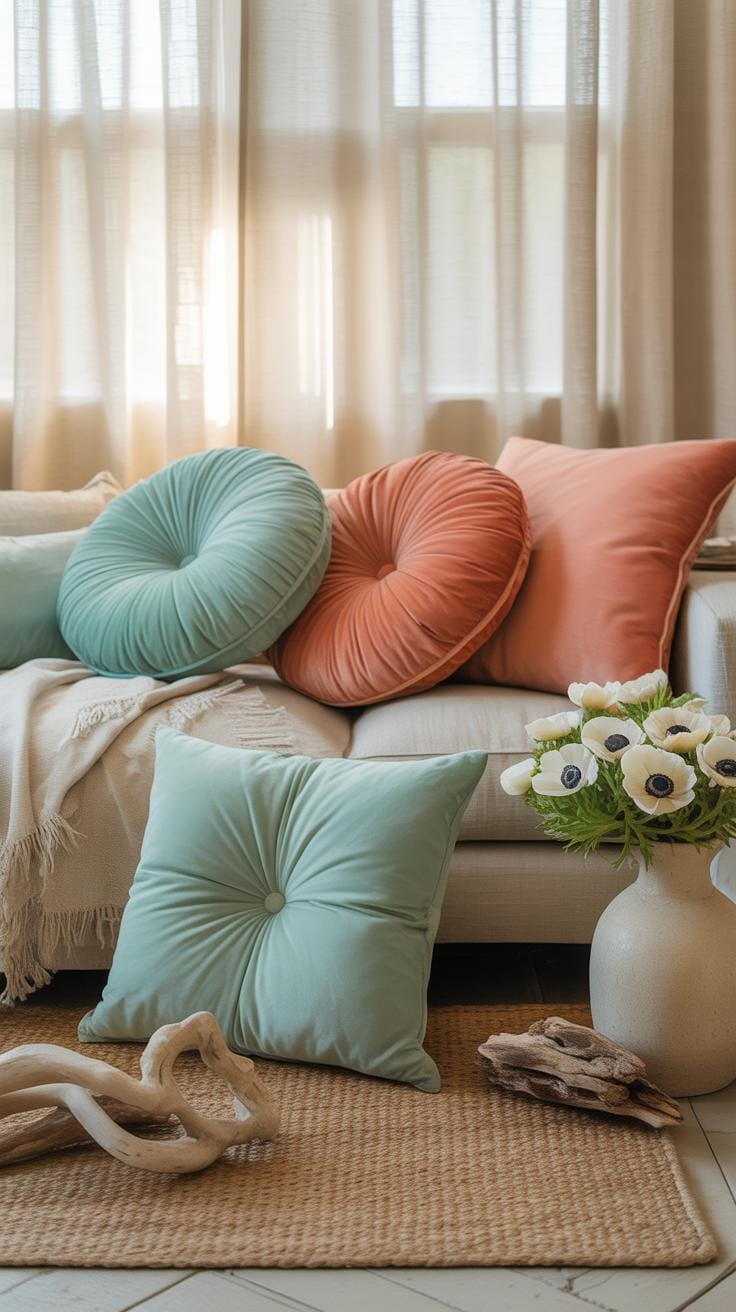
Adding Coordinated Watercolor Accessories
Pillows, curtains, and rugs are great places to carry your mural’s colors and shapes further. Think soft blues and greens bleeding into one another, much like watercolor strokes do. Maybe a throw pillow mimics the flow of waves or the delicate touch of seafoam. Curtains with faint, watery patterns can blur the boundary between mural and room, making everything feel a bit more connected.
Don’t shy away from texture either—a linen pillow with a subtle ombre or a curtain that flutters like sea breeze can almost bring movement into the space. I remember adding cushions that echoed a gentle wash of turquoise; it didn’t steal the spotlight but made the whole room feel more… cohesive, somehow.
Creating a Full Coastal Room Theme
When choosing furniture and decor, lean towards forms and colors that reflect simplicity and calm. Light woods and soft fabrics help maintain a relaxed vibe. Perhaps a driftwood-inspired coffee table or a woven basket can ground the room in natural textures, offering contrast to the smooth, wet look of watercolor.
Colors don’t have to be limited to blues. Soft sandy neutrals or muted whites complement ocean tones well, while avoiding a harsh or sterile feel. You could even experiment with sea glass hues or shells as decorative accents—they’re simple elements but evoke the shore without overcrowding the space.
It’s tricky to find the right balance between too themed and too plain. Maybe ask yourself: does this piece invite calm and do I feel connected to the ocean when I see it? That’s usually a good sign you’re on the right track.
Conclusions
Watercolor ocean murals offer a unique way to add calm and coastal charm to your living space. By carefully choosing colors and using simple techniques, you can create a mural that feels like a gentle ocean breeze or a quiet beach scene. This art form lets you express your love for the sea and bring its peacefulness indoors.
Try experimenting with color blends and brush strokes to capture the ocean’s moods and movement. Whether you paint waves, sea creatures, or abstract water patterns, your mural can become a soothing centerpiece. Embrace the creative process and enjoy making your own watercolor ocean mural as a source of daily calm and inspiration.


