Introduction
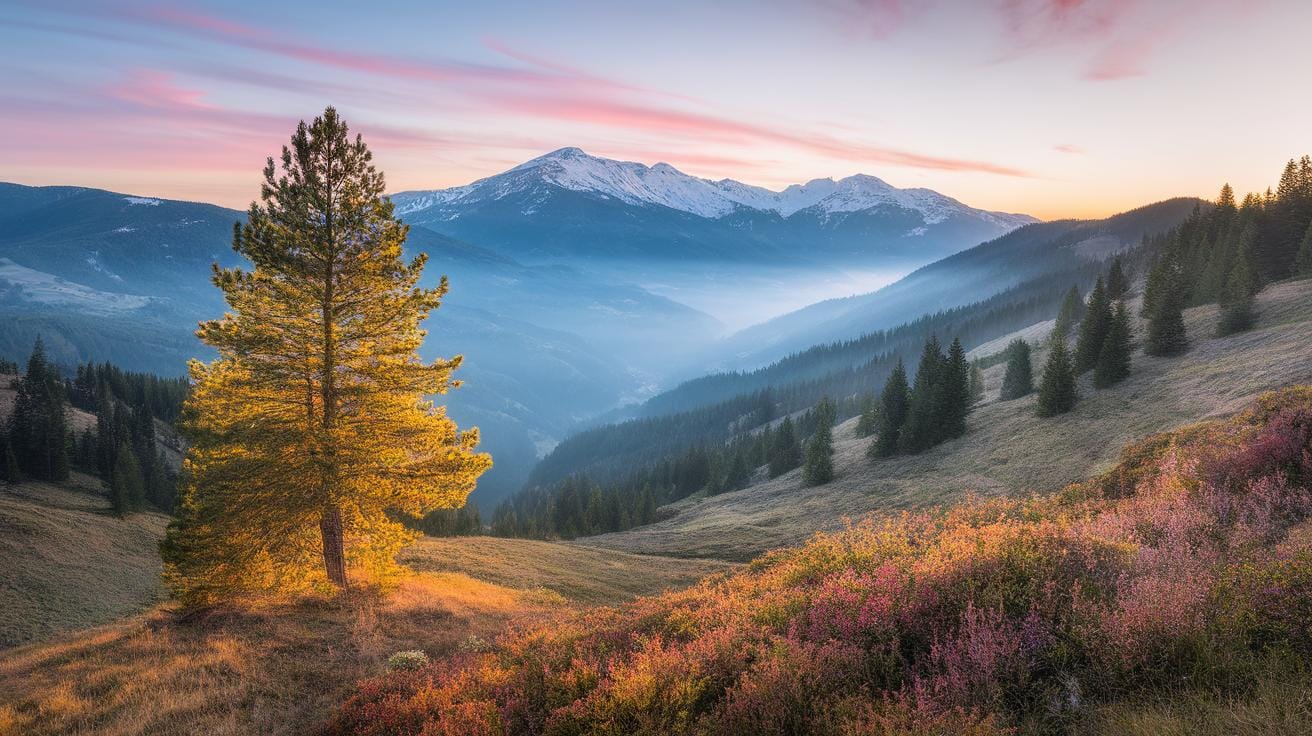
Watercolor landscape painting captures the beauty of natural scenes using a medium known for its transparent and fluid qualities. This art form has a long history tracing back to early Renaissance artists such as Albrecht Dürer, who used watercolors for botanical and wildlife subjects. It often features elements like mountains, rivers, trees, and skies arranged to create a scenic view. You can create delicate, layered washes or rich color blends to bring landscapes to life on watercolor paper, a specialized surface designed to handle water-based pigments. The distinct transparency and softness of watercolors present both opportunities and challenges in capturing the essence of outdoor scenes.
This guide will help you understand the essential techniques and artistic decisions involved in watercolor landscape painting. You will learn about choosing materials, applying washes, managing light and shadow, and composing your artwork. Alongside practical tips, you will find inspiration in the historical development of landscape art and how watercolors uniquely convey the mood of natural settings. By the end, you will gain actionable knowledge that improves your watercolor landscapes and deepens your appreciation of this timeless medium.
Understanding Watercolor Medium and Materials

Watercolor Paint Composition and Properties
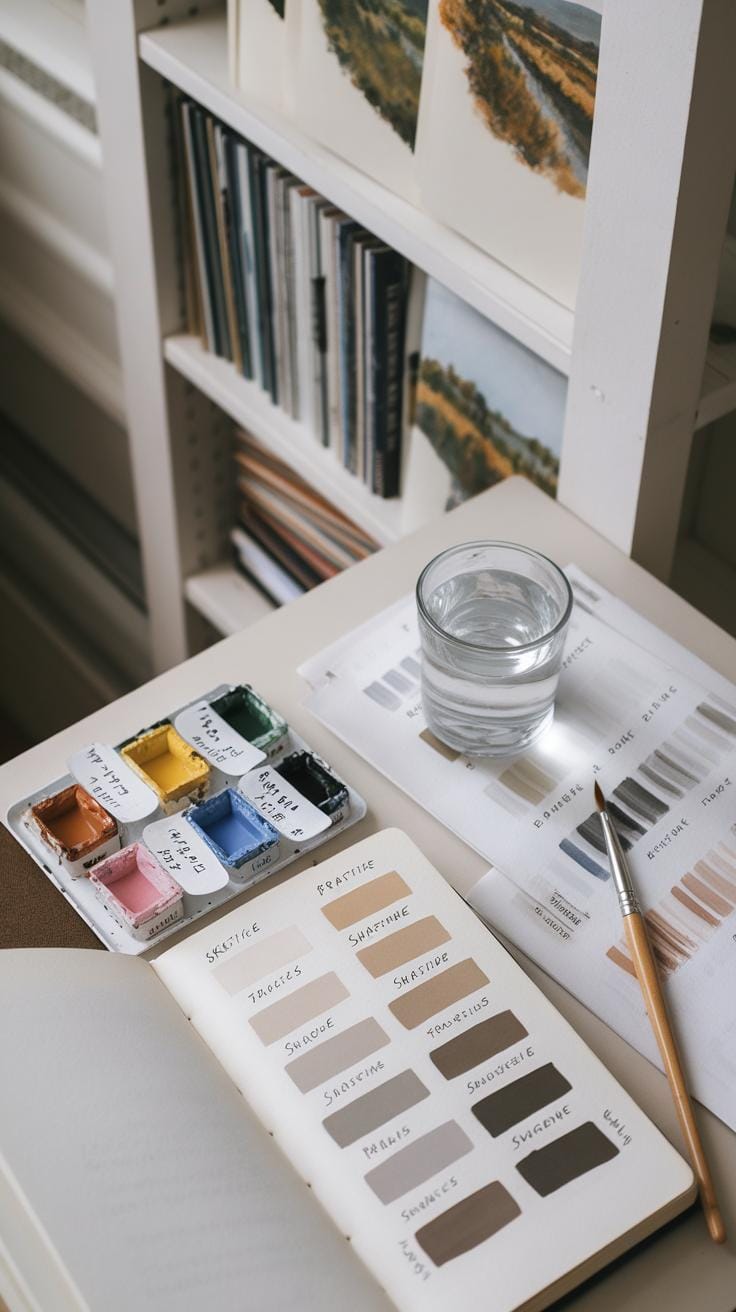
Watercolor paint contains pigments mixed with a water-soluble binder, usually gum arabic. The pigment provides color, while the binder holds the pigment particles together and helps them stick to paper. Small amounts of additives like glycerin keep the paint moist and flexible.
Transparency ranks as one of watercolor’s defining traits. The pigment’s concentration controls how intense or light the color looks. You can add more water to create gentle washes or less to build bold color layers. Understanding these traits helps you control how your strokes blend or stand out in your landscape.

Have you noticed how some colors glow even when thinned? That’s the pigment’s transparency at work. Your choice of pigment affects how your scene feels, from misty mornings to bright sunlight.
Choosing the Right Paper and Brushes
Watercolor paper comes in many textures and weights. Cold-pressed cotton paper is popular for landscapes because it balances texture and smoothness. Its rough surface grabs pigment and water without buckling too much. Rougher papers emphasize texture, which can add character to skies or trees.
Brushes come in shapes like round, flat, and mop, each shaping paint in unique ways. Round brushes give control for details like leaves or branches. Flat brushes cover broad areas like skies or water. Mop brushes hold lots of water for smooth washes. Picking the right brush helps you capture specific landscape features.
When you match quality paper with the right brushes, your paint behaves better. The paper absorbs water at a steady pace while the brush delivers the perfect amount of pigment and water. Have you tried switching papers or brushes to see how it changes your style? It’s a practical way to find tools that suit your vision.
History and Evolution of Watercolor Landscape Painting

Watercolor painting started mainly as quick sketches and studies, especially for documenting plants, animals, and natural scenes. Artists used it to capture details rapidly before moving to other mediums. Over time, it grew from being a tool for preparation into a respected form of art on its own.
Albrecht Dürer, a German Renaissance artist, showed how watercolor could express light and texture with precision. His detailed studies of nature elevated watercolor from simple sketches to finished works. You can learn from his delicate layering and attention to natural forms when creating your own landscapes.
Both Western and East Asian cultures developed distinct watercolor landscape traditions. Western art often focused on realism and later on inspiring emotions tied to nature. East Asian painters embraced philosophy and meditation, using brush strokes and ink to reflect inner harmony with the landscape. Understanding these traditions can deepen your approach to watercolor landscapes.
Early Beginnings and Renaissance Influence
Watercolor began as a way to document plants and animals with accuracy. Artists recorded details for scientific study, which required clean, precise brushwork. During the Renaissance, artists took note of nature’s complexity and started painting landscapes as subjects rather than backgrounds.
Renaissance masters like Albrecht Dürer emphasized using watercolor to catch the mood of light and shadow in nature. This period marked a shift from watercolor as a practical tool to a medium for artistic expression. Try practicing detailed natural studies to build your technical skills before painting larger landscapes.
East Asian and Western Traditions of Landscape Art

East Asian artists in China, Korea, and Japan used landscape painting to express spiritual ideas. These works often focused on balance, flow, and the connection between humans and nature. Paintings during this time used ink and soft watercolor washes to suggest mood and atmosphere, rather than precise realism.
In contrast, Western landscape painting grew with movements like Romanticism, which celebrated nature’s power and grandeur. Painters aimed to capture dramatic skies, vast wilderness, and emotional intensity. You might consider how these different focuses—quiet meditation versus bold emotion—can influence your own watercolor landscapes.
Fundamentals of Composition in Landscape Painting

Composition shapes how your watercolor landscape communicates with viewers. Arrange elements into foreground, middle ground, and background to give your painting structure. The foreground often carries details that invite your audience inside the scene. The middle ground connects the foreground and background, guiding the eye naturally. Backgrounds provide context and depth, completing the setting.
The horizon line plays a crucial role. Placing it higher emphasizes the land or water, while lowering it highlights the sky. Experiment with horizon placement to control where the viewer focuses.

Think about your focal points. Place them where they draw attention but don’t overwhelm the rest of the painting. Using the rule of thirds or diagonal lines helps balance the scene, making it both stable and engaging.
Ask yourself: how will your layout guide the viewer’s eye through the natural elements you want to highlight? Aim for harmony between detail and openness to keep the scene inviting and clear.
Structuring Natural Elements and Perspectives
Organize trees, mountains, rivers, and sky in a way that leads the viewer through your scene. Start with elements that anchor your painting. A winding river can direct the eye from foreground to distance, while trees can frame the view or create pathways within the composition.
Use perspective to show depth. Objects closer to you should be larger and more detailed. Those far away shrink and soften. Practice layering transparent washes to suggest aerial perspective, where colors fade with distance.
You can enhance scale by overlapping shapes or using shadows and highlights. Adjust these elements to fit your vision—whether aiming for realistic space or a more poetic, interpretive view. What story does your perspective tell?
Creating Focal Points and Visual Balance
Highlight your main subject through contrast in color, value, or detail. A bright tree or a sunlit hill can stand out against softer, muted surroundings. Place your focal point off-center to create more visual interest.

Balance the composition by distributing shapes and colors evenly. Avoid crowding one side; balance heavy areas with lighter or smaller elements on the other. Play with warm and cool colors to achieve harmony without dullness.
Try stepping back often to see your work as a whole. Does one element dominate too much? Does the painting feel complete or unsettled? How can you adjust elements to engage the viewer while keeping your scene believable?
Mastering Watercolor Techniques for Landscapes
Watercolor landscapes depend on mastering several vital techniques to bring natural scenes to life. The wet-on-wet method softens edges and blends colors smoothly, perfect for skies or distant hills. Apply clean water on the paper first, then drop in pigment to watch colors flow naturally into each other.
Dry brush creates rough textures ideal for adding detail to rocks or textured foliage. Use a brush with little paint and no water to gently scrape the paper surface. This adds a tactile feel to your painting, making elements stand out vividly.

Glazing builds color depth by layering transparent washes over dry areas. This enhances richness without sacrificing luminosity. Use thin layers, letting each dry before adding more to control shadows and mood.
Lifting removes paint from areas to create highlights or fix mistakes. You can use a damp brush, sponge, or tissue to gently lift pigment off once the layer is damp or dry. This technique helps simulate light reflections or mist.
Layering combines these methods carefully, balancing soft washes with sharp textures. Ask yourself how each area should feel—smooth sky or rough rock—and choose the right approach. Practicing these techniques together helps you create landscapes full of life and variety.
Applying Washes and Layering Colors
Smooth washes form the base of many landscapes, especially skies and water. Begin with clean water on your paper to create an even wet surface. Then apply pigment steadily to avoid streaks or hard edges. This technique produces a seamless gradient from dark to light or one color to another.
Glazing enhances the vibrancy of your painting. Apply thin, transparent layers once the previous wash dries. Each layer adds subtle shifts in tone and depth. This effect is useful to depict changing light or atmospheric distance in your scene. It also allows you to adjust colors without muddying them.

Try layering colors like ultramarine blue with a warm yellow glaze to suggest sunlight filtering through. Simple transparent layers keep your landscape luminous and dynamic. Understanding how washes and glazes interact gives you control over your painting’s mood.
Using Dry Brush and Lifting Techniques
Dry brush adds texture by using a stiff brush with minimal water and pigment. Drag it lightly across dry paper to create broken lines and rough texture. Use this for tree bark, rocks, or grassy areas that need intricate detail. This method breaks up smooth surfaces, giving natural variety.
Lifting works both as a correction tool and to add highlights. When you lift paint with a damp brush or tissue, fresh paper shines through, creating light areas. This can depict sunlight on leaves or reflections on water. Lifting requires timing—remove paint more easily from damp layers than fully dry ones.
Using these methods effectively means asking what your scene demands. Where are the sharp textures? Where should light shimmer? Experiment with both dry brush and lifting while layering your painting. They bring your landscape a three-dimensional feel that invites viewers in.
Capturing Light and Atmosphere in Your Landscapes
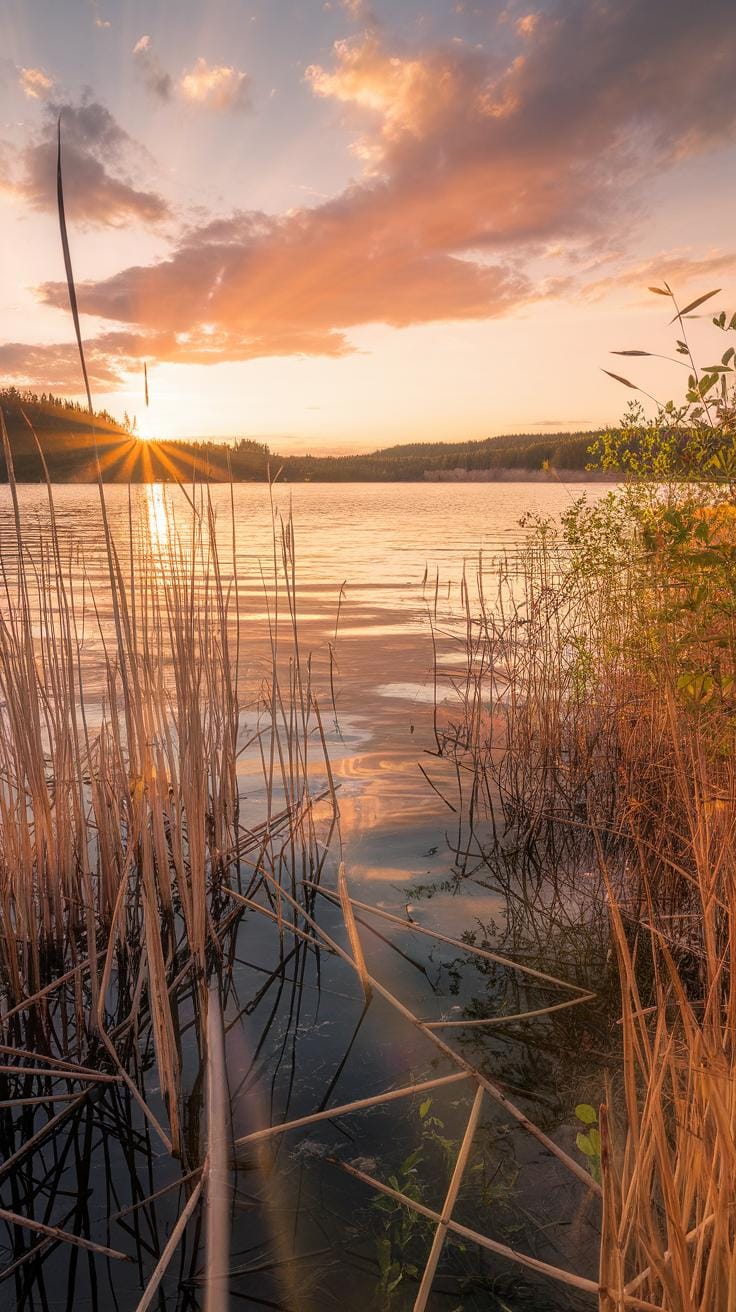

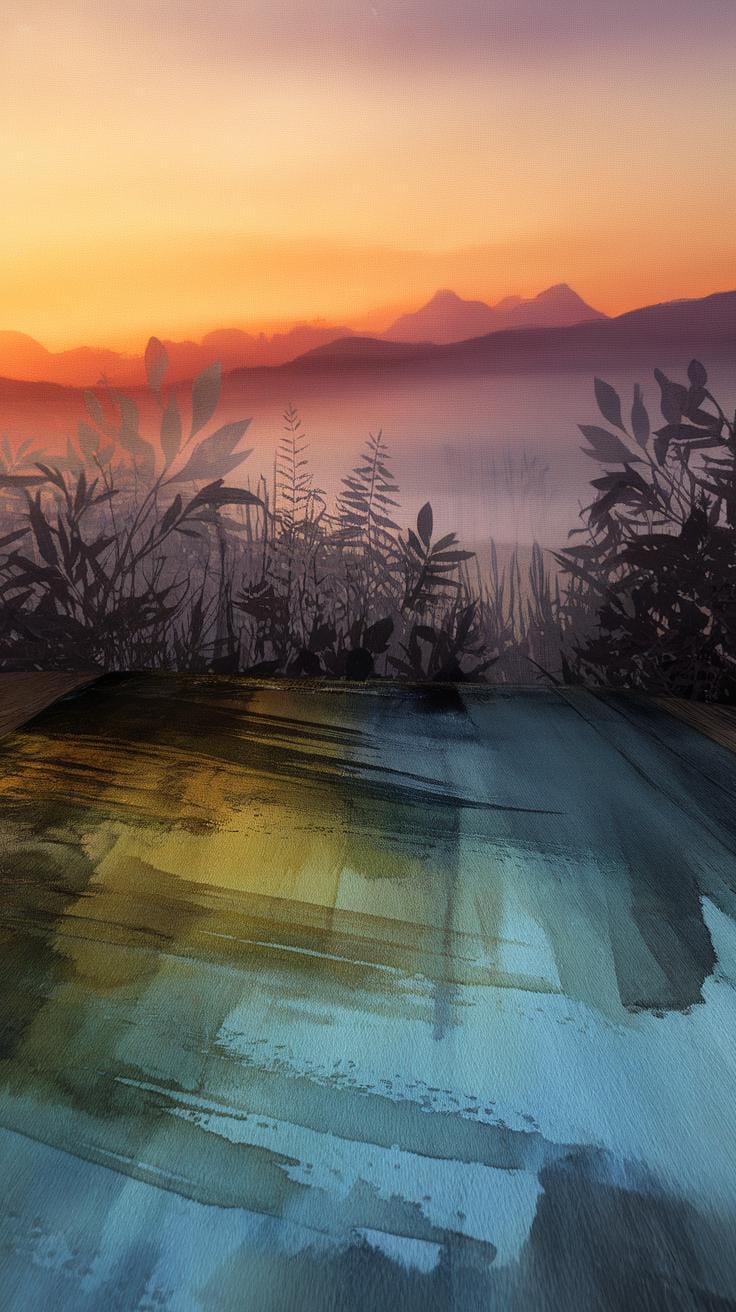
Light shapes everything you see in a landscape. Its direction and strength change the way colors and shadows appear. Observe where sunlight touches leaves, rocks, or water, and how it fades into shadow. Use warm colors like yellows and oranges for sunlit areas and cooler blues or purples for shaded parts. Try mixing a bit of complementary color into shadows to avoid flatness and create depth.
Holding your brush lightly allows you to capture soft edges where light blends gradually. In contrast, stronger light might need sharper brush strokes. Ask yourself how changing light affects the mood—is it crisp midday sun or the soft glow of sunset? You can simulate these by adjusting color temperature and contrast. More contrast means bolder light; less contrast gives a misty, calm feeling.
Observing and Painting Natural Light
Start by studying the sun’s position. Notice early morning light from the side, creating long shadows, or midday light overhead, casting short ones. These differences affect the shapes and colors you see. Experiment with cool and warm mixes: a pale yellow mixed with a hint of burnt sienna evokes sunlight, while a mix of ultramarine and mauve suggests shadow.
Use thin washes for subtle light and thicker paint for strong highlights. Break areas into light and shadow shapes rather than details first. Capture light direction by painting shadows consistently stretching away from the light source. Focus on edges where light fades to shadow for realism. Try painting a tree branch in direct sunlight then again in diffused light to see how your color and brushwork change.
Expressing Weather and Atmosphere
Different weather changes your scene’s mood dramatically. To paint overcast skies, lower contrast and use cooler, muted colors like gray-blue or soft lavender. You can use wet-on-wet washes to create soft cloud textures. For fog, work with light grays and keep edges blurry by applying water before color. This creates the feeling of mist settling over the landscape.
Rainy scenes benefit from translucent washes combined with reflective puddles and wet surfaces. You might add vertical brush strokes to suggest rainfall. Bright sunshine calls for brilliant colors and sharp shadows with warm yellows and orange glazes. Experiment with adding just a touch of vibrant color to highlight rainbows or sun beams to capture fleeting weather moments.
Tips for Practicing and Improving Your Watercolor Landscapes
Regular practice shapes your skill and sharpens your eye. Creating small studies from real-life scenes or photographs hones your ability to observe colors, shapes, and light shifts. Keep these studies simple and focused, targeting a specific element like texture or shadow. You might paint a single tree in different light or try quick sketches of a stream at various times of day.
Patience builds strength in your technique. Don’t rush to finish a piece but allow yourself time to understand the scene and materials. Return to the same spot, or the same photo, multiple times to see how results improve. Notice how consistent effort refines your brush control and color blending.
Watching the natural world closely reveals details you may otherwise miss. Asking yourself what makes a landscape interesting trains your eye and leads to better choices in your paintings. How does the light change? Where do shadows pool? These questions guide your practice.
Developing Consistent Practice Habits
Set aside time daily or weekly for small watercolor studies. These don’t have to be perfect. The goal is regular observation and steady application of techniques. Choose familiar places or repeat subjects to track your progress.
Simple exercises like painting quick color washes or mixing limited palettes improve familiarity with your supplies. Over time, these habits build a steady rhythm that boosts your confidence. Each study adds a piece to your skill set without feeling overwhelming.
Remember that progress takes time. Avoid rushing through your sessions. Slow, deliberate focus helps you notice subtle shifts in tone and shape, crucial for landscapes. How can you make space in your schedule to practice consistently? Finding a routine encourages growth in your art.
Learning from Errors and Experimentation
Mistakes happen and provide valuable lessons. When a color runs unexpectedly or a wash becomes blotchy, take a moment to understand what caused it. Could the pigment amount or paper wetness be the issue? Analyzing these moments strengthens your technique and sharpens your problem-solving skills.
Experiment with new techniques or tools to find your unique approach. Try dry brush for texture or lift color with a damp brush for highlights. Swap brushes or papers to explore how each affects your work. These trials help you discover what feels natural and where your strengths lie.
Learning from errors means seeing them as part of the creative process rather than setbacks. The more you experiment, the more you widen your options in painting landscapes. What new methods will you try next to push your boundaries? Keeping an open mind leads to growth and personal style.
Showcasing Your Watercolor Landscape Artwork
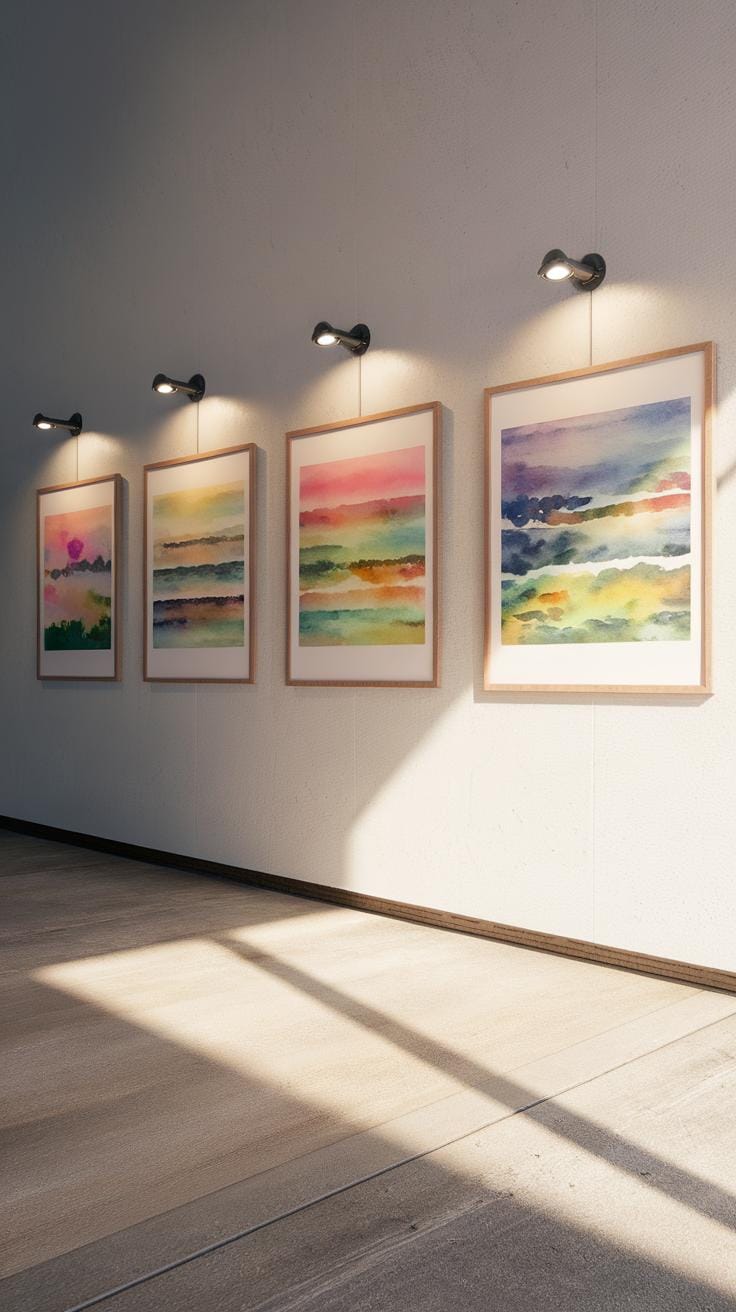
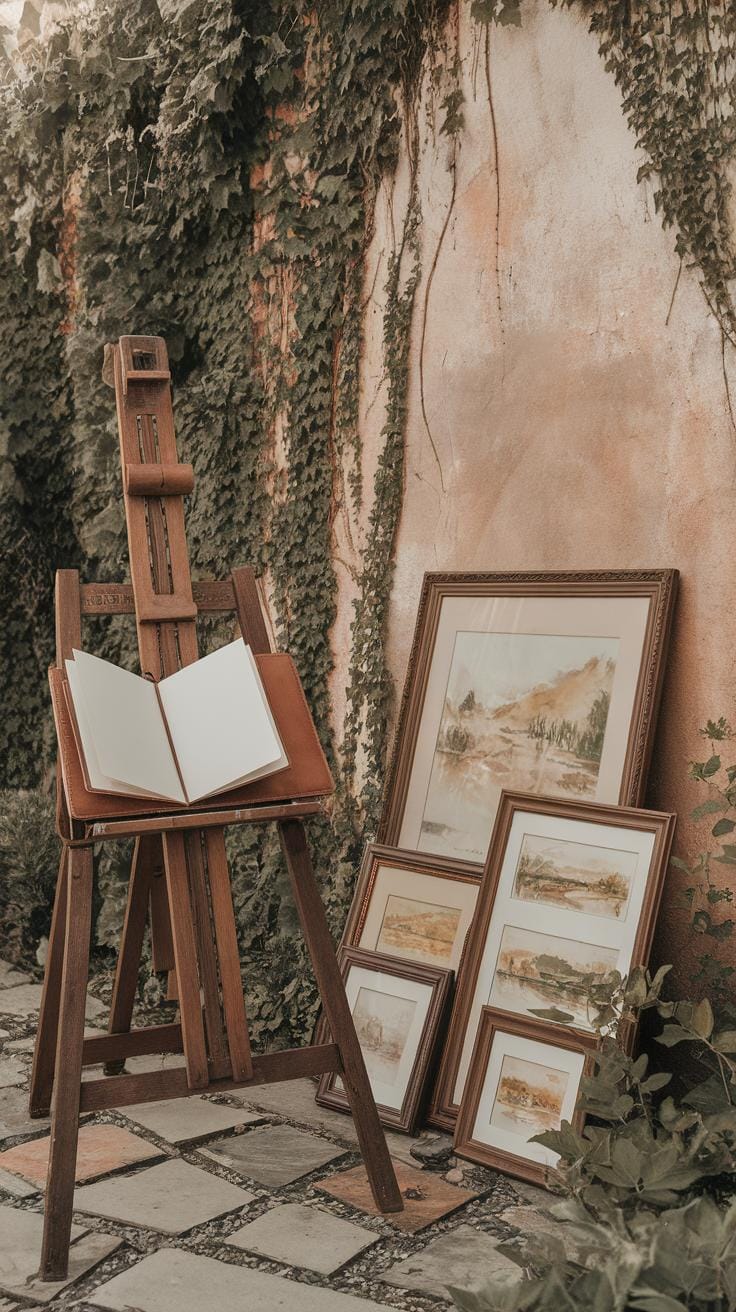
Presenting your watercolor landscapes properly helps protect your work and attracts viewers. Start by selecting the right frame and matting to shield your painting from dirt, dust, and light. Quality mats create a space between the glass and the paper, stopping the paint from sticking to the glass. Use acid-free mats and UV-protective glazing to prevent yellowing and fading over time. Choose frames made of solid wood or metal to avoid warping or damage.
When photographing your artwork for digital sharing, aim for even, natural lighting to capture true colors. Avoid direct sunlight or strong artificial lights that cause glare or shadows. Use a tripod to keep your camera steady and take pictures from straight above for the best angle. Editing tools can help adjust brightness and contrast but keep the colors accurate to the original.
Build your online presence by posting consistently on platforms like Instagram, Behance, or personal websites. Engage with other artists through comments or groups to expand your network. Think about who you want to reach—potential buyers, galleries, or fellow artists—and tailor your content. How can you highlight what makes your landscapes unique? Consider joining local exhibitions or art fairs to gain in-person feedback and visibility. Protecting your work and sharing it wisely opens more doors for your art to be seen and appreciated.
Preparing Paintings for Display
Before framing, secure your watercolor landscape with an acid-free mat to block acids that could damage paper over time. The mat also keeps the paint and paper from touching the glass, preventing smudging. Choose mats in colors that complement your artwork, but avoid ones that overpower it. Use UV-protective glazing on the frame to guard against fading caused by sunlight.
Opt for frames made from durable, stable materials like wood or metal that resist bending and warping. Consider using spacers inside the frame to create extra air space so moisture does not collect on the glass or artwork. Always handle paintings with clean hands or cotton gloves to avoid oils from skin adding stains. These steps help maintain your landscape paintings in good condition while making them ready to display proudly in your home or gallery.
Digital Sharing and Portfolio Building
Taking clear photos of your watercolor landscapes requires good lighting and a steady setup. Use natural daylight near a large window but avoid direct sun that can cause harsh shadows. A tripod helps keep your camera or phone steady for sharp images. Make sure to shoot from directly above the painting to keep proportions accurate. Minor edits for brightness or cropping are useful but keep colors true to your work.
Build your portfolio online by choosing sites focused on visual artists, like Instagram, ArtStation, or your own website. Post regularly to keep your audience engaged and show your progress. Write short descriptions explaining each painting’s inspiration or technique. Join online art communities and participate in challenges to meet other artists and gather feedback. How can you use digital tools to show your unique style? Stay consistent and active to grow your reach and connect with collectors or galleries interested in watercolor landscapes.
Finding Inspiration and Setting Your Artistic Goals
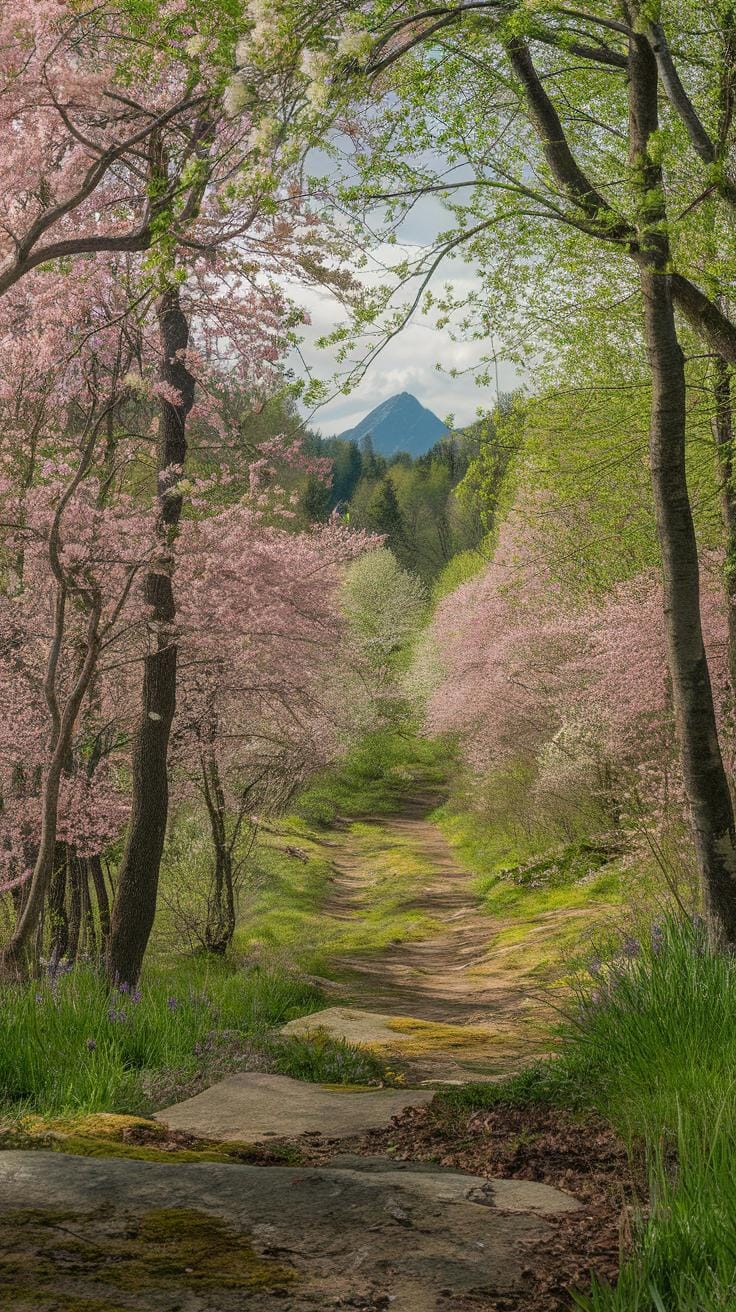
Inspiration fuels your creativity when painting watercolor landscapes. Pay close attention to varied natural scenes like mountains, rivers, and forests at different times of day. Notice how light changes colors during sunrise or how rain alters the mood of a scene. Observing seasonal shifts or weather patterns can also spark fresh ideas for your next piece.
Looking at the work of experienced watercolor artists helps you learn new approaches. Study how they use color, texture, and brushstrokes to capture nature’s details. Ask yourself what elements you want to include in your own style and what techniques you might try.
Set clear and reachable goals to keep your progress on track. For example, you might decide to complete a series of paintings featuring sunsets or focus on improving your wet-on-wet technique. Break bigger targets into smaller steps to avoid feeling overwhelmed.
Reflect on your growth regularly by reviewing past paintings. Which pieces show your strengths? Where do you see room to develop? This honest evaluation will help you remain motivated and focused on your artistic journey.
Conclusions
Watercolor landscape painting blends technique with observation to produce evocative scenes of the natural environment. Mastering the use of transparent pigments, understanding your paper and brushes, and practicing controlled water application help achieve effects from soft glows to crisp details. You can build depth and luminosity by layering washes and balancing light and shadow. Effective compositions guide the viewer’s eye and invoke a sense of place and atmosphere. Experimenting with different approaches and learning from historical traditions will expand your creative range and confidence.
Approaching landscape painting with watercolors invites you to appreciate both the technical and expressive aspects of this art form. Your personal response to nature influences your color choices and brushwork, making each piece unique. Use this guide to develop your practical skills and artistic vision. Keep exploring various subjects and techniques in watercolor landscapes. Your dedication will transform your paintings and enrich your experience with this delicate yet powerful medium.


