Introduction
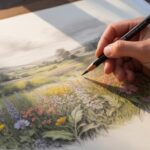
Watercolor house painting offers a unique blend of artistry and traditional painting techniques to bring warmth and personality to your home. This form of painting uses water-based pigments that allow you to play with transparency and layering, giving your house an appealing and charming look. Whether you are an amateur painter looking to try something new or a home decorator wanting to add a personal touch, watercolor house painting presents an excellent opportunity to express creativity while enhancing the appearance of your home.
Understanding the basics of watercolor painting and how to apply these principles to painting houses will help you achieve optimal results. This guide covers essential topics including materials, preparation, techniques, and practical tips for maintaining your watercolor-painted house. Are you ready to transform your living environment with captivating watercolor effects? Let’s explore the steps you need to take to create a charming watercolor house painting that not only attracts attention but also suits your style perfectly.
Understanding Watercolor Materials for House Painting
Watercolor paints suitable for house painting differ from traditional art supplies. Look for paints with strong pigment concentration. They provide vivid color even when diluted with water. The binder in these paints is water-based, which allows easy blending and quick drying. This feature helps keep your house painting fresh and bright.

Choosing the right substrate affects your painting’s durability. Cold-pressed paper is a popular choice due to its texture and moisture resistance. Canvas and specially prepared wood panels also work well if they are coated with gesso or a moisture barrier. These surfaces absorb paint without warping or peeling.
Texture influences how the paint settles and appears. Rough surfaces can hold more pigment, giving color depth. Smooth surfaces reflect light differently, offering a softer look. Keep in mind the exterior environment. Surfaces exposed to moisture or sunlight require coatings that protect your work and keep colors vibrant longer.
Choosing the Right Watercolors
The ideal watercolor paint for house painting has a rich pigment load. It should maintain brightness even when you add more water. Transparency allows layering while keeping earlier colors visible. This helps build complex textures and tones on your house painting.
Experiment with water ratios to control intensity. More water creates lighter washes; less produces bold strokes. Professional-grade paints keep their color strong through these changes. Brands like Winsor & Newton or Daniel Smith offer reliable options that don’t fade with dilution.
Consider the paint’s lightfastness rating. Higher values mean your colors will last outdoors without losing brightness. Ask yourself: How much blending do you want? Or how bold do you want your house’s look? These answers guide your paint choices for the best results.
Preparing Painting Surfaces
Start by cleaning surfaces thoroughly to remove dust, grease, and dirt. This step ensures paint sticks well and lasts longer. If you paint on wood or canvas, apply a primer or gesso coating. This seals the surface and prevents paint from soaking in unevenly.

Adding texture can improve paint adhesion and appearance. Light sanding roughens smooth surfaces, letting paint grip better. You may apply multiple gesso layers on wooden panels for a balanced texture and moisture resistance.
For walls, consider a water-based primer that suits watercolor paints. It hides stains and smooths rough patches. Preparing surfaces carefully makes a strong base. This prevents paint from cracking or peeling, keeping your charming house painting intact for years.
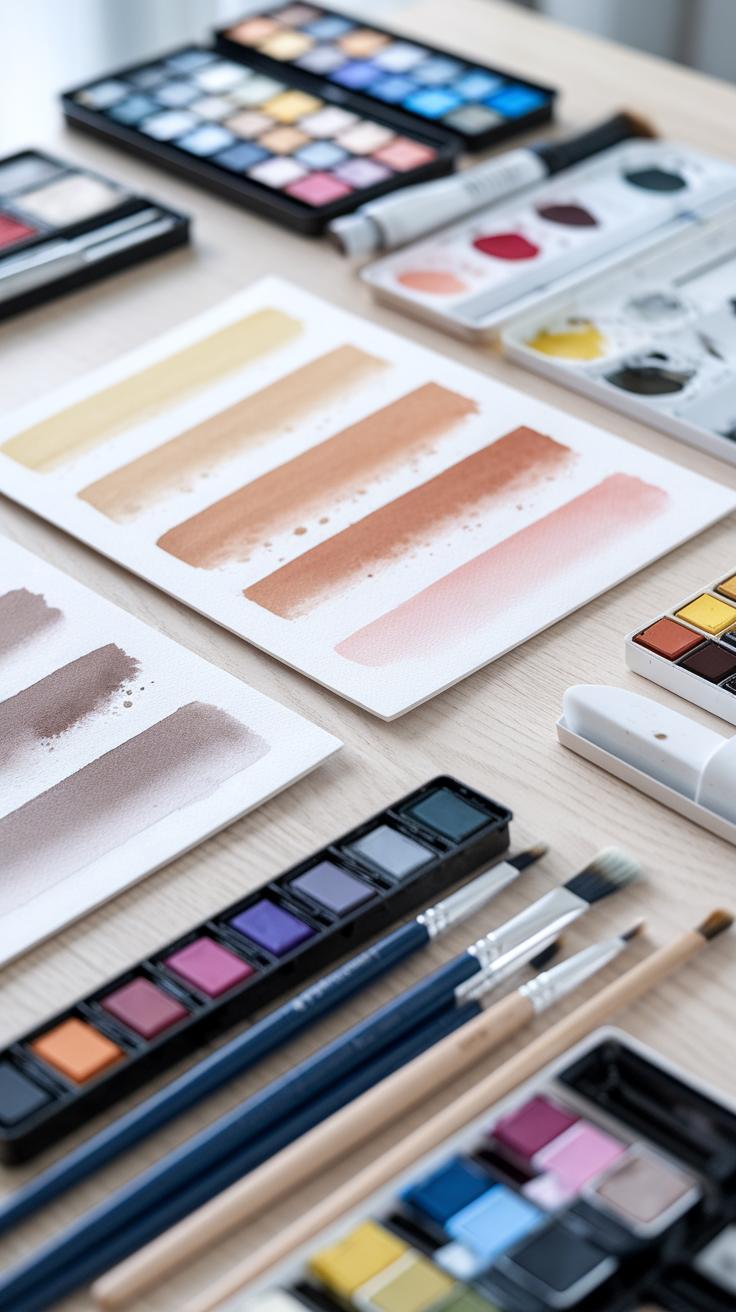
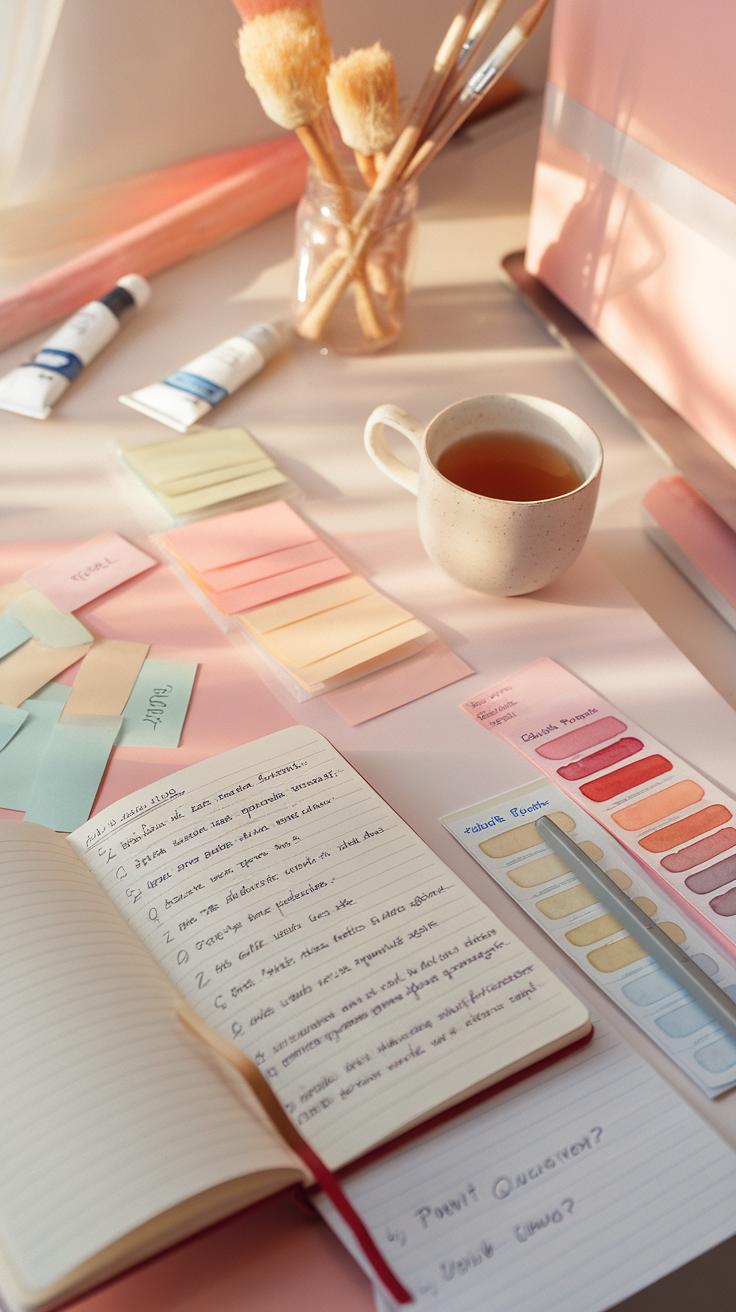
Essential Tools and Supplies You Need
Watercolor house painting requires specific tools that help you work cleanly and produce sharp details. Your brush choices influence texture and precision. Palettes make mixing colors easier and stop unwanted muddy shades. Water containers keep your brushes moist and allow you to clean them between colors.
Masking tape protects edges and areas you want to keep paint-free. Drop cloths shield floors and furniture from spills. Before painting, prepare surfaces with cleaning agents and repair materials like spackle. These create a smooth base for paint to adhere properly.

Select tools based on quality and suitability for your project size. Synthetic brushes often hold well and last longer for house surfaces. Choose palettes with separate wells for each color and space for mixing. Look for tape that peels cleanly to avoid damaging trim. How do your choices affect your workflow? Testing supplies before starting saves frustration and ensures a smoother painting experience.
Brushes and Palettes
Round and flat brushes are essential for watercolor house painting. Round brushes, with their pointed tip, work well for fine details like window frames. Flat brushes cover larger surface areas and create straight lines. Synthetic fibers resist damage from water better than natural hair.
Choosing the right size depends on your surface. Use smaller brushes for intricate details and bigger ones for walls. A size 6 to 12 range covers most house painting tasks efficiently.
Select palettes that separate colors well and allow mixing without contamination. Plastic or ceramic palettes are easy to clean. Avoid overcrowding your palette, which can muddy colors. How might using the right brush and palette improve your painting’s clarity and color vibrance?
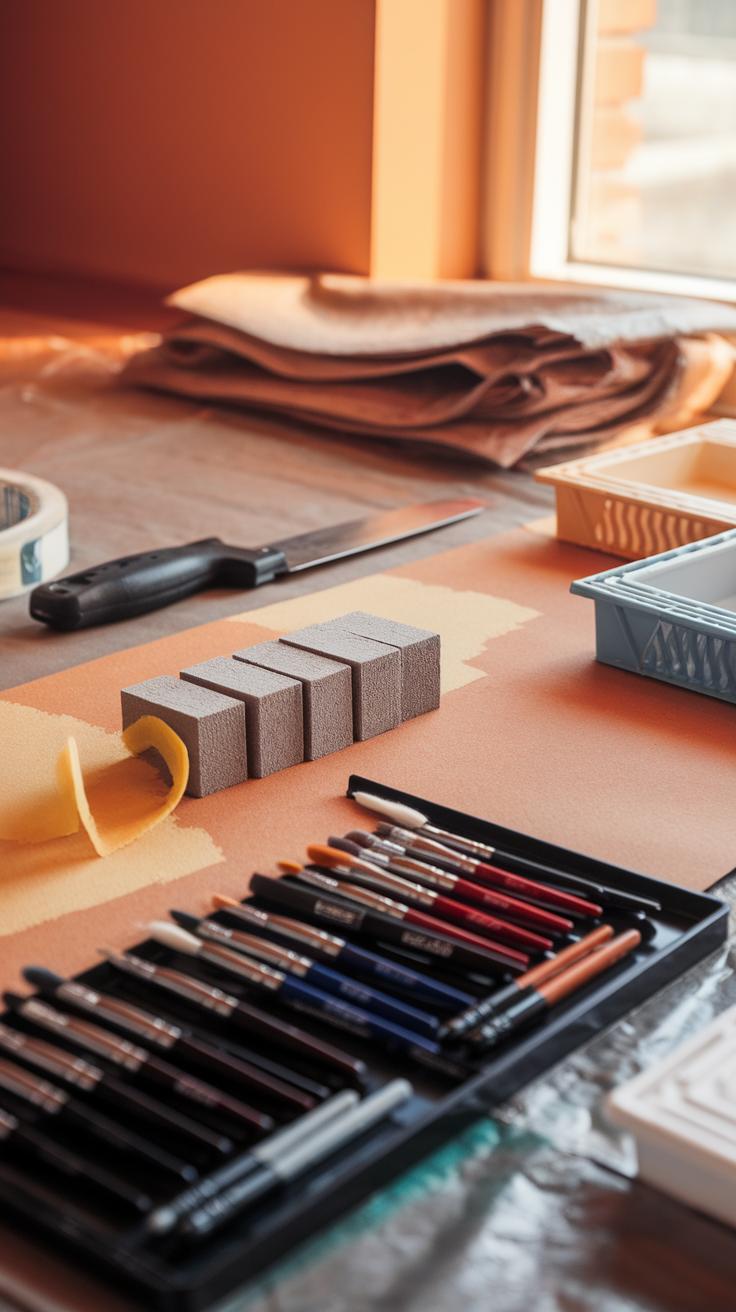
Protective and Preparation Supplies
Masking tape keeps paint edges sharp by covering areas you want to protect, like window frames or trims. Choose painter’s tape designed for delicate surfaces to avoid peeling paint when removed. Drop cloths protect floors, furniture, and plants from splashes and drips.

Before painting, clean surfaces with mild detergents to remove dirt and dust. Repair holes or cracks using spackle or filler. This prevents uneven paint application. Sand repairing areas lightly after drying for smoother results.
Keep cleaning agents handy for brushes and work area cleanup. Having all these supplies ready will ensure your painting environment stays organized and your finished work looks neat. How can proper protection save time and reduce mess in your next painting project?
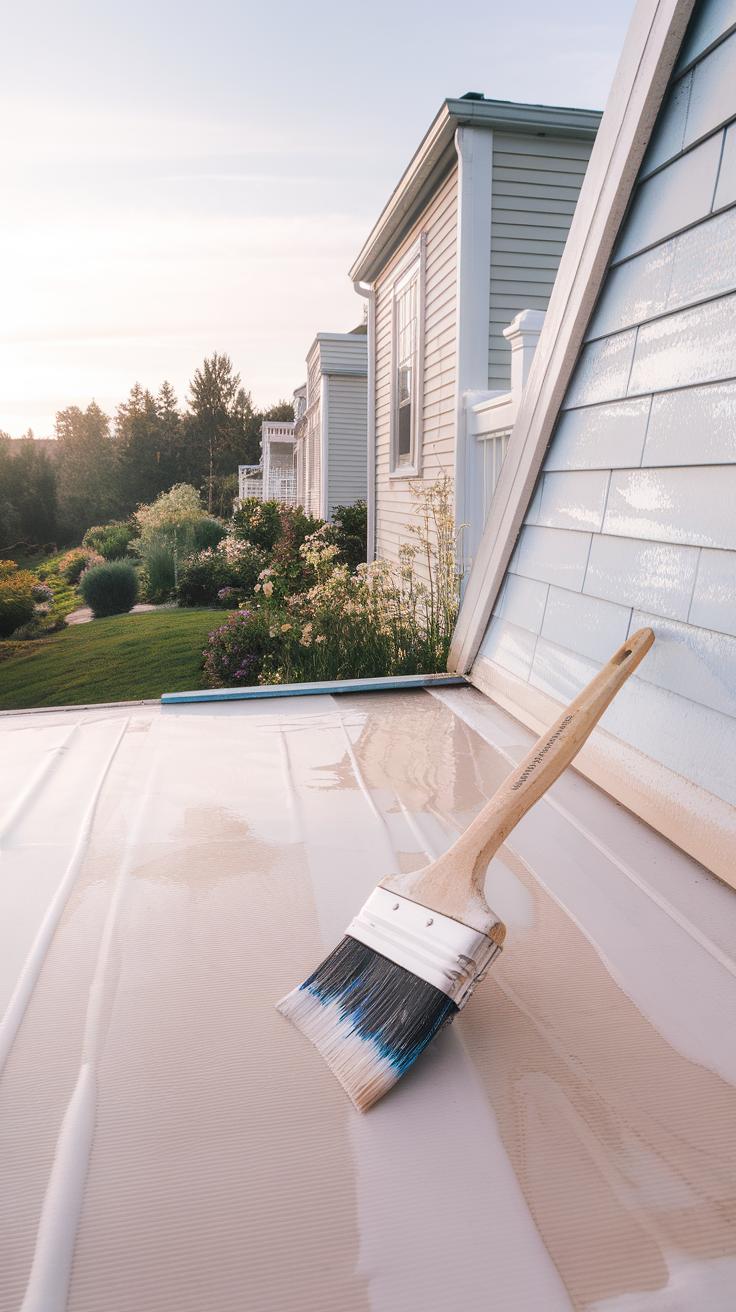
Preparing Your House Surface Before Painting
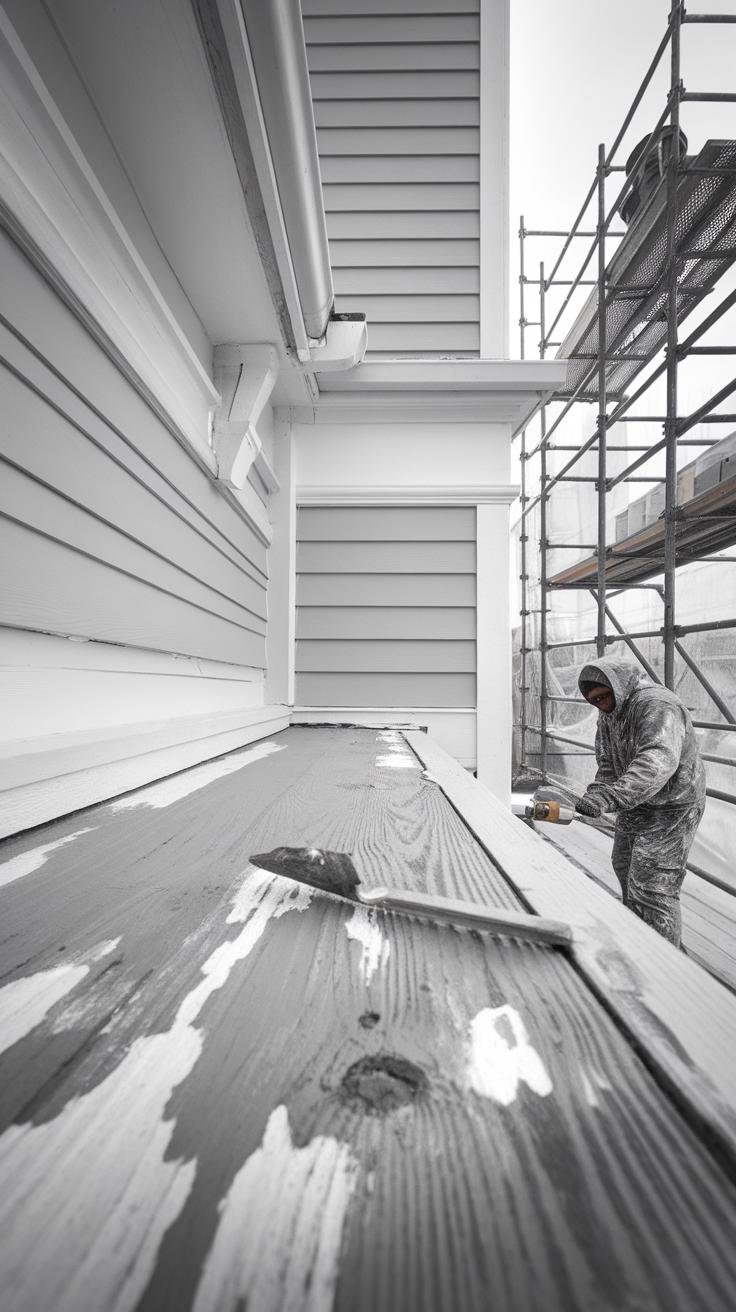
Your preparation sets the stage for a successful watercolor house painting. Begin by inspecting the surface closely. Look for cracks, holes, peeling paint, or rough patches that could disrupt your work.
Clean the surface thoroughly. Dirt, mold, and old paint residues affect the paint’s ability to stick. Use a scrub brush and a mixture of mild detergent and water to wash away grime. For mold, a diluted bleach solution works well.

Repair damaged areas carefully. Fill cracks or holes with exterior-grade filler or putty. Allow it to dry fully before smoothing the area. Sand rough spots until they blend well with the surrounding surface. This step ensures an even foundation for your watercolor.
Apply a suitable primer once repairs finish. Priming seals the surface and improves paint adhesion. It also helps maintain the paint’s color and longevity over time. Have you checked how well your walls absorb watercolors? Proper prep will reveal this and improve your final result.
Cleaning and Repairing
Cleaning your house surface removes obstacles that dull your watercolor paint. Use water and a soft scrub brush for wood or stucco. For vinyl or metal, try a gentle all-purpose cleaner. Rinse thoroughly to avoid leaving residues behind.
Address imperfections promptly. Small cracks need filling to prevent peeling or lifting paint. Nail holes, chips, and dents also require patching. Sand these repairs smooth once they dry to avoid bumps that show through your paint.
Did you know that failing to clean or repair can shorten your painting’s lifespan? A clean, smooth surface helps your watercolor paint lay evenly and last longer, giving you a more beautiful and durable finish.
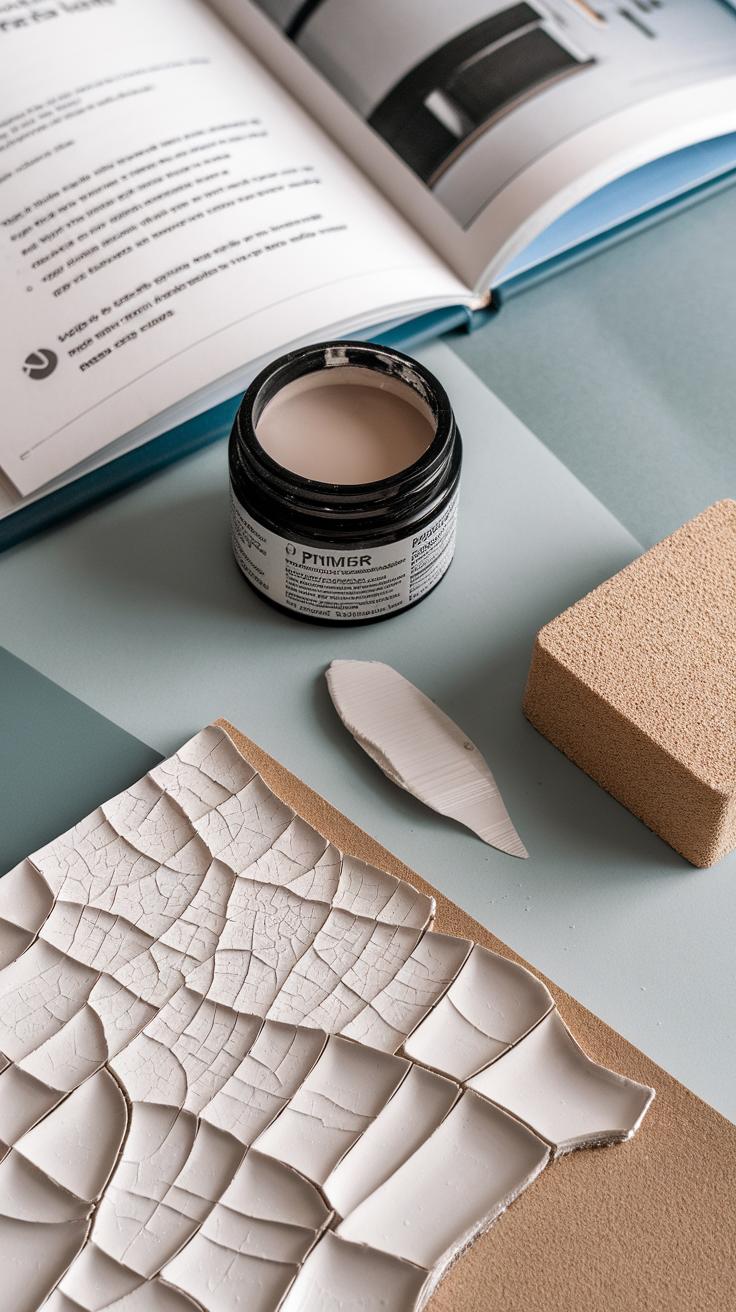
Priming Techniques
Primers act as a base that readies your house surface for watercolor paint. They improve adhesion by creating a consistent texture, preventing the paint from soaking in unevenly or flaking off.

Choose primers compatible with your surface type. For porous wood or stucco, use a penetrating primer that seals deep pores. For metal or vinyl, a bonding primer ensures paint sticks well to smooth, non-absorbent surfaces.
Your primer should also resist moisture, which can cause peeling or mold growth. Applying a quality primer extends your paint’s durability by protecting it from weather and wear. How does your primer choice affect your project’s success? Selecting the right one will simplify your painting and enhance its appearance for years to come.
Watercolor Painting Techniques for Houses
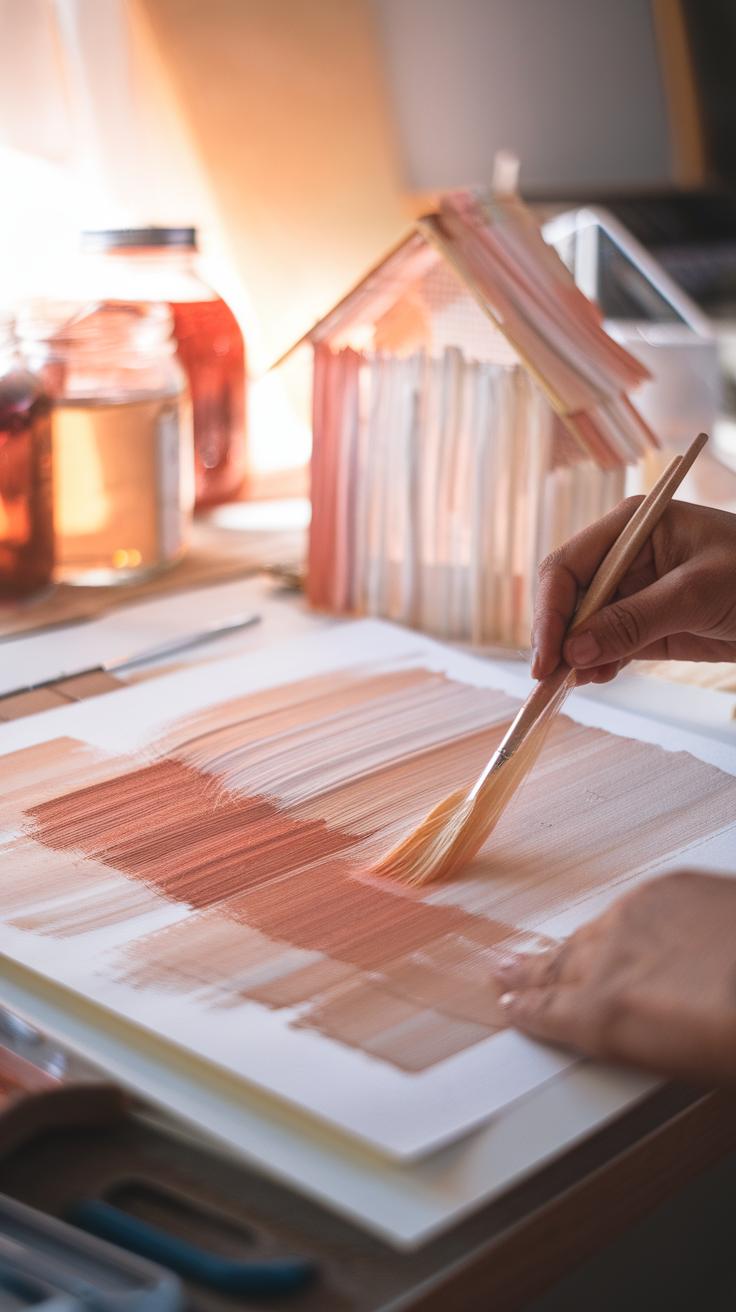
Watercolor painting on house exteriors calls for techniques that highlight textures and bring depth to flat surfaces. You can use layering to build up color slowly and achieve a rich tone on walls. Each thin layer adds new color intensity without hiding the previous one. Glazing works well to control light effects by applying smooth transparent layers, letting you suggest sunlight and shadow naturally.
Wet-on-wet lets you blend colors smoothly while the paint is still damp. This method is perfect for soft, gradual color changes on large sections of house walls or skies behind the house. Dry brush creates texture and crisp details, ideal for showing wood grain on siding or the roughness of brickwork. Combining these methods gives your painting dimension and realism. How would layering or dry brushing change the way your house looks in your next painting?
Layering and Glazing
Layering involves applying thin washes of watercolor paint, one after another, once each layer dries. This process allows you to build color depth gradually. Start with light, transparent washes to set your base tone. When dry, add more layers to deepen shadows or enrich color on house walls.

Glazing works similarly but focuses on controlling how light passes through colors. By glazing transparent layers, you can create subtle shifts in tone and simulate how paint reflects light on surfaces. This technique helps you show areas where sunlight hits or shadows settle, without changing the texture beneath. Layering and glazing together give your painting a glowing, lifelike quality.
Wet-on-Wet and Dry Brush Techniques
Wet-on-wet technique means applying wet paint onto a wet surface. This causes colors to merge softly and flow into each other. Use wet-on-wet to paint broad wall areas with smooth color transitions, like fading shadows or weathered paint effects. It adds softness and atmosphere to your house painting.
The dry brush technique contrasts this by using a brush with little paint and almost dry. It produces textured, scratchy marks that depict rough surfaces like stone, wood texture, or peeling paint. Use dry brush to add sharp details such as window trim edges, roof shingles, or decorative elements. Together, these techniques help you make your house paintings look realistic and full of character.
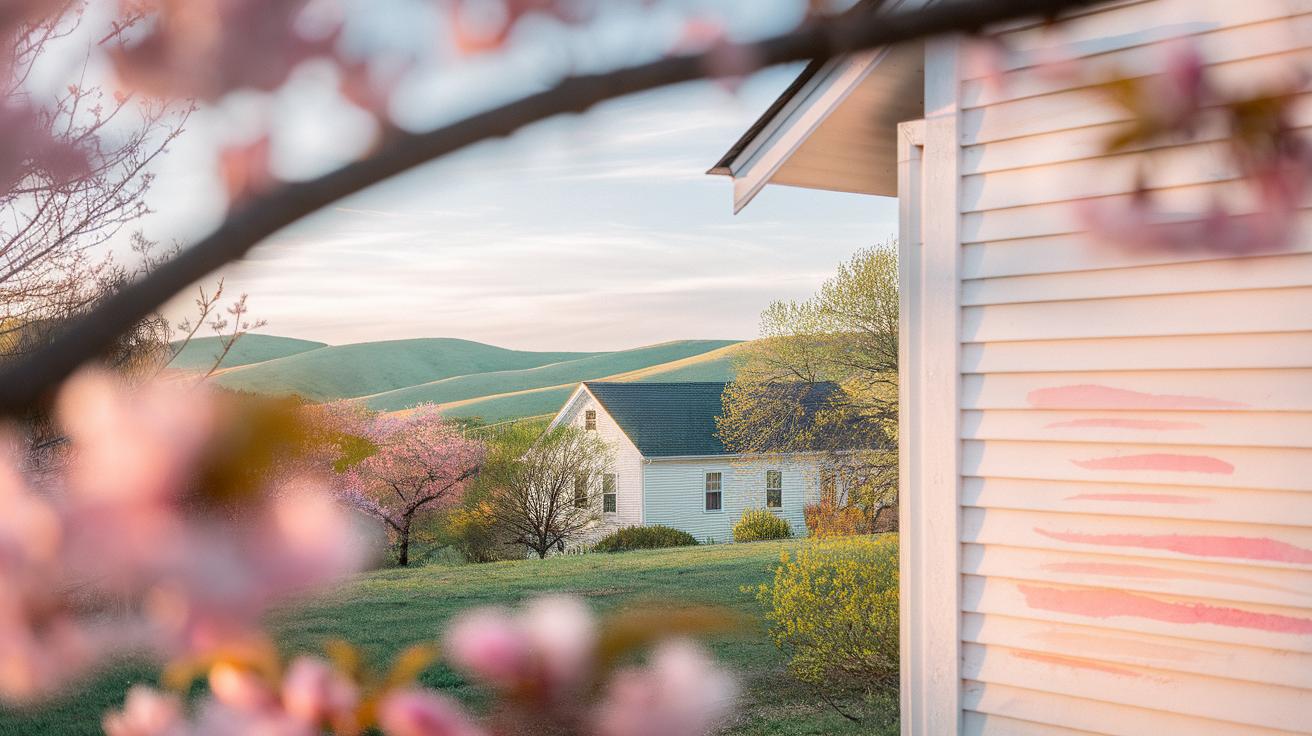
Design Ideas with Watercolor House Painting
Watercolor house painting offers a unique way to highlight your home’s personality. You can create accent walls that draw the eye or soften entire areas with gentle color gradients. Soft washes of blues or greens work well on large surfaces to blend with nature. Adding murals can bring charm and character, especially when incorporating elements like trees, flowers, or architectural details such as shutters or window frames. Think about how your home’s design features stand out and use watercolor to enhance them without overpowering. For example, a faded brick wall can gain depth with layered washes, while trimming areas can use brighter colors as subtle highlights. Your surrounding landscape also guides color choices. What shades from your garden or sky inspire you? Choosing colors that echo these natural elements can produce a harmonious feel that connects indoors and out.
Decorating with Accent Walls and Murals
Selecting the right wall for an accent or mural matters. Choose a wall visible from common views or one that naturally draws attention, like a front porch side or a garden-facing wall. Start by lightly sketching your design directly on the wall’s primed surface. Use watercolor techniques such as layering or glazing to build your image gradually. Apply soft washes first to create a background, then add details with a dry brush for texture. When painting murals, plan sections to avoid uneven drying and maintain color balance. Consider your house’s style and keep the mural’s scale in line with the wall size. For example, a mural of climbing vines can complement a cottage, while geometric shapes work well with modern designs. This approach keeps your watercolor accent integrated and eye-catching.
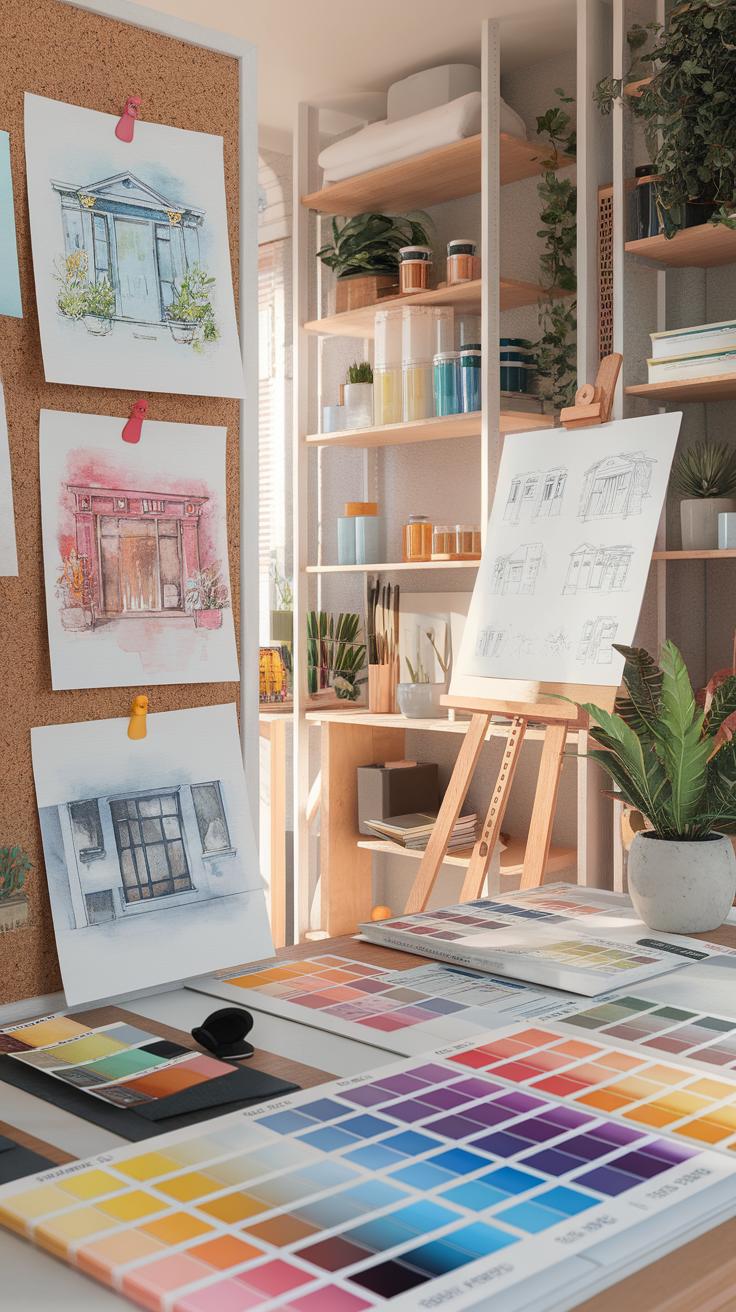
Color Harmony and Integration
Choosing colors that suit your house and surroundings enhances its appeal. Look at existing tones like roof colors, brick, or siding. You want your watercolor palette to complement these elements, not clash. Soft earth tones often blend well with natural landscapes, while cool blues and grays match urban or coastal settings. Think about how light hits your house at different times; some colors change their look in sunlight and shadow. Personal taste plays a role too. Ask yourself what mood you want—calm and inviting, or bold and lively? Test small patches of color before applying them widely. Combining neutrals with a few accent colors can keep your design balanced and lasting. How can your color choice create a fresh yet timeless look for your home?
Common Challenges and How to Overcome Them

Watercolor house painting comes with unique challenges that can affect your final result. Uneven drying often causes blotchy spots or hard edges in your work. To avoid this, apply thin, even layers and work in sections that can dry smoothly before moving on. Controlling your water-to-paint ratio helps prevent puddles and streaks. Have you noticed colors fading quicker outdoors? Exposure to sunlight reduces pigment intensity over time. Using paints with higher pigment concentration or mixing in a small amount of waterproof medium can keep colors vibrant longer. Weather also plays a big role—rain, humidity, and temperature swings can damage or dull your painting. Planning your painting schedule around weather forecasts and selecting protective finishes boosts durability. These small efforts save time and produce consistent, beautiful results. How do you adjust your painting technique based on changing conditions?
Managing Paint Drying and Fading
Outdoor humidity and temperature directly affect how fast your watercolor dries. Hot, dry air speeds drying but can cause colors to lighten or crack. Cool, humid conditions slow drying and may lead to smudging. To manage this, mix your paints with a touch more binder or use granulating pigments that hold color better when dry. Applying multiple light washes instead of one heavy layer controls drying time and maintains rich color. You can also experiment with glazing—layering transparent colors after the first dries—to deepen tones without risking uneven texture. Choosing a shady spot or painting during cooler parts of the day will keep your work consistent. How often do you test your paint’s drying behavior under different conditions?
Protecting Paint from Weather
Watercolor paint on house surfaces lacks inherent waterproof qualities. Applying a clear, breathable sealant designed for watercolor or masonry helps shield your painting from rain and sun. Look for sealers that resist UV rays to prevent fading, and avoid thick varnishes that trap moisture and cause peeling. Regularly inspect your painting for cracks or wear, especially after storms or seasonal changes. Simple maintenance like cleaning dirt off gently with a soft brush preserves color vibrancy. Reapplying protective coatings every year or two keeps your work fresh. Consider how surrounding plants or gutters might splash water or cause damage, and adjust your painting location accordingly. What steps will you take to protect your watercolor house painting from the weather’s impact?
Maintaining Your Watercolor House Painting Over Time
Keeping your watercolor-painted house looking fresh requires regular care. Dirt, dust, and weather can dull colors and wear down the surface. Start by gently cleaning painted areas using a soft cloth or sponge with mild soap diluted in water. Avoid scrubbing too hard to prevent damaging the paint layer.
Inspect your house regularly for signs of cracking, peeling, or fading. Look closely at corners and places exposed to rain or sun, where damage tends to appear first. Noticing tiny issues early helps you fix them before they worsen. Have you checked all your painted surfaces recently?
Regular Cleaning and Inspection
Schedule cleaning every few months to keep your painting vibrant. Use lukewarm water and a gentle cleanser designed for delicate surfaces. Rinse the soap off completely and dry with a soft cloth to avoid streaks or water spots.
During your routine check, search for paint chips or cloudy patches. Mark spots needing attention. Take photos for comparison later to track changes over time. Remember, regular inspection prevents unexpected repairs and keeps your house looking its best.
Touch-Up Techniques
Touching up faded or chipped watercolor areas does not mean repainting the whole wall. Match your original paint colors and apply thin layers with a fine brush. Blend edges carefully so the repair matches the surrounding paint.
If you notice spots losing vibrancy, moistening the area slightly before adding paint can help it absorb evenly. Let each layer dry fully before adding another or moving on. Small touch-ups done promptly keep your painting fresh and extend its lifespan.
Frequently Asked Questions About Watercolor House Painting
Suitability and Costs
Watercolor paint performs best on smooth, primed surfaces like wood or stucco. If your house has rough textures or brick, the paint may not spread evenly. Climate affects how long your painting lasts. In dry, mild areas, watercolor can maintain its look longer. Extreme sun, rain, or freezing temperatures may require more frequent touch-ups.
Cost varies depending on the size of your project and quality of materials. Expect to spend on good watercolor paint, brushes, primer, and sealant. Often, project time can take a few days to a week if you include surface prep and drying times. Preparing your house surface well helps your painting stay vibrant and reduces the need for costly repairs later.
Tips for Beginners
Start small. Choose an easy section of your house to practice before tackling larger walls. Thin layers work better than thick ones; they dry faster and avoid peeling. Experiment with different brush sizes to find what feels comfortable for you.
Use painter’s tape to create clean edges. Don’t rush. Let each layer dry completely to avoid smudging. Mistakes happen—try painting over them gently once dry. Ask yourself: what simple shapes or patterns could highlight your home’s features?
Confidence grows through practice. Take photos of your progress to see improvements. Remember, your goal is to enjoy the process while adding a unique touch to your home. Start today, and you will learn more with every stroke.
Conclusions
Watercolor house painting combines the beauty of traditional watercolor art with the practical application of house decoration. By selecting the right materials and following systematic preparation and painting processes, you can create unique visuals that enhance your home’s look. Use layering techniques and pigment control to adapt textures and colors, making your paintwork both vibrant and appealing. Do not overlook the importance of surface preparation and protection to ensure durability and longevity.
Your ability to personalize your house with watercolor paints depends on understanding paint characteristics and applying the right strategies. Maintain your watercolor-painted surfaces by regular cleaning and touch-ups to preserve their charm. Are you willing to invest time and care to achieve and sustain stunning watercolor house décor? The practical steps and insights shared in this guide provide a solid foundation for successful watercolor house painting projects.