Introduction
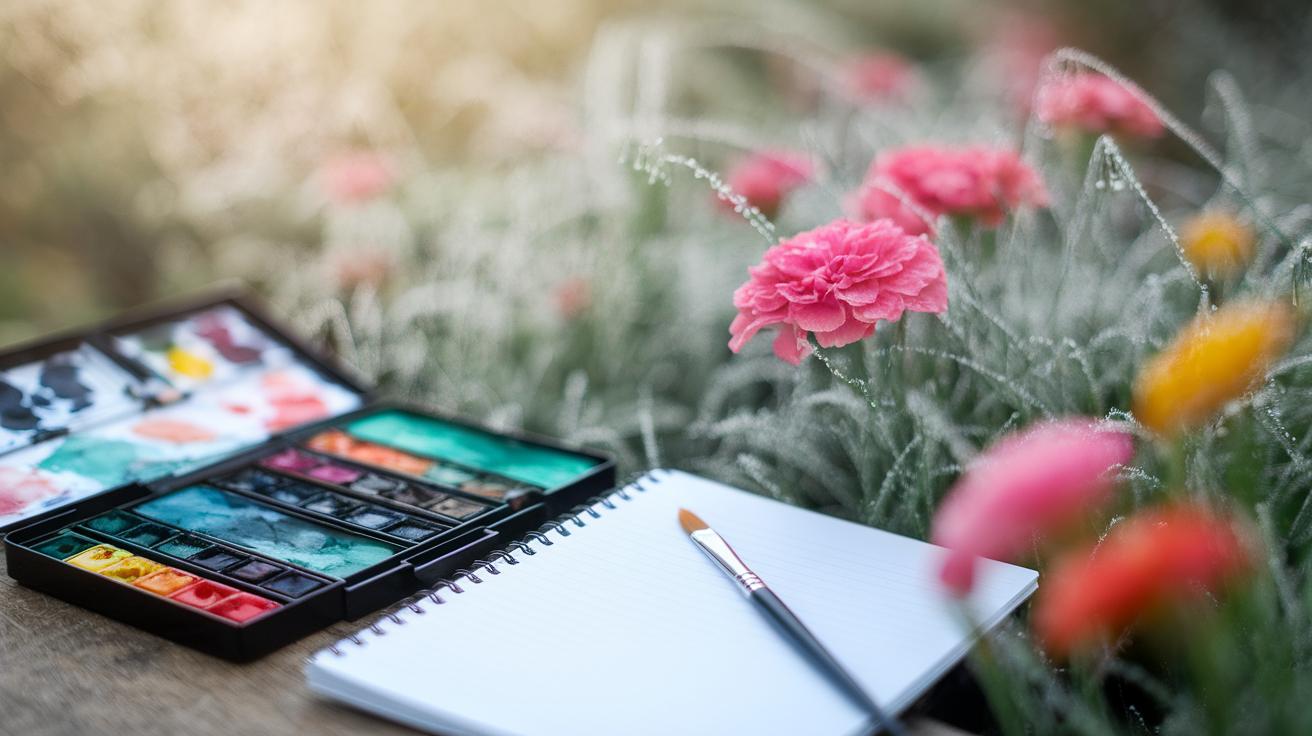
Watercolor painting is a unique and accessible medium that has been admired for centuries. Its transparent colors and fluid technique create effects that other forms of painting cannot match. Since ancient times, watercolor has been used from cave paintings to modern art. The medium involves pigments suspended in water which offer a distinct style and challenge. Whether you are a beginner or have some experience, understanding watercolor requires the right guidance and practice. This article introduces you to comprehensive watercolor art lessons designed to help you improve your skill steadily.
Learning watercolor art involves mastering tools, techniques, and control over water and pigment concentration. With the right lessons, you can discover how to mix colors, create textures, and express your creativity on paper. This guide presents organized chapters that cover all essential aspects of watercolor painting. Each segment builds on the previous one to enhance your learning experience so you can achieve satisfying results in your artwork. Are you ready to enhance your watercolor skills?
Understanding Watercolor Materials
Watercolor paints contain pigments suspended in water with binders that hold the color particles together. When you apply paint to paper, the water evaporates, leaving the pigments behind. Binders affect how the paint flows and adheres to the paper.
Watercolor brushes vary in shape and size, impacting the strokes you can make. Larger brushes work well for broad washes, while smaller ones are perfect for details. Choosing the right brush helps you control your technique better.

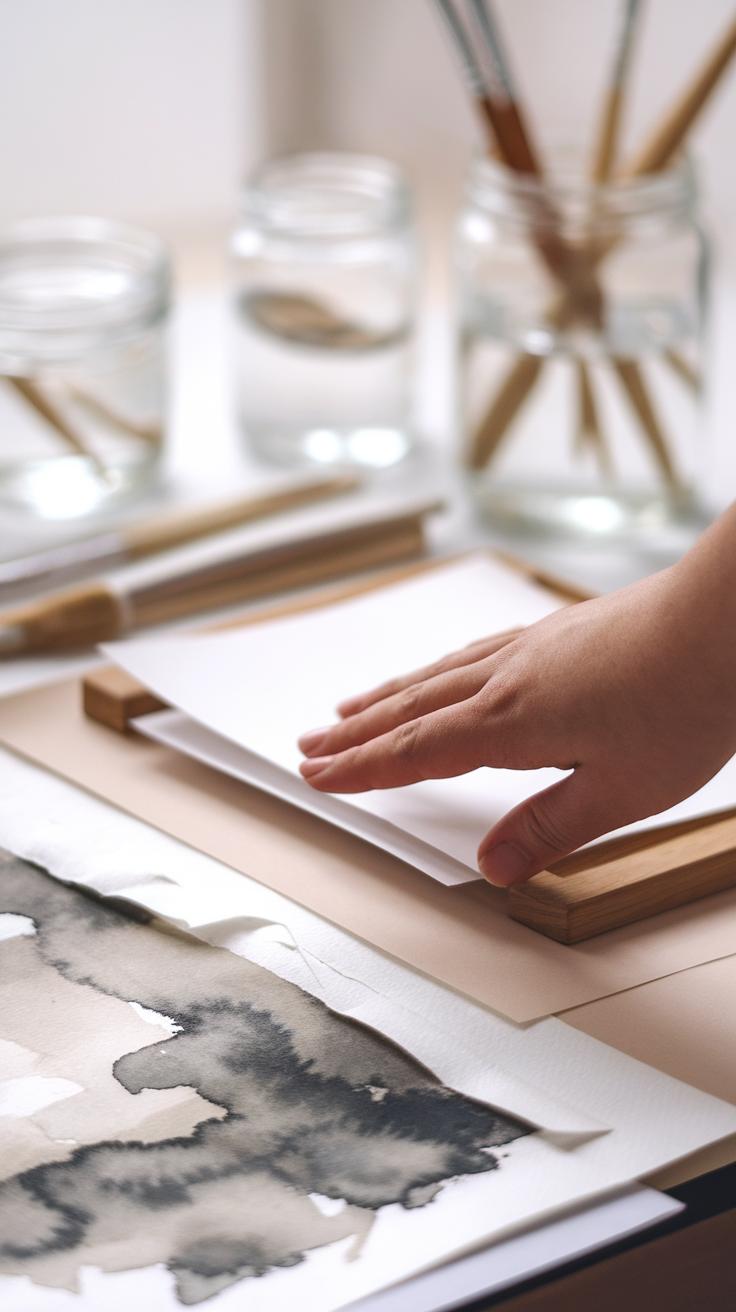
The texture and weight of your paper influence how paint behaves. Rough paper absorbs more water, creating grainy effects. Smooth (hot-pressed) paper offers finer detail for precise work. A heavier paper prevents warping when soaked.
Using professional-grade supplies often yields stronger pigments and better durability. Student-grade materials might cost less but can lack intensity and permanence. Your choice affects the vibrancy and quality of your finished piece.
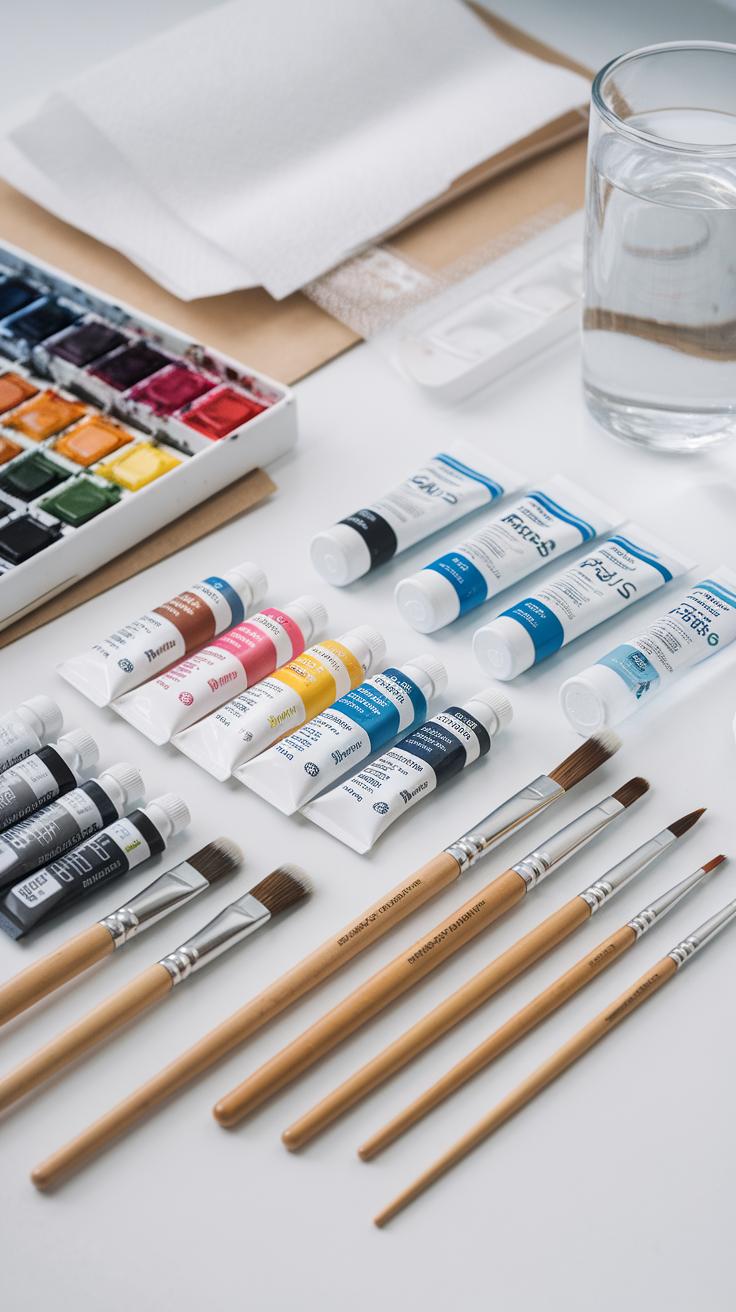
Choosing the Right Watercolor Paints
Watercolor paints come in tubes, pans, and liquid forms. Tubes provide thick paint that you can dilute, perfect for mixing. Pans offer dry cakes that you wet with a brush, ideal for travel or quick use. Liquid paints are concentrated and vibrant, best for expressive work.
Consider pigment concentration when choosing paints. Some colors appear dull in student sets but are rich and bright in professional ones. Think about your skill level — beginners benefit from a limited palette, while advanced artists often seek a wide range of hues.
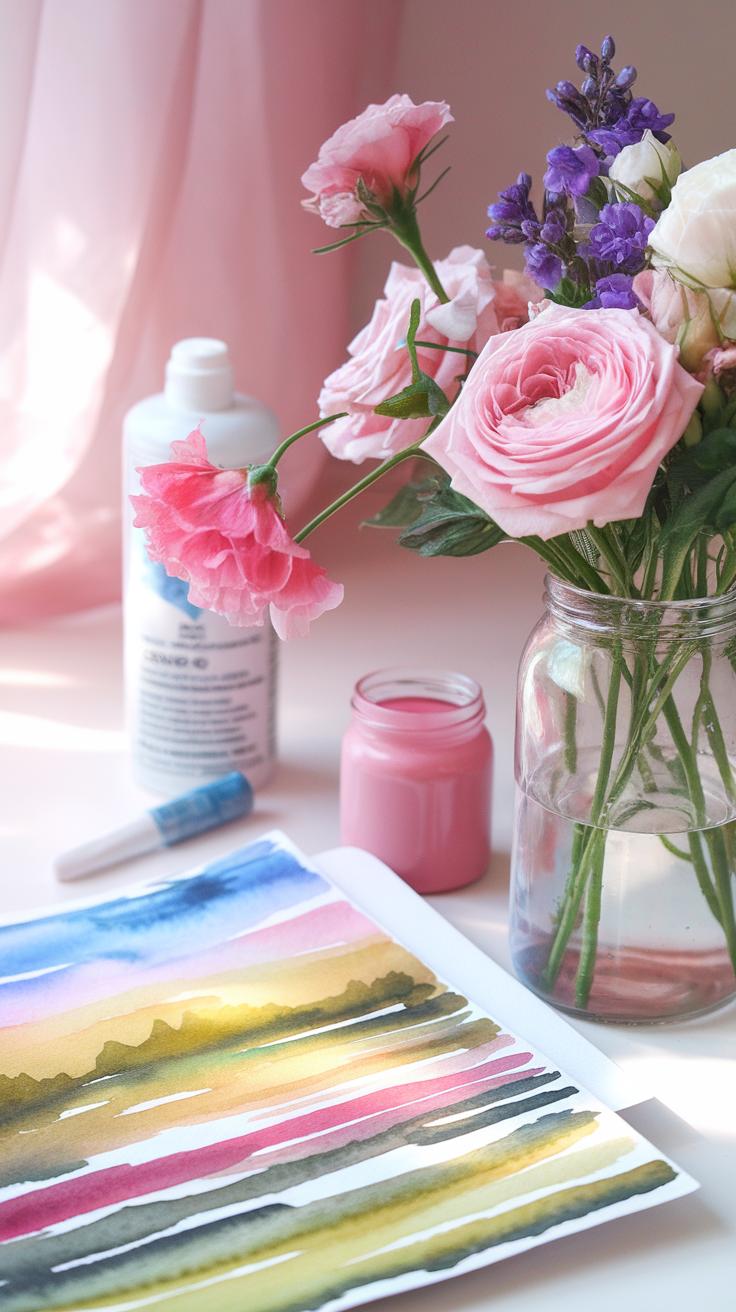
Ask yourself what subjects you want to paint. Bright reds and blues might suit floral work, while earth tones fit landscapes. Test the colors by mixing small amounts and observe how they change with water. This hands-on check improves your understanding of your palette.
Selecting Brushes and Paper

Brushes come in round, flat, and mop shapes. Round brushes are versatile for lines and details. Flat brushes cover large areas for washes and sharp edges. Mop brushes hold lots of water and help with soft backgrounds.
Paper textures include cold-pressed (moderate texture), hot-pressed (smooth), and rough (coarse). Cold-pressed suits most techniques by balancing absorbency and detail. Hot-pressed paper shines in fine line work. Rough paper enhances texture and spontaneous effects.
Weight matters for durability. Papers range from 90 lb (190 gsm) to 300 lb (640 gsm) or more. Heavier papers absorb more water without curling. If you press hard or layer colors, use thicker paper. Imagine your end goal when picking paper to avoid surprises in your work.
Basic Techniques in Watercolor Painting
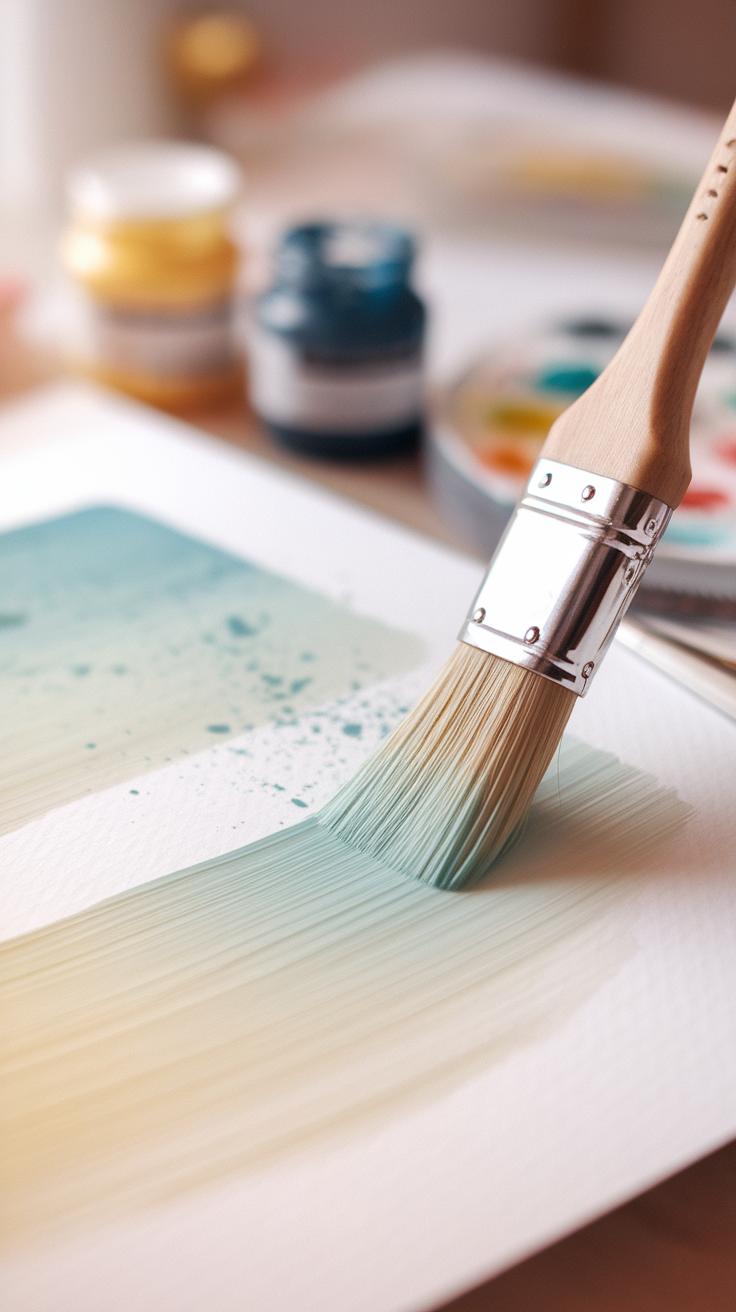
Water controls how watercolor paint moves and blends on your paper. Learning to manage water helps you create different effects and textures in your artwork. Two foundational techniques you need to master are wet-on-wet and wet-on-dry.

Wet-on-wet means applying paint onto damp paper. This allows colors to spread softly and blend naturally. Wet-on-dry is painting on dry paper, giving more control and sharper edges.
To practice, dampen a section of your paper with a clean brush and drop in color. Watch how it moves. On dry paper, try making shapes with crisp edges using a fine brush. Notice how water changes texture and flow.
Ask yourself: How does the water affect paint behavior? When would you want soft blends versus clear lines? Practicing these will improve your ability to manage edges and layers successfully.
Wet-On-Wet Technique
The wet-on-wet method starts by wetting your paper evenly before adding paint. This creates soft, blurry blends as the pigment flows freely. You see this often in skies, sunsets, or soft backgrounds.
Controlling the amount of water is key. Too much water means colors spread uncontrollably; too little water limits blending. Use a spray bottle or wet brush to dampen the area, then apply paint in light layers. Test the paint flow on scrap paper first.

Try painting a gentle sky by wetting the paper then adding blues and pinks. Watch colors merge into smooth gradients. Adjust water as you go to keep your flow balanced and prevent harsh edges.
Wet-On-Dry Technique
Painting on dry paper produces sharper edges and clearer details. This technique works best for shapes, lines, and layering colors.
Begin with your dry paper and apply paint directly. You can build layers by letting each dry before adding another. This glazing method deepens color and adds dimension without muddying.
Practice by painting simple shapes with distinct edges, then add layers once dry. Experiment with thin washes over dried areas to see how colors interact. This helps you gain control over crisp lines and color richness.
Color Mixing and Theory
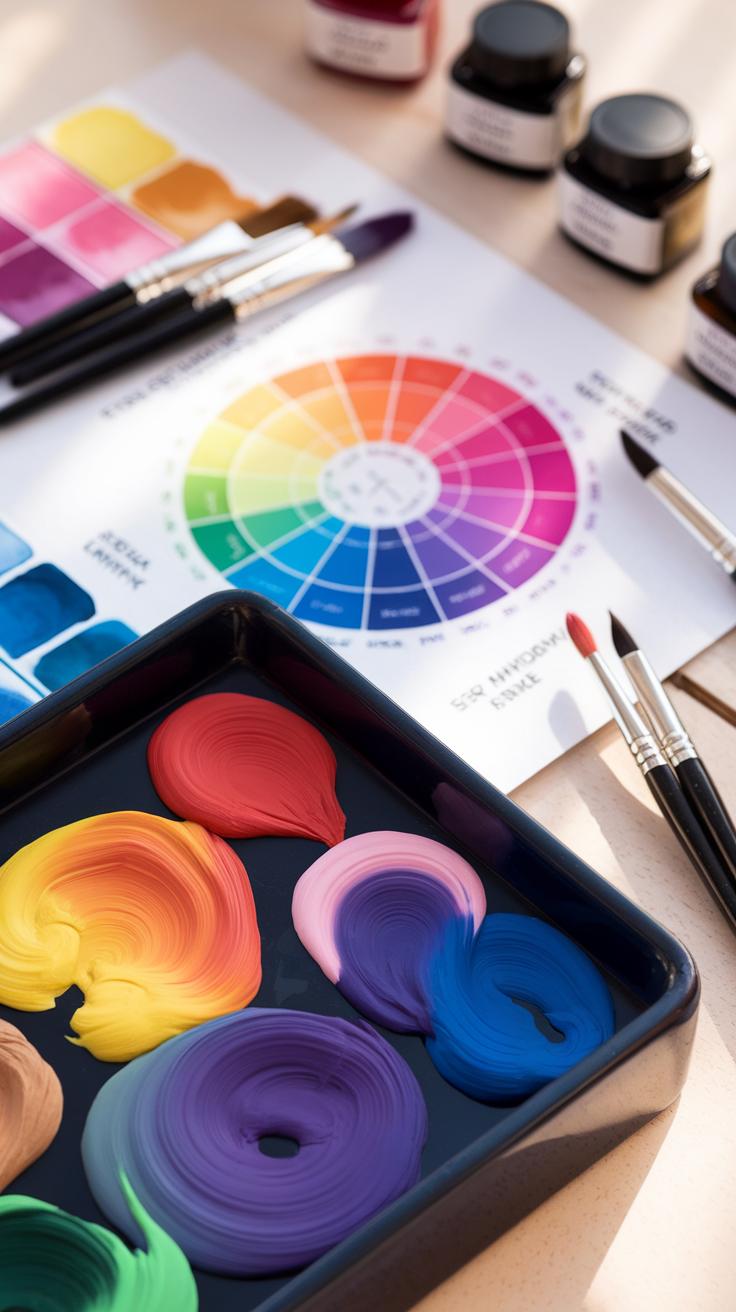

Understanding how to mix watercolor paints is key to creating vibrant artwork. Watercolor pigments come in primary colors: red, blue, and yellow. Mixing these gives you secondary colors like green, orange, and purple. Complementary colors sit opposite each other on the color wheel, such as red and green. When used together, they create strong contrasts that make your painting pop.
Creating harmonious palettes means using colors that work well together. Avoid mixing too many hues at once; this often leads to dull, muddy colors. Instead, focus on combining colors thoughtfully. Experiment with small amounts to see how they blend before applying them to your paper. How do your color mixes influence the mood of your painting? Try to notice which combinations keep your colors clear and lively.
Mixing Colors on Palette
Start your mixing by placing small amounts of paint on your palette. When blending, add pigment gradually to keep colors bright. For example, mixing blue and yellow creates green, but too much blue can make it look dark and muddy. Adjust the ratio to get the shade you want. Clean your brush between colors to avoid unwanted mixing.
Practice simple mixes like red and yellow for orange or blue and red for purple. Note the changes as you vary pigment amounts. Maintaining fresh colors helps your painting stay lively. Have you tried mixing colors directly on the paper? How does that affect the look compared to palette mixing?
Understanding Color Temperature
Colors have temperatures that affect how you see them. Warm colors include reds, oranges, and yellows. They tend to feel energetic or close. Cool colors like blues, greens, and purples feel calm or distant. Using warm and cool colors together helps create balance and focus in your painting.

Try placing a warm color next to a cool one. Notice how they affect each other’s brightness and mood. You can create depth by pushing cool colors back and pulling warm colors forward. How can you use temperature to guide the viewer’s eye? Experiment with temperature contrasts to add life to your compositions.
Advanced Watercolor Techniques
Mastering advanced watercolor techniques expands your control and creativity. One key skill is lifting paint, which lets you remove or lighten colors even after they dry. You can use a damp brush or a soft sponge to soften and lift the paint gently. Practicing this skill improves precision and helps correct errors without damaging your paper.
Masking fluid protects areas you want to keep white or untouched during painting. Apply it with an old brush before laying down washes. Once dry, peel it off to reveal sharp, clean shapes. This technique adds sharp contrasts and preserves highlights effectively.
Textures bring depth and interest to your paintings. Try sprinkling salt on wet paint for a speckled effect or use a sponge to dab color unevenly. Scraping tools lift pigment to create lines and patterns. Using these tools helps your work look more dynamic and detailed.

How do you handle small mistakes in your paintings? Experiment with lifting paint or masking fluid to find what suits your style best. These techniques turn potential errors into creative chances.
Lifting and Correcting Mistakes
Lifting paint means removing or lightening color after it dries. You can start by wetting a small brush with clean water and gently brushing over the area. The paint will soften and lift off the paper. A soft sponge also works well by dabbing repeatedly instead of brushing.
Try lifting on practice sheets first. Controlling the amount of water and pressure is important to avoid damaging the paper surface. If you lift too aggressively, the paper may roughen or tear.
When you spot a mistake, don’t rush to cover it. Think about lifting paint carefully to fix it. Will lightening the mark improve the area? Practicing this method regularly will build your confidence and help you recover from missteps skillfully.
Using Masking Fluid and Adding Texture
Masking fluid keeps parts of your paper free from paint. Apply it before wetting your paper with paint. Use a small brush or a rubber-tipped tool to draw shapes or lines. Let the fluid dry completely before painting over it.

Once you finish painting, gently rub off the masking fluid to reveal clean, untouched paper underneath. This sharpens edges and preserves details that wet-on-wet techniques might blur.
Create interesting textures by sprinkling coarse salt on wet paint. The paint moves away from the salt crystals, making unique patterns. Sponging paint onto paper can create rough, leafy textures. Scraping tools help you carve lines or uneven surfaces, which adds dimensionality to your work.
Trying these methods on small sections of your painting first allows you to see what effects you like. How can these textures enhance your next project? Experiment with controlled marks and random patterns to build a richer composition.
Developing Composition and Design
A strong watercolor painting starts with thoughtful planning. Use basic design principles like balance, focal points, and simplicity to guide your composition. Balance means arranging elements so the painting feels stable. It doesn’t have to be symmetrical, but no side should overpower the other.
Your eye naturally looks for a focal point. This is the main area you want viewers to notice first. Keep the rest of the painting simple to avoid clutter. Focus on clear shapes and avoid overloading the page with too many details. Simplifying your design helps your message come through more clearly.
Before touching paint, create sketches or layouts for your ideas. Sketching helps you test different arrangements and avoid mistakes. It also guides your brushstrokes and color choices later on. Think of sketching as saving time and preventing frustration.
Planning Your Painting
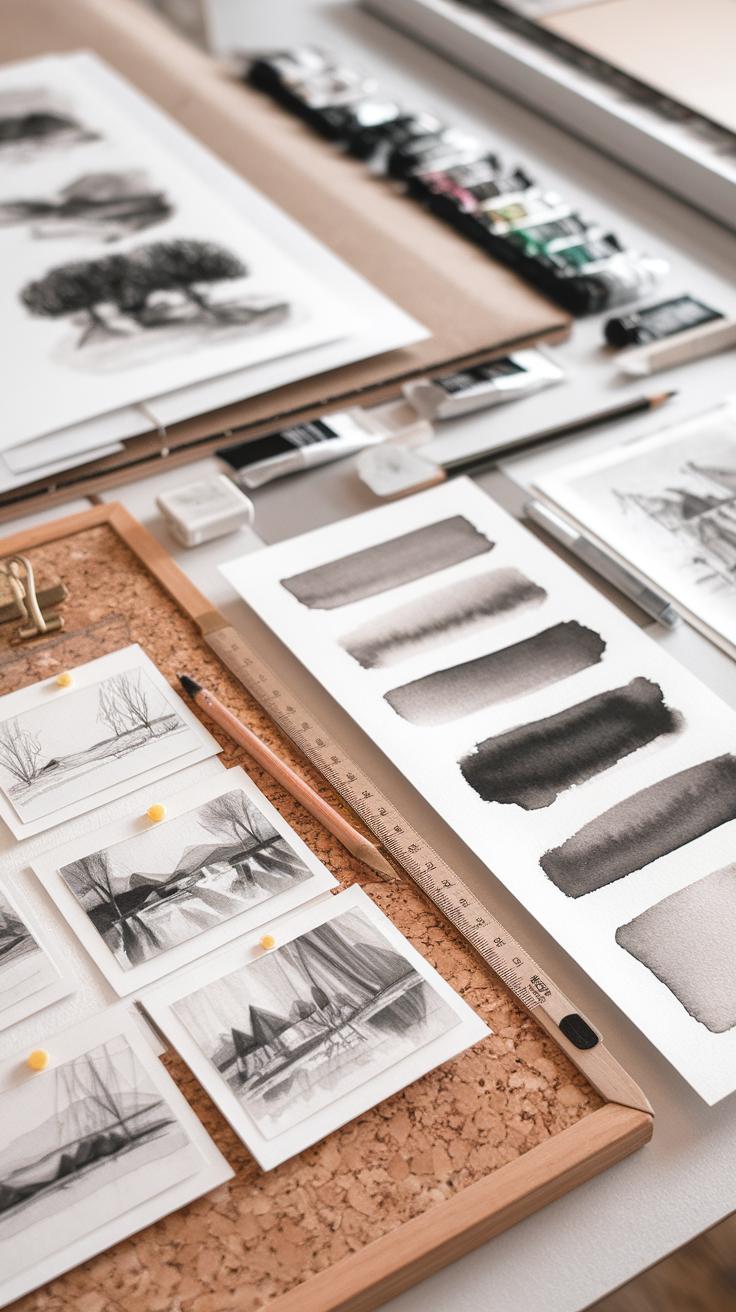
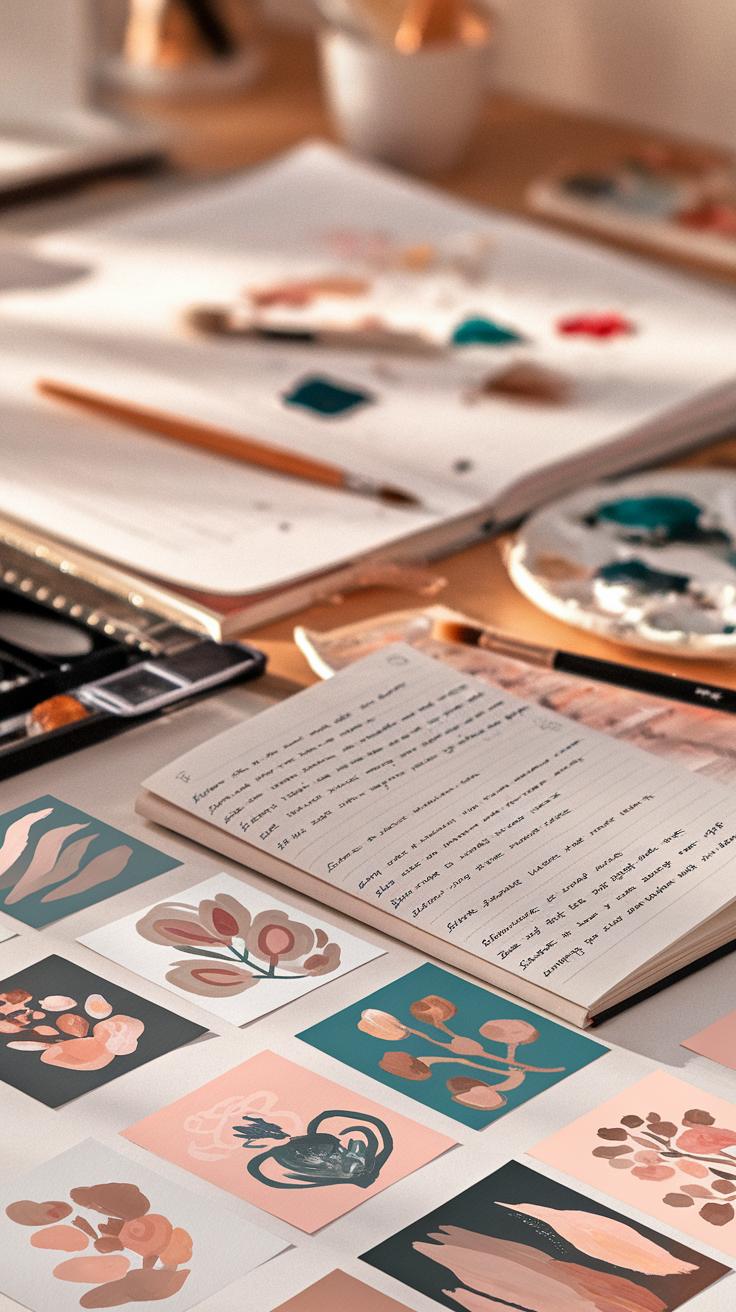
Thumbnails are small, quick sketches that let you explore how elements fit together. Draw several versions to see what works best. Arrange shapes and forms so they guide the viewer’s eye smoothly through the painting.
Color and value studies are also useful. Use limited colors or grayscale to test the mood and light in your painting. How do dark and light areas balance? What feelings do the colors create? Planning these details helps keep your painting focused.
Creating Focal Points
Make your focal point stand out by using contrast and detail. Darker or brighter colors attract attention. Sharp details can pull the viewer’s eye, while softer areas let the rest of your painting fade into the background.
Ask yourself where you want someone to look first. Then add more paint layers, sharper lines, or stronger colors there. The rest of your painting should support but never compete with this area. This creates a clear path for the eye and adds interest to your work.
Practicing with Still Life and Landscapes
Working on still life and landscape paintings helps you apply the skills you’ve learned while improving your observation. These subjects are accessible and allow you to focus on shapes, colors, and light.
Start by choosing objects or scenes that feel manageable. Use your sketching skills to plan the layout first. This planning avoids confusion and keeps your painting clear. Think about how light falls on the objects or landscape elements to create shadows and highlights. This will add a sense of depth.
For still lifes, try grouping items with different shapes and colors. Paint each object one at a time, layering your watercolors from light to dark. For landscapes, begin with simple sky washes and add trees or hills gradually. Build layers to show distance and texture. Taking time with these steps makes your paintings more believable and engaging.
Painting Still Life
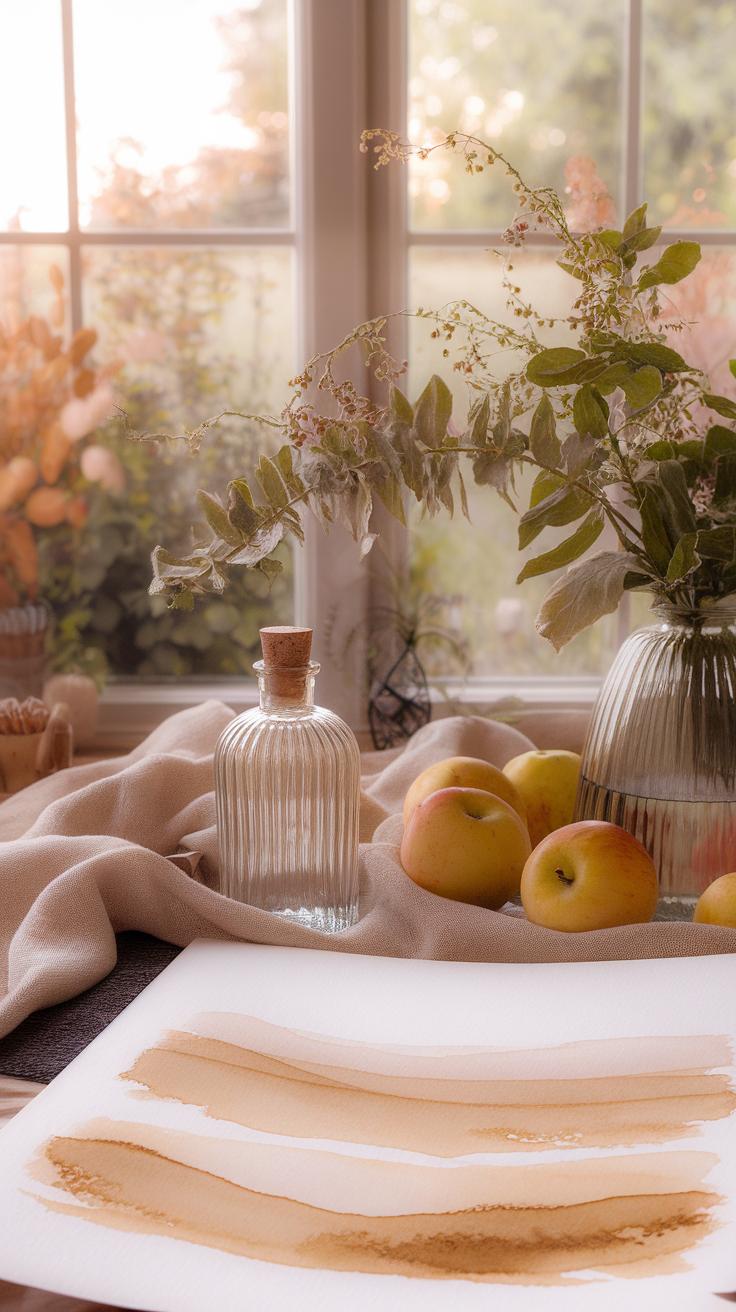
Choose objects that vary in shape and color. Round fruits, angular boxes, and soft flowers work well together. Arrange them where natural light creates shadows and contrast. Notice where light hits and where shadows form. Capturing this helps you create a three-dimensional look.
Start painting by laying a light wash over each object’s base color. Work slowly to build shadows using deeper tones. Avoid painting every detail at once. Let sections dry before adding new layers. This prevents colors from bleeding and keeps the light areas bright. Practicing this helps you see and paint how light interacts with different surfaces.
Capturing Landscapes
Focus first on painting the sky. Use a clean, wet brush to spread a smooth color wash that fades from dark at the top to light near the horizon. This creates a sense of vast space.
Next, add simple shapes for trees or hills using darker colors. Layer your brushstrokes to build form and show depth. Paint distant objects with softer edges and lighter colors. Closer objects should have sharper details and richer colors. This layering gives the scene a natural feel.
Try varying brush pressure and paint intensity to create textures. Are trees fuzzy or sharp? Is the land smooth or rough? Your choices bring your landscape to life step by step.
Troubleshooting Common Problems
Watercolor painting often brings common challenges like bloated paper, muddy colors, and uneven washes. These problems can frustrate your progress, but understanding their causes helps you fix them quickly.
Bloating happens when too much water saturates the paper. Use thicker watercolor paper and stretch it before painting to keep it flat. Try working in thinner layers instead of soaking the entire surface at once.
Muddy colors appear when you mix too many pigments or layer them carelessly. Clean your brush between colors and mix paints on your palette rather than directly on paper. Limit the number of layers and choose colors that complement each other.
Uneven washes often result from inconsistent water or paint on the brush. Maintain a steady brush load and practice smooth, even strokes. Let each wash dry before adding another to avoid unwanted textures.
What issues slow your painting the most? Addressing these common problems early lets you focus more on building your watercolor skills.
Avoiding and Fixing Uneven Washes
Patchy washes usually come from uneven water distribution or drying too quickly. Make sure your brush holds enough water mixed evenly with pigment before touching the paper. Try testing your wash on scrap paper to check for consistency.
Keep your brush strokes uniform in direction and length. For large areas, paint in overlapping sections while the surface is still wet. This technique helps blend the edges smoothly without harsh lines.
Control the drying environment by working in a shaded, cool spot to slow evaporation. If uneven patches appear, quickly apply a clean, damp brush to even out the area before it dries.
Have you noticed patterns in your washes? Adjusting water ratios and stroke habits will improve your results with fewer retries.
Keeping Colors Clean and Vibrant
Maintaining bright, clean colors requires controlling how you mix and layer paints. Overmixing blends pigments too much, causing dull colors. Mix small amounts at a time and add paint gradually to the palette.
Overlayering can muddy colors when layers combine without drying fully. Allow each layer to dry completely before adding the next to keep colors crisp.
Rinse your brushes thoroughly between colors. Even a little leftover pigment can dull your next stroke. Use separate water containers for cleaning and diluting paints to avoid contamination.
Consider your palette setup. Keeping similar colors apart prevents accidental mixing. Do you notice your colors losing their vibrancy during your last paintings? Changing these habits ensures your work stays fresh and lively.
Building a Personal Watercolor Style
Your personal style in watercolor painting grows from regular practice and curiosity. Start by asking what themes or subjects excite you the most.
Try different subjects to discover what fits your interests and strengths. For example, paint a portrait one day and a landscape the next. Notice which subjects make you feel more confident or inspired.
Mix traditional techniques like wet-on-wet or dry brush with creative approaches such as using salt, scraping, or layering unusual colors. These experiments help shape your unique look.
Keep a sketchbook to collect your ideas, tests, and unfinished works. Reviewing your sketches over time can reveal patterns in your preferences and improvements.
What themes do you find yourself returning to? How do your brushstrokes or color choices differ from others? These reflections lead to a watercolor style that belongs only to you.
Exploring Various Subjects
Try painting different subjects like portraits, flowers, or abstract pieces. Each type challenges you in new ways and helps you find what fits your skills and tastes.
Portraits improve your ability to capture expression and detail. Florals teach you to observe shapes and colors. Abstracts encourage boldness with form and palette.
Don’t limit yourself to one subject. The variety will expose hidden strengths and preferences in your work. You may discover that mixing subjects brings freshness to your paintings.
What subject excites you to pick up your brush? Which scenes or objects feel easiest or most rewarding to paint?
Experimenting with Techniques
Try blending basic watercolor methods with new techniques. For instance, combine wet-on-wet washes with dry brush texture or add salt to wet paint for interesting patterns.
A sketchbook works well for testing ideas before creating a final painting. Record which techniques you like and how they affect your art’s mood and style.
Try layering colors differently or use masking fluid to keep areas white. Play with brush shapes and pressure to vary your strokes.
Which techniques make your paintings feel alive or unique? How does switching methods change your creative process?
Continuing Growth and Resources

Joining watercolor communities offers more than just connection; they provide honest feedback and new ideas that push your skills forward. You can share your work, ask questions, and see different approaches to the same subjects. Have you tried posting your paintings in a forum or group and noticed fresh perspectives? These spaces motivate you to keep painting regularly and help you stay inspired when you feel stuck.
When searching for online tutorials and workshops, look for instructors who explain concepts clearly and offer step-by-step demonstrations. Choosing courses with projects suited to your level makes practicing easier and less frustrating. Setting small goals, like finishing a painting each week, creates a sense of progress and discipline. What goals will you set to keep your watercolor practice steady? Making a schedule and tracking your improvements can turn learning into a habit.
Books by experienced watercolor artists also serve as valuable tools. Titles like “Watercolor Techniques” by Michael Reardon or “Everyday Watercolor” by Jenna Rainey break down methods you can review anytime. Pairing books with online lessons and community input speeds up your growth. Remember that learning doesn’t stop once formal lessons end. Your focus and curiosity will shape how far you go.
Accessing Watercolor Communities
You gain much by joining watercolor groups on platforms like Facebook, Reddit, or specialized art forums. These communities offer support when you face creative blocks and encourage sharing your successes. Reading critiques and advice from others reveals new techniques and ideas you might not consider alone.
Many groups organize challenges or prompts that push you to paint often. Have you taken part in monthly painting challenges? They often spark creativity by encouraging you to try unfamiliar subjects or materials. Meeting artists with different backgrounds expands your view of watercolor art. Finding your place in these groups can make learning fun and social.
Utilizing Online Tutorials and Workshops
You will benefit most from online courses that provide clear instructions and timed exercises. Platforms like Skillshare, Udemy, and YouTube have a range from beginner lessons to advanced workshops. Select tutorials that break down mixing colors and brush techniques to build a solid base.
Regular practice is key. Set weekly or daily painting times and stick to them. Try projects that focus on one skill at a time, such as washes or texture techniques. Watching different artists at work teaches diverse styles and methods.
Keep track of your progress with a journal or photo collection. Reviewing your improvements boosts motivation and helps you spot areas to focus on next. What online resource will you explore to sharpen your skills today?
Conclusions
Grasping the fundamentals and advanced techniques in watercolor painting gives you the ability to bring your imagination to life. Consistent practice supported by structured lessons allows you to control the medium effectively. You develop skills to create vibrant and delicate effects characteristic of watercolor. Learning step-by-step from materials to finishing touches ensures no important detail gets overlooked. This thorough approach strengthens both your confidence and creativity in this art form.
By following this comprehensive guide, you secure a solid foundation in watercolor art that suits any learning style or pace. The knowledge you gain not only applies to personal enjoyment but can also open pathways for artistic careers or further education. What you create is limited only by your commitment to learning and experimenting with new ideas. Now is the perfect time to begin your own watercolor journey with these lessons as your support system.


